My jointer knives were WAY past due for a good sharpening (they weren’t taking anything off soft pine 😳). After inspecting them I knew they’d need serious elbow grease to get all the knicks out – this called for a jig!
There are many homemade jigs out there but I didn’t like the idea of sharpening 2 knives at a time and swapping/rotating blades out every few minutes. I wanted to avoid that at all costs!
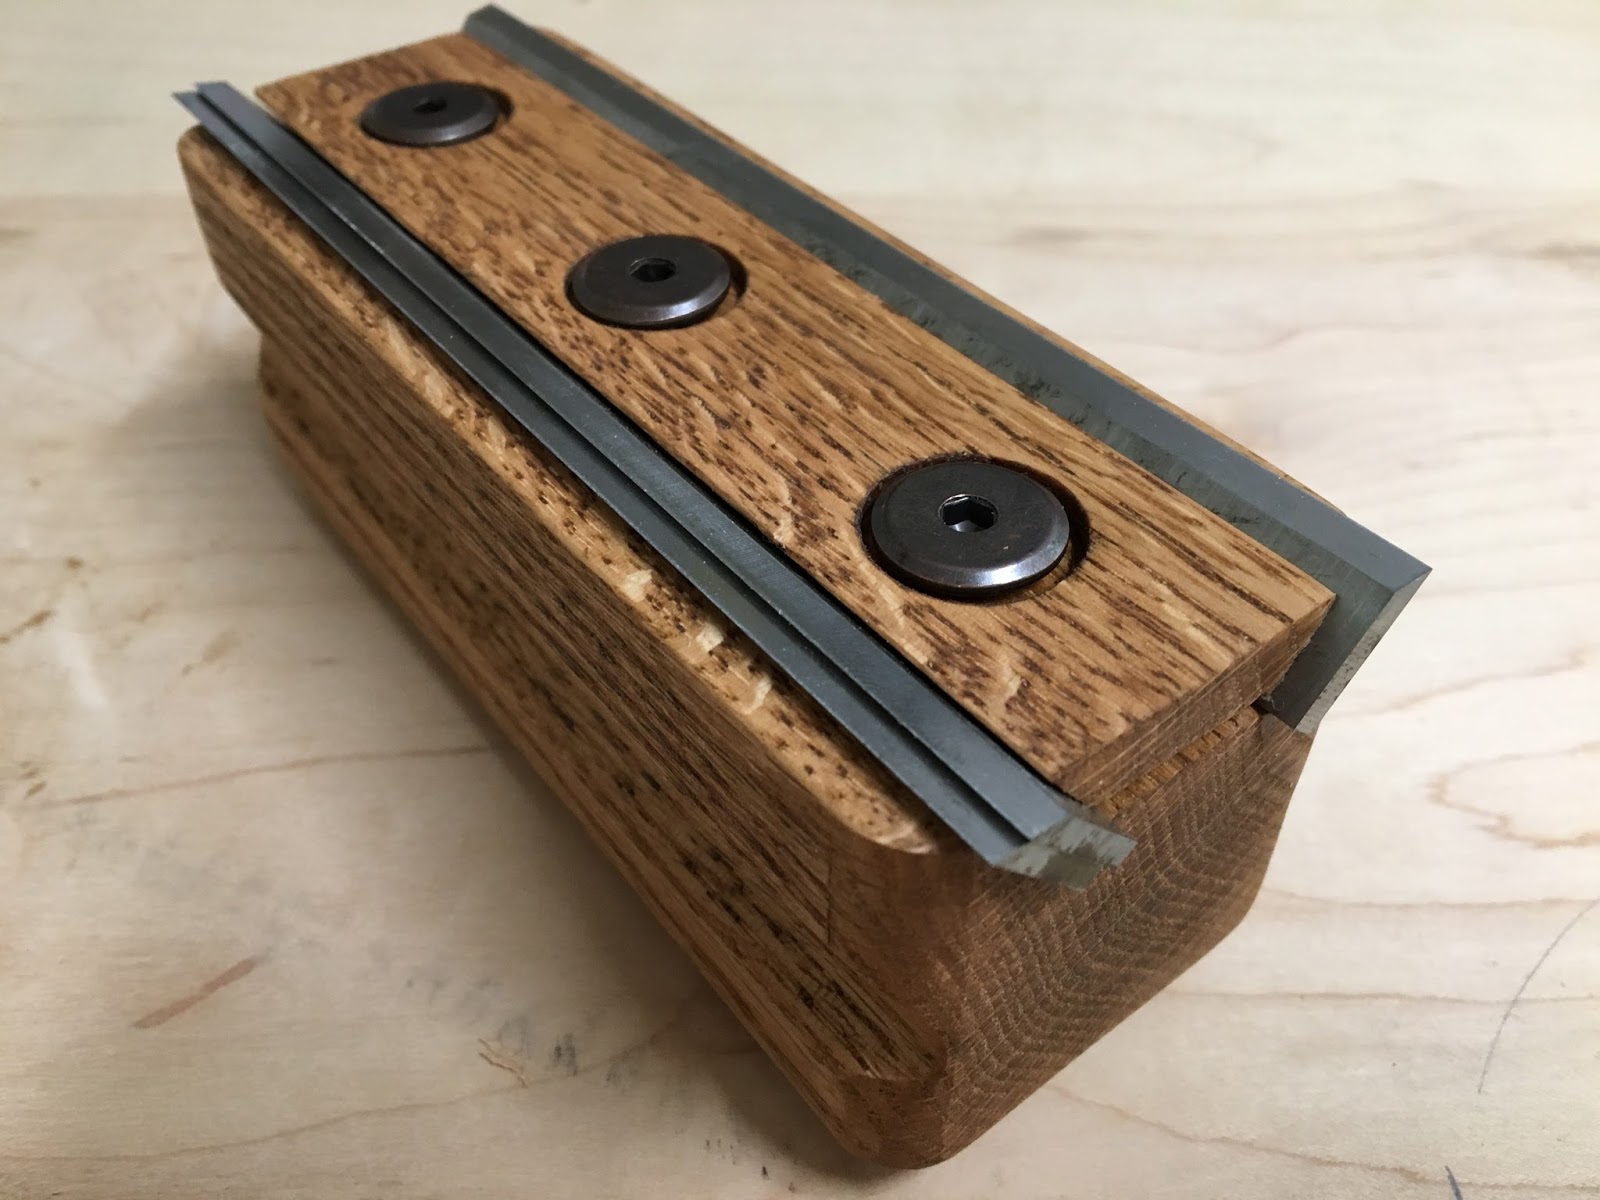
I made a jig out of very few materials for about $9 and am very happy with it! It holds all 3 blades, it’s easy to insert and tighten the blades in the jig and it’s easy to make if you have the right tools!

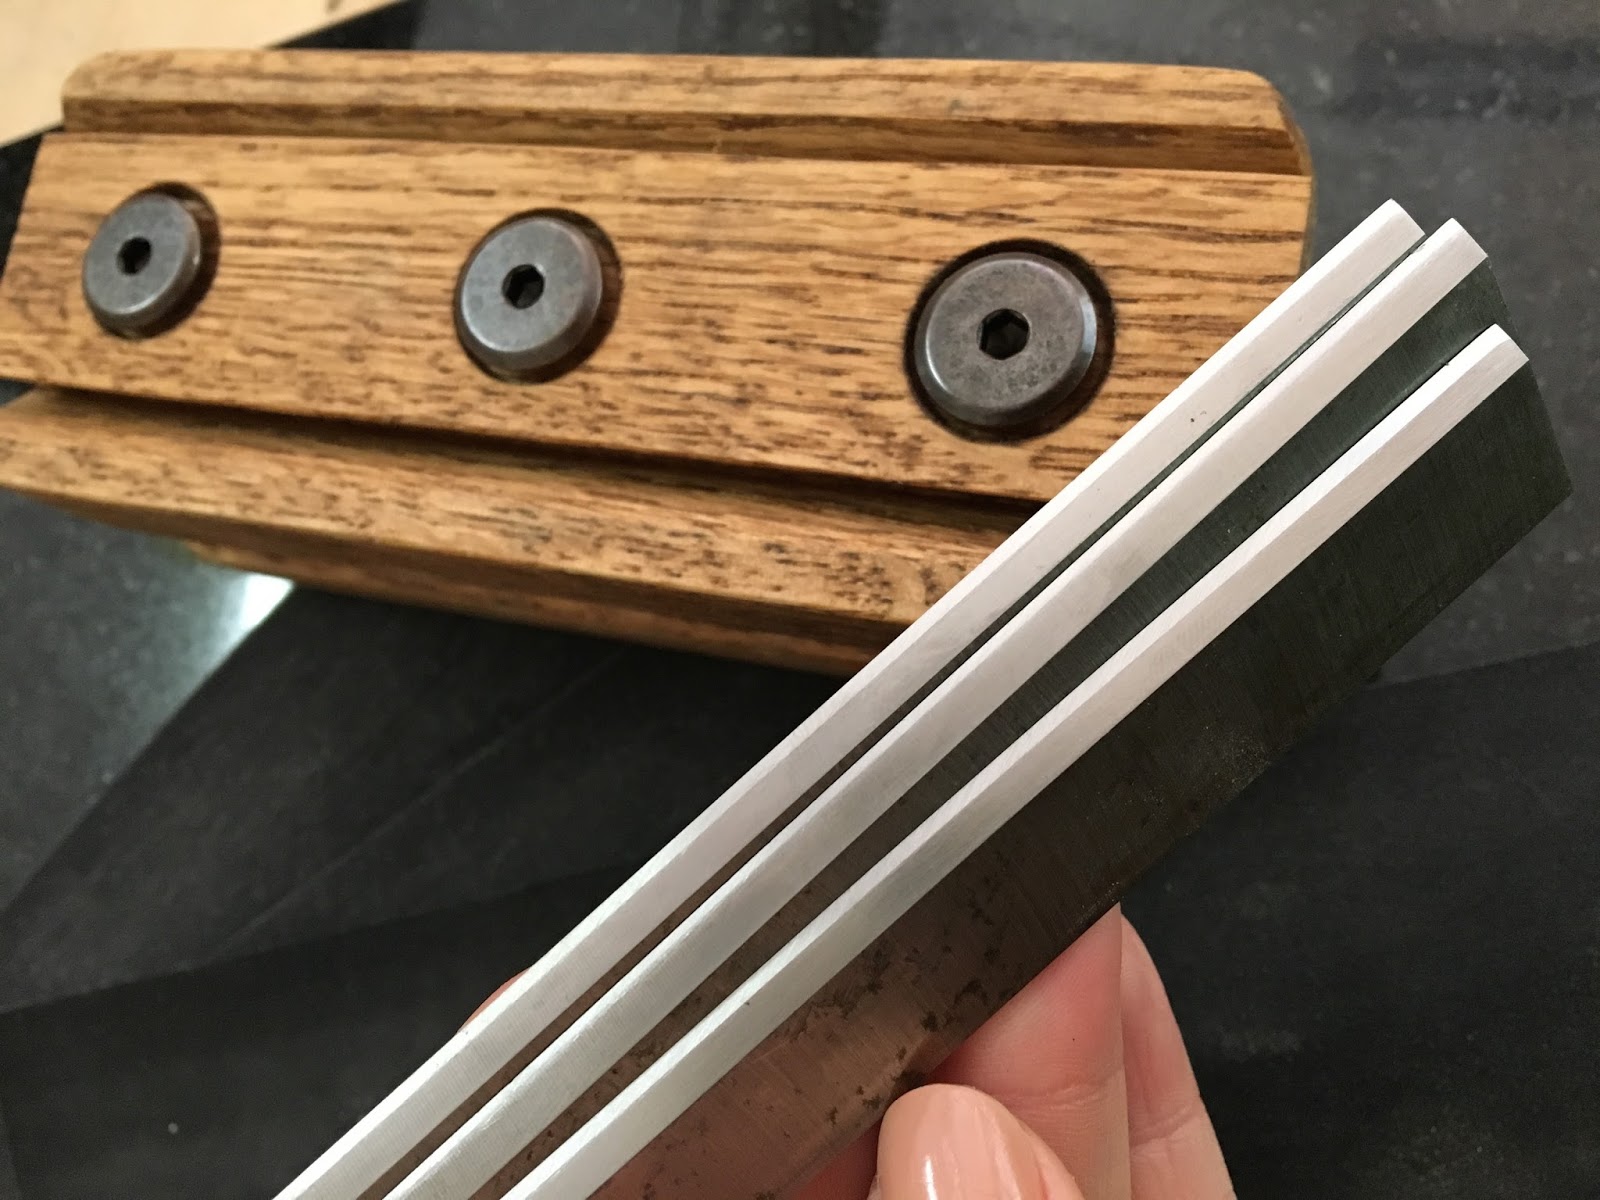
Here’s the pretty edge I got in just 10 minutes of working the blades over 3 grits of emery cloth 😍
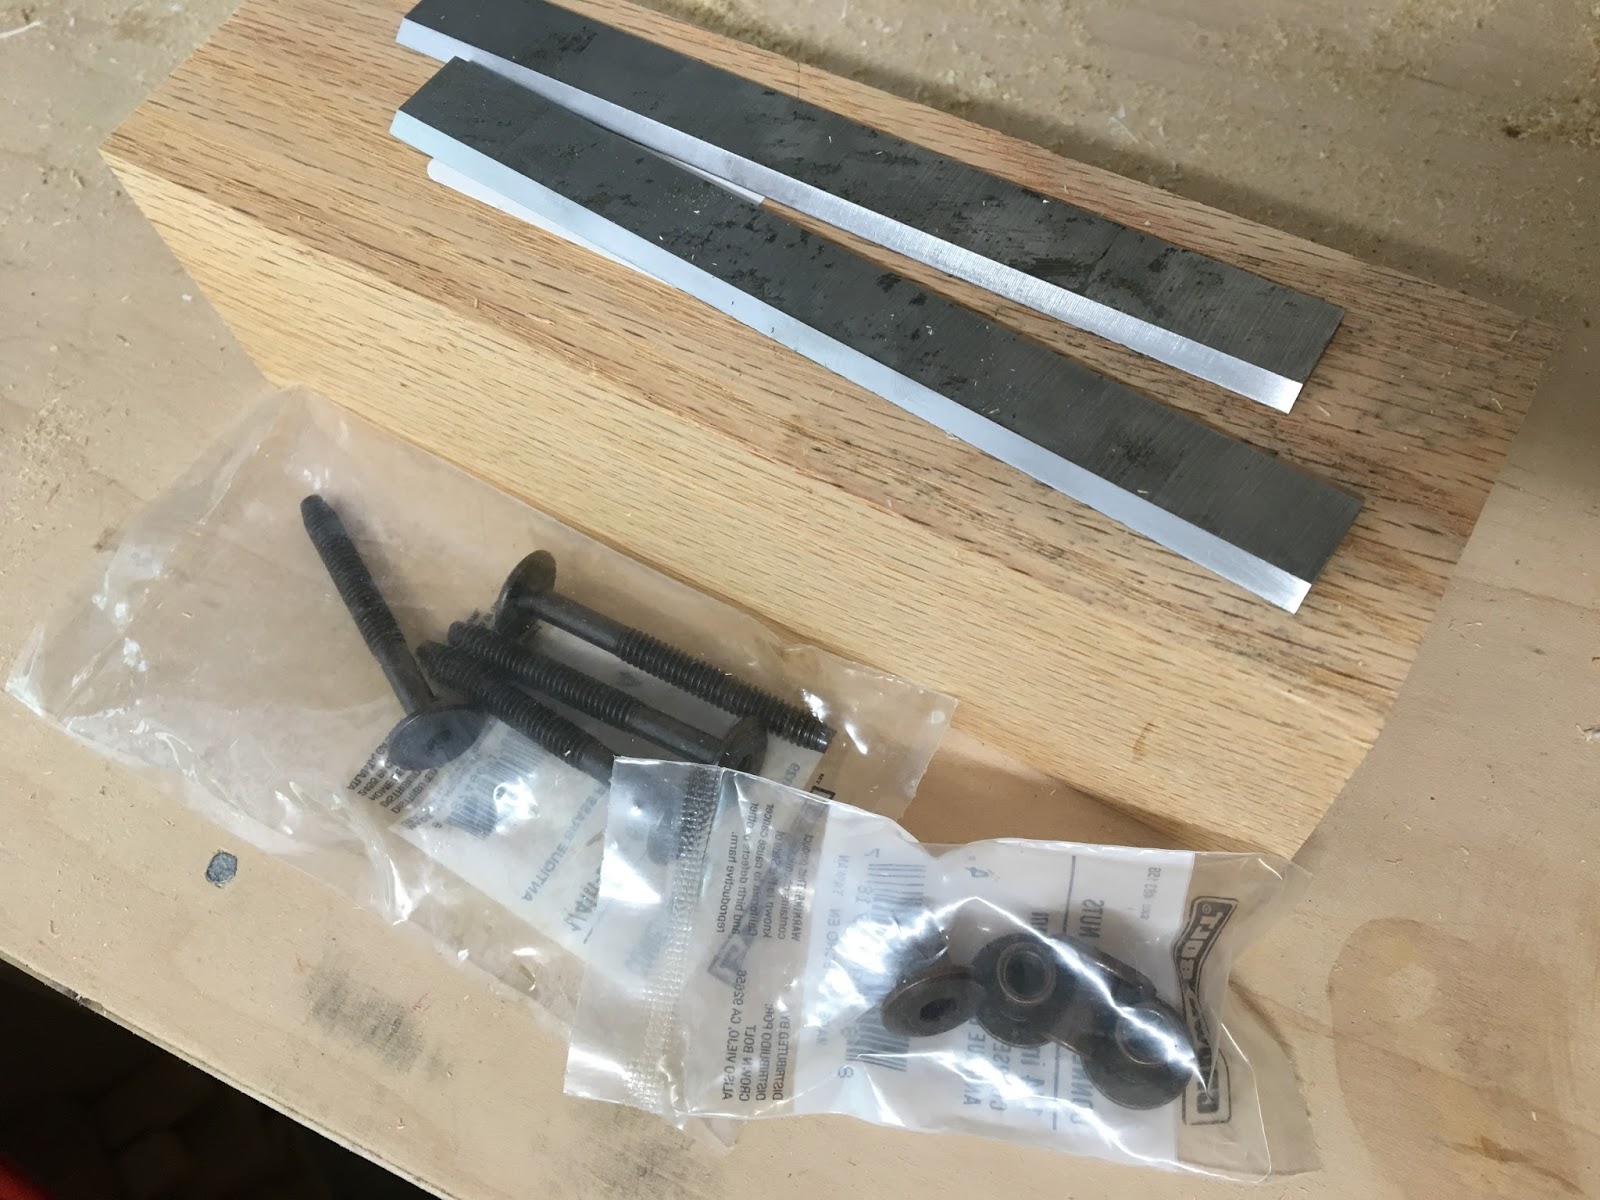
Here’s what I used:
Tools you will need:
Table Saw
Drill Press + 3/4″ Forstner Bit + 17/64″ & 3/8″ Drill Bits
Band Saw
Router + Bits (opt. but recommended for a comfortable grip)
Angle Finder Cube
Pokemon Cards*
(*unless your table saw fence is easier to adjust than mine)
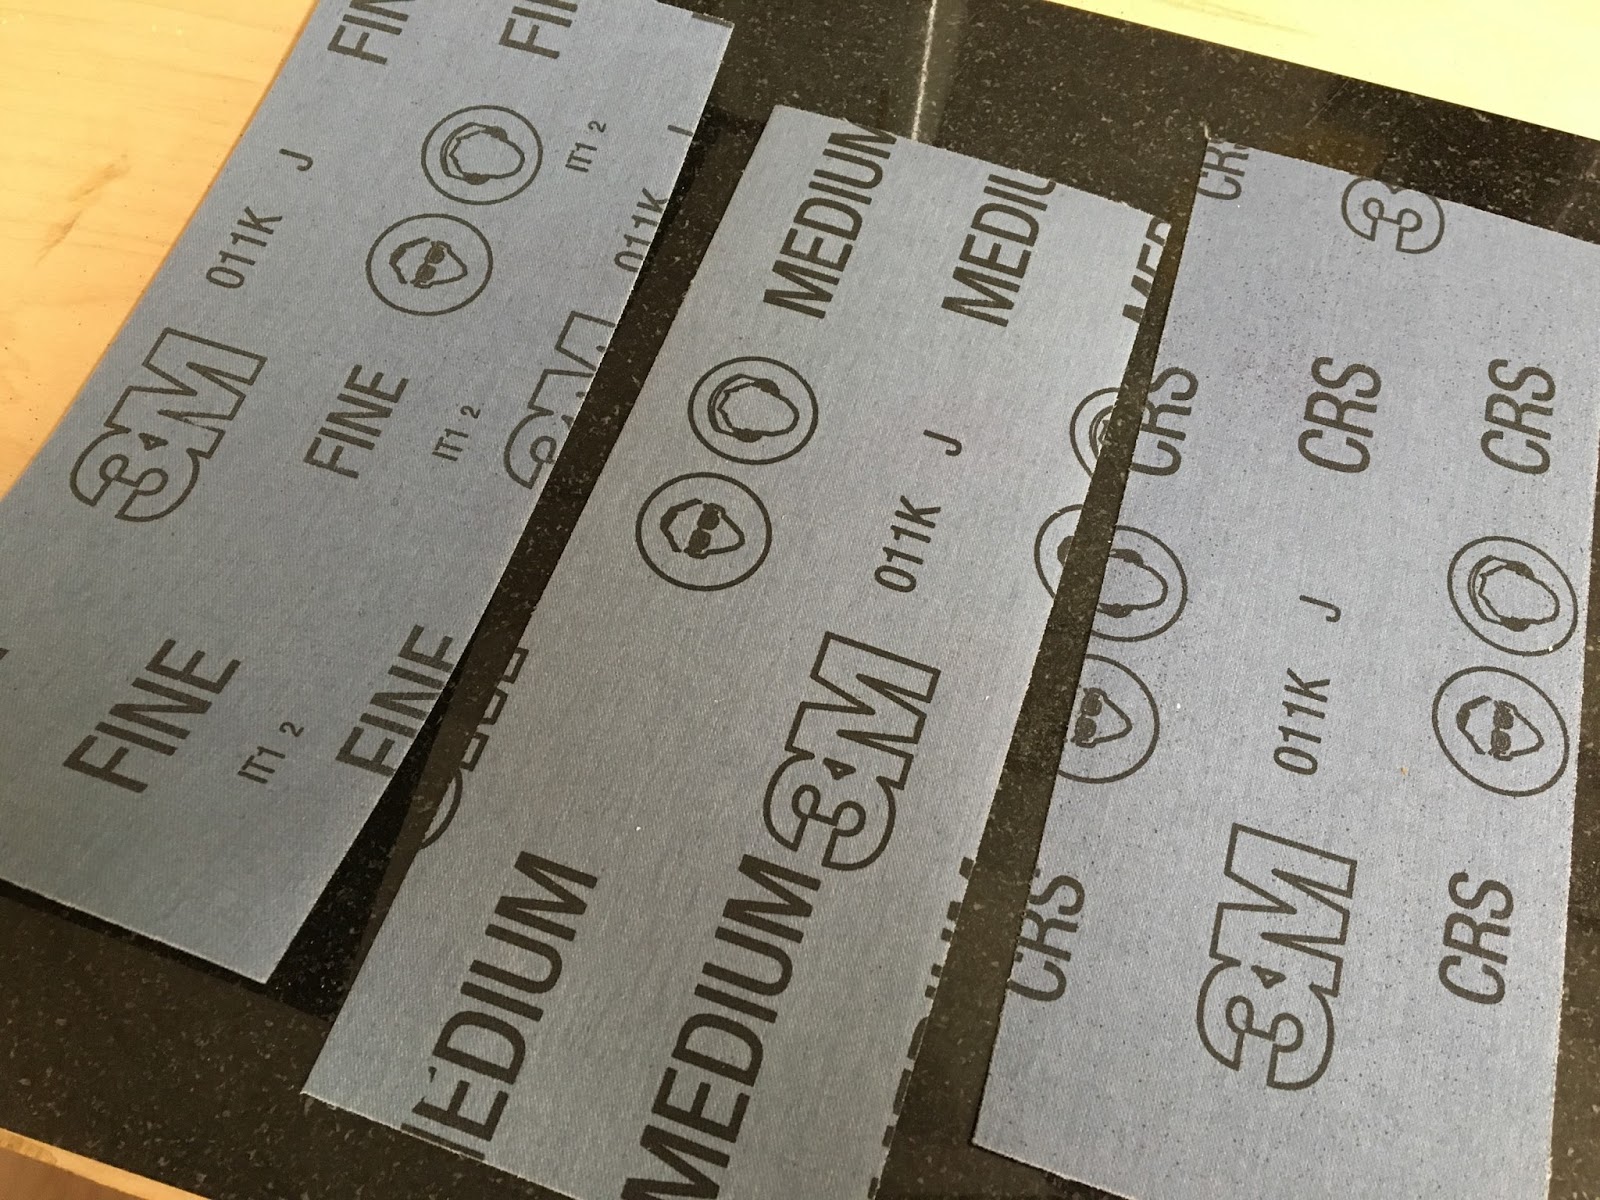
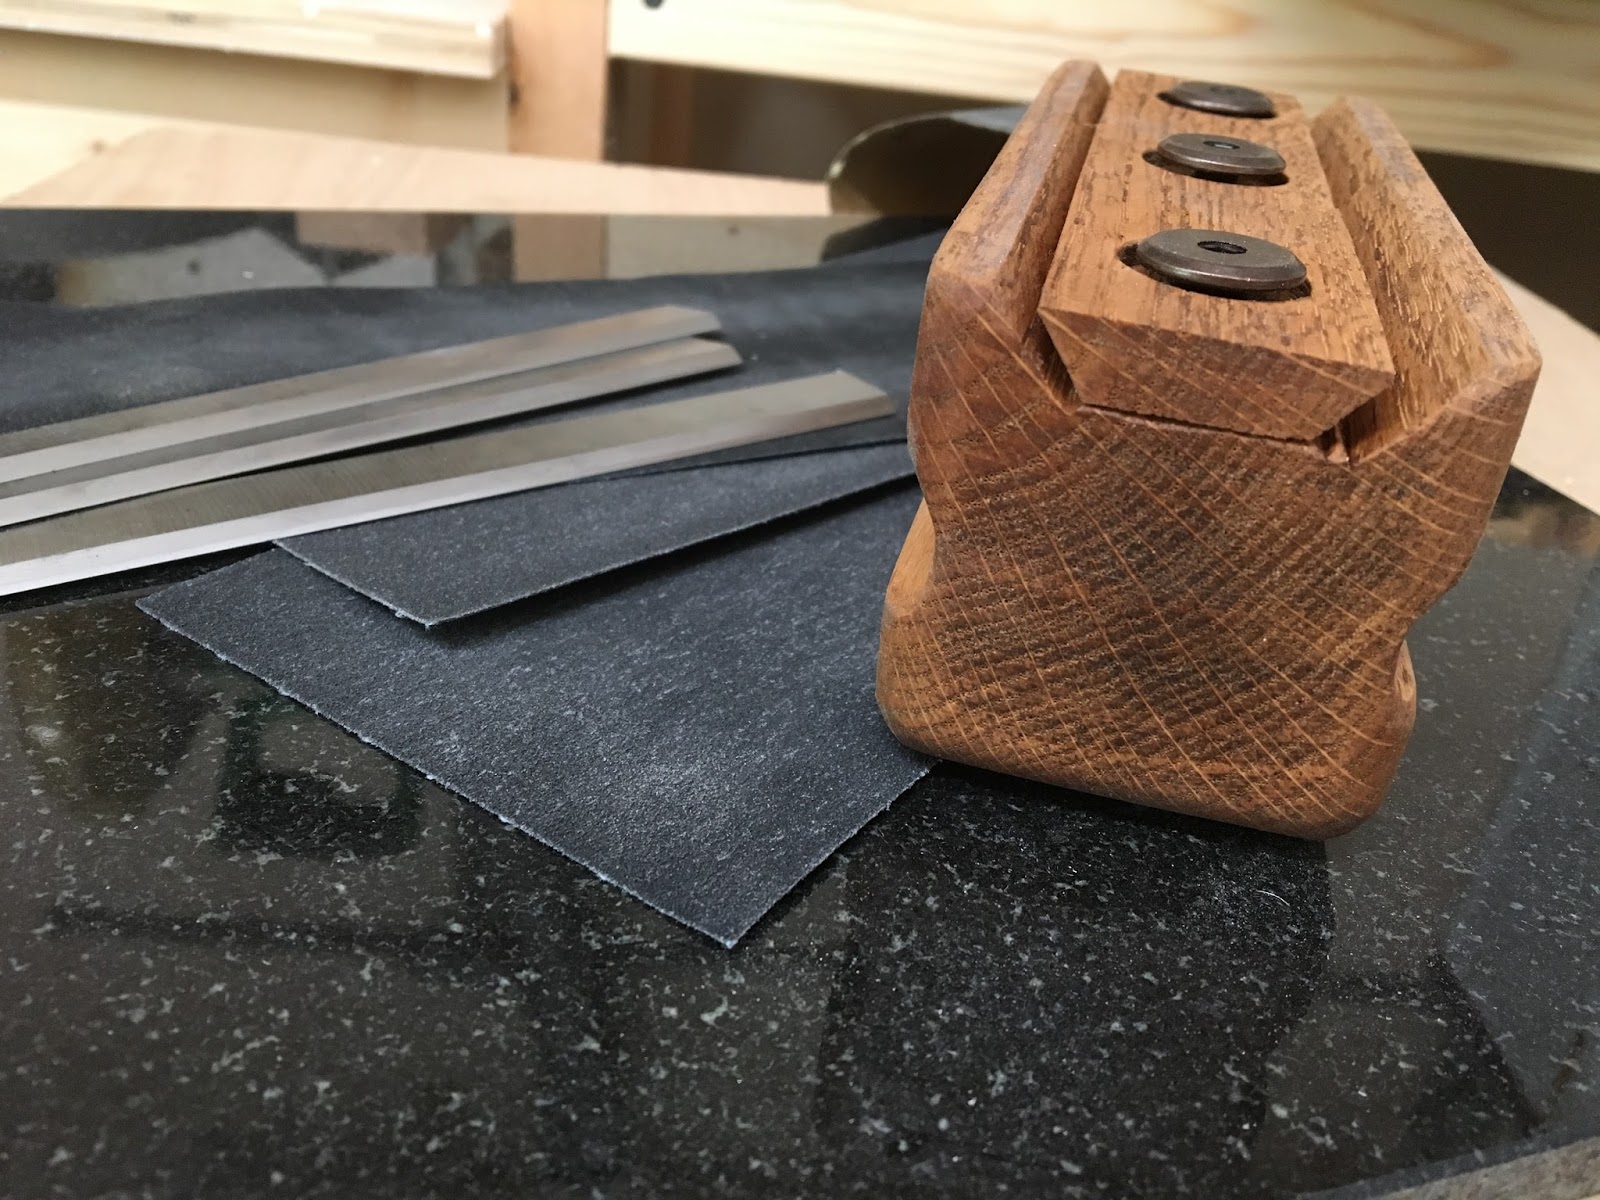
TIP: You’ll want a hard-flat surface for sharpening over. I had a square of granite laying around but a sheet of glass works too! I found a 3-pack of assorted sanding (emery) sheets specifically for metal at Home Depot that held up pretty well.
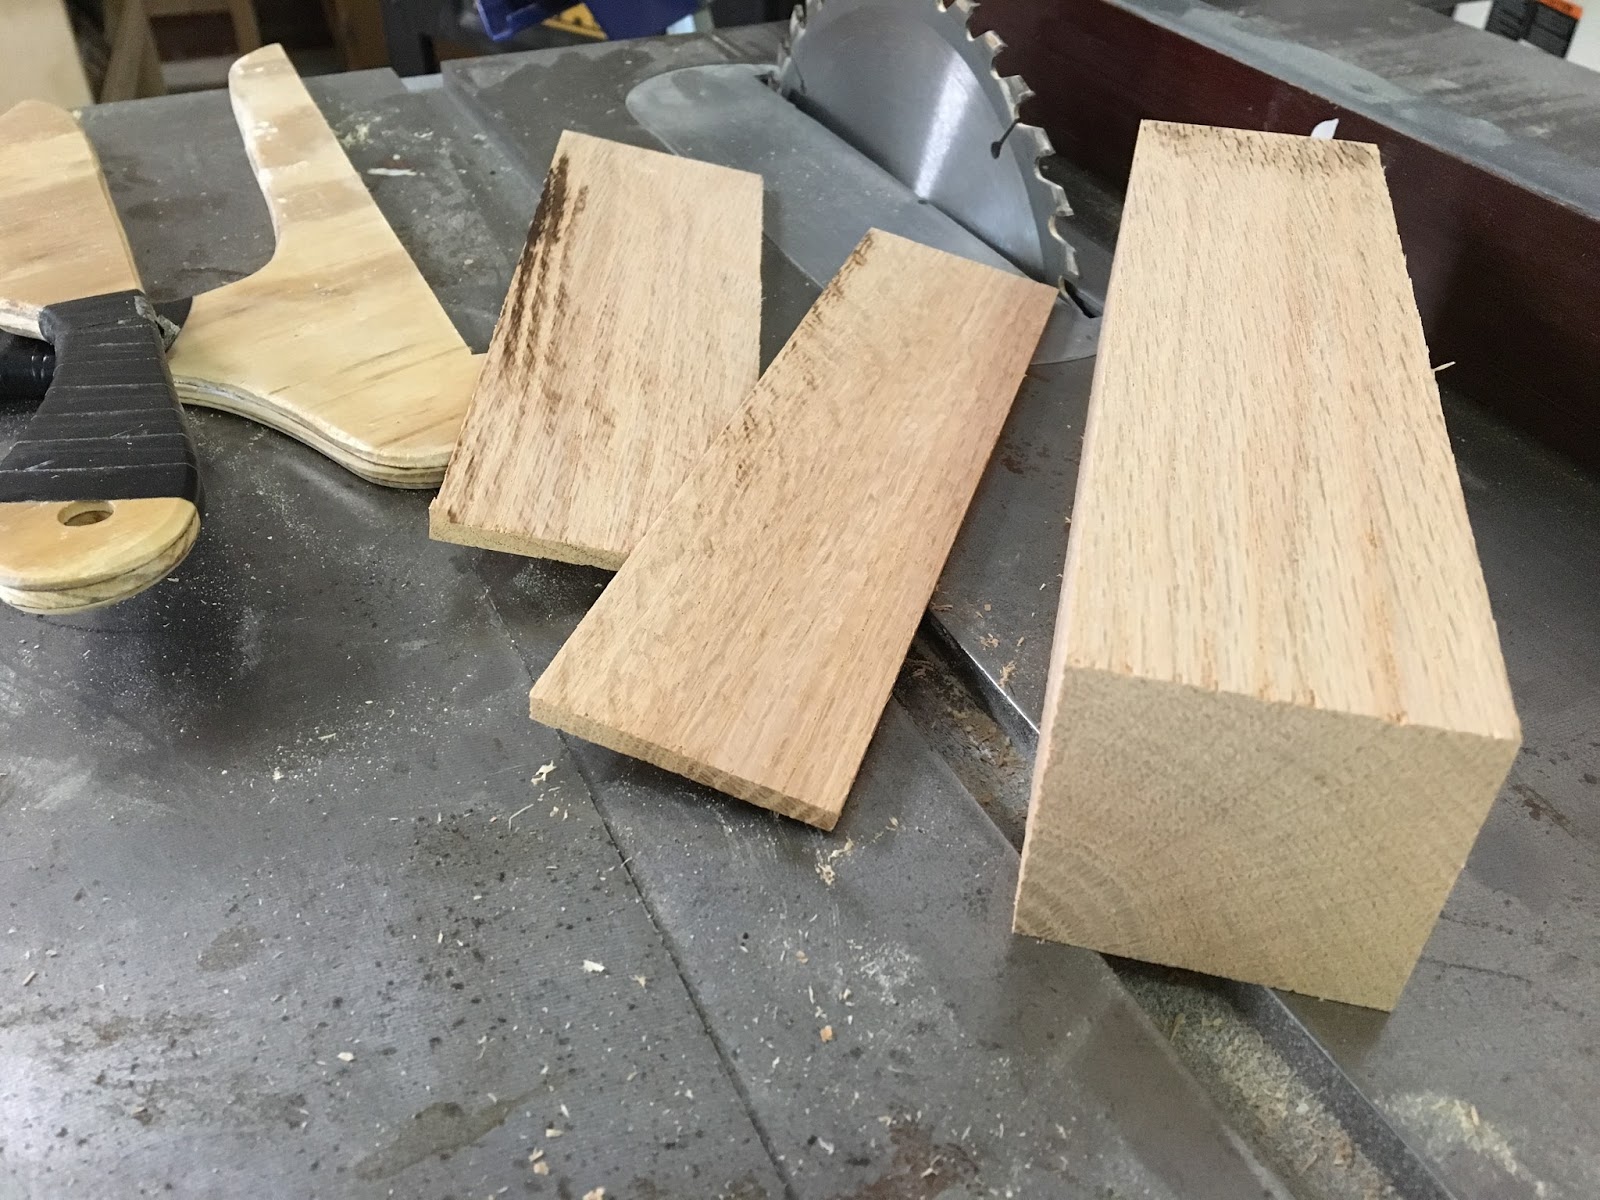
Run your block through the table saw so it’s 2-1/4″ square on the end.
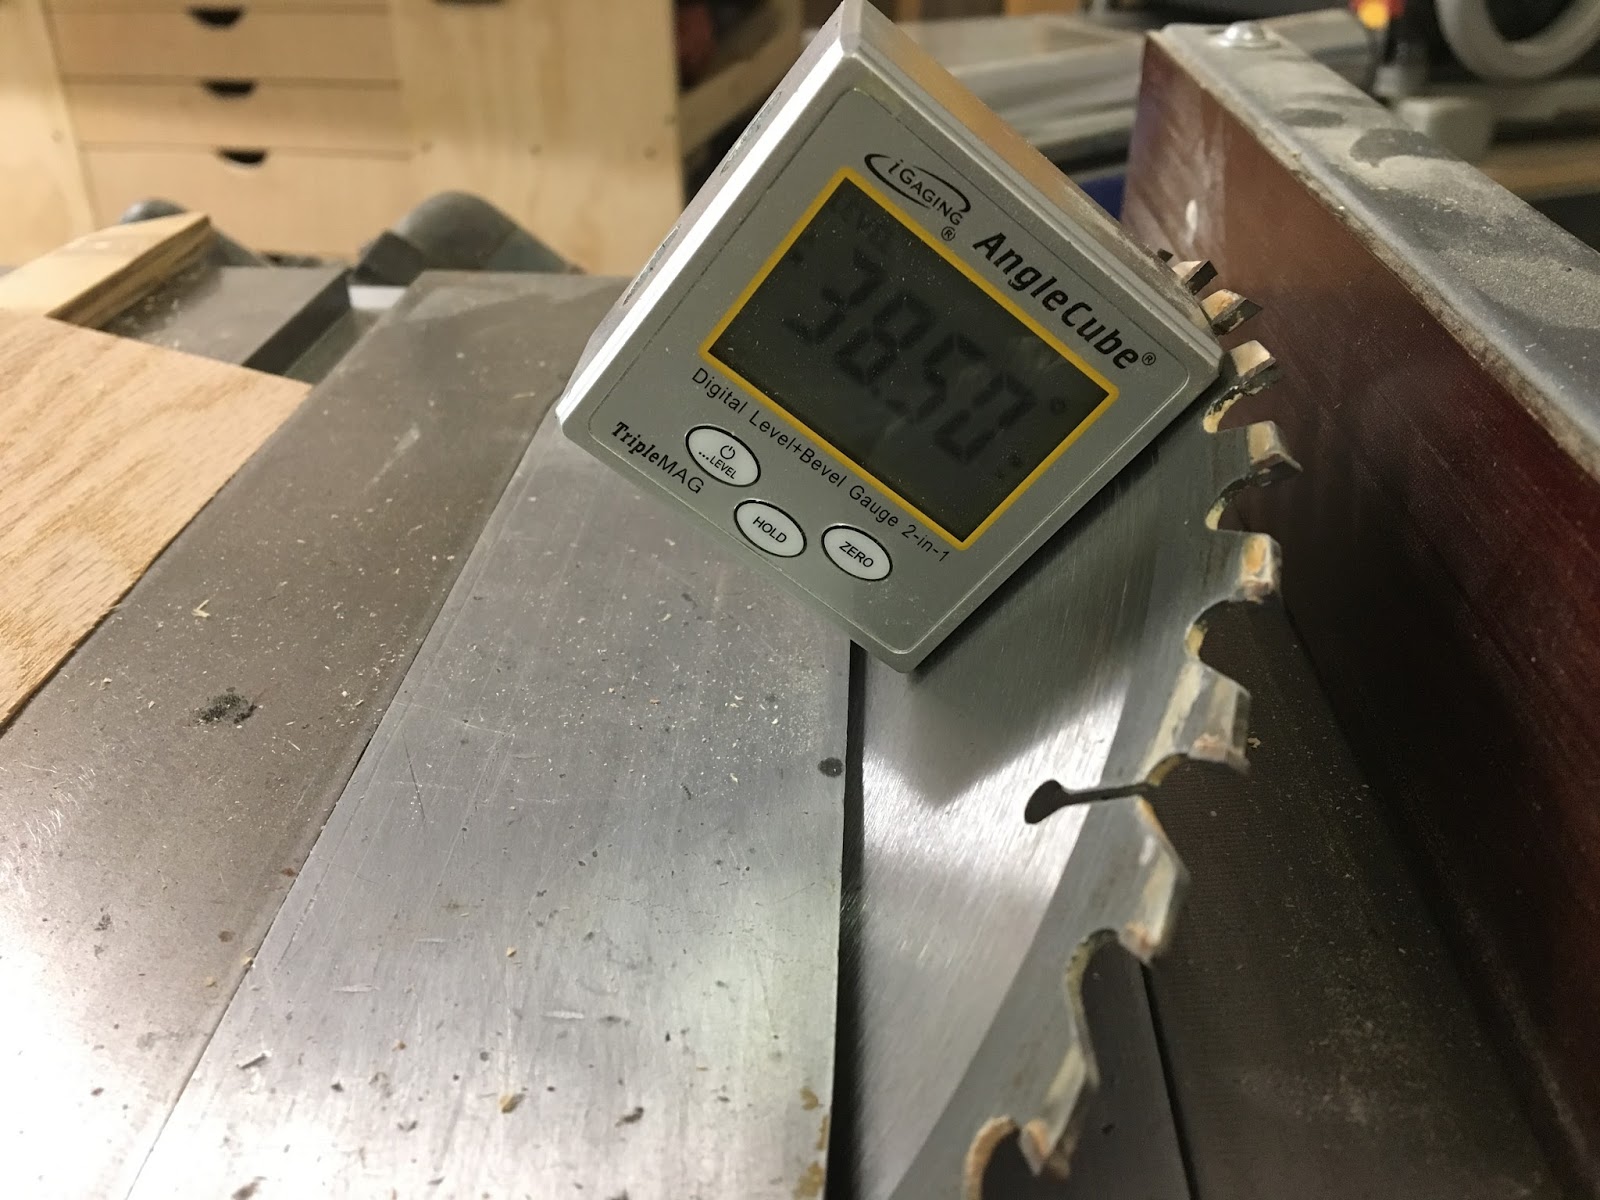
Set your table saw blade to 38.5 degrees. TIP: My jointer blades have a factory angle of 40-degrees but I heard other people saying a 38-degree angle creates a nice micro-bevel and is easier to sharpen blades because you’re taking less material off the surface.
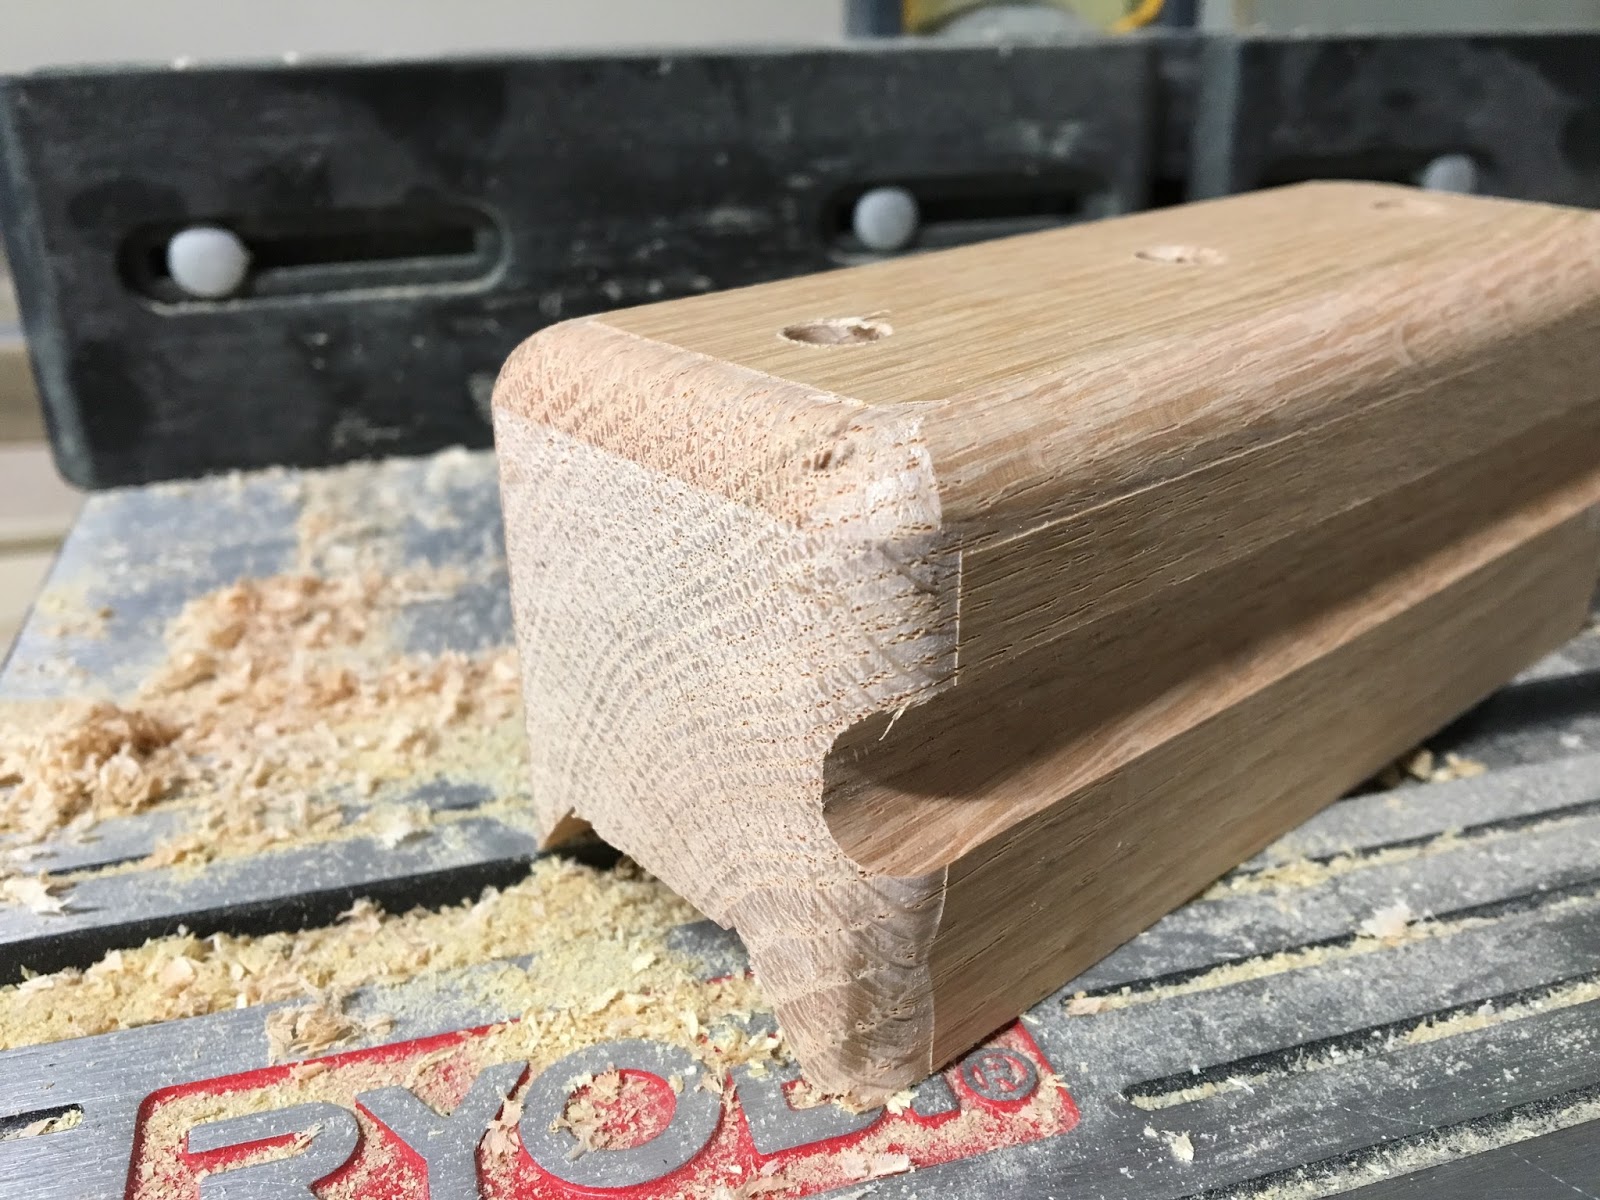
I lowered my blade to make a shallow cut through scrap wood and raised the blade little by little until I was happy with how much one of my blades stuck out. Set your fence so you’re cuts will be where you want them in your block – not too close to the edge and not too much into the center (you want enough center left for creating your ‘clamping bar’). Make a pass on your block, turn and make your second pass for the blade slots.
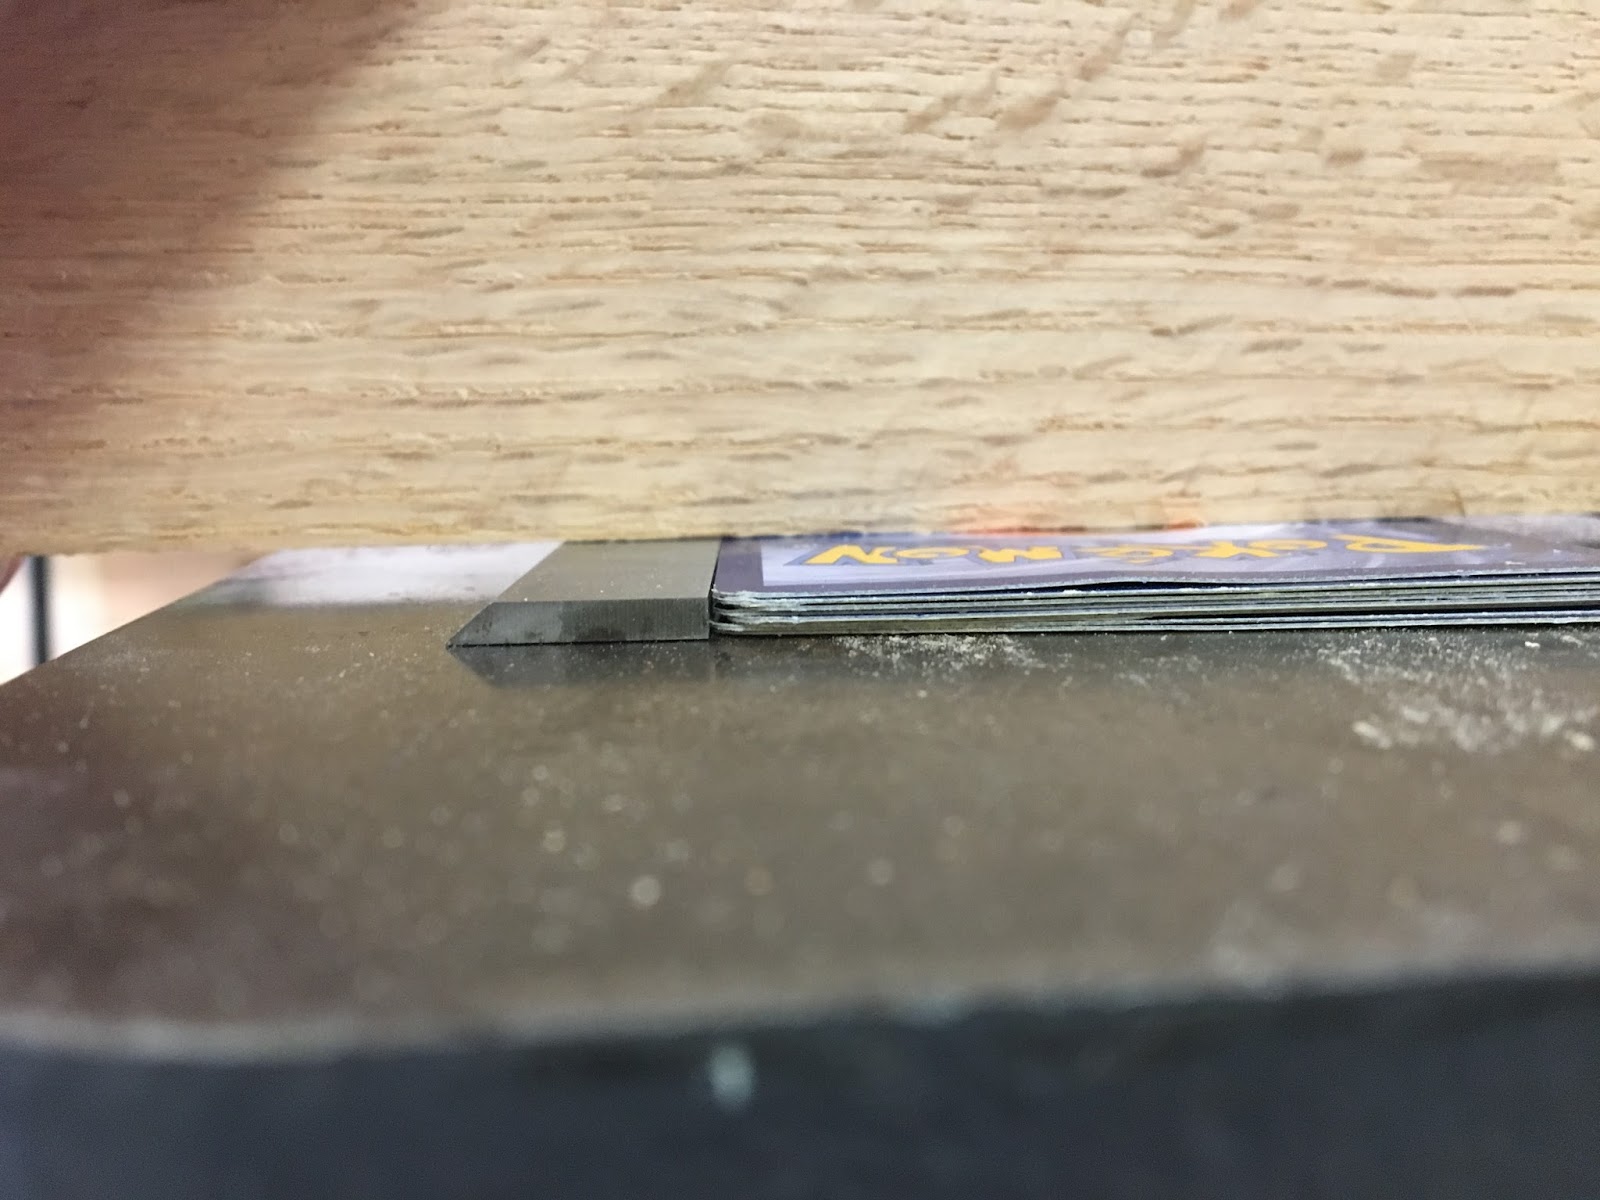
To create the wider slot for 2 blades I didn’t want to adjust my fence because it’s a pain to adjust perfectly. I decided to create a shim out of playing cards that is the perfect width of a blade to put between the fence and my block as I pushed the block through.

You’ll want to make sure this cut is taking material off the inside and not the outside of your already existing slot. See those cards?… they slid nicely along the fence with the block and were easy to keep in place.
Test fit blades as you go. You won’t want them to slide in too easily (I took another pass with a few more cards in the shim to make the bigger slot wider).

My block is 8″ long and my blades are only 6″. I measured a line at 6″ for where to cut. I marked at 1″, 3″ and 5″ for my bolt head placements (centered over the ‘clamping bar’).
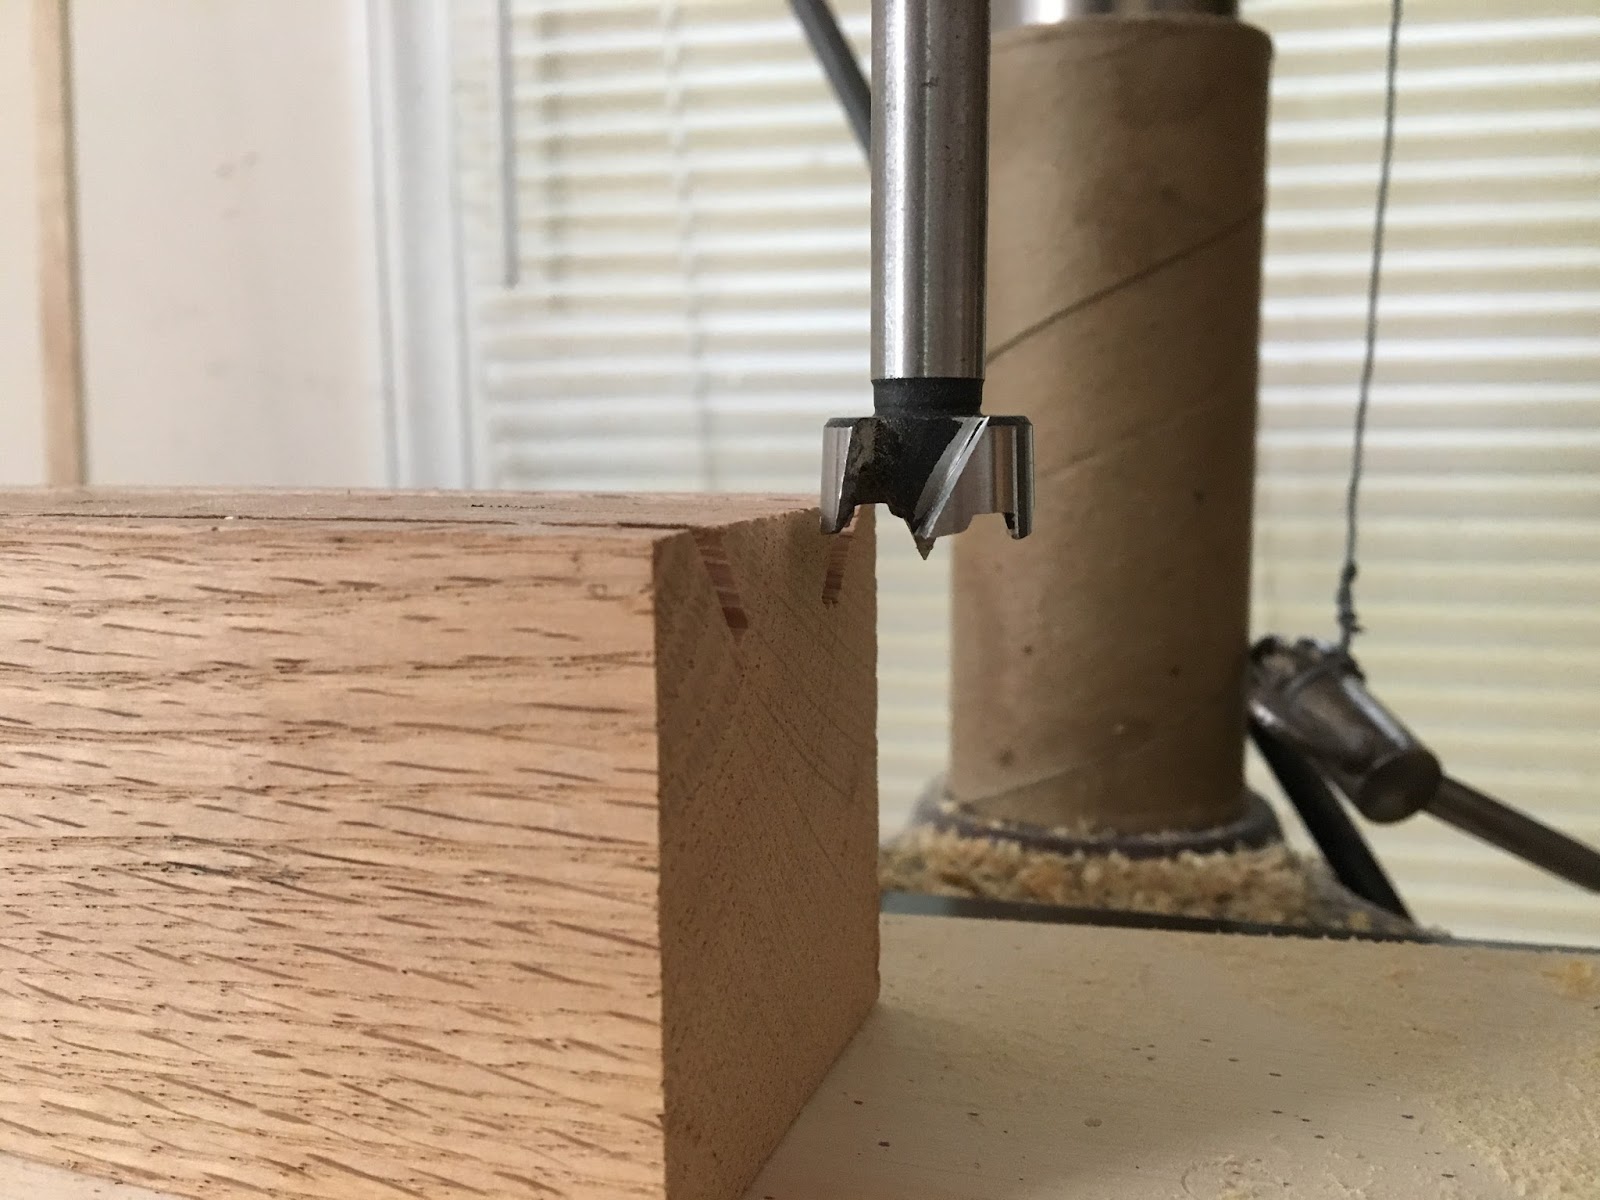
With your 3/4″ forstner bit in the drill press, set your stop for the bolt head to be flush in your block.
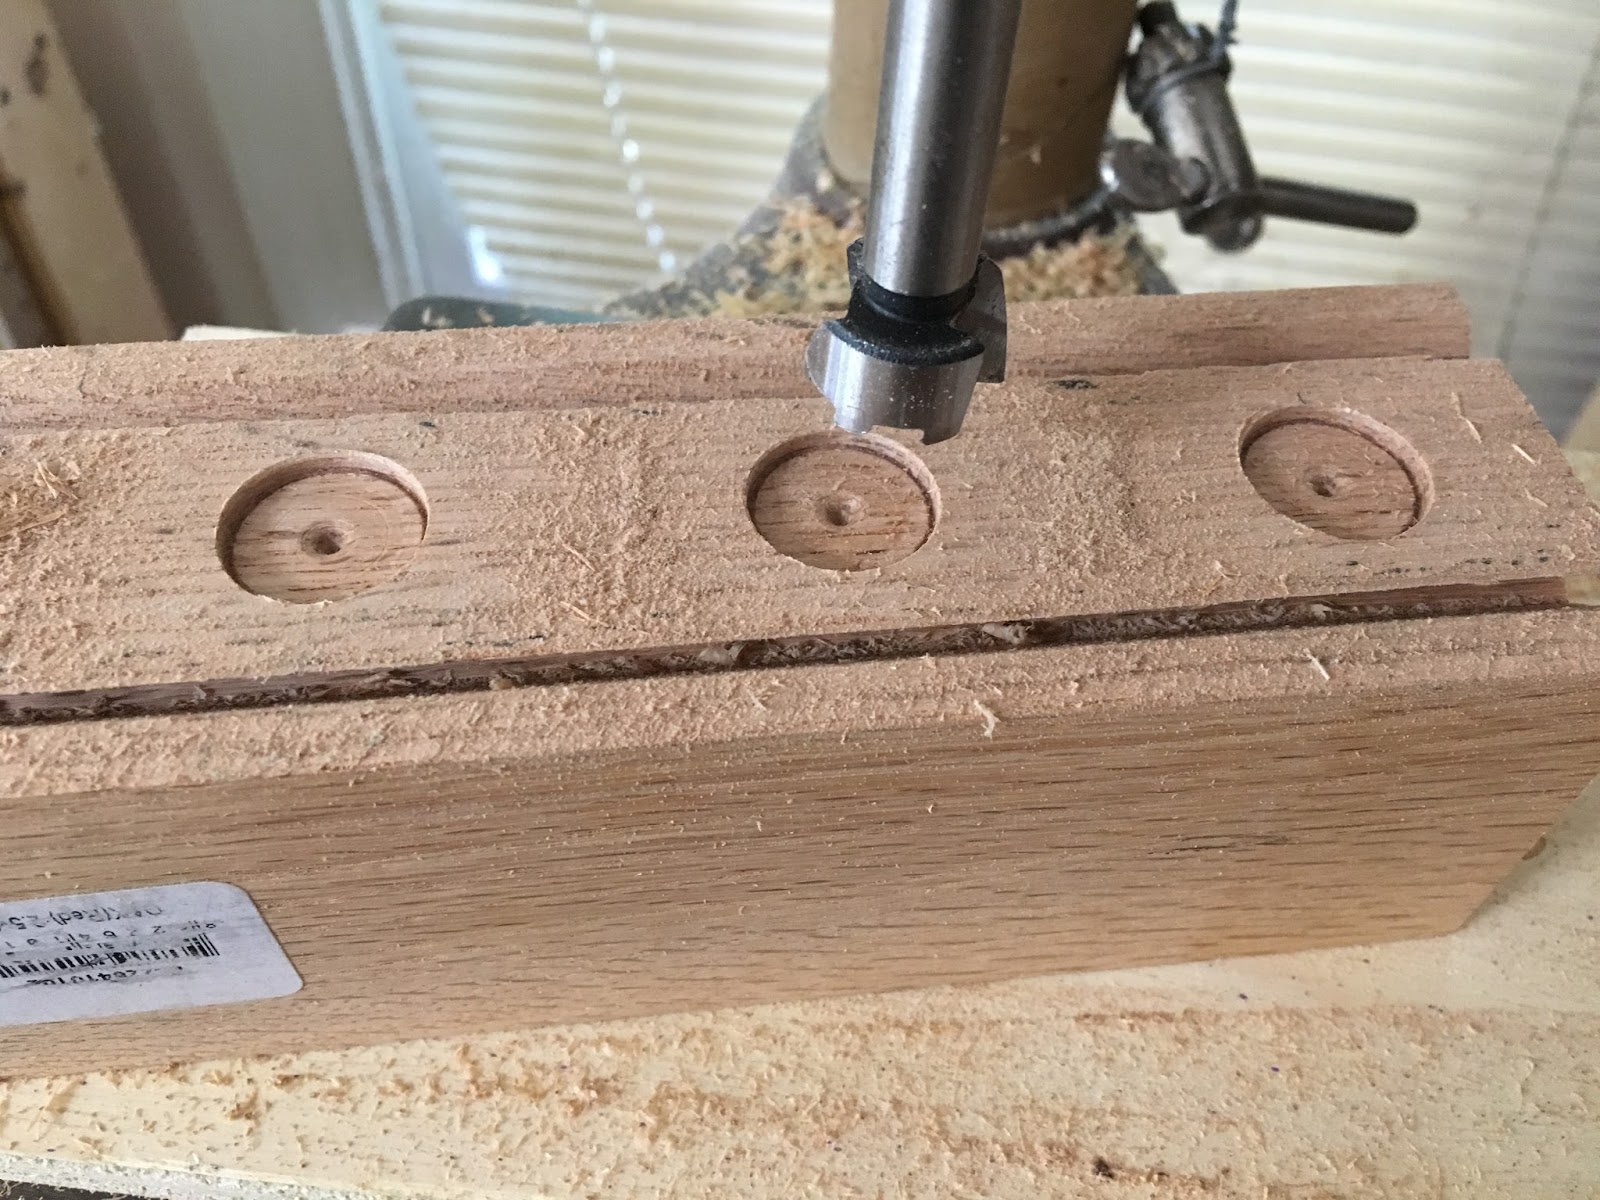
Drill over the 3 marks you made.
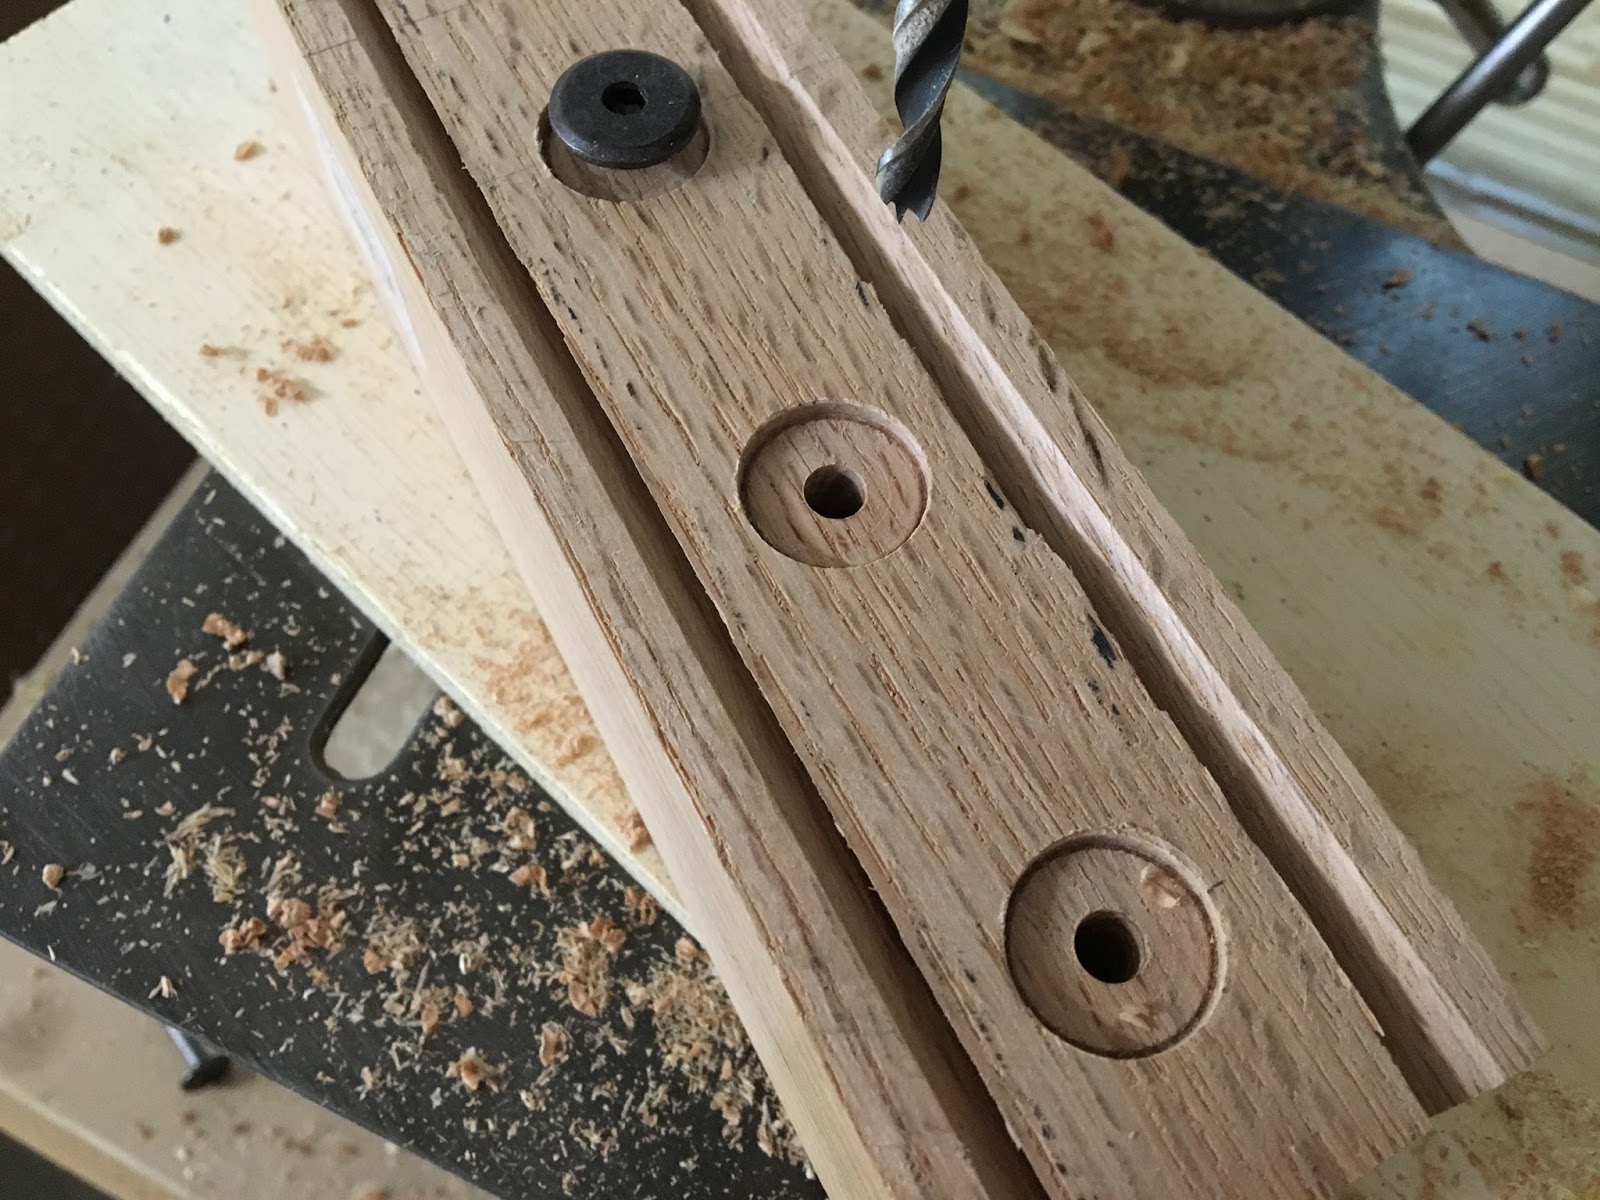
Use your 17/64″ drill bit and drill through the centers to the other side.

With your 3/8″ bit, set your depth stop for the height of the connecting nut to clear. TIP: use a bit that will center itself nicely over the already pre-drilled holes. Brad point bits, for example, wouldn’t work.
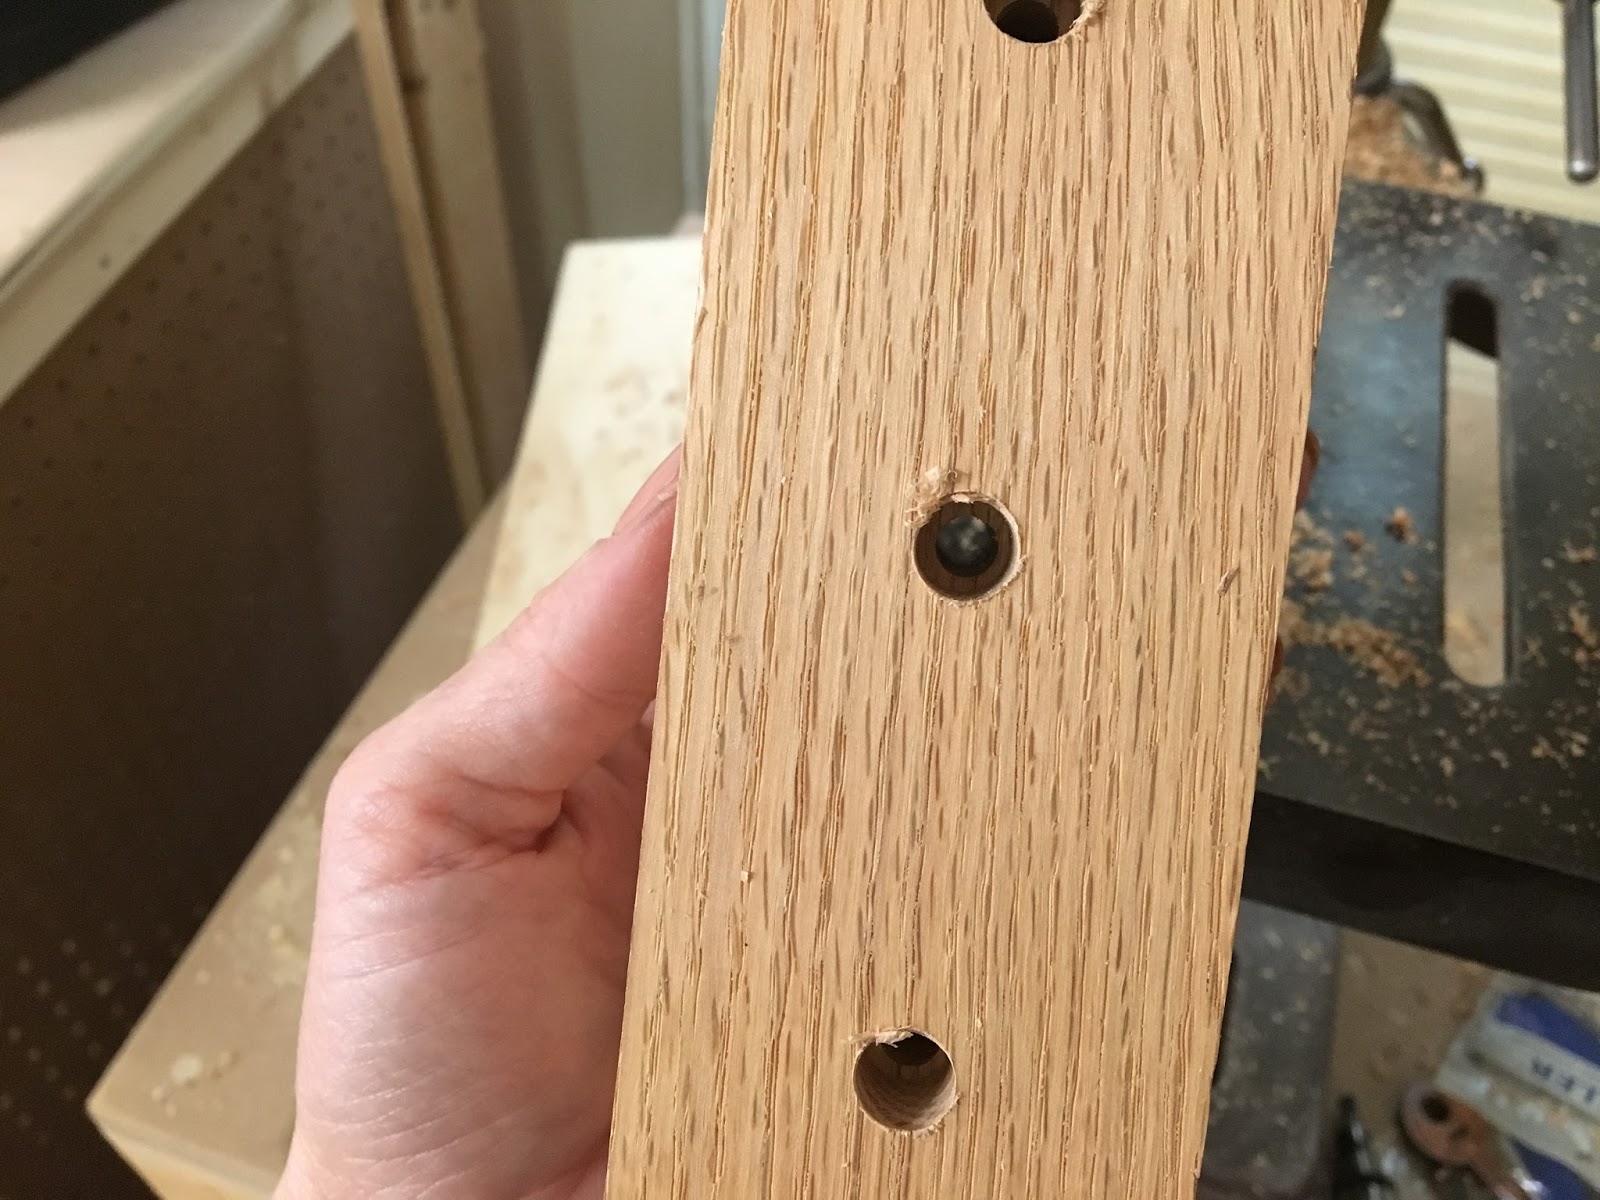
Drill through the other side (top) of your block with the bit centered in each hole. Cut off the extra 2″ of your block.

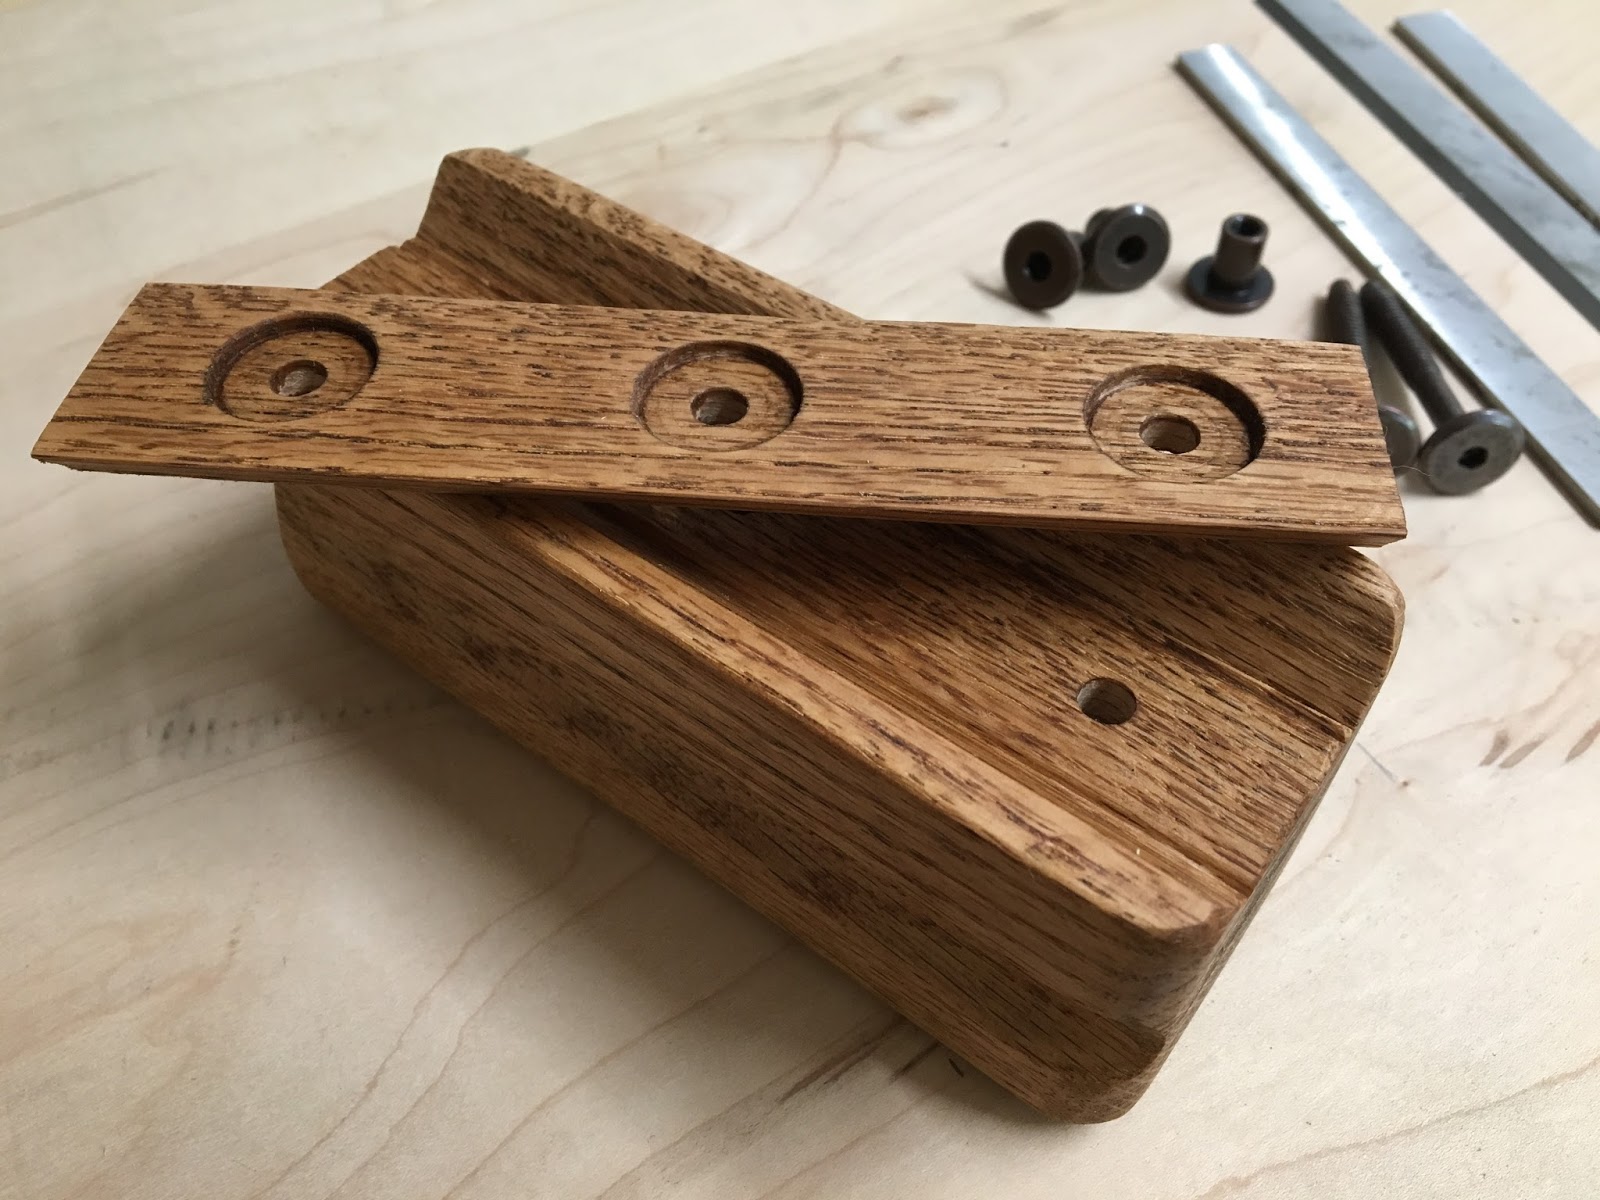
Make a straight line with a square connecting the knife clots. My 6″ block wouldn’t clear under my bandsaw so I trimmed 1/8″ or so on each end. Start cutting from the widest slot to fit the bandsaw blade best. TIP: make sure you’re not cutting away the bottom edge of your slots because it acts as ‘stops’ for your blades.
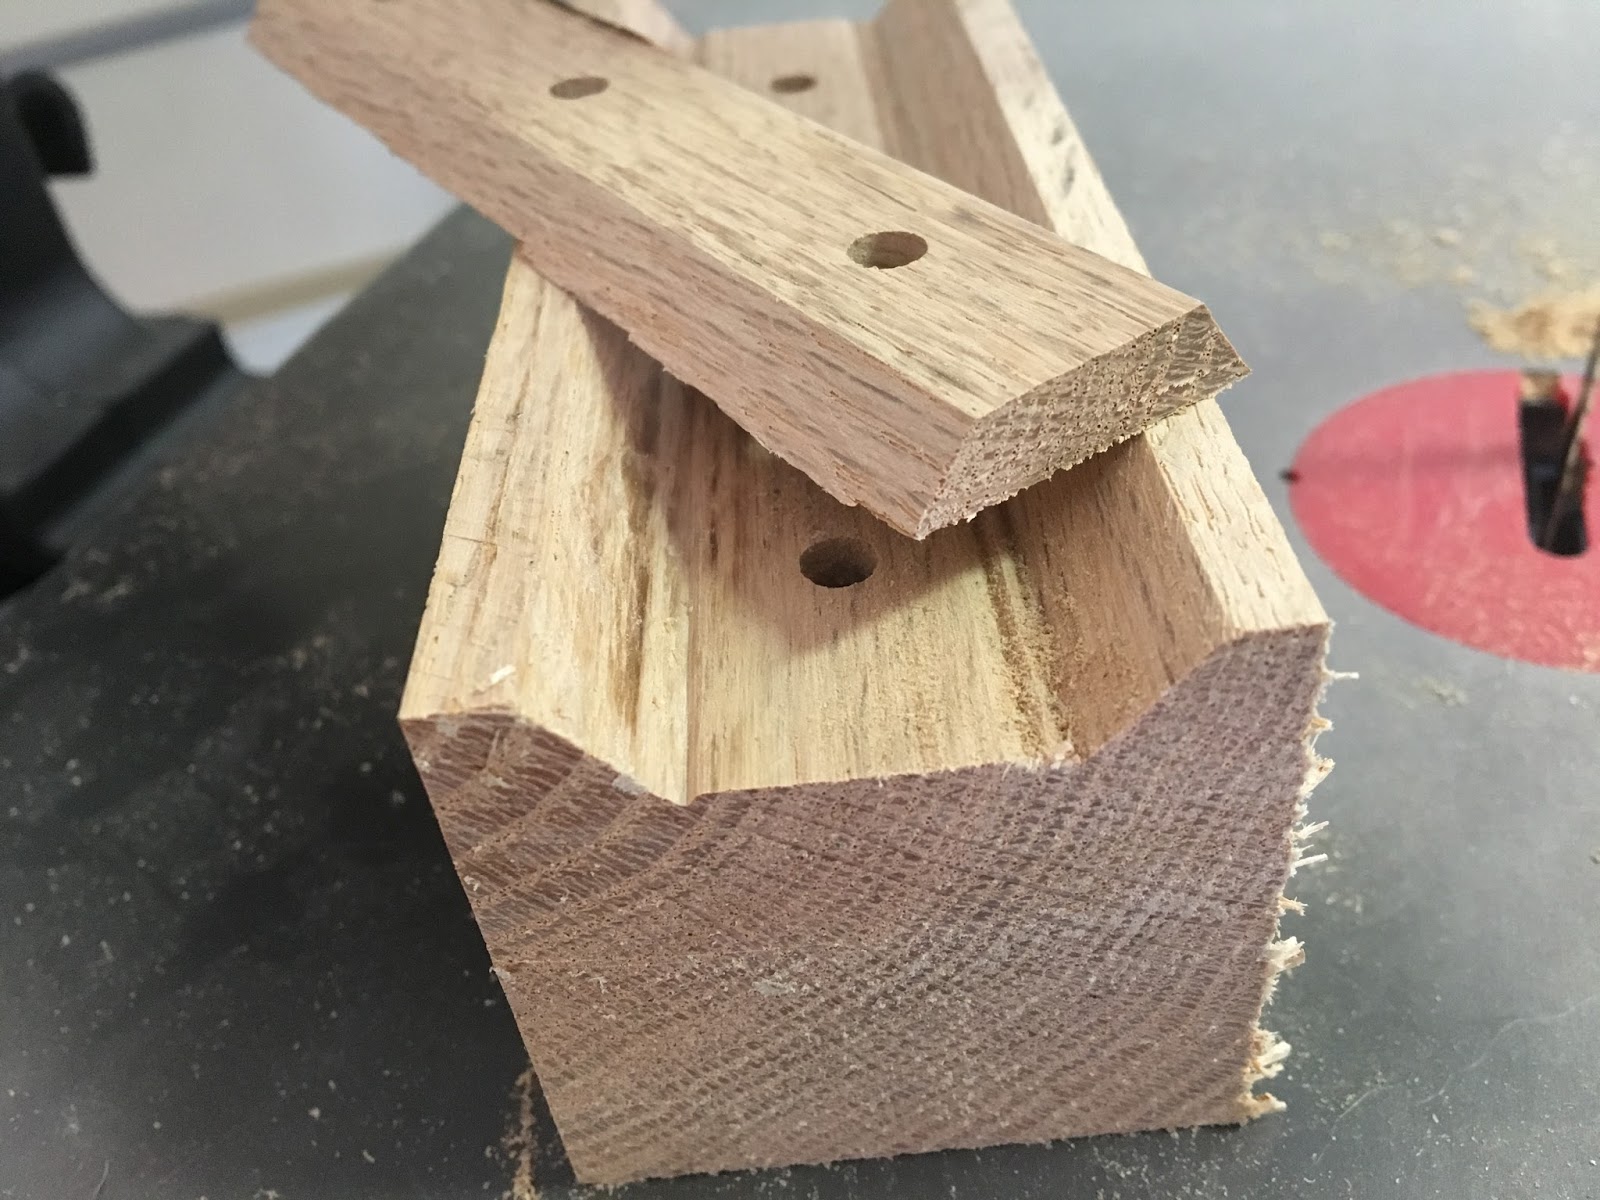
Wallah! I recommend marking the pieces on the insides if you’re worried about not being able to match them together the right way later.
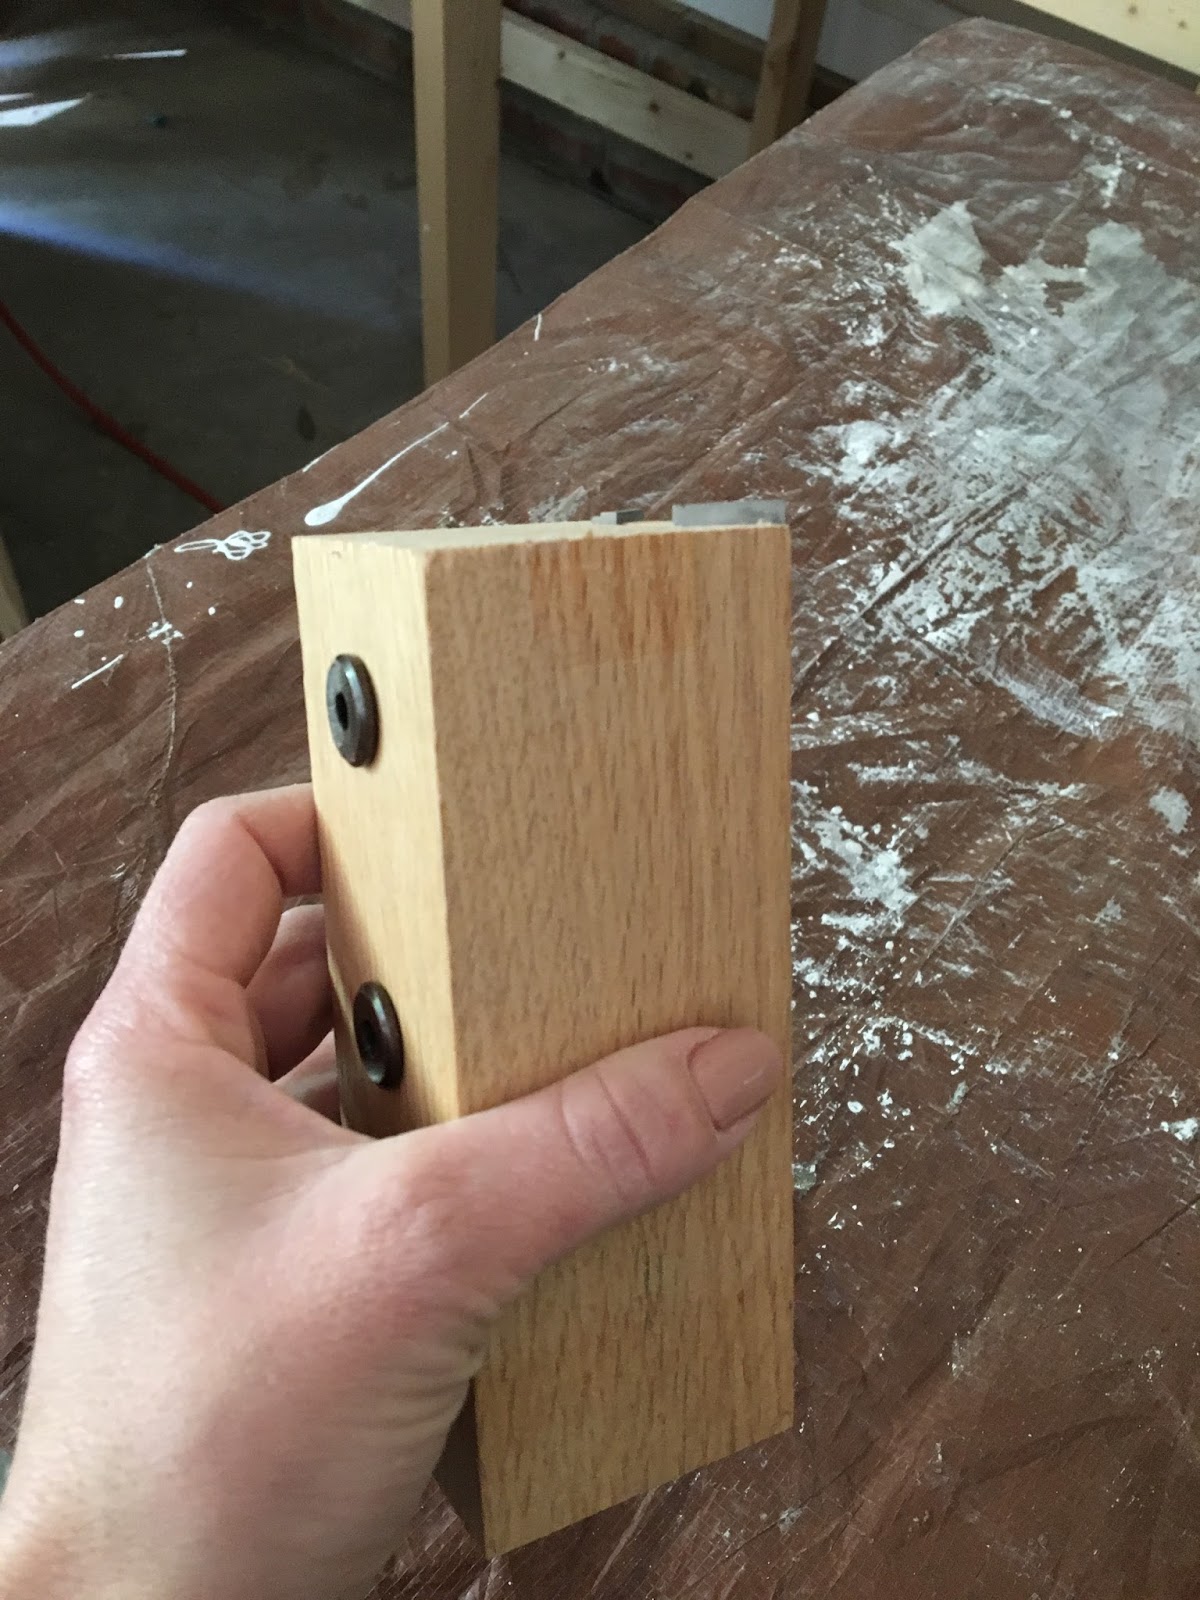
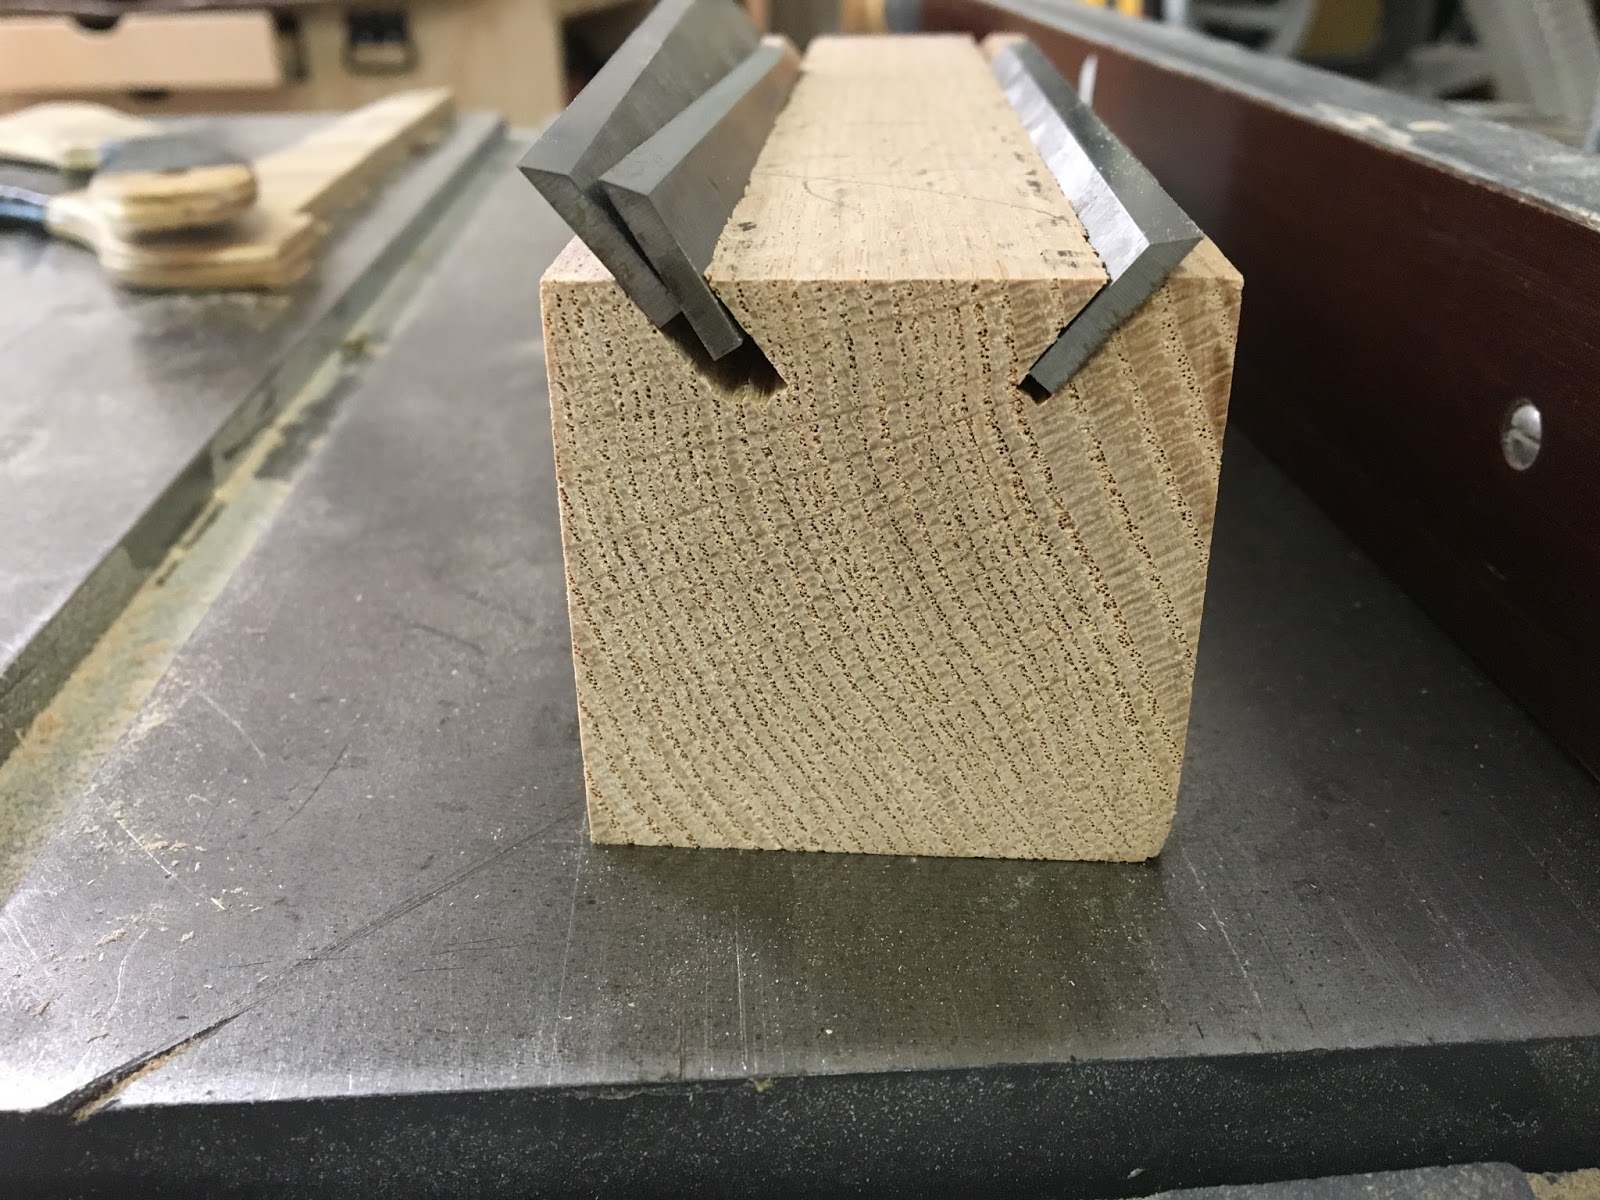
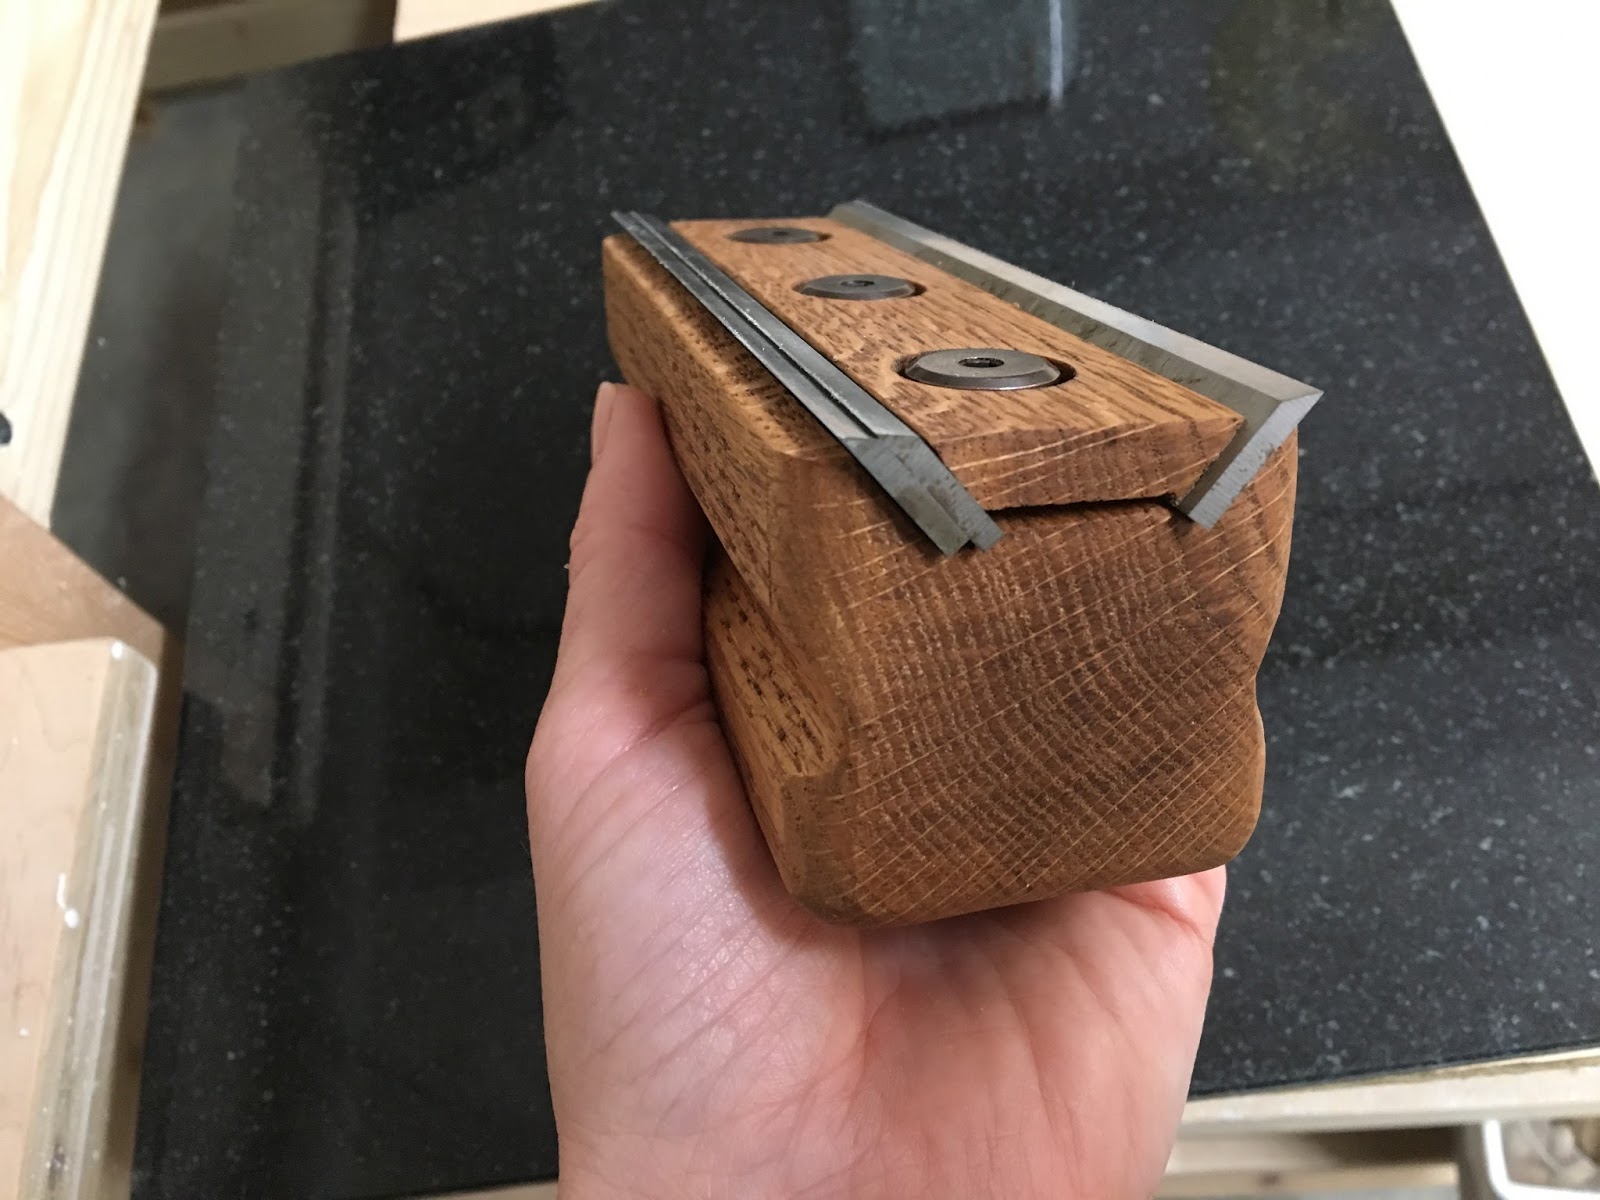
Test out your block with the hardware and knives.
You COULD use your new jig just like this but it is very uncomfortable to hold.
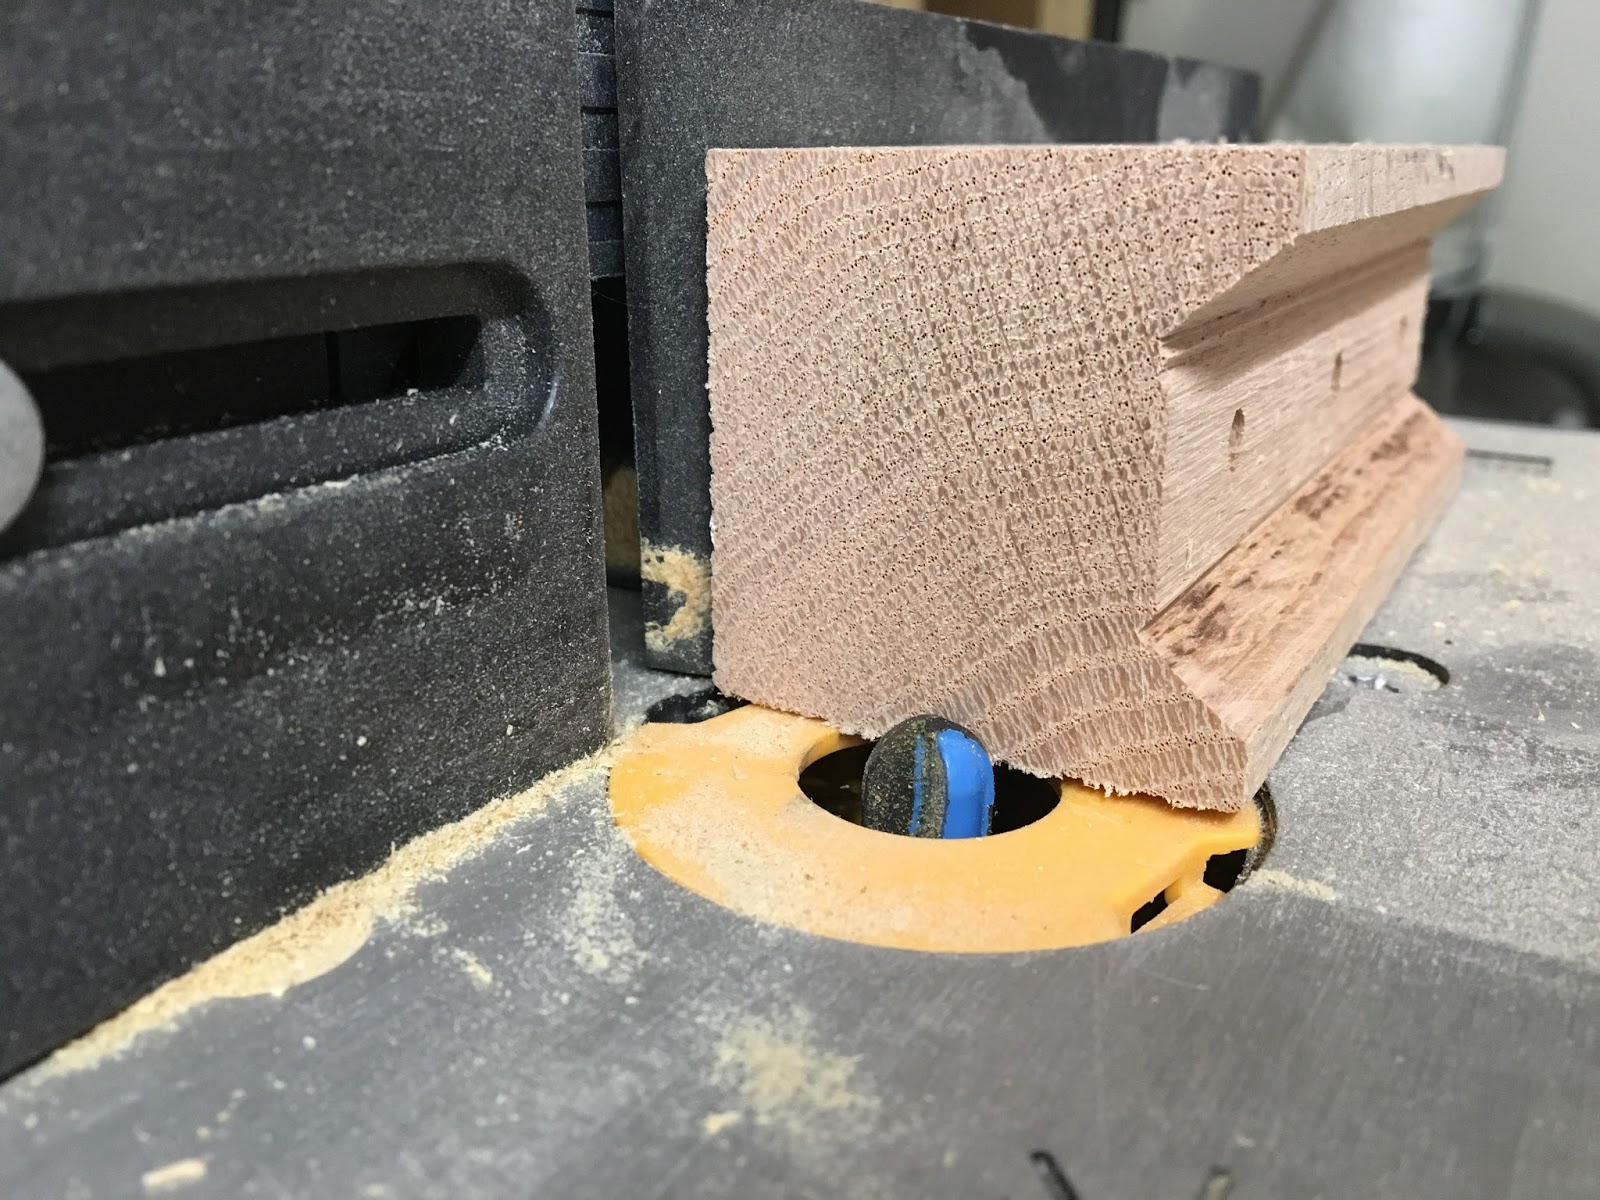
I routed out some grooves on each side for finger holds…
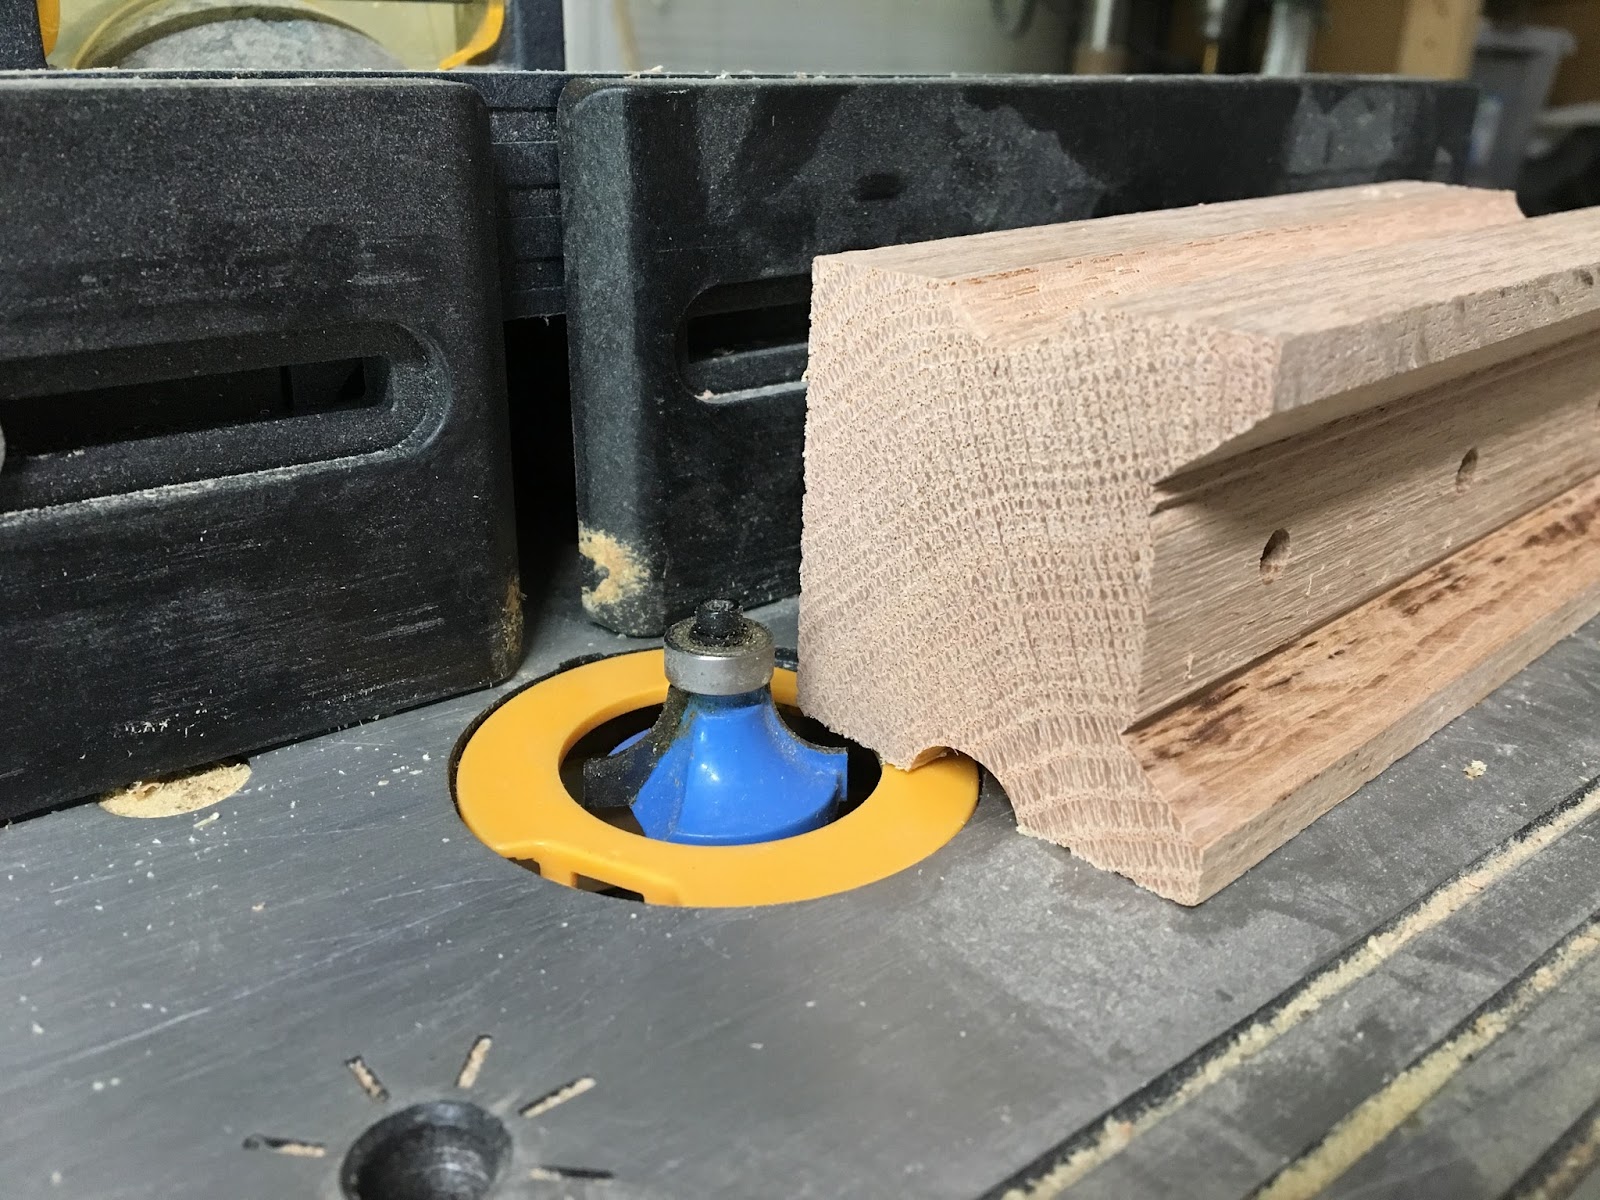
…and rounded over the ends and long edges on top.
After a sanding it’ll look nice and purdy!
I used Danish Oil to finish because it’s fast and easy!
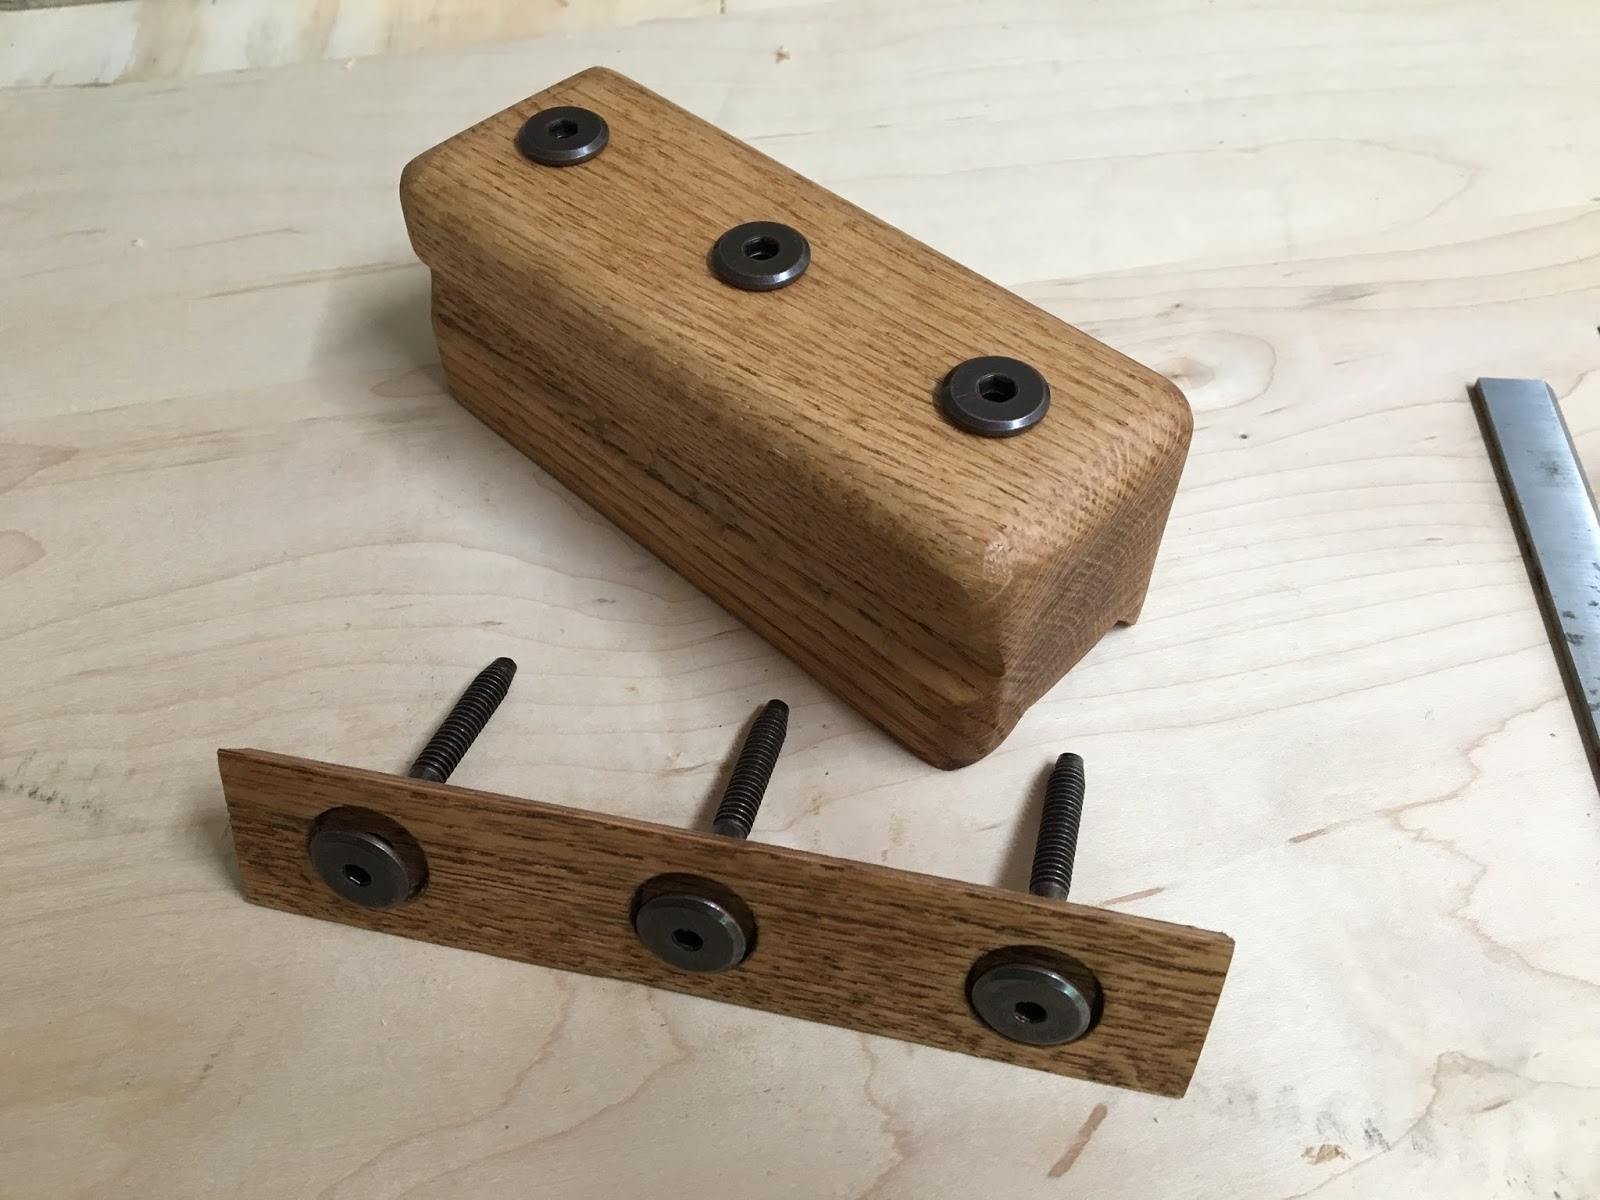
Add hardware…

…and finger tighten. Keep hardware loose enough to drop blades in. From now on all you need to do is loosen/tighten the ‘clamping bar’ but won’t ever have to remove it completely. TIP: make sure your clamping bar is in the jig the right way (matching up the end grain helps).
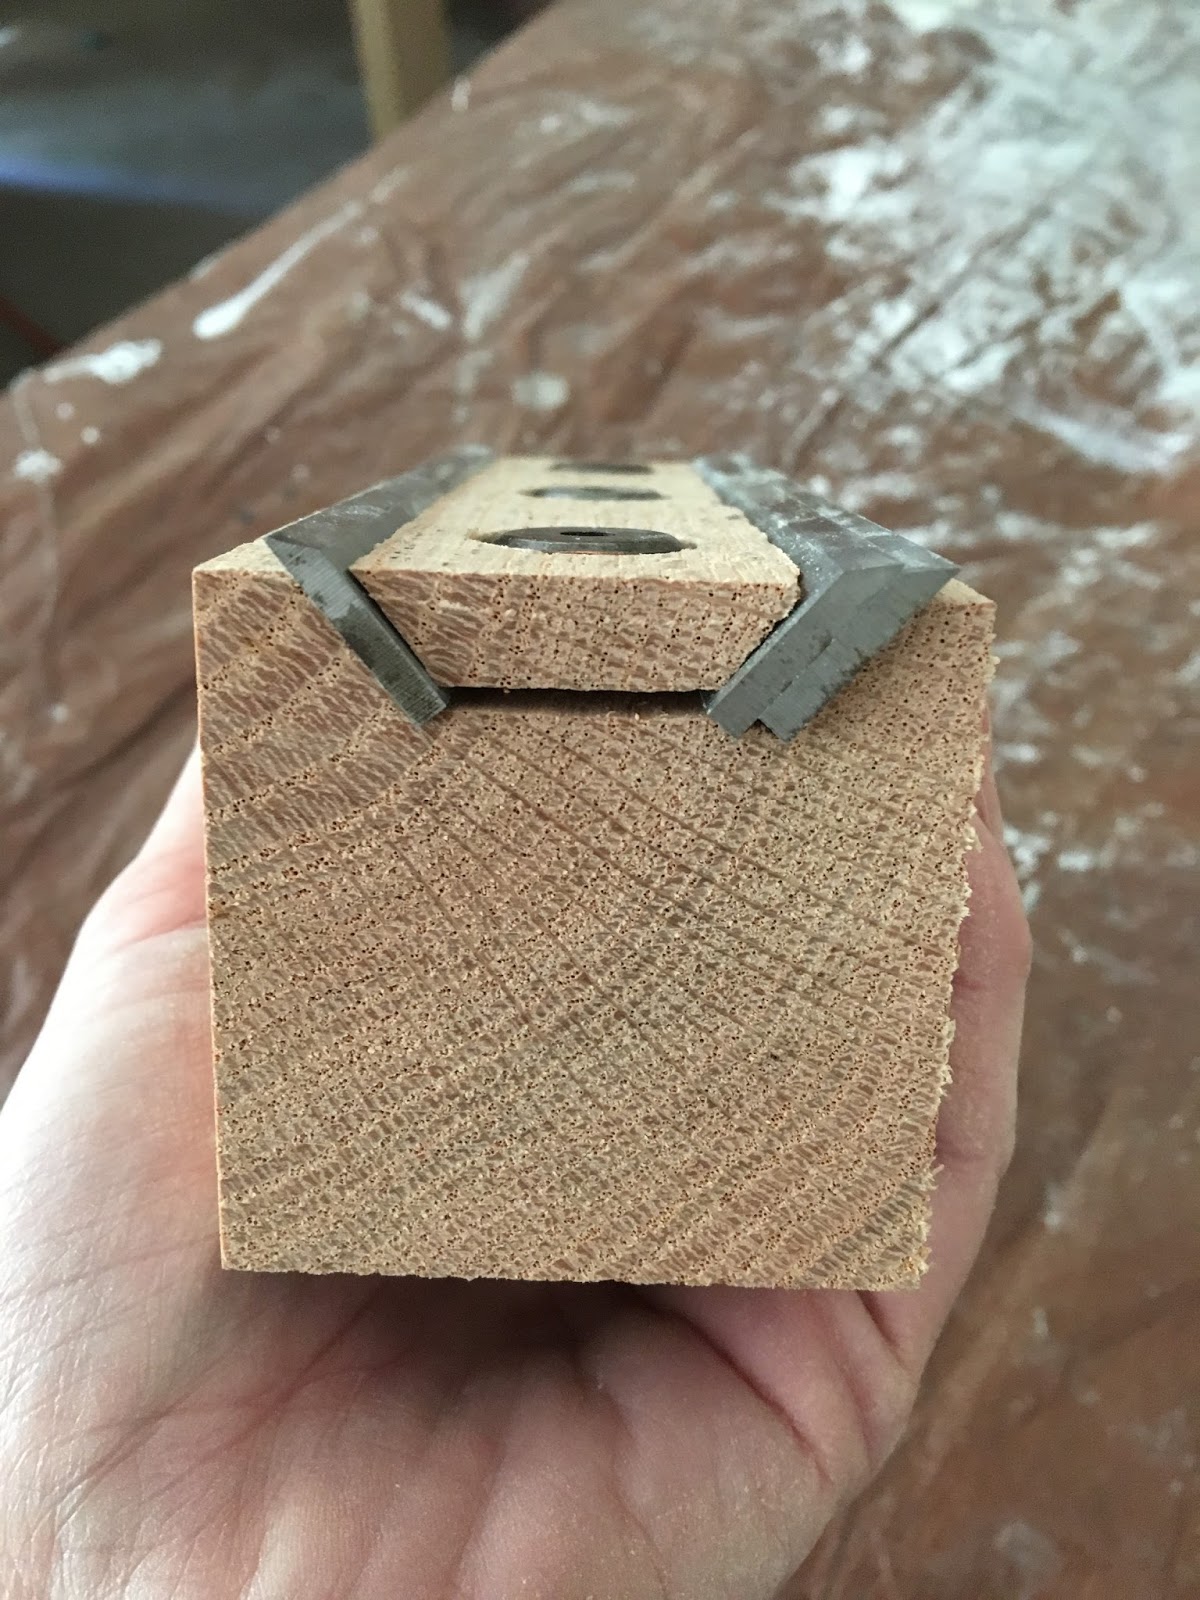
Drop your knives into the slots…
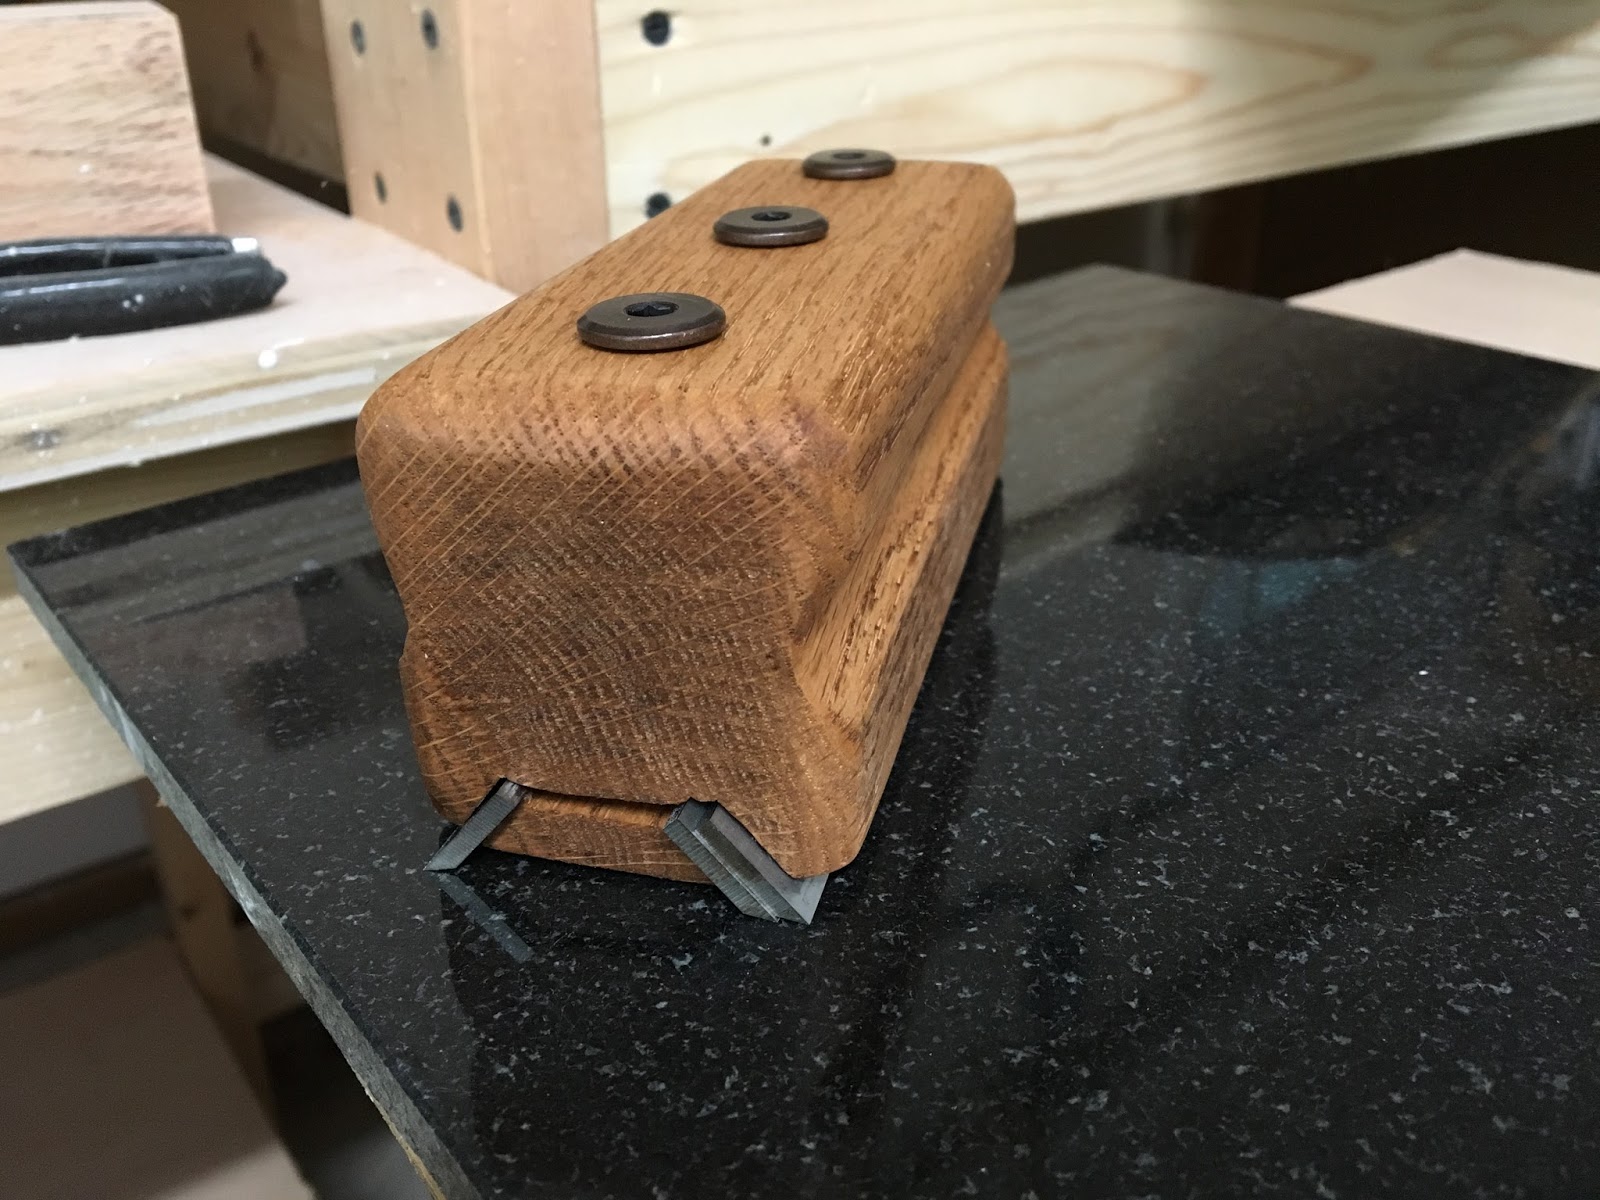
…and carefully turn the jig over with the knives against your flat surface that you’ll use for sanding.
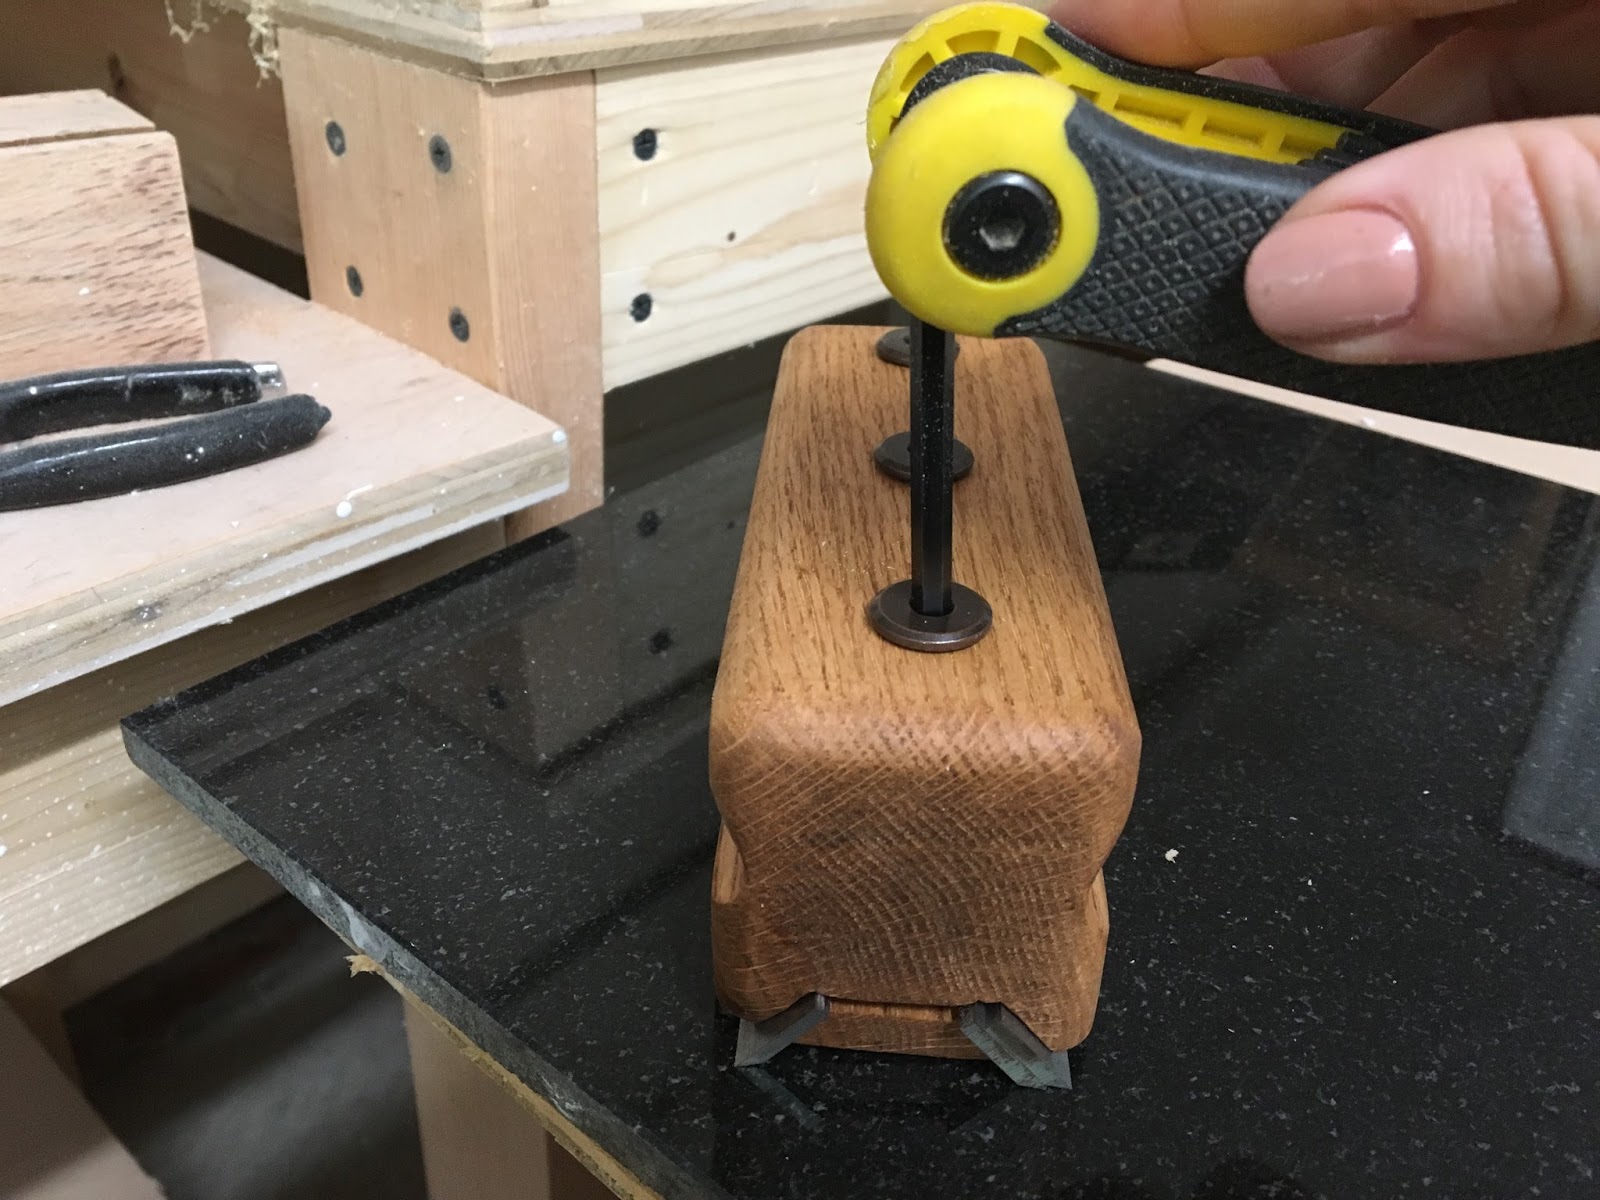
Push down on your knives to ensure they’re dead flat. While pushing down on the jig with one hand you can tighten the bolts with the other. Get down at eye level with the blades and ensure they’re still flat. Shine a flashlight to make sure there’s no light coming through.

I did a lot of work with the coarse emery clothe. It took me about 5 minutes to get the knicks out and by that time the coarse clothe was done for – but it really held up! The medium and fine clothe were a breeze because the blades were nicely shaped by that point. TIP: Check your blades often to ensure they’re all flat together against your hard surface.

Can you see that pretty micro-bevel? Oh, it makes me so happy!
This little jig was such a lifesaver!
I was super excited to put them in my jointer because projects have been piling up! It was so rewarding to see how super smooth they cut.
On a side note, do you have your favorite knife setting process down?
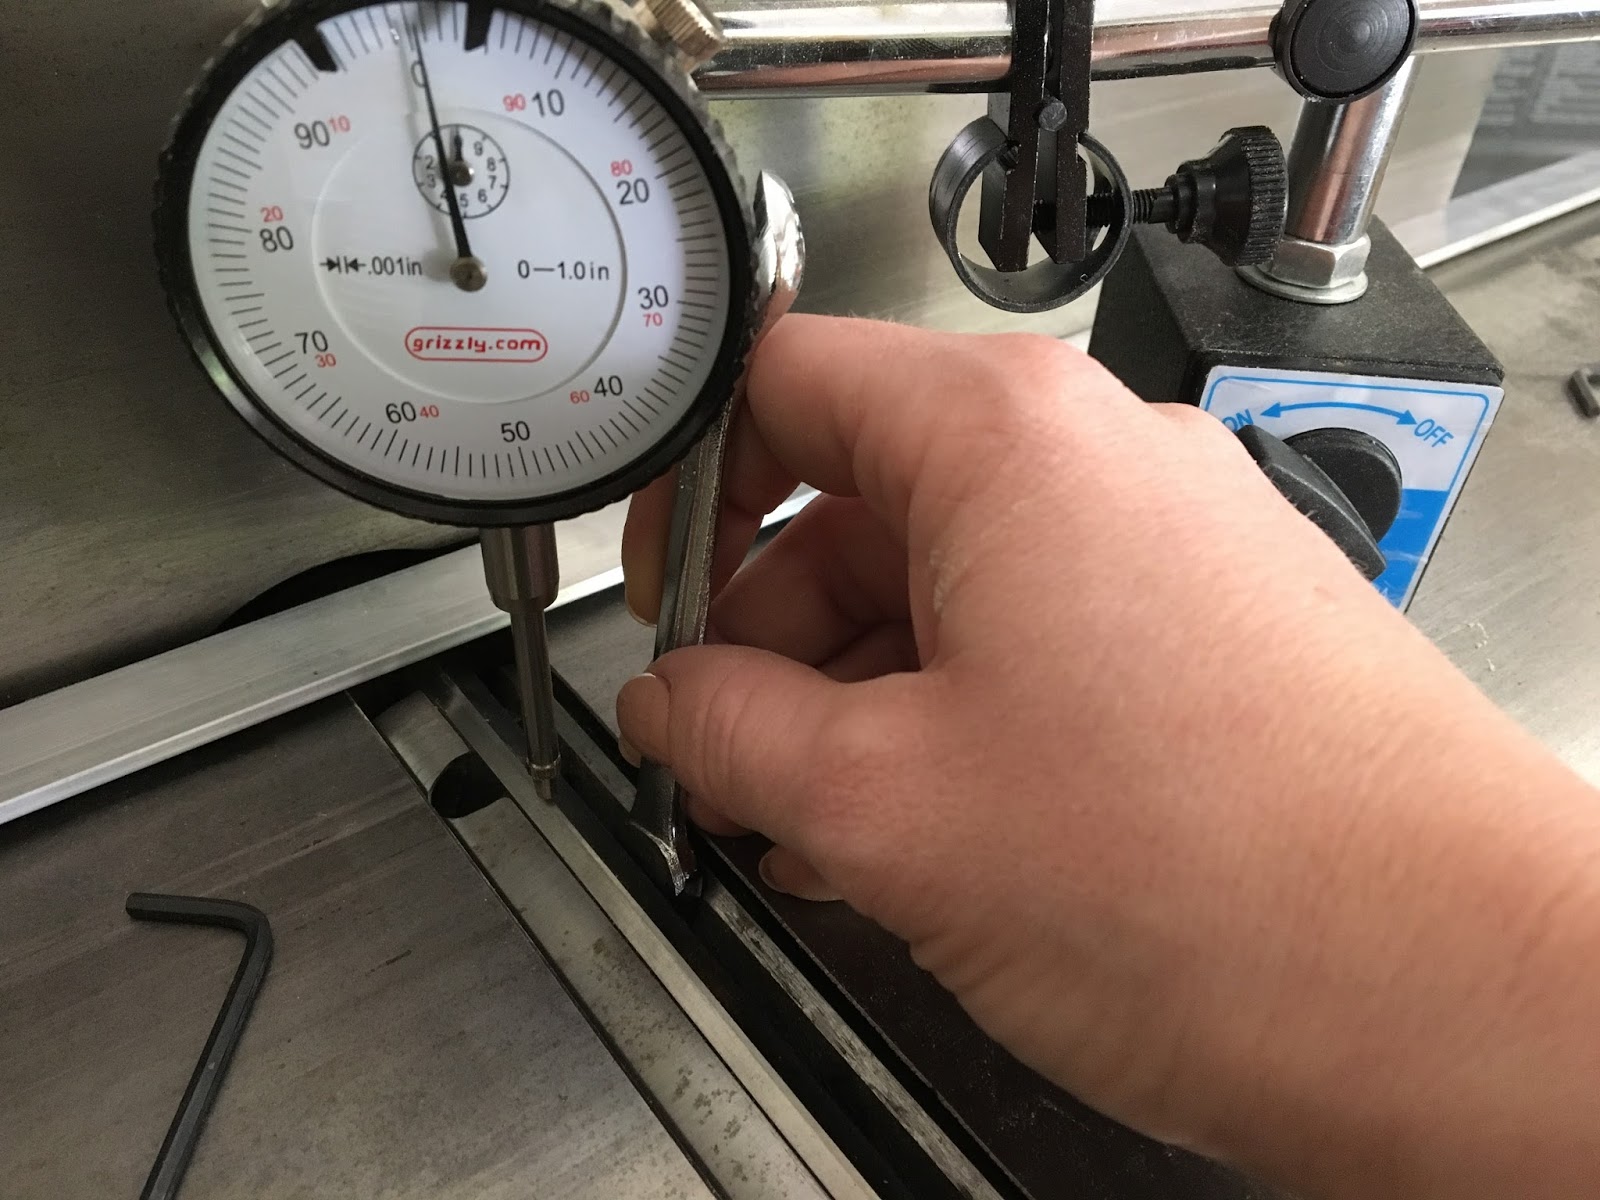
I fiddled around with my Grizzly dial indicator for quite a while and I had the hardest time getting the back and front ends of the knives the same. I could get all 3 back sides and all the front sides the same together (because I didn’t have to move the dial indicator) but after I had to move the indicator I couldn’t get the high-point of the blades the same regardless of how careful I was being. I confirmed they were off by testing how much the blades would drag a straight edge across the outfeed table. The back side pulled it just the right amount but the front side BARELY contacted the straight edge.
I set knives before using the straightedge method (not sure exactly what you’d call it) and decided I’d do it again! I loosened all my lock bars and had the knives perfectly adjusted, both front & backs, within about 8 minutes (my jointer also has height adjustment screws for the blades which really help the process go quickly). TIP: it helps to use something with markings but I did it by eye. Here’s a link that explains the process more.
Sometimes simple is a no-brainer, plus I didn’t have an awkward dial indicator to work around!

Use that handy Angle cube to adjust your fence while you’re at it!
DIY for the win!
4 Comments
I bought one of these and never looked back. Setting up jointer knives is a pain but I was able to get good results quickly with this thing. http://www.rockler.com/rockler-magnetic-jointer-jig I previously did that ruler method and even with that, what I thought was good turned out not to be. Give it a try. I think you'll like it, too.
November 7, 2017 at 2:51 pmI’ve been wanting one but can’t justify spending so much money. One day, when I have extra money I’ll need to get it!
November 7, 2017 at 2:52 pmSo clever! And I think the idea can be applied to any beveled blade. Love your blog!
January 21, 2023 at 11:30 pmThank you!
May 19, 2023 at 7:00 am