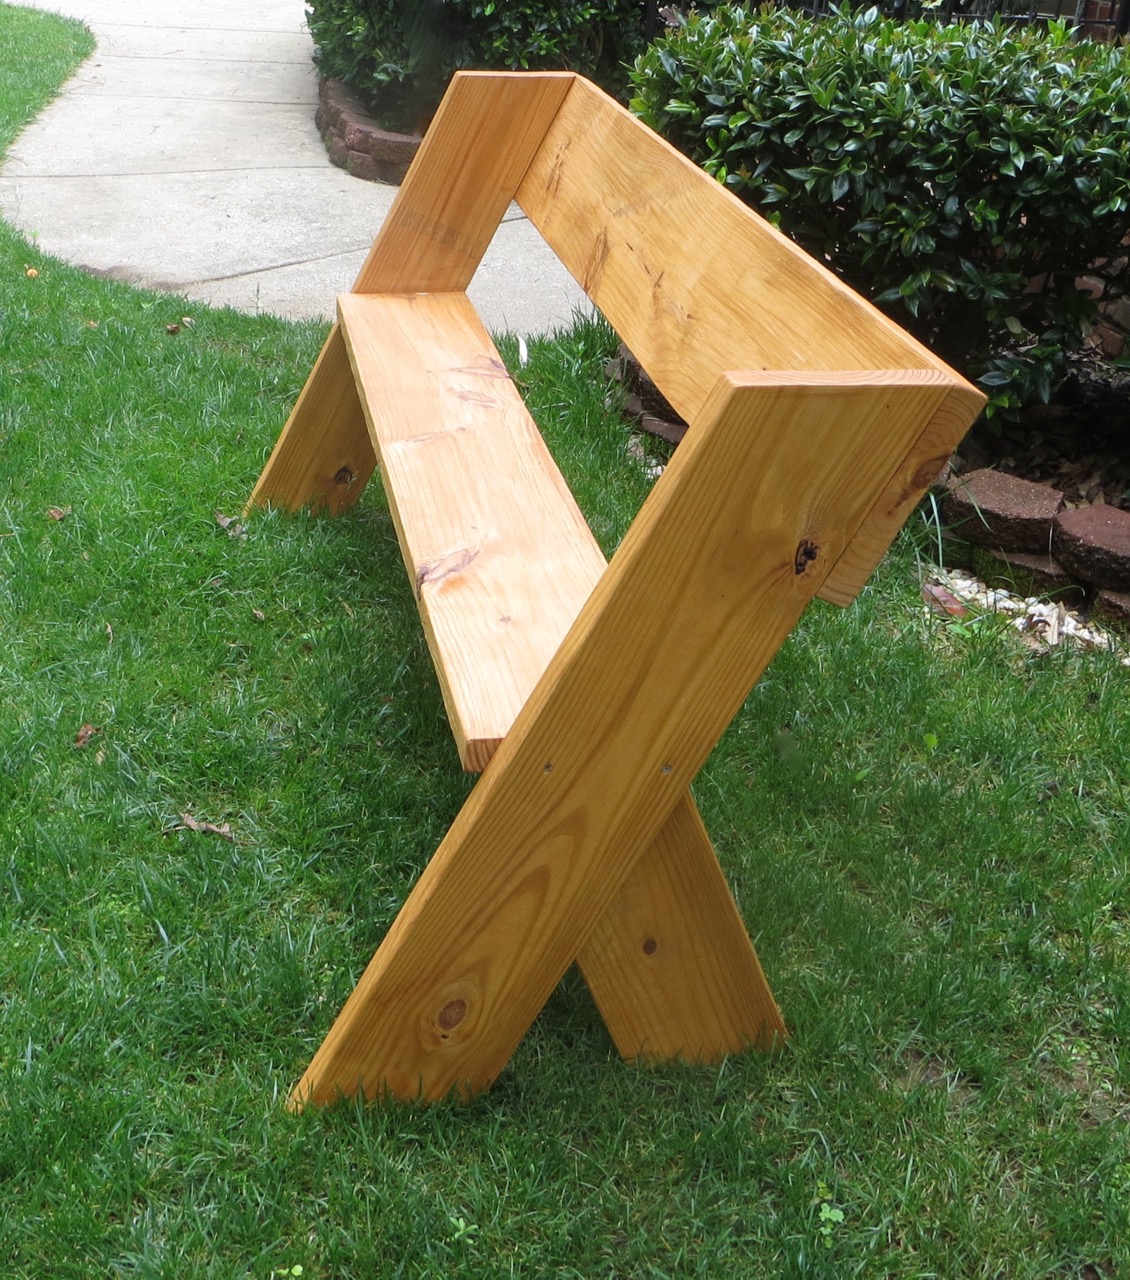
Do you know what I love about this bench? It’s sturdy, it’s cheap and it takes only about an hour to assemble!
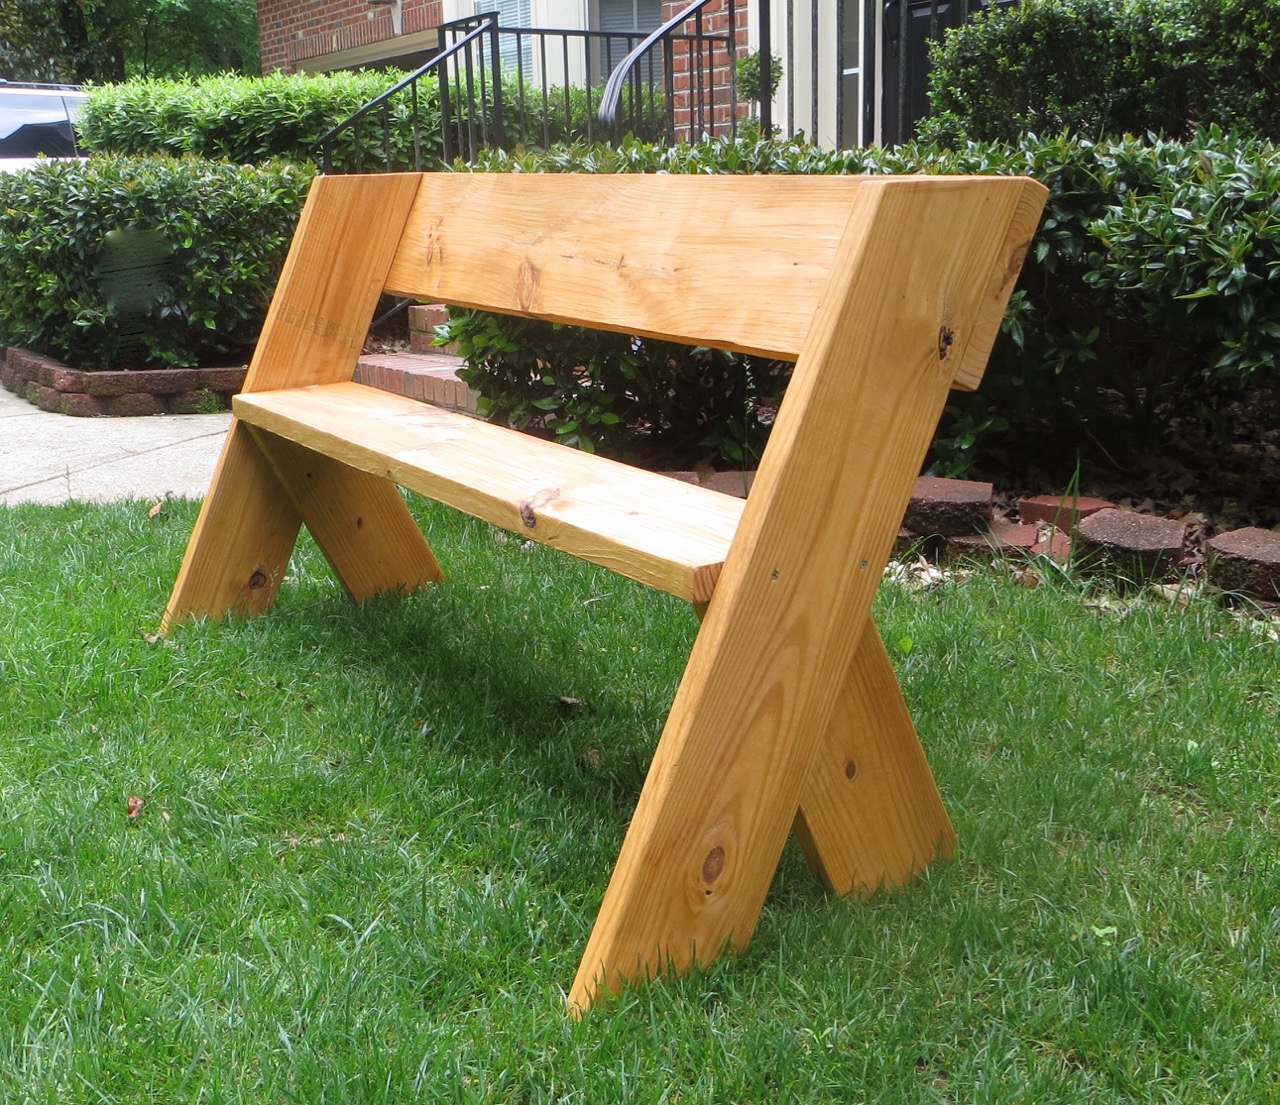


We went to a local park where they had smaller-versions of benches like this and I thought it was a genius design! It came at perfect timing because I was wanting to make a couple benches to put around our fire pit. These will comfortably sit 3 adults!
All you need is 2 boards, about 6 cuts on a saw and a handful of screws! Did I mention this only cost me about $16 in lumber!?
FINAL DIMENSIONS:
61-1/2″ wide x 22″ deep x 34″ tall
SUPPLIES NEEDED:
2×8 (10-feet)* – legs
2×10 (10-feet)* – seat and backrest
8 2-1/2″ screws
14 3-1/2″ screws
Outdoor Wood Finish (Optional)
*you can use pressure-treated boards that will last longer but will be a little more expensive
TOOLS NEEDED:
Miter Saw
Drill/Bits
Wood Clamps
Roller Stands (or someone to help)
CUTTING DIAGRAM:
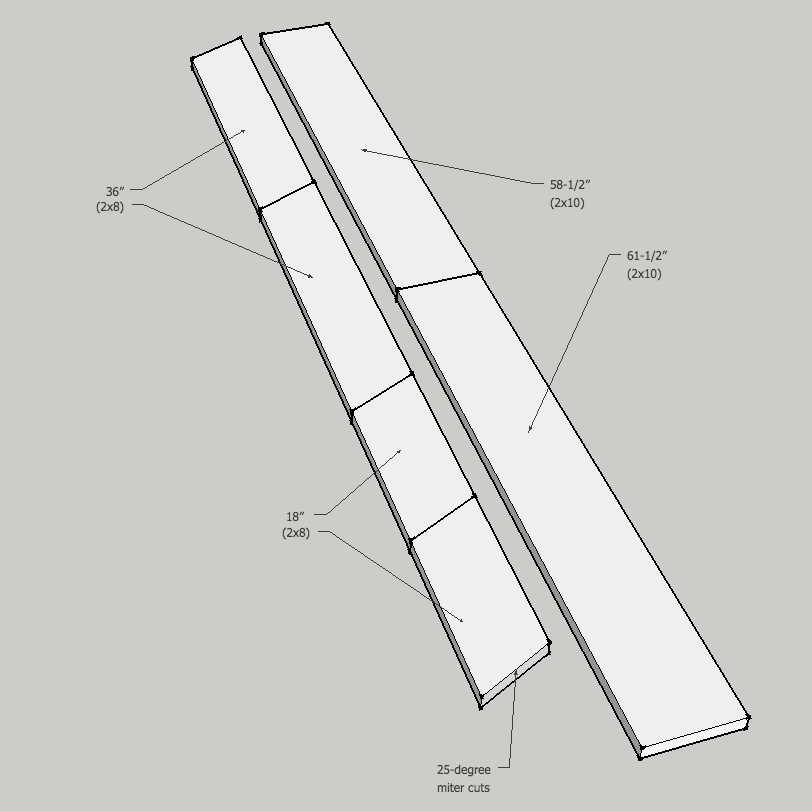

Cut your 2×10 so you have 2 pieces, 58-1/2″ (seat) & 61-1/2″ (backrest). These boards are really heavy – hopefully you have roller stands to balance the board (or a few nice people).

Because my blade is really small I had to do one cut…

… then flip the board over and line up the blade to finish the cut.

For your 2×8 set your miter to 25-degrees.

TIP: for these next cuts I set both roller stands to one side to hold all the weight. Make your first angle by cutting the end of the board.

Again, because my blade is small I had to flip to finish the cut which make for a very tedious process on angled cuts. Not only do you need to flip the board but you also need to flip it so one end is opposite where it was before. You want all your pieces to be parallelograms like in the cutting diagram. Two pieces need to be 36″-long (for the long legs) and two that are 18″-long (for the shorter legs).
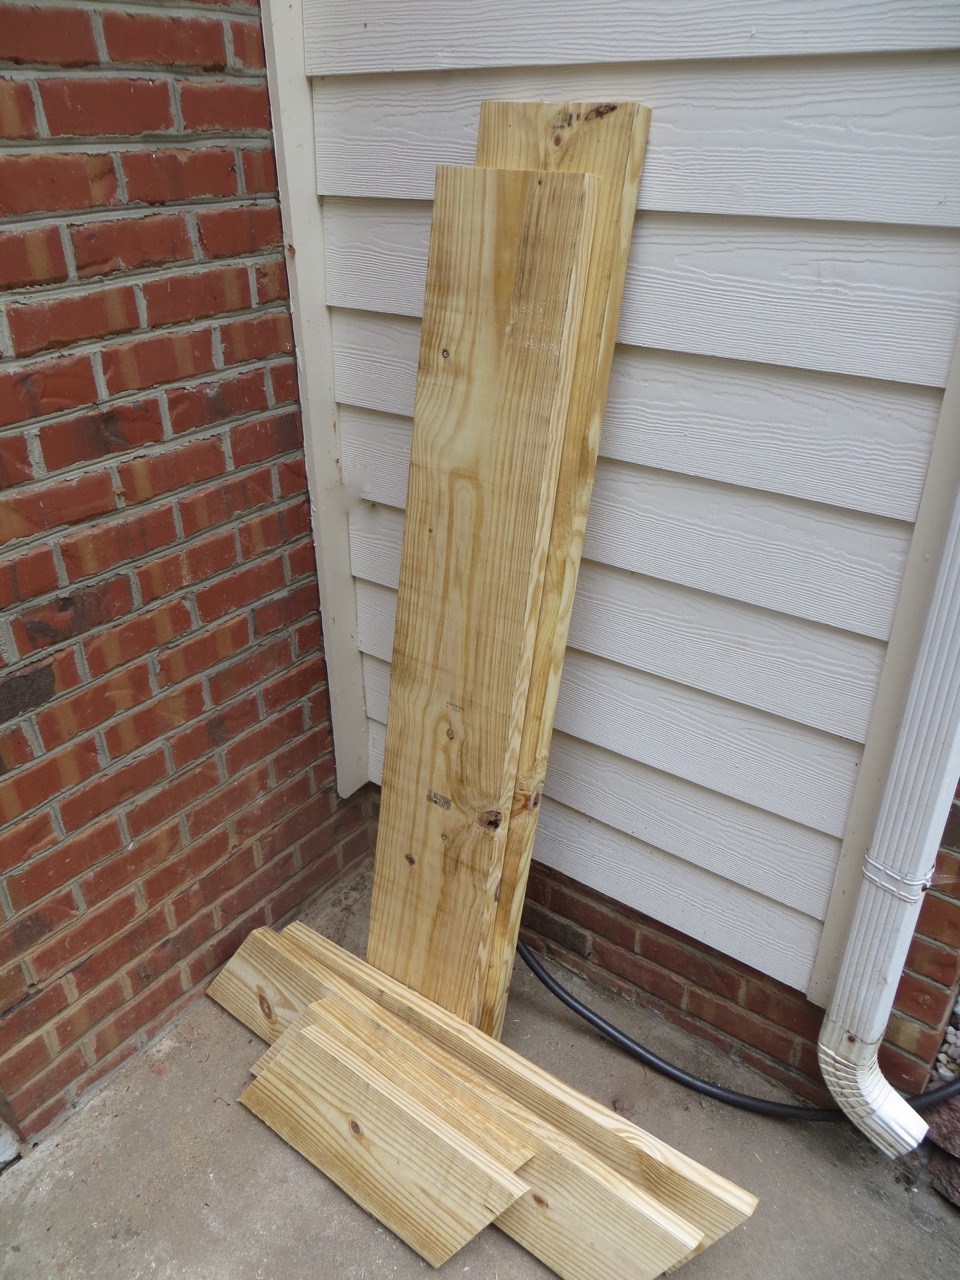
Pieces cut and ready for assembly!

For the legs, use a straight edge to butt them up against where they would sit on the floor. Use a leftover scrap piece under the shorter leg to hold it up in place. Align boards so corners of smaller leg align perfectly with the edges of the longer legs (see picture below)… no measuring required but make sure the legs are tight against the ‘straight edge’!

Pre-drill holes for 2-1/2″ screws (I did 4 on each). I used my body weight to hold boards in place by standing on them while I drilled. TIP: Drill the first hole and secure with a screw to keep boards from moving while drilling the remaining screws.
Make your other set of legs a mirror-image of the first!

Balance legs upright and place seat resting on the top of shorter legs. Thankfully I had a long enough pipe clamp to secure everything together. If you don’t have a clamp an extra person can help pull the boards together while you drill.
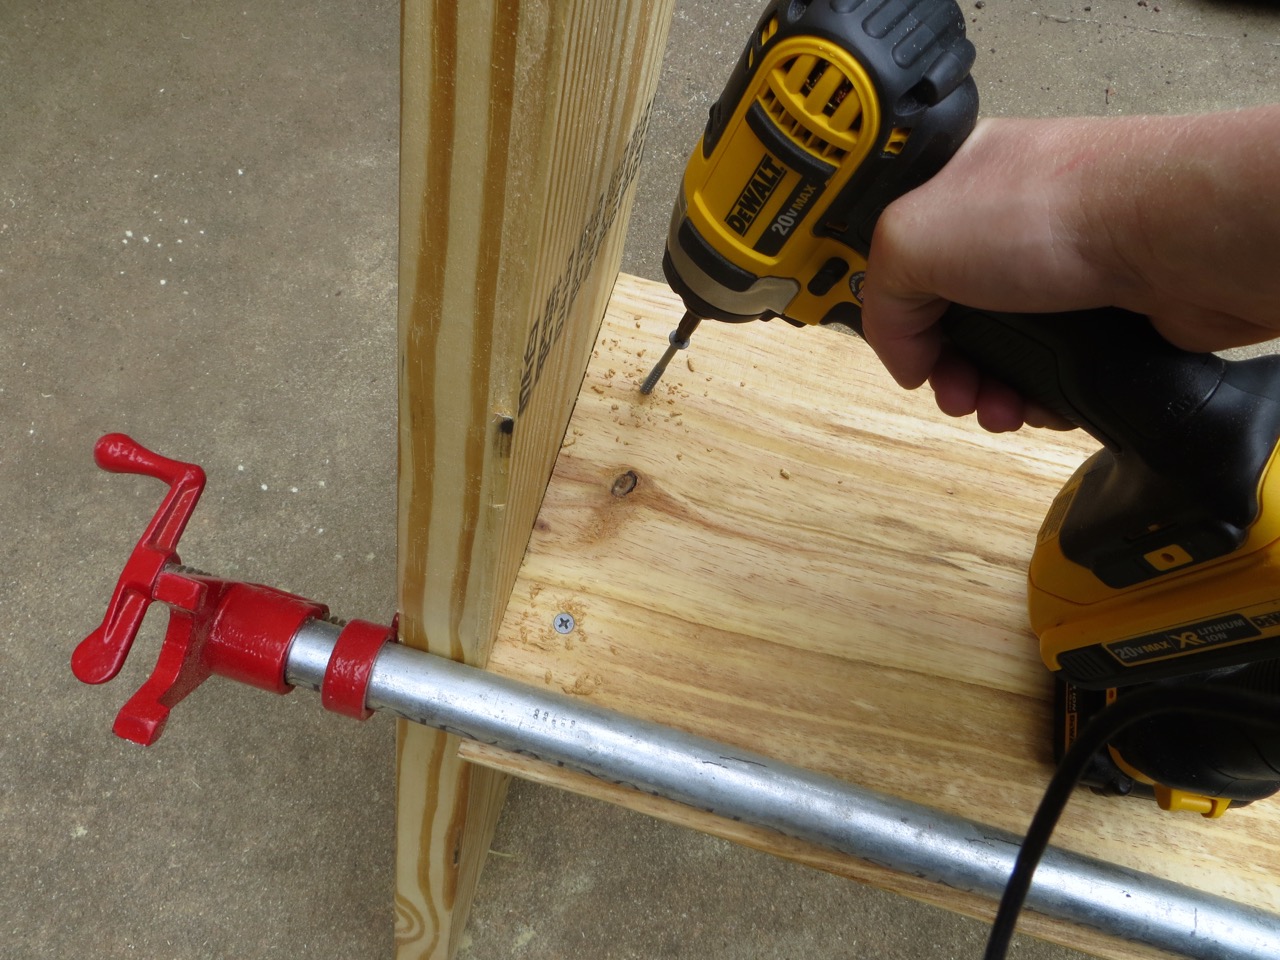
From here you’ll be using your 3-1/2″ screws. Pre-drill and drill 2 screws from the seat into the shorter legs on each side.

Pre-dill and drill 2 screws from the longer legs into the seat on each side.

Lay the bench down and clamp the back on so the edges are flush with the legs.

Pre-drill and drill 3 screws into each end of the backrest. TIP: because the top edge is angled, I angled the screw so it wouldn’t poke out from the other side (see picture).

Give your bench a good sanding with at least 150 grit.

Use an outdoor finish for your bench to withstand the elements. I’ve been using Flood brand (cedar-toned) for my recent projects and I am very happy with it!

FINISHED!

13 Comments
Awesome, thanks for sharing! I'm gonna make this tomorrow for the kids' area in my garden.
August 24, 2017 at 6:53 amHelped a local girl scout camp make about a dozen of these. They're SO easy to do! Thank you!
September 27, 2017 at 8:41 pmAwesome! So glad! 🙂
September 27, 2017 at 8:48 pmWe used three of these for an Eagle Scout project. They worked great!
March 4, 2018 at 3:59 pmAwesome!!
March 4, 2018 at 7:57 pmThank you so much for these plans – we’re going to make a few for around our large firepit to enjoy when friends come over!
July 22, 2018 at 7:53 pmI’m glad you found me! We love our benches which are also around our firepit – they’re super easy to build. Enjoy!
July 24, 2018 at 7:05 amI saw these type of benches recently at a fall festival that I went to. I really like them, and am planning on making them for our patio/fire pit area. Thanks for the plans!
October 28, 2019 at 7:21 am[…] Best DIY Wood Bench Plans from The Project Lady DIY Tutorial – $16 Simple Outdoor Wood. Source Image: theprojectlady.com. Visit this site for details: theprojectlady.com […]
December 8, 2019 at 6:34 pm[…] Best DIY Wood Bench Plans from The Project Lady DIY Tutorial – $16 Simple Outdoor Wood. Source Image: theprojectlady.com. Visit this site for details: theprojectlady.com […]
December 10, 2019 at 2:58 pm[…] Download Plan More @ theprojectlady.com […]
October 19, 2020 at 4:30 amThank you! Super simple, but nice. Wish we had made these years ago.
October 25, 2020 at 2:55 pm[…] them in a bigger building project. A fairly simple one is this bench—they can take it home or keep it at your place for when they need alone time or want to read […]
March 22, 2022 at 1:44 pm