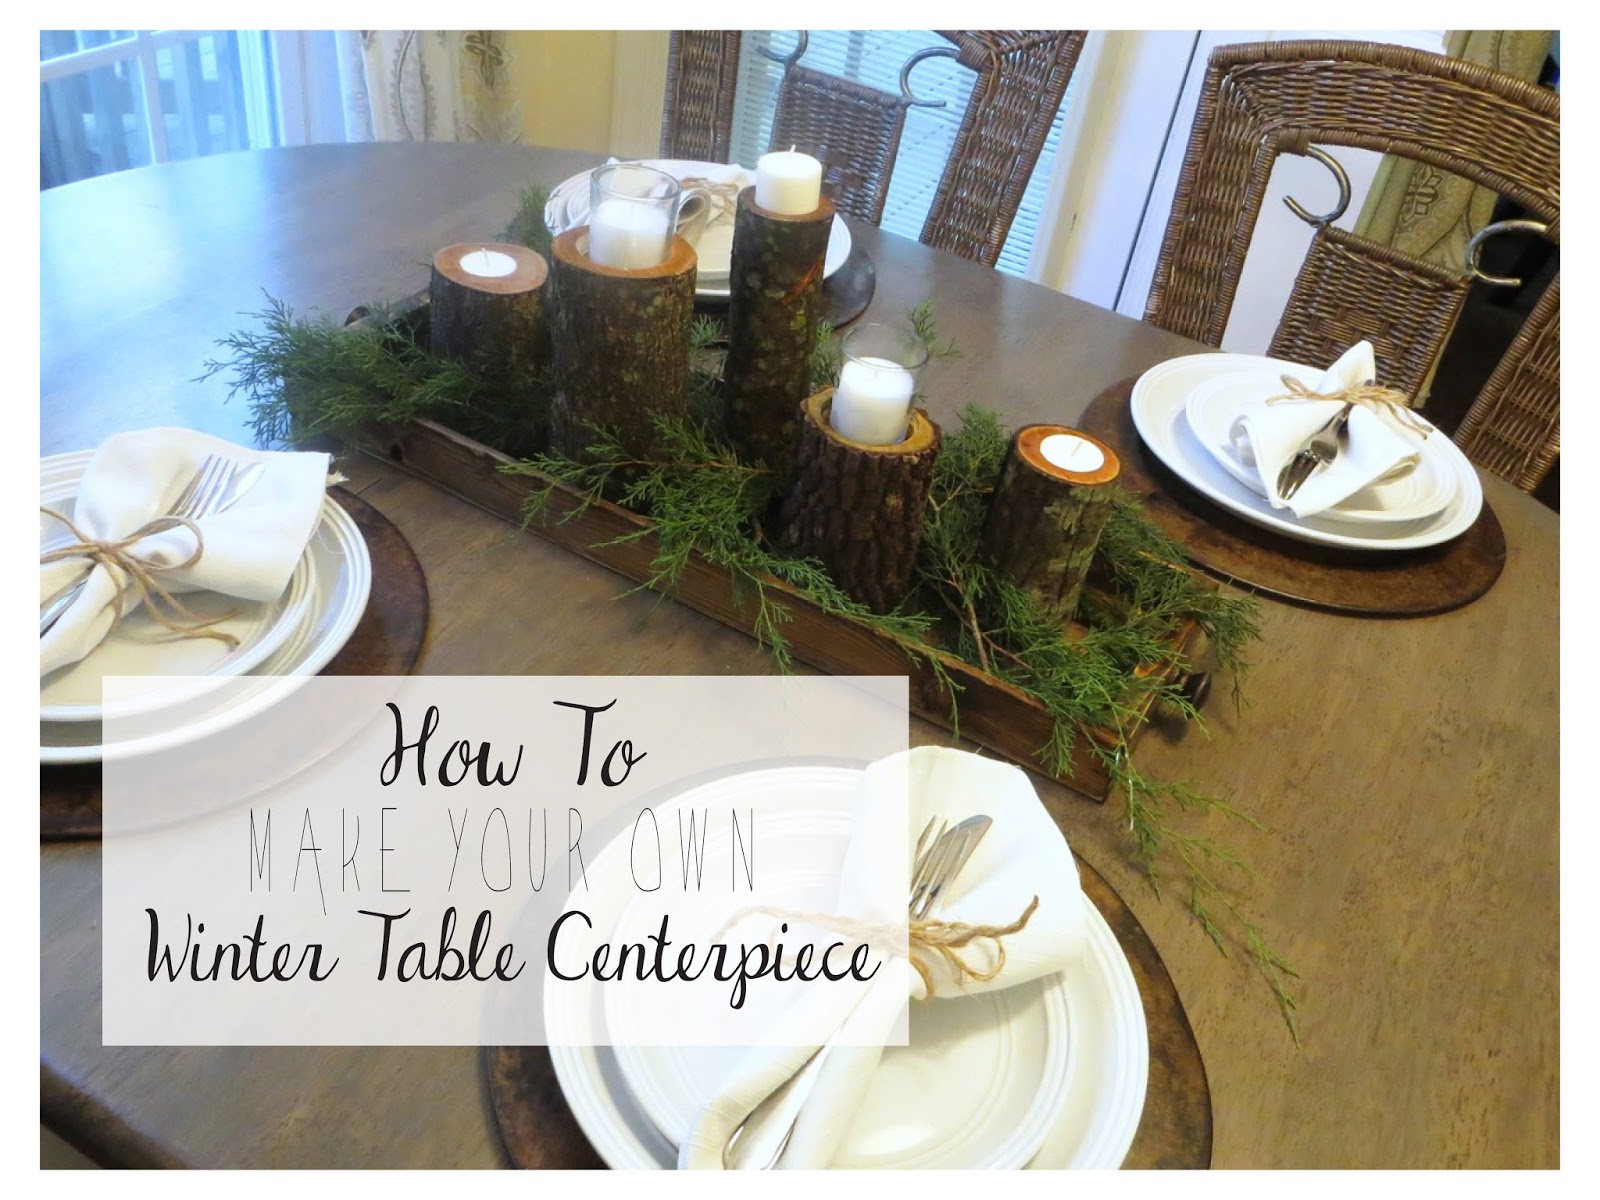
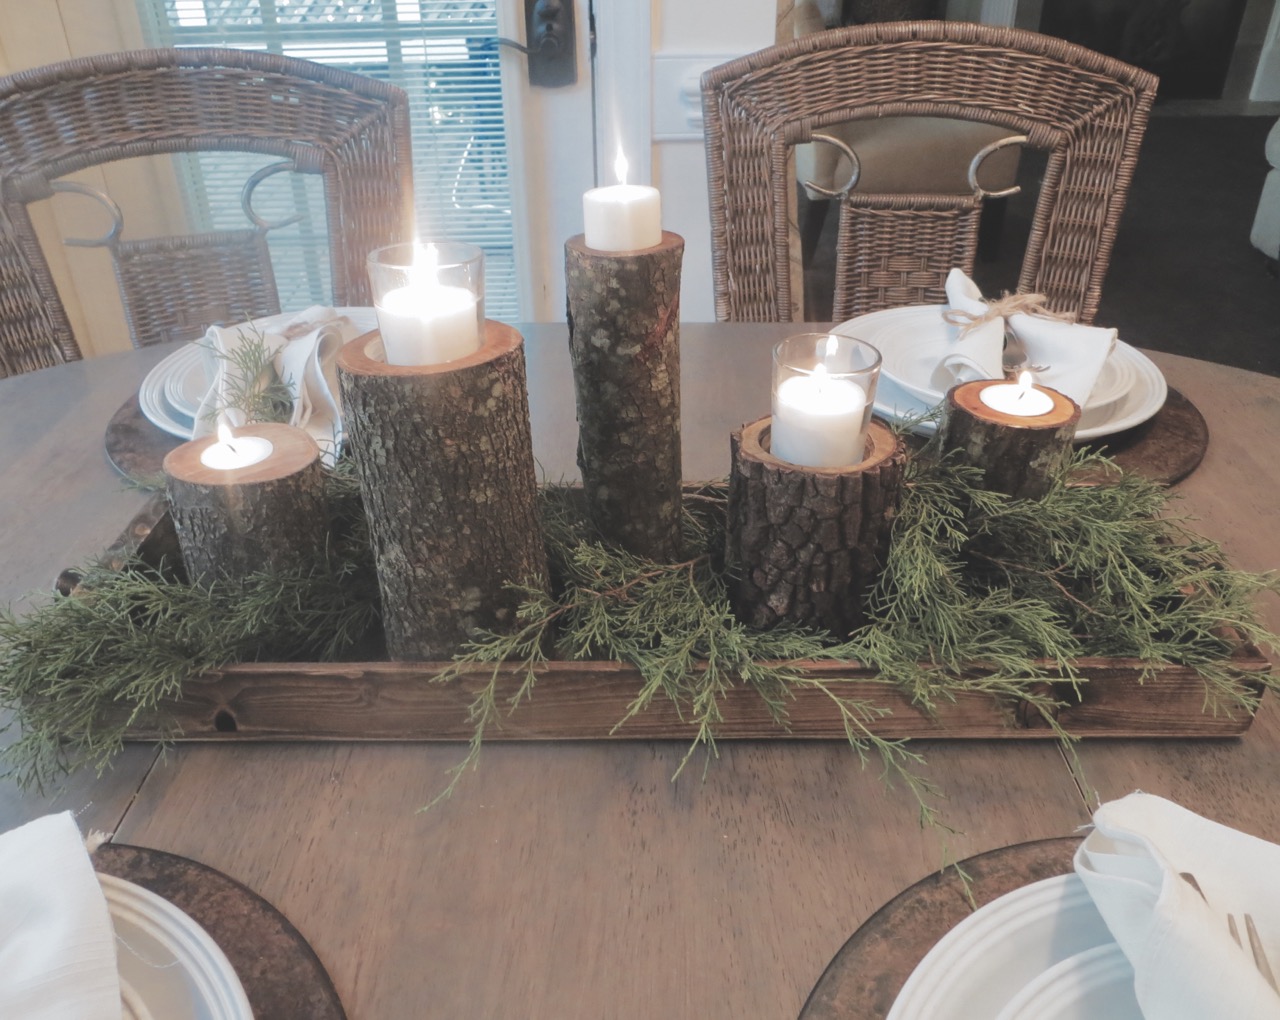
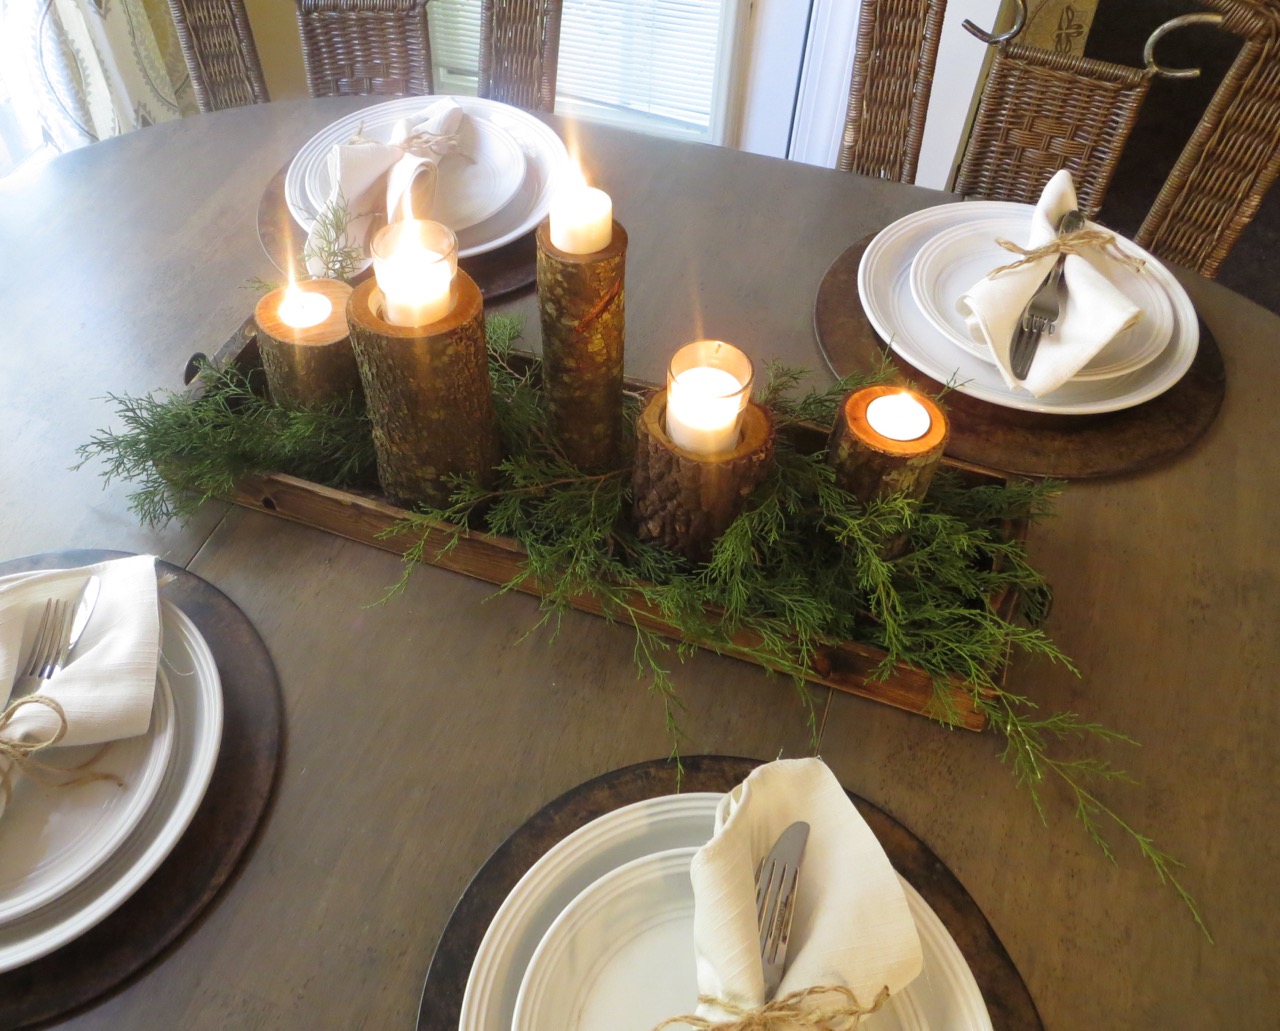
Today I’m going to show you how easy it is to make your own beautiful winter table centerpiece for only a few dollars! YES — Really!

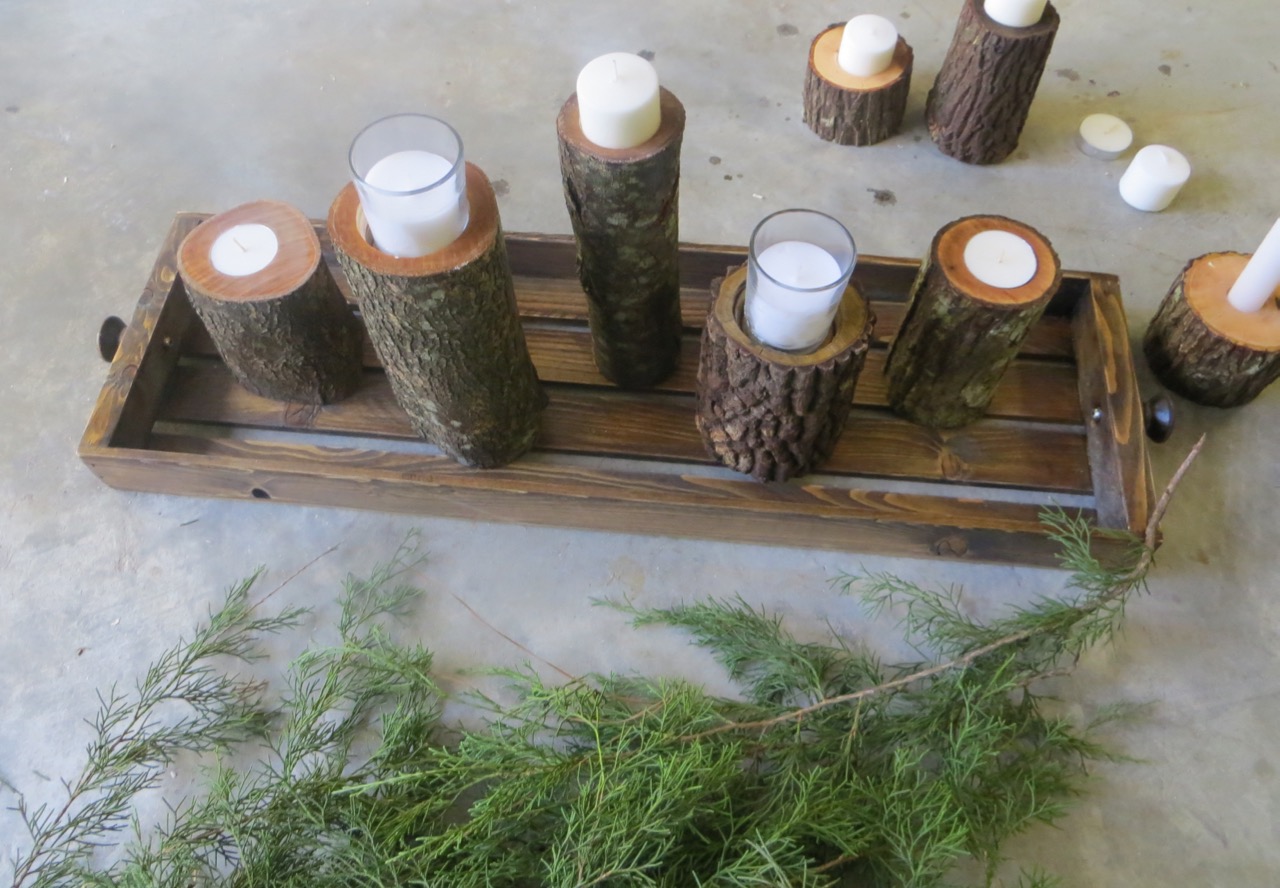
Living in North Carolina you’d think trees were weeds by how many cut down trees you see on the curb for free. Trunks, stumps, and branches galore! I decided to pick some thick branch pieces up one day and thought how they’d make awesome-chunky bases for candles (nothing new, I know… but they were free)! If you don’t have forests of trees surrounding you everywhere you go, perhaps you could visit the mountains or ask a neighbor for their yard waste.

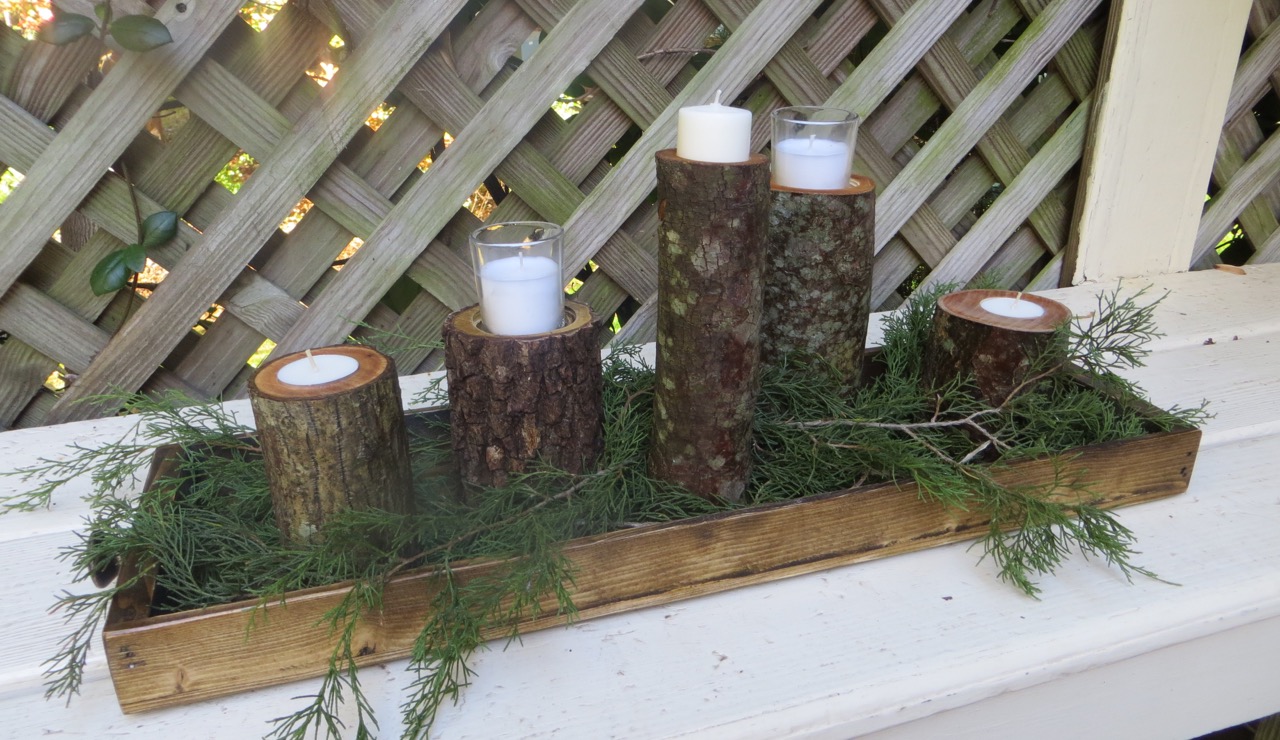
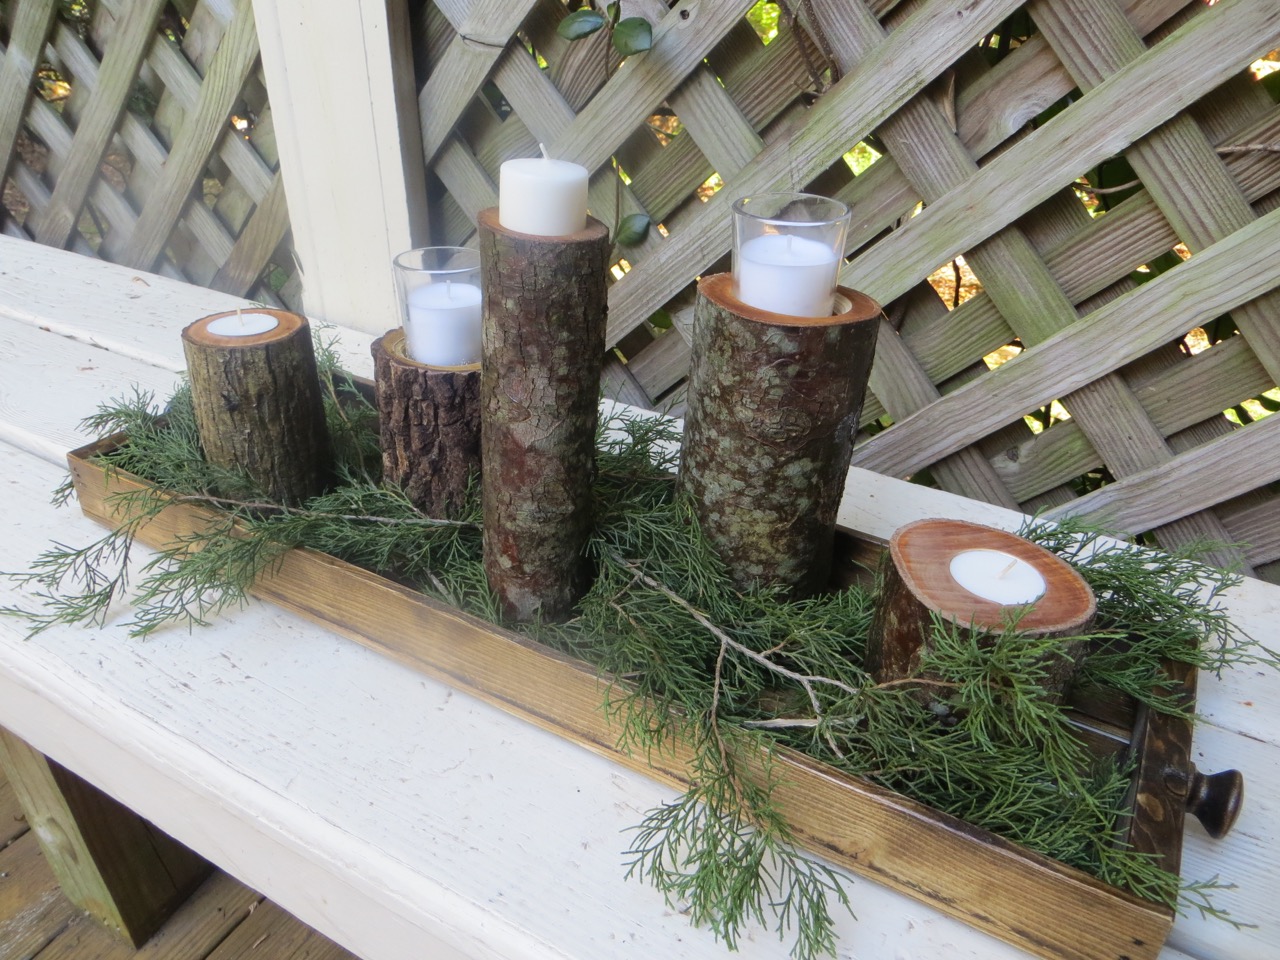
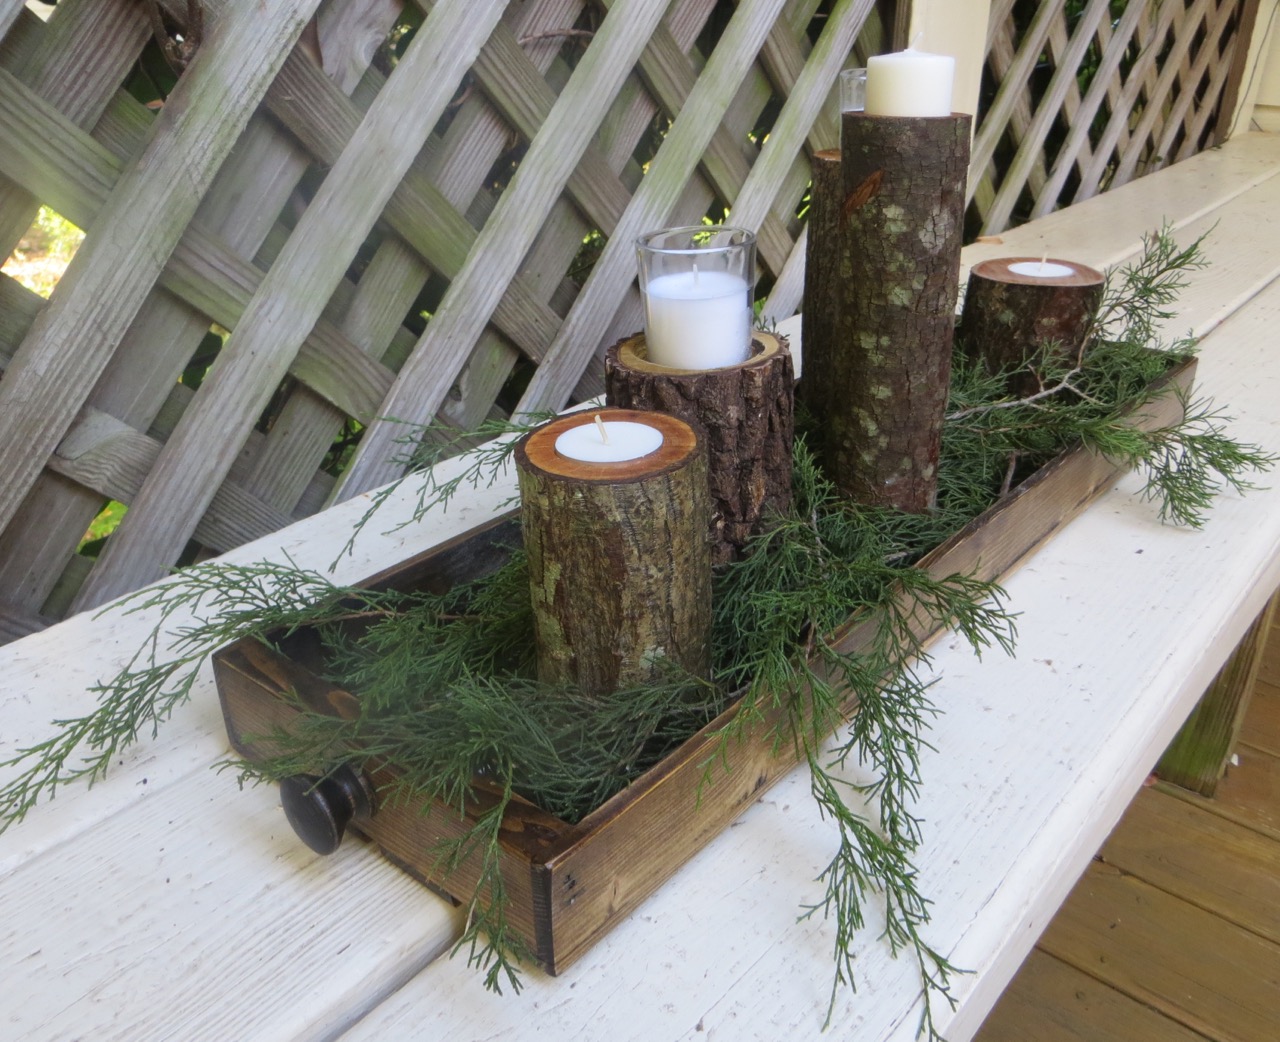
Here’s what my centerpiece consists of:
Wood tray – I’ll show you how to make it below!
Thick Tree Branches
Candles* (I bought mine from the dollar store)
Evergreen Greenery
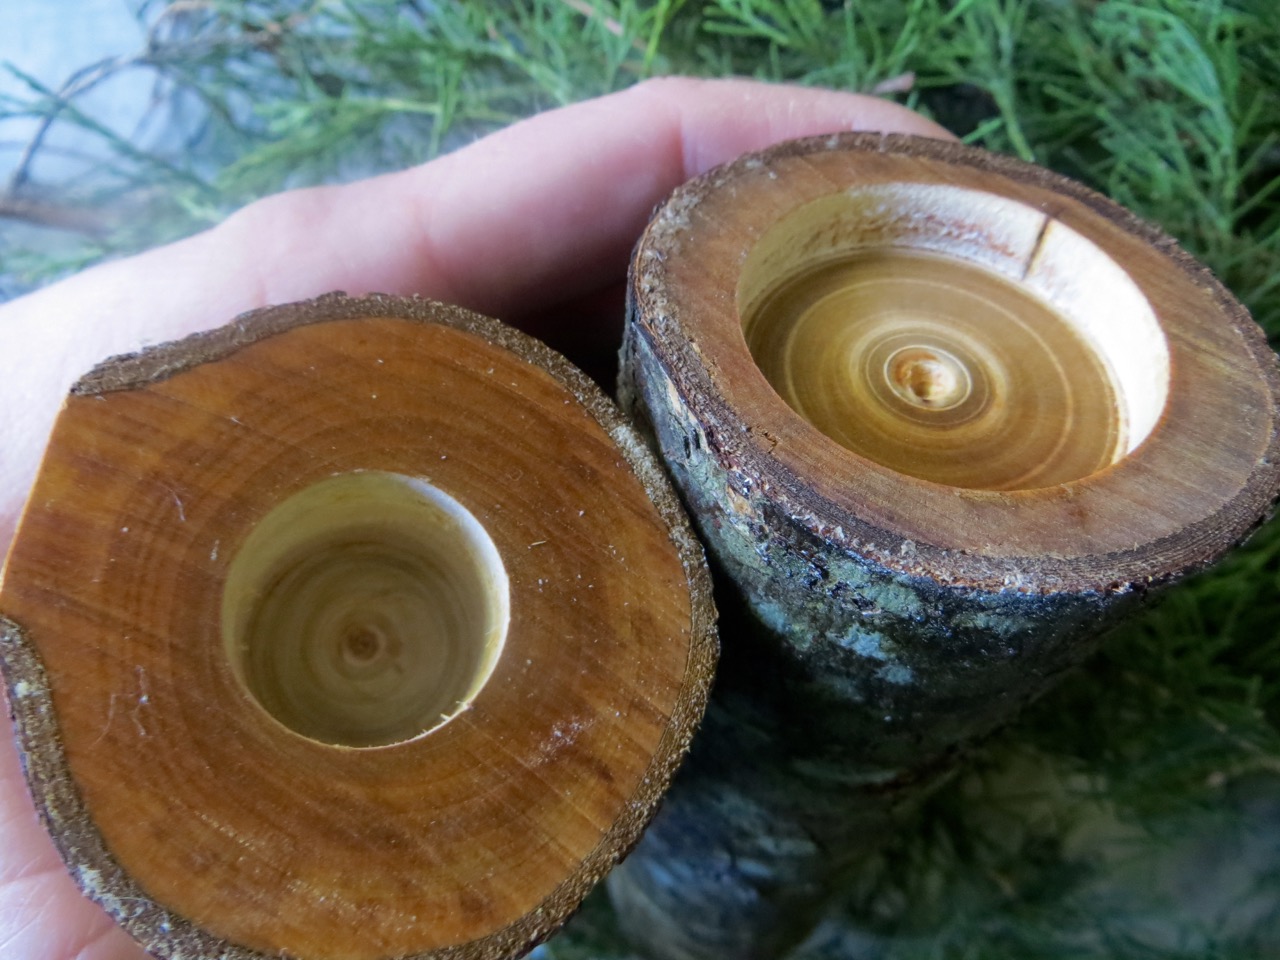
*I recommend buying candles that are 2″ or less in diameter (you’ll need a forstner bit the same size as the base of the candle for drilling in your branches).
I randomly cut my branch pieces to different lengths. I purposely cut more than necessary so I had enough to choose from (any extras = great gifts)!
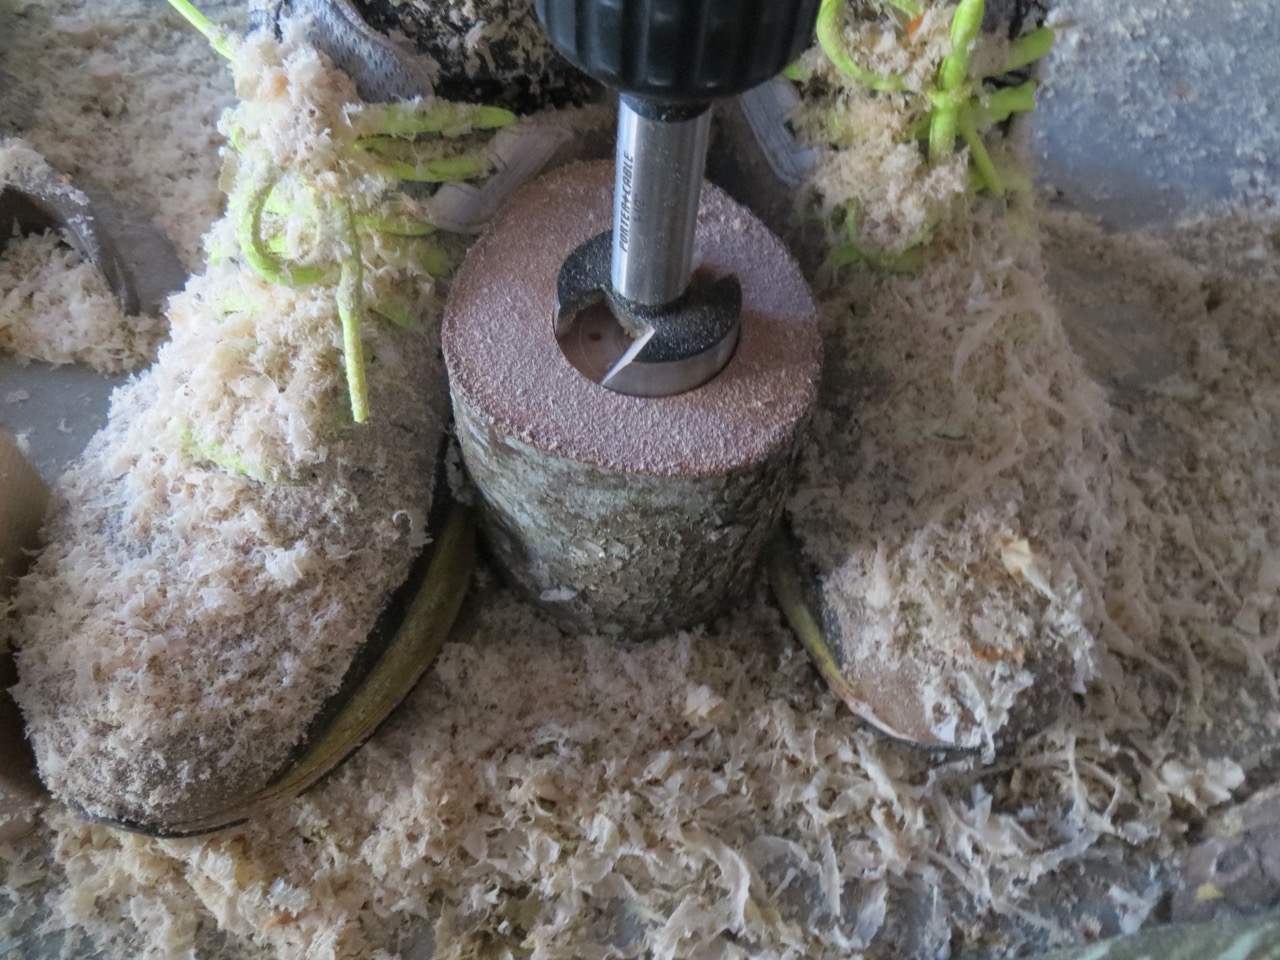
Most of my candles were 1-1/2″ in diameter but I had a few in small glass vases that had a 2″ diameter. I used forstner bits to drill the holes about 1/2″-deep. I held the wood with my feet so I could put a lot of downward pressure on the drill.
I wasn’t sure I’d use the tall candlesticks so I drilled small holes on the bottom side of a few of my bases in case I ever decided to use them.
Set your candle bases aside while we work on the wooden tray!
WOOD TRAY
SUPPLIES NEEDED:
24″ Scrap Piece of 2×4 or 2×6 Board
2 Wood Knobs
2 1-1/4″ Screws
Wood Glue
Painter’s Tape
Wood Finish of Choice
TOOLS NEEDED:
Table Saw
Miter Saw
Drill + Bits
Brad Nailer + 1-1/4″ Brad Nails
Sander + Sandpaper
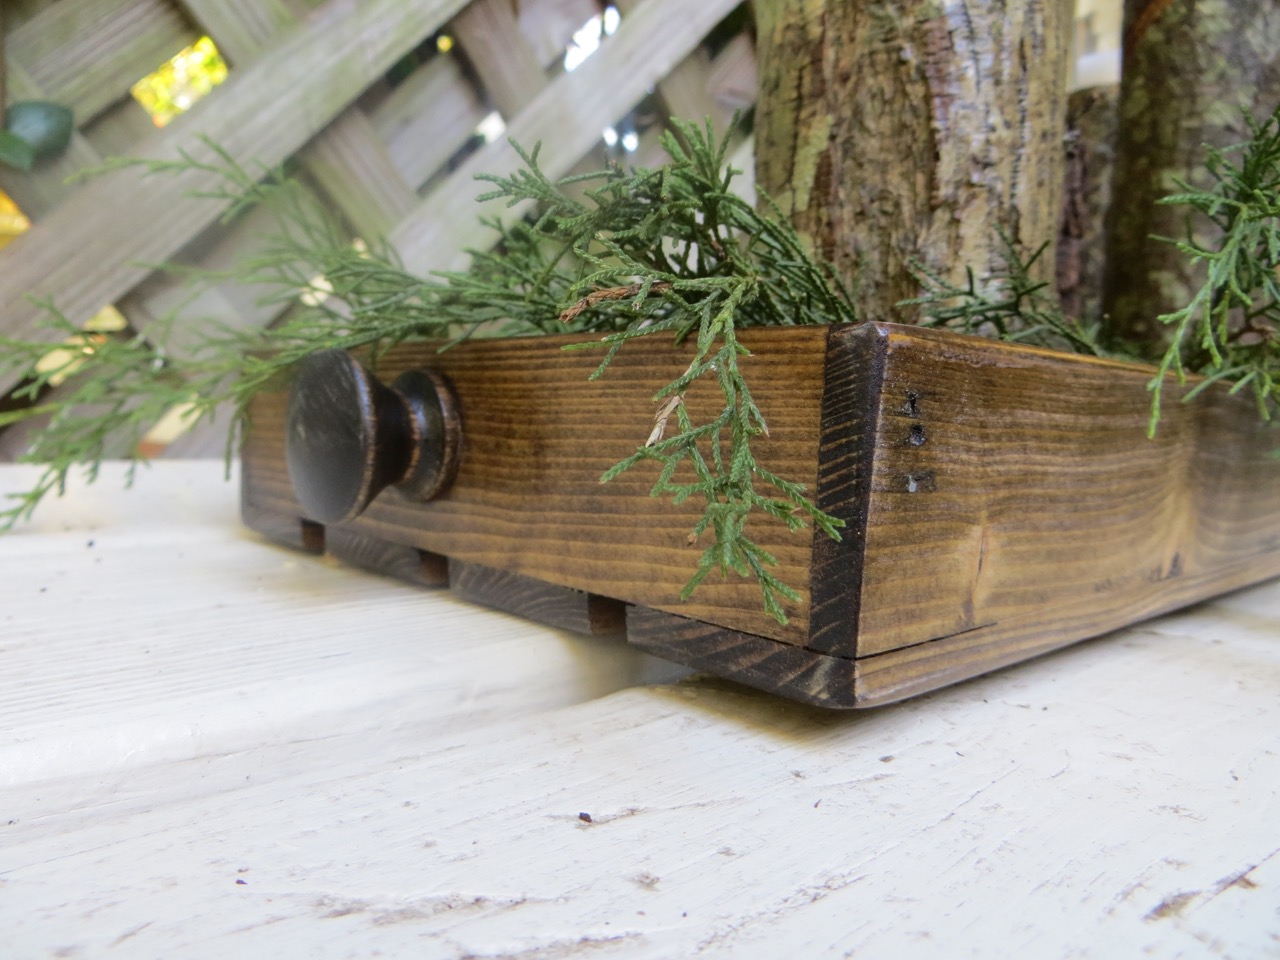
FINISHED DIMENSIONS:
1-3/4″ tall x 24″ long x 7″ deep

I ripped one side clean from my 2×6 scrap board (a 2×4 will work, too). From the clean edge I ripped six 1/4″ strips and one 3/4″ strip.
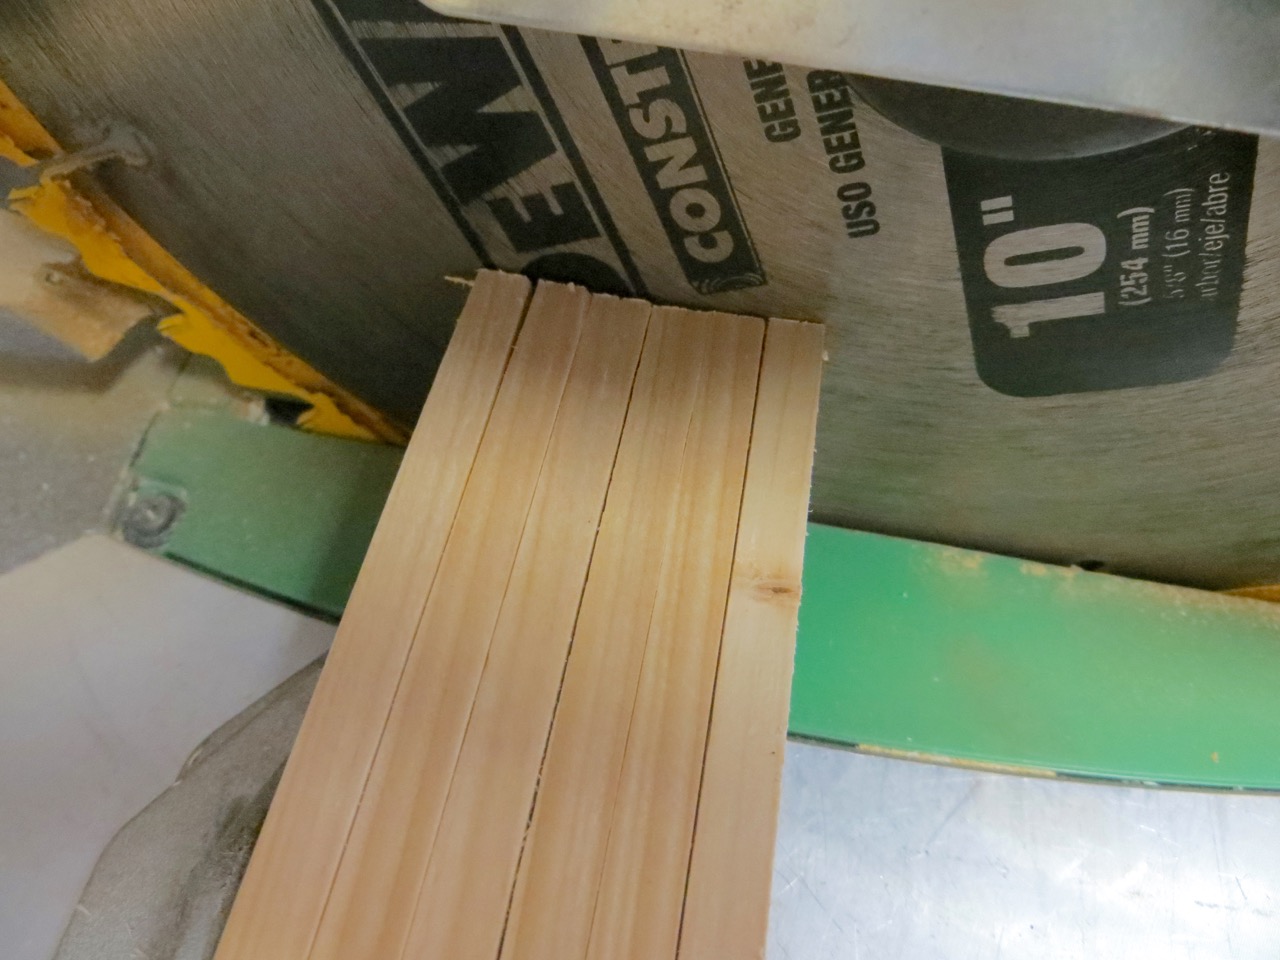
I lined up my 1/4″ strips together on the miter saw and took a hair off to clean and straighten up their ends; from those ends I measured 24″ and cut. You should have six 1/4″ strips that are 24″ long.
Cut your 3/4″ strip into two 6-1/2″ long pieces.
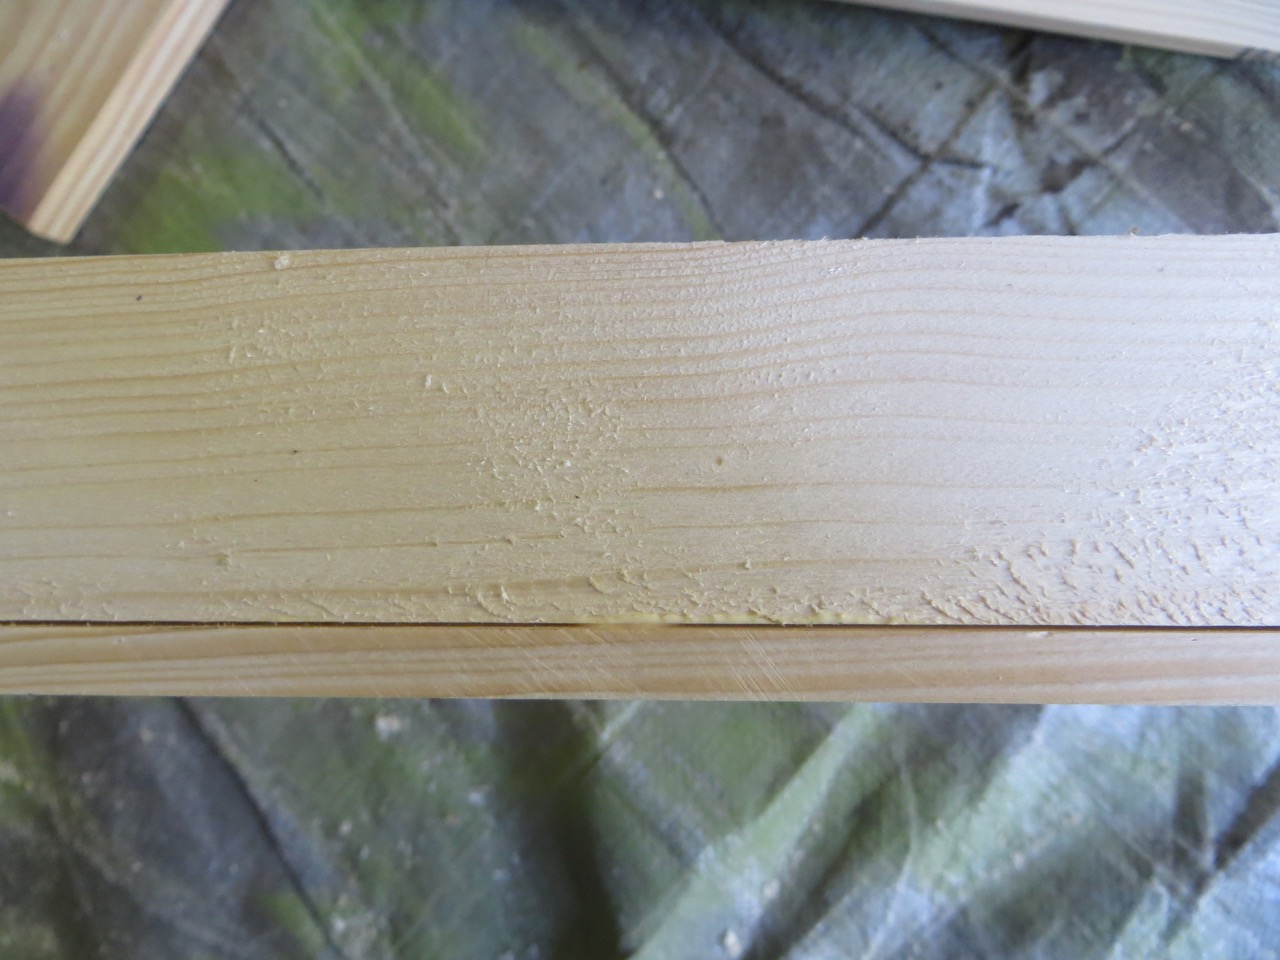
Sand your pieces up to 150 grit before assempling.

Make the wall of your tray by gluing 2 of your 1/4″ pieces over the ends of your 3/4″ end pieces and tacking in place with a brad nailer.
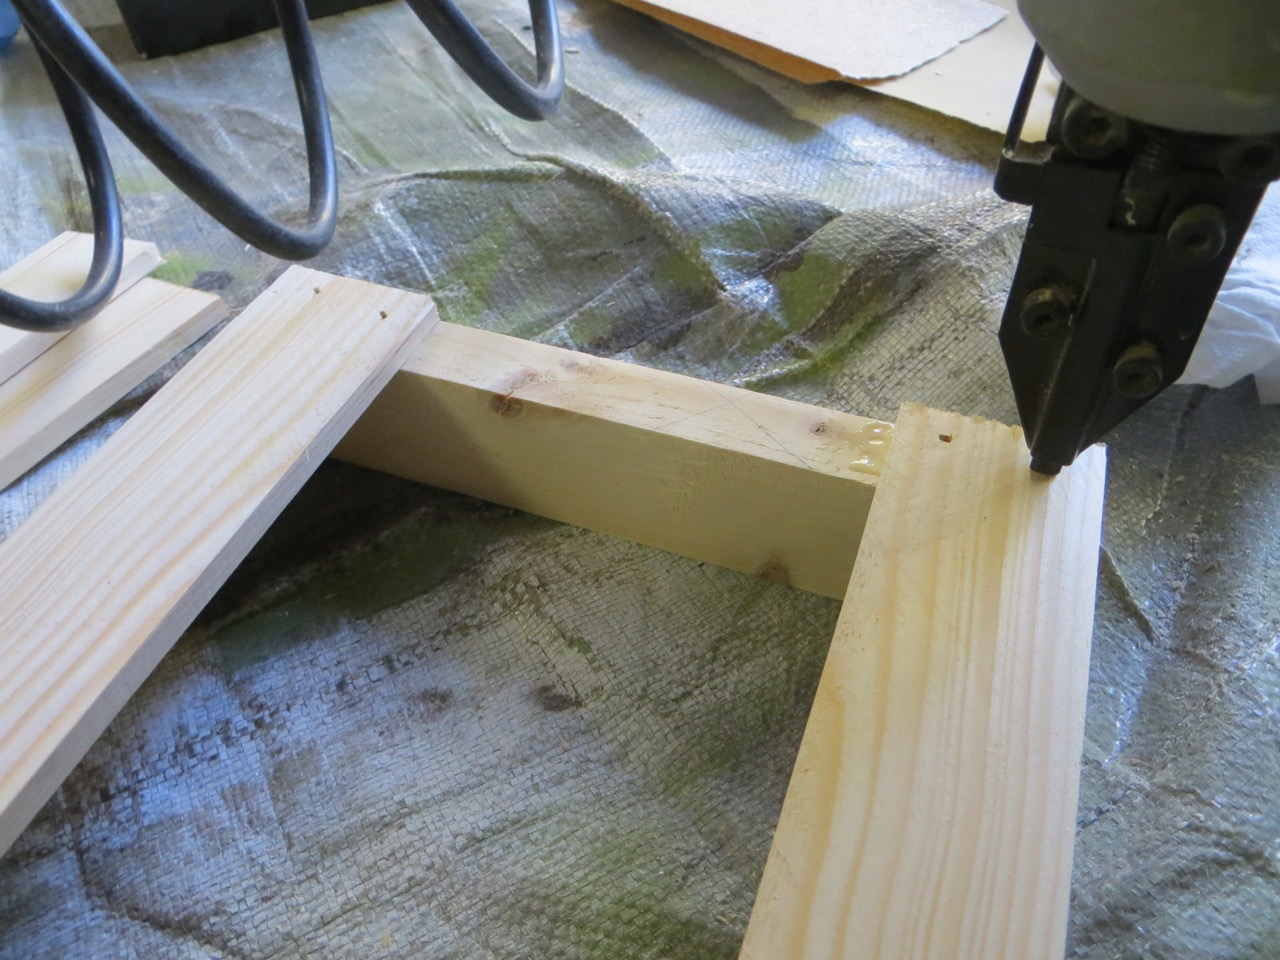
Tacking your 4 bottom slats on should be good enough to square up your tray before your side-walls dry. First you’ll be gluing the 2 side slats on the bottom or your tray. The side slats will be joined to the walls of your tray with only glue on the long sides because the walls are too narrow to nail into with the brad nailer – take care to glue well along the bottom edge of your side walls and over the end where your slats will overlap. Ensure the slats are flush with your walls and tack into place on the ends with a brad nailer. WARNING: Don’t hold your wood in the area you are nailing. Because the brad nails are so thin they bend easily with the grain and can turn and pop out of your wood where your fingers are!
Attach your last 2 slats by gluing where they will over lap with the ends of your walls and space evenly between the other slats. Tack into place with a braid nailer.
To close the gap between your walls and the bottom slats you can use painter’s tape to act as wood clamps by pulling tight on your tape and closing the gap.
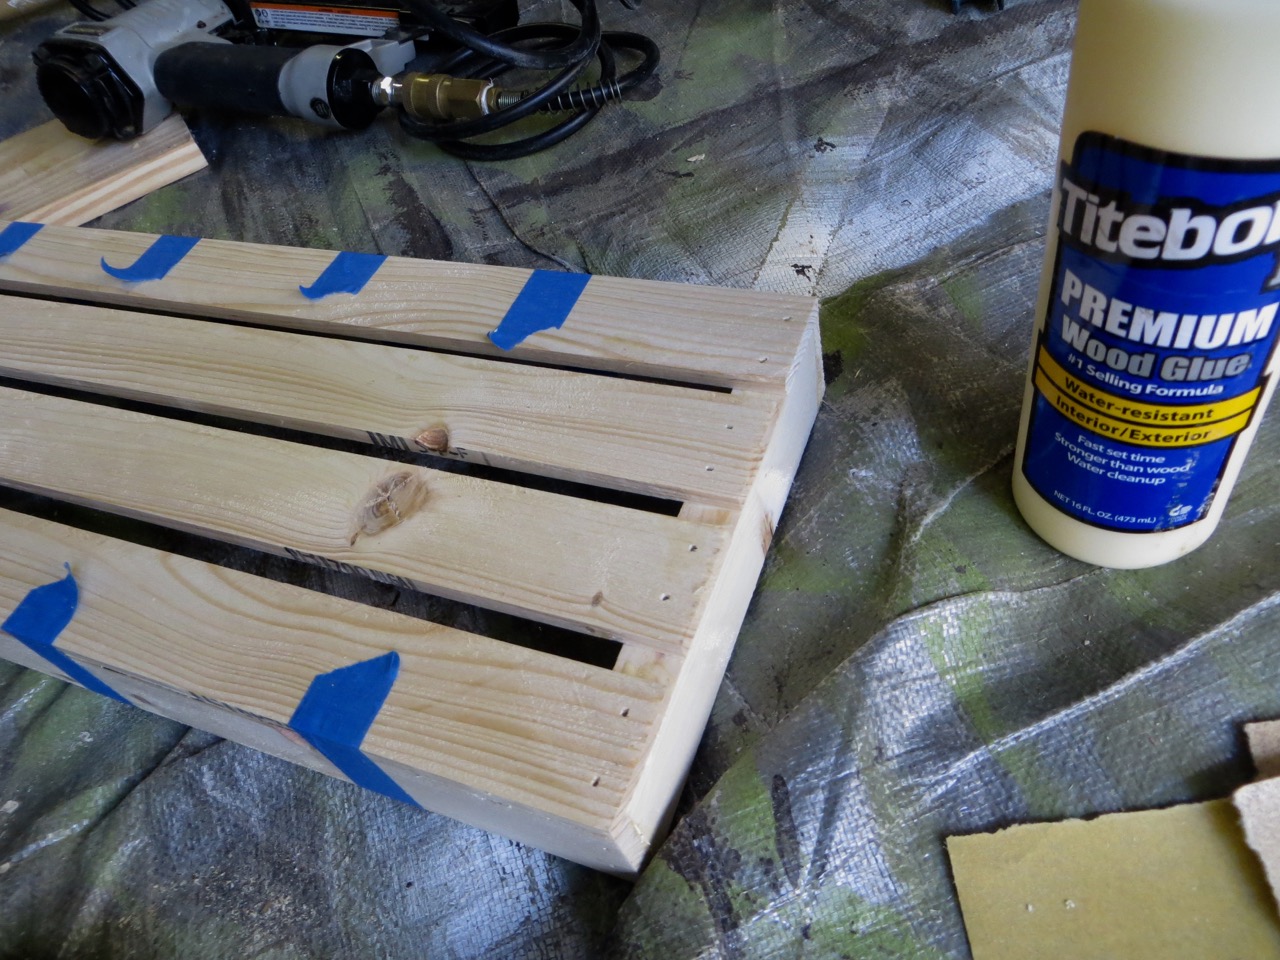
Wipe all the excess glue from your wood with a damp rag while it is still wet. Baby wipes work great for this! 🙂

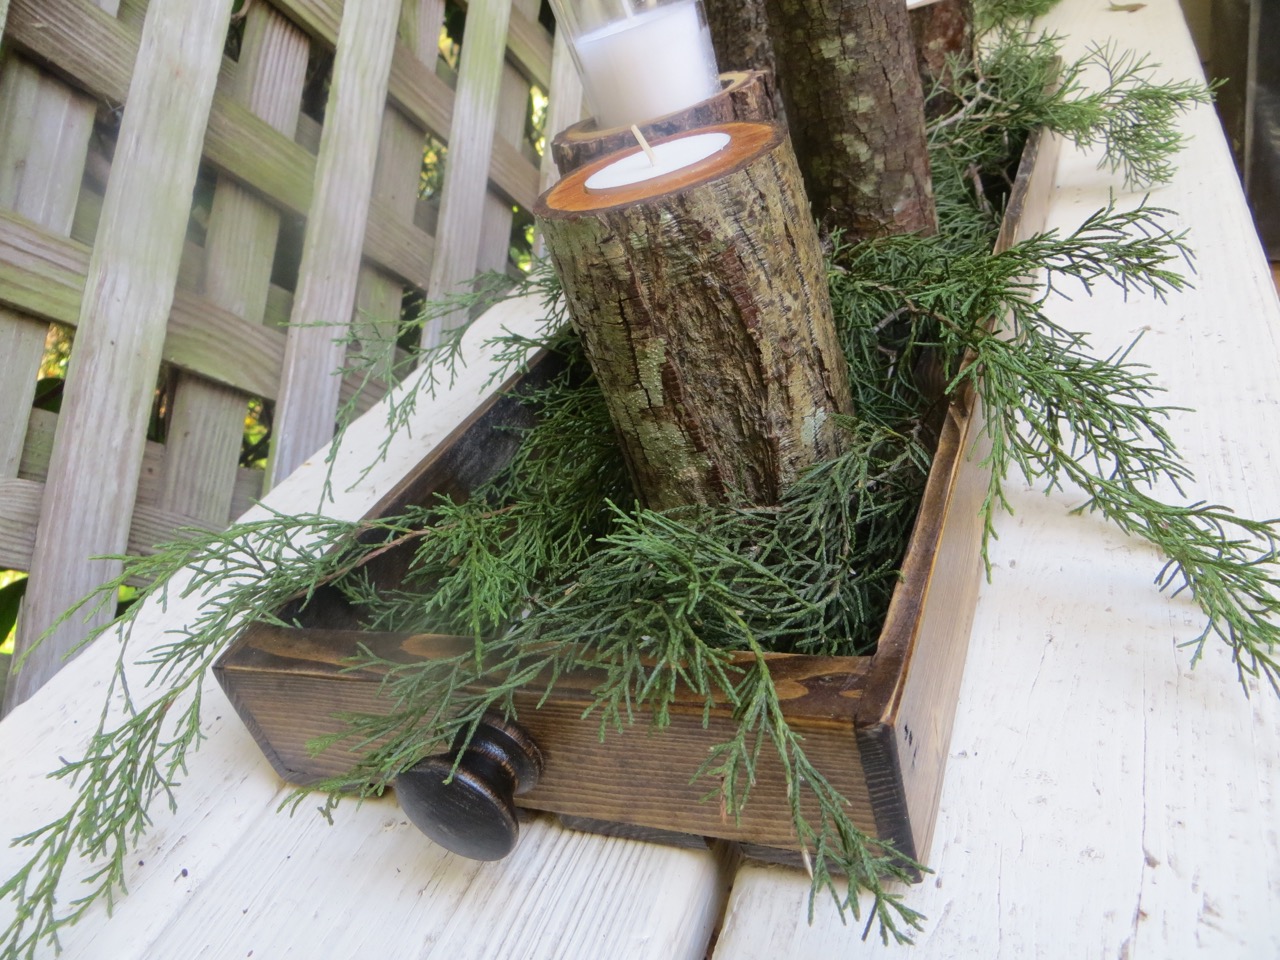
You can pull off the tape after your glue has had a few hours to try. Do a final sanding to remove any glue smudges (very important if you’re staining). Find the center of each end for your knob and drill a hole to accomodate the size screw you are using. If your wood knobs don’t have holes, drill 1/4″ into the center on the flat side.
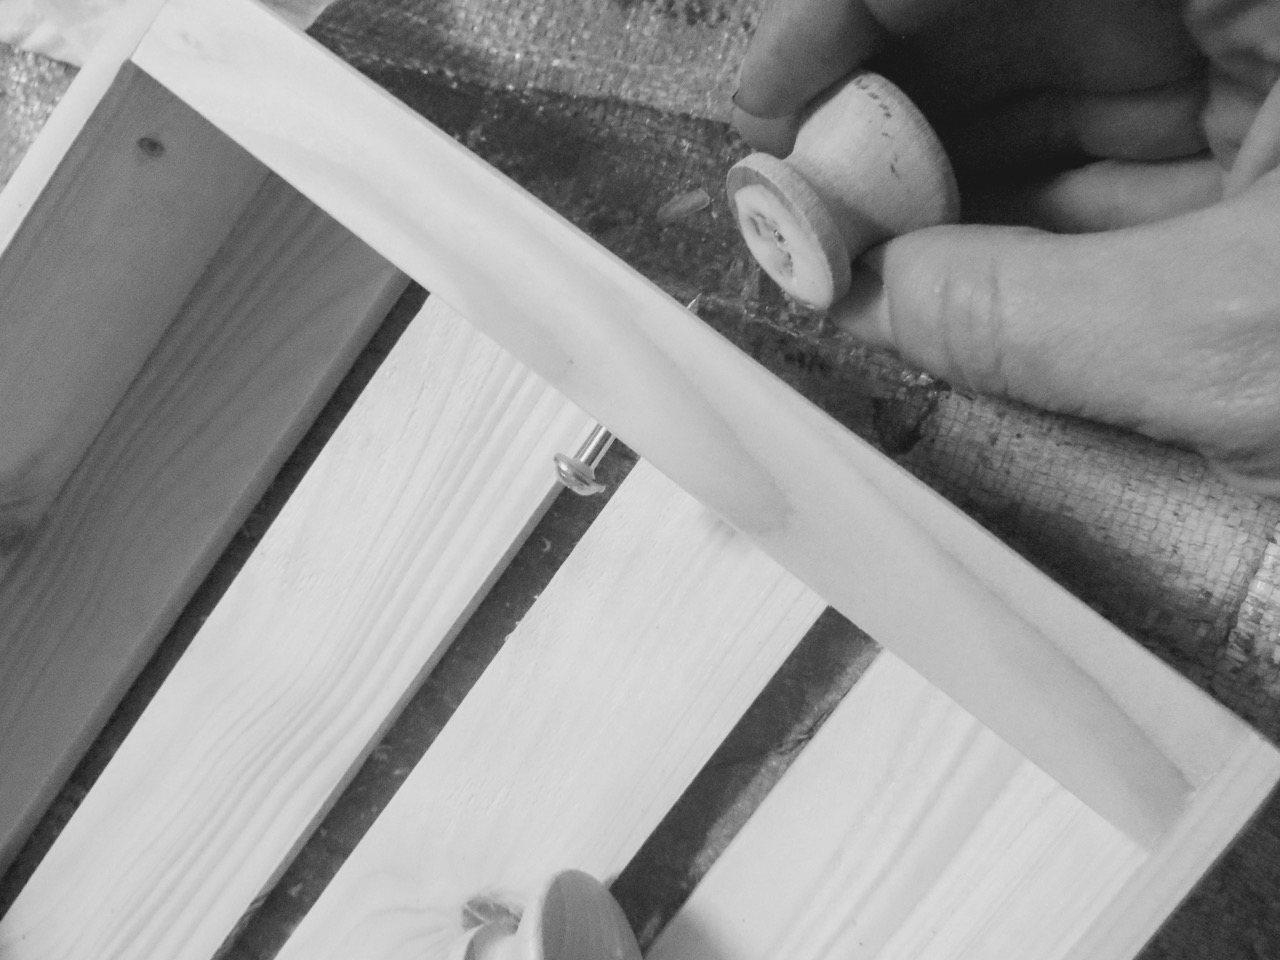
Drill your screw in from the inside so the tip is coming out of the end slightly. Rub glue on the base of your knob and put over the end of your screw. The screw aligns your knob just where it should be – then you can drill your screw in all the way. Wipe excess glue.
I used Minwax Dark Walnut stain to stain my tray. After it dried I used a fine sandpaper to smooth out any roughness.

I sprayed a clear coat on my tray AND wood bases to seal the wood and give it a nice finish. Prepare your tray and wood bases by brushing off any dust and using an air compressor to blow off anything that remains. This was my first time using this Krylon Matte Finish spray (the previous owners left it) – it’s mostly to seal artwork. I did a few coats and it was so light and unnoticeable I went back over with a coat of a Satin clear coat and that really did the trick!
Once dry you can assembly your tray just the way you like it!

The greenery adds the final touch – so pretty! This greenery dries beautifully and keep it’s color. You wouldn’t even know it was dry until you touch it.


I’d love to hear how your finished product turns out! If you take a picture I’d love you to tag me on Instagram (#theprojectlady)!
No Comments