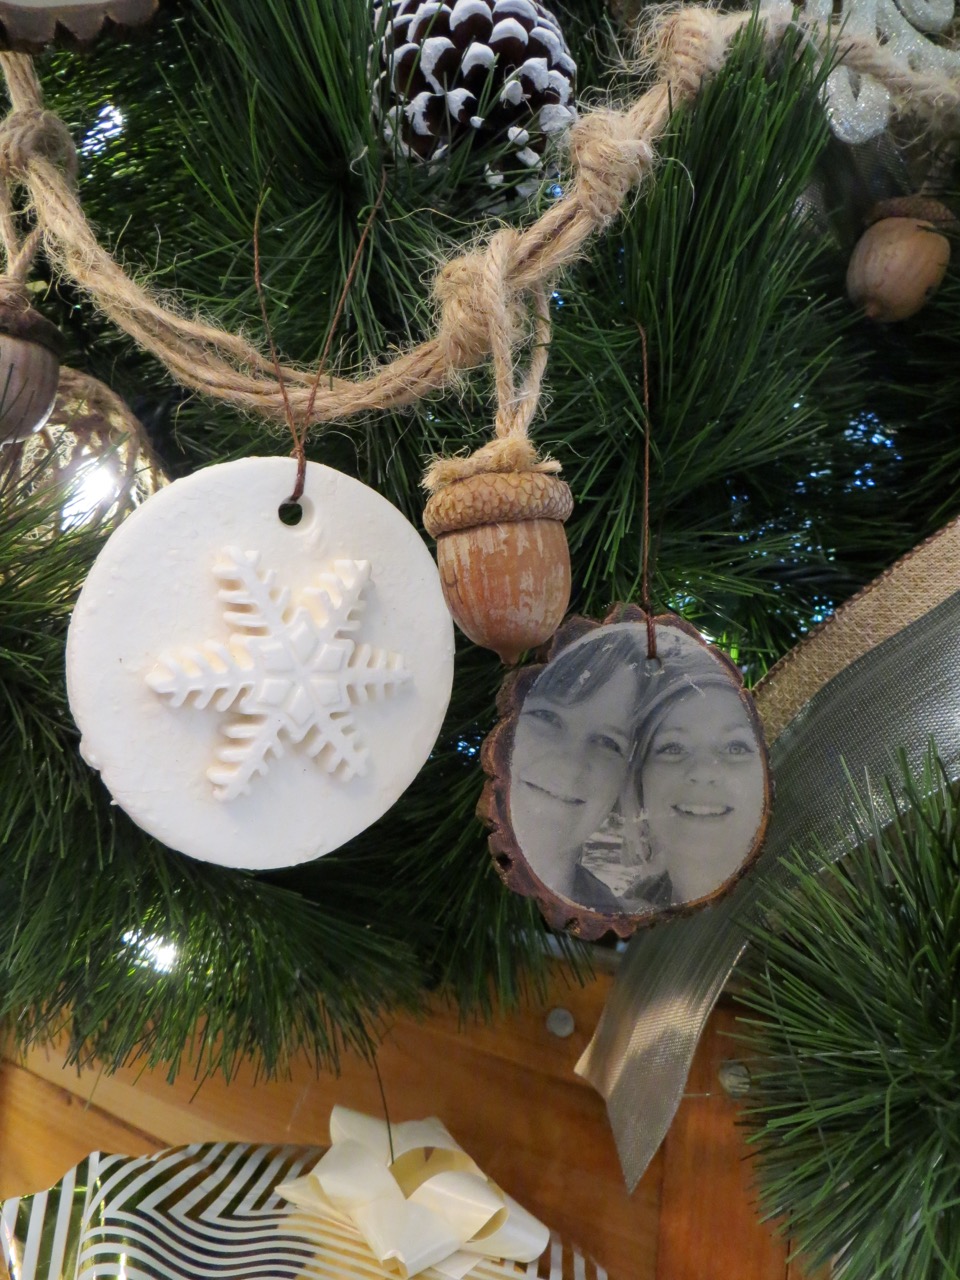
Welcome to Part 1 of my Christmas Tree Ornament Posts!
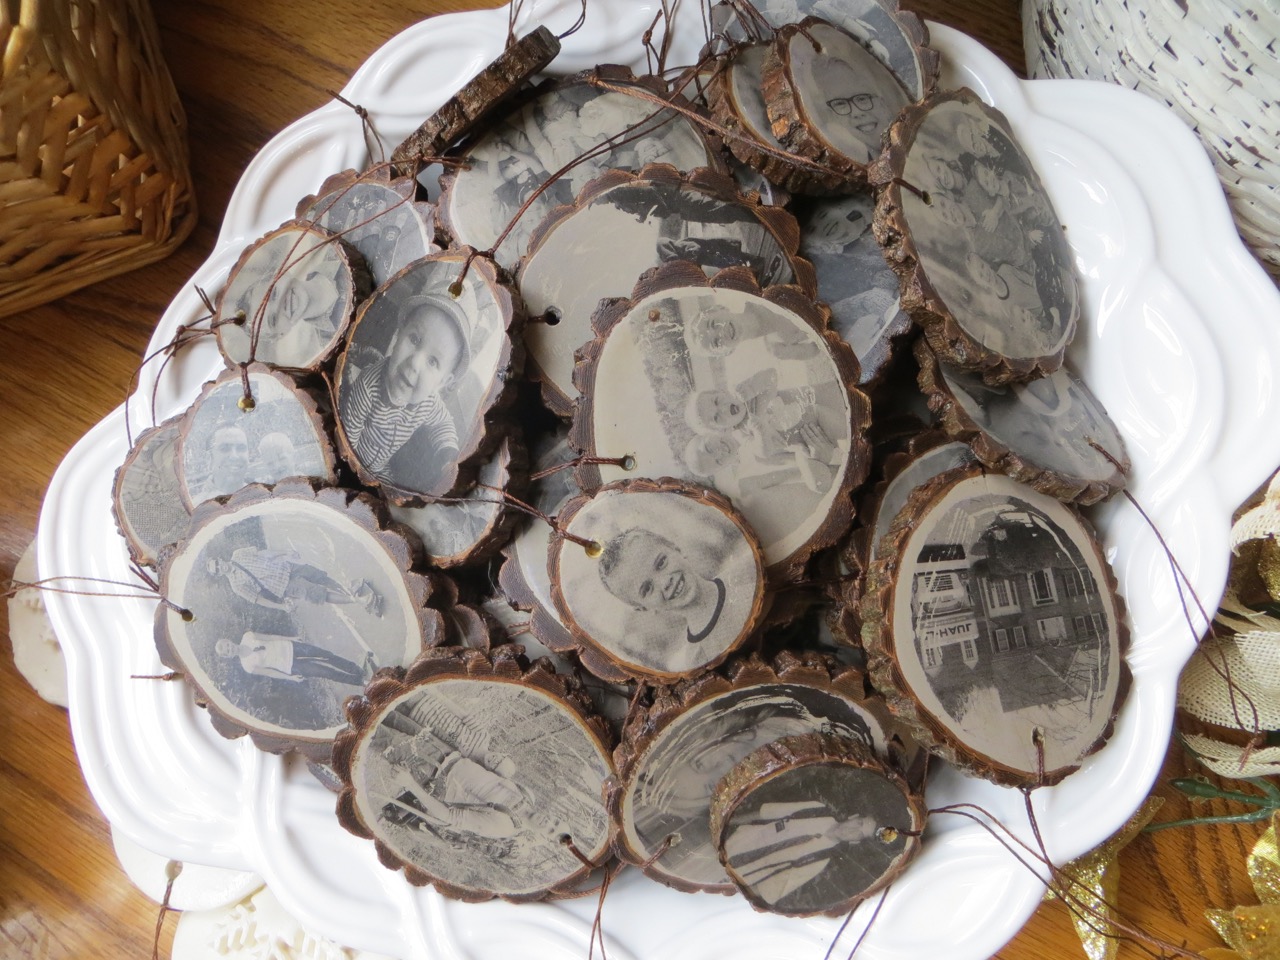
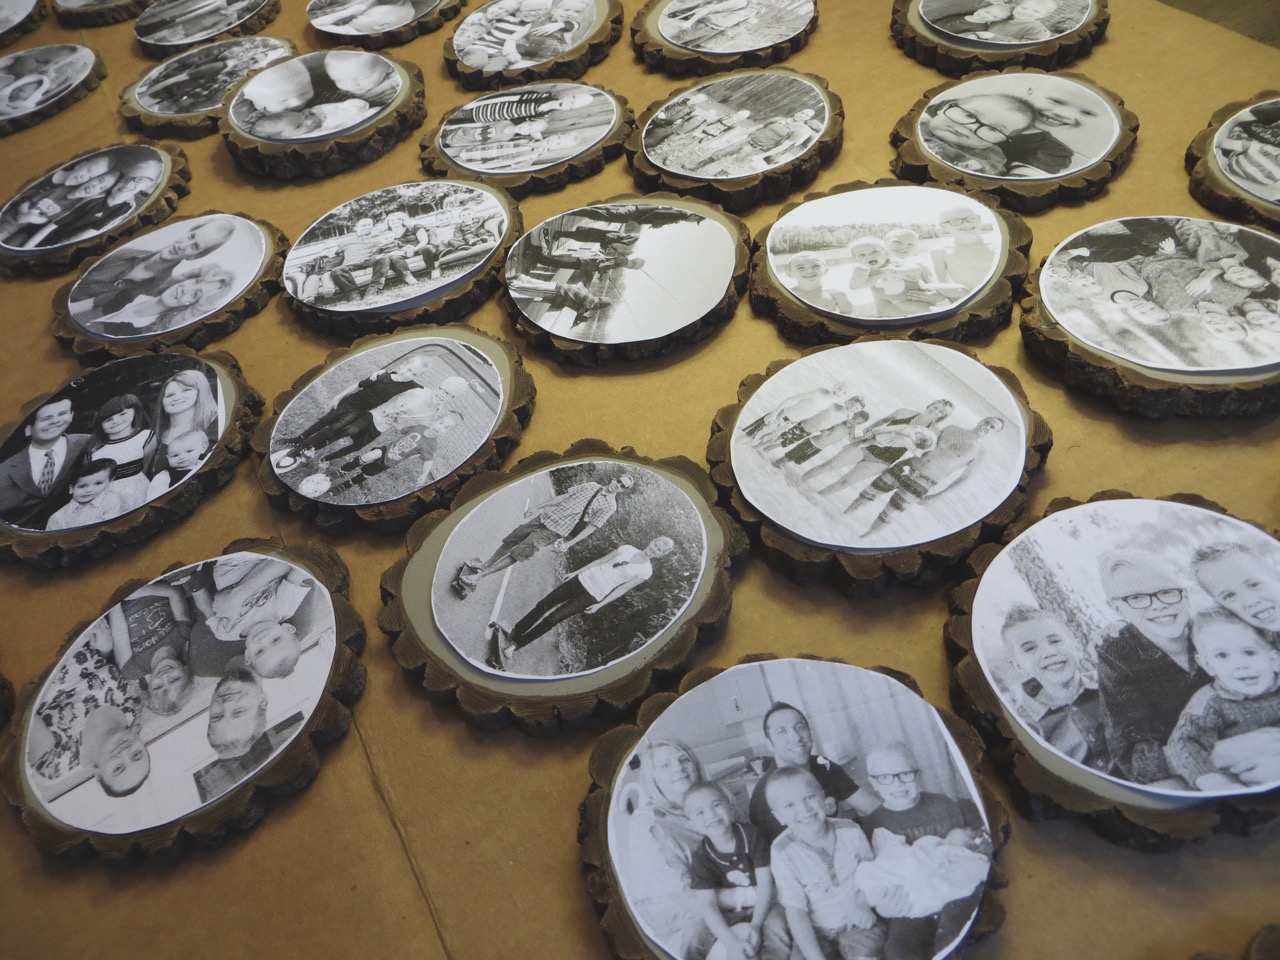
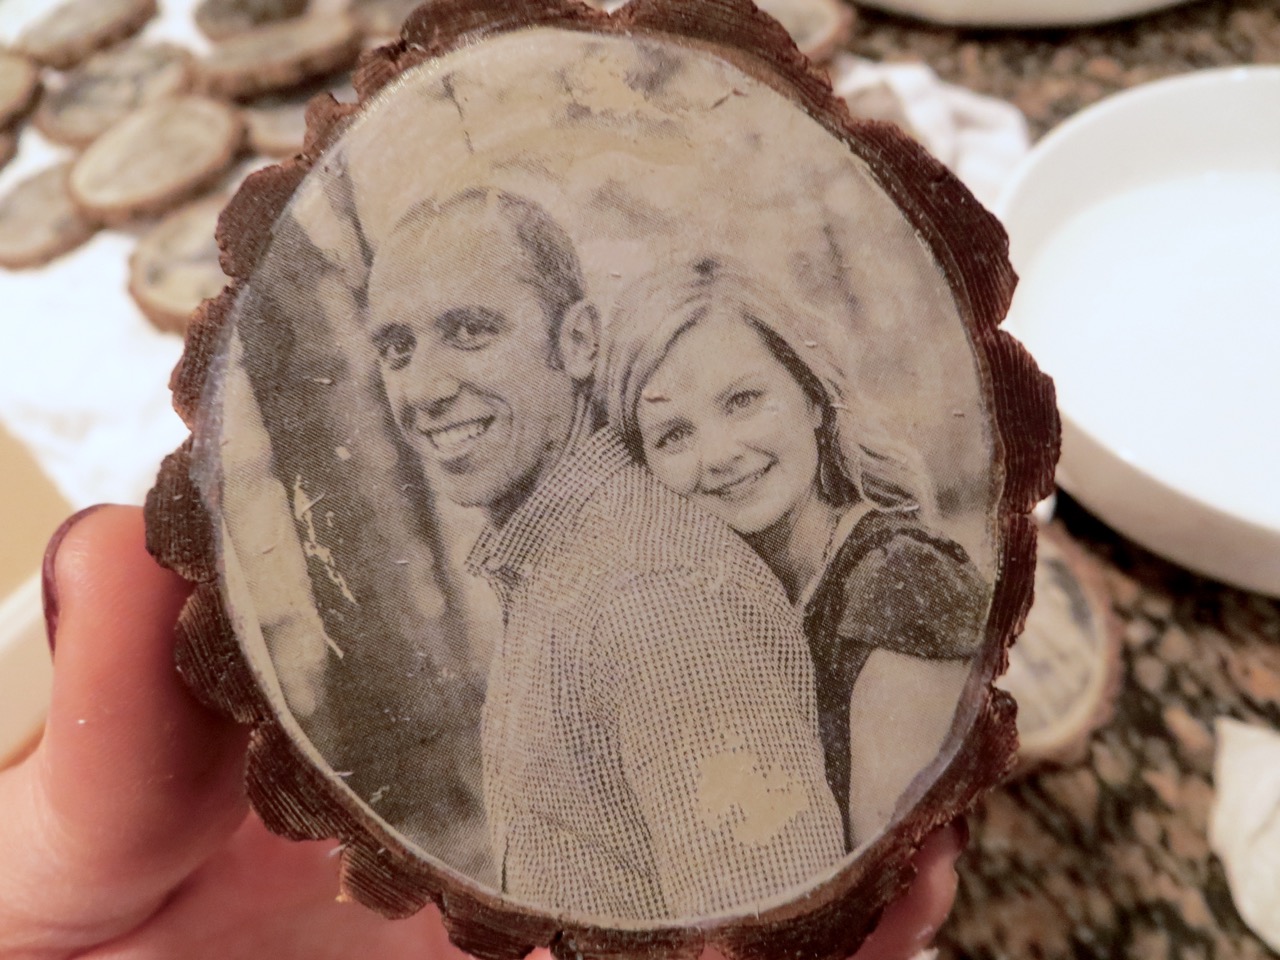
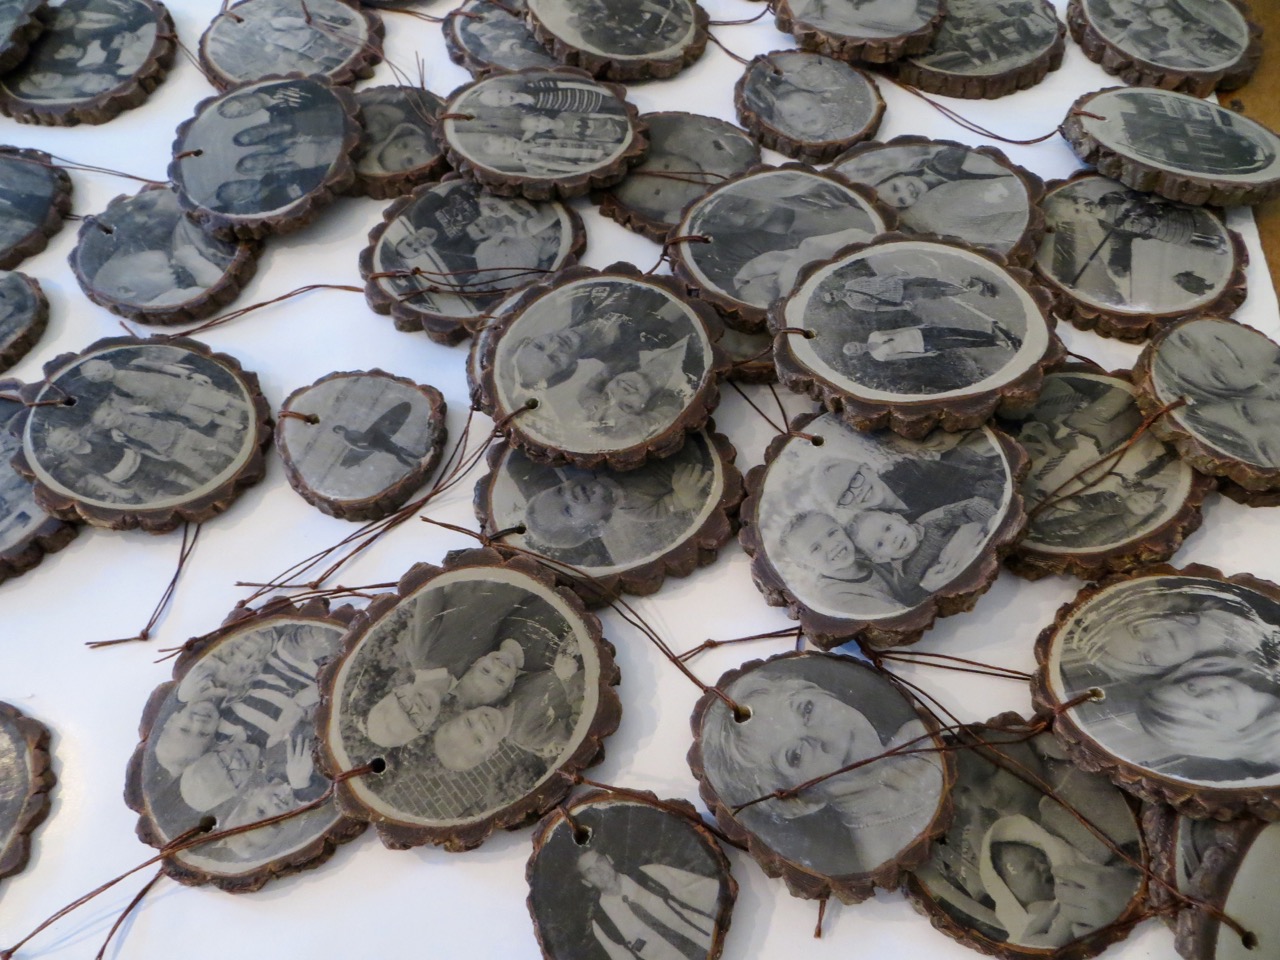
I’m going to show you how you can transfer photographs/images onto wood* slices for making your own ornaments. Because we live so far from family I really wanted to have ornaments that sparked memories for the kids. I probably overdid it by how many photographs I chose but I couldn’t help it! I made sure we had Grandparents, Great-Grandparents, Cousins and Aunts/Uncles of the kids’ to display along with pictures of our own little family. The kids love the ornaments and I catch them looking at them all the time.
*I haven’t tried transferring photographs to anything except wood but you should be able to transfer to anything that the Acrylic medium will stick to.
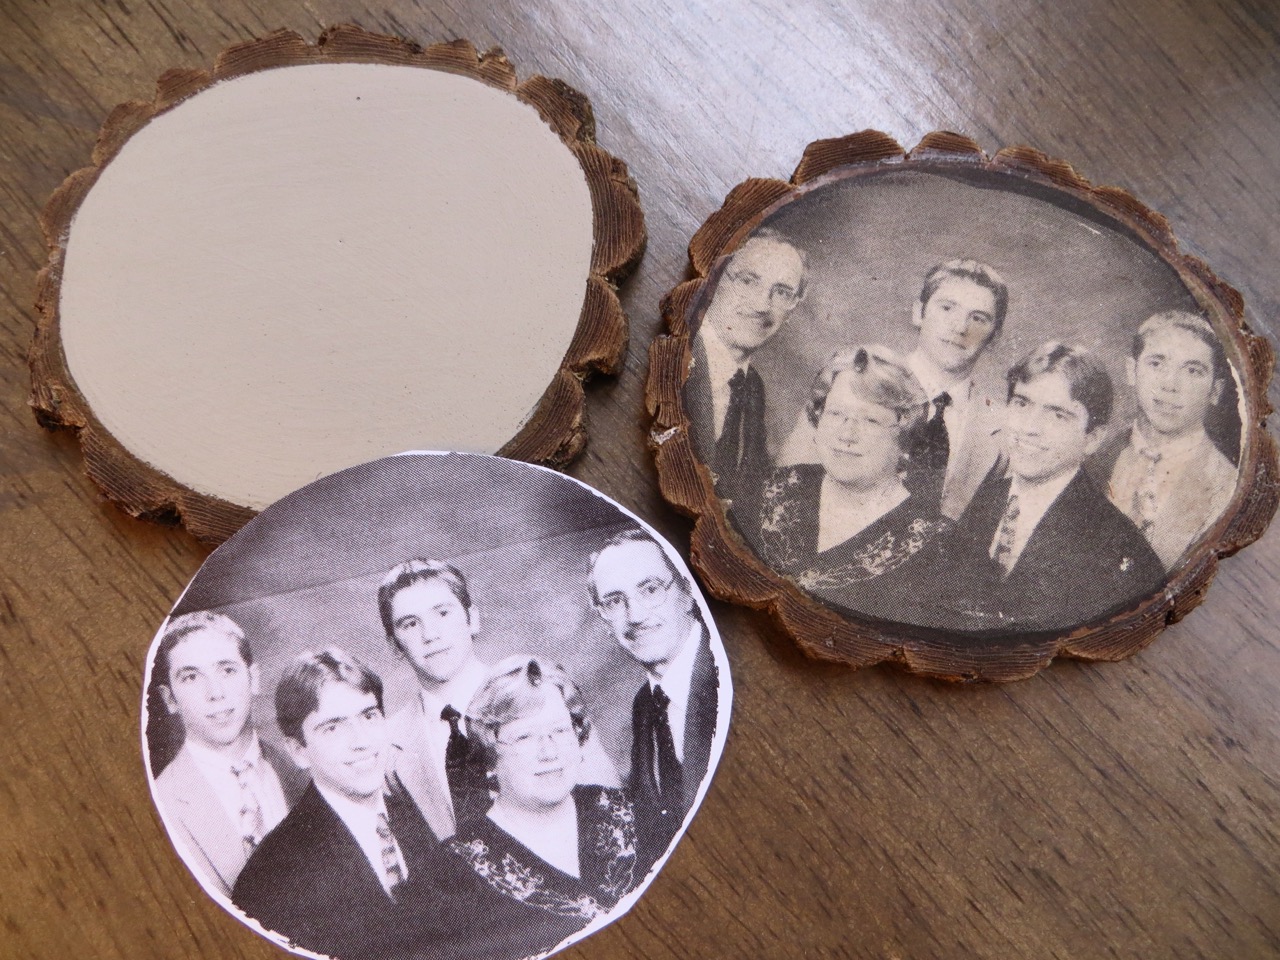
I wanted my ornaments to look like old newspaper clippings but you can make yours look completely different by printing in color and/or using a different background paint color. The picture above illustrates what my printed images looked like vs. the image after being transferred onto a taupe background. Notice that the image is transferred as a mirror-image. If you care, you’ll want to flip your images in settings before printing.
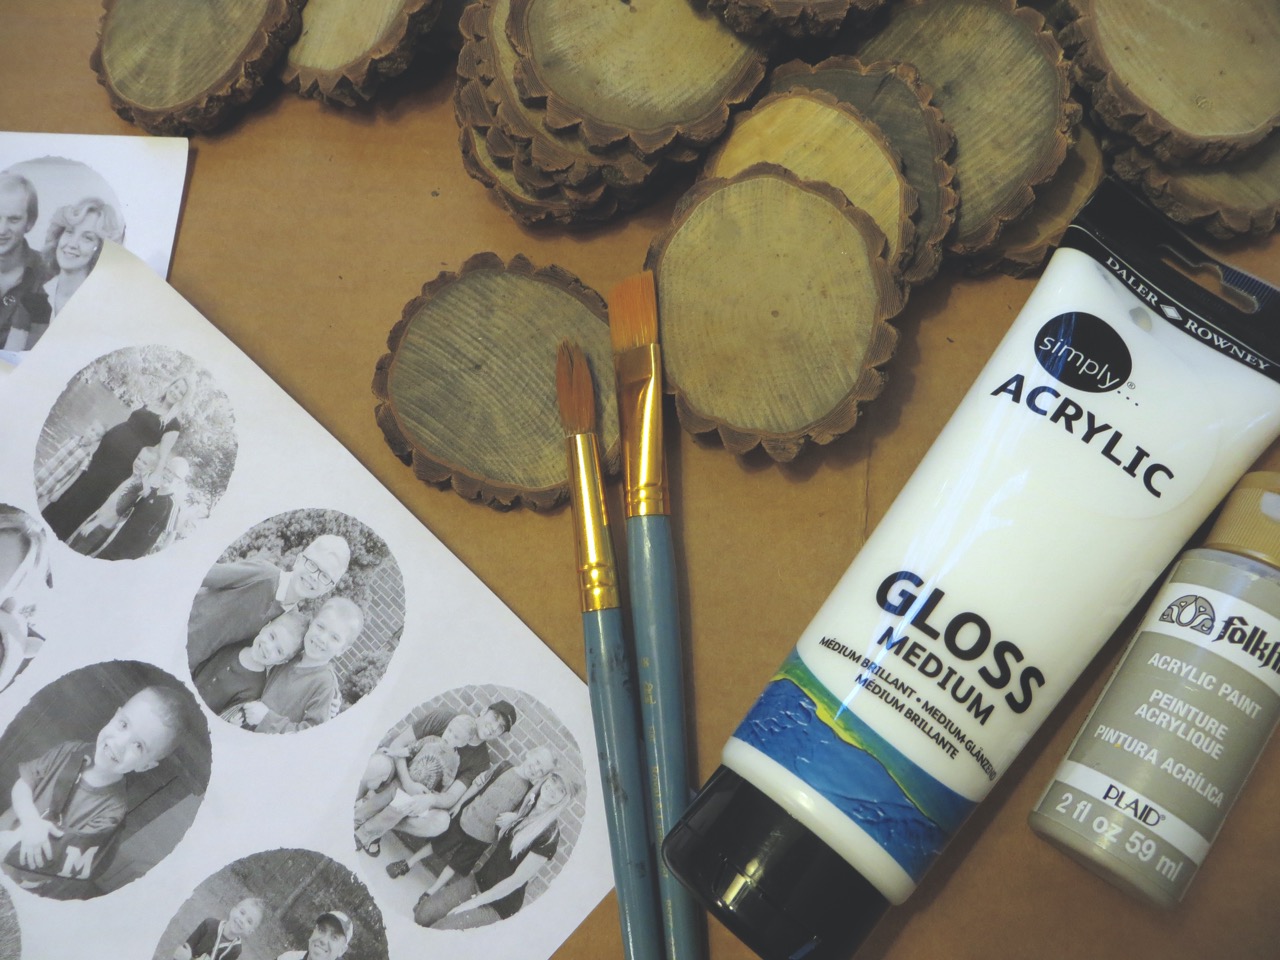
SUPPLIES NEEDED:
-Wood Pieces
-Laser Printer with Photograph Images (Mirrored)
-Acrylic Gel Medium*
-Acrylic Paint (Light Shade)
-Modge Podge
-2″ Foam Brush
-Art Paint Brushes (Medium Sized)
-220+ Grit Sandpaper or 0000 Steel Wool
-String for Hanging
*I bought my Acrylic Medium at Wal-Mart in the Paint/Art section for $3.50!
*I bought my Acrylic Medium at Wal-Mart in the Paint/Art section for $3.50!
TOOLS NEEDED:
-Drill with 1/8″ Bit
I used 2″ to 3″-wide branches and cut 3/8″-thick slices for my wood pieces. If this isn’t an option for you, you should be able to find something at your local craft store.
Once you know the size wood pieces you are using you can size your photographs to ensure they’ll fit well. If you only have a handful of ornaments you can do trial and error by scaling your images with your printer settings.
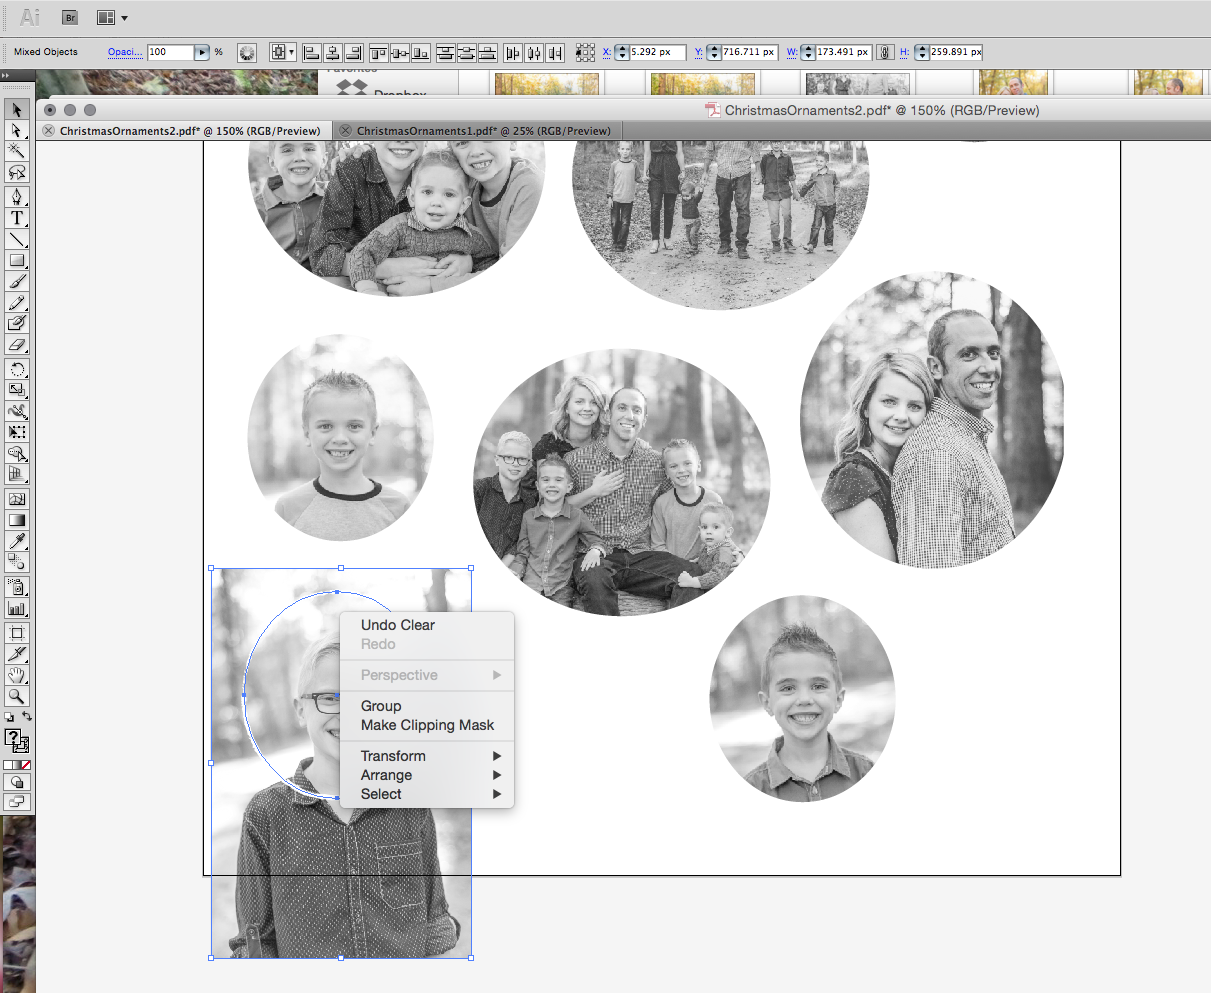
I pulled all my images into Ai, made a shape the size of my wood pieces and re-sized each image until it fit inside that shape how I liked. You can see above how I selected the shape+image together and right-clicked.
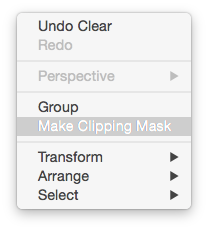
When you choose ‘Make Clipping Mask’ your image will be ‘clipped’ to fit inside the object.
Because I had a few sizes for my wood slices I made different shape sizes to clip my various pictures. For groups of people I used larger shapes and head shots were smaller.
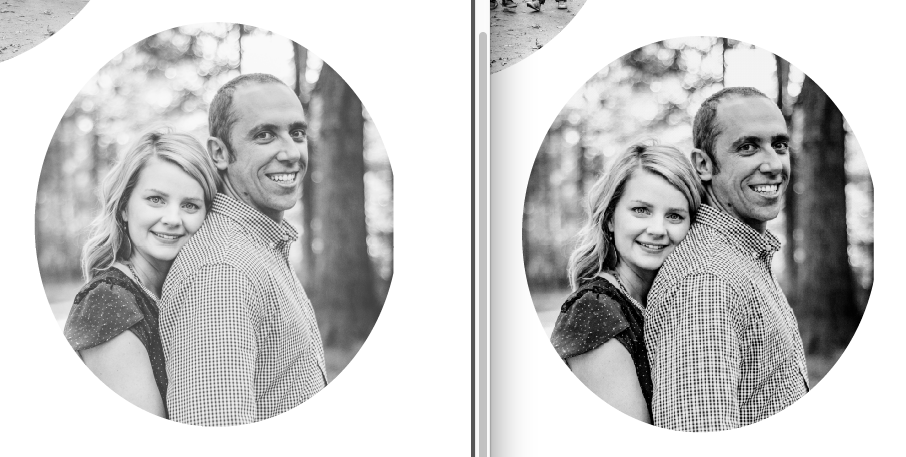
I darkened my images (right) so they’d stand out better.
Be sure to print with a laser printer with no-page scaling.
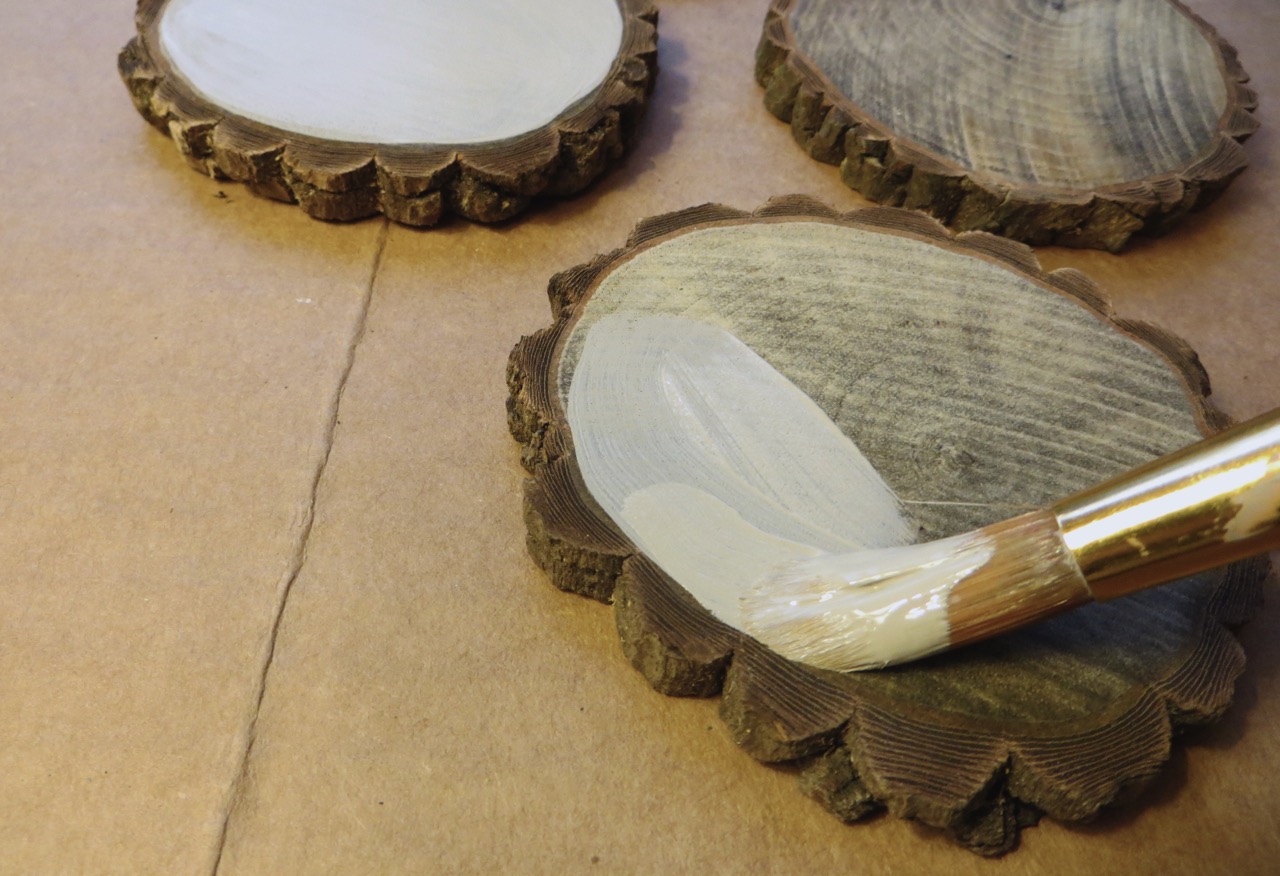
Paint the top side of your wood pieces with your light-colored paint. I chose a light taupe because I didn’t like the stark contrast that white created (I did a test ornament to discover this). Let dry and do a second coat.
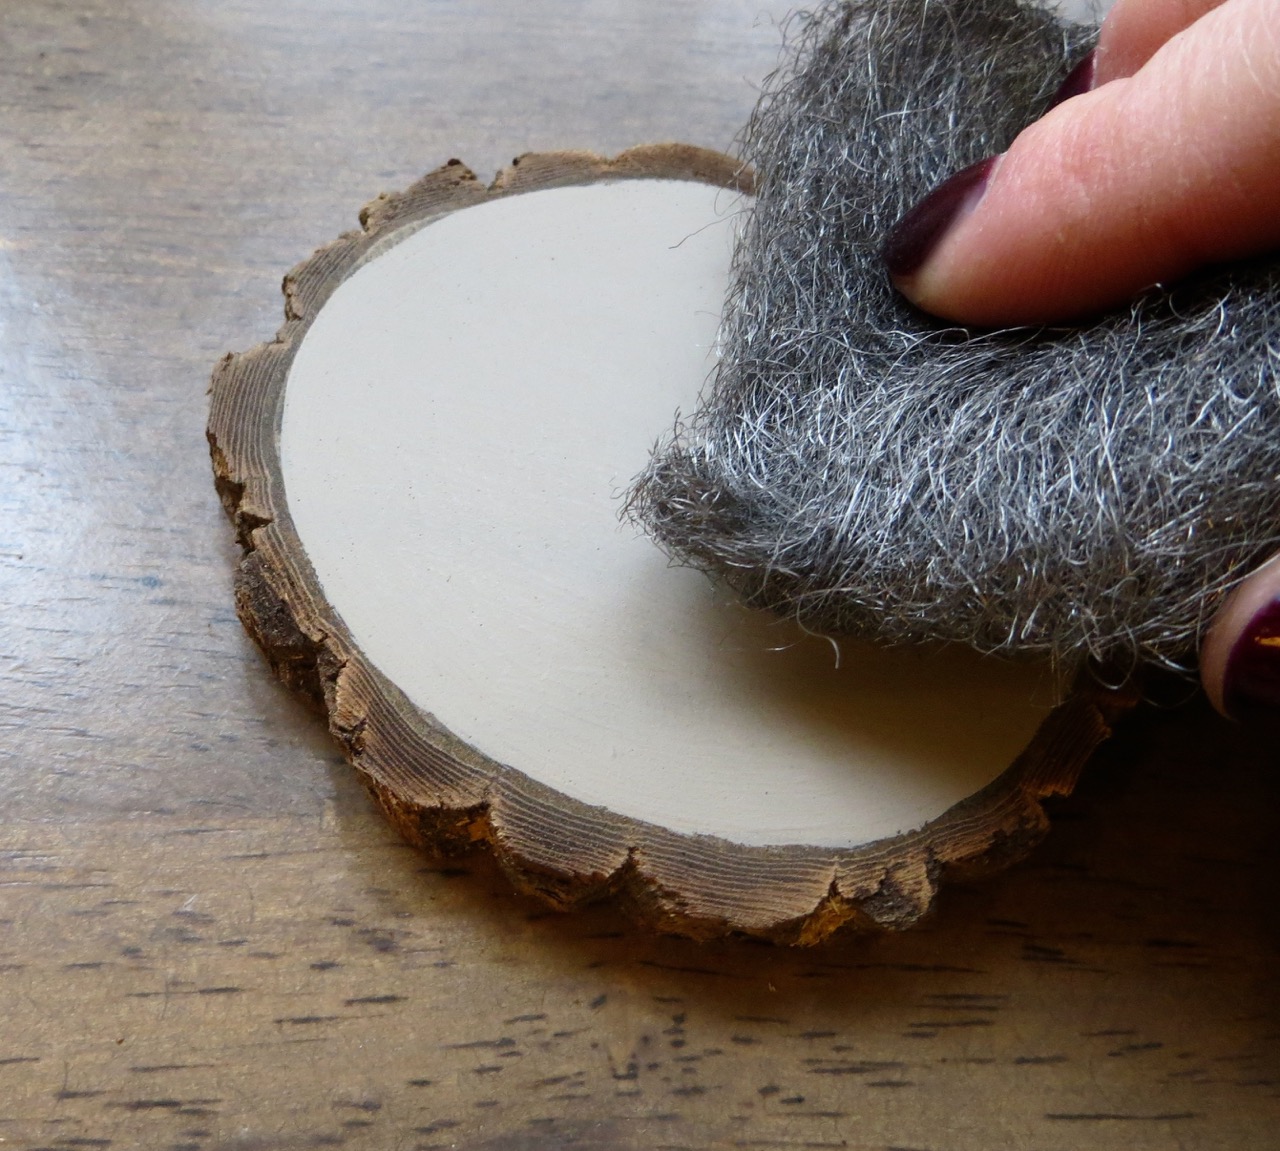
Use 220+ grit sandpaper or 0000 steel wool to smooth your painted surface once it has dried.
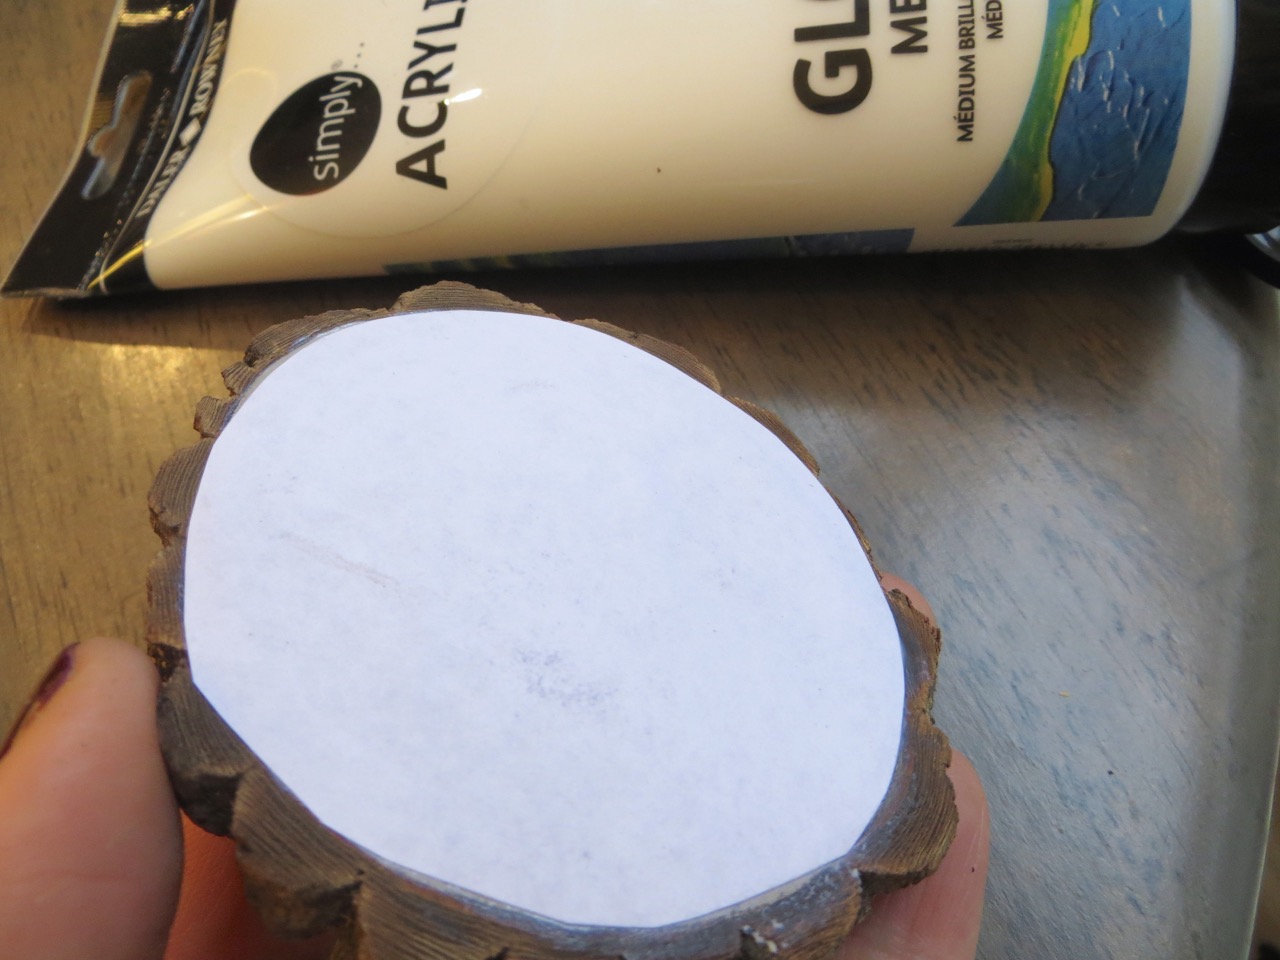
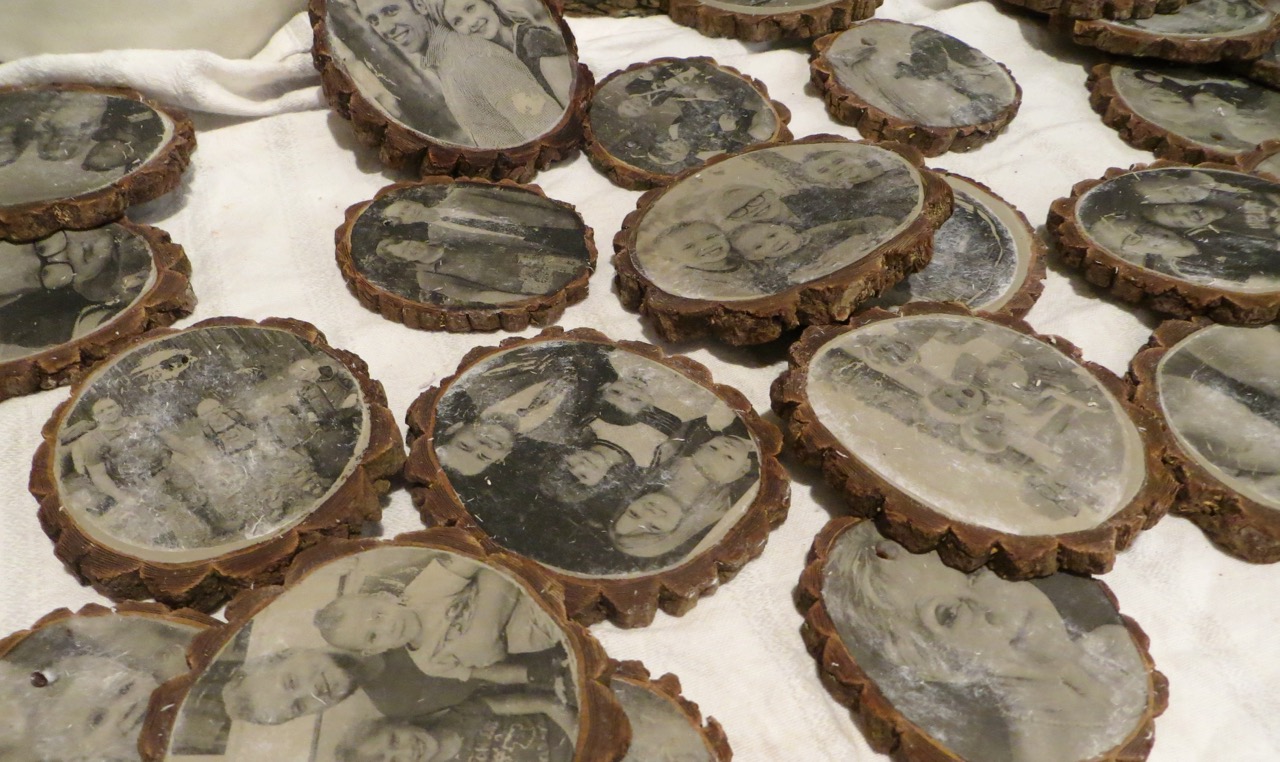
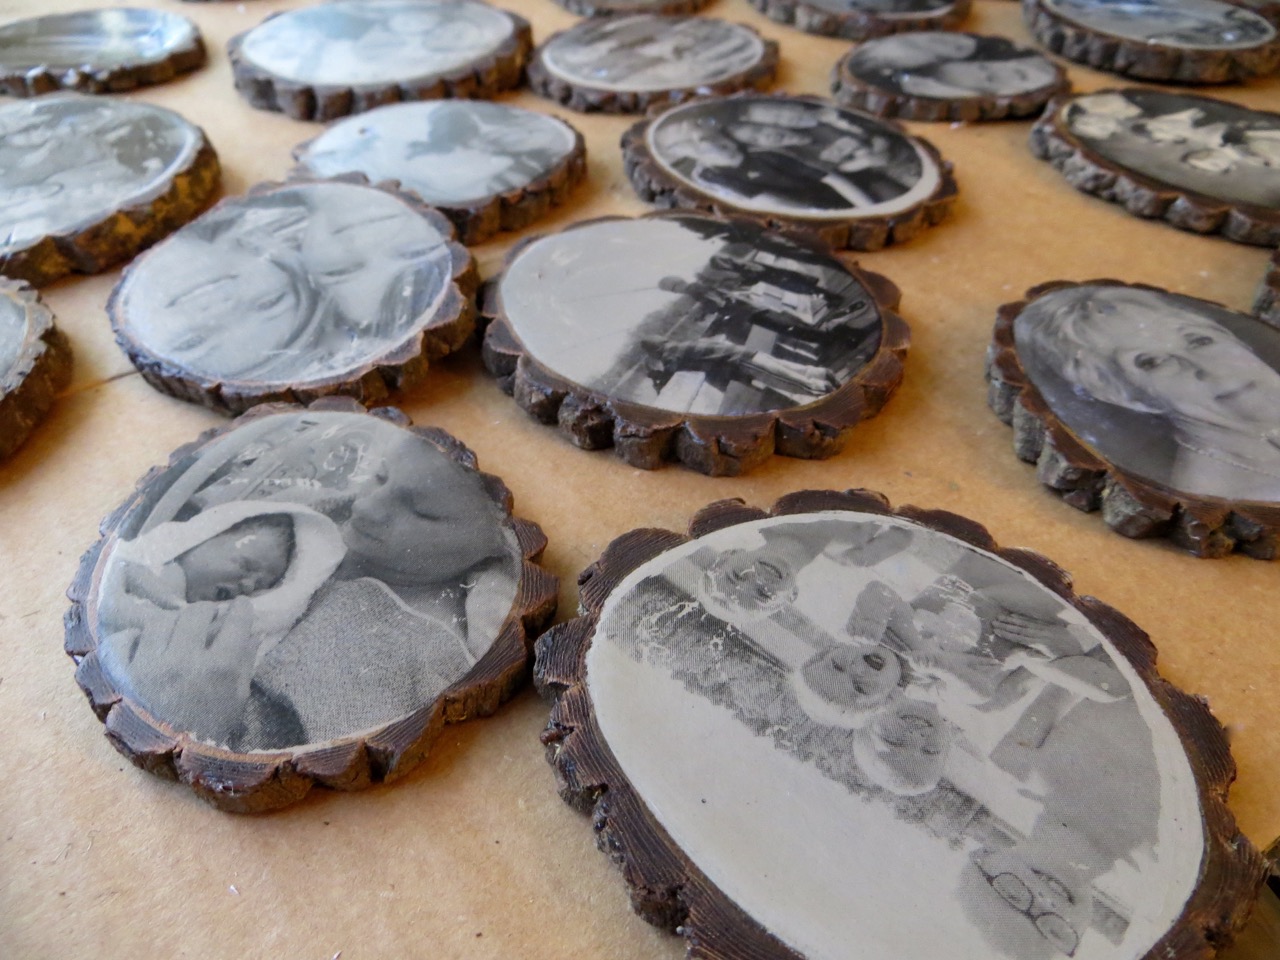
Cut your photographs to fit your wood slices.

Spread a nice layer of Acrylic Gel over your painted area. You want it to be thick enough that the paper will stick well but not so thick that the paper slides around when you place it down.
I press down in the center and move my finger around in a circle going outwards to avoid trapping bubbles. Press your paper down well – use something flat to roll across the top. Let dry for 4+ hours.
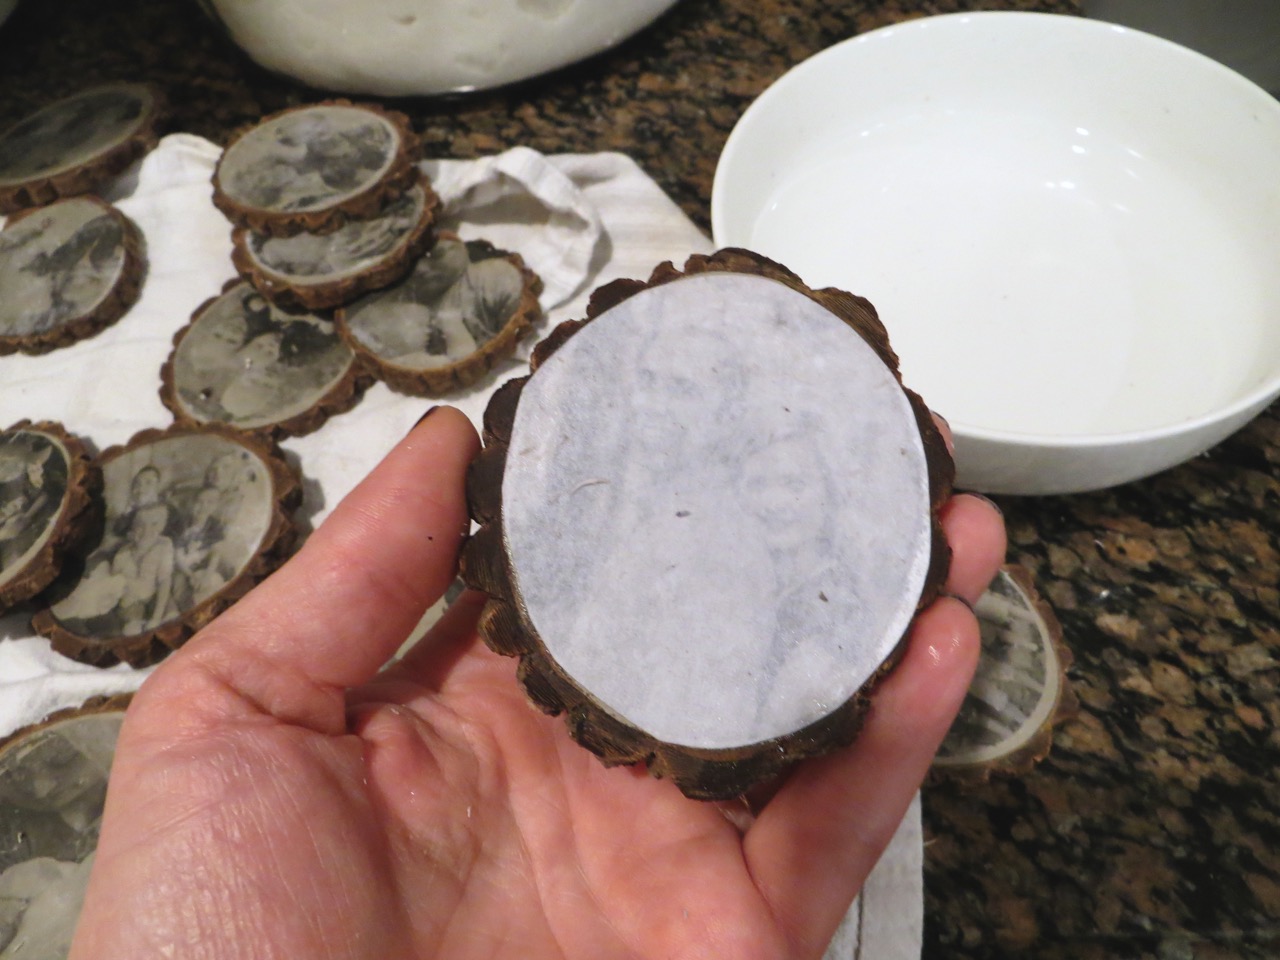
After the Acrlyic has had time to dry, wet your fingers with warm water and rub your paper until it is slightly wet.
Let the water soak in for 30 seconds, wet your fingers again and start rubbing the paper away.
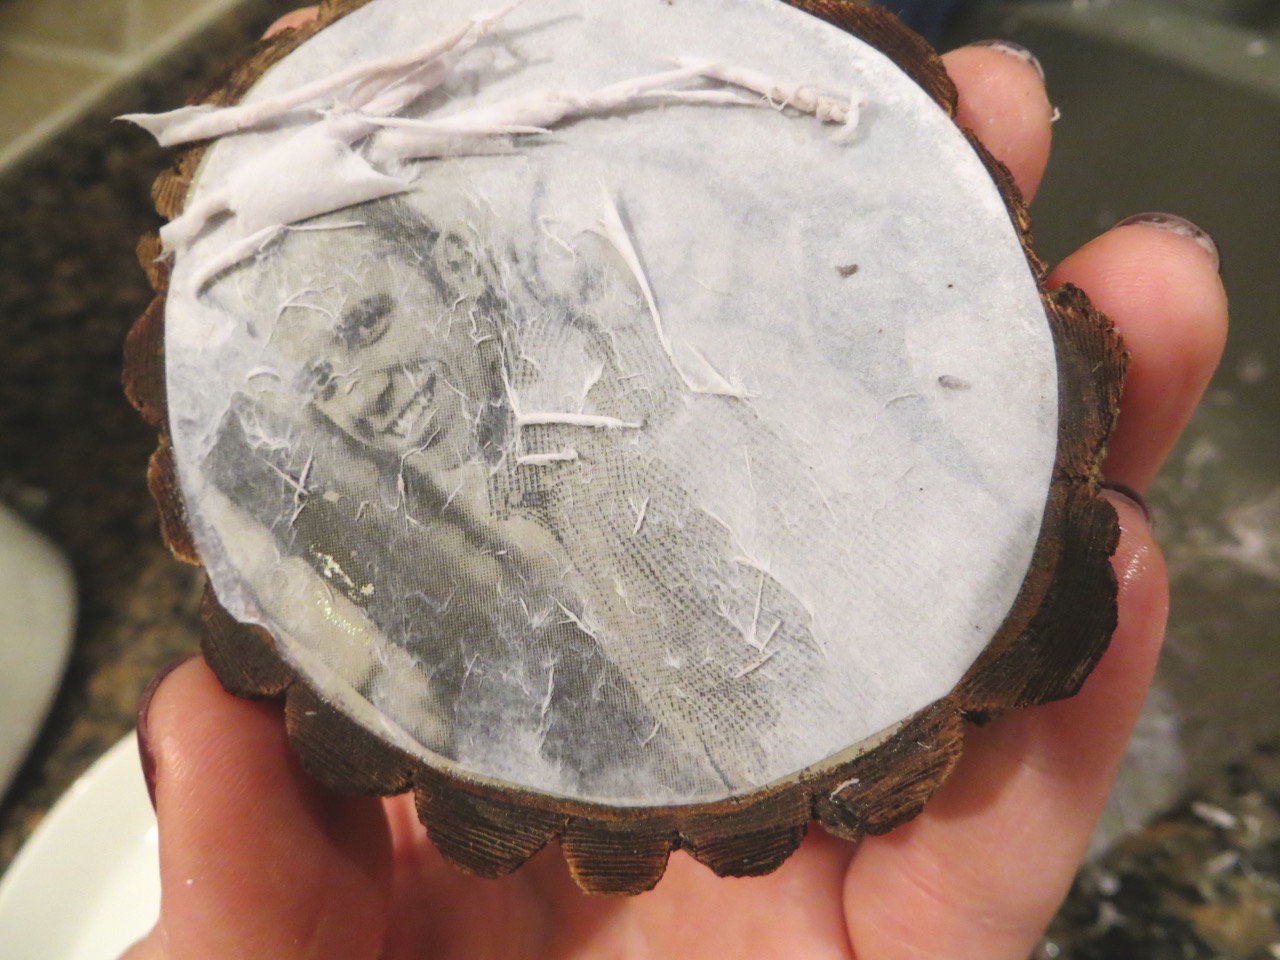
Re-wet your fingers as necessary and keep rubbin until all the paper is gone.
After the tops have dried you may notice a thin film of paper is left. Re-wet and rub until you feel it is gone.
Apply a thin coat of Modge Podge over your images. Let dry.
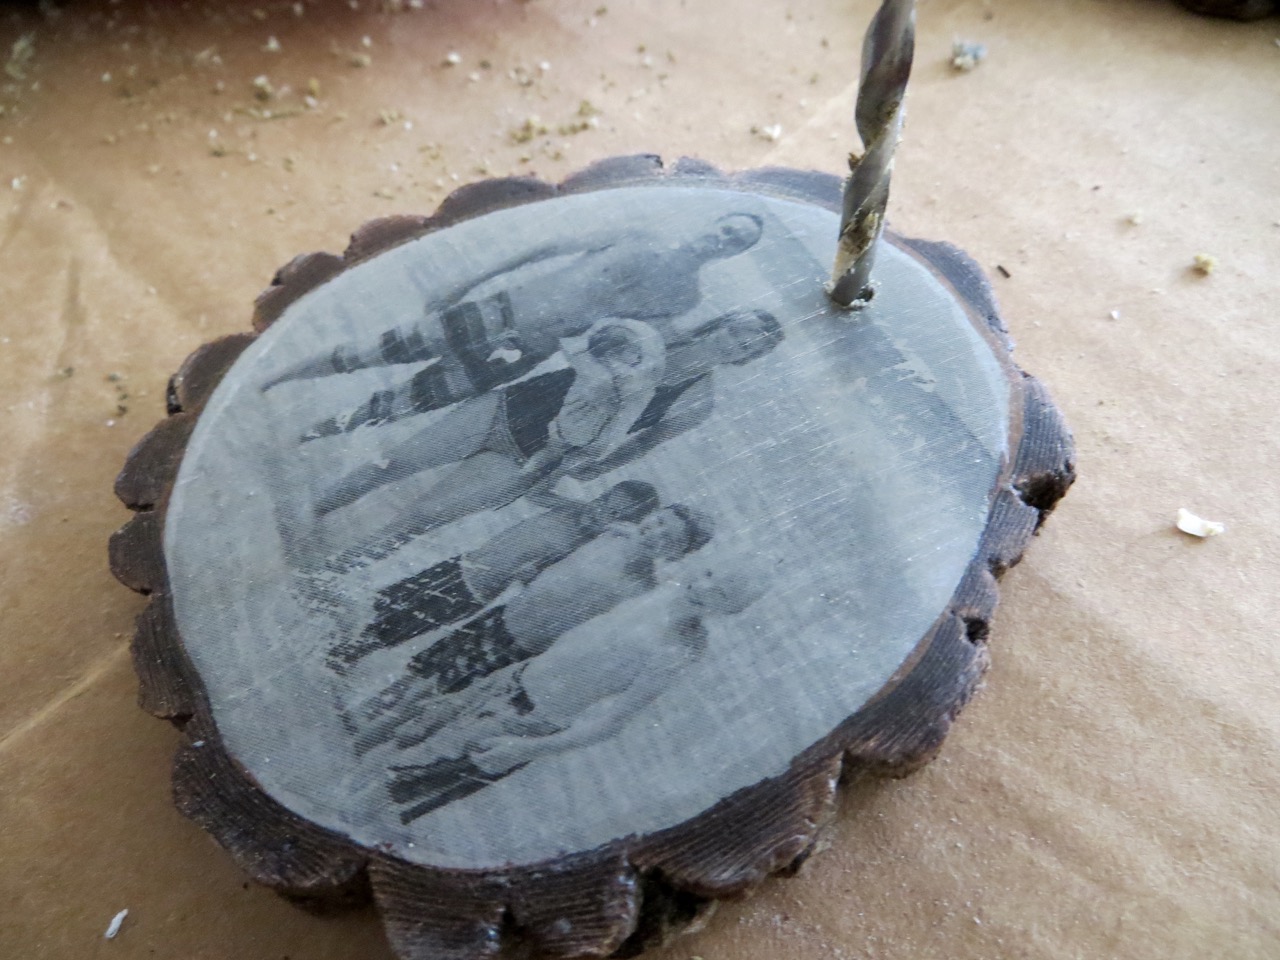
Drill holes at the tops of your ornaments (about 1/2″ from the edge) with your drill and 1/8″ bit. TIP: drill into scrap wood to prevent tear out on the bottom.

Lightly sand smooth with 220+ grit paper or 0000 Steel Wool. TIP: it may be tempting to skip the sanding but don’t – it will give your ornaments a nice-smooth feel! This first layer seals any remaining paper fibers so the last coat will be perfectly smooth.
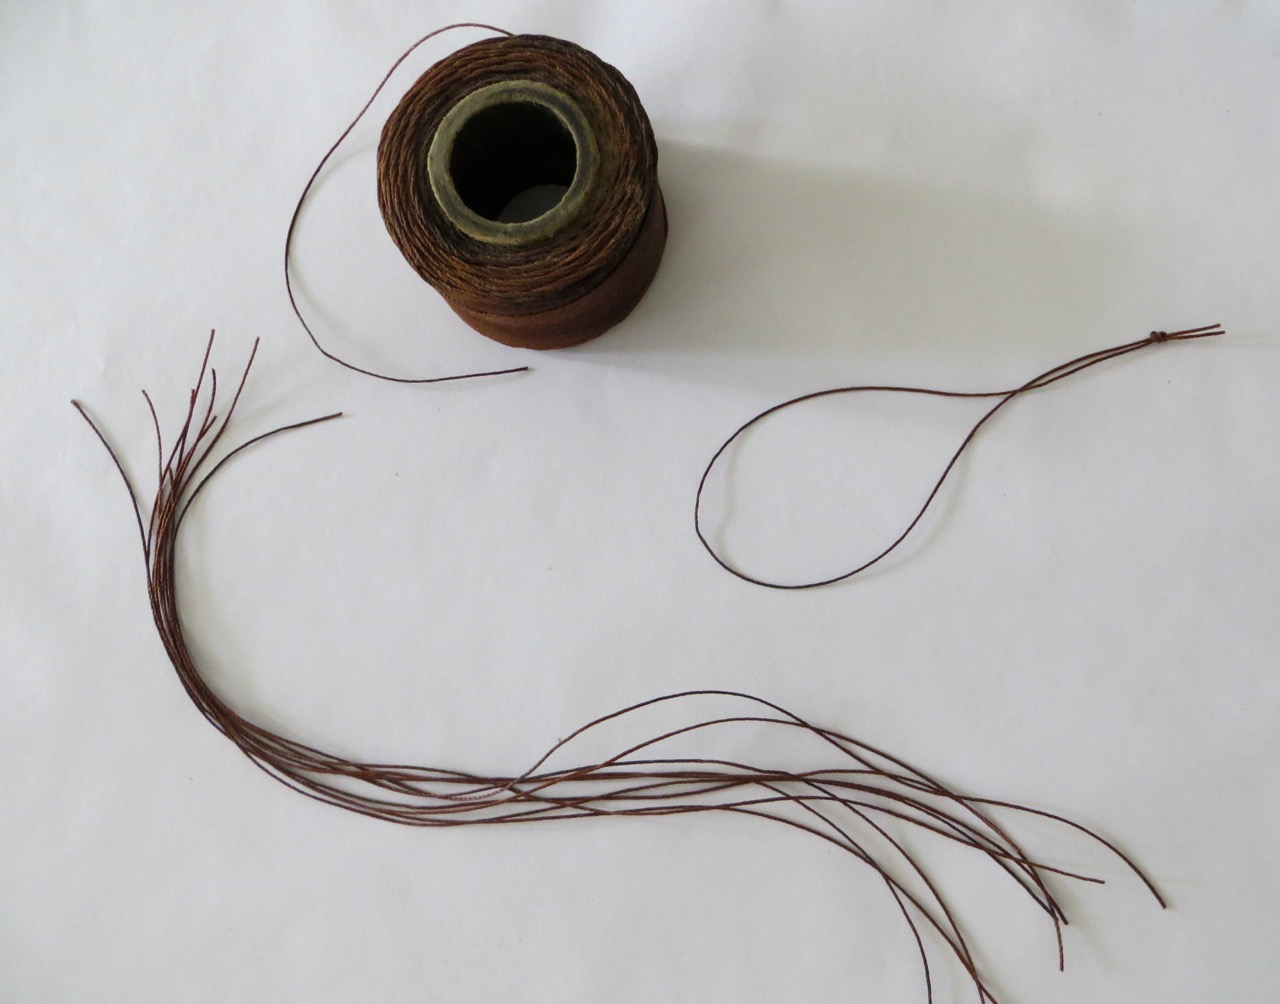
Cut pieces of string long enough to make loops for your ornaments. TIP: make sure the loops will fit on the branches of your tree.
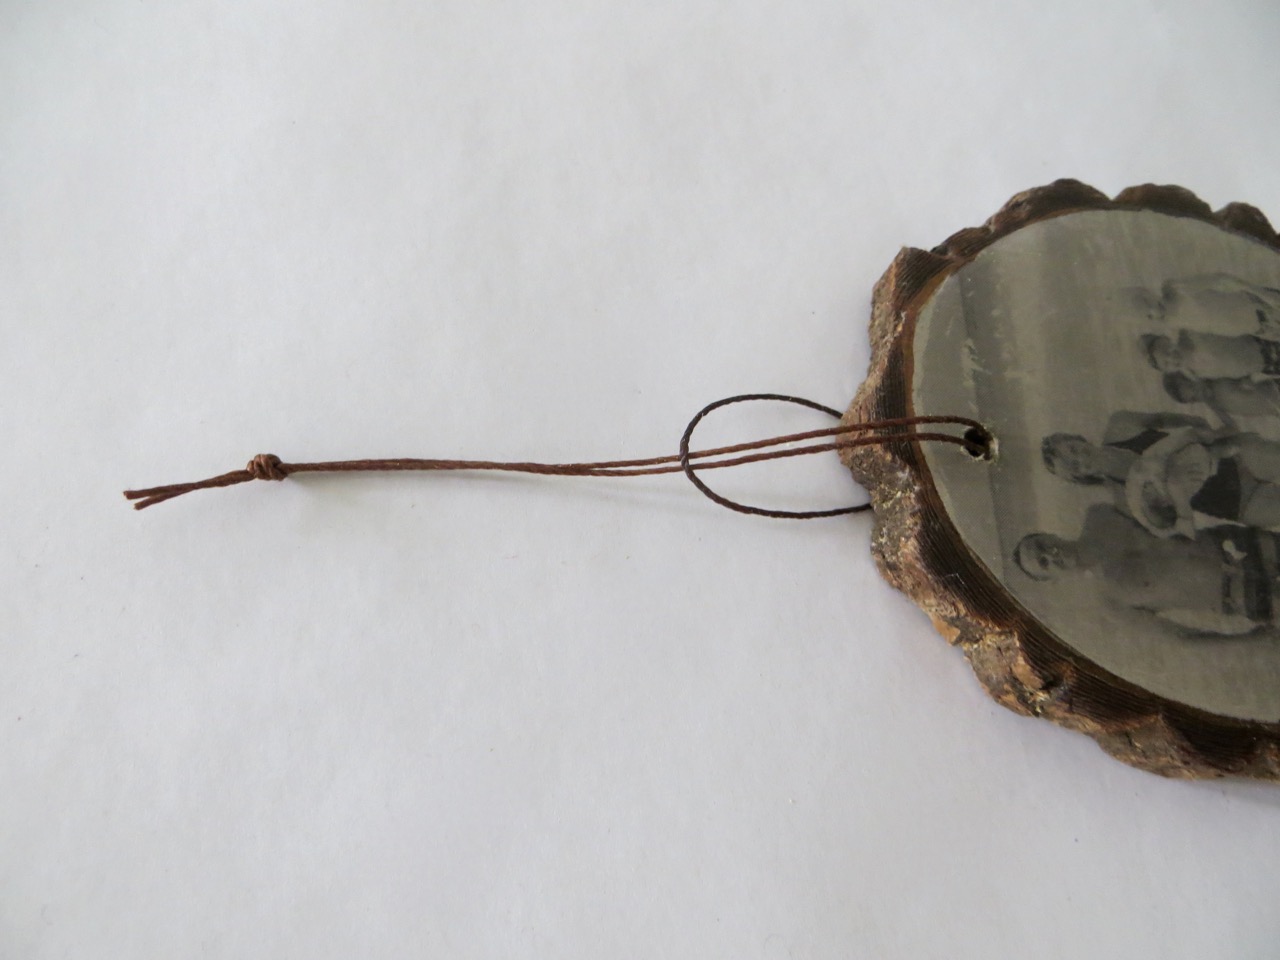
Fold string in-half and tie a knot at the top. Thread folded end through hole on ornament and put knotted end through loop and pull tight. This type of hanger allows the ornament to hang oriented the right way on the tree.
I wanted to seal and protect my wood pieces to keep the bark from falling off, but after brushing Modge Podge into the crevices of one ornament I realized that would get frustrating really quick.
If you have the spray Modge Podge, hang your ornaments outside and spray a few coats; otherwise…
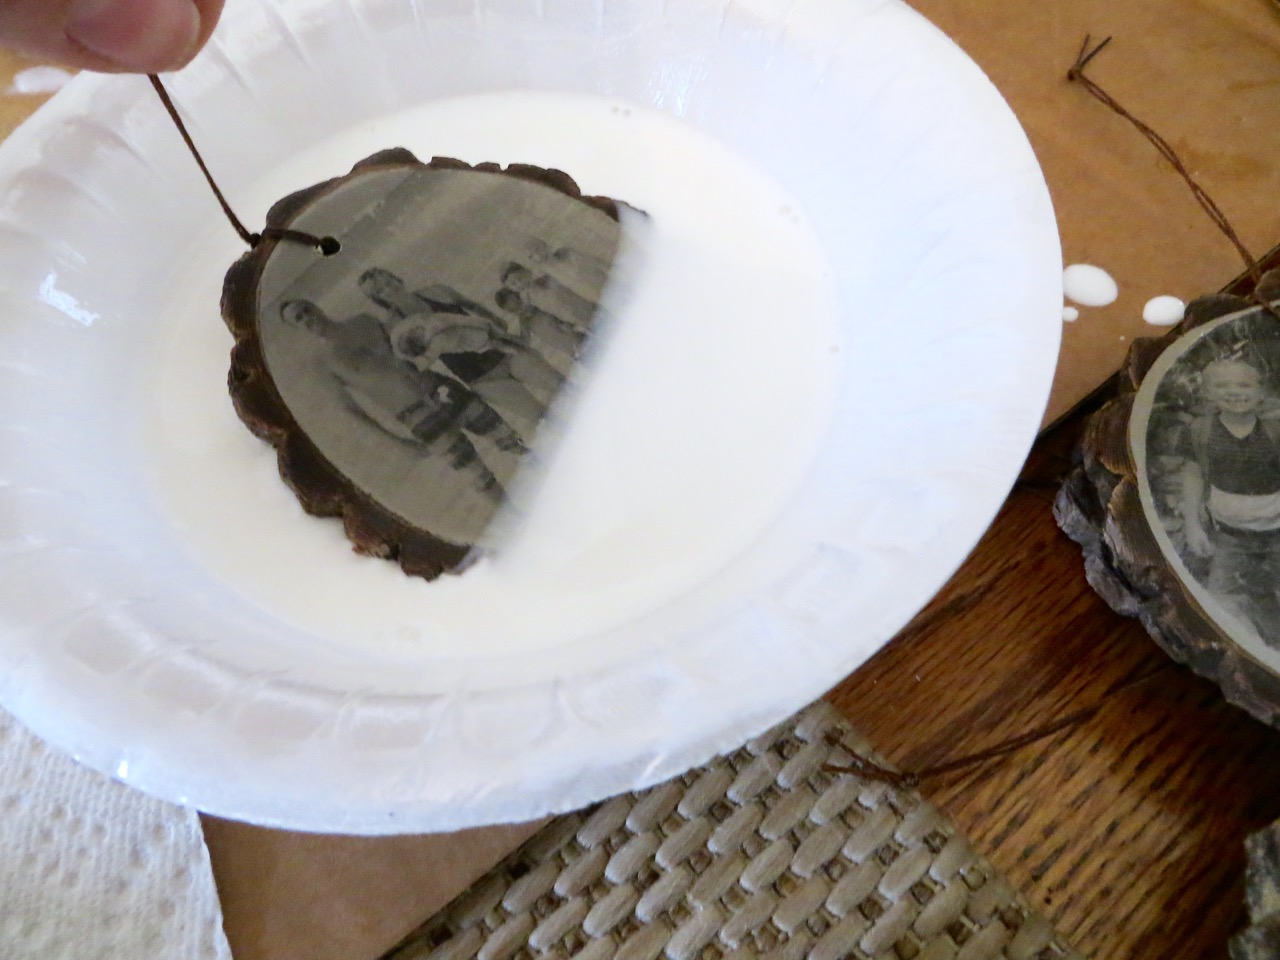
Dilute Modge Podge (I used Glossy finish) into a bowel with water using a 1:1 ratio and stir well. While holding onto the string-hanger, completely submerge ornaments into solution (except for string).
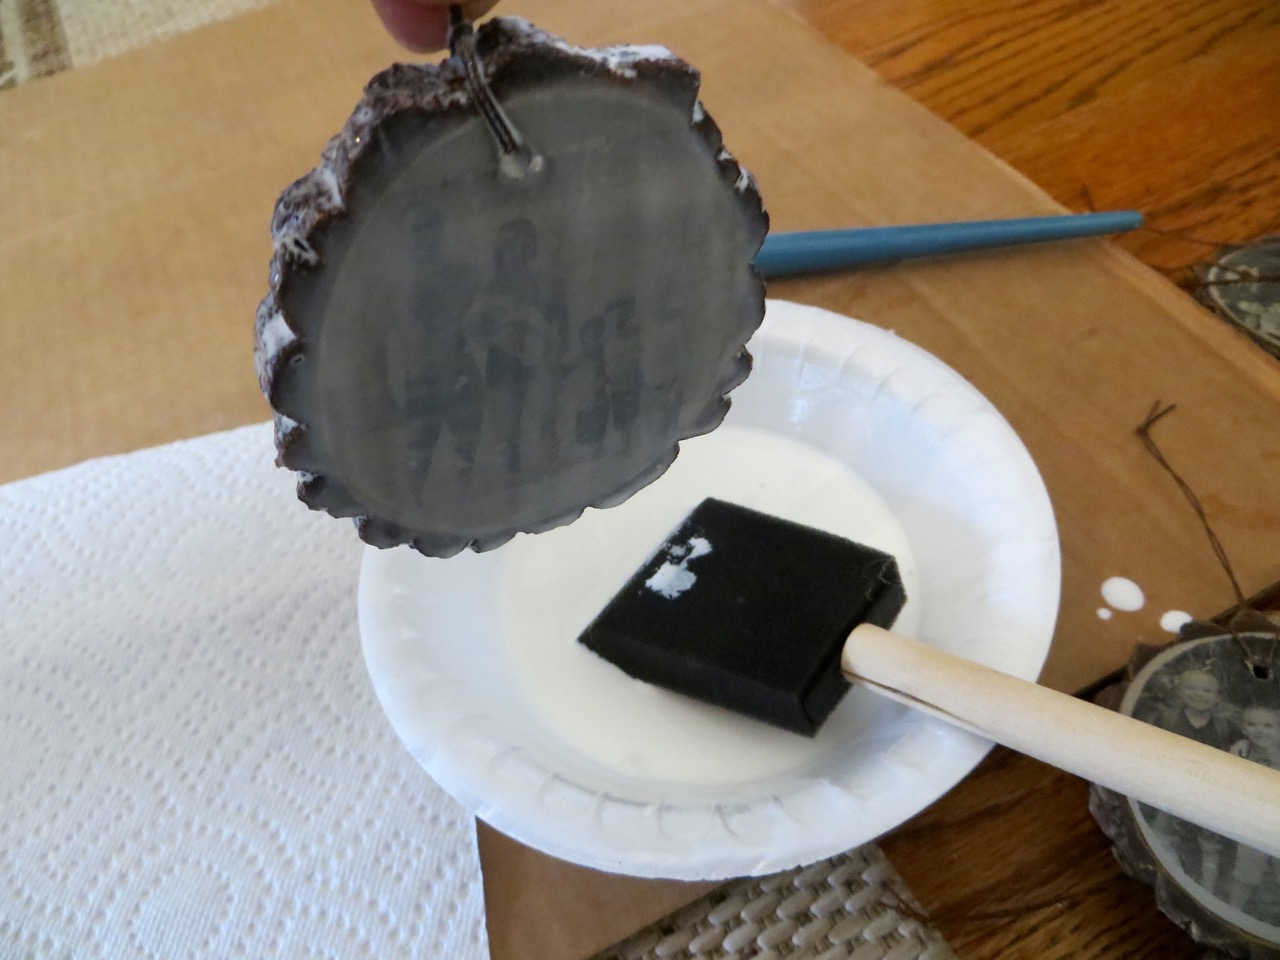
Squeegee remaining Modge Podge off each side of your wood pieces with a foam brush.
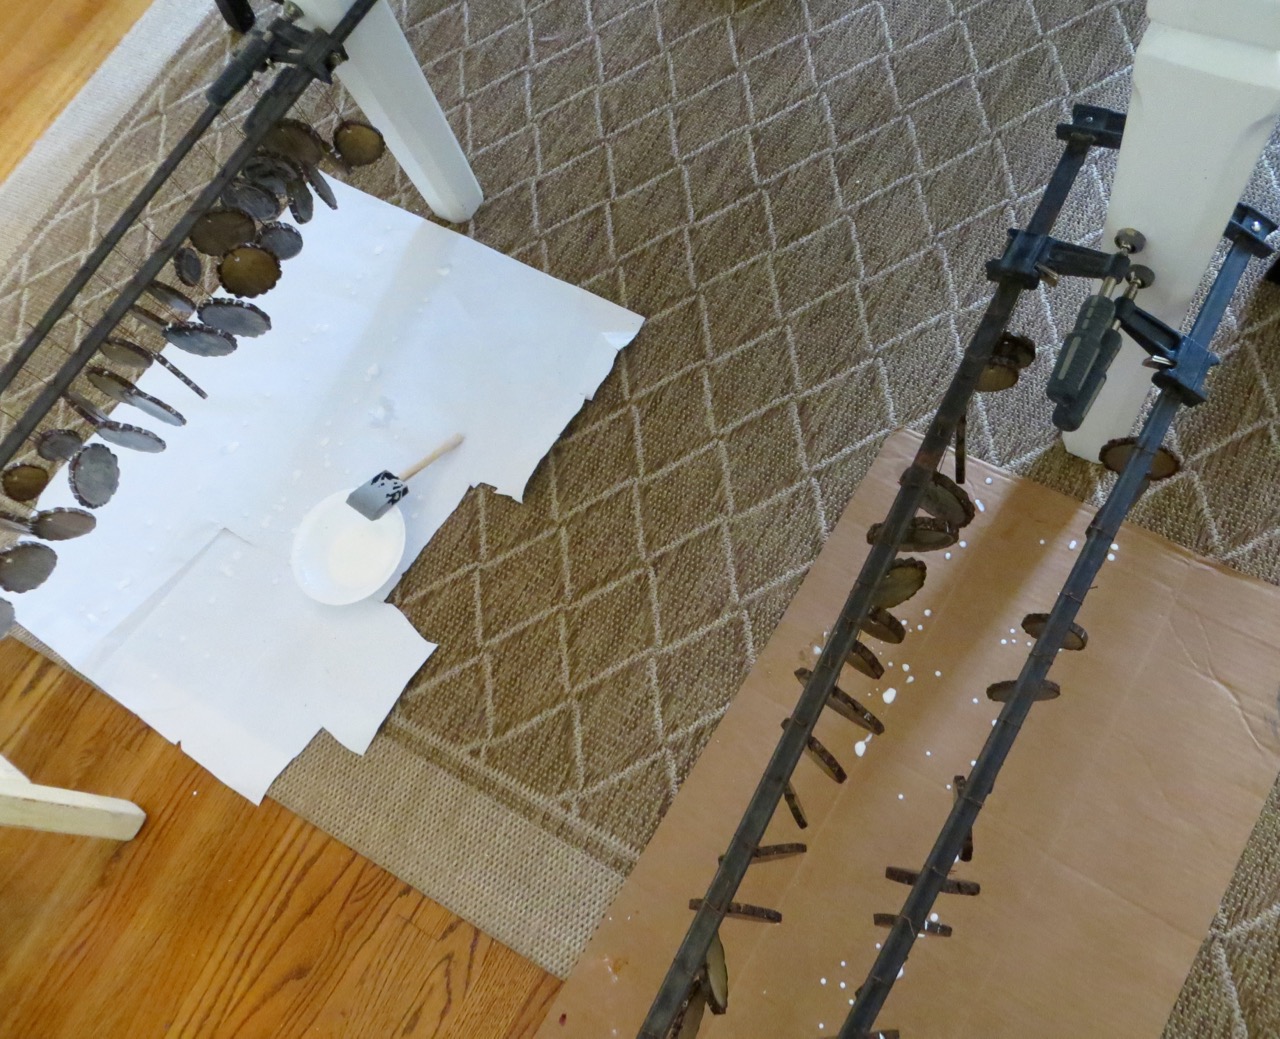
Hang ornaments to dry. I used bar clamps on my kitchen table legs! 😂
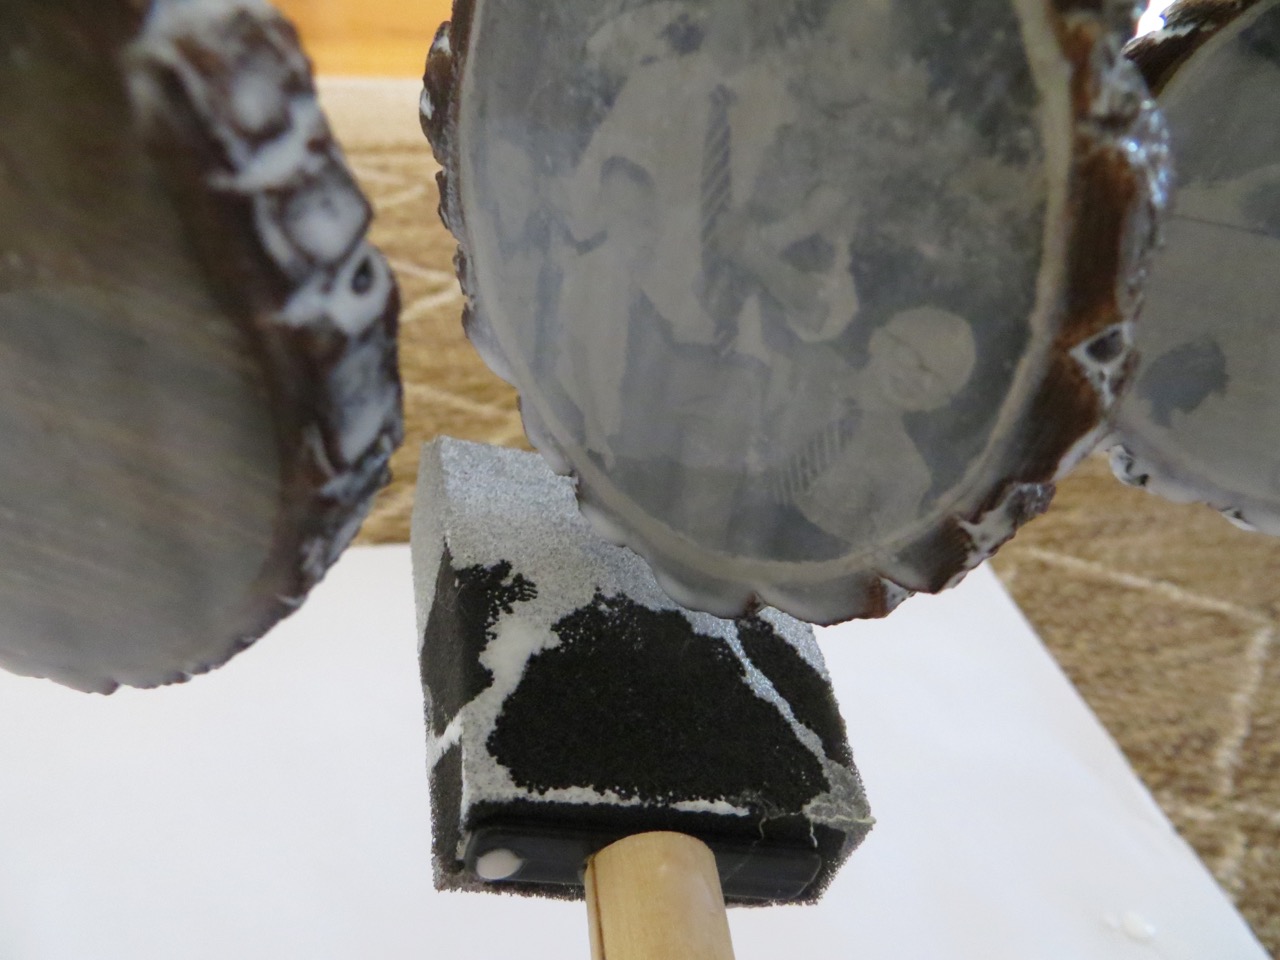
Periodically dab the bottom of your hanging ornaments with your foam brush to absorb any Modge Podge that is pooling/dripping along the bottom.
Let dry for 4+ hours before handling.
OTHER CHRISTMAS TREE ORNAMENT POSTS:
No Comments