
Hey guys! Remember back in September when I posted about taking my first woodturning class? It didn’t end there. I’ve been having such a great time learning woodturning and taking classes from Alan Leland at his studio. All the classes were a full day (9am-4:30pm) on a Saturday. I’m posting the classes I took and what we learned so you can get an idea for what local classes you may have (if you have Woodcraft store – they may have classes or know someone who teaches – also Google local woodturning clubs in your area).
 Session #1 we turned a bead and cove stick where we practiced basic cuts (convex & concave curves + flat cuts).
 Later we made a mallet out of maple wood to put our new found skills to test.
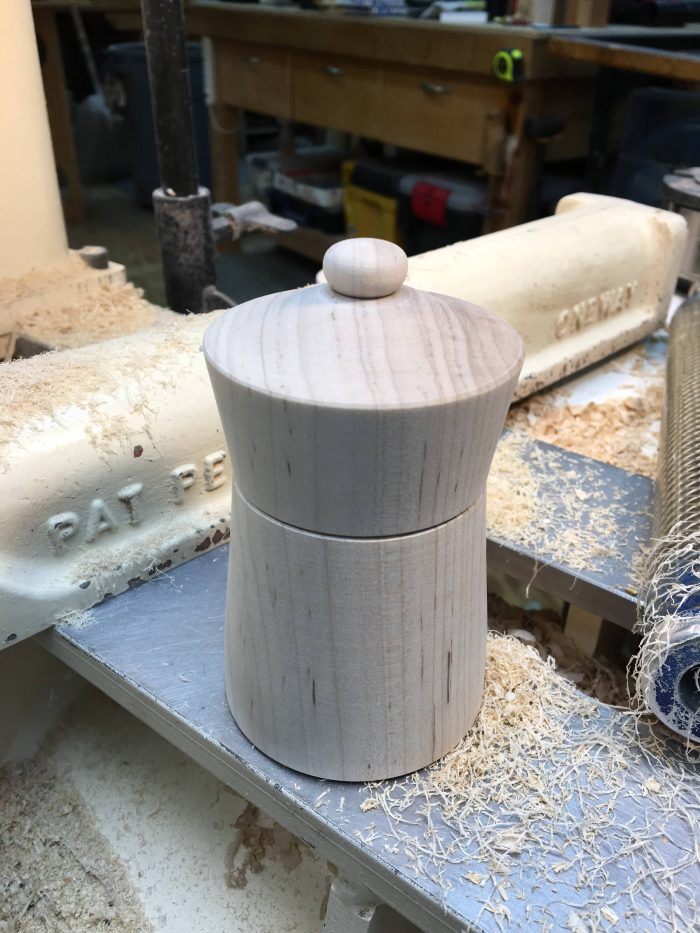 Session #2 we turned a lidded box. Doing so helped us to practice a facing cut across end grain and working on our convex and concave curves.
 We started by shaping our blank into the profile we wanted for our box, including a tenon on the bottom for putting in chuck later. We parted off the top from the bottom.
 With the top still in the chuck we used a forstner bit to make the recess in the led and used a spindle gouge to hollow it out slightly.


 We putt the bottom in the chuck and hollowed out the inside and made a rim for the lid to fit onto. Once the lid had a perfect fit were able to turn the top of the lid by using the bottom of the box as a compression fit. Once the lid was shaped we parted the bottom off.

 Session #3 we made hollow globe ornaments which helped us practice using a hollowing tool. We used Maple wood for the globe and Walnut for the top and icicle on the bottom.
 We started off by shaping our globe from a block of Maple. We made the tenon slightly smaller than the hole we’d be drilling through.
 We drilling through our ornament with a large bit and made a depth mark to ensure we stopped 1/8″ or so shy from going through the other side of the globe. We hollowed out our ornament using a small gauge to ensure our wall thickness was even.
 Next we used the same drill bit to go through to the other side, parting off the globe at the same time.

 Next we used a piece of Walnut to create our icicle. The biggest concern was getting the bottom to fit nicely on the globe, meaning we’d need to make a tenon the size of the globe opening and undercut the shoulder of the base to match the curve of the globe. We parted it off and used the remaining wood to create the top.
 We shaped the top however we wanted, ensuring the shoulder and tenon would fit just right inside the globe opening. We used a tiny drill bit to drill through the center of the top and to place our eye screw (much easier while attached to the lathe).
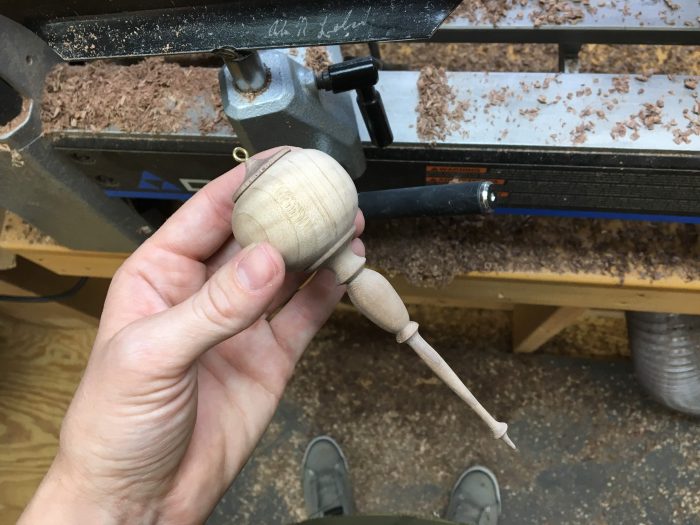 We used CA glue to attach the parts together.

 Session #4 we practiced tool techniques for turning platters – the first time we used bowl gouges in class.
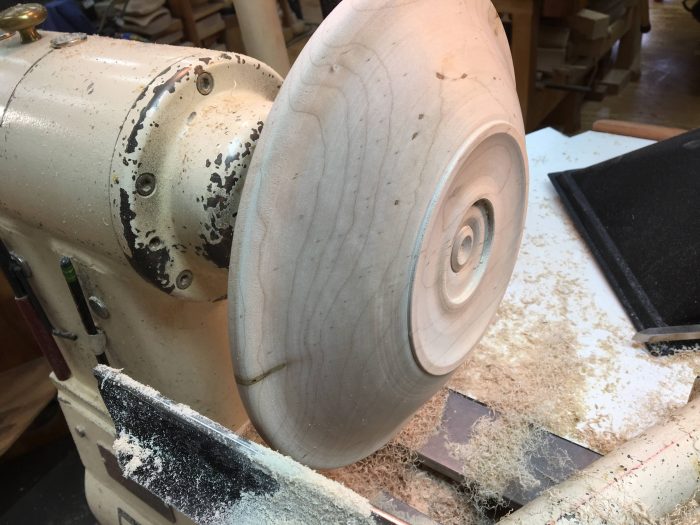
 We started off with a circle blank of Maple and used a worm screw the attach it to the lathe. We cut the bottom corners down with a spindle gouge, created our recess in the bottom with a forstner bit for the chuck to grab when we turned the platter around.
 We continued to shape the the foot and bottom however we wanted.
 Once we were happy with the bottom we turned our platter around and used expanding dovetail jaws in the recess. We started hollowing, leaving bulk in the center to keep the platter stabilized until we could shape the bulk of the rim and inside.

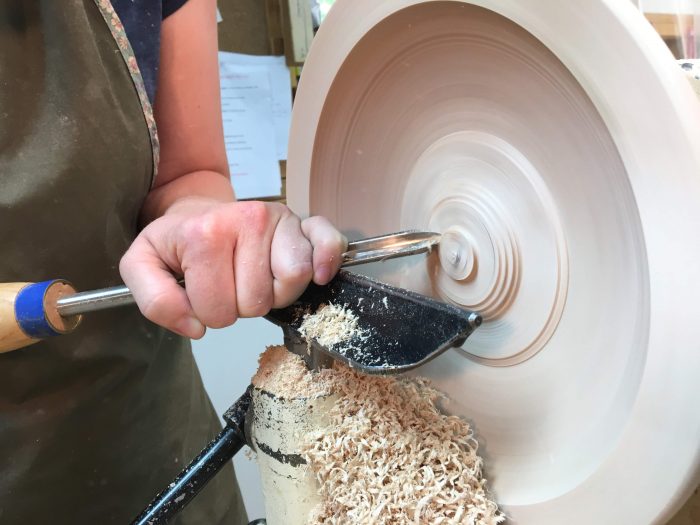 We used a 3/8″ bowl gouge with an Ellsworth grind for the most part.
 Once we finished the rim we cut down the bulk in the center then used a bowl gouge with a micro-bevel grind for our final cuts.
 If I had continued to do scoop out a rounded bottom on my platter I probably would have gone through the other side (my recess for the chuck to grab) so I had to do a flat bottom and while creating the flat bottom I decided to keep a ring separating the bottom from the sides. I love woodturning because it’s always changing as you go – whatever looks good.
 I love sanding because it takes out minor imperfections, especially small ridges from the gouge – it’s always risky to take another pass to clean up because you risk messing up… especially as a beginner – ha!
 Ready to take off the lathe!
 I coated the platter with Danish Oil which I’m really regretting. It still smells after several weeks and gave the platter a hazy look.
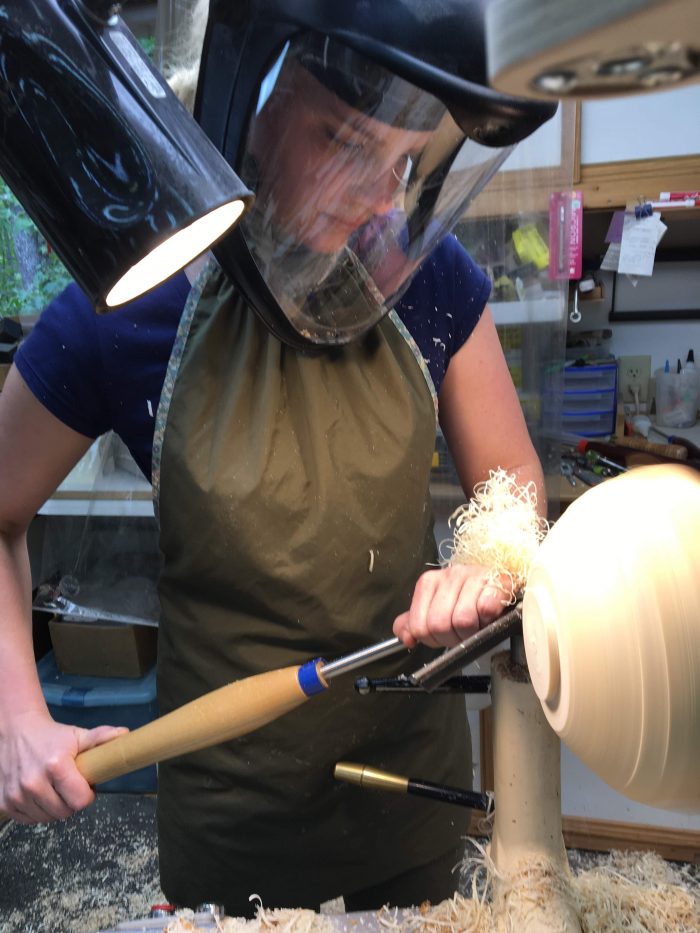
 Session #5 we experienced turning with green wood from a freshly cut poplar tree. I made my first bowl!
 The tree was cut down the pith and rounded on a bandsaw so the whole back side was the shape of a tree with the bark still attached. We attached the blank with a worm screw so the lathe and started cutting down the back and corner with a bowl gouge. We shaped a dovetail tenon for the chuck.
 We did more shaping of the foot and outside profile.
 Once we were happy we turned it around in the chuck and hollowed our lives away using a bowl gouge with an Ellsworth grind for hte most part.
 My favorite part was using one of Ashely Harwood’s tools – a HUGE bowl gouge with micro bevel grinds. This cut so nicely once I could establish bevel contact (much different than the other grinds I’m used to).
 Once hollowed we took the bowl off the lathe and sandwiched it between the chuck (added a wooden block to protect bowl from the metal) and a cup center on the tailstock. Doing so allowed us to finish the shaping of the foot.
 We cut away as much wood as we could around the cup center and used a chisel & mallet to finish it off once the bowl was off the lathe.
 Overall I’m pretty happy. Turning wet wood is much different than dry. I had ridges but sanding didn’t make much sense on wet wood.

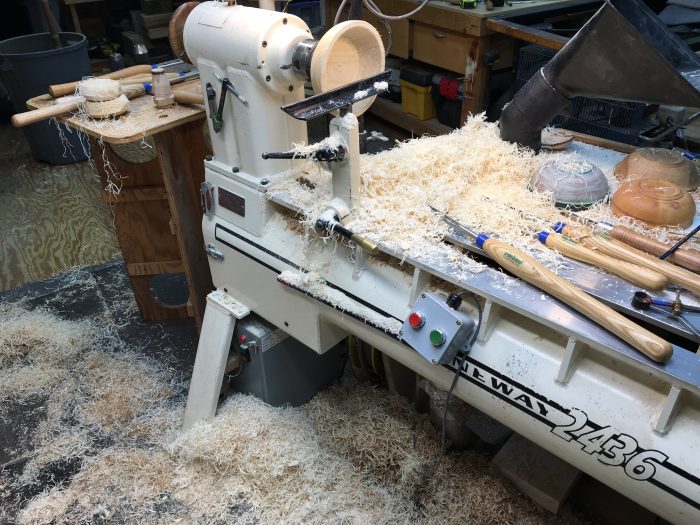
And that’s it! I’m done with classes and will continue learning at home. I’ve really grown to love my lathe and all the possibilities.


No Comments