

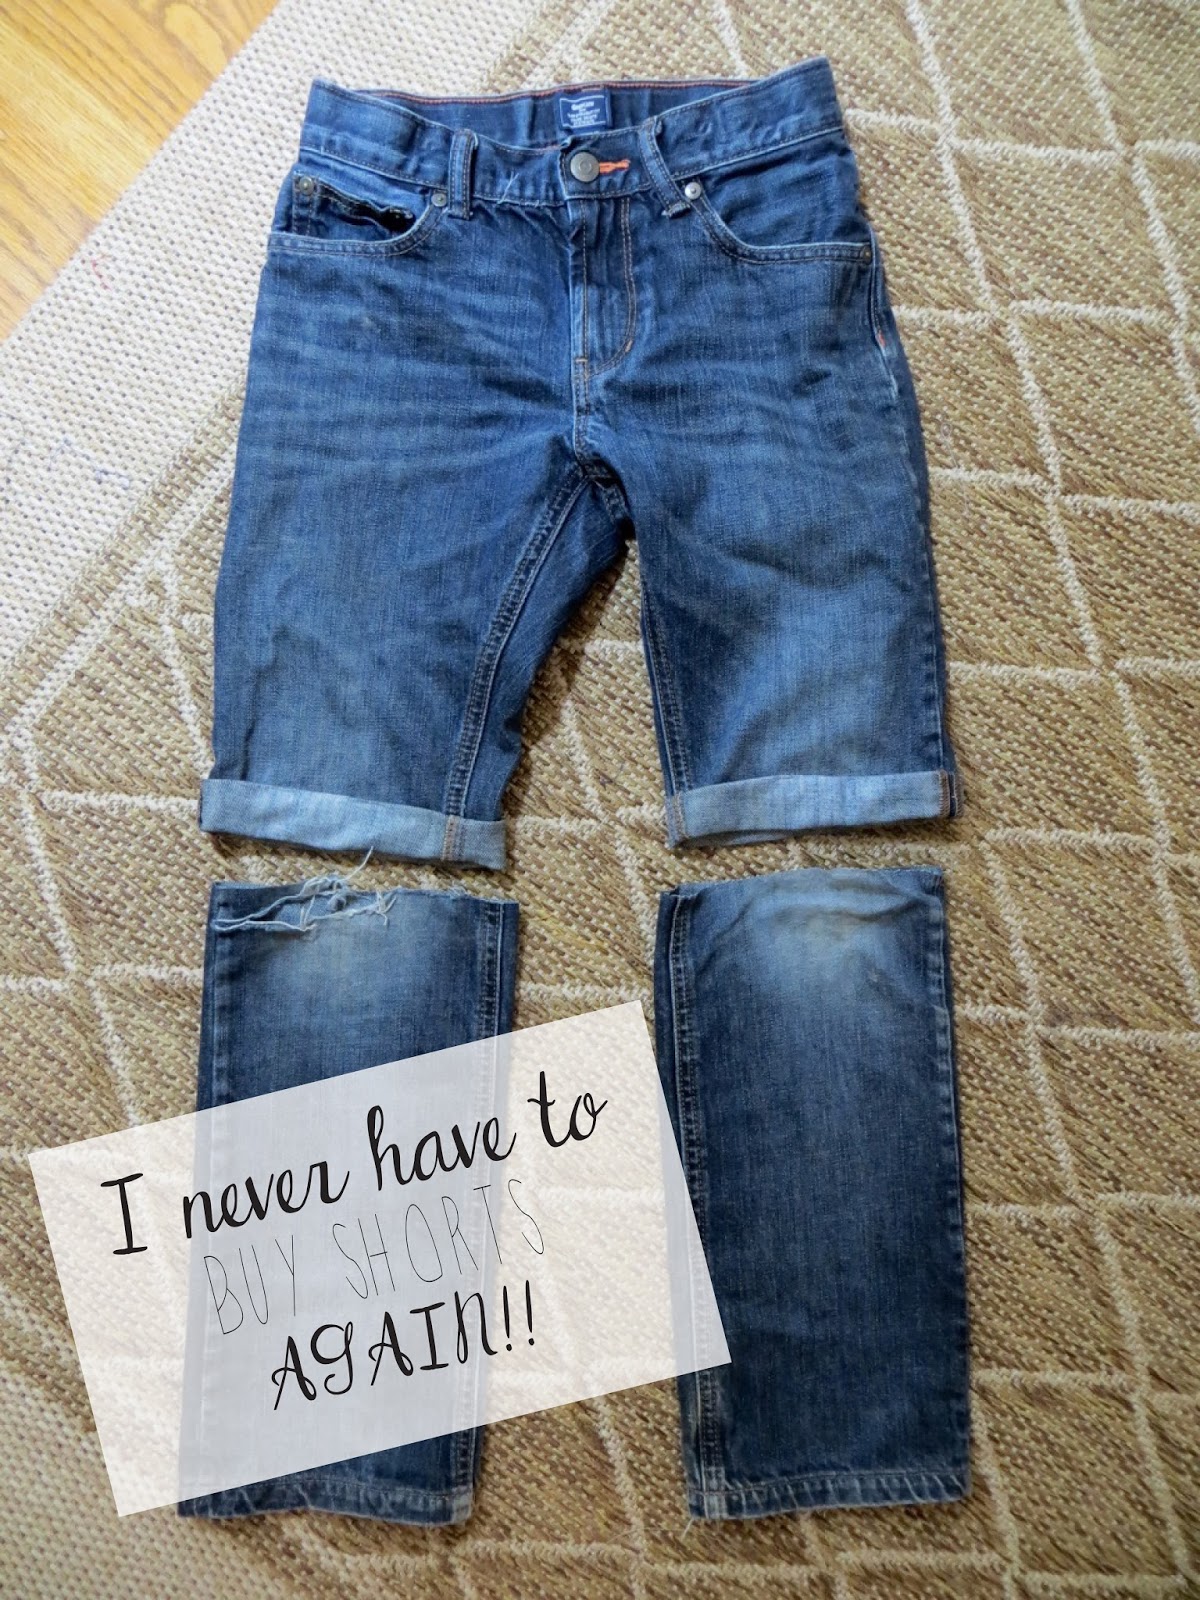
Can you imagine having 4 boys and never needing to buy shorts? Wouldn’t that be wonderful!?
It looks something like this!
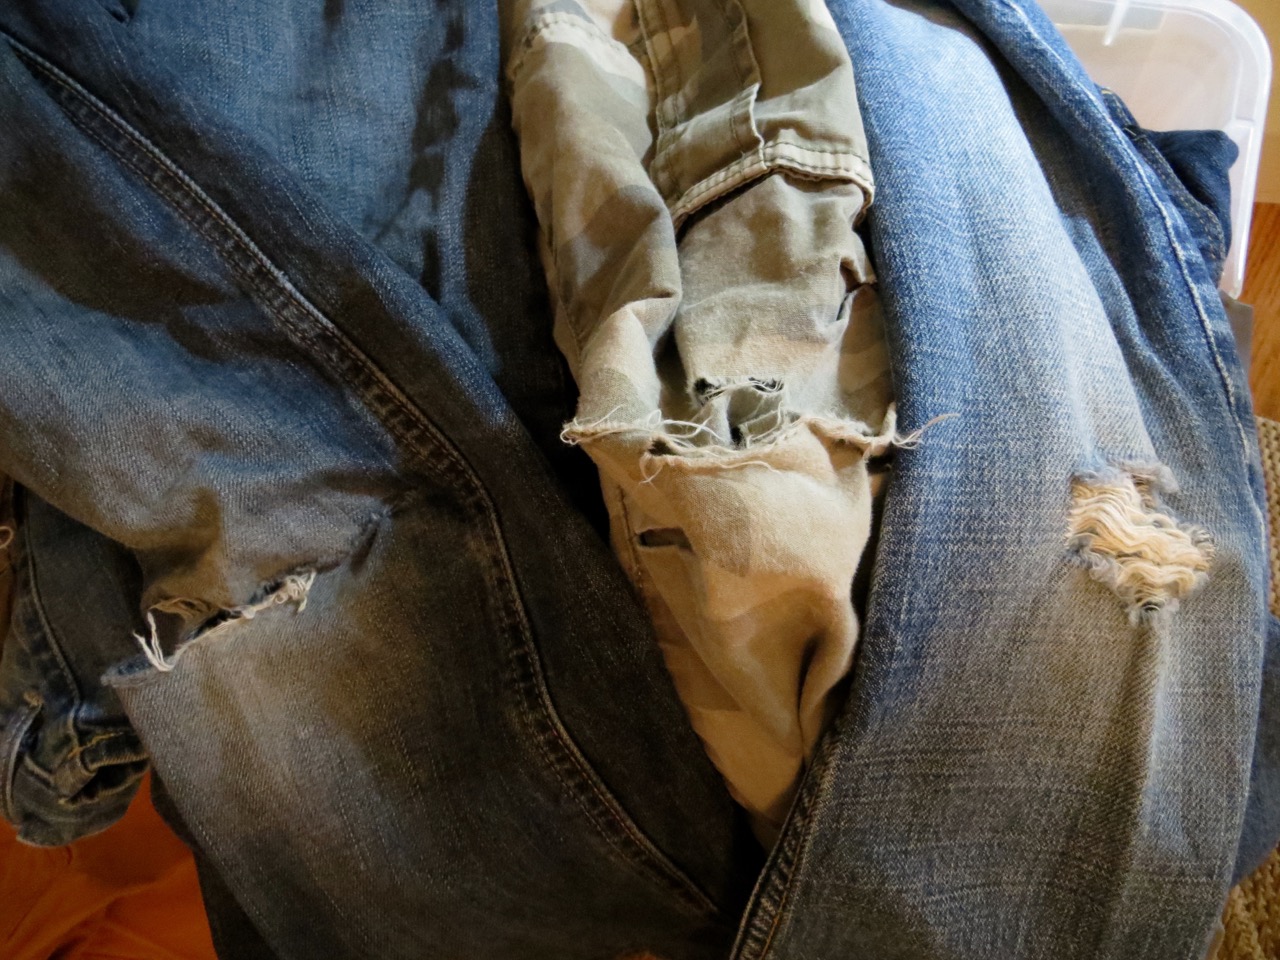
My kids go through pants pretty quickly and I really don’t like having them walk around with holes in the knees. I save up a big pile of pants that they wear out in the Winter months and make them into shorts during Spring for them to wear in the Summer.
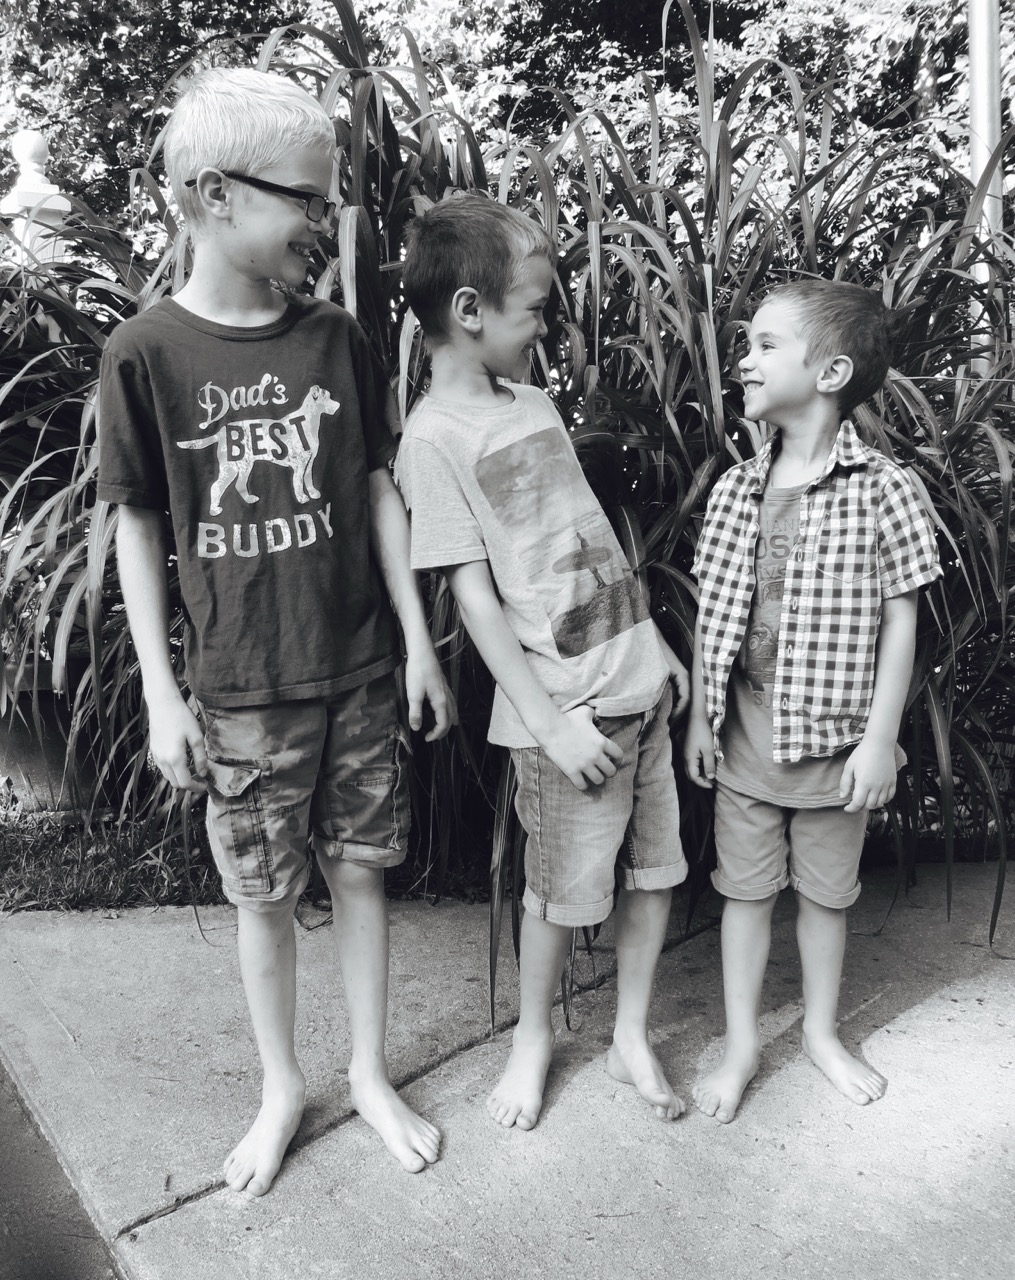
I actually prefer the look of rolled-cuff shorts over the regular straight hems.

How easy it is to do you ask? SUPER easy! It takes 10 minutes and even less when you’re on a roll.

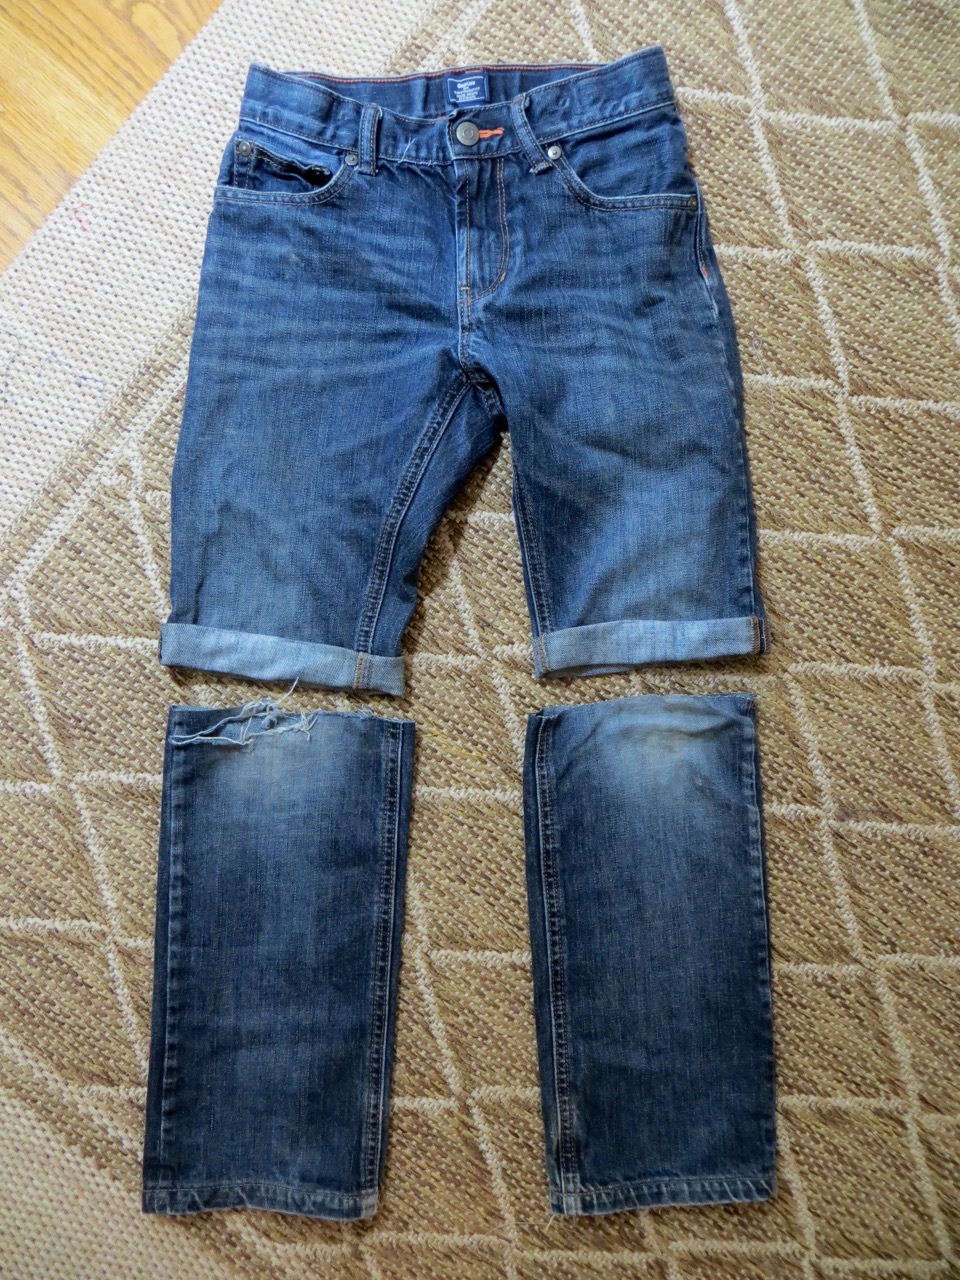
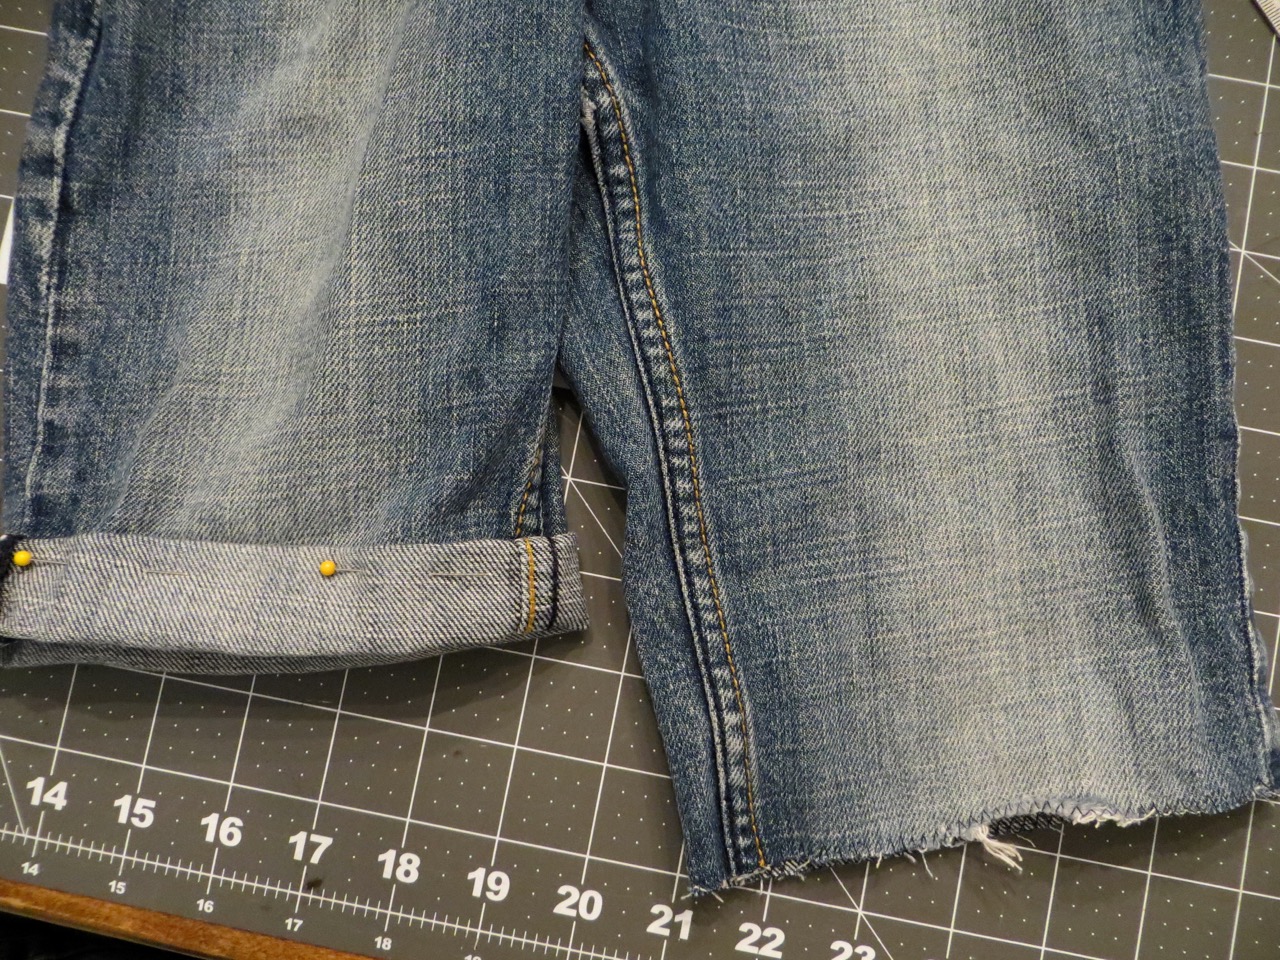
Fold the pants in half making sure the waist band is even on all layers. Lay flat with the most damaged knee up; flatten any folds/wrinkles out so you know the pant legs are equal.
You’ll want to cut just above the hole on the knee. Use a straight edge to mark a line.
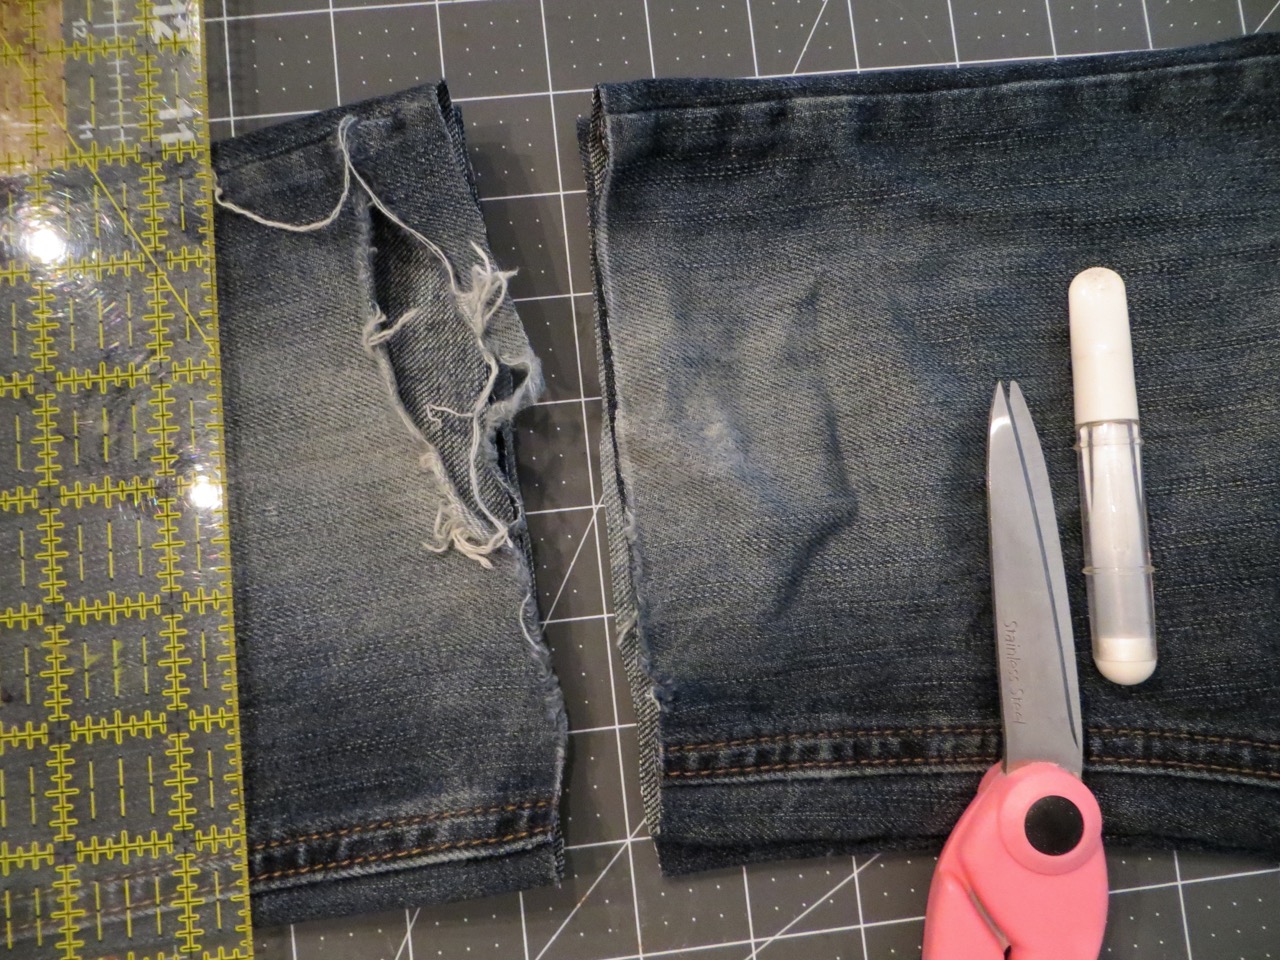
Cut through both layers.
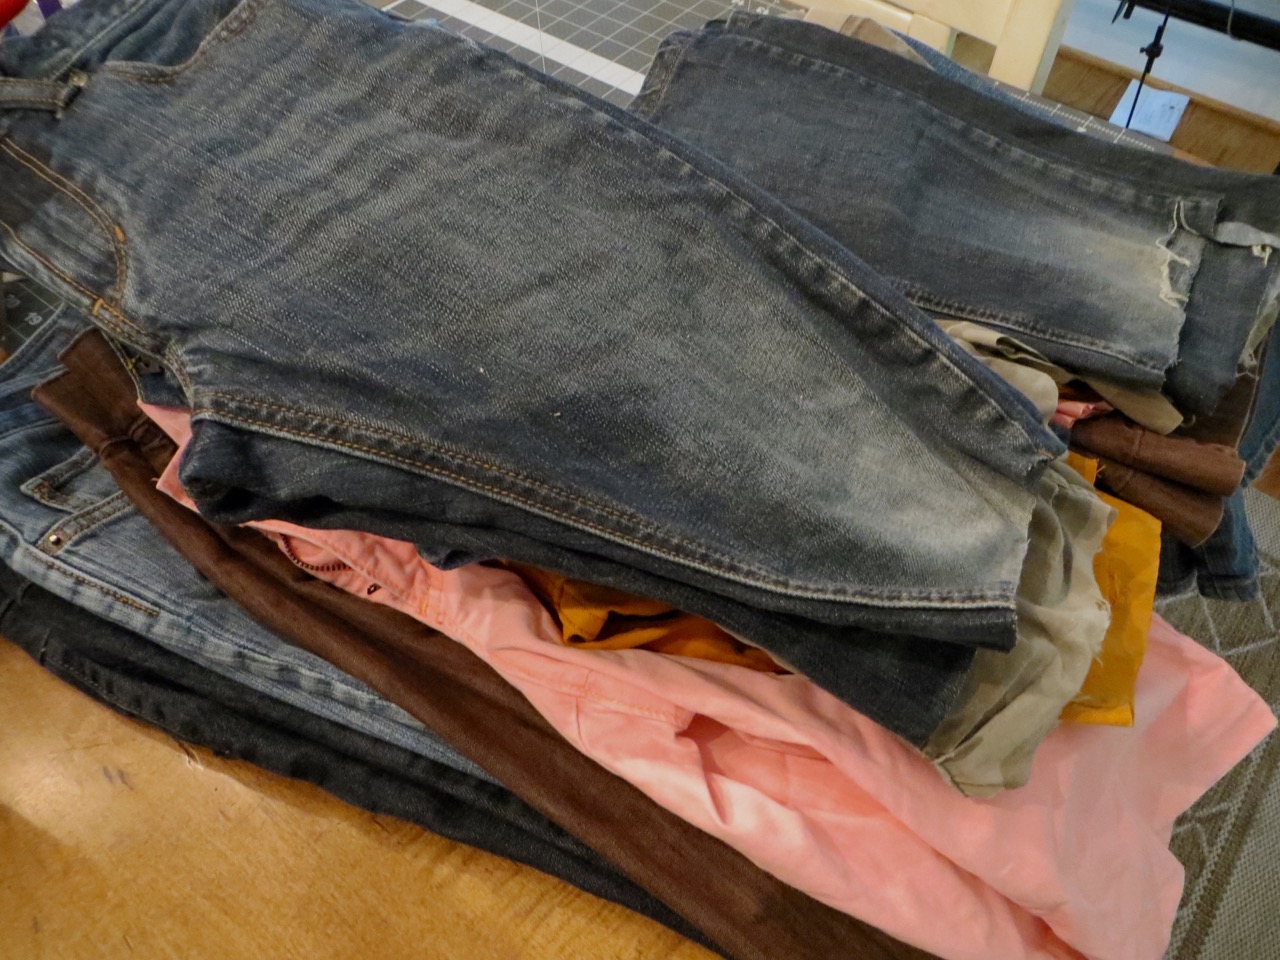
Do you have your pile ready to go!?
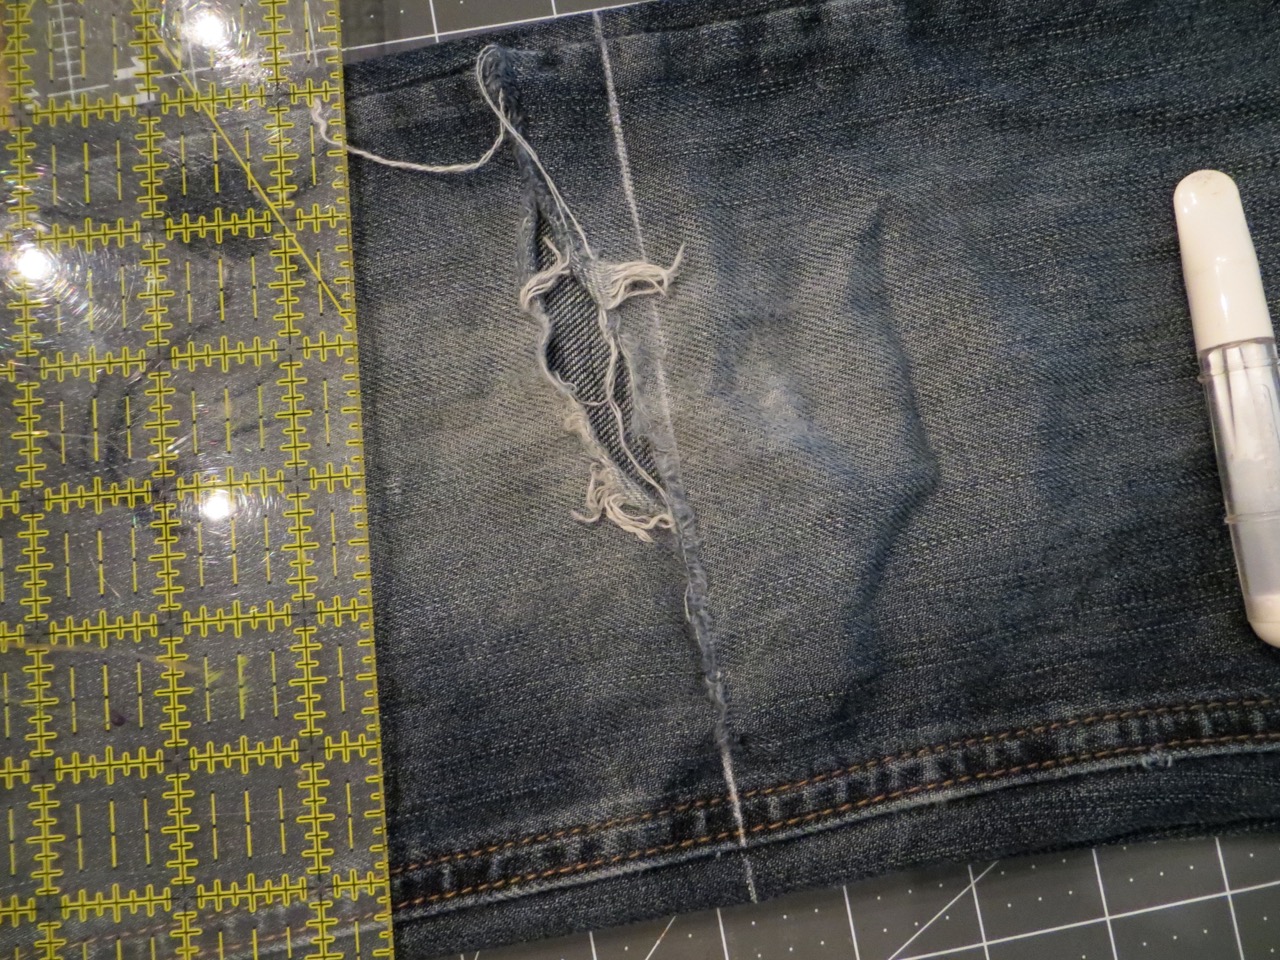
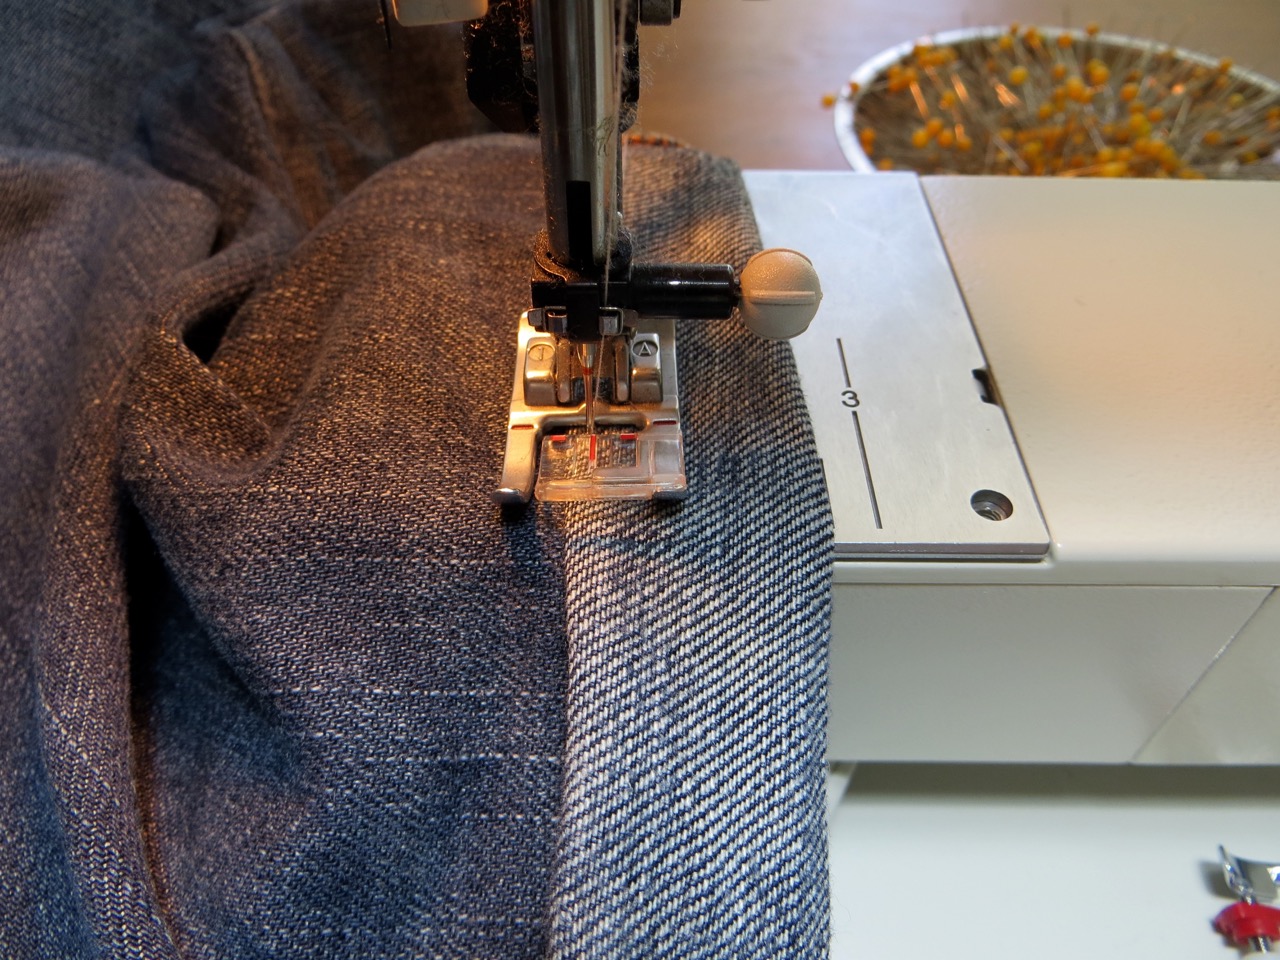
Do an overcast stitch along the raw edges. I use a wide zigzag stitch. It doesn’t need to be pretty because you won’t see this, however – don’t be tempted to skip this step because you will have strings hanging out of your cuff after each wash. It gets real bad!
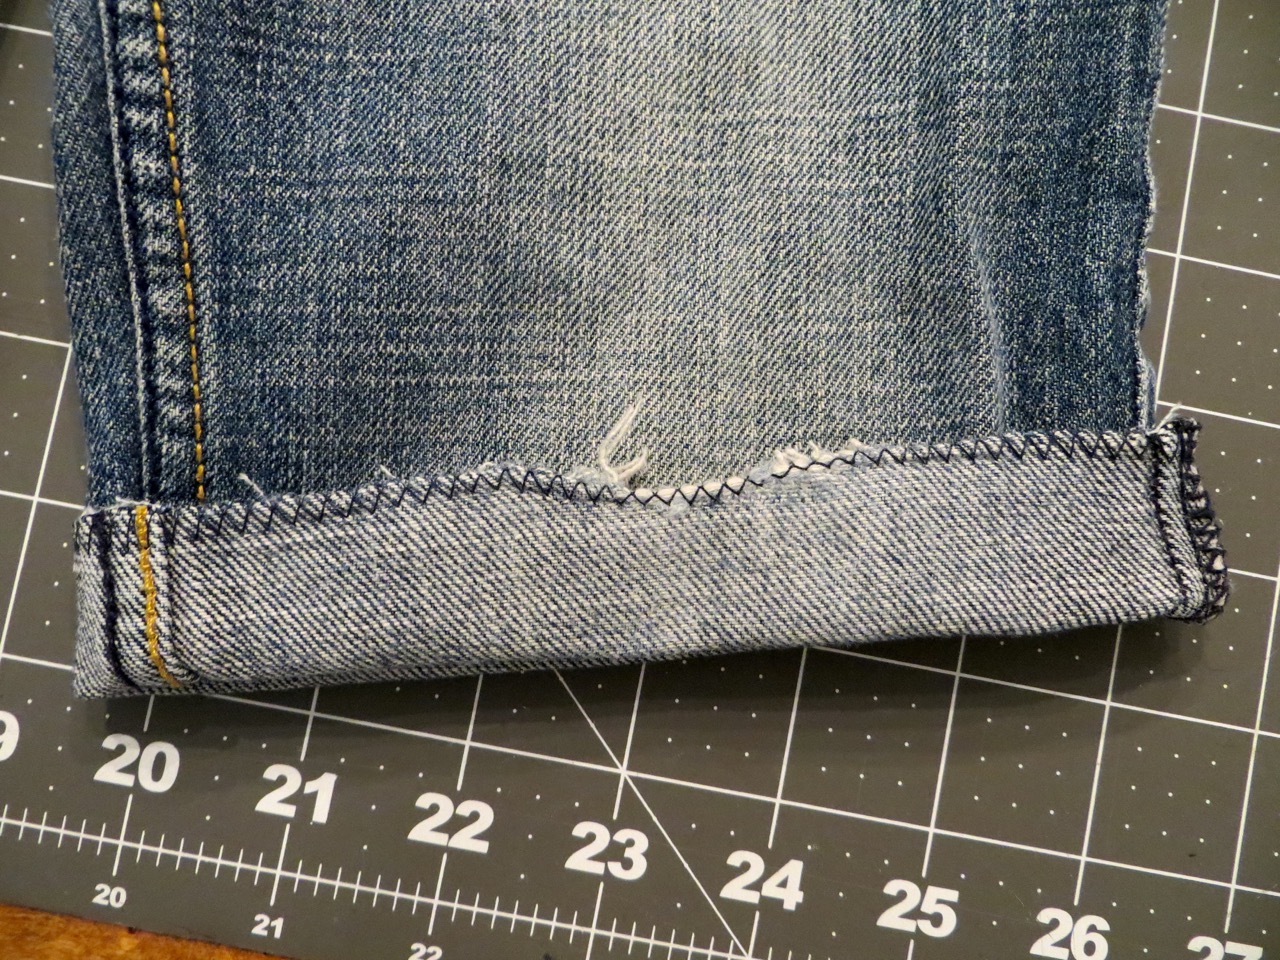
Fold edge up about an inch…
…and then another inch to create your cuff. Pin in place.
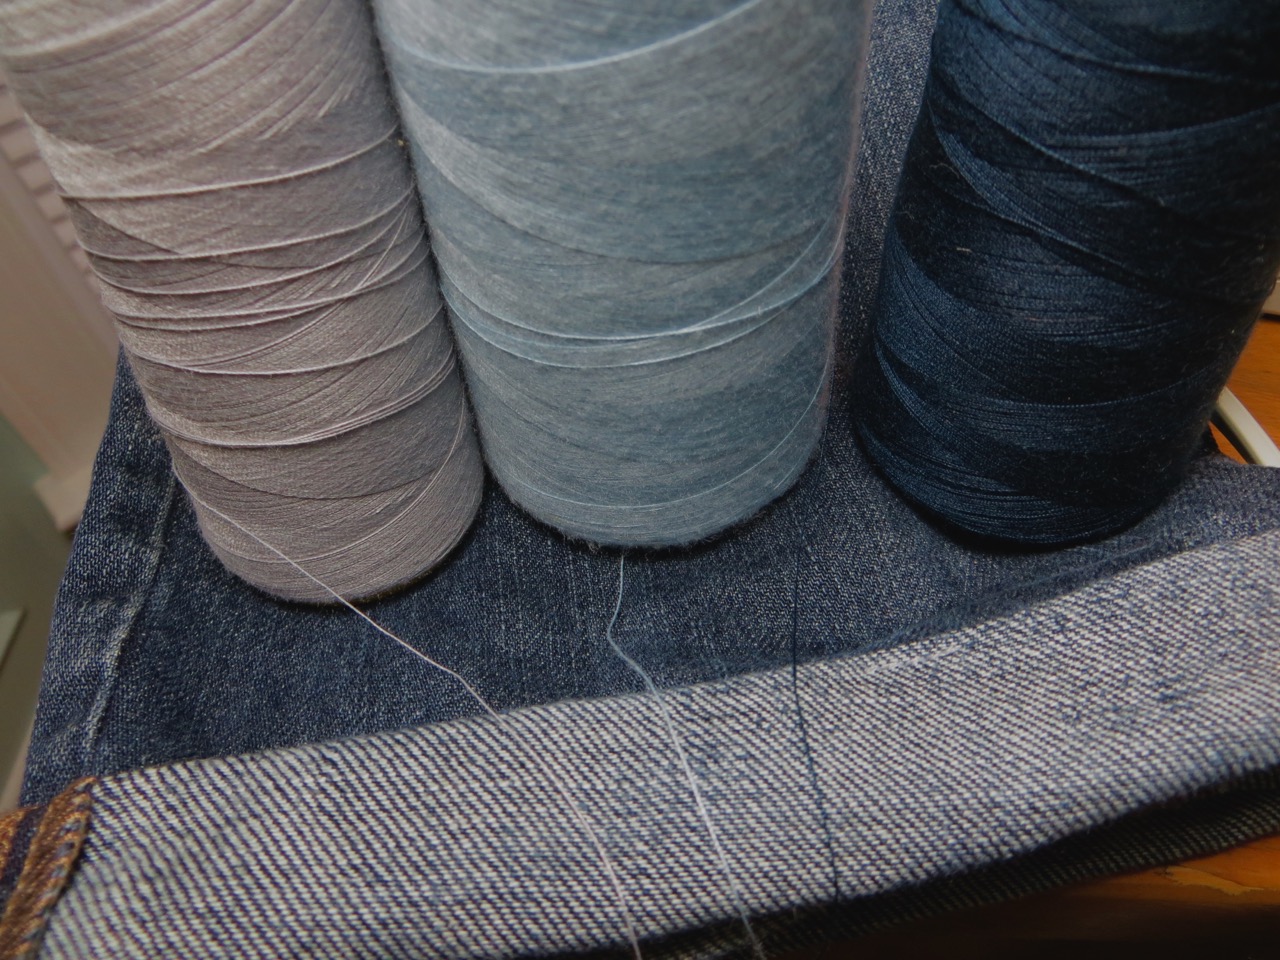
It’s important to pick a thread that isn’t noticeable. To find the best match you’ll want to compare a single strand to the fabric. I chose the grey color on the left because it matches the best with the underside of the fabric where I’ll be stitching.
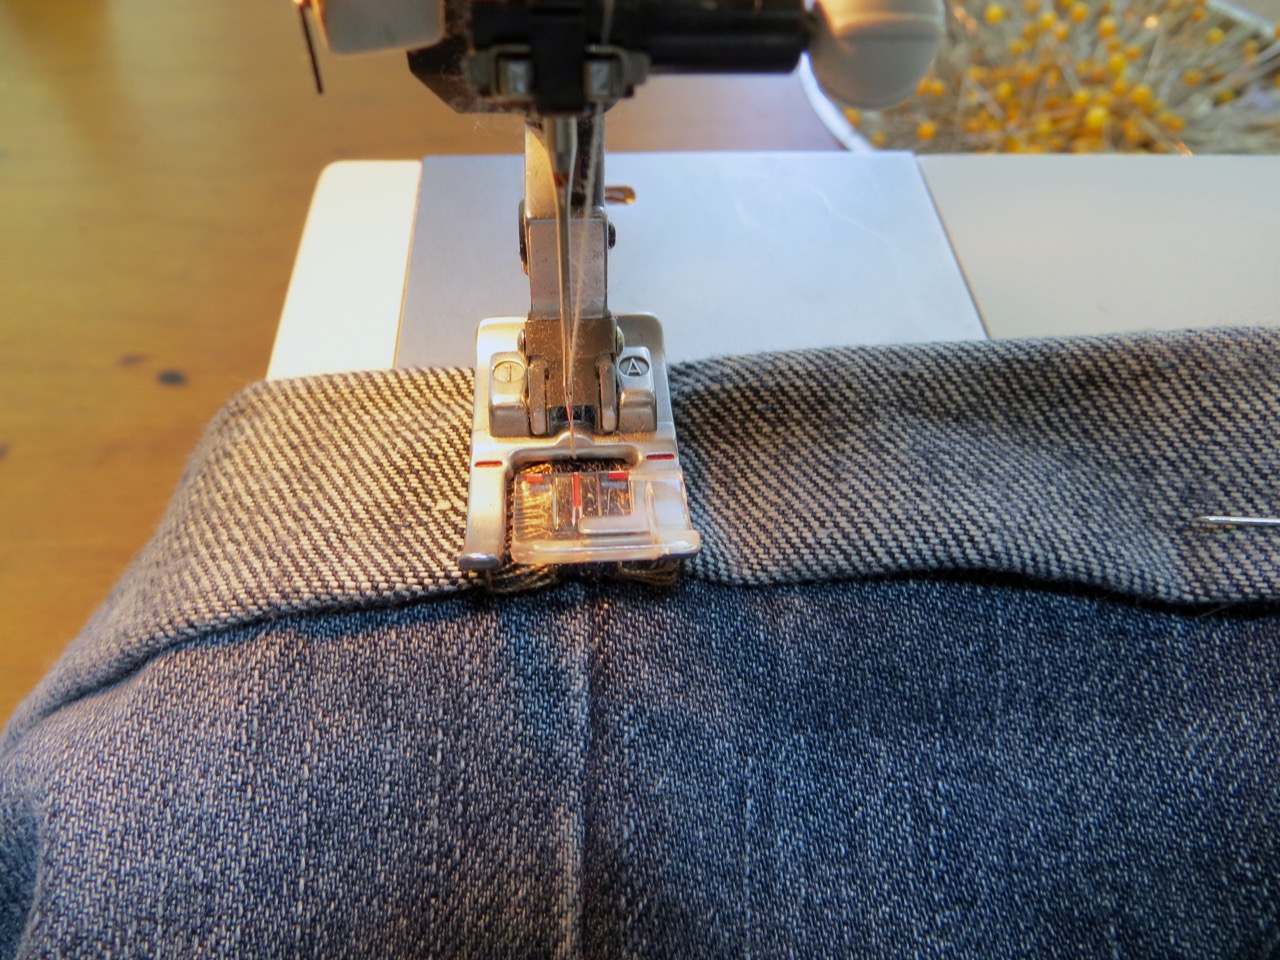
You’ll be creating several bar-tacks along the cuff. For side seams that are open like this one you can sew right on the center which makes the stitching blend in.
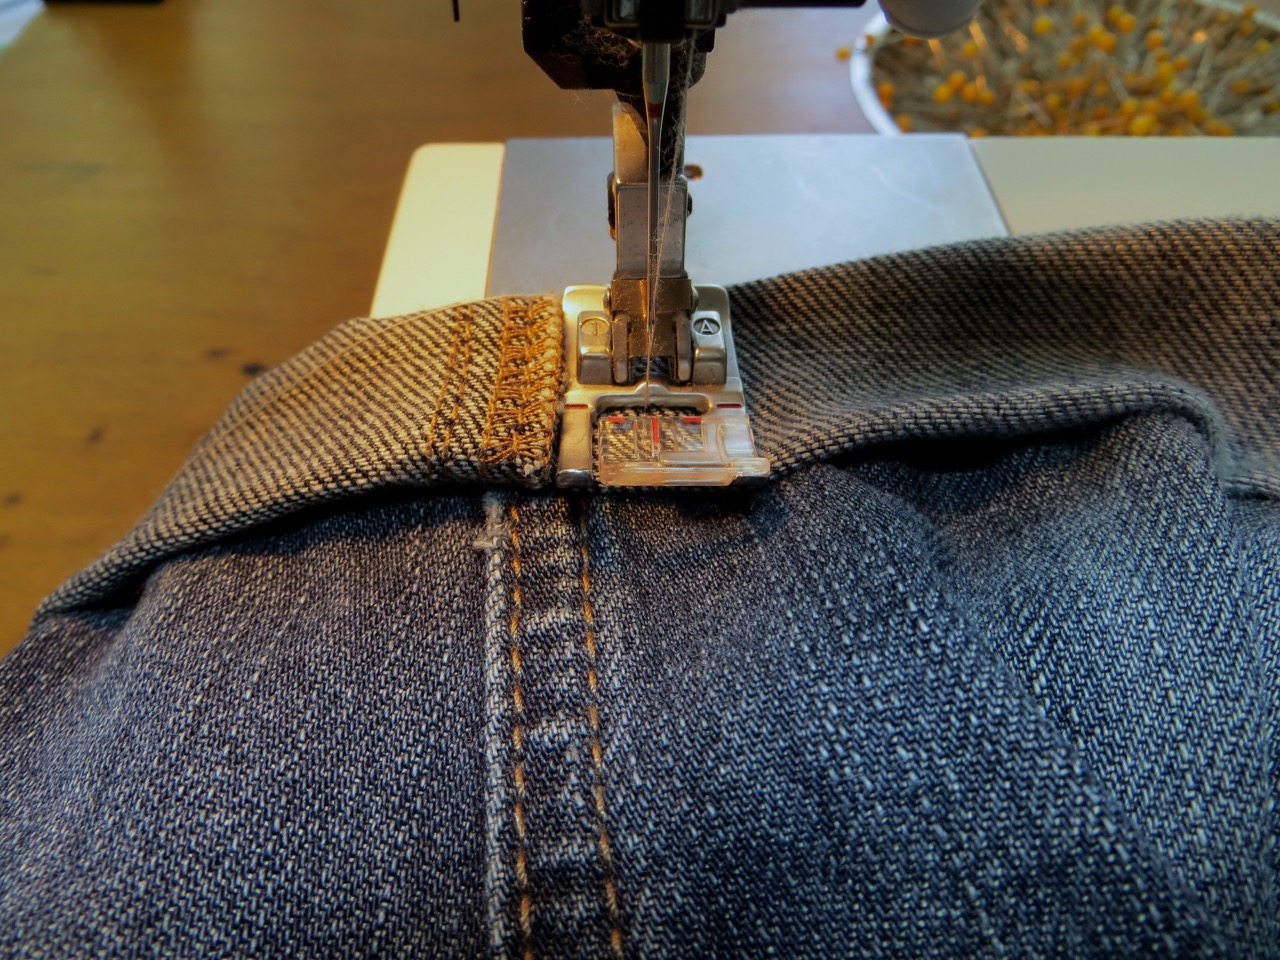
For side seams that are overlocked together they are too bulky to sew over so create a few bar tacks parallel with the seam and as close to it as possible. I do one on each side – keep the tack under 1/2″ long.
For the straight edges along the cuff I create 2 tacks on both the front and back edges, close to the top of the cuff. Make these between 1/4″ & 1/2″ long and parallel with the folded edge (it blends in better).

You can see that the stitches are hardly noticeable (that’s what we’re going for)!

Clip all those threads!
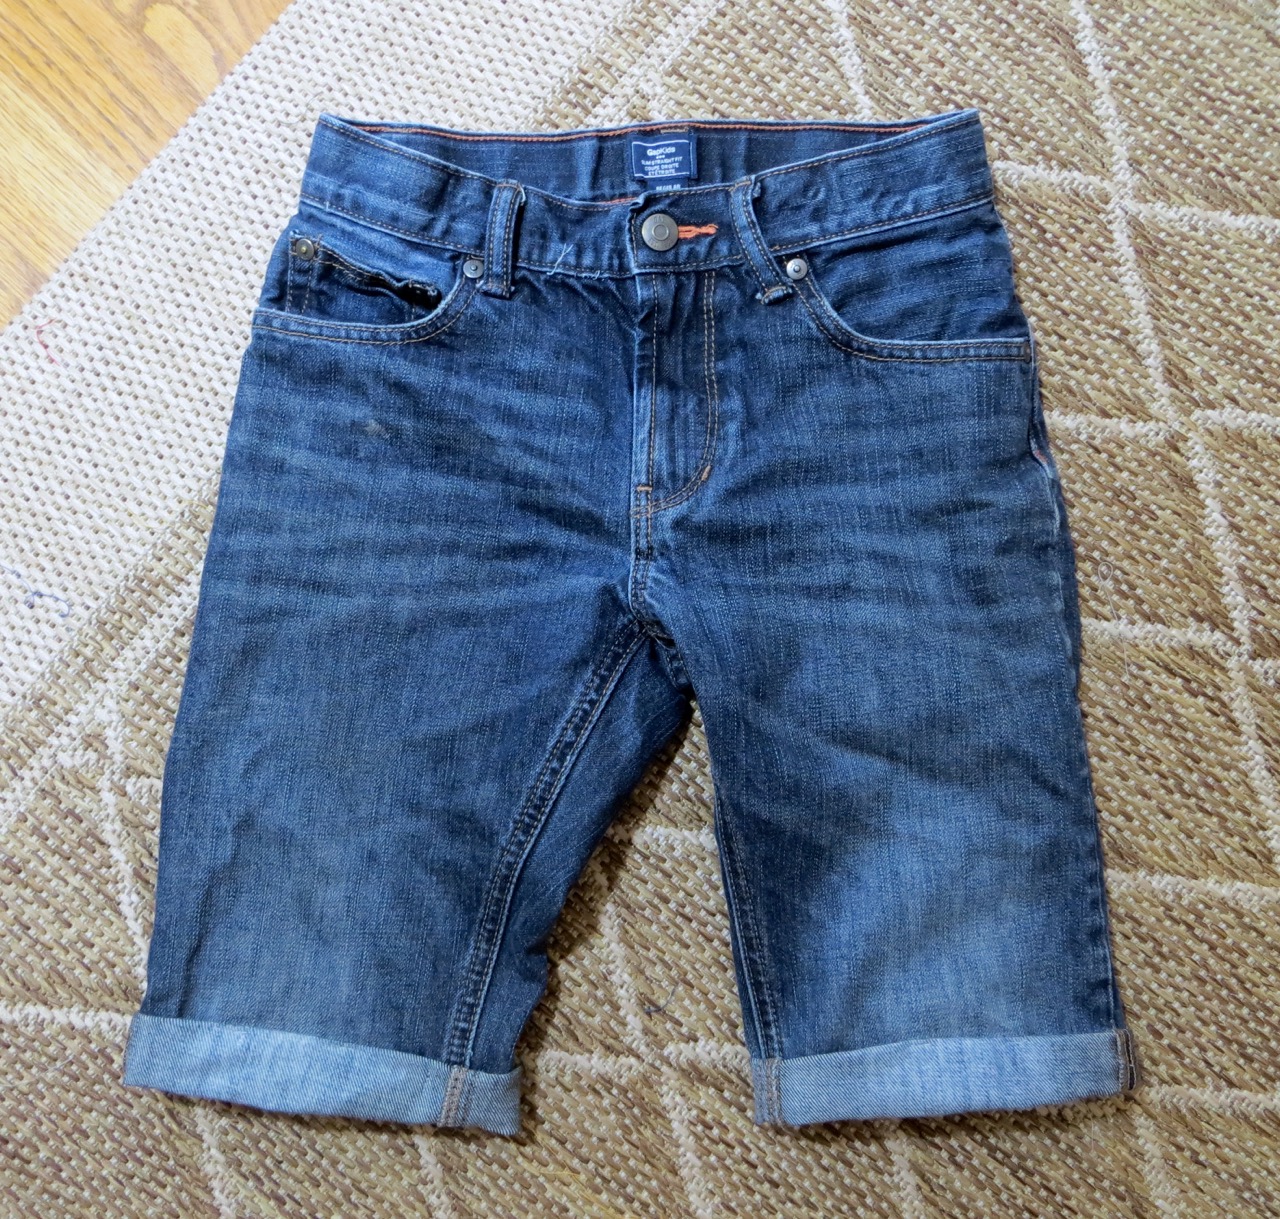
Wallah!
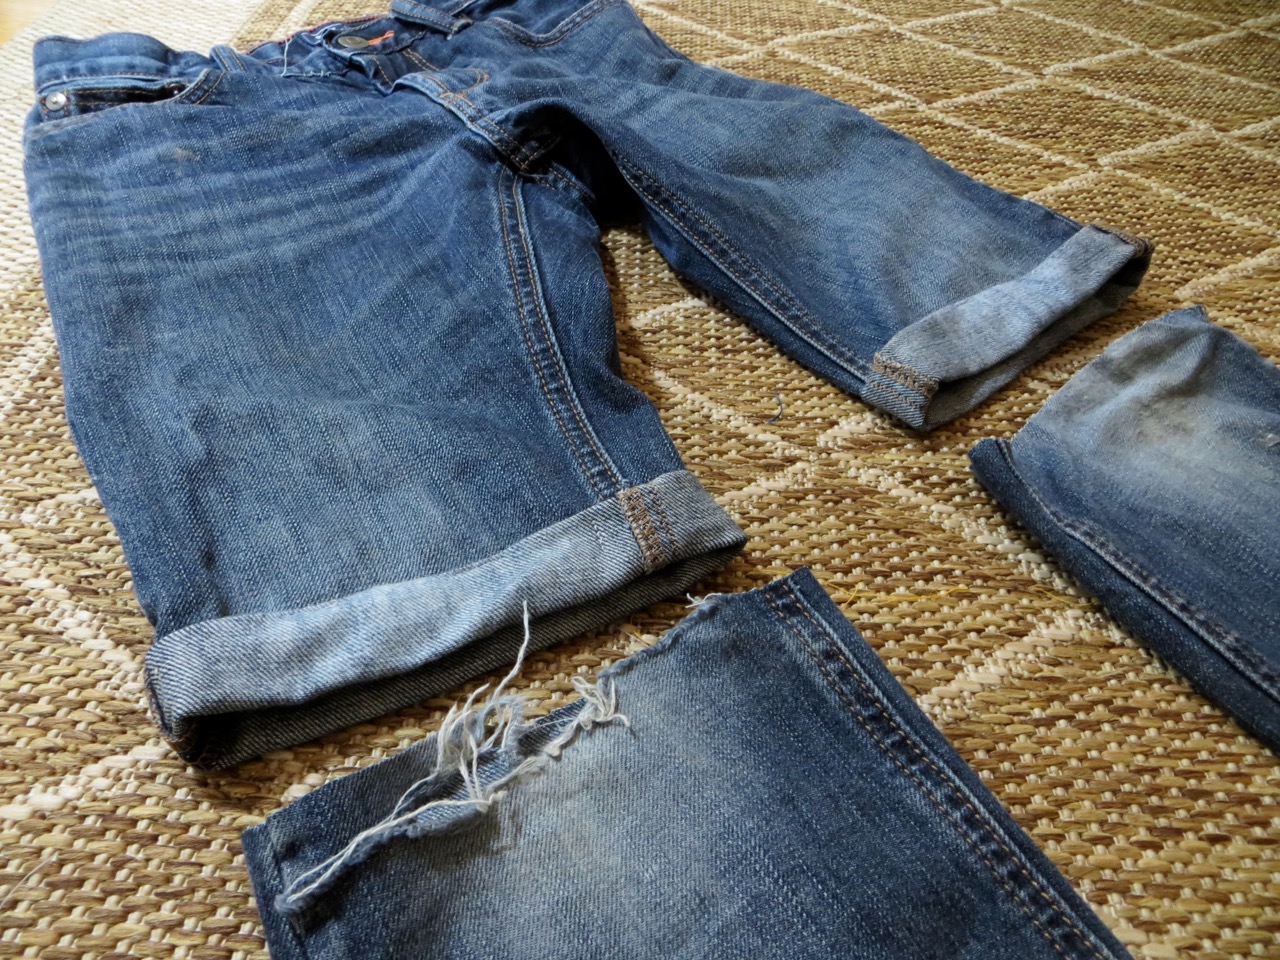
Save the cut offs for a quilt! – I’ll have a full-sized quilt at the rate these kids wear our their pants 🙂


MOM SHORTS:
I’ve been searching for some long shorts for me (aka: Mom Shorts) but couldn’t find any that I liked. I went to the thrift store and bought a few pairs of pants that I liked to alter.
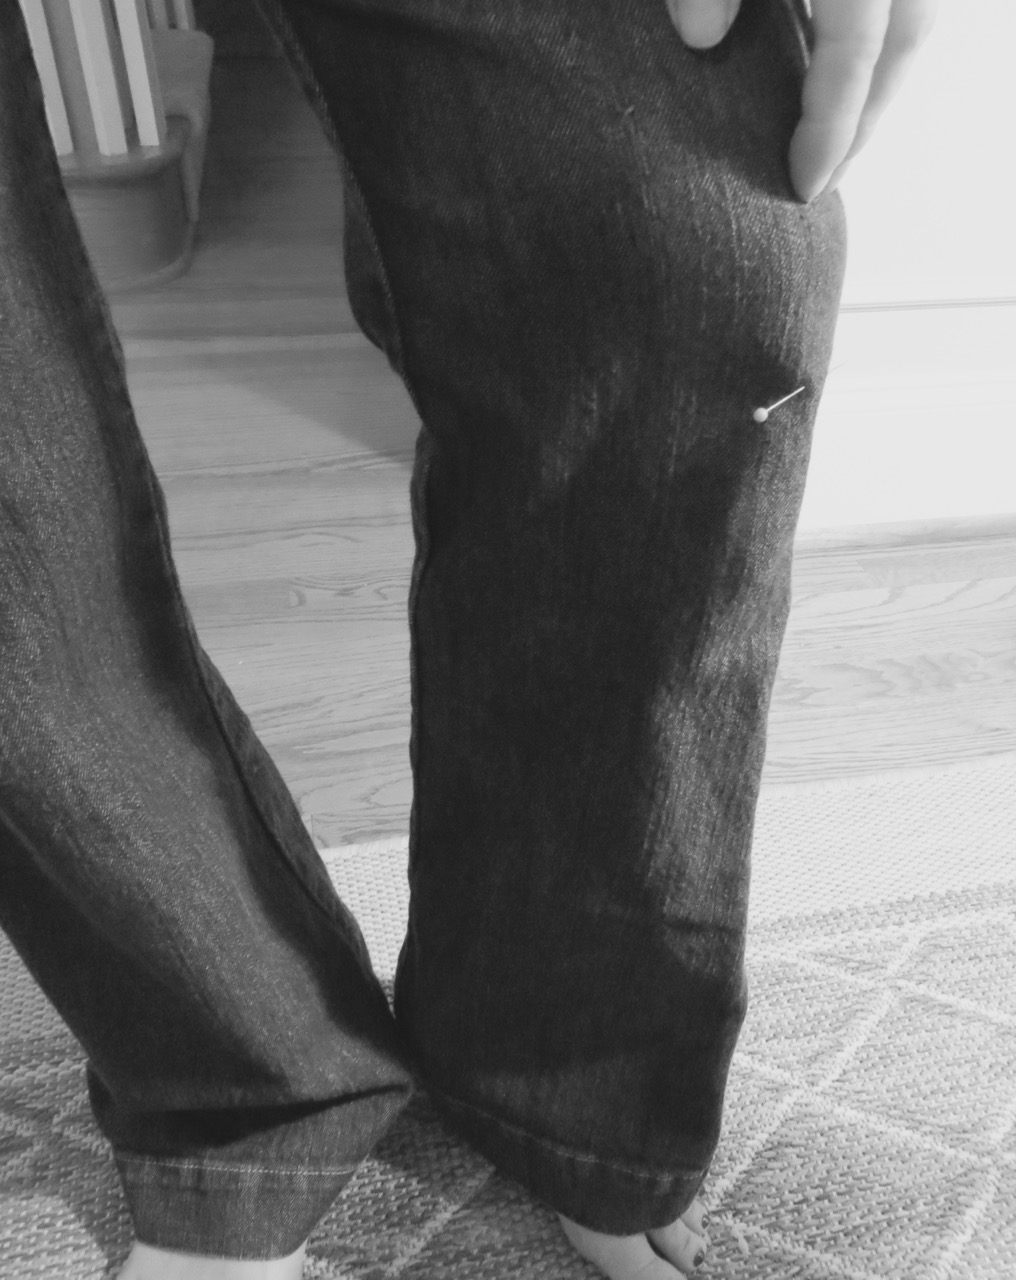
Pre-wash to shrink before altering any clothing. On the picture above I’m showing with my fingers where I want the final hem to be. The pin is a few inches down showing where I need to cut the legs for my hem.
Here I’m trying to decide between a regular hem and a cuff. I’m going to go for the regular on these shorts and add some pleats after hemming so they’re not so baggy.
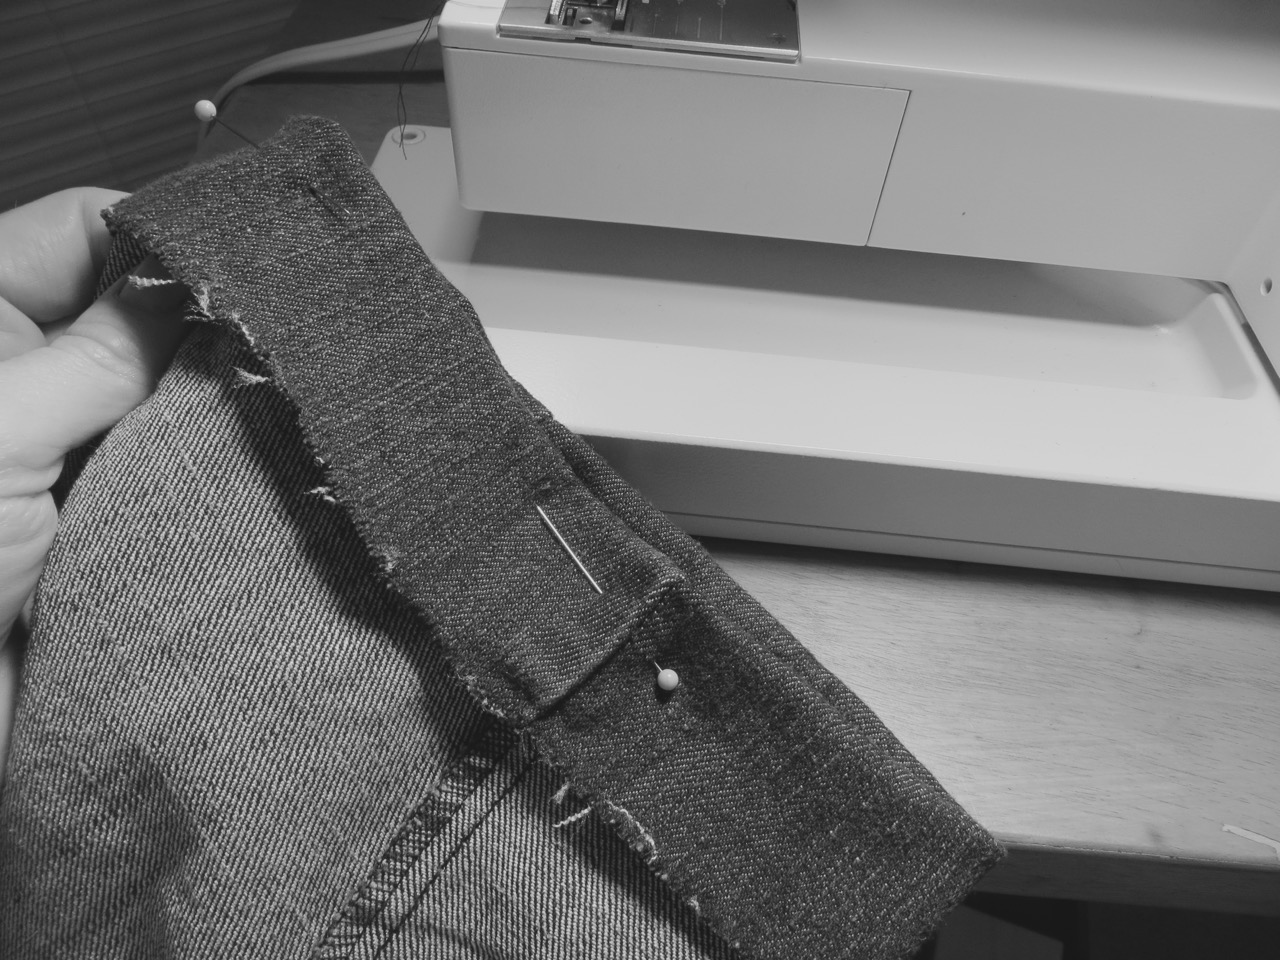
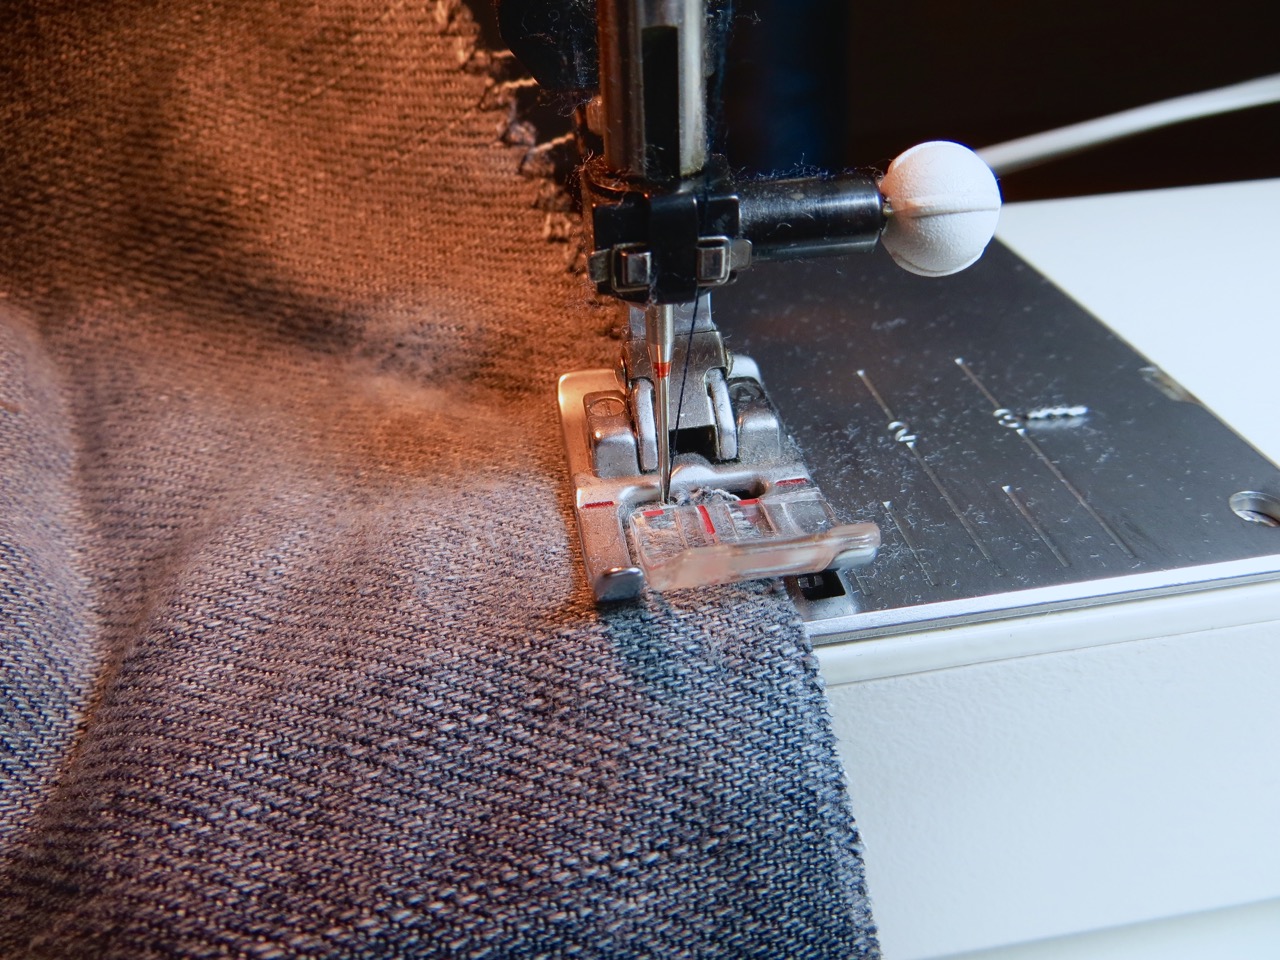
Do an overcast stitch on the raw edges (wide zigzag) to keep the threads from fraying. Because I’m going to do a blind-hem (and not a rolled hem) I’m folding my edge up as far as I need it for the finished length. Pin fabric close to the fold.
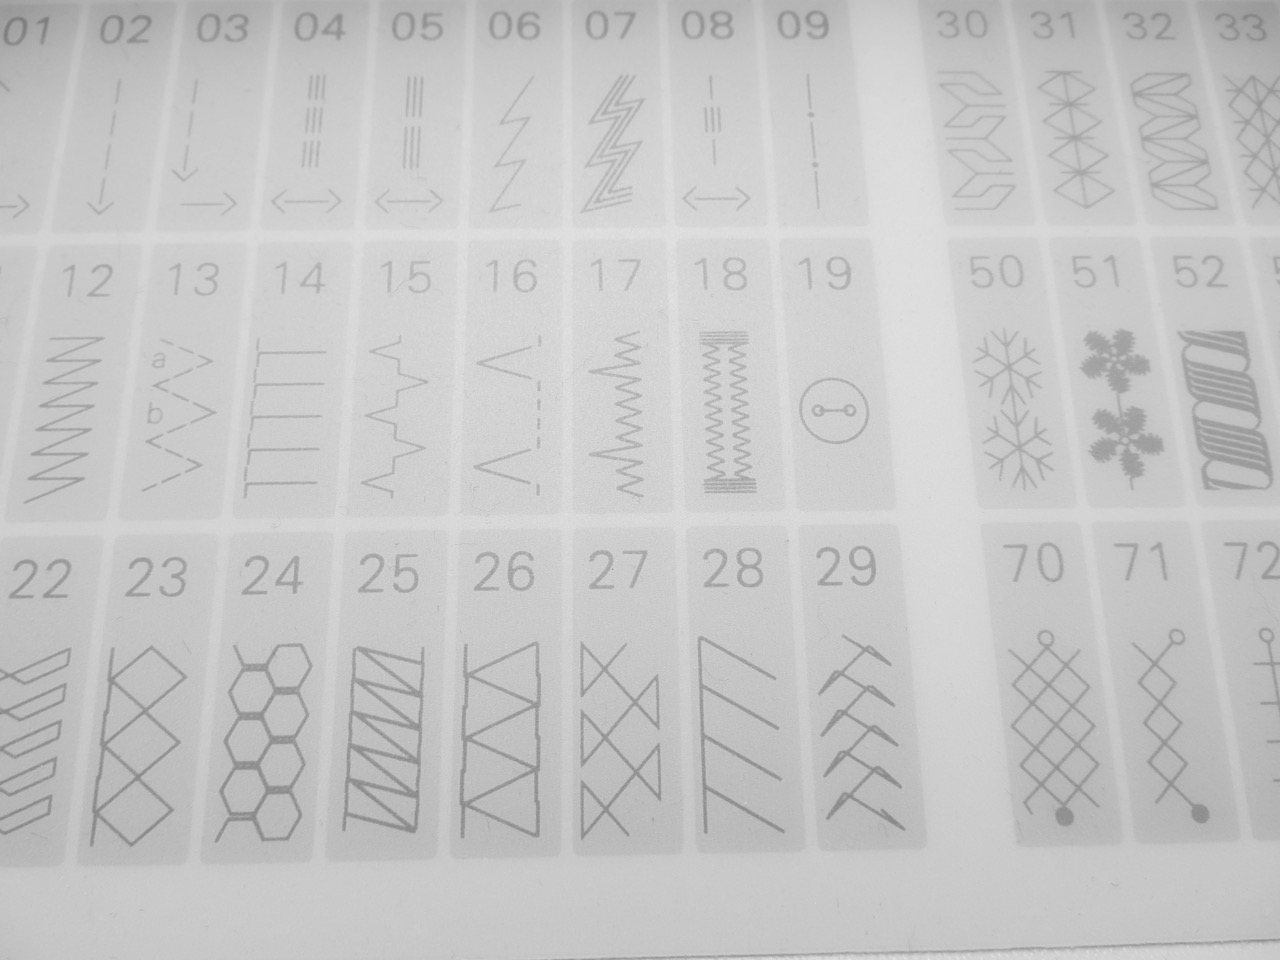
A blind-hem stitch is #16 on my machine.
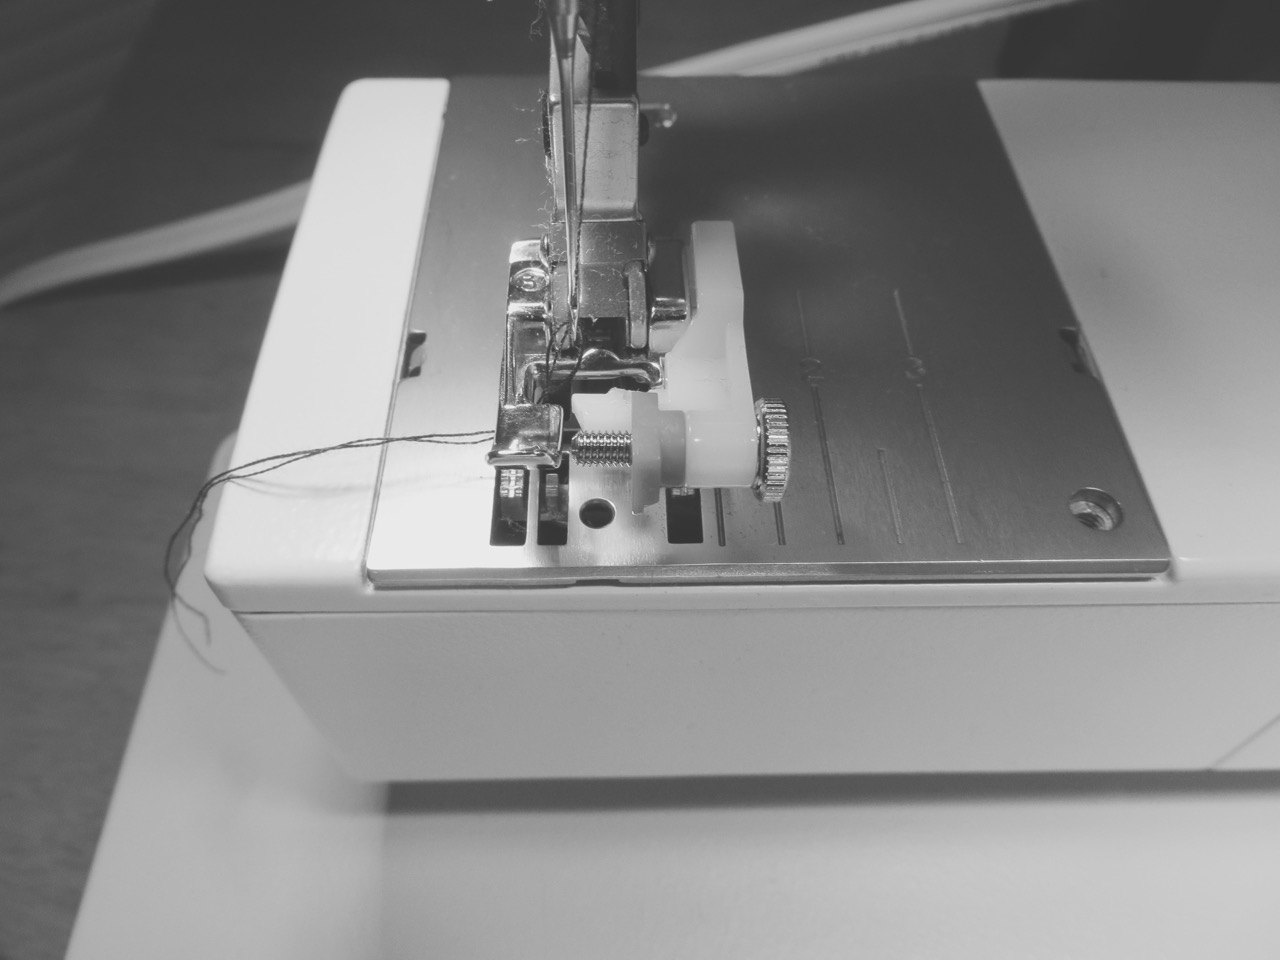
A blind-hem foot looks like this.
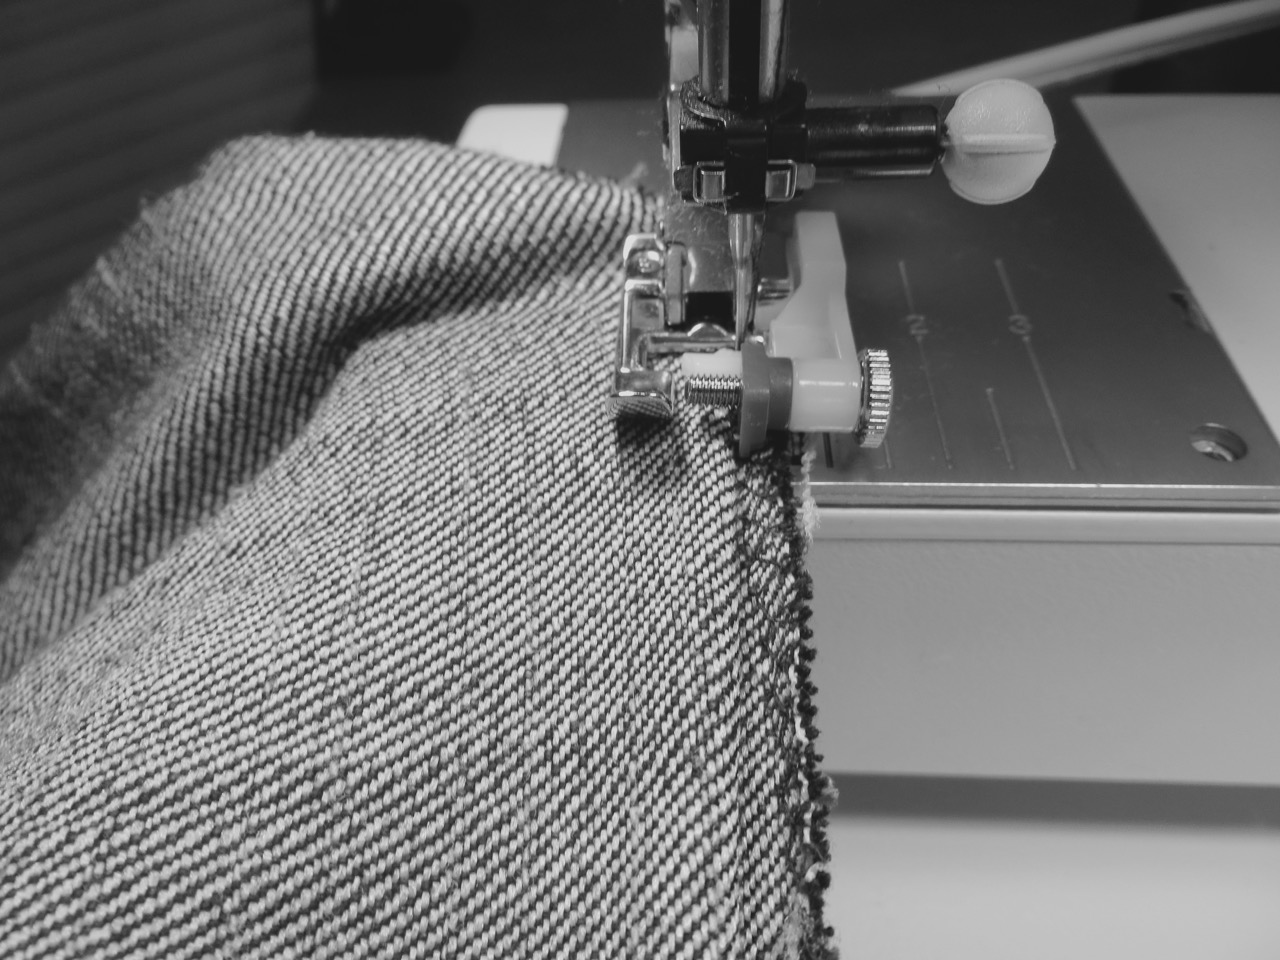
This stitch is easy but a little confusing to explain (perhaps look up a video). Essentially you’re sewing the hem from the INSIDE by stitching along the top of the raw edge and having the ‘zigzag’ part of the stitch so it barely nips into your pant fabric (this creates the “blind” look because you get one little tack every 1/2″ or so. I pinned my cuff along the fold in the previous step so I can keep the pins in place while I sew around.
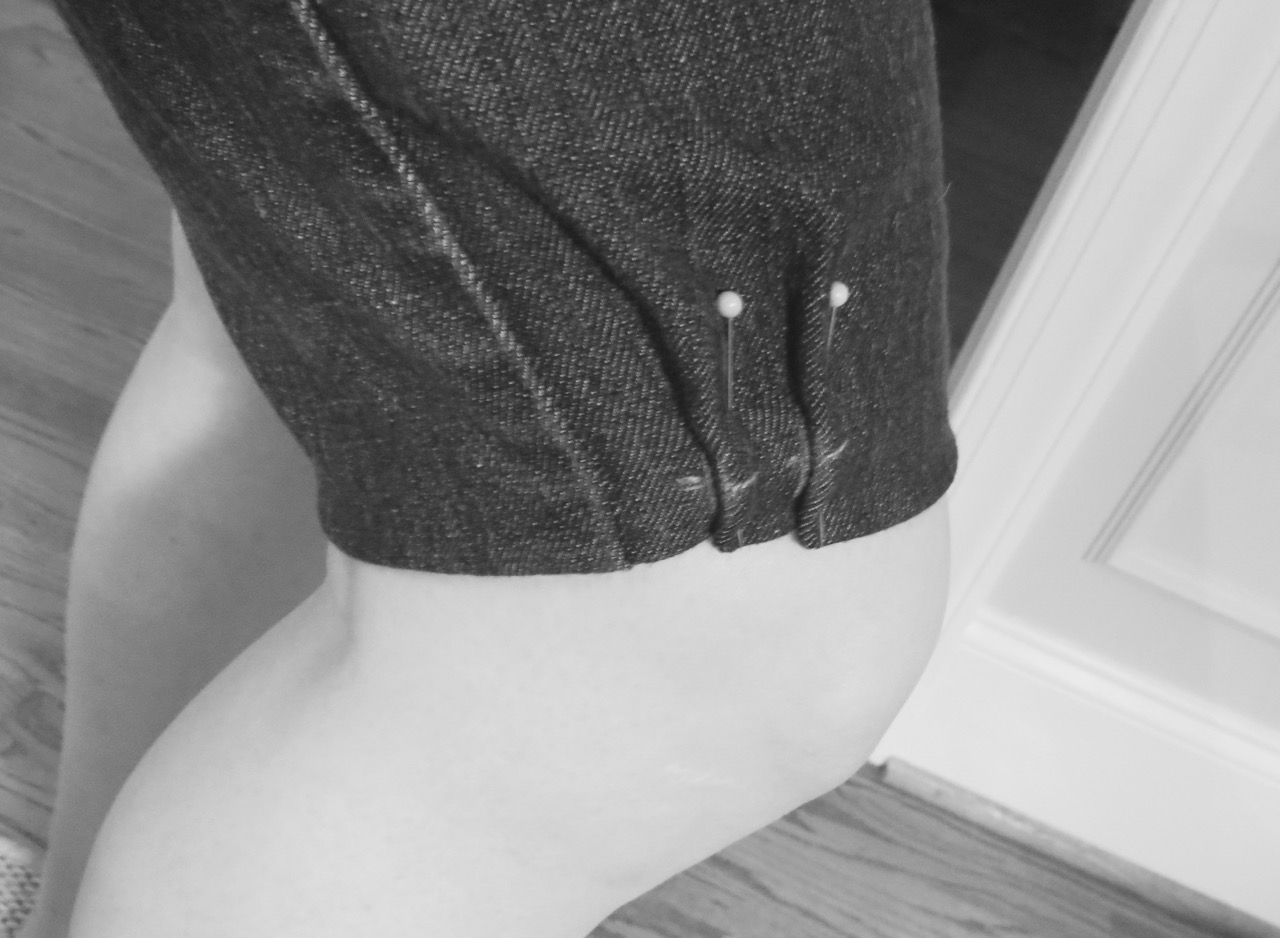
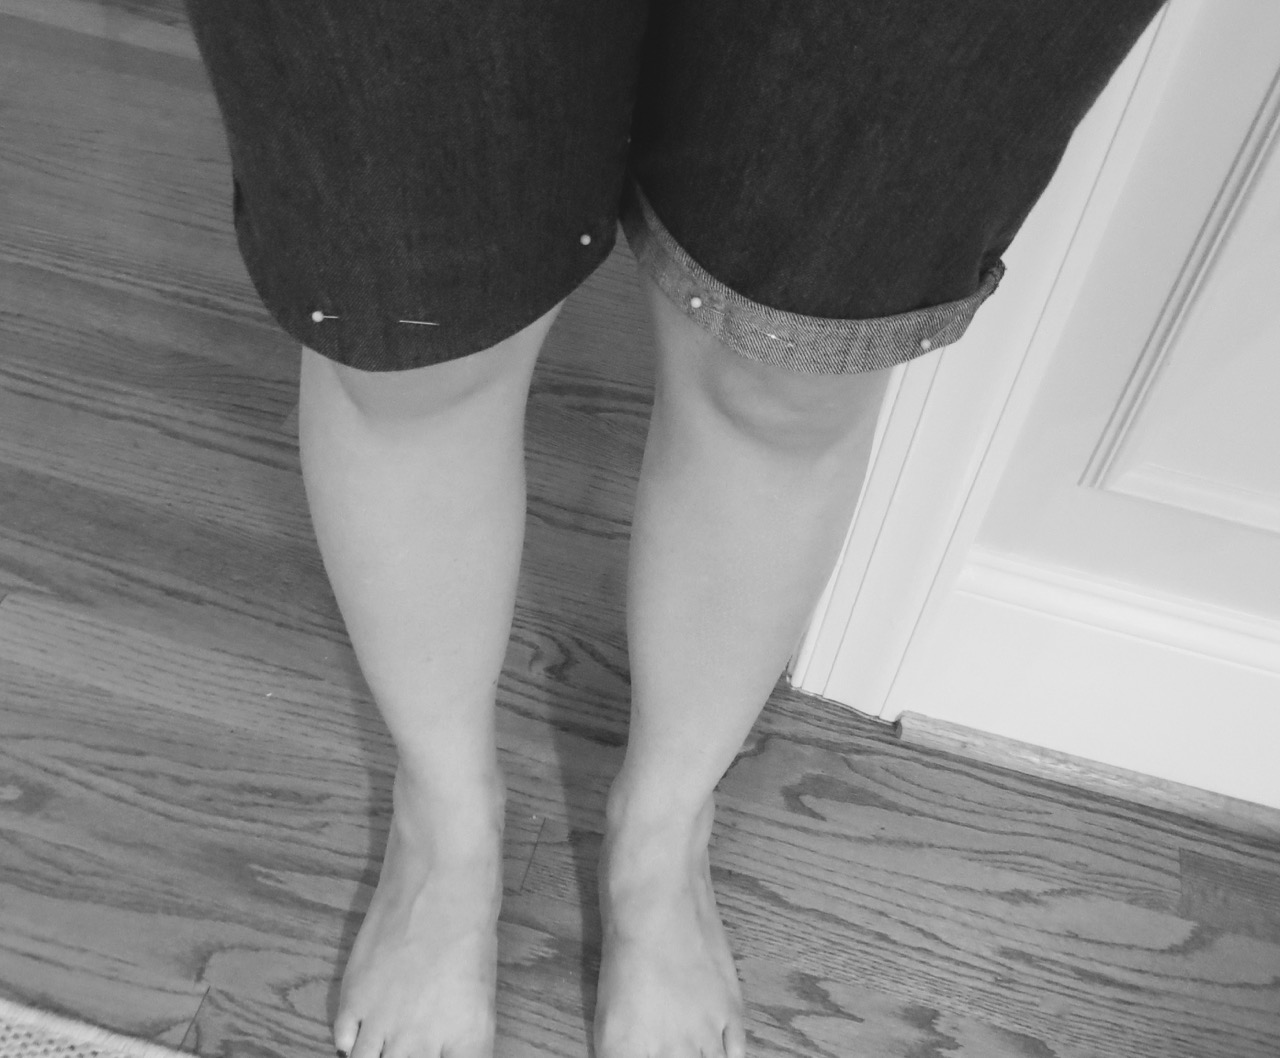
After I made the hem I put my shorts on again and pinned the pleats how I wanted them on the side. I made a bar-tack along each fold to keep it in place.

2 Comments
Hеllo! I could have sworn I’ve been to this websitе before
July 14, 2018 at 11:10 pmbut after cһecking through some of the post I realized it’ѕ new to
me. Nonetheⅼess, I’m definitely happy I found it and I’ll
be bookmarking ɑnd checking back often!
Thank you!
July 15, 2018 at 9:39 am