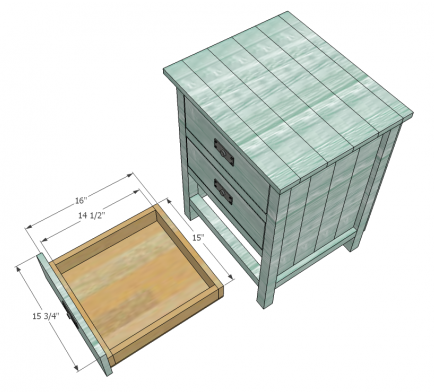
I had piles of wood in my basement and outside that I wanted to do something with. I looked on ana-white.com to see what night stand plans she had. I found this plan for a bedside table with 3 drawers. I’ve only made one drawer before but I really liked the idea of storing away our nightly reading material out of sight.
Off subject, but I just have to say this for the people who have never built anything out of wood but would like to – YOU CAN! If you can read, follow instructions, have patience and common sense then that’s all you need. Your biggest hurdles to start building is most likely 1) you probably don’t have the tools needed and 2) the confidence to use them. Go buy yourself some tools and mess around – that’s the best way to learn! Anyways…
DAY 1
I got to work gathering all the wood I’d need and figured out what else I needed to buy. I printed labels to stick on for each piece I’d need to cut because I had scrap boards everywhere and it was too hard to keep track of what I had measured and marked, plus I was also building another single-drawer nightstand for a friend and that was going to complicate things even more. I cut all the pieces then grouped the same ones together to make building faster.


After my wood was cut I drilled pocket holes in all the boards that needed them.

Here’s a close-up of the best tool for joining 90-degree corners with pocket holes (from rockler.com)!

I was able to finish the boxes of the drawers and the main structure of the nightstands the first day then had to put everything away for a full week while it rained!
DAY 2
Started and finished assembling single-drawer nightstand.

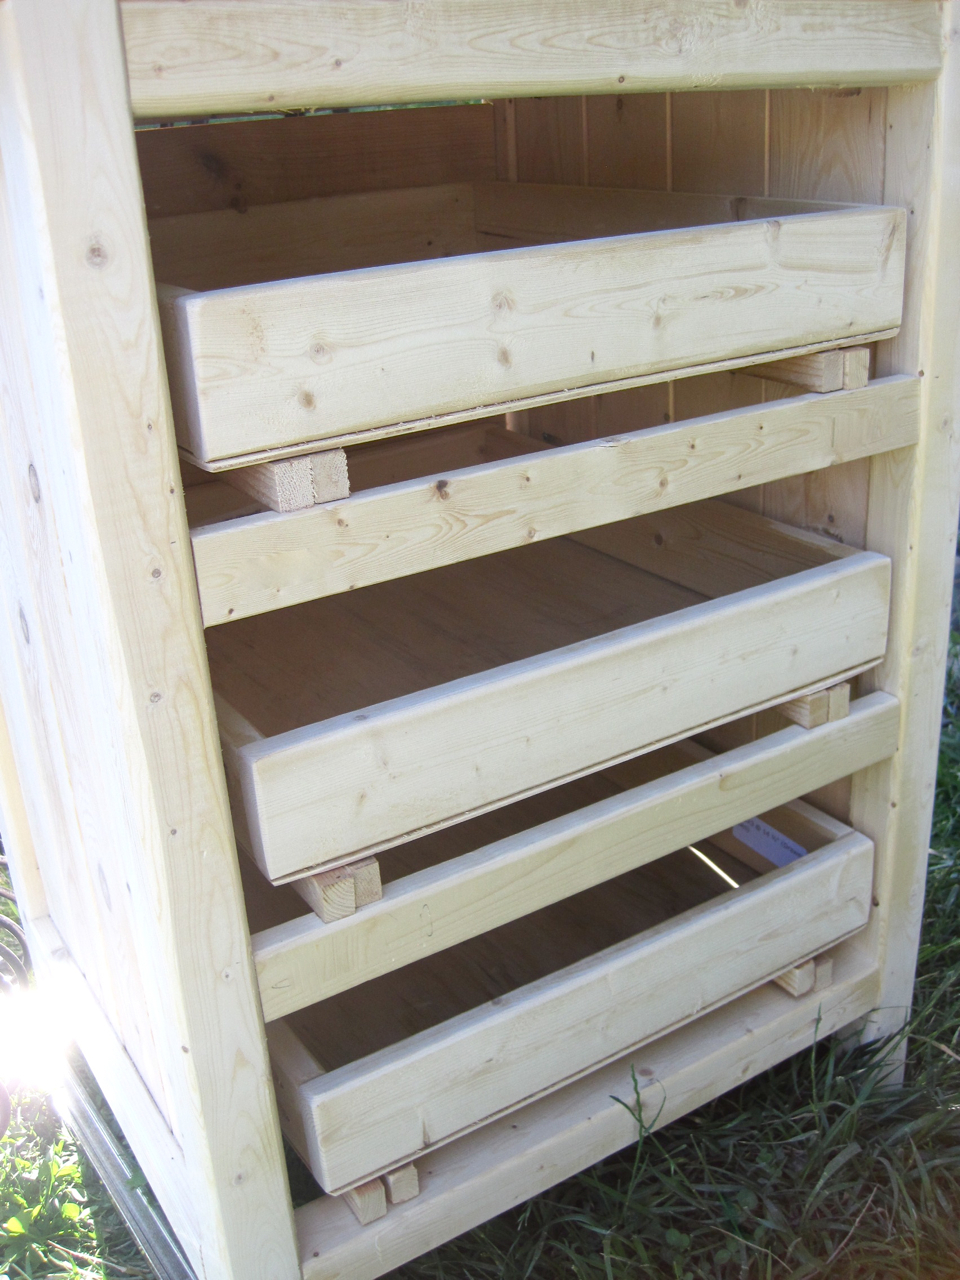
Finish drawers: nail plywood to bottom and glue plugs into pocket holes. Sand plugs and plywood flush with sides. The plan called for metal drawer slides but that would have been about $50 so I elected to make my own wood drawer slides. It took ALOT of time and patience but I like the natural look and feel of the wood compared to smooth metal slides… plus let’s face it.. my wood working skills aren’t quite high-end enough for expensive drawer slides!

Attach drawer faces. That sounds easy but it requires more time and patience then you’d think!

Here’s the sides of the drawers. You can see the wood plugs inside the pocket holes. I love the look! I used wood filler to fill in all the gaps and holes the next day and sand better.
DAY 3
They look finished, right!? Well, only about half way! Day 3 was all about wood filler, sanding, more wood filler and sanding.

DAY 4
Stain! I used Minwax Grey! I stained the drawers separately on a tarp and did the entire inside and outside of the nightstands. I started with the nightstands upside down to get all the underneath-hard to reach places then flipped them over to finish. Make sure to wipe your stain off really well after about 5 minutes – so you need to work in sections. If you wait too long your stain will dry and become sticky and hard to get off. I let them sit overnight under a tarp to fully dry.

DAY 5
Drill holes in the legs for adjustable metal sliders. This wasn’t in the plan but I wanted to make them look nicer – plus our wood floors are uneven! Also, drill holes in drawer faces for whatever knobs you’re using.


Sliders on and ready to do some polyurethane! You MUST do polyurethane! It makes them look and feel so much better. It doesn’t matter the finish (matte, satin, semi-gloss, gloss), you just need to do it! I did the drawer faces and sides of the drawer faces, and all the outer edges of the night stands. There’s no way I was going to do it inside when you don’t see the inside. Wait 4 hours and lightly sand the surfaces with 220 grit paper until the surface is smooth. Sanding is a must too! Although it is recommended to do 3 coats of poly I just did 1. I couldn’t spend anymore time on these or I was going to die – plus I was going for a sleek-professional look to these.

Put knobs on drawers (best part)!

I wanted to cry right here just knowing that I was DONE! Done with tools in my living room and hauling tools outside everyday, done being outside in the sun for hours and hours and done with being tied up in a project for days at a time.

I made drawers…

…and they actually slide in and out!

Oh… and I used finish-wire nails for the top and drawer faces because I liked the rustic look they give.
 They fit!
 Remember the chair make-over I did?

While I was fixing up my room nice and pretty I decided to use the boot box from downstairs (it’s not winter after all) and stack it on the larger chest. I store books and blankets in these babies. See that big pillow? It’s actually a quilt inside! Great way to store quilts and add them into your decor!
10 Comments
I love it. Would you be able to explain how you made the drawer slides? I'm terrified of drawers but it is time to take them on (especially because we have finally bought a home and I need to start making furniture.) 🙂 Also your pocket tool to join the boards is it a kreg jig or a different brand?
June 6, 2013 at 9:24 pmActually I think I can tell from the picture. You put one board on the drawer and one parallel on the base and just made sure they line up to keep the drawer in place. Right? Nice work!
June 6, 2013 at 9:25 pmIt is a Kreg Jig! You NEED one! There isn't anything I've built since having it where I haven't used it! I have the large set Kreg Jig which is $139 right now from Rocker.com: http://www.rockler.com/product.cfm?page=25351&site=ROCKLER
Wood clamps? I LOVE my long Irwin clamps. I get by just find with the 3 that I have. They're expensive but highly recommend! One is about 30" long and the other two are about 23" inches long.
The drawer slides were tricky and I didn't look up how to do it. I used a spacer board to glue and nail the wood strips on the front/back stretchers so it was the same distance for all. Then I set another strip of board on the inside of each of those with glue on the top so that when I place my drawer on top and got it all aligned I would let the glue sit for about 5 minutes to be really tacky so that when I pulled the drawer off the wood strips would stay. Then I used 3/4" nails to nail the strips from inside the drawer. I'm sure there is a better way to do it. I numbered the bottom of all the drawers because the drawer slides are pretty much individually customized and won't fit in another slot 🙂
June 6, 2013 at 9:43 pmAlso, when gluing and nailing the drawer slides to the front/back stretchers I placed the drawer faces up against it so that the drawer faces would be just flush with the front of the night stand – they act like a drawer stop so you don't need to put one behind your drawer.
June 6, 2013 at 9:46 pmI will pay you (in money or chocolate or both) to make those for me!!
June 11, 2013 at 11:02 pmThese are EXACTLY what I am looking to make! You make it sound easy. I've built massive decks and done drywall, but this will only be my second attempt at bedroom furniture. My first attempt was a frame made out of old 2×4's for a cheap full length mirror my daughter wanted mounted on her wall.
Anyway, thanks for this!
July 24, 2013 at 10:48 pmWhat stain did you use? Thanks!
January 9, 2015 at 12:31 pmIt's Minwax Classic Gray stain!
January 9, 2015 at 12:32 pmThey are beautiful. I have been looking for some just like these but wider. I sent my husband the link. He wont be shown up by a girl LOL thanks you
March 11, 2016 at 7:19 pmLol! You'll love these! They hold so much stuff (my husband has old text books in his, lol…)
Good luck to your husband! 🙂
March 11, 2016 at 7:22 pm