
Welcome to Part 3 of my 3 Part series!
Part 1: Before & After Pictures
Part 2: Sewing Machine Makeover
Part 3: Cabinet Makeover
In this post I will show you how I remodeled an old sewing cabinet into a small side table.
Part 1: Before & After Pictures
Part 2: Sewing Machine Makeover
Part 3: Cabinet Makeover
In this post I will show you how I remodeled an old sewing cabinet into a small side table.
BEFORE:

I actually thought the cabinet was cute but it wouldn’t serve much of a purpose outside of housing a sewing machine.. except maybe a make-up vanity. I wanted something smaller that I would actually use.
AFTER:

The cabinet is mostly original with only a few boards added and new knobs. It’s the perfect size for a side table by a couch or tall night stand.
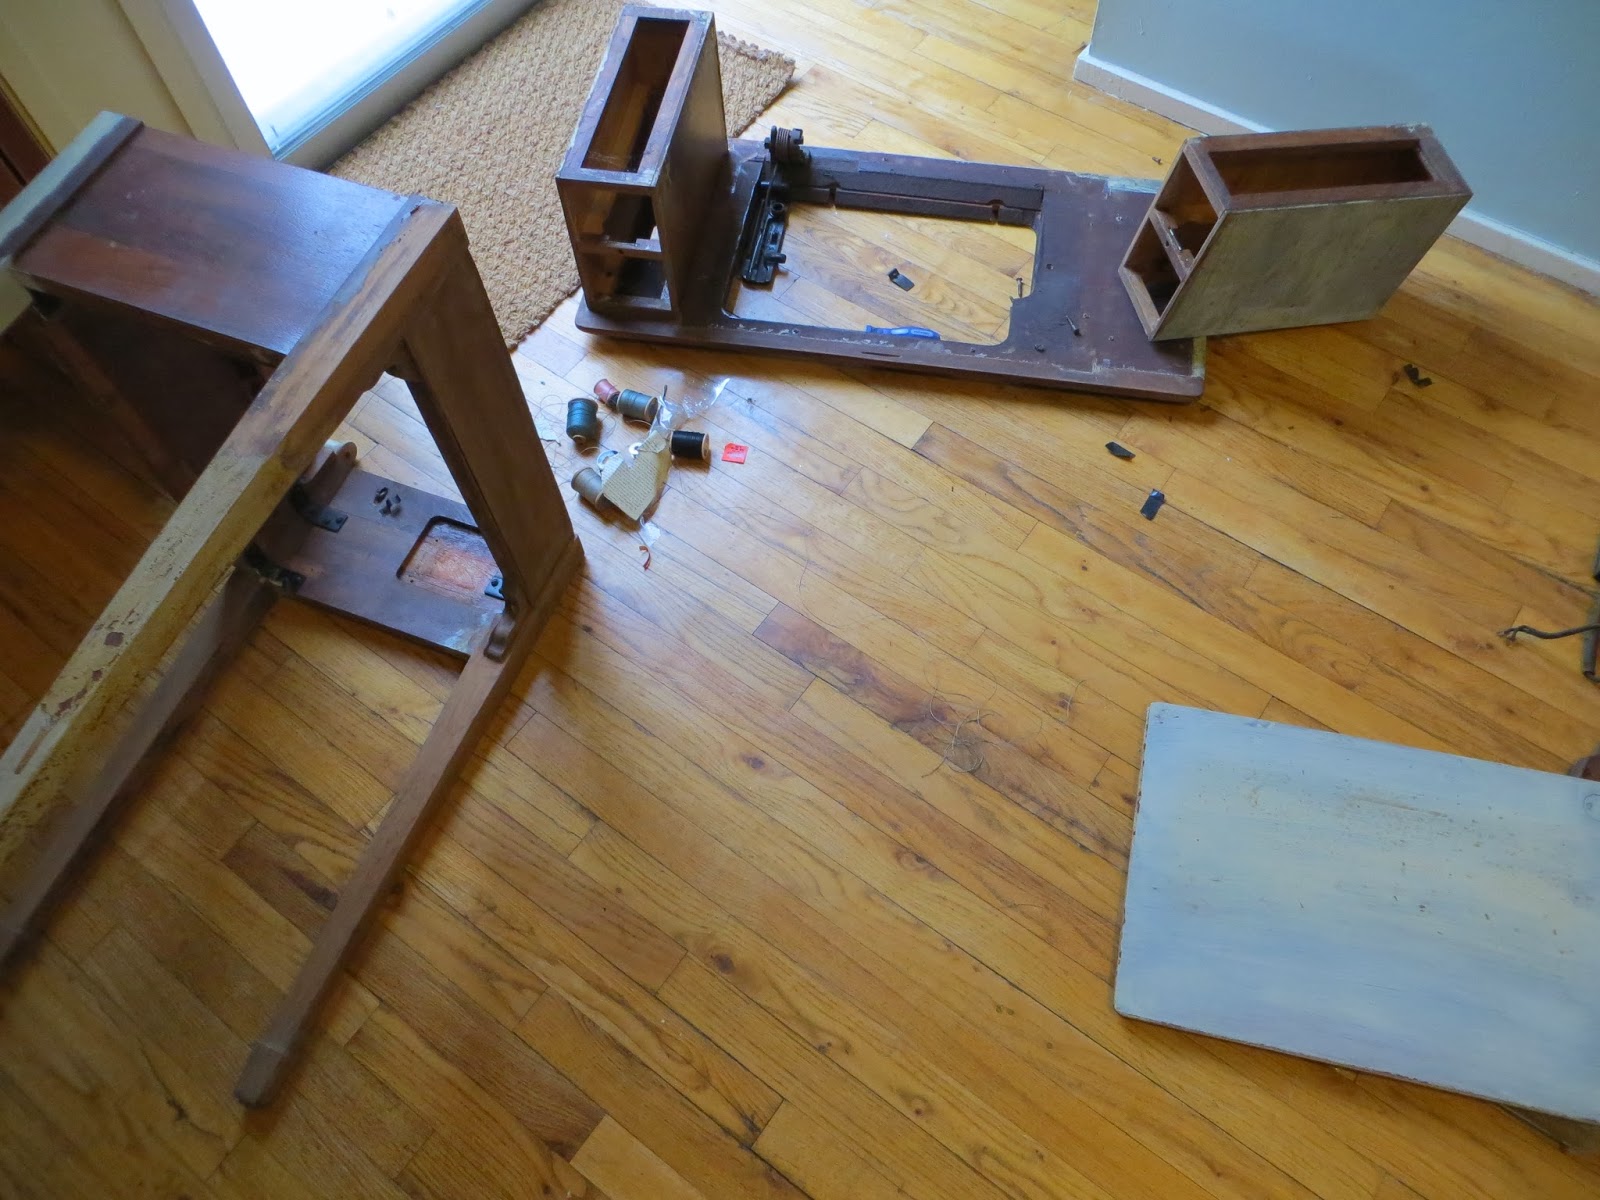
I started the 2 hour dis-assembly process…

…and set apart pieces I knew I would use.
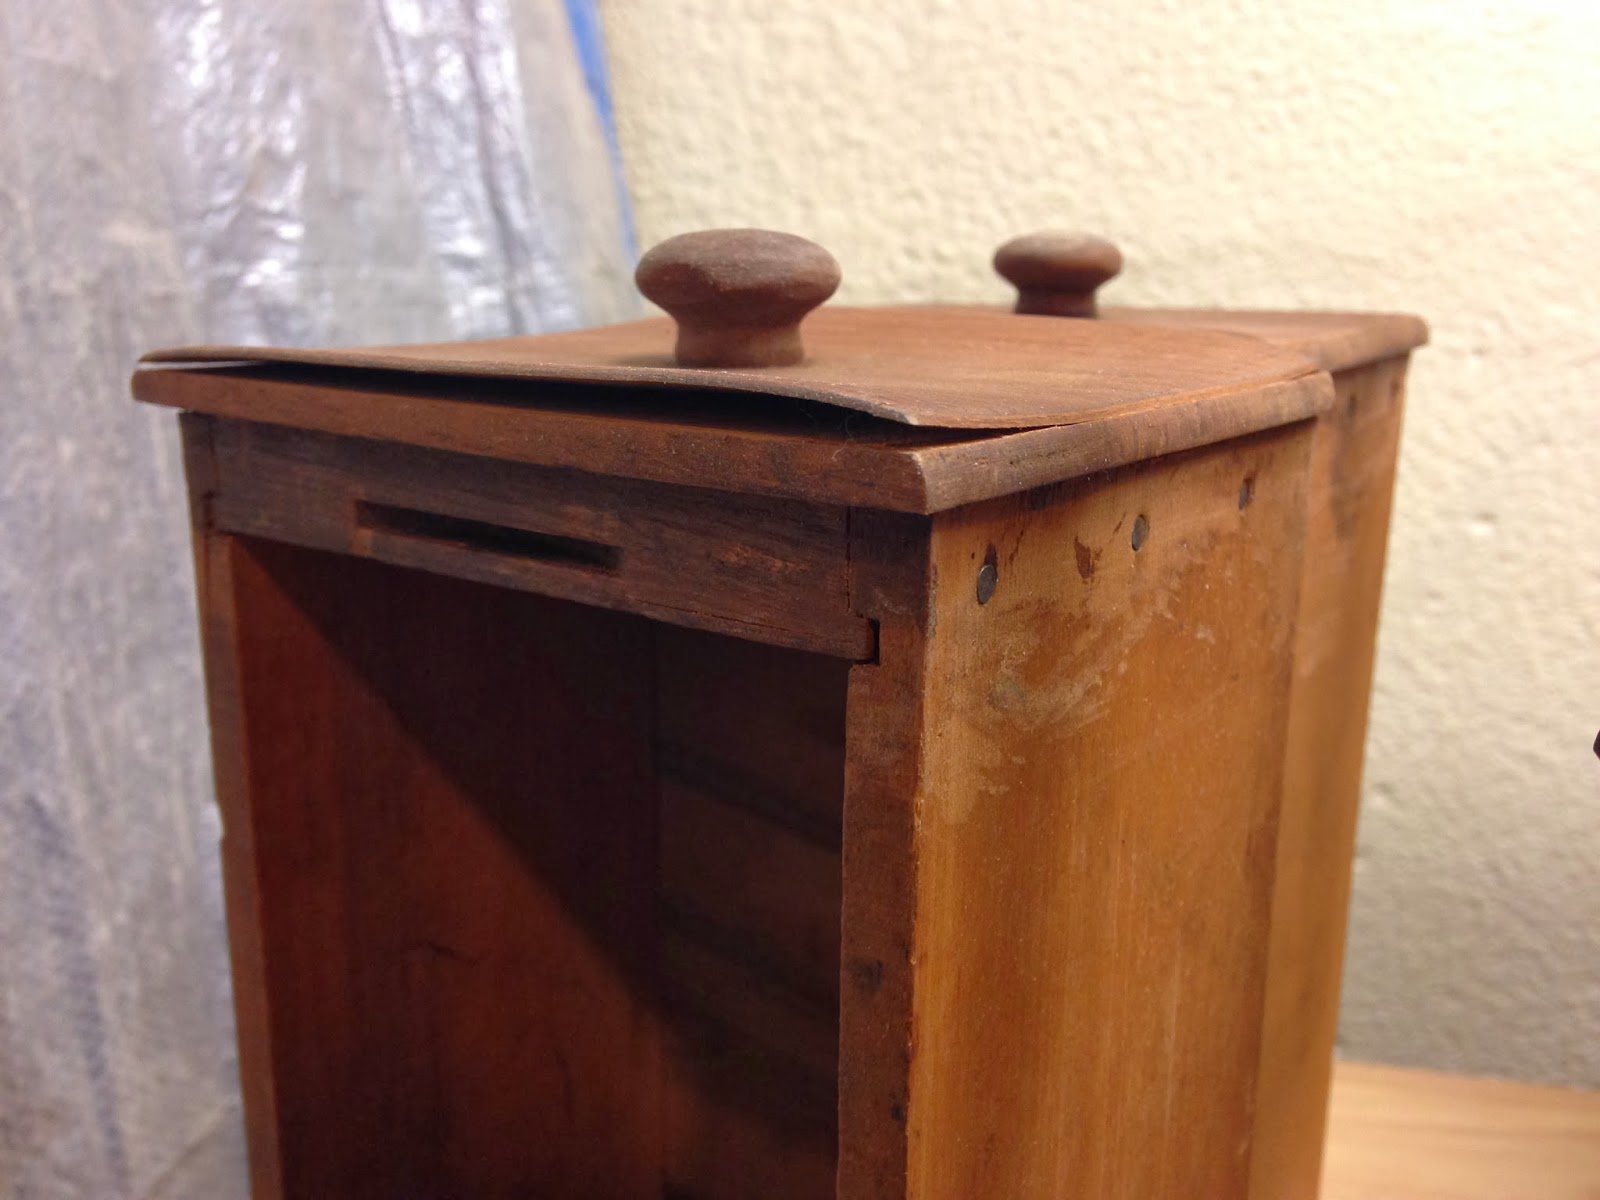
Every face piece of the cabinet has a veneer glued on. Well… glue back in the day wasn’t very good so the veneer starts peeling off.
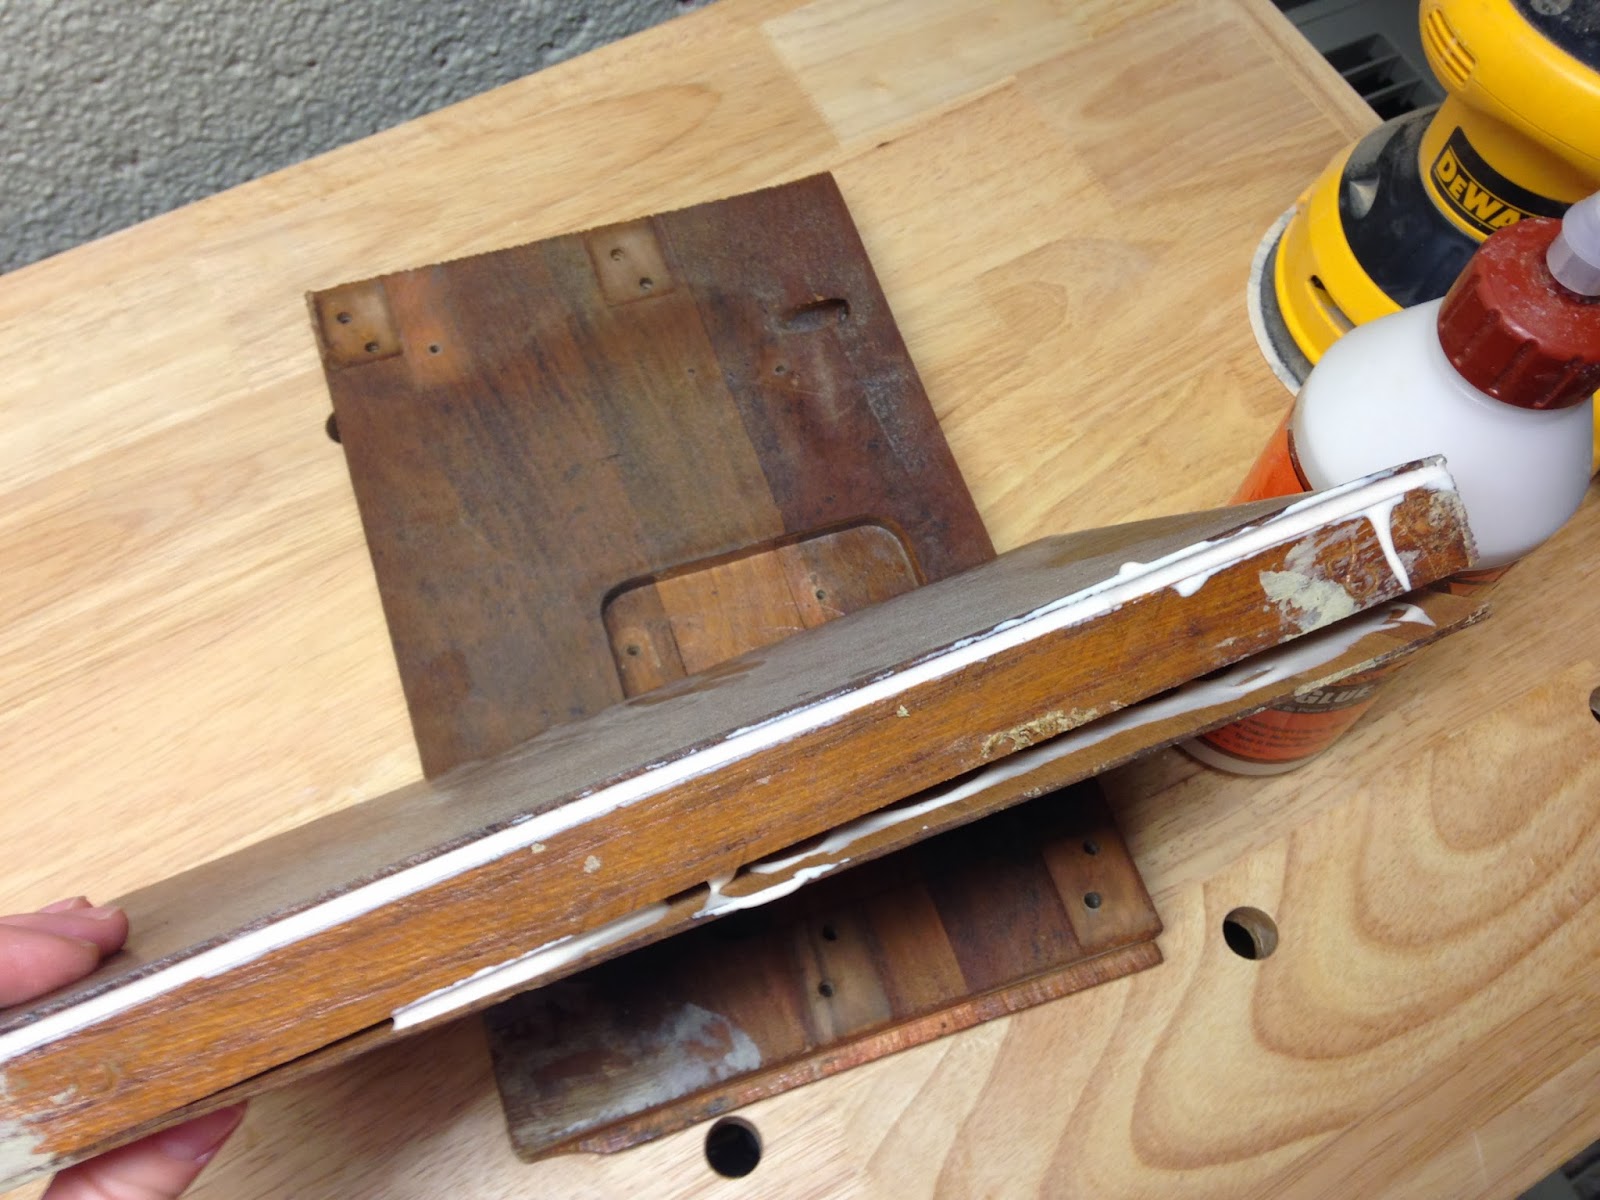
I fix it by dripping glue over the opening…
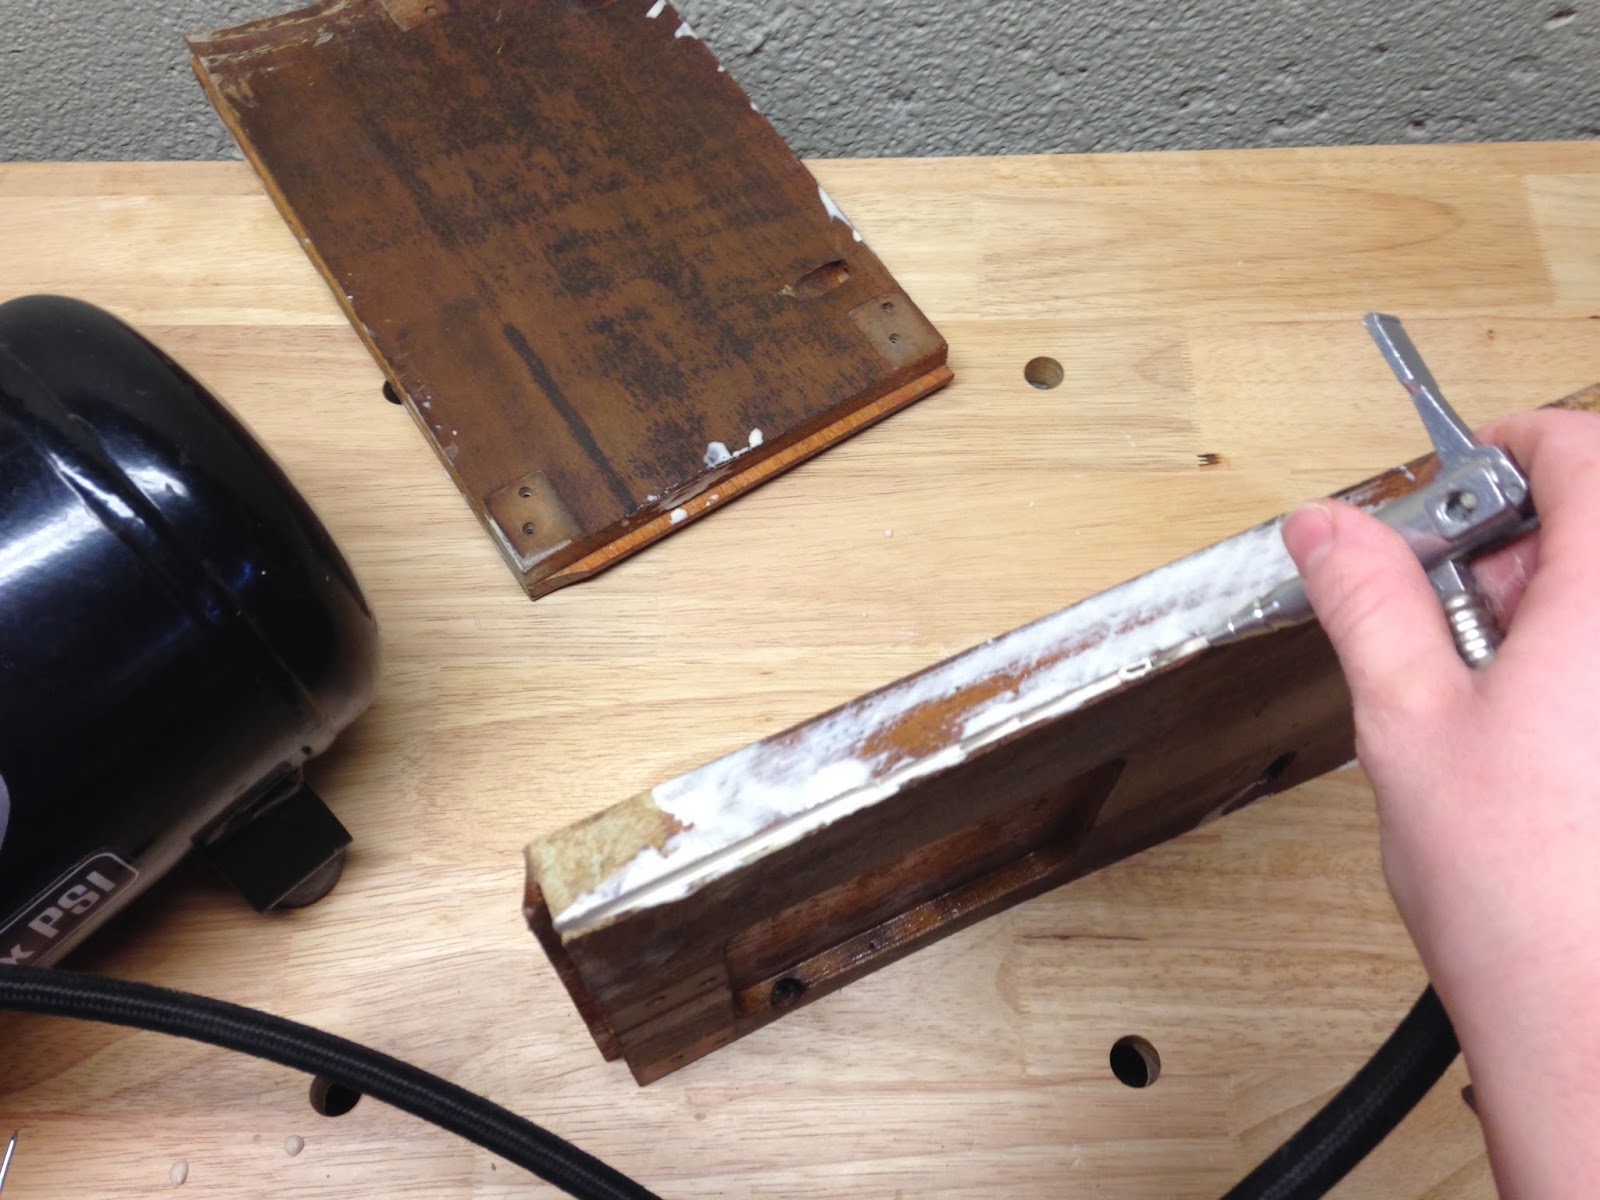
…use my air compressor to blow the glue inside..
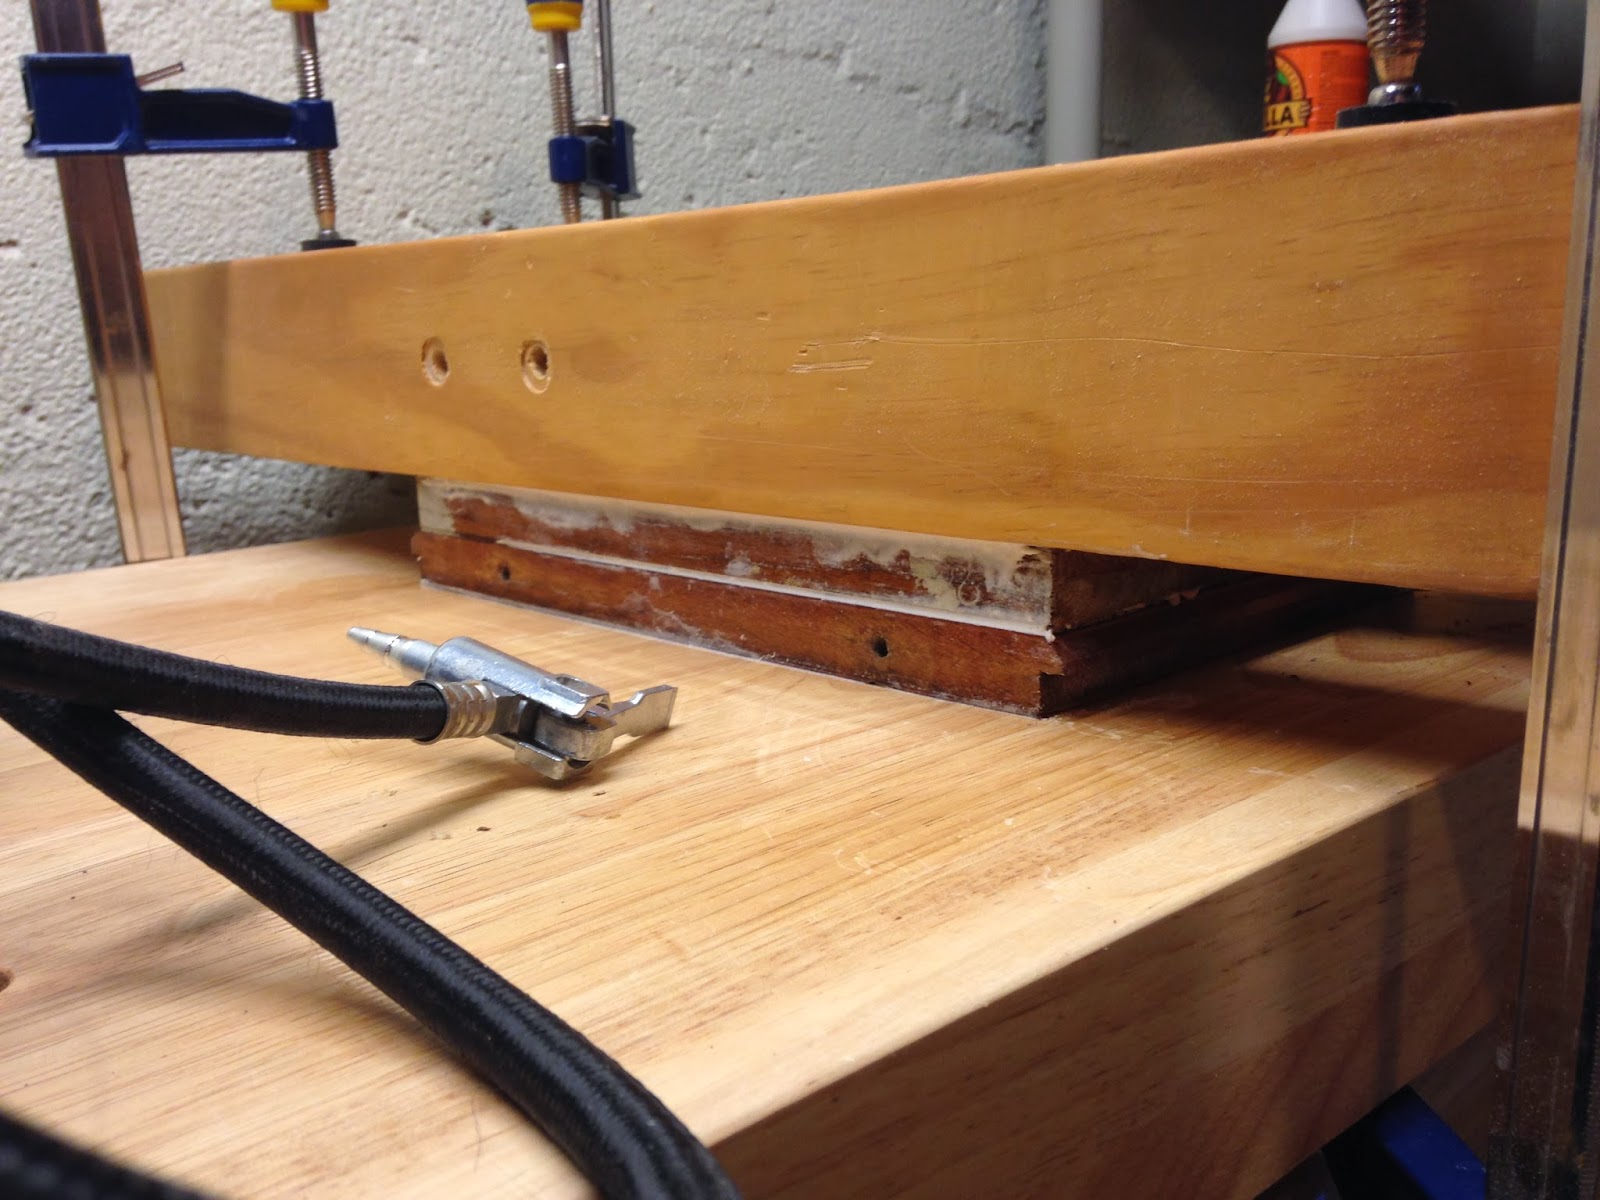
…and clamp…
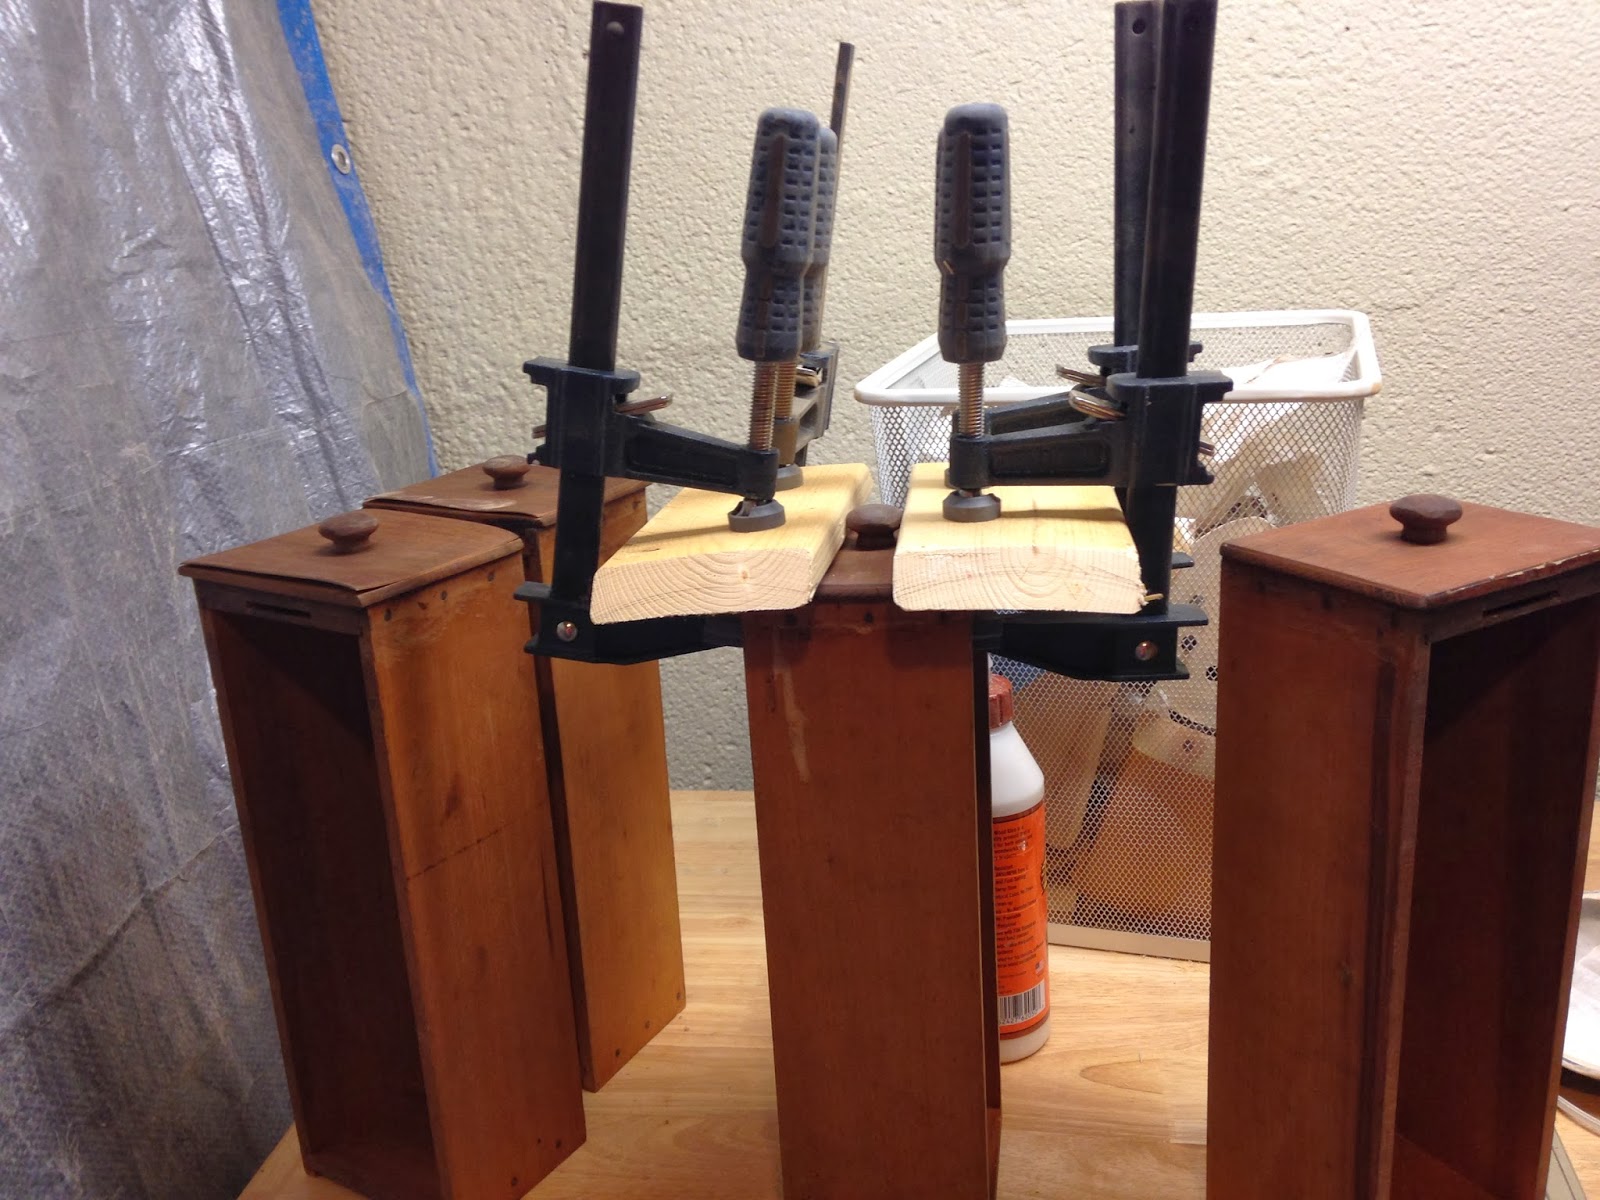
…and clamp…
…and done! It was a long process since I only have enough clamps to do one piece at a time but it brings the wood back to normal.

Sanded every surface.
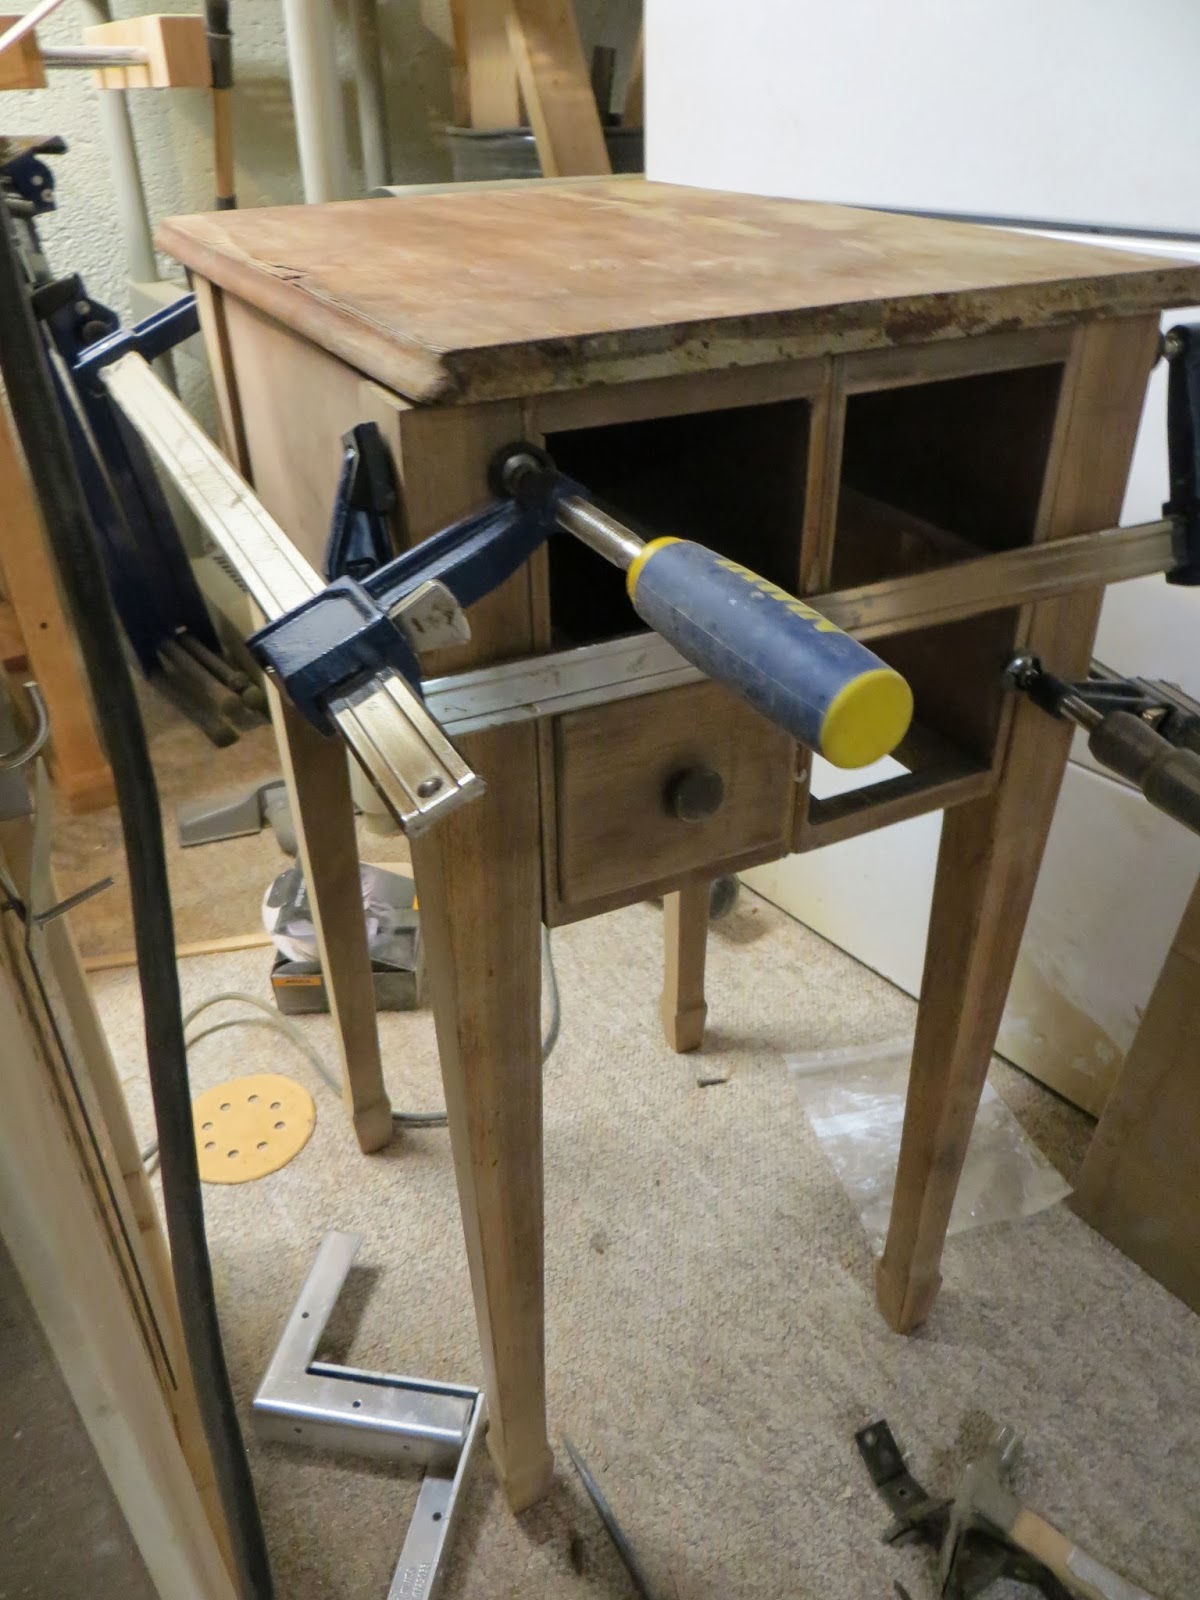
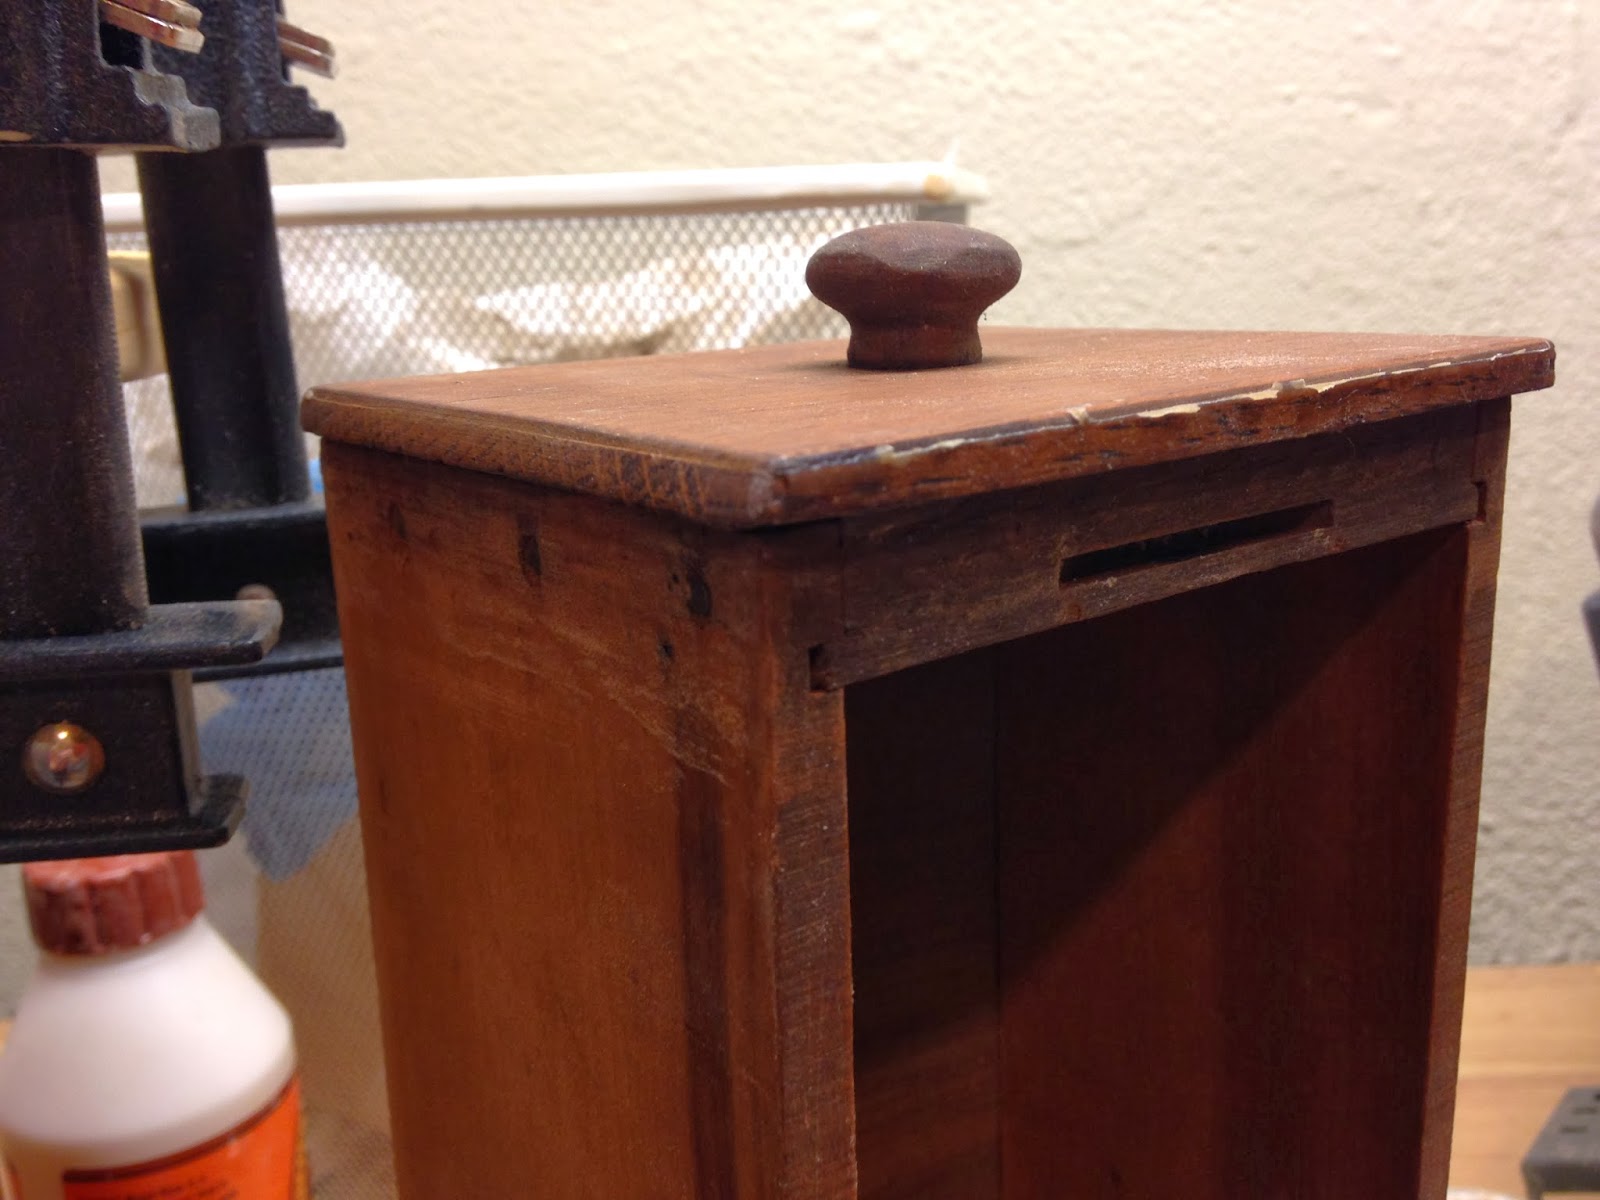
I glued both of the drawer cabinets together side by side and cut and re-glued the back to just the right size to fit the drawers. For the top I would have liked to use the original top to the cabinet, but you can see in the picture it didn’t have enough overhang to look good…
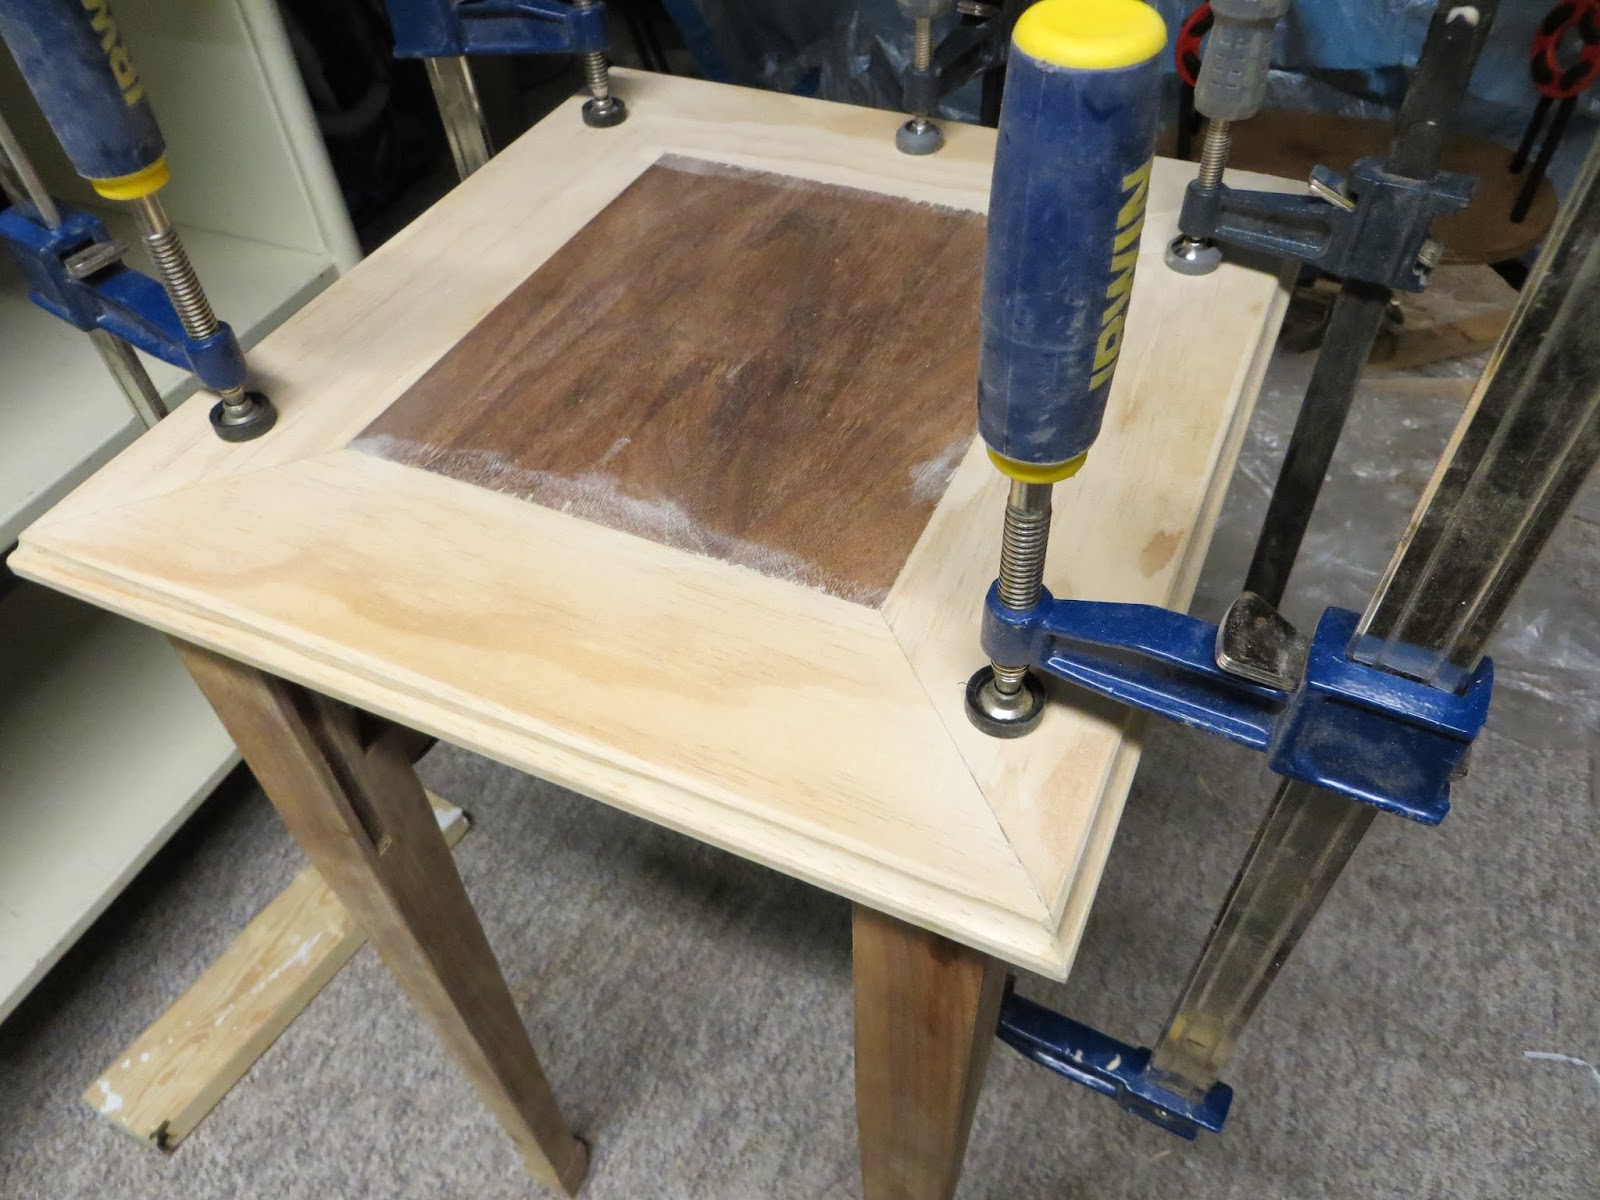
…so I cut the original top down and glued new wood around to frame it to be the right size. I routed the edge as close to the original as I could.

I added 2×2 boards around the bottom edge of the sides and back because you could see the bottom of the drawers, plus it just looks better!
HOW I FINISHED THE WOOD:
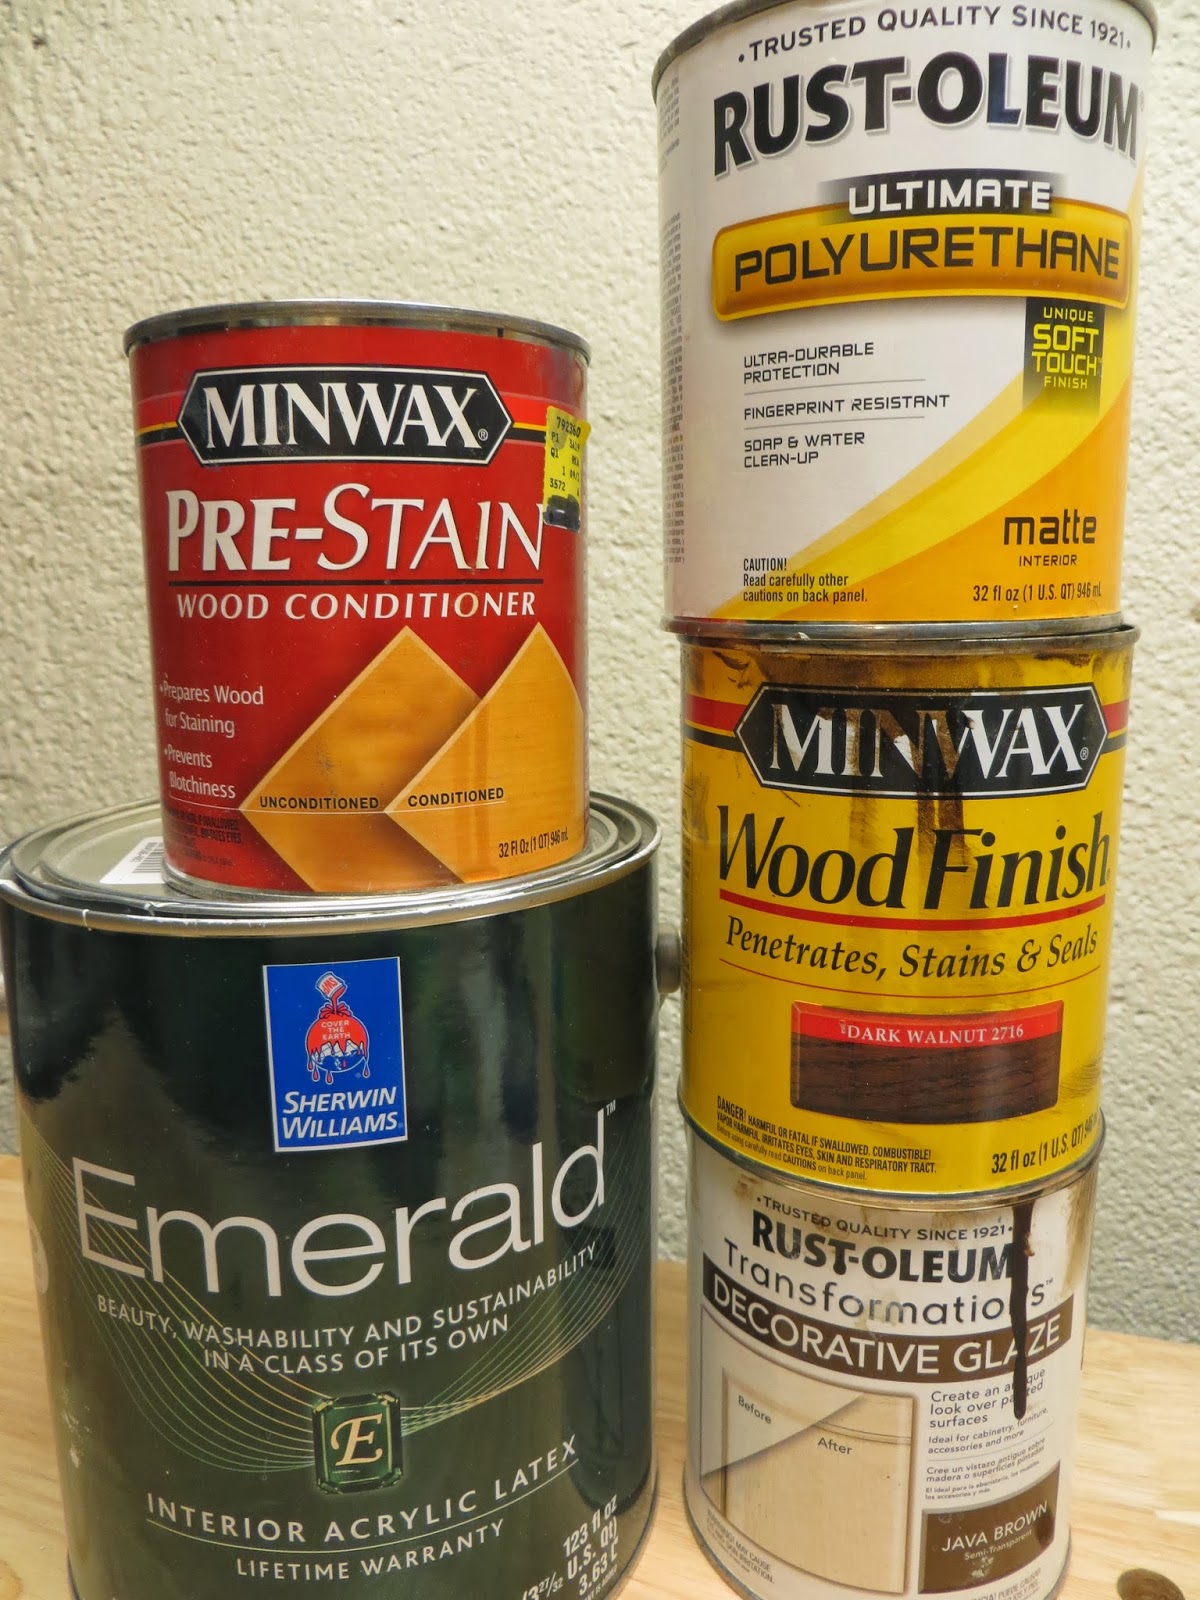
These are the products I used to finish the cabinet.
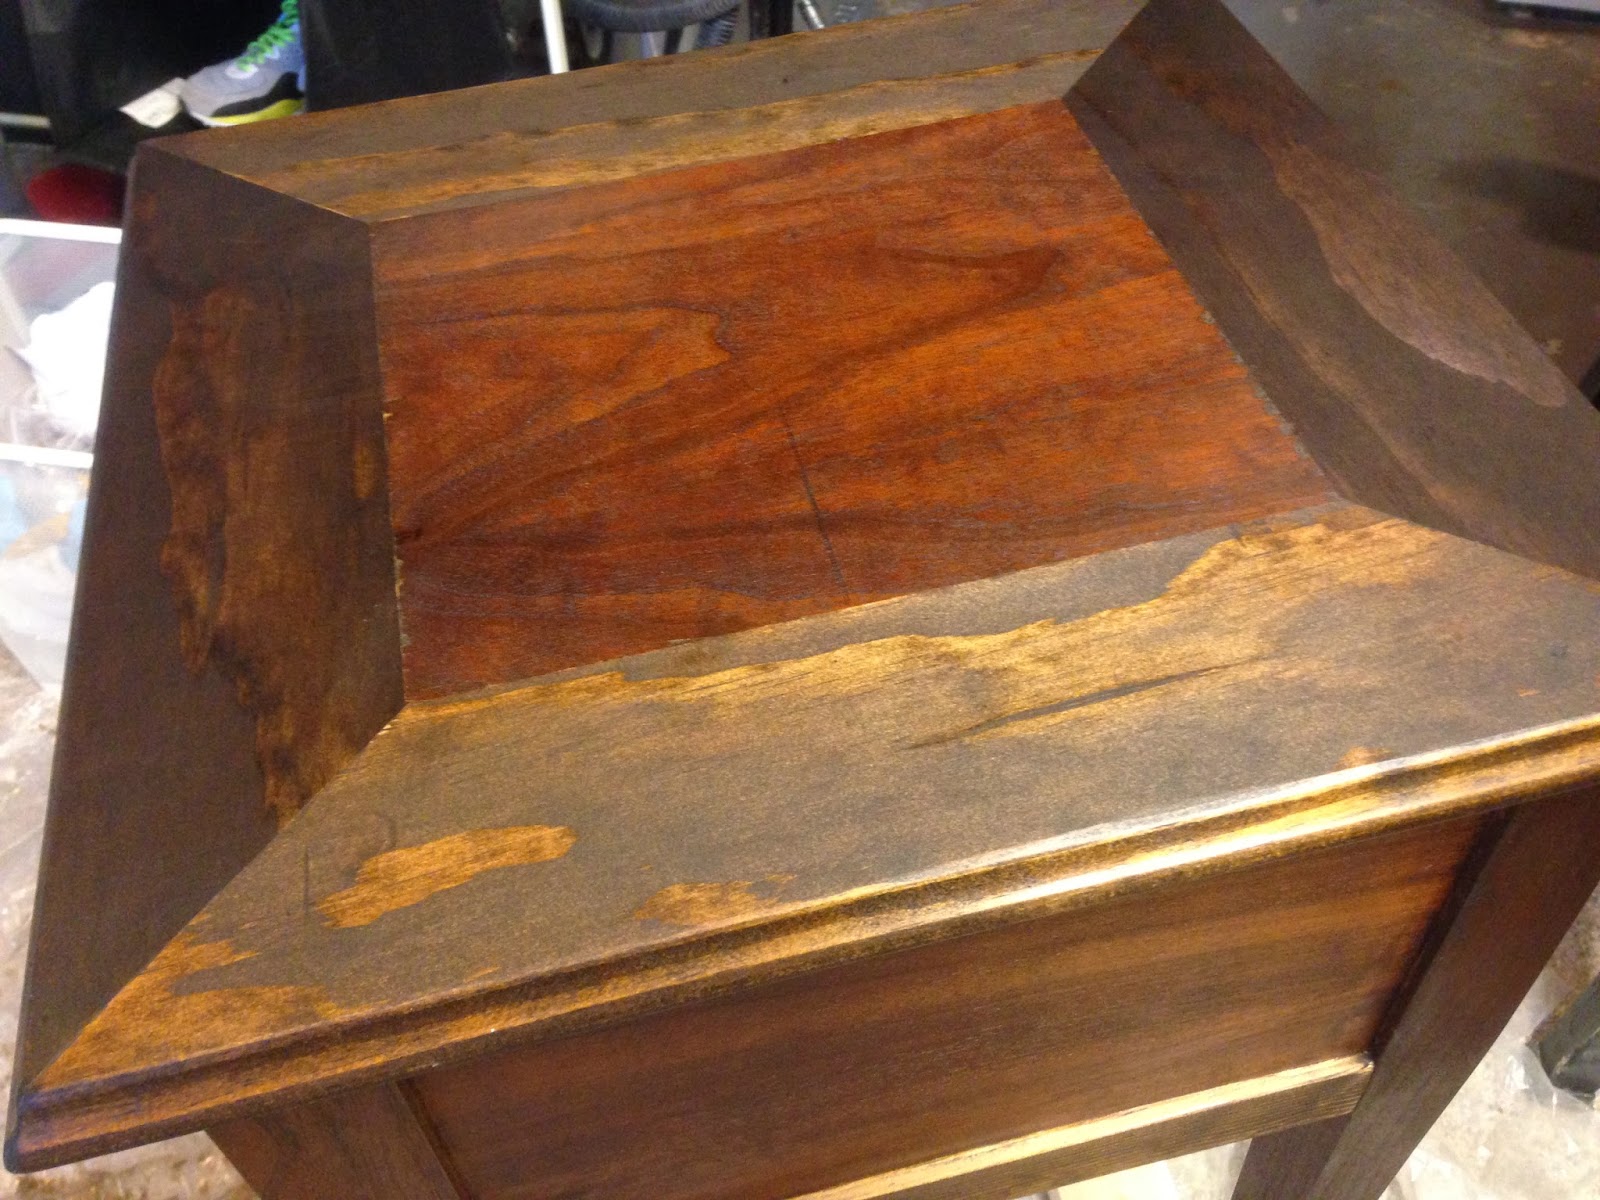
I brushed pre-stain wood conditioner on and HOPED that I could just stain the whole thing dark brown and the new wood would blend in. Well, that didn’t happen no matter how many coats I put on or different colors I used. I wasn’t happy with how it looked and didn’t know what to do!
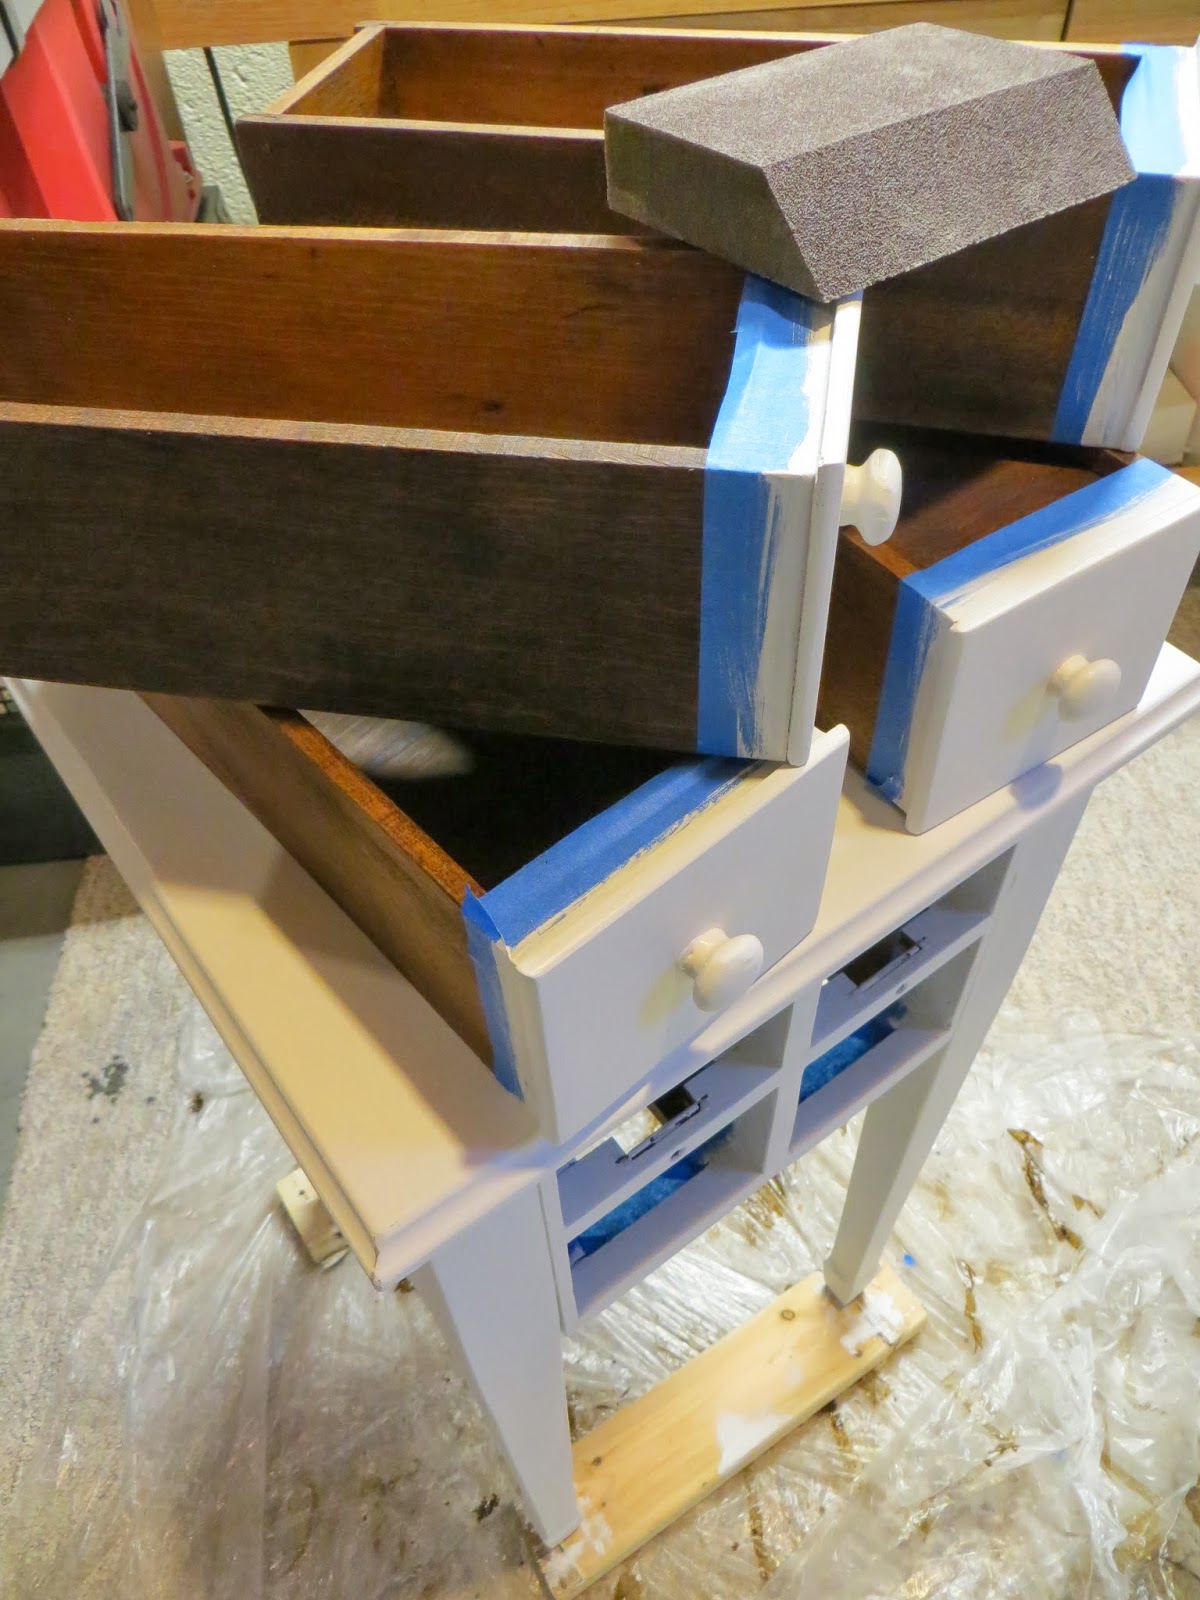
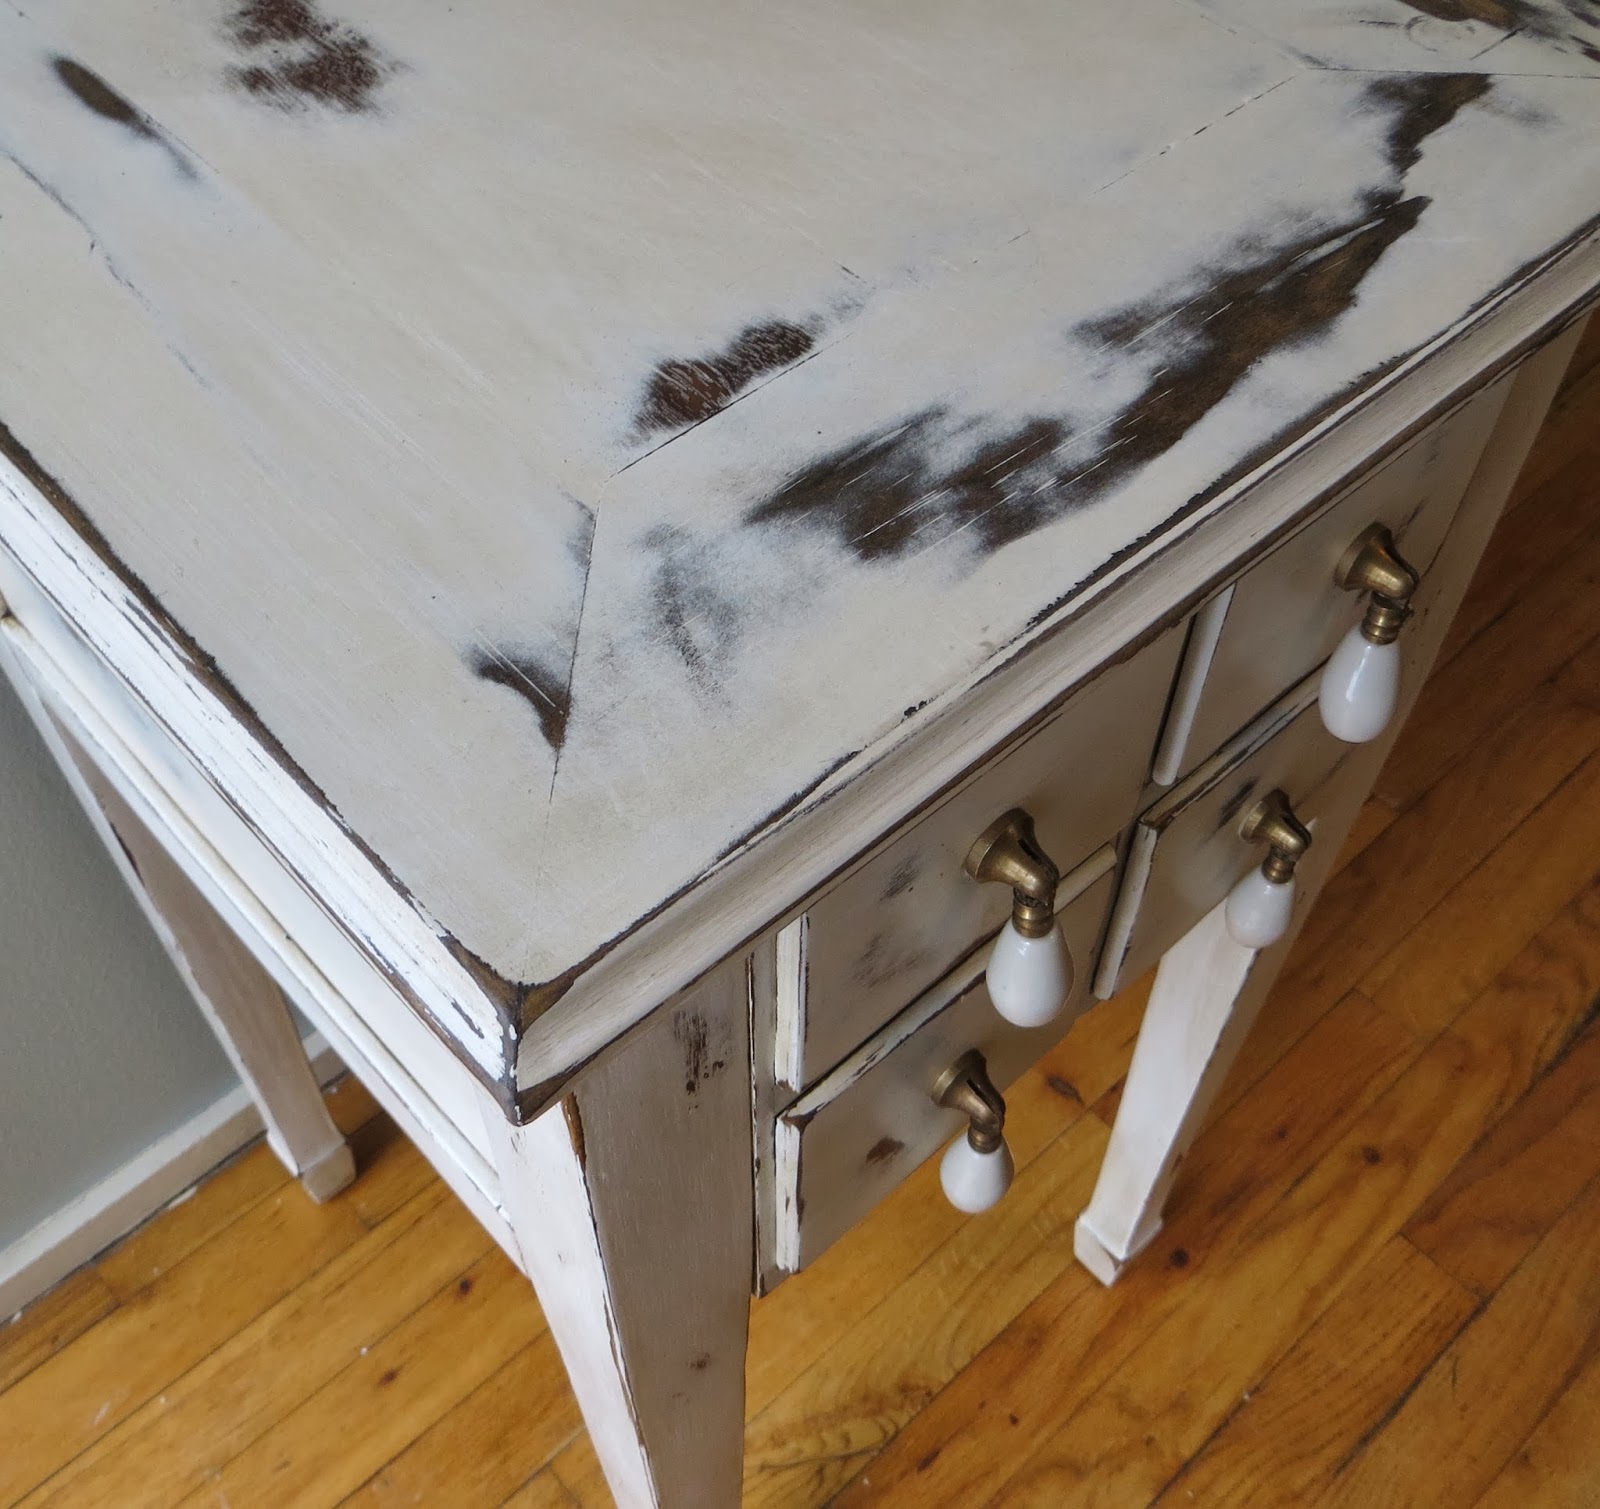
I really don’t like covering up beautiful-old wood but I taped up the drawers and cabinets and went for it anyways. Three coats of white paint and I should have stopped here because looking back I like the bright white…

…but I sanded to give it a distressed look and I must have got carried away.
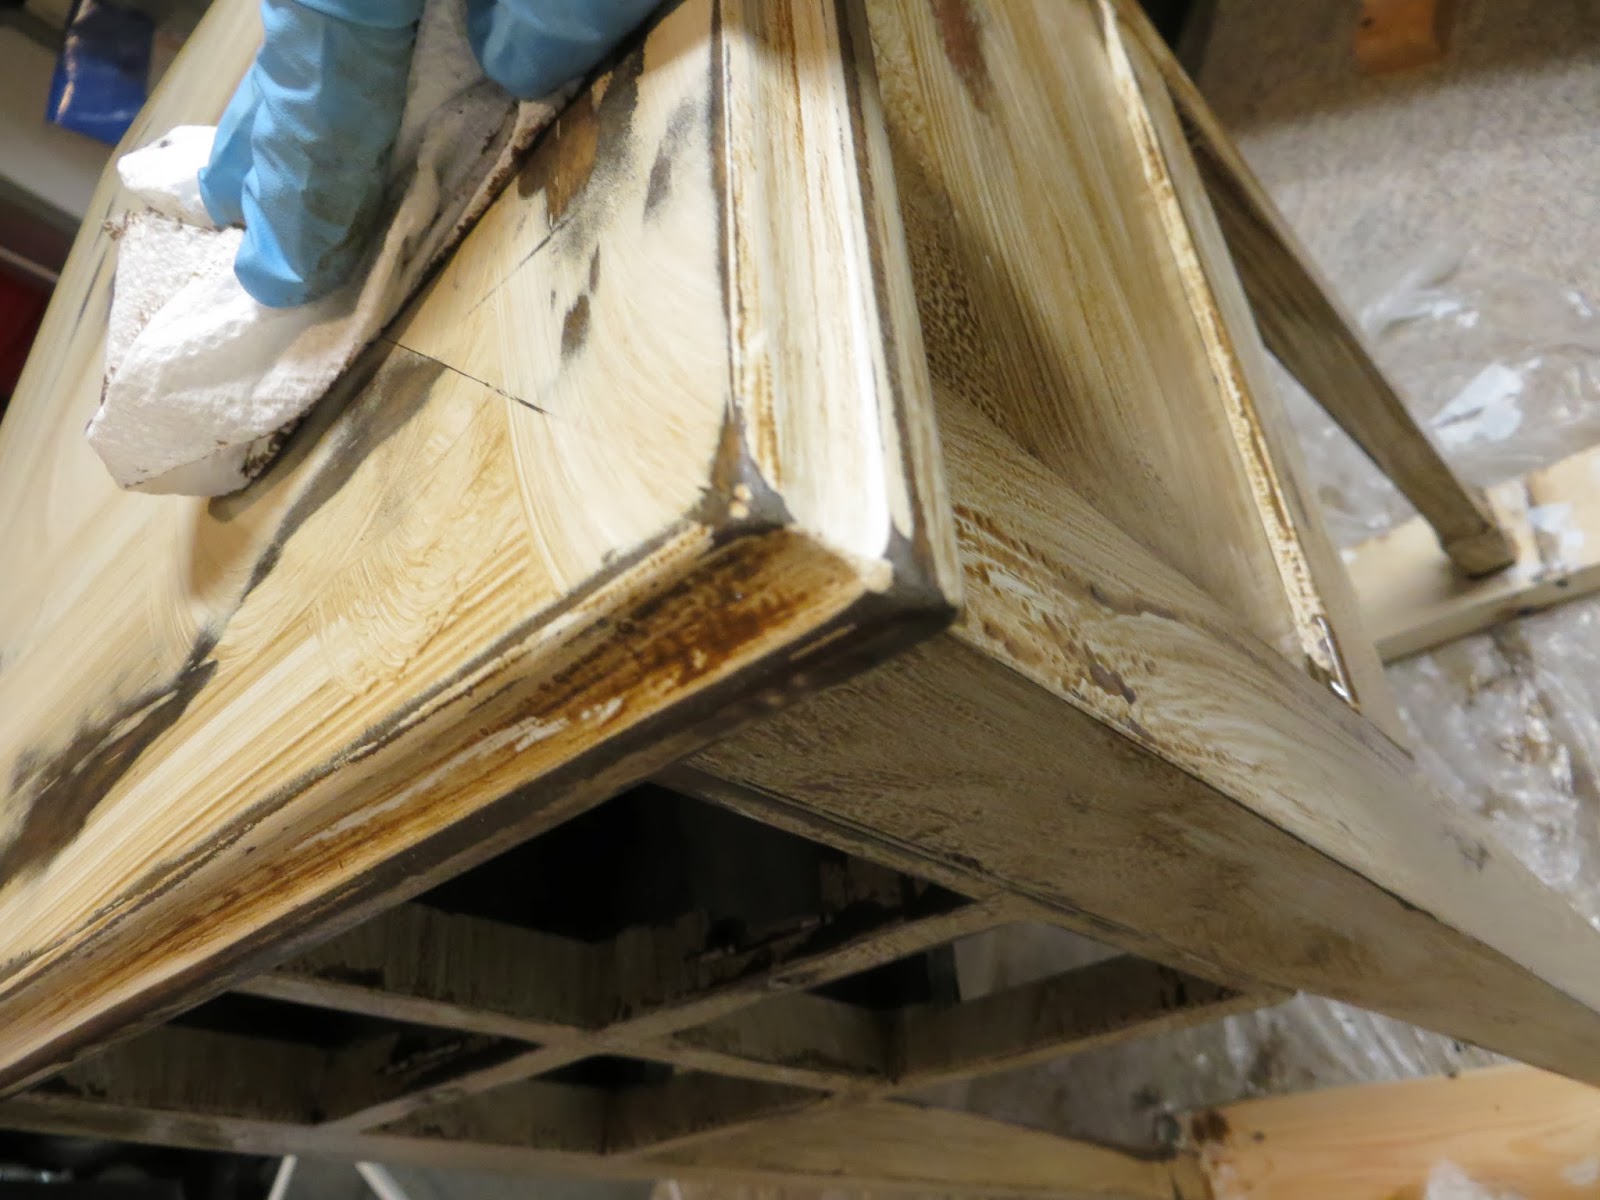
To give it a more natural-aged look I wiped a dark glaze over the top, wiped off, and then used a wet rag to wipe even more. I coated with 2 coats of Matte Polyurethane.
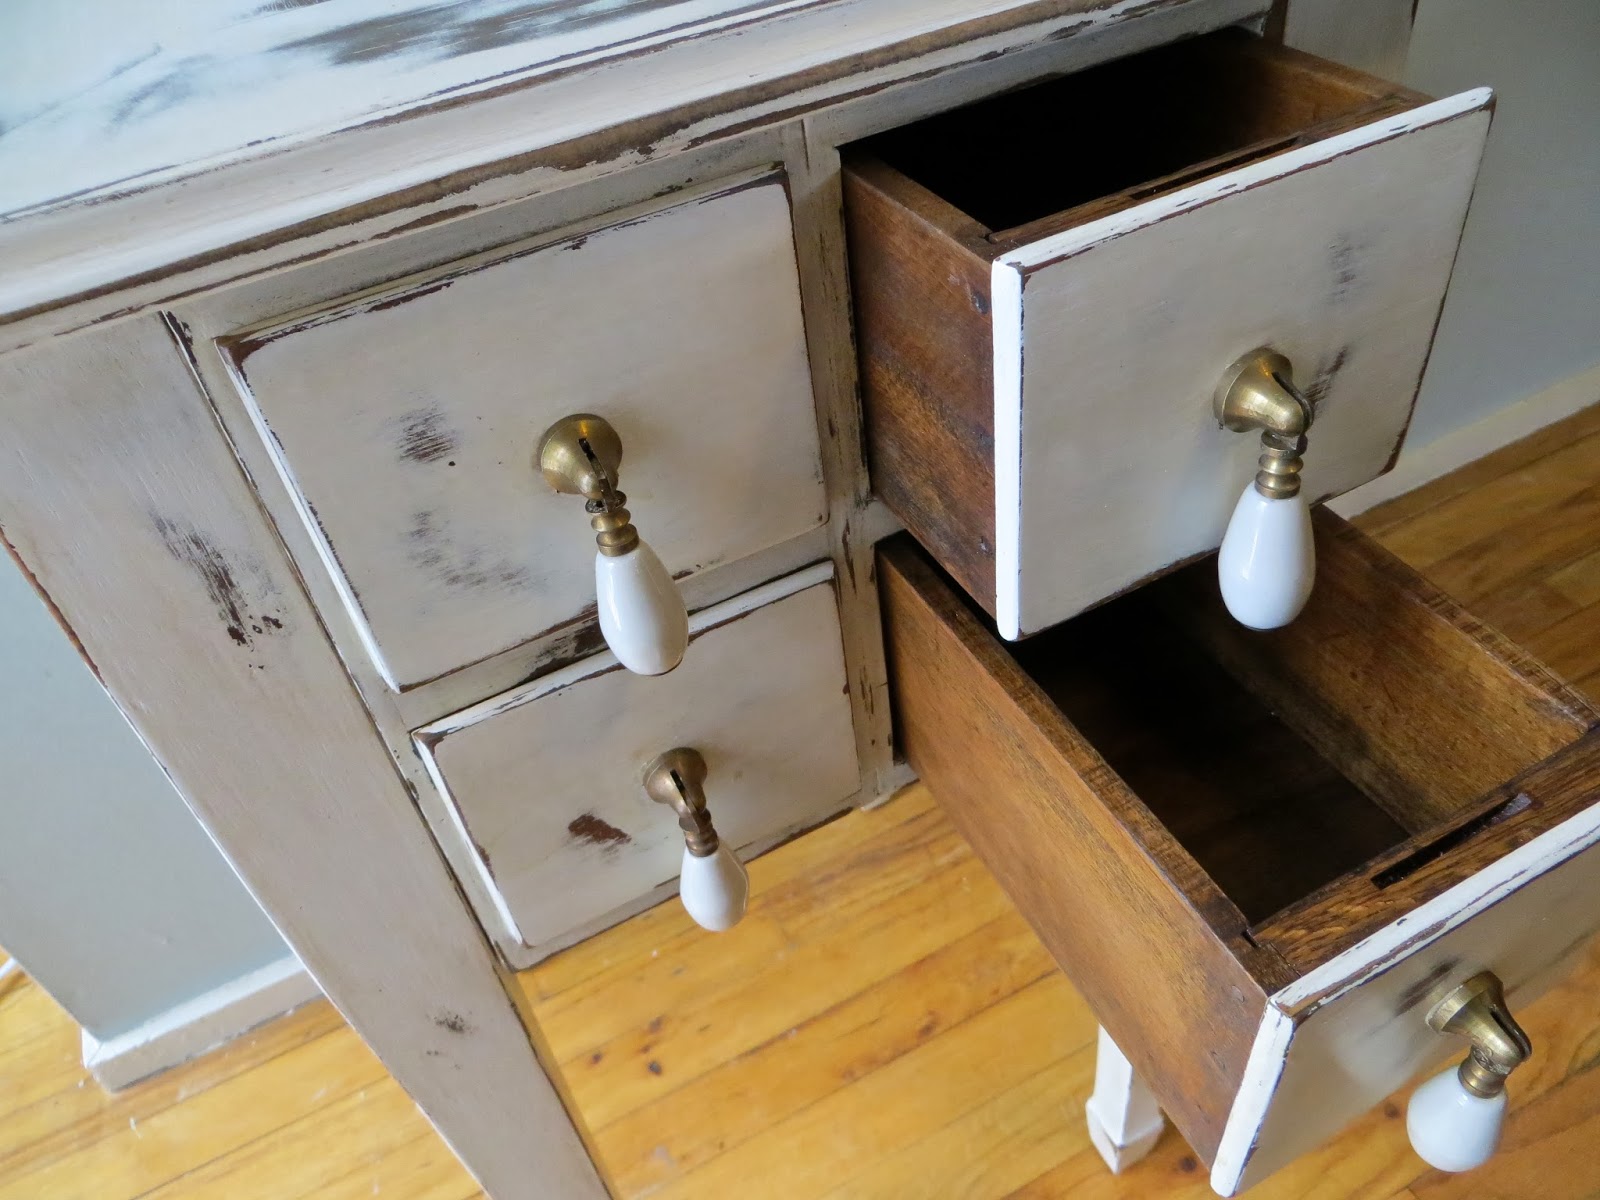
I wasn’t completely happy with it when I was done which is the worst feeling after spending so much time so I switched out the old wooden knobs with something a little more interesting.
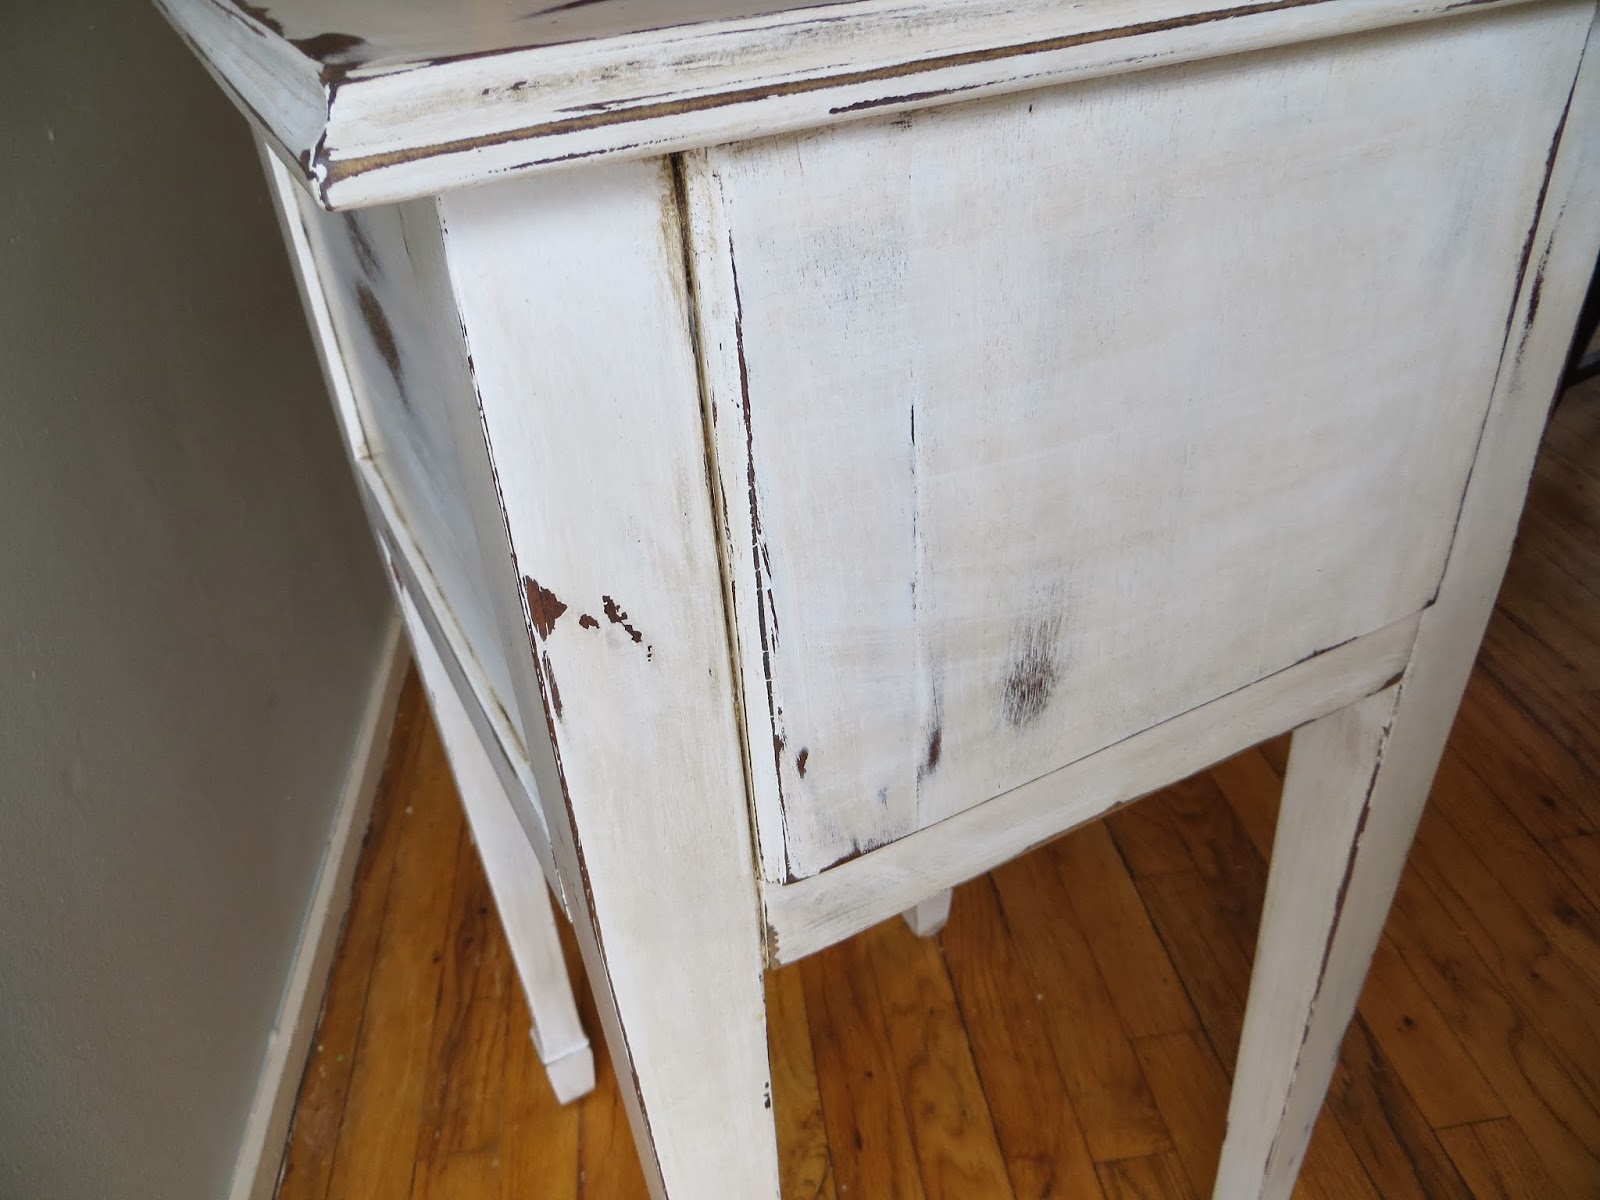
The back side looks pretty good with only a small seam line where I re-glued the ends back together.


6 Comments
So cute- love the hardware and the drawers all grouped together!
January 30, 2014 at 6:19 pmHi
January 29, 2017 at 7:48 pmCame across your blog. I'm restoring an old treadle cabinet and am trying to duplicate one of the pieces. Anyways, a tip for you about the laminate — use a large "horse-sized needle syringe with a large needle (I originally got these syringes for injecting some solution into my fruit trees where the peach borers. were getting to it). You might be able to pick up a syringe at a farm and feed store — or just look online. It works great. When I'm done using it, I insert a sewing pin into the hole to keep it from drying up at the tip. Works like a charm.
Great advice! Thank you!
June 25, 2018 at 12:54 pmThat is excellent advice! I might pick myself one of those for my other projects! Thank you!
January 29, 2017 at 7:48 pmBrilliant!!! That is so beautiful. You are truly an artist crafstwoman.
June 25, 2018 at 12:09 pmYou are so sweet. Thank you!
June 25, 2018 at 12:53 pm