

I recently saw some YouTube videos by Dave Rhoten where he teaches sign carving….
…after that I had to try it out for myself!
I didn’t have a nice base for my mini router so I decided to make one rather than paying $27 + shipping online (and having someone else’s website engraved in the plexiglass).
I bought an acrylic sheet that I could get 12 of these bases out of for about $25 – not too bad, eh!? That’s about $2.25 if you make your own handles. Of course time is money too.

What you need:
1/4″ acrylic or plexiglass sheet (the one from Home Depot was 0.22″ and that was good enough for me)
Handles + screws (drawer knobs would work or make your own)
Drill Press, Bandsaw and Electric Sander

I made my own template on the computer – about 7-3/4″ wide x 5-1/4″. The center ‘viewing’ hole is 1-1/2″ across. I made x’s where I wanted the center of the handles and where the 4 screws on the base would go (these placements need to be VERY precise). Feel free to use my template and customize however you’d like (click here to download).
I printed my template on a large 1/2-sheet label so I could stick it right to the plastic as my guide. If your acrylic/plexiglass still has the protective film on it you can use adhesive spray or whatever else and you can peel off at the end.
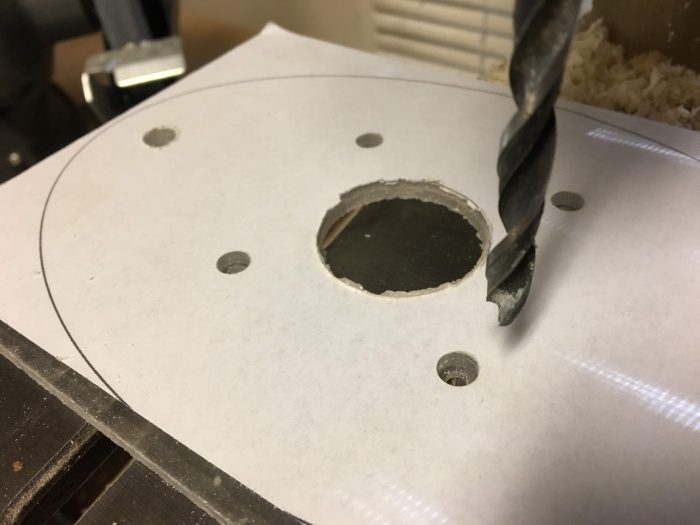 Use your drill press and stop bar to drill recessed holes for handle and base screws. Do this precise, slow and test as you go to make sure the head of the screws are just barely under the surface. Drill out centers for screw posts. TIP: in the end my 4 holes around the center didn’t completely match up with my router (I’m talking 1/32 of an inch or less) so I recommend you drill only 2 holes that are kiddie-corner to each other, screw those to your router and then mark the final 2 hole placement and drill out.

Cut out outer edge on bandsaw. Sand edges smooth going from 80-320 grit paper. Remove protective film and set aside.

I made my own handles out of maple – found the centers, drilled a hole on one side for the screw I was going to use in the end and put it onto the lathe.
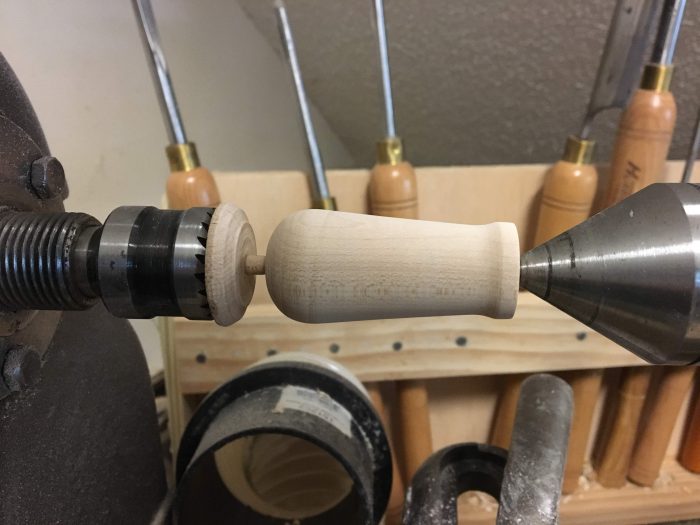 I ended up with something like this.
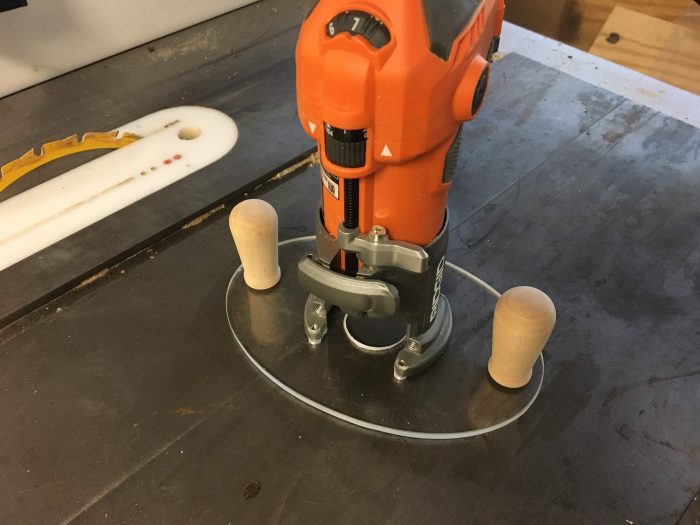
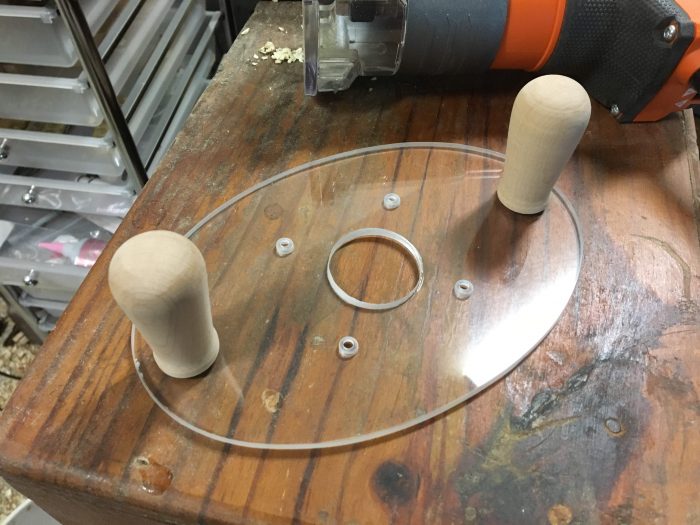 Attach your handles and you’re done!

Stay tuned for my next project!

No Comments