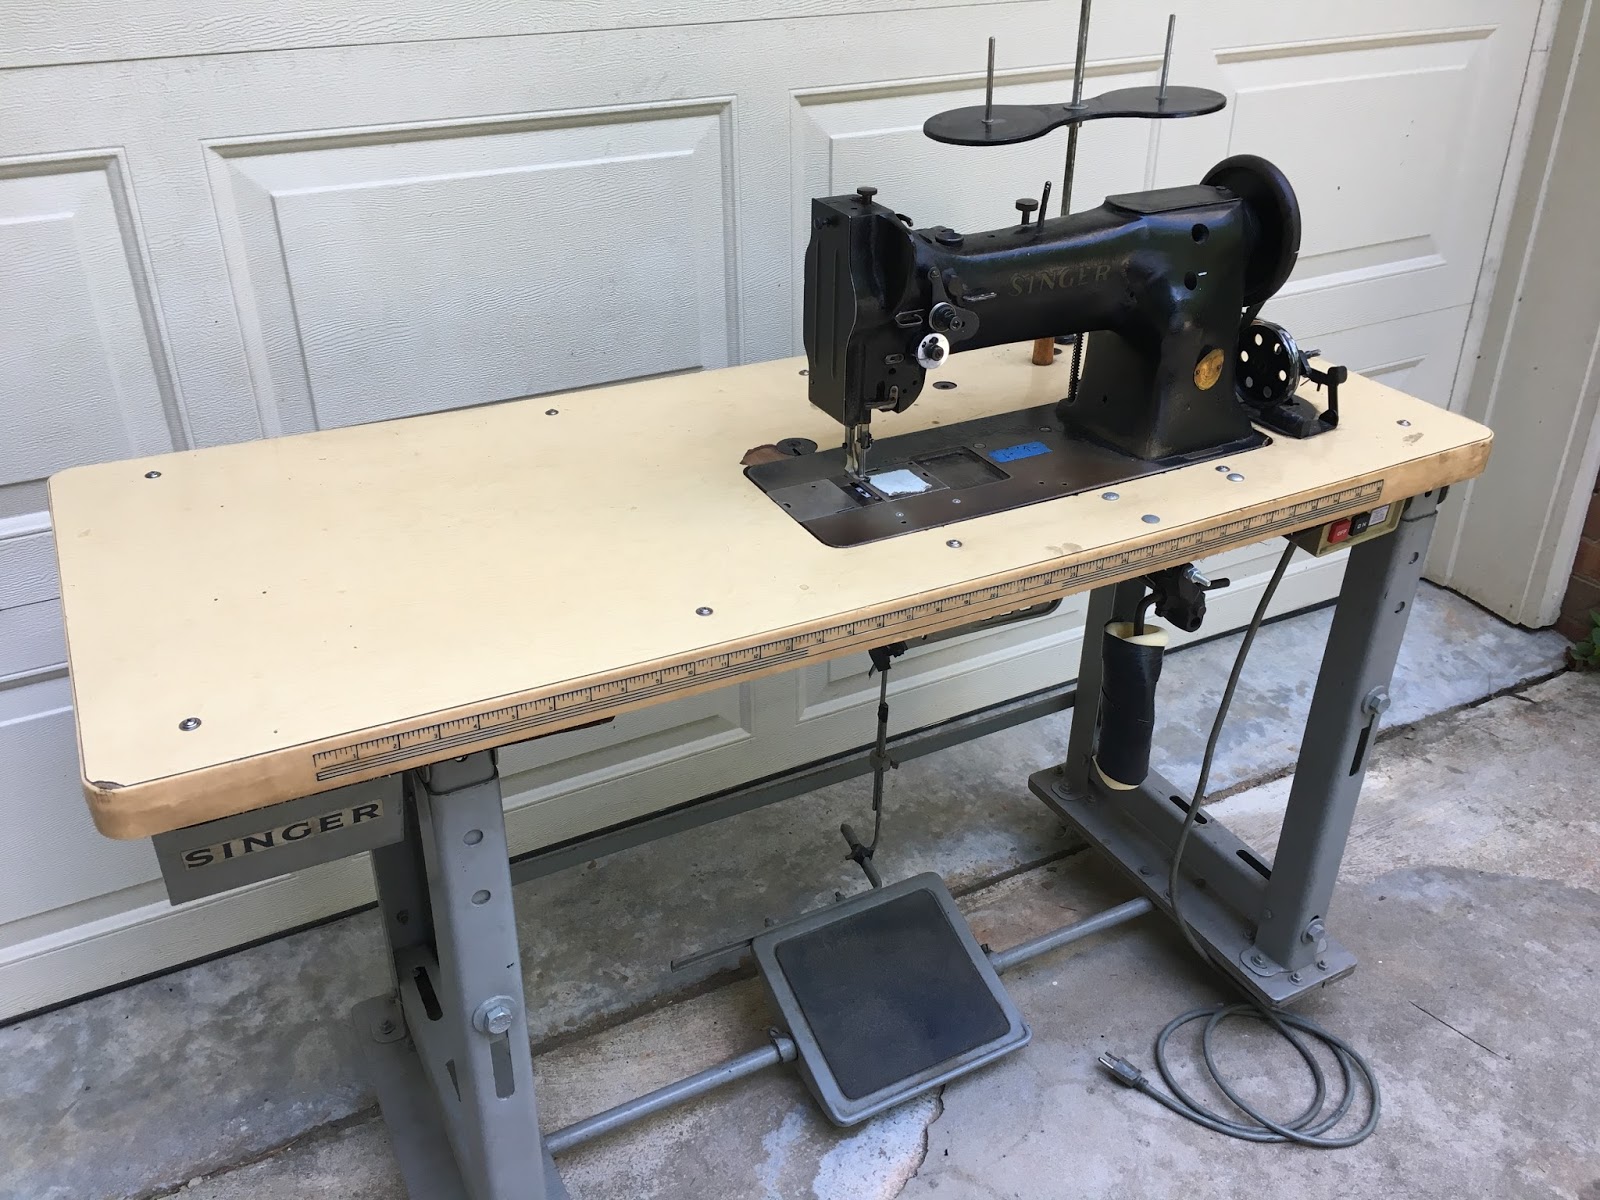
Remember the Singer 31-15 I fixed-up last year? I never thought I’d sell it – I’ve loved it so much (to use and look at)! I got the itch for a walking foot machine, however, and after seeing one advertised for $200 on Craigslist with some issues I figured I would go and test it out. The guy said it had tension problems and wasn’t feeding fabric. I took my chances and offered him $150.
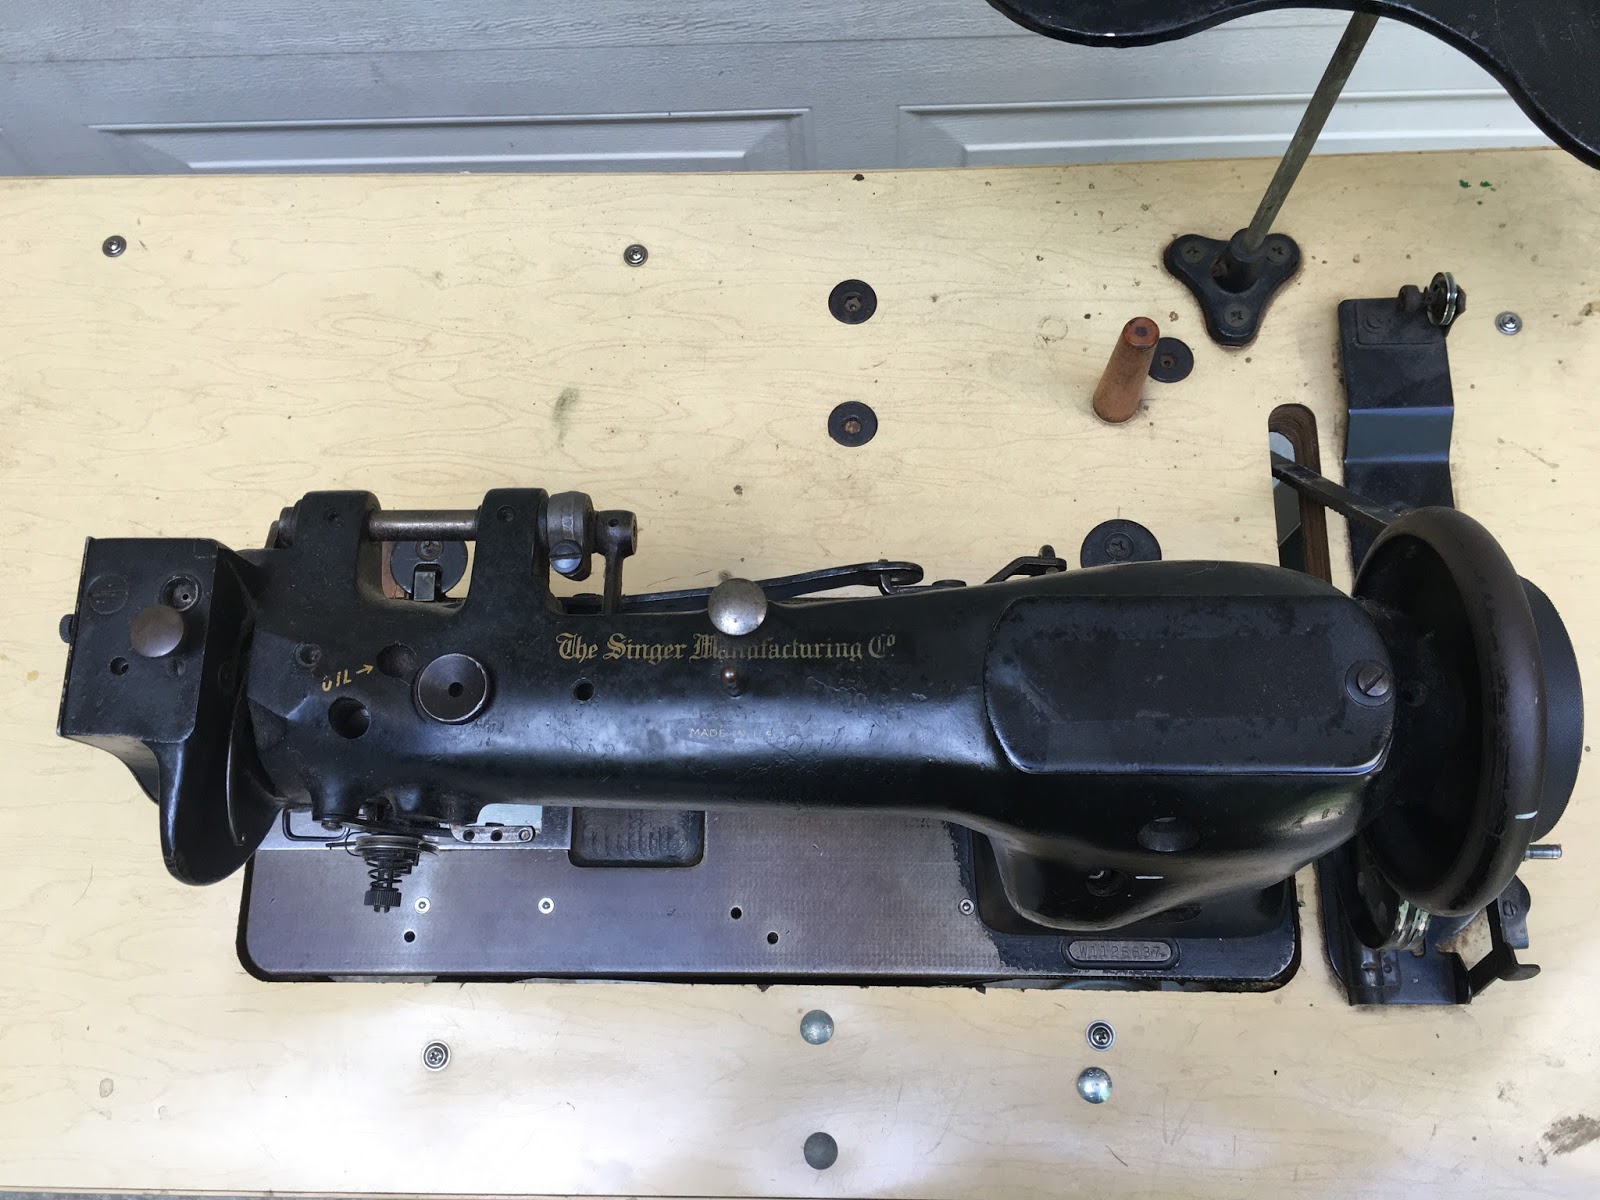
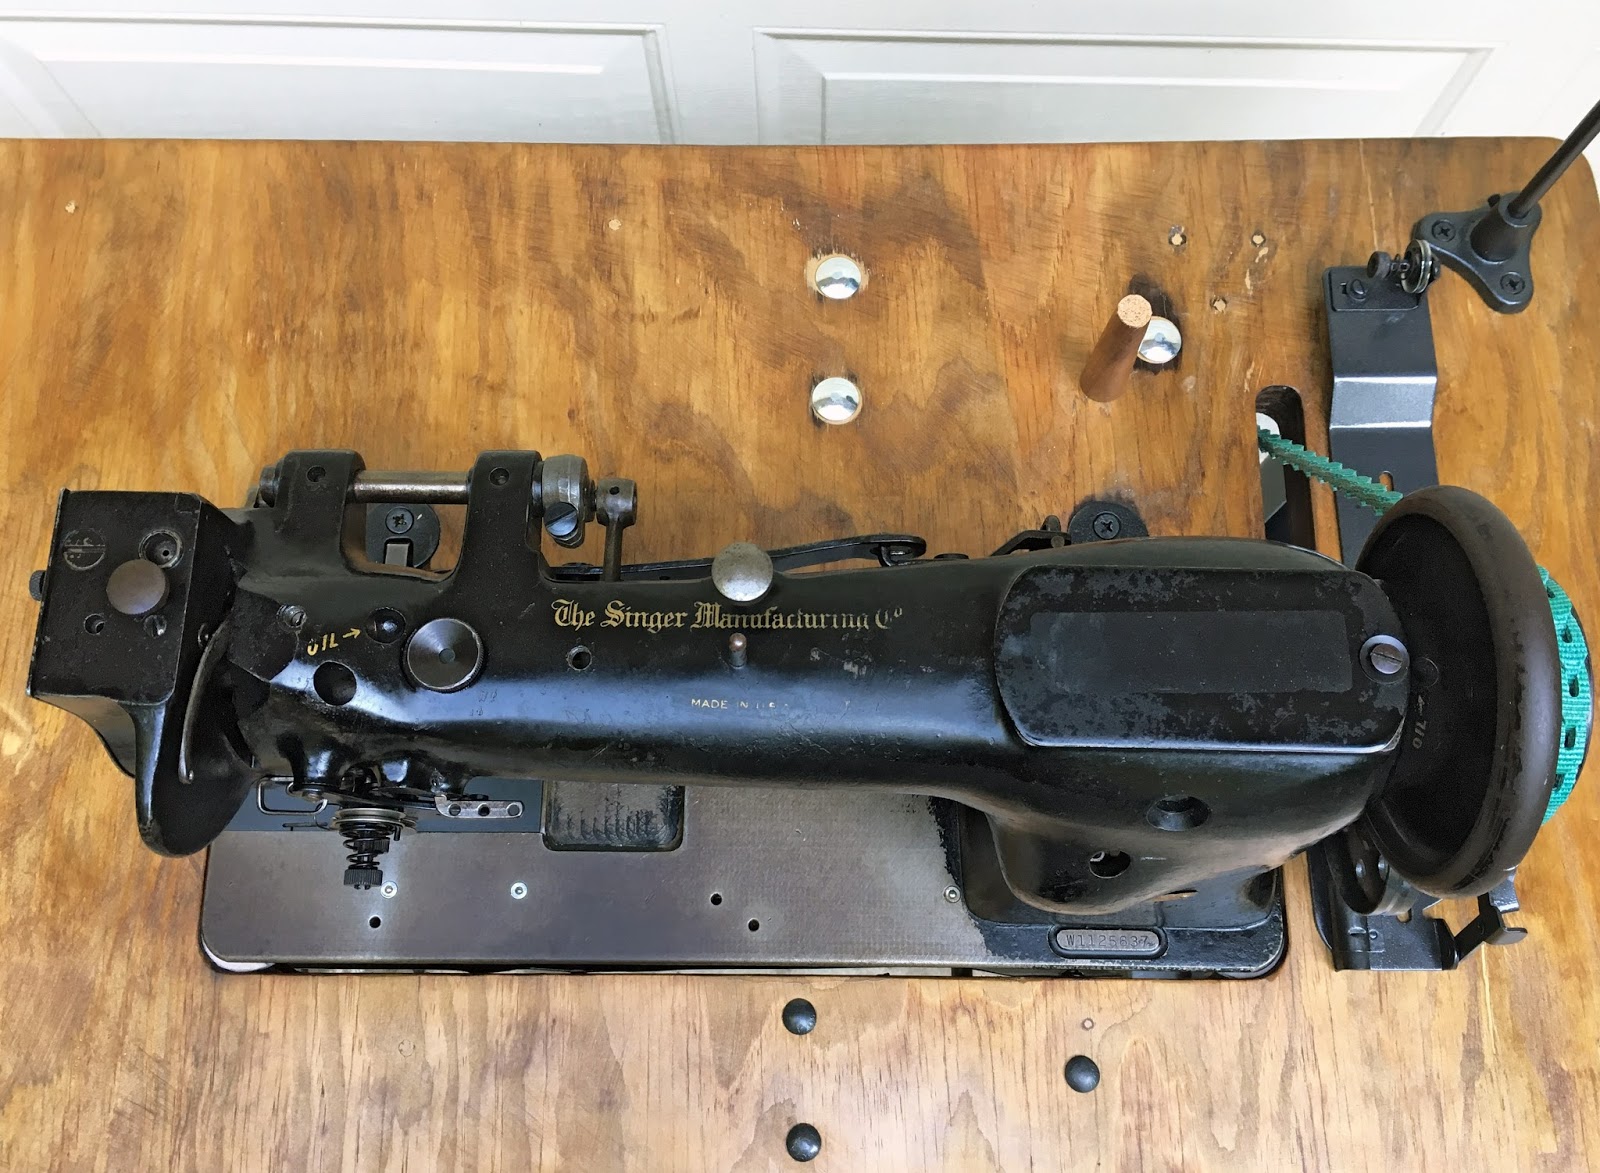
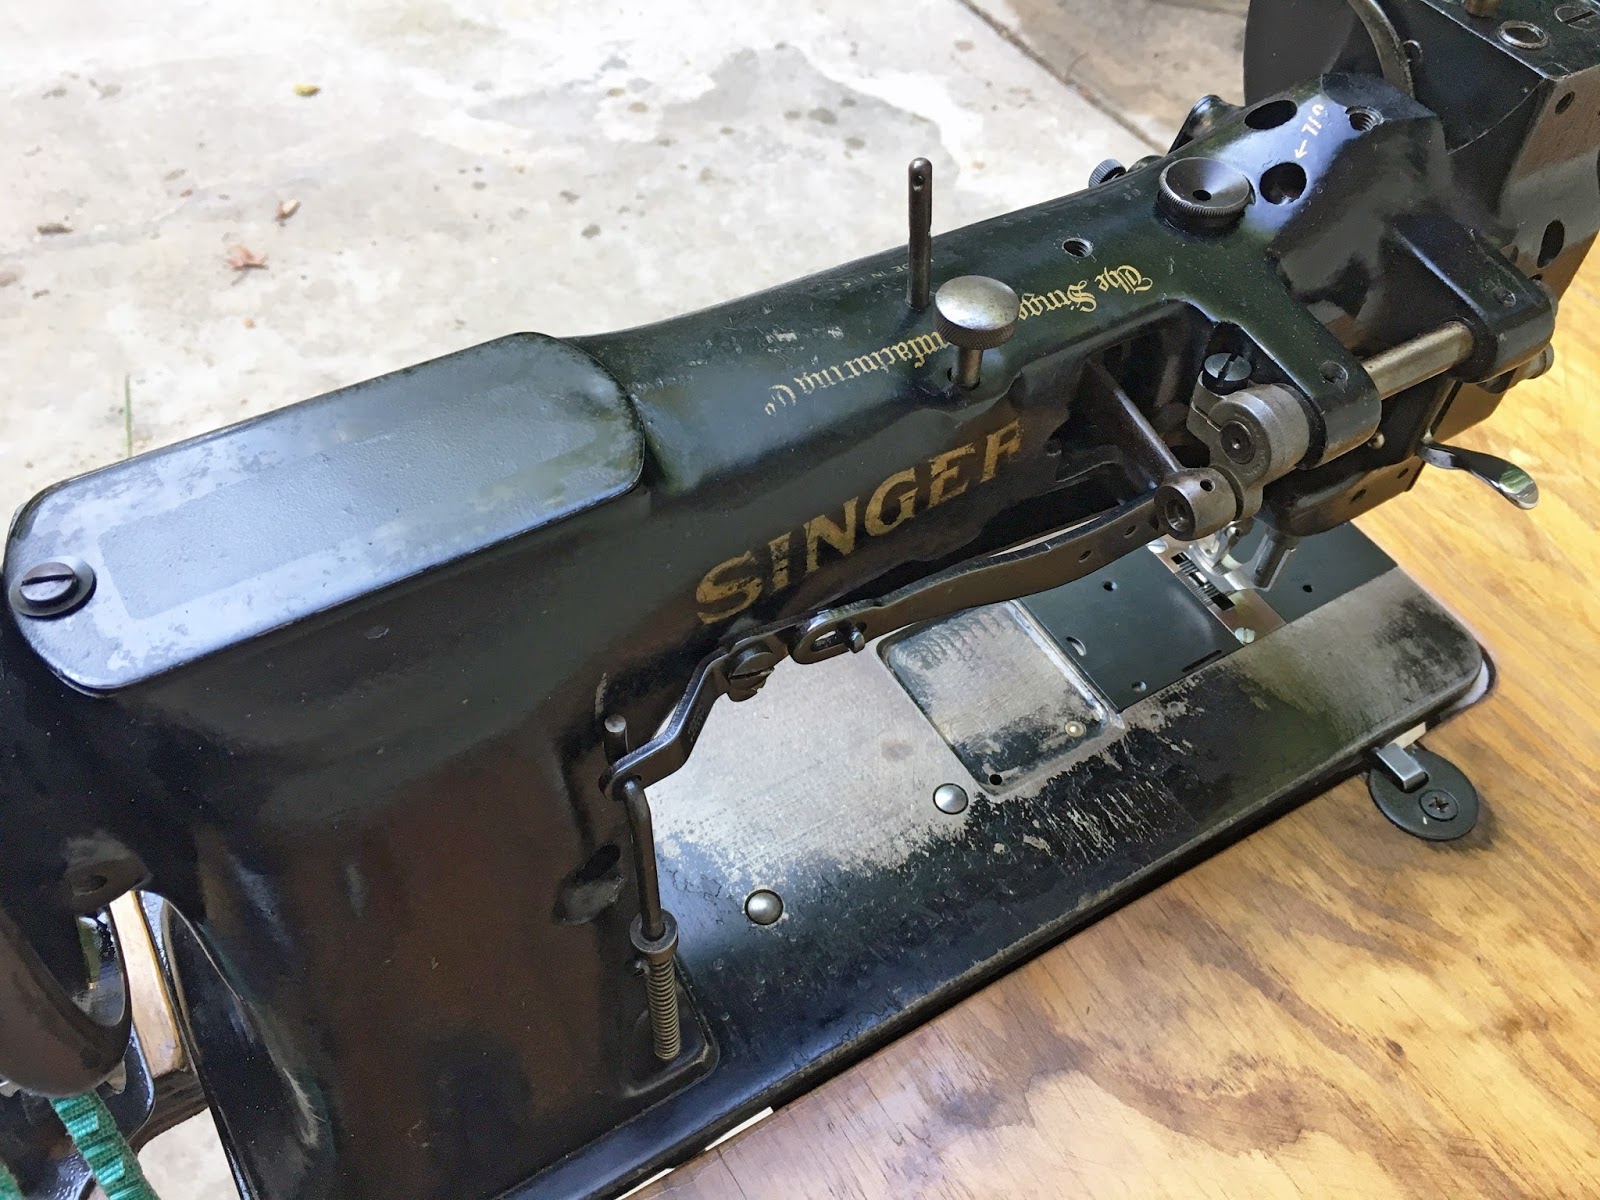
The machine itself looked to be in fine condition with no rust or broken parts.
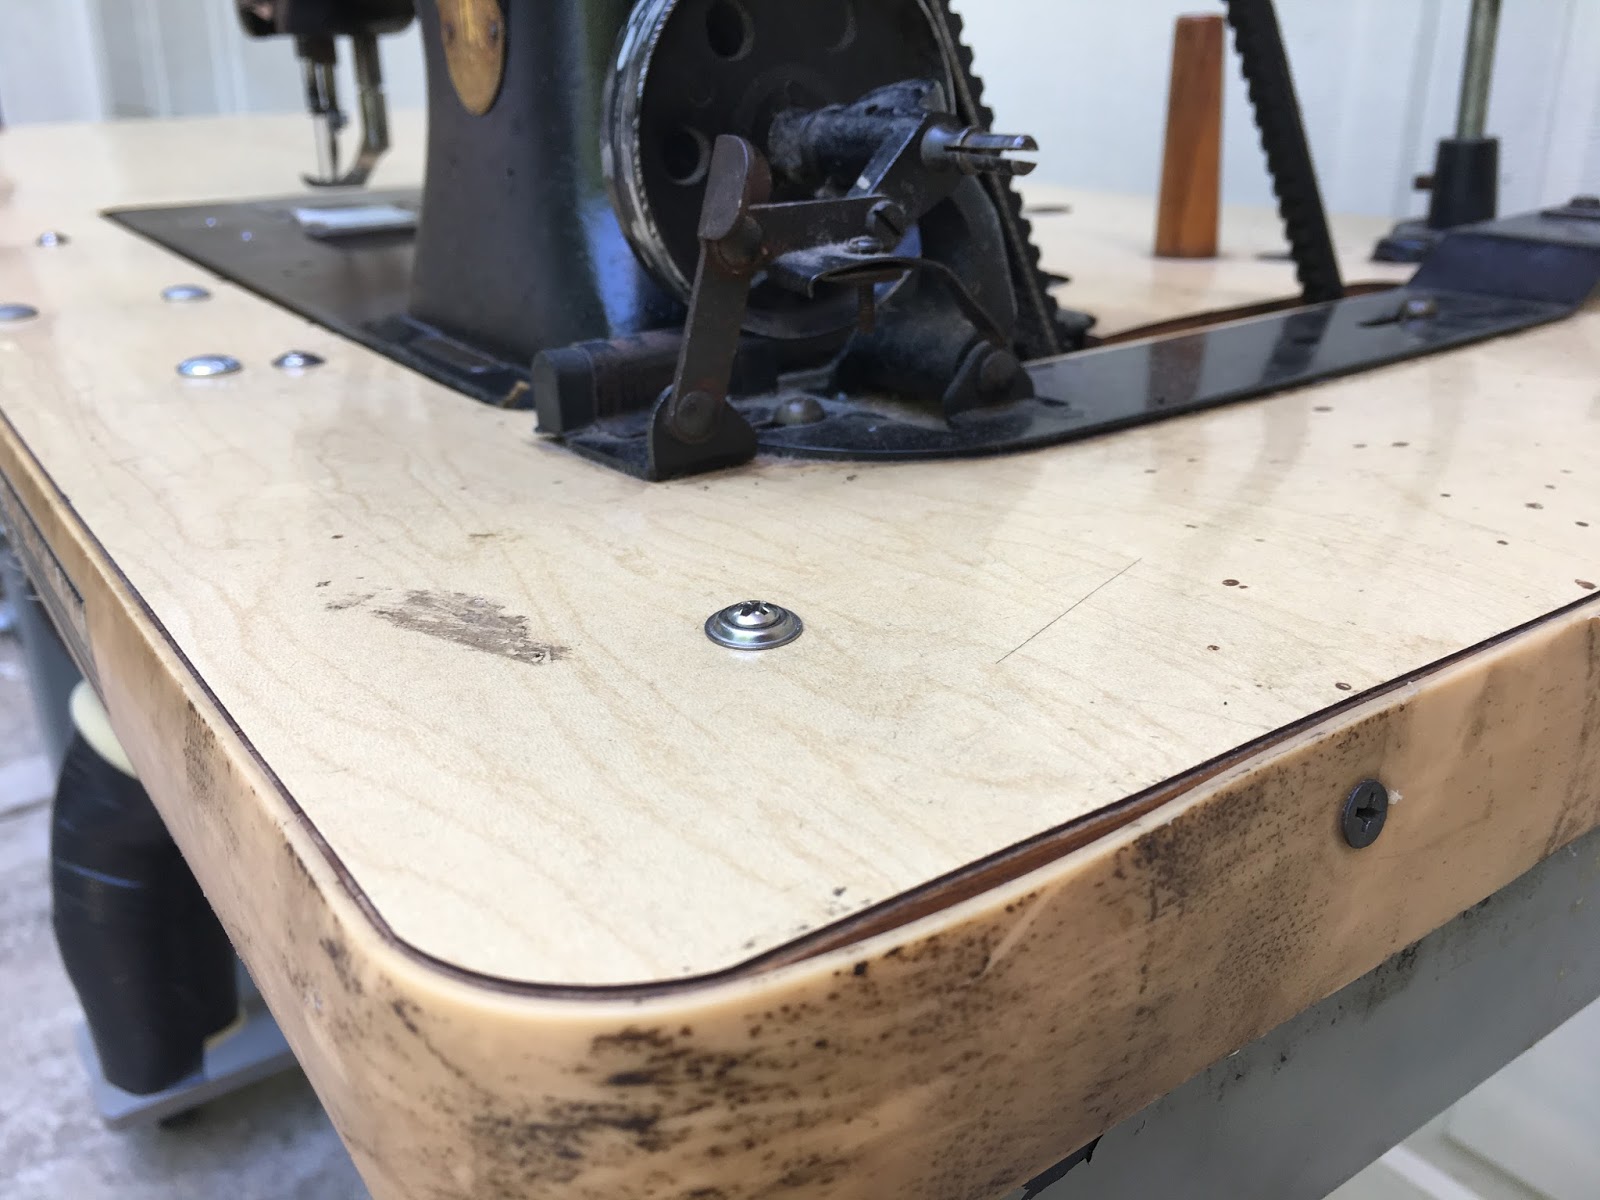
Some obvious problems: the table top was heavily bowed – about 1″ in the center – from the weight of the motor and machine combined. The vinyl layer on the table top was bubbling and someone had screwed several screws over to hold it down.
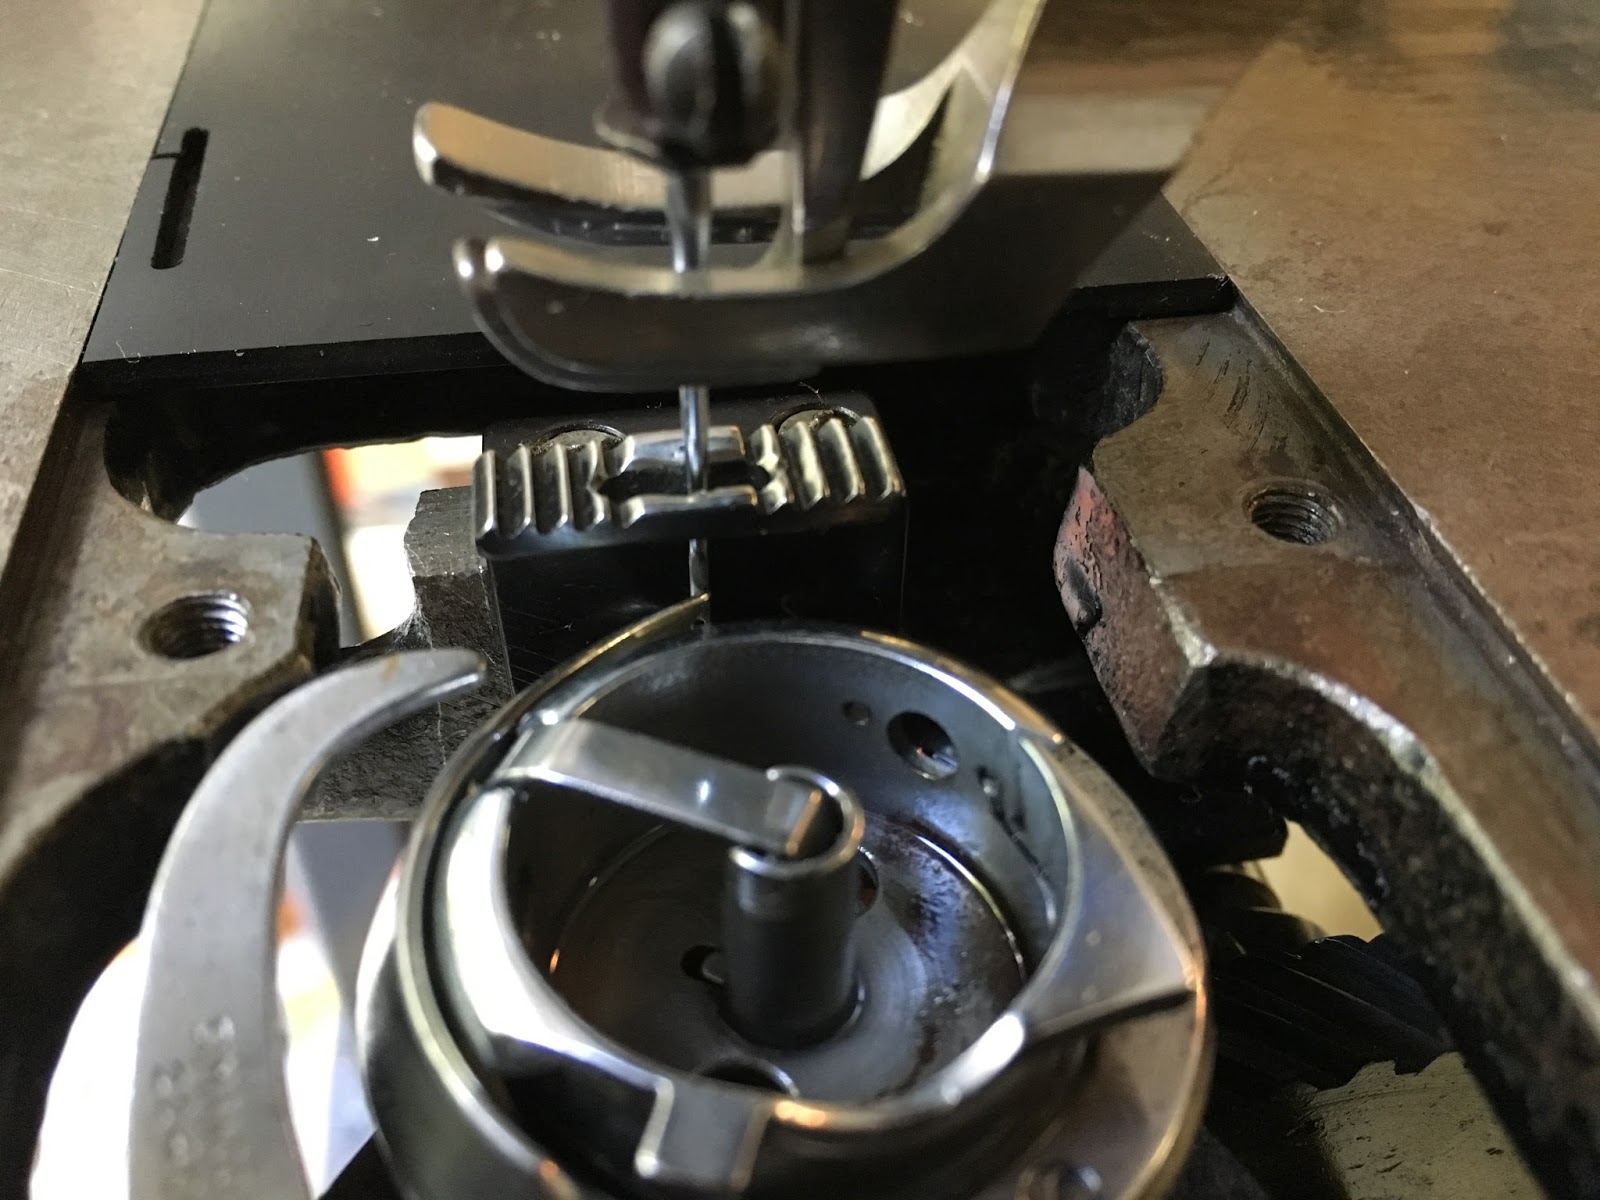
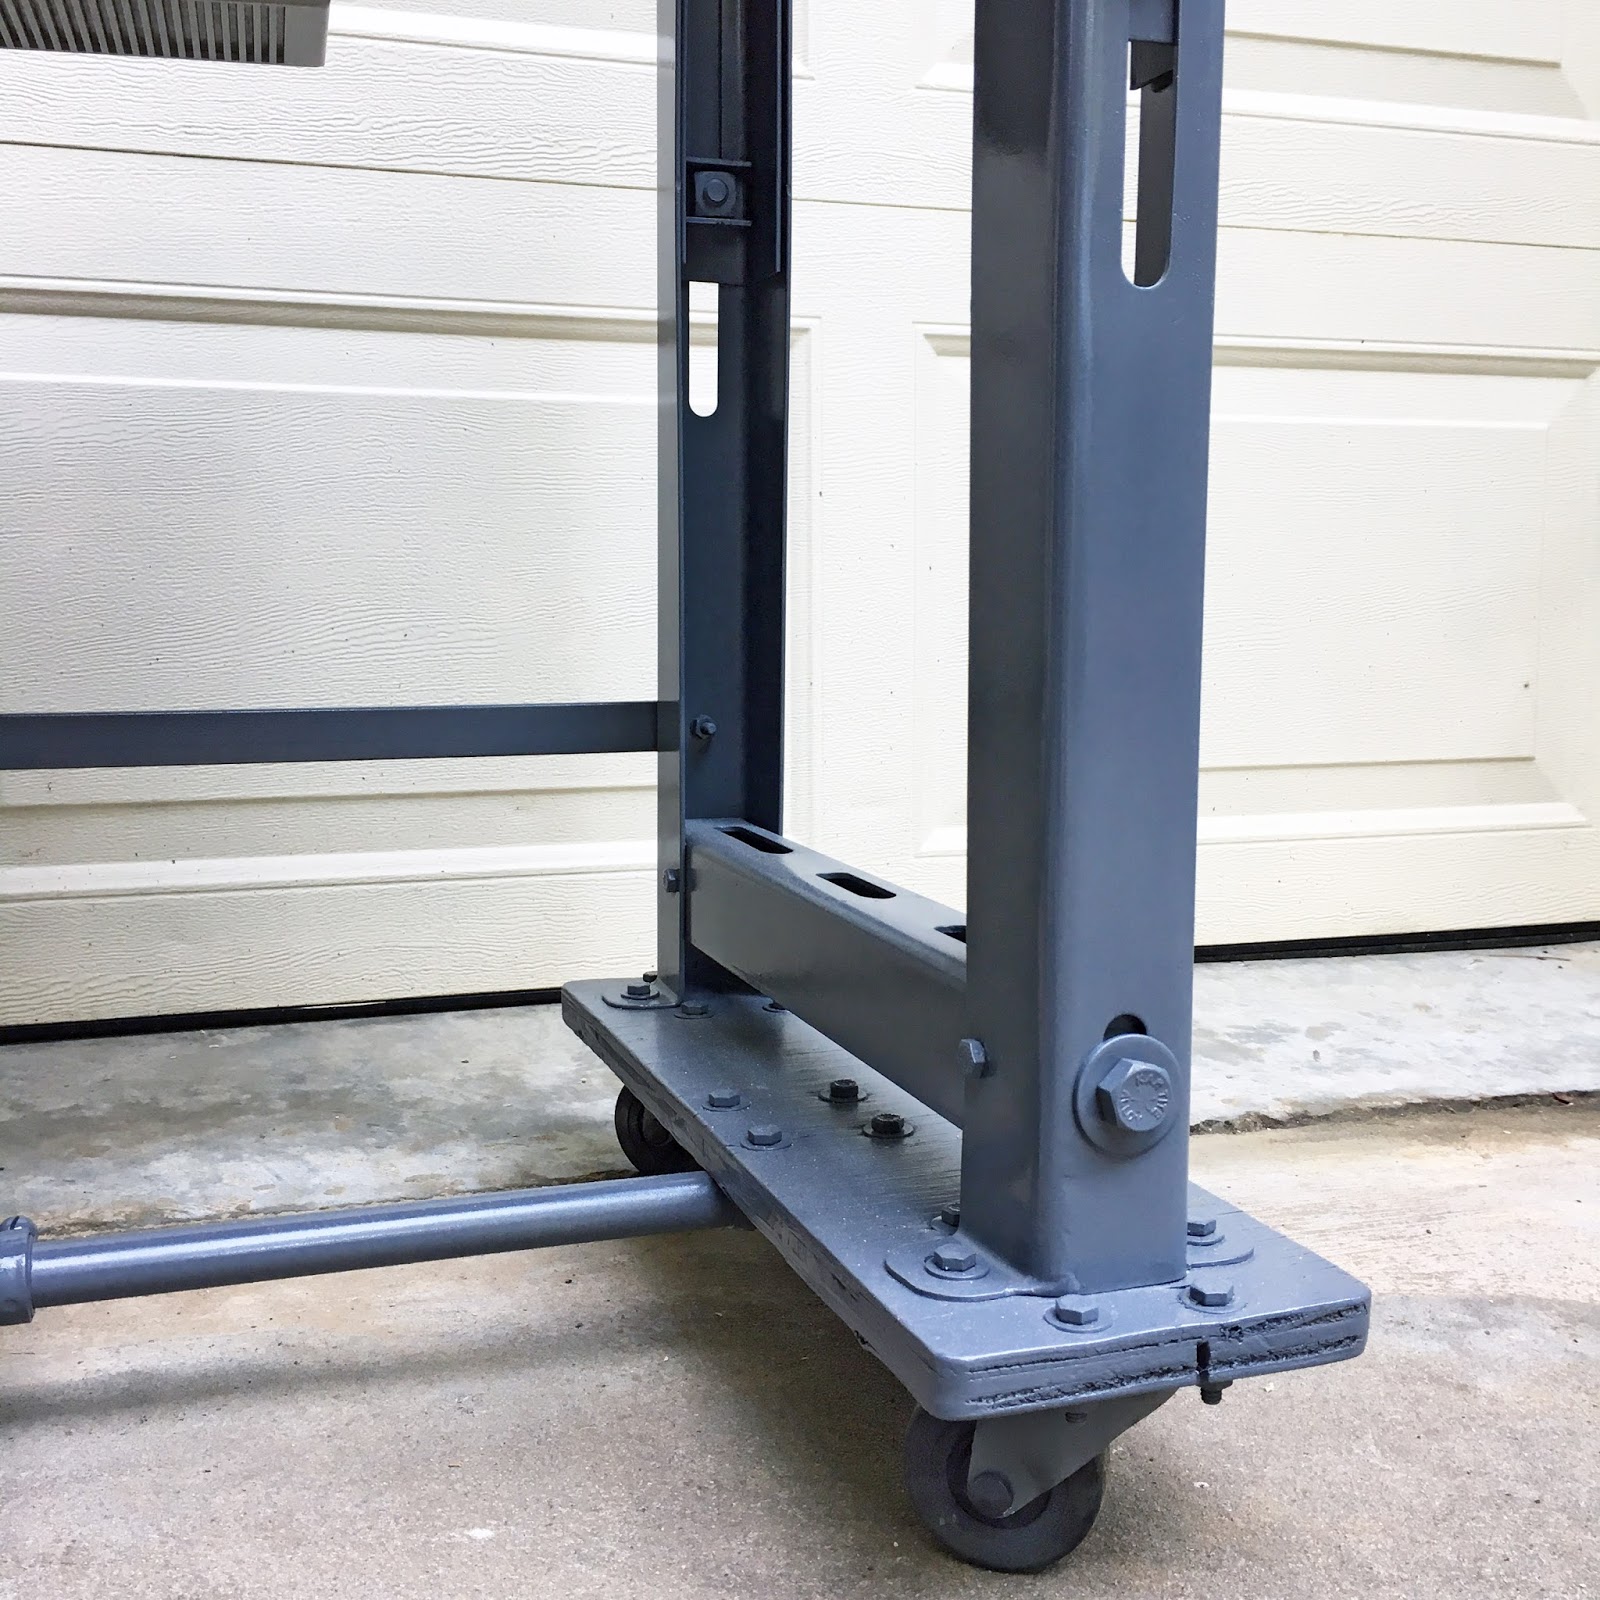
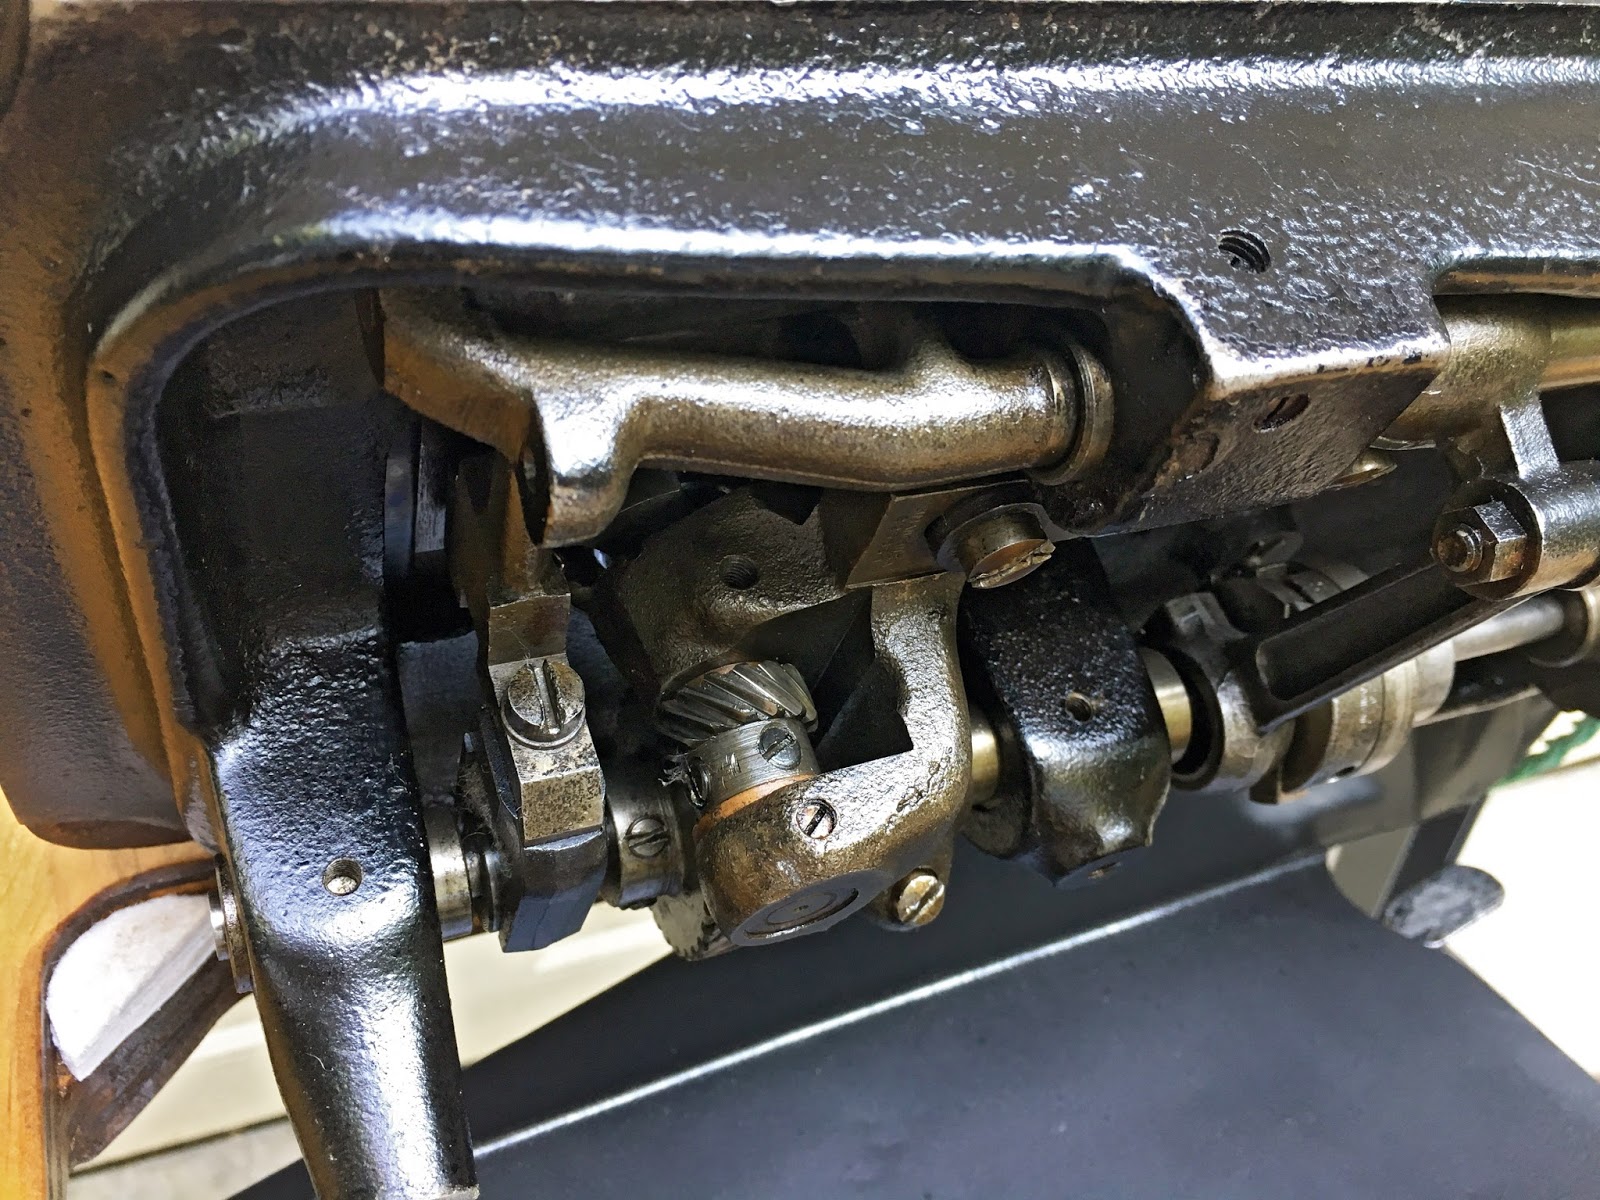
I wasn’t quite sure what was wrong with the machine not feeding but I saw that the bottom shaft that is connected to the feed dogs wasn’t turning. It ends up being that the safety clutch was disengaged. A simple push of a button on the bed of the machine re-engages it (I didn’t know this before looking into it, though and my husband helped remove it so we could get a better look at it, lol)! Here’s a great video that explains how it works.
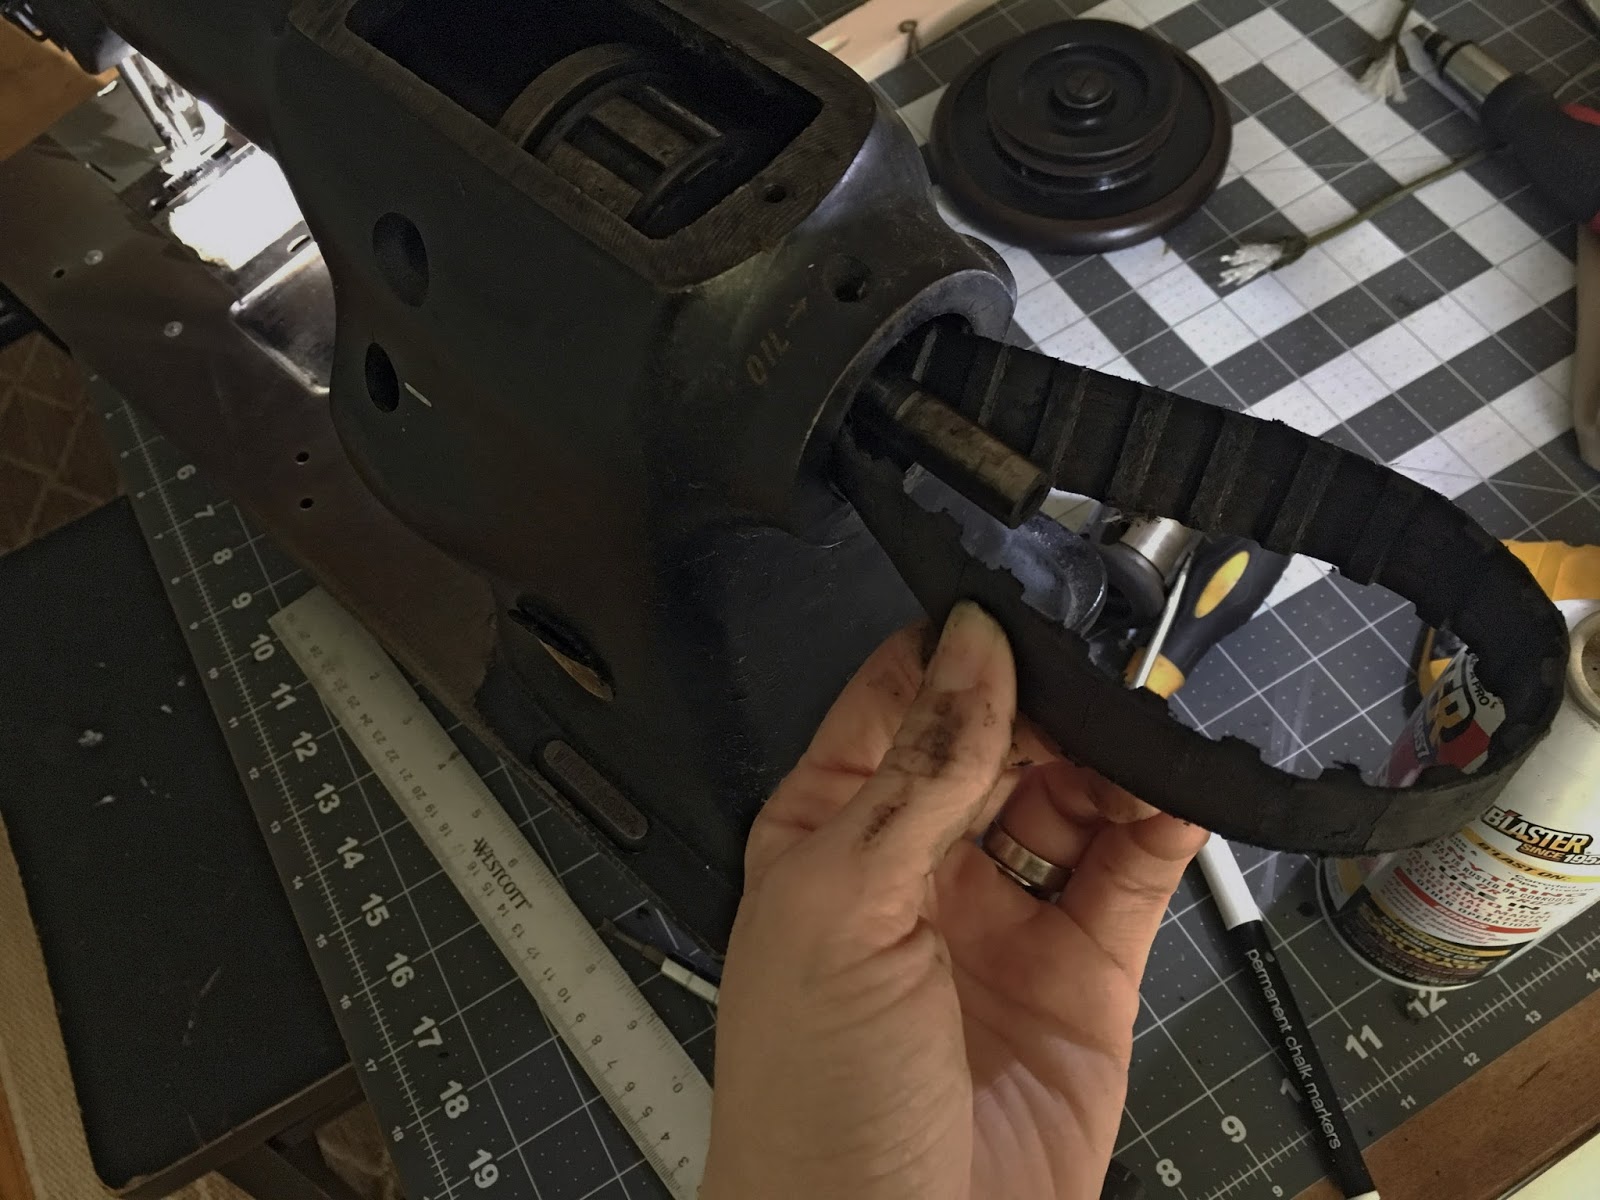
The drive belt was in BAD condition, too!
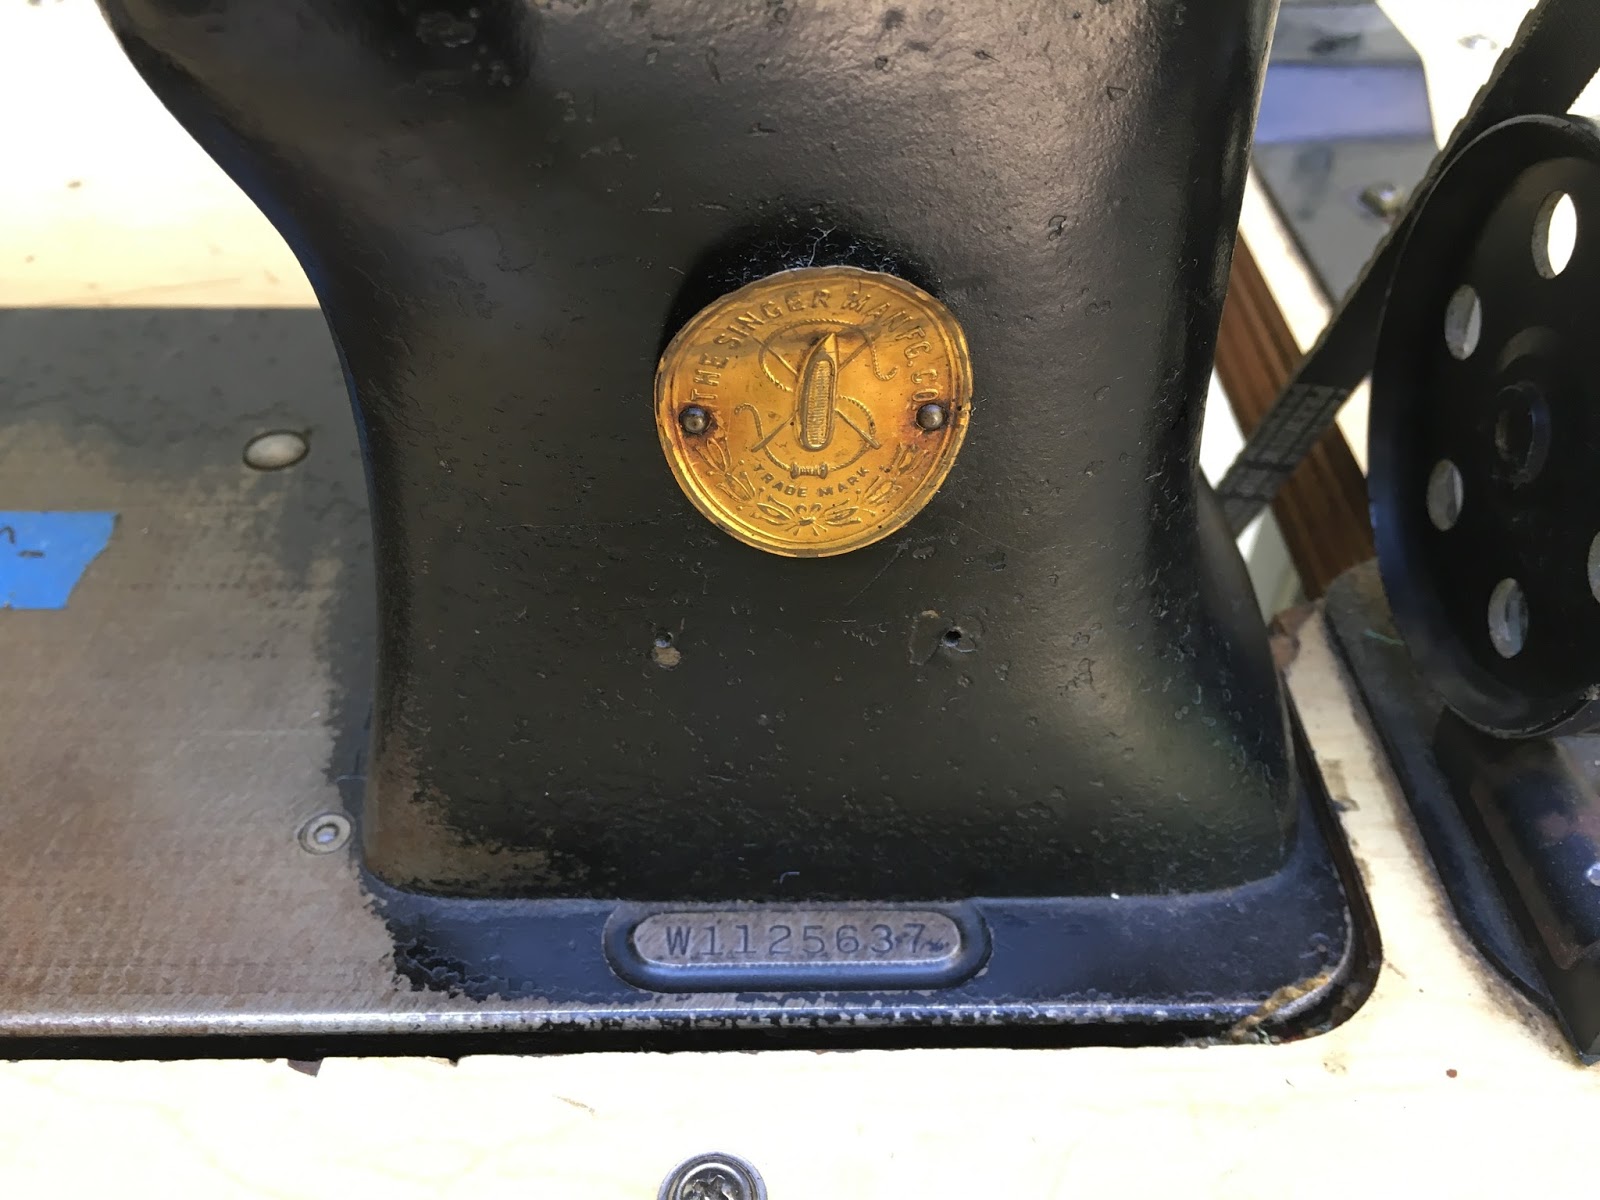
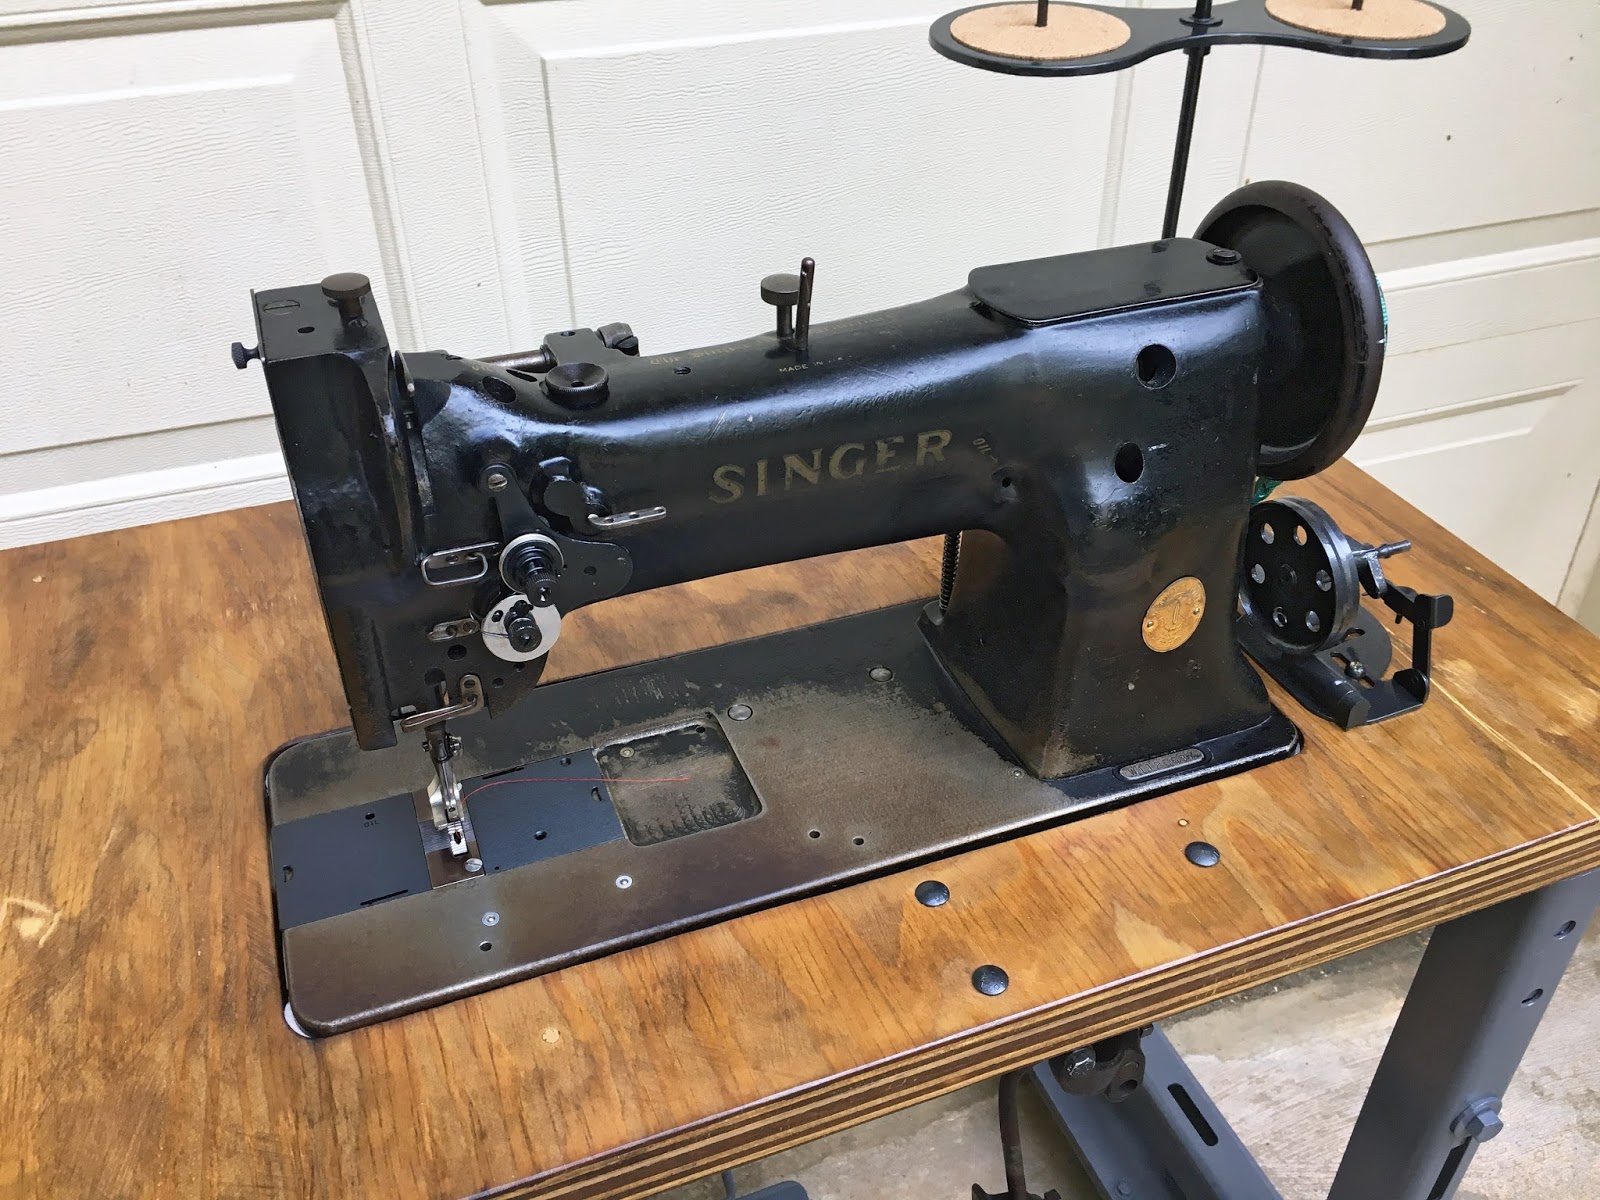
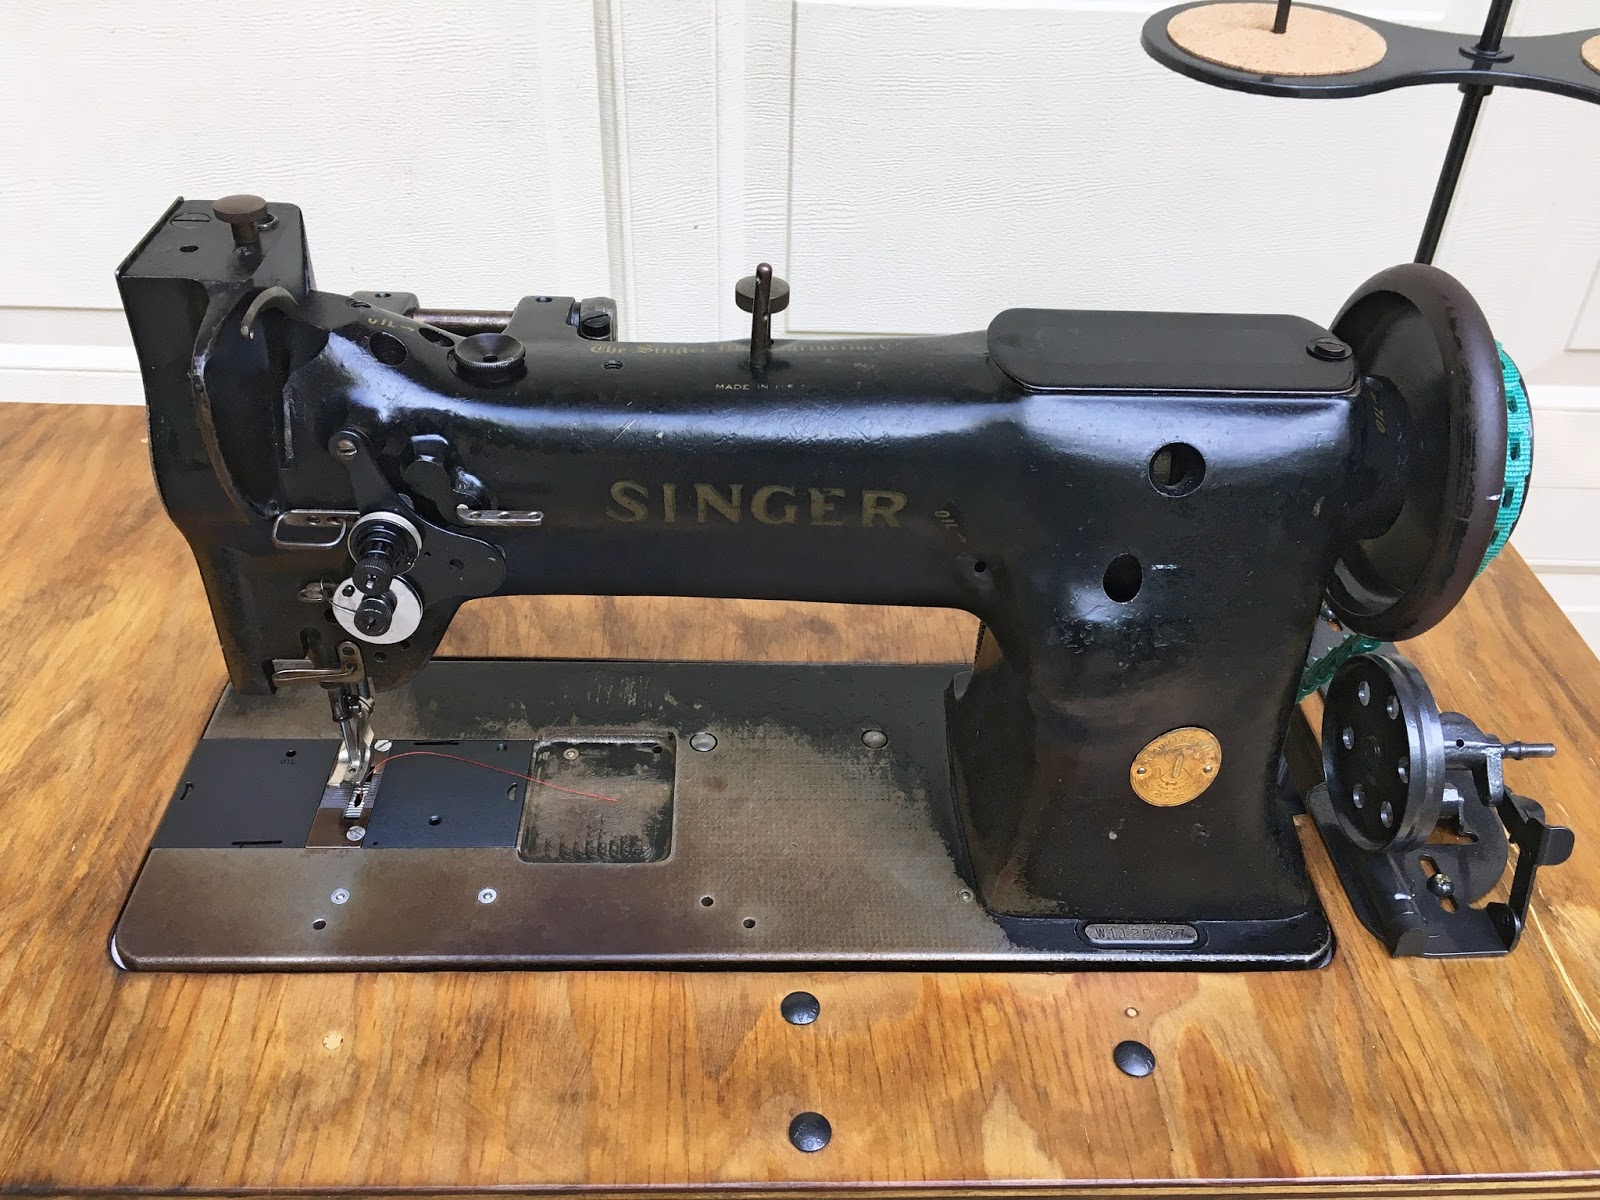
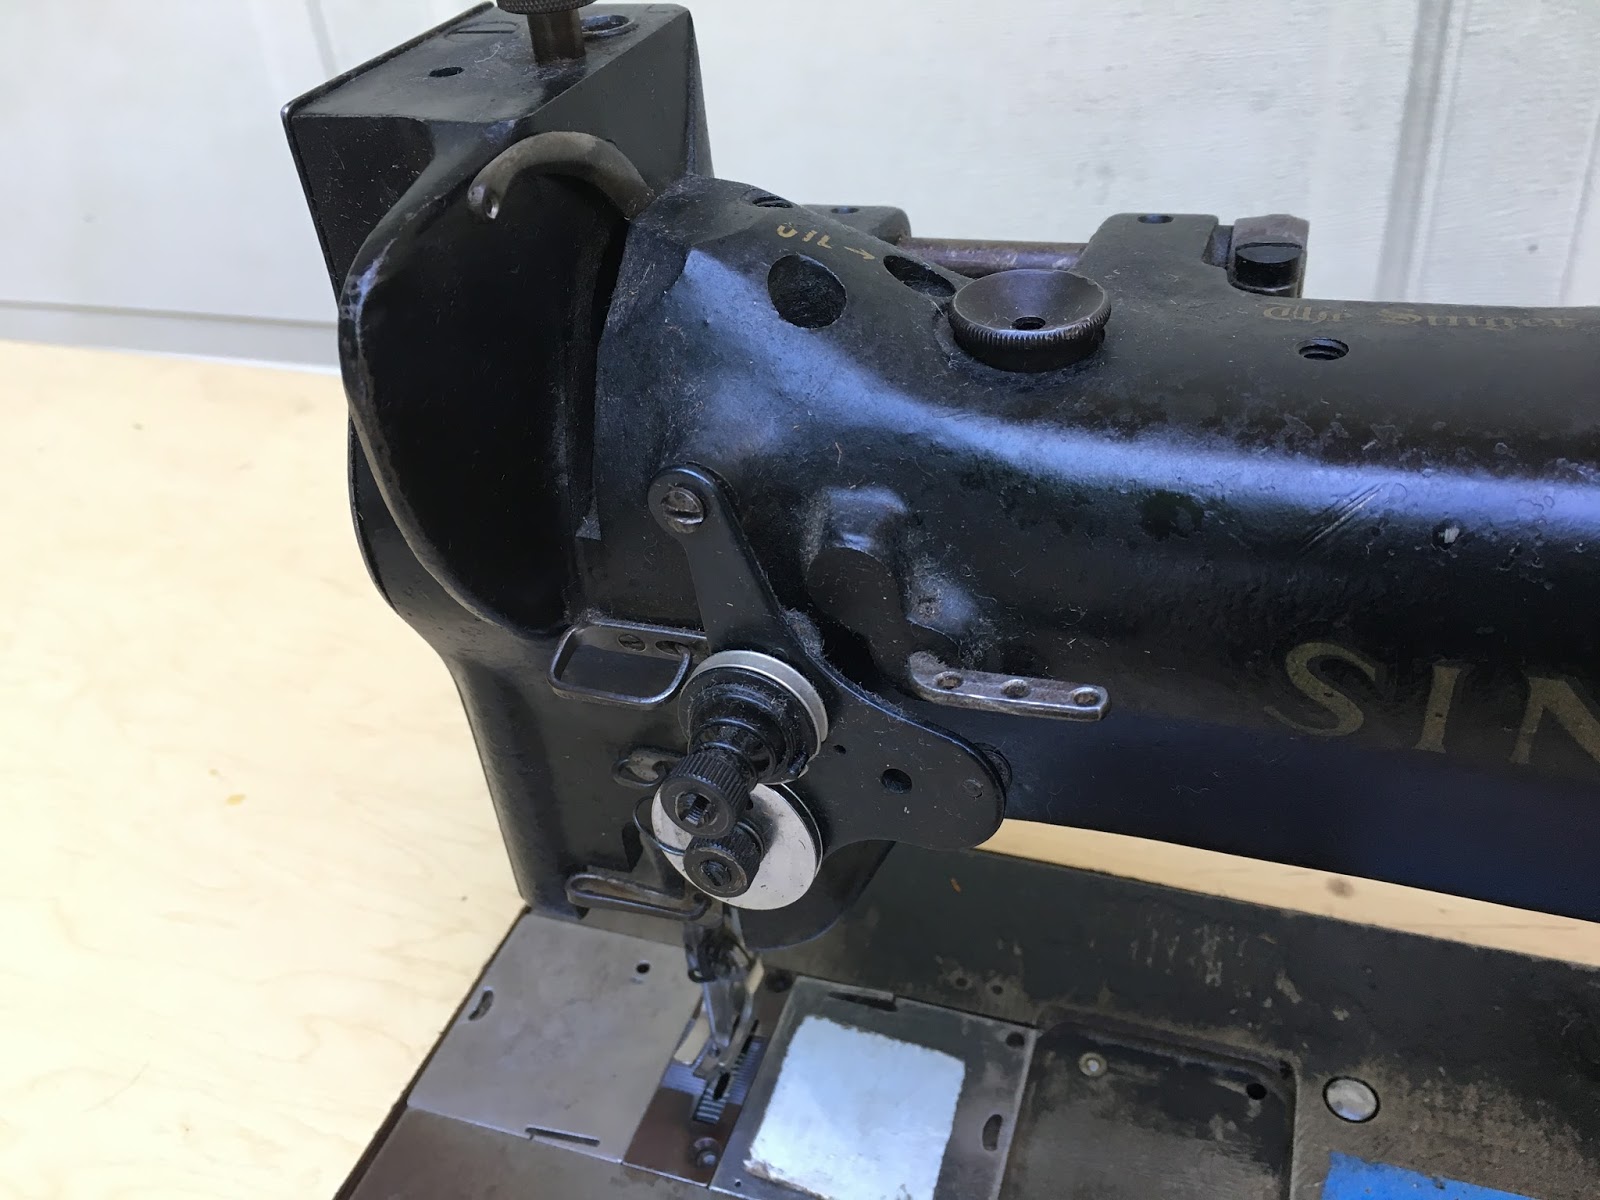
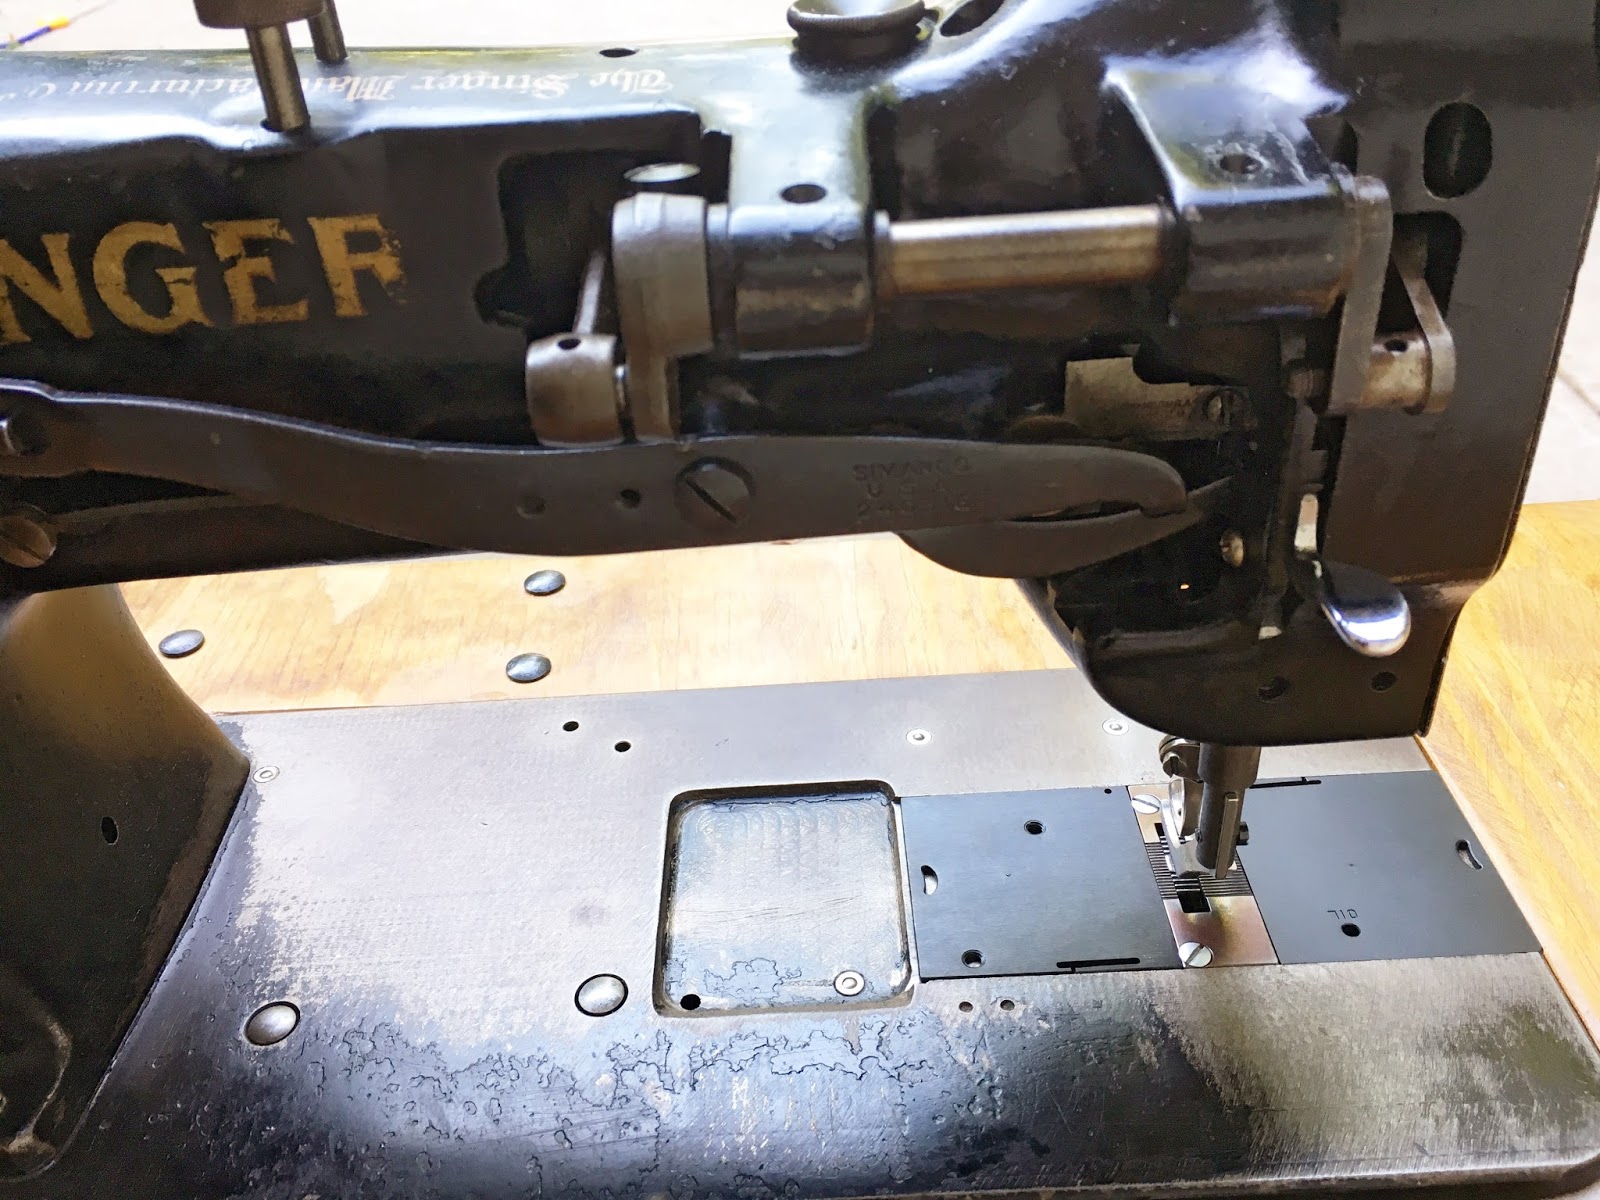
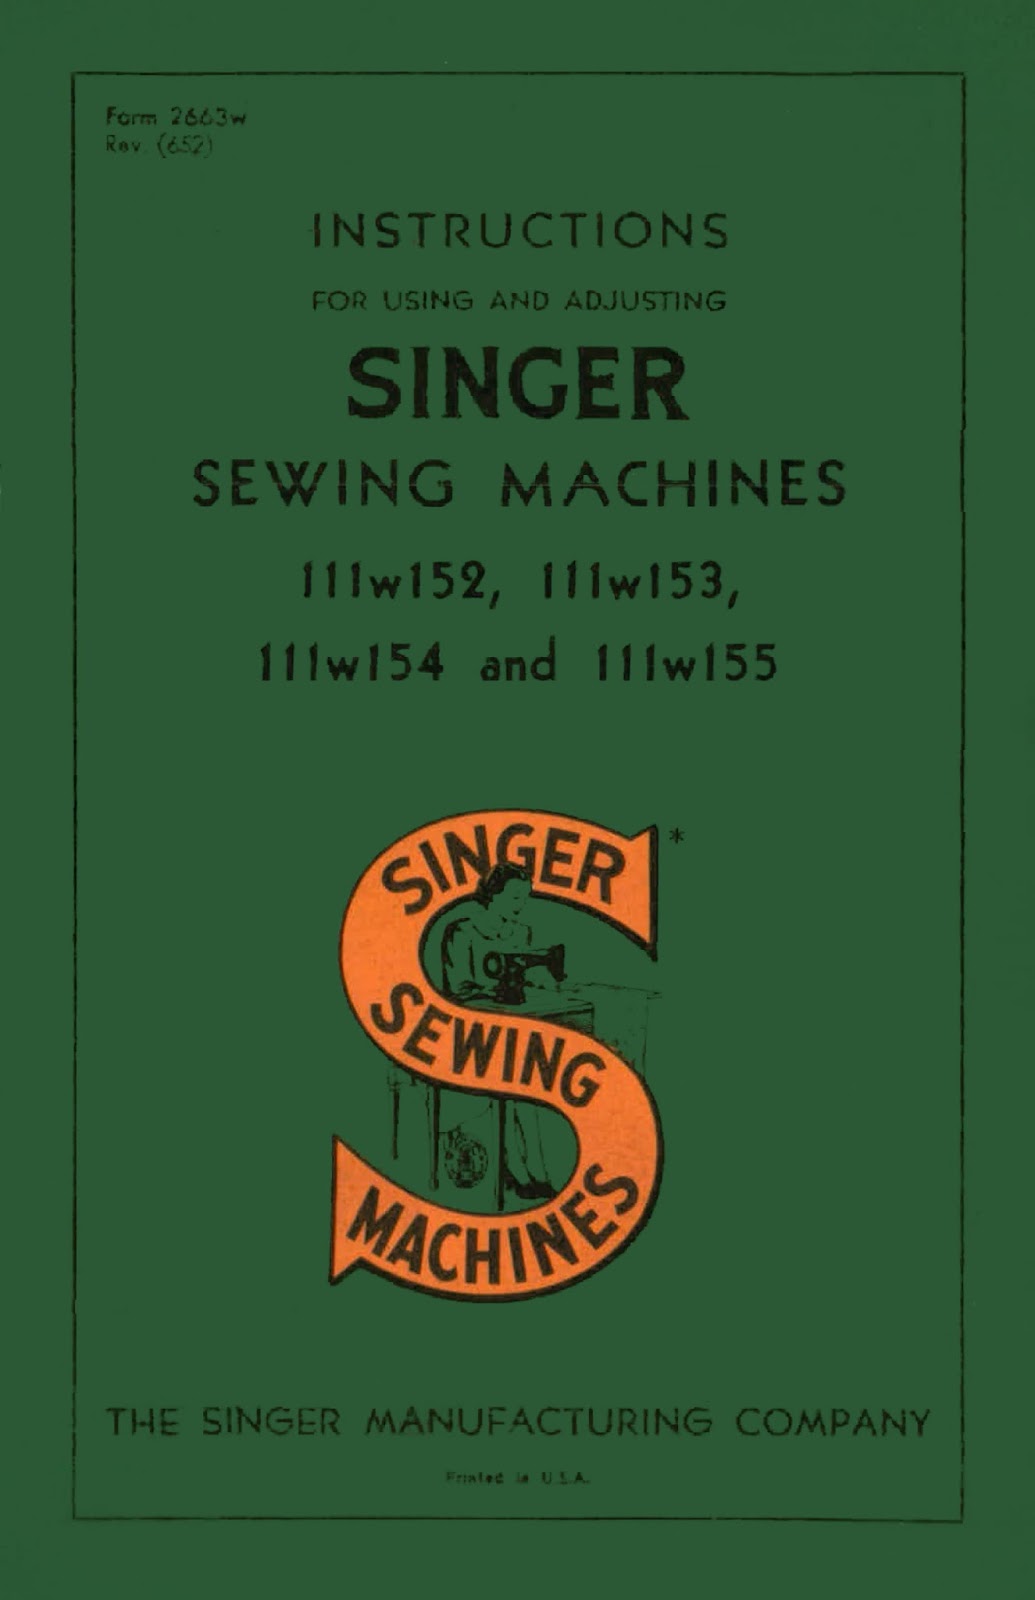
I’m bummed the model badge is missing – I called Singer to see if they could tell me information off of the serial # but they couldn’t. From what I gather, this is a Singer 111w152 (it’s a compound feed machine with the feet having 3/8″ lift)…
…it also says “textile sewing” here under the cover which makes me believe it isn’t the 153 model that is for heavier work such as upholstery, tents and canvas work.
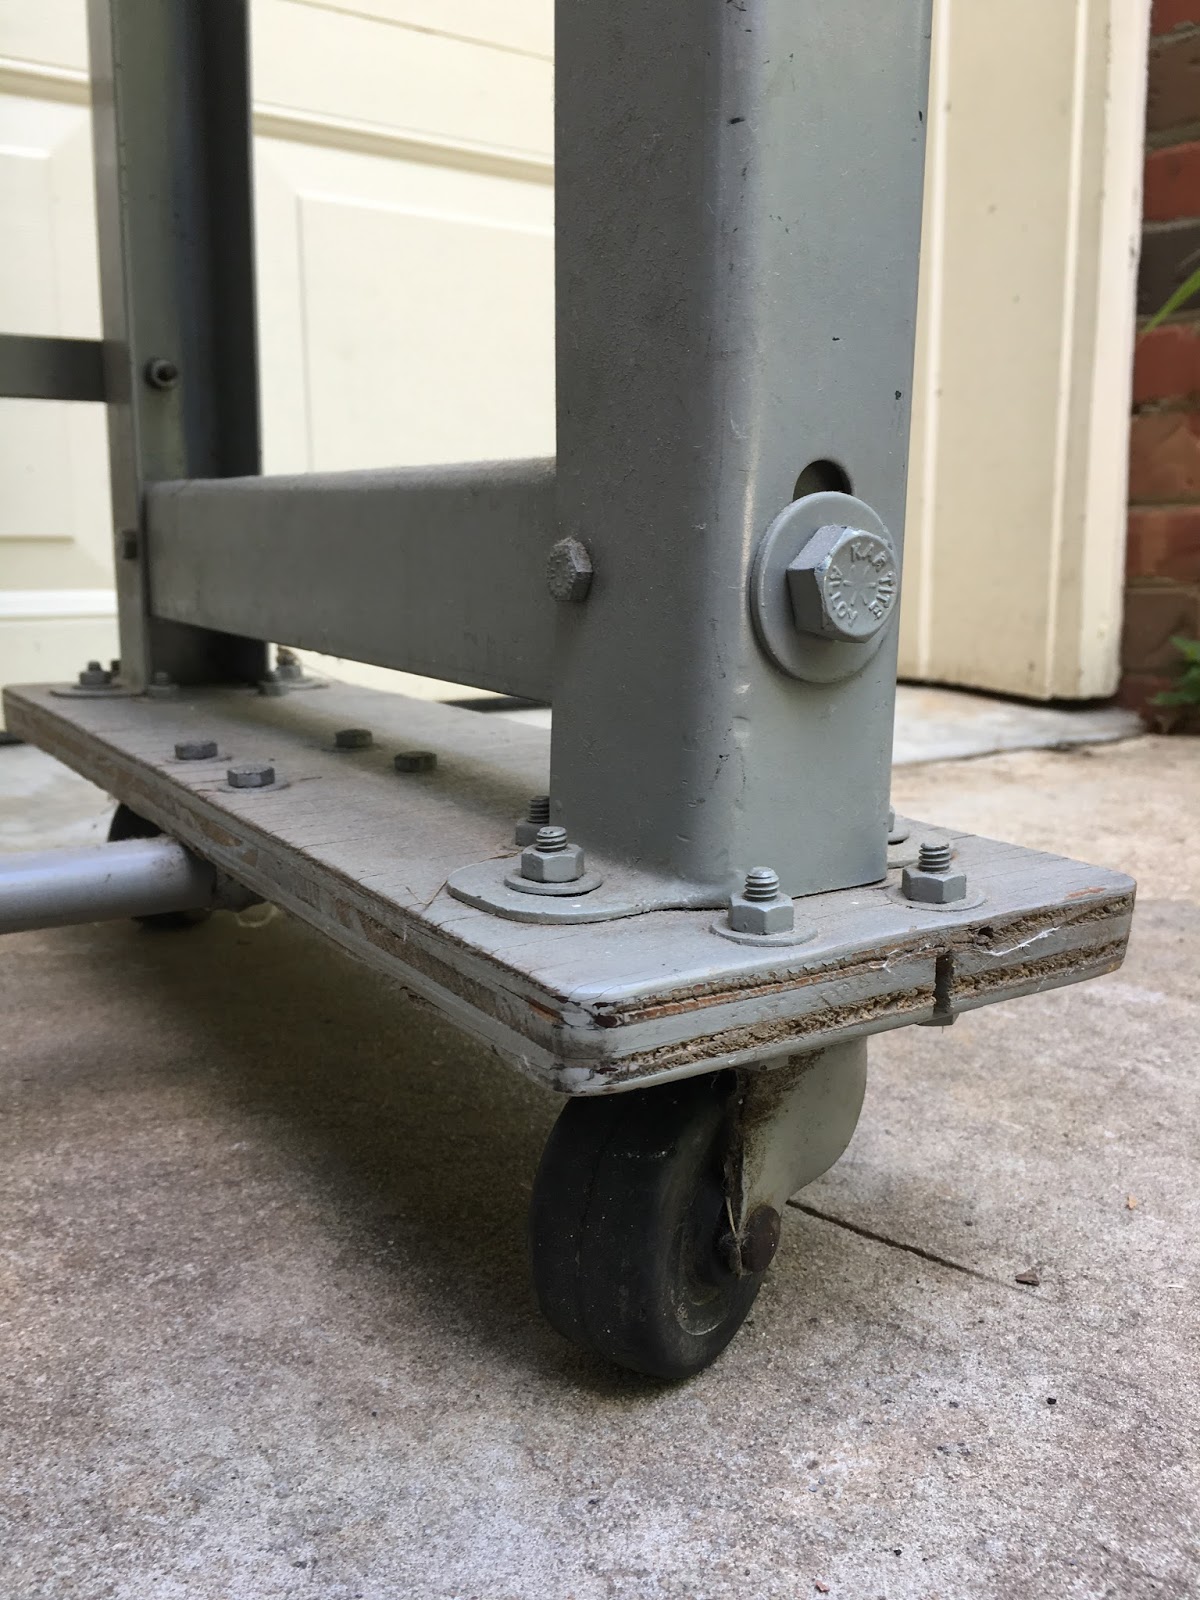
I enlisted help to turn the bolts on the table around the right way to prepare for painting. I hooked up my pressure washer and cleaned the table legs really well.
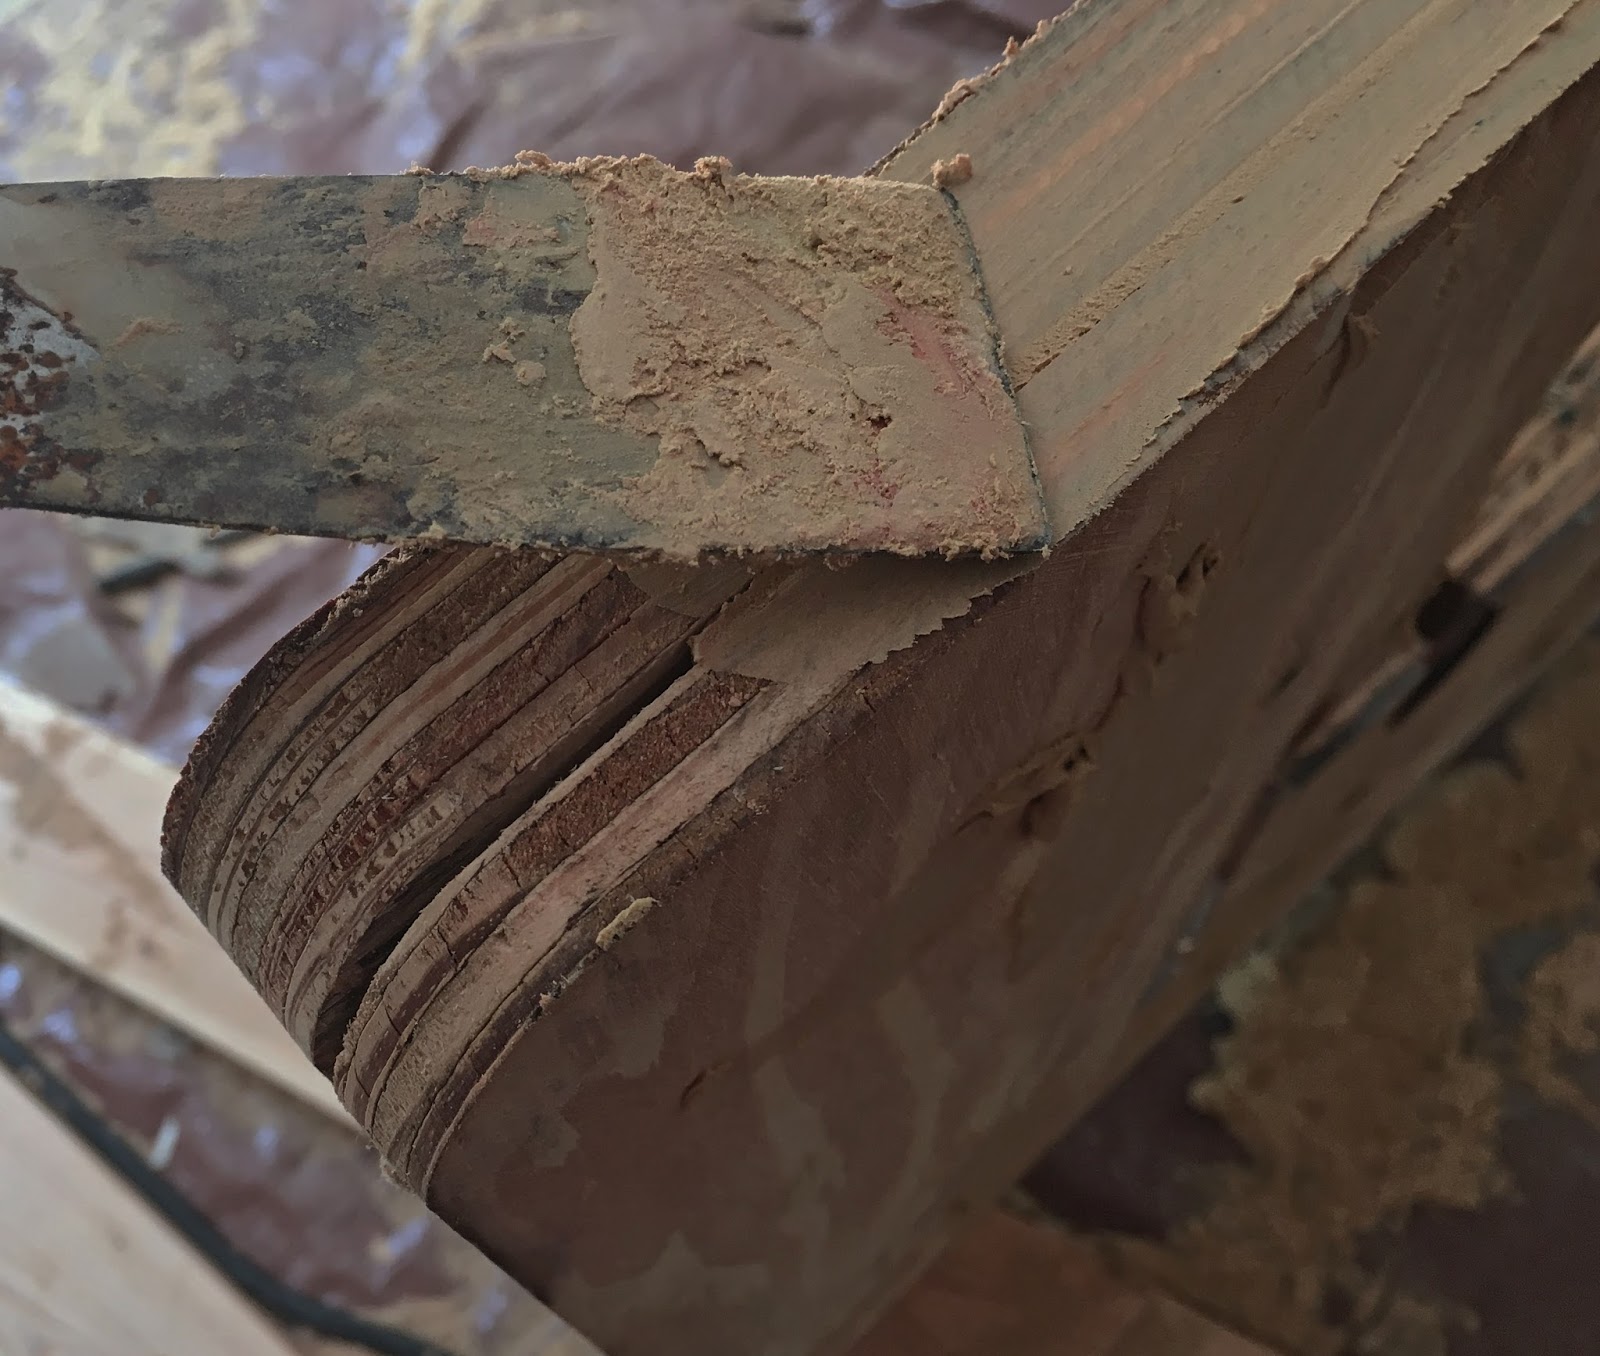
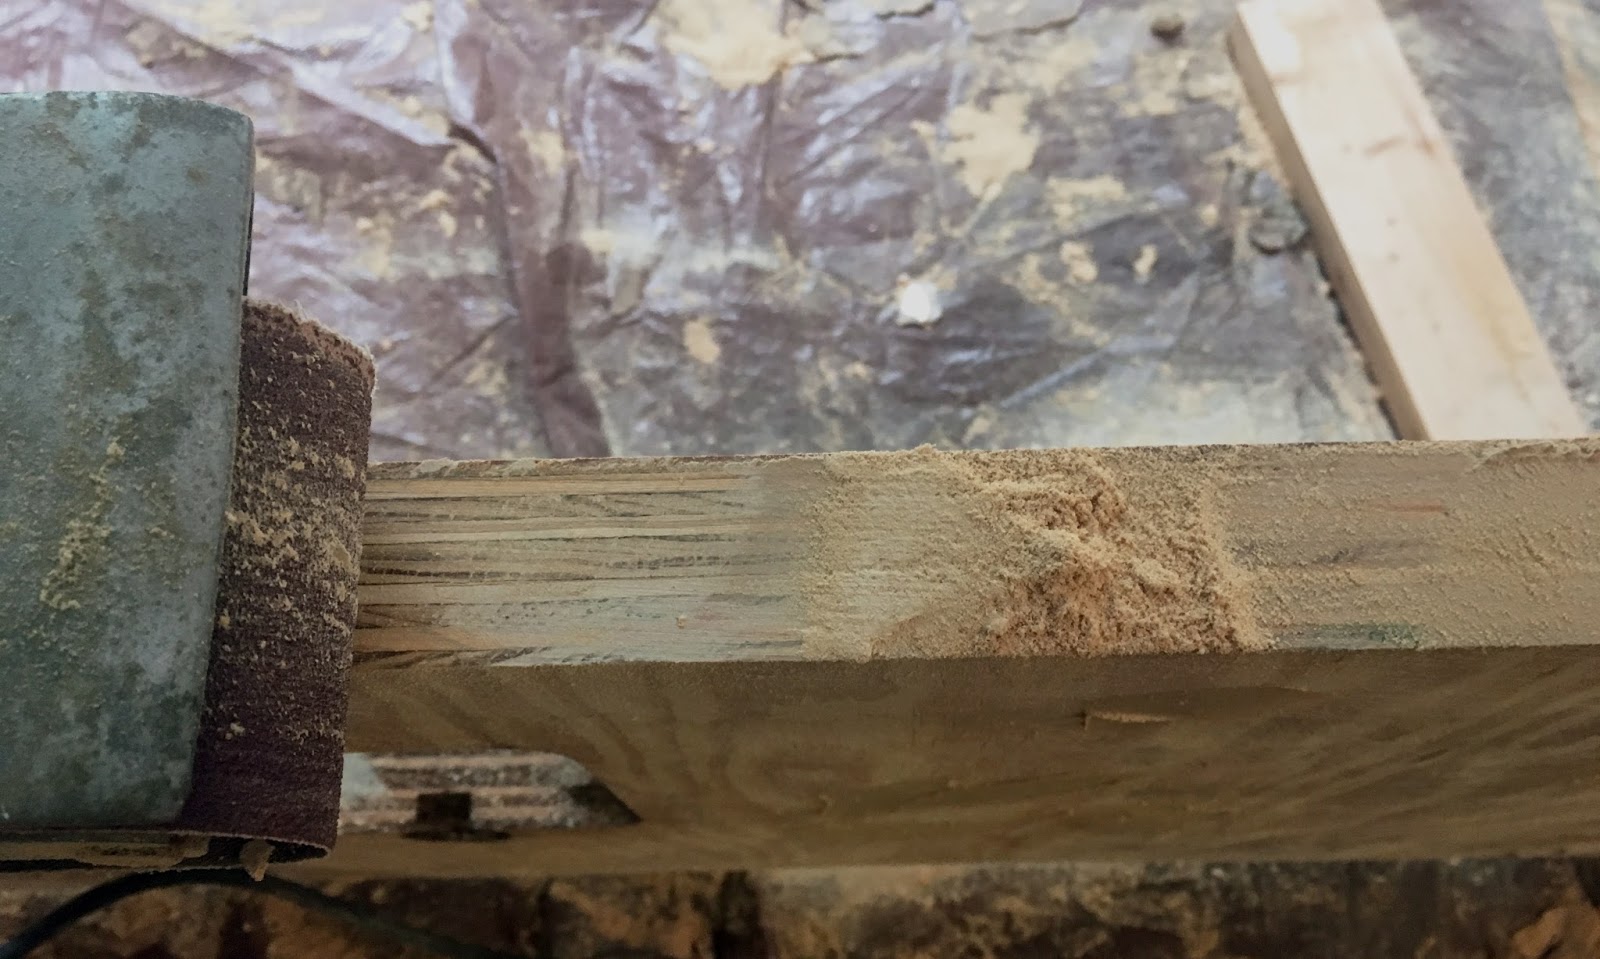
Most of the vinyl broke off easily from the table top since it was already bubbling, however there were a few stubborn areas where I had to use an oscillating tool. I used my belt sander to sand all the sides smooth.
I removed the old drive belt to prepare for cleaning the next day.
– Day 2 –
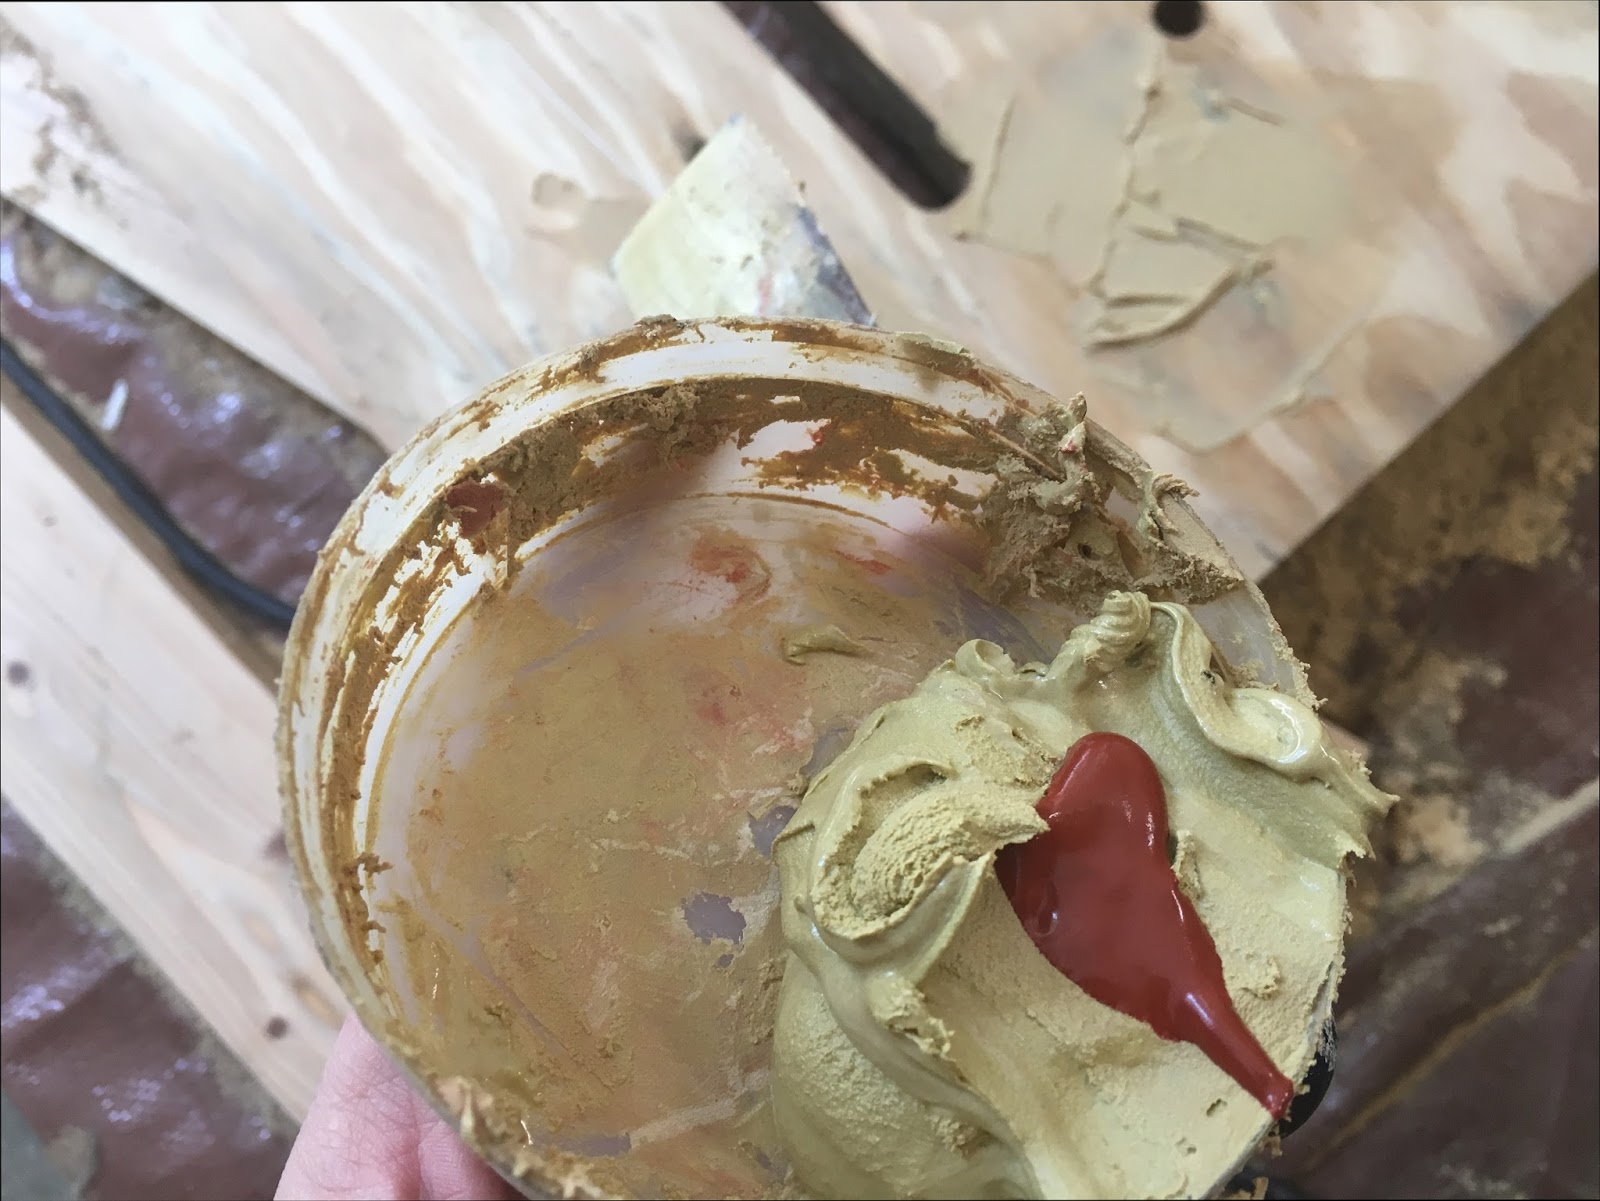
I started the day filling holes, cracks and grooves on the table top using Bondo.
I love Bondo because it dries super quick and I don’t have to wait around forever. This groove goes all the way around the edge of the table where the original rubber ‘bumper’ was attached.
After I sanded you couldn’t even tell there was a deep groove!
I cleaned and prepped all pieces ready for paint.
I painted the legs and my ONLY regret this whole project was choosing this color – grr. Oh well.
Not pictured is the process of soaking the machine in Kerosene and scrubbing clean. This was a lot of work and a bit stressful dealing with a flammable product! I worked outside with goggles and thick gloves. There was a bunch of gunk (lint and fine sediment) in the bottom of the plastic container after I was done – very shocking! I wipe the machine dry the best I could and used my compressor to blow out any excess.
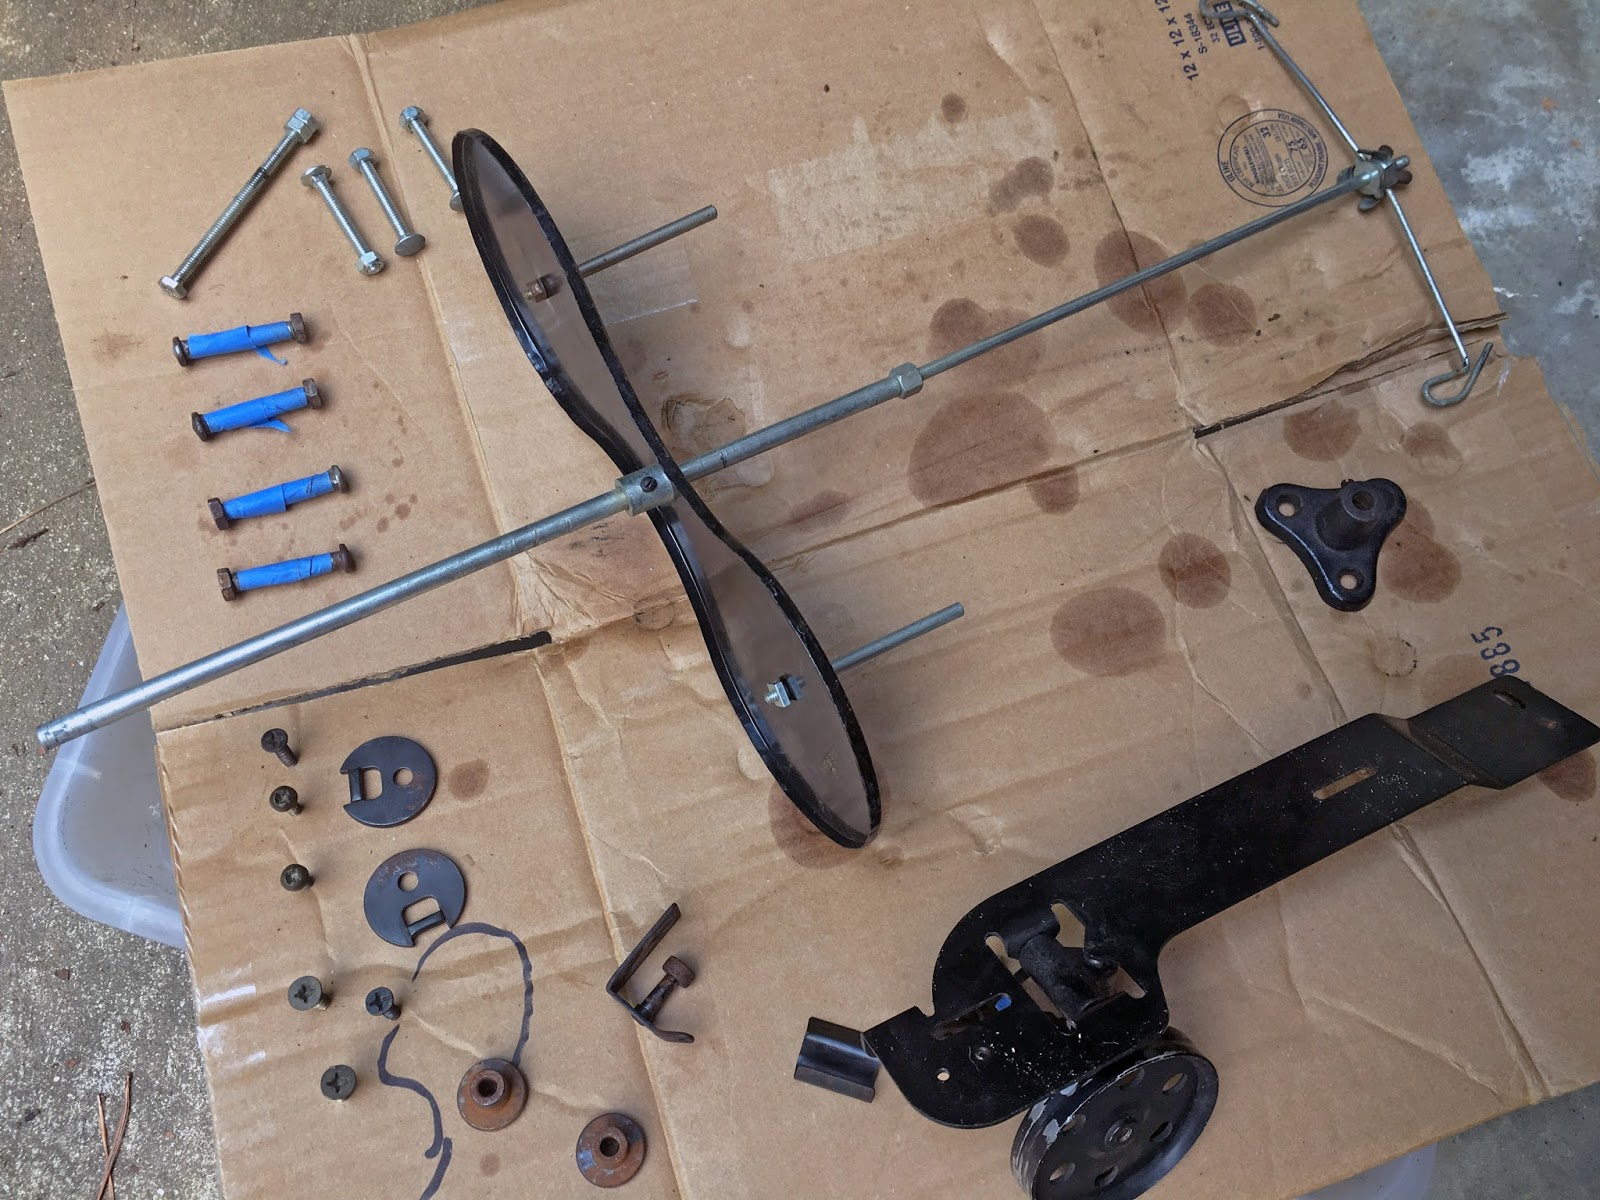
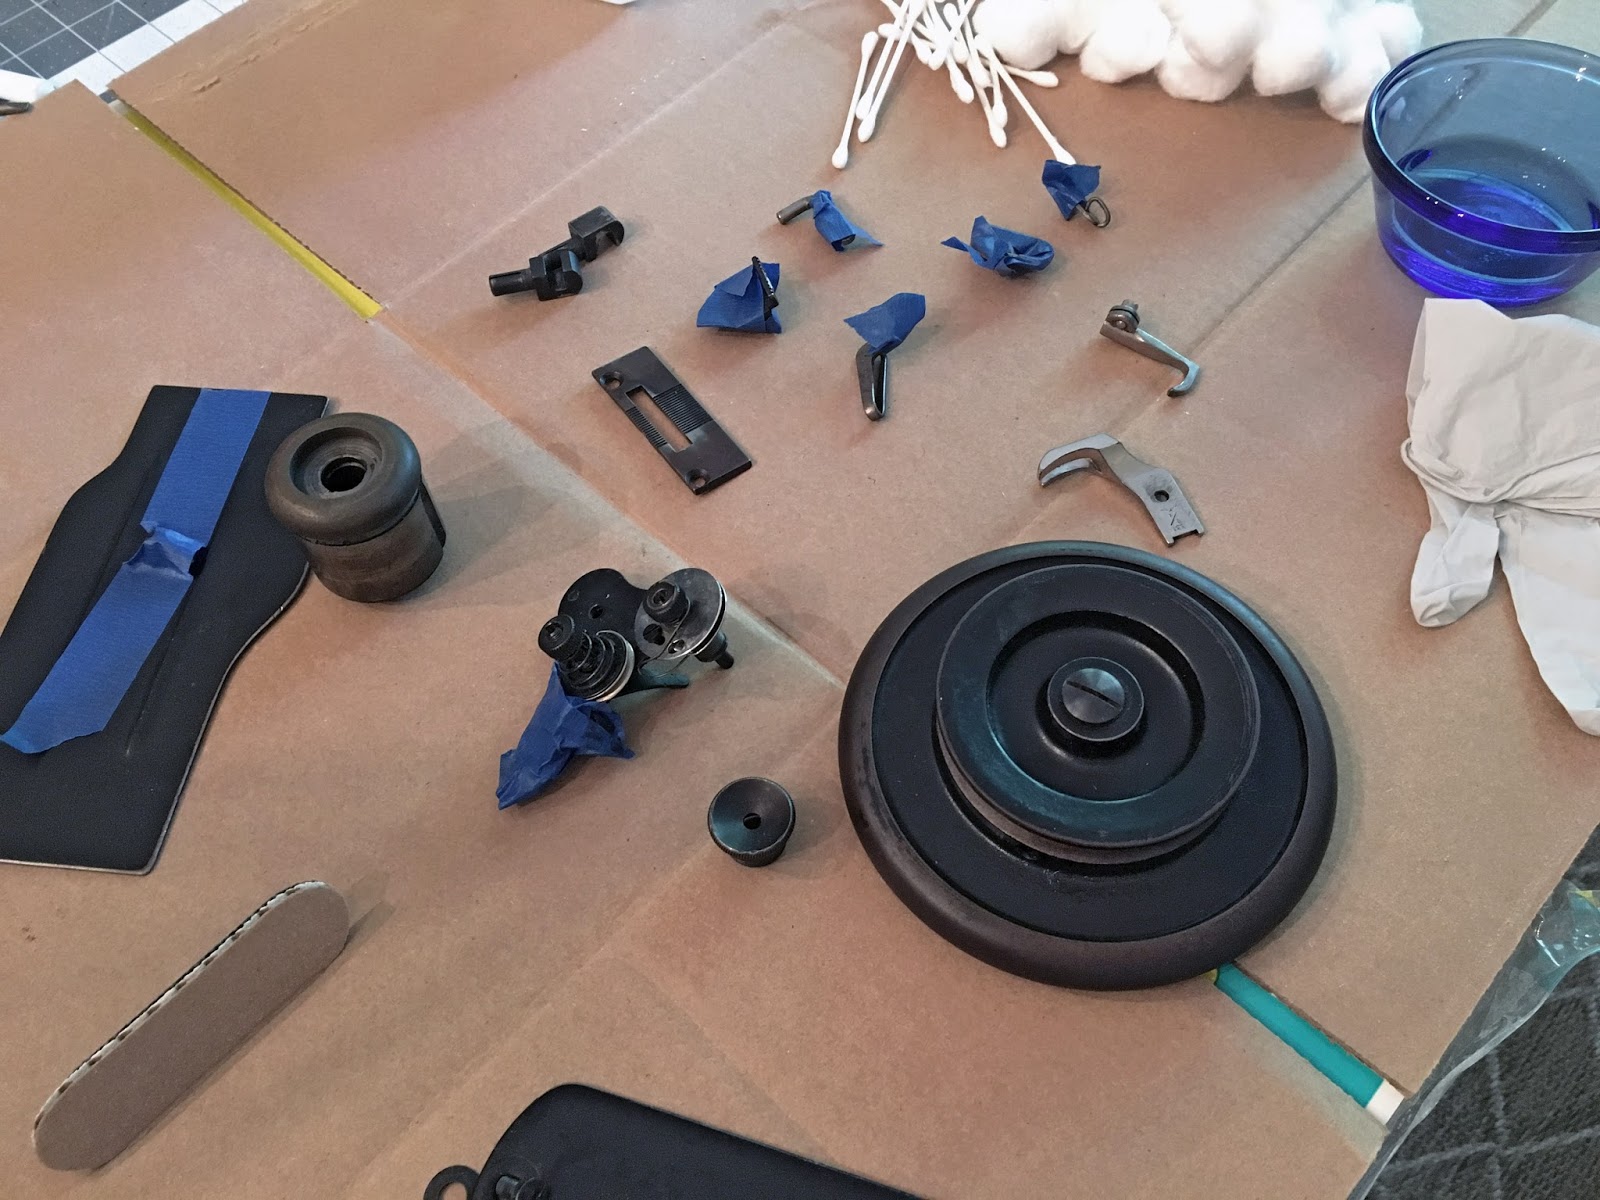
I removed all the pieces from the machine and scrubbed them clean and wiped with sewing machine oil.
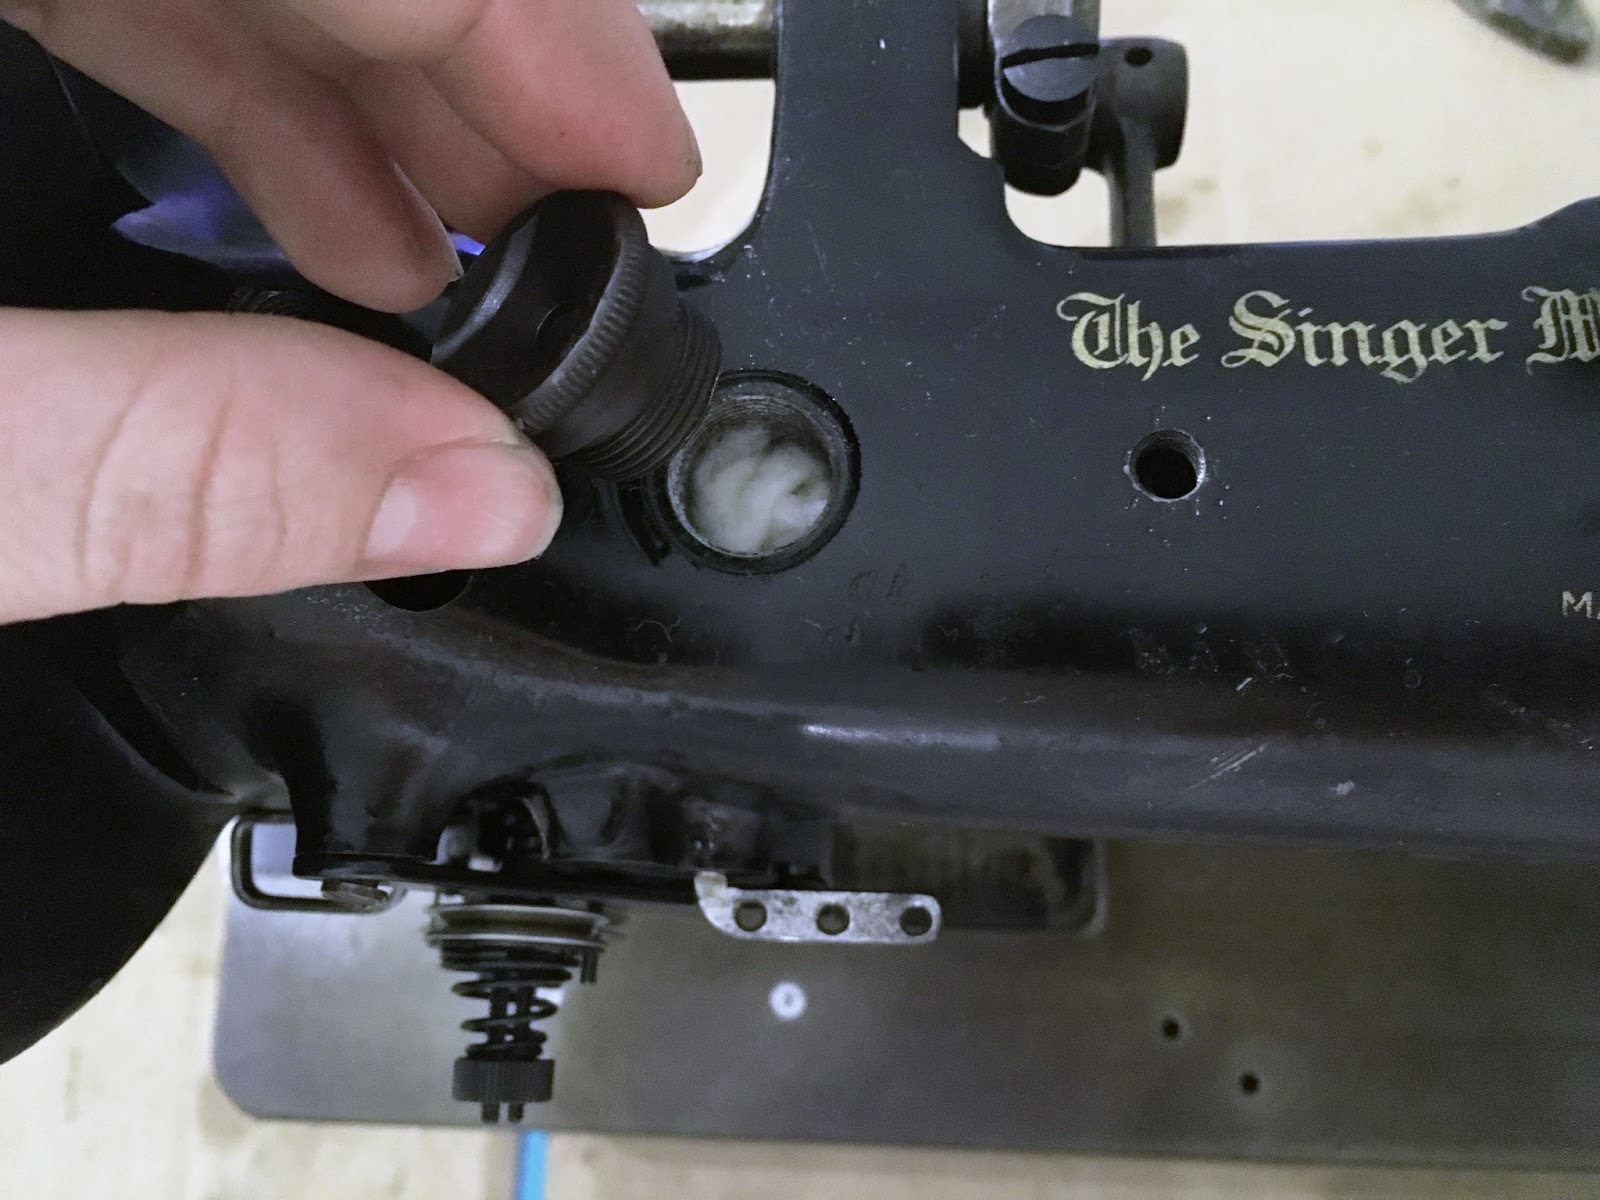
I took apart the tension assembly to clean and reassemble to ensure it would work properly.
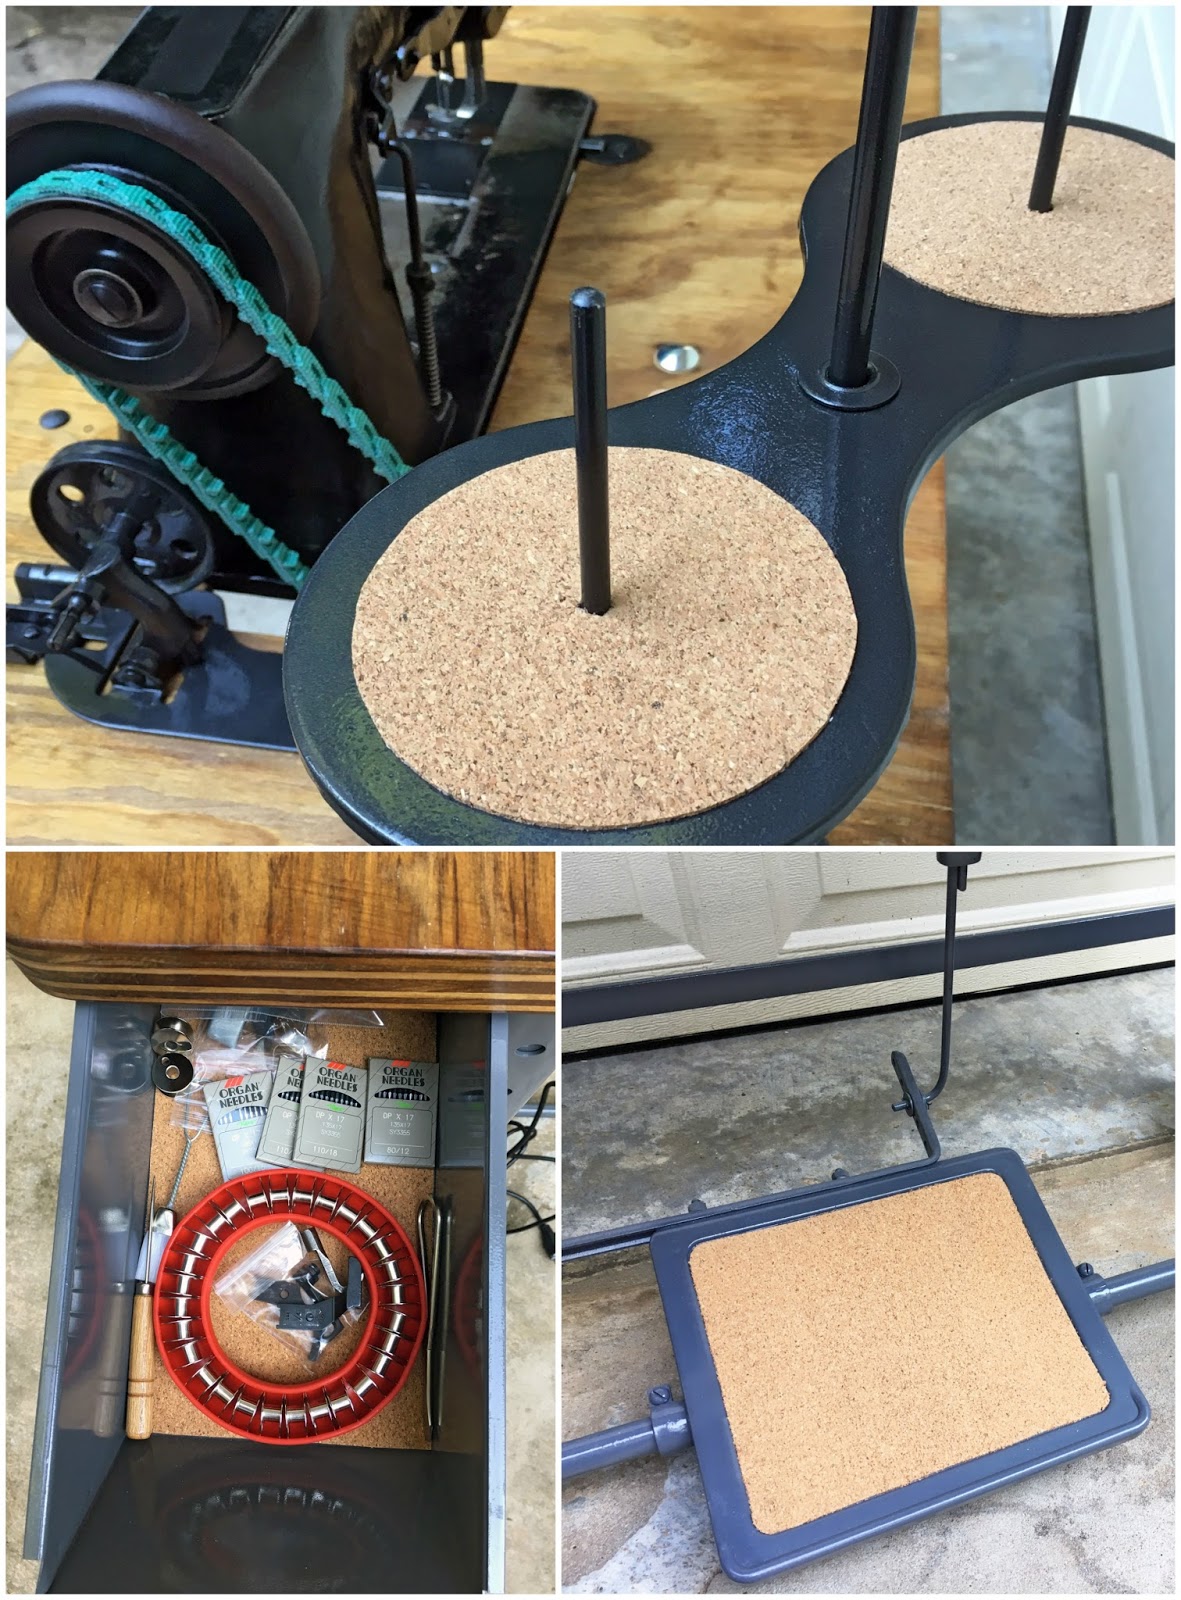
I removed the old felt that was packed in this pot because it looked extremely dirty. I had some felt wicks for my Singer 201 pots that I pulled apart to pack in here.
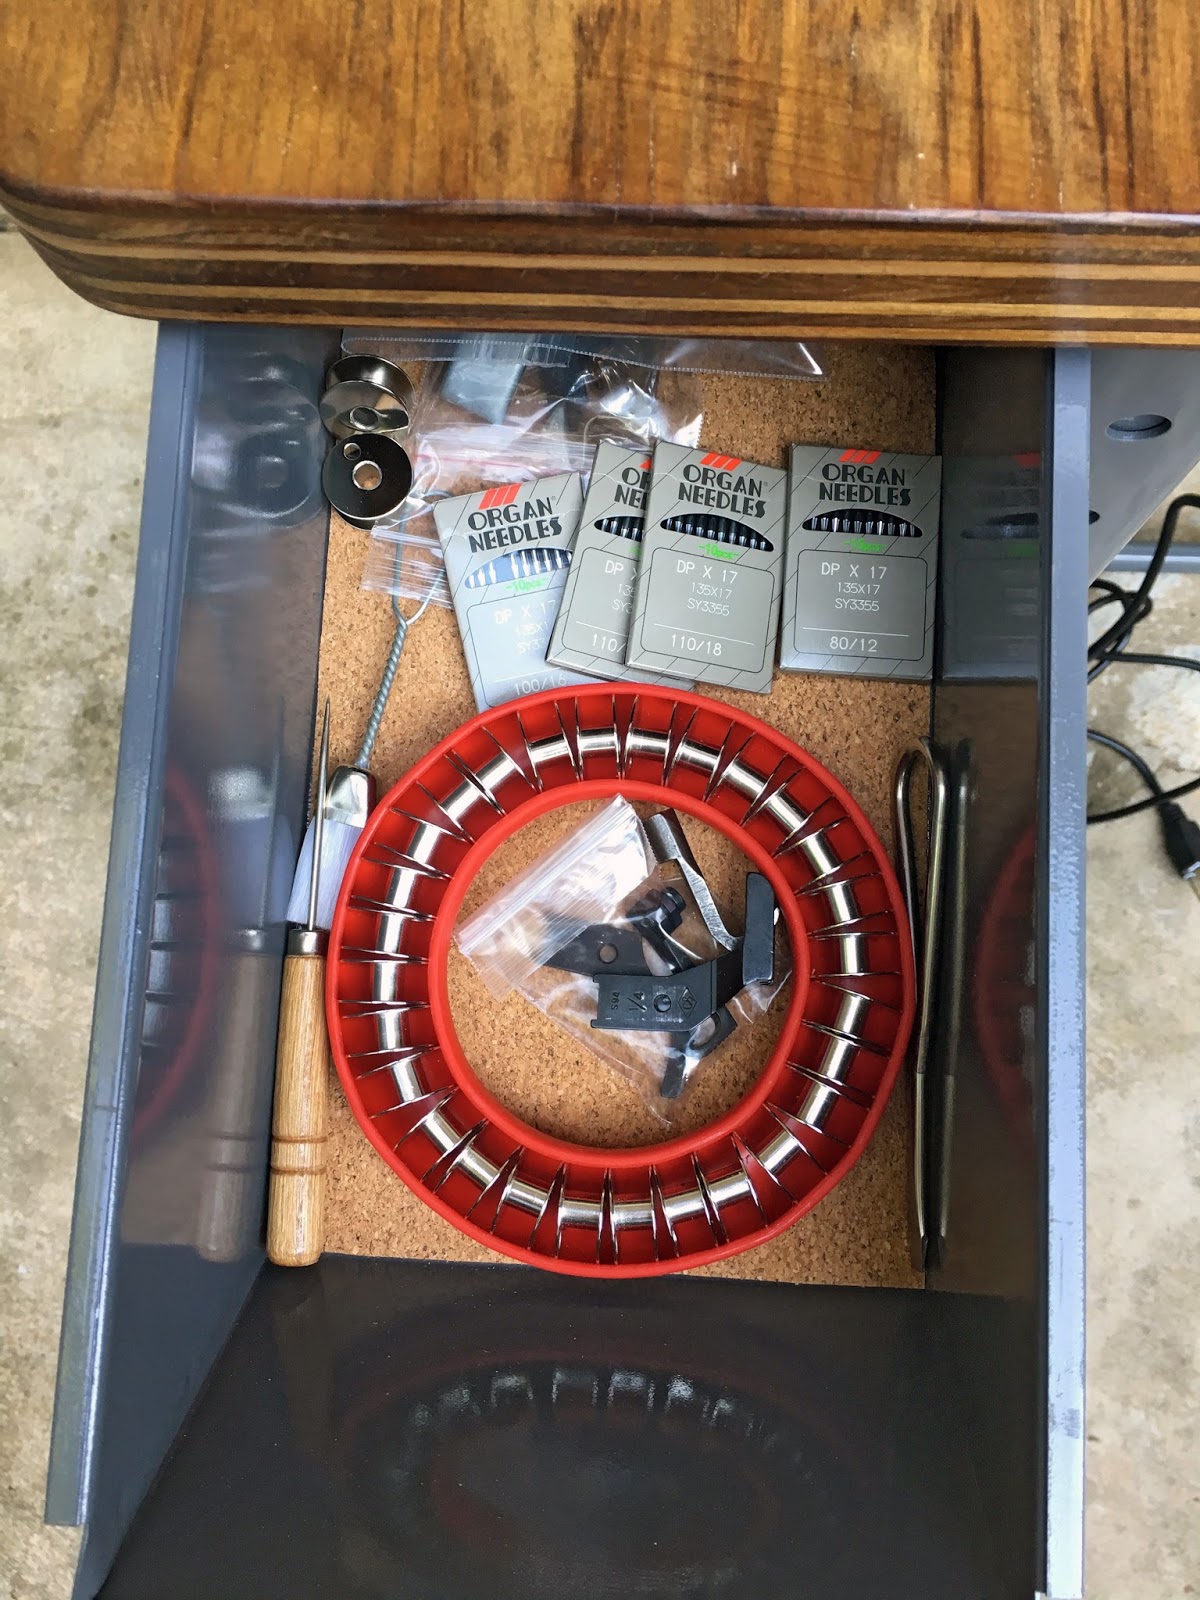
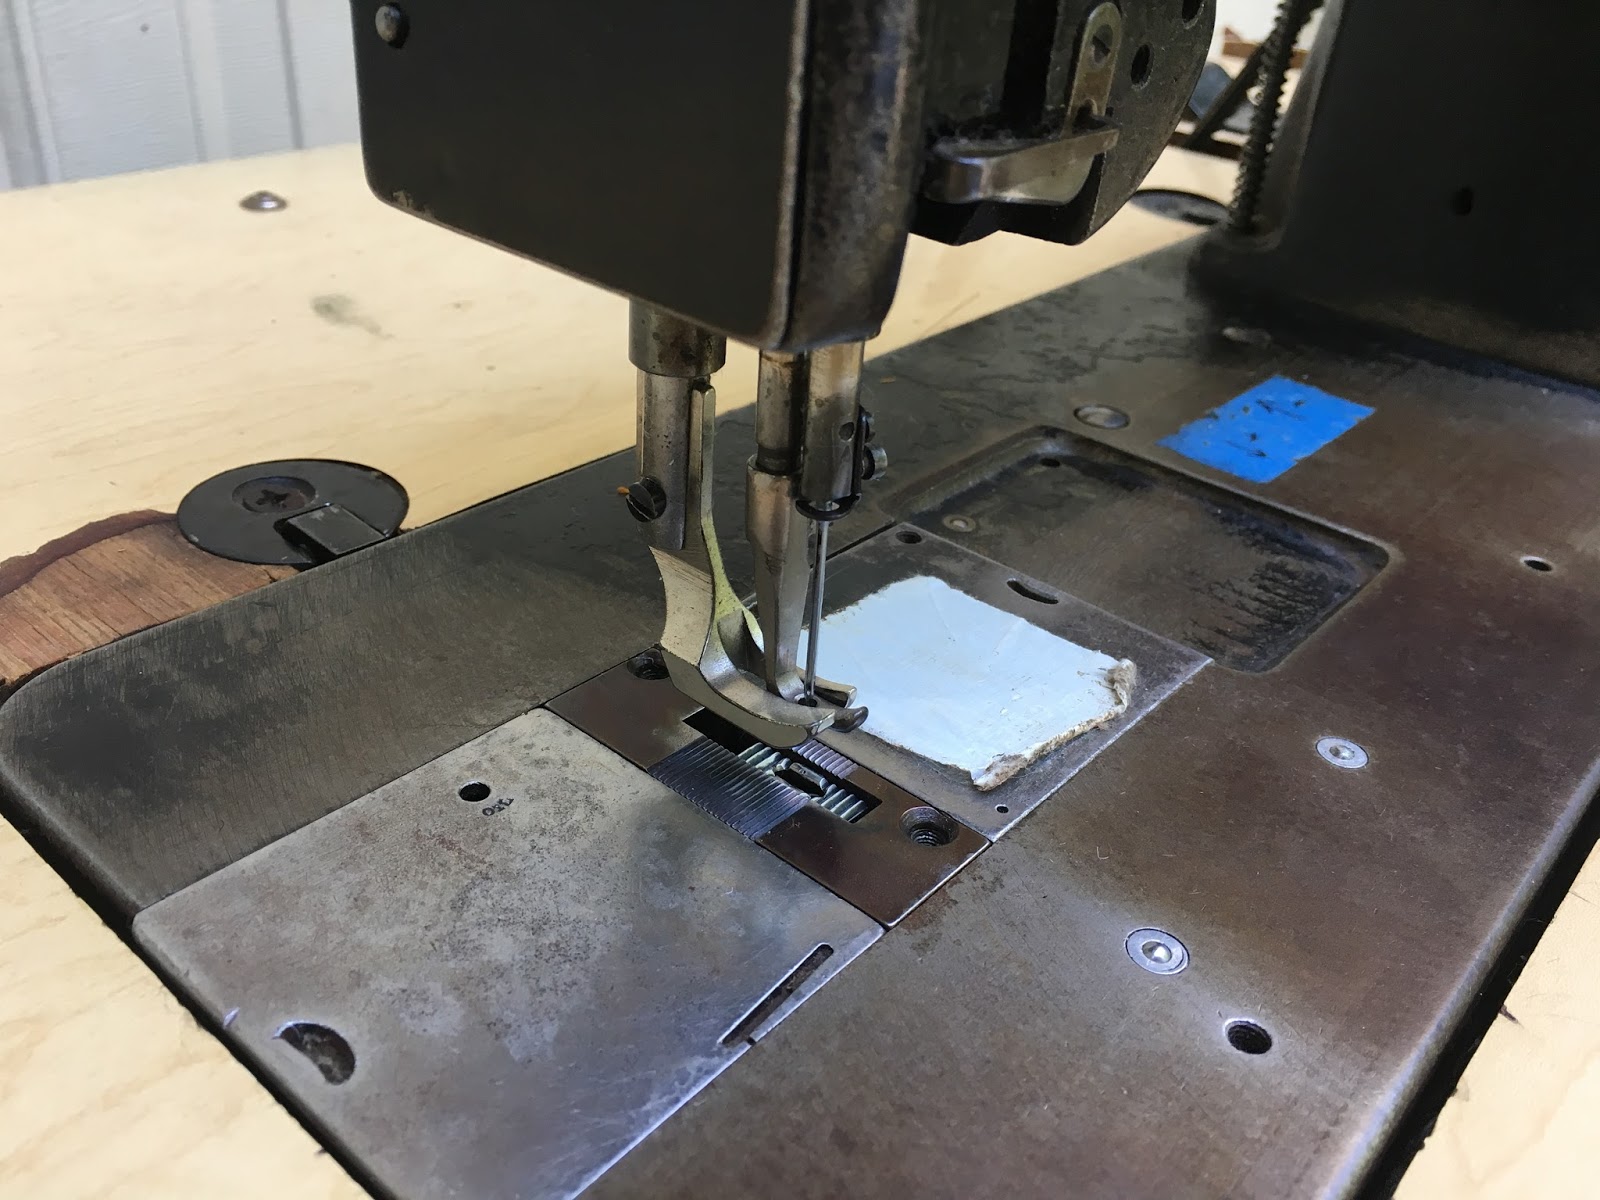
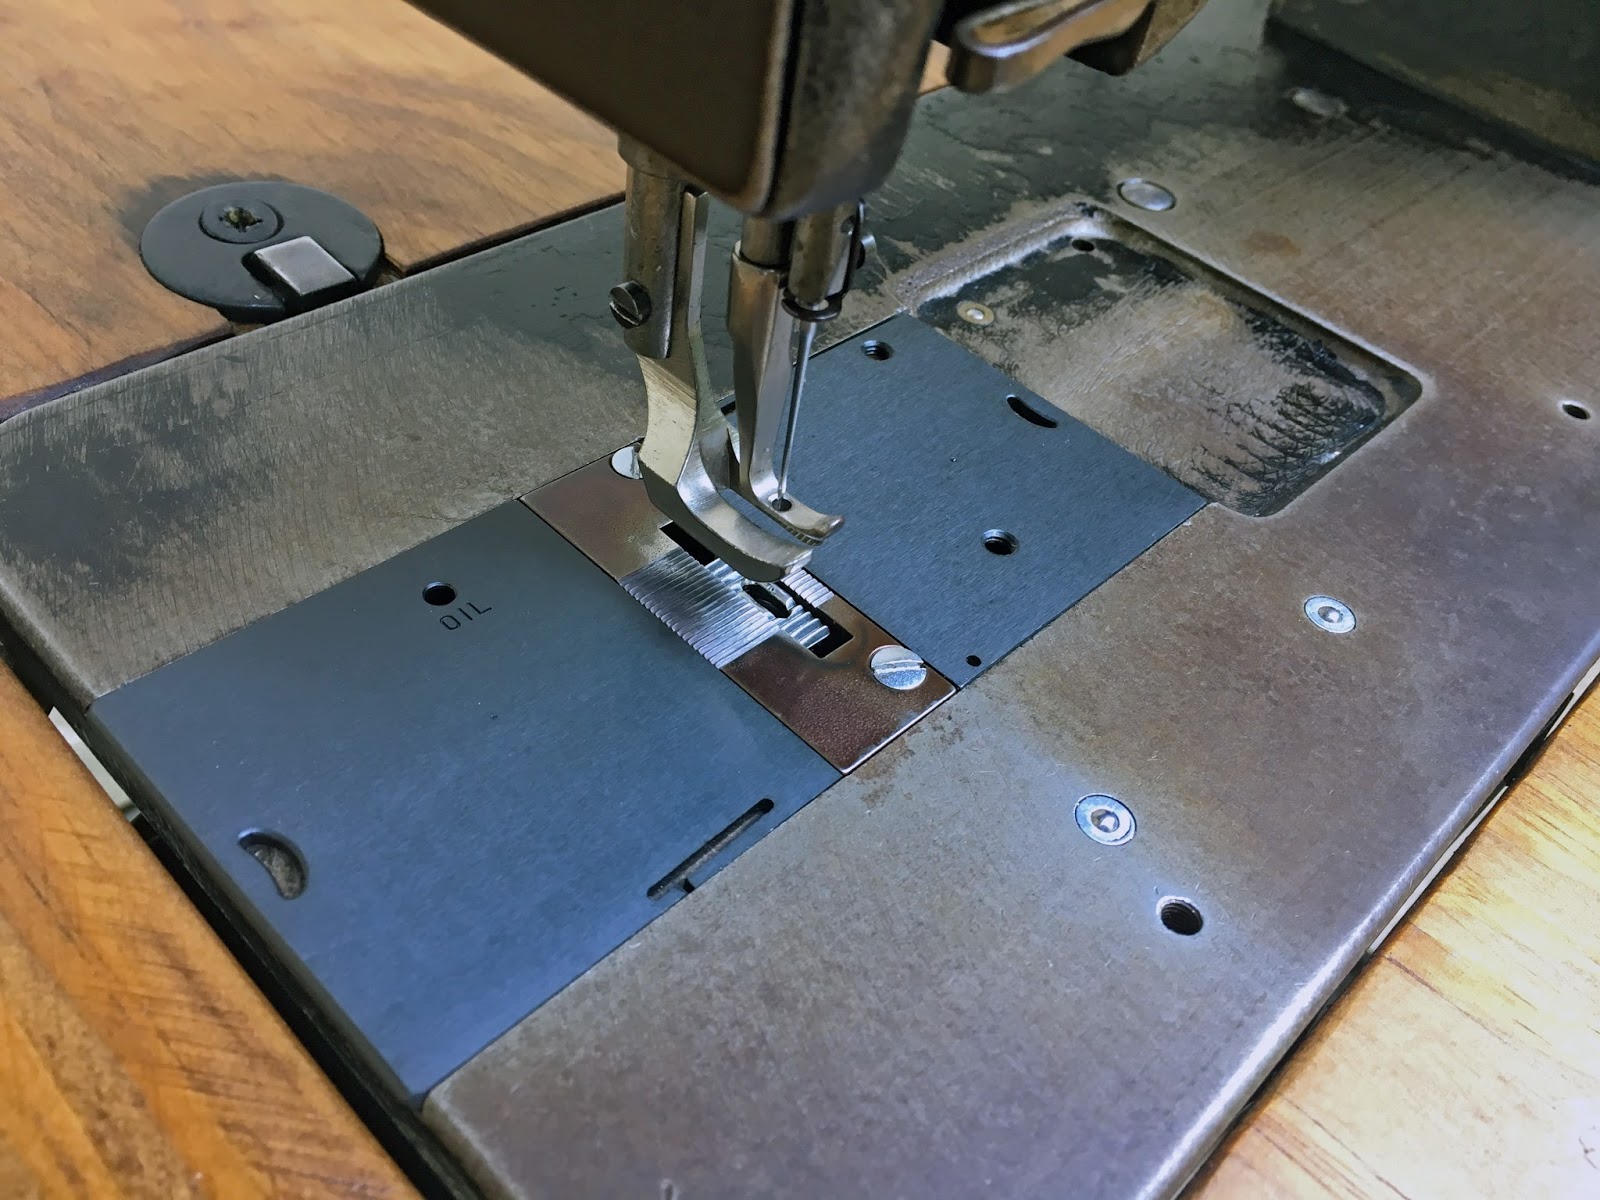
My box of parts came today so I installed the timing belt and was able to fiddle with adjustments for many hours.
I ordered needles, bobbins, pressure feet, timing belt, needle plate covers and feed dog from Cutex on eBay (I won’t be ordering from them again, however. The screw holes on the feed dog I bought were deeper than the original so my screws bottomed out and wouldn’t tighten completely. The zipper foot I got was taller than the original feet by 3/16″ and dragged on the fabric not allowing the fabric to feed).
– Day 3 –
I expected to get a new servo motor in the mail so I worked non-stop prepping the table top so I could install it.
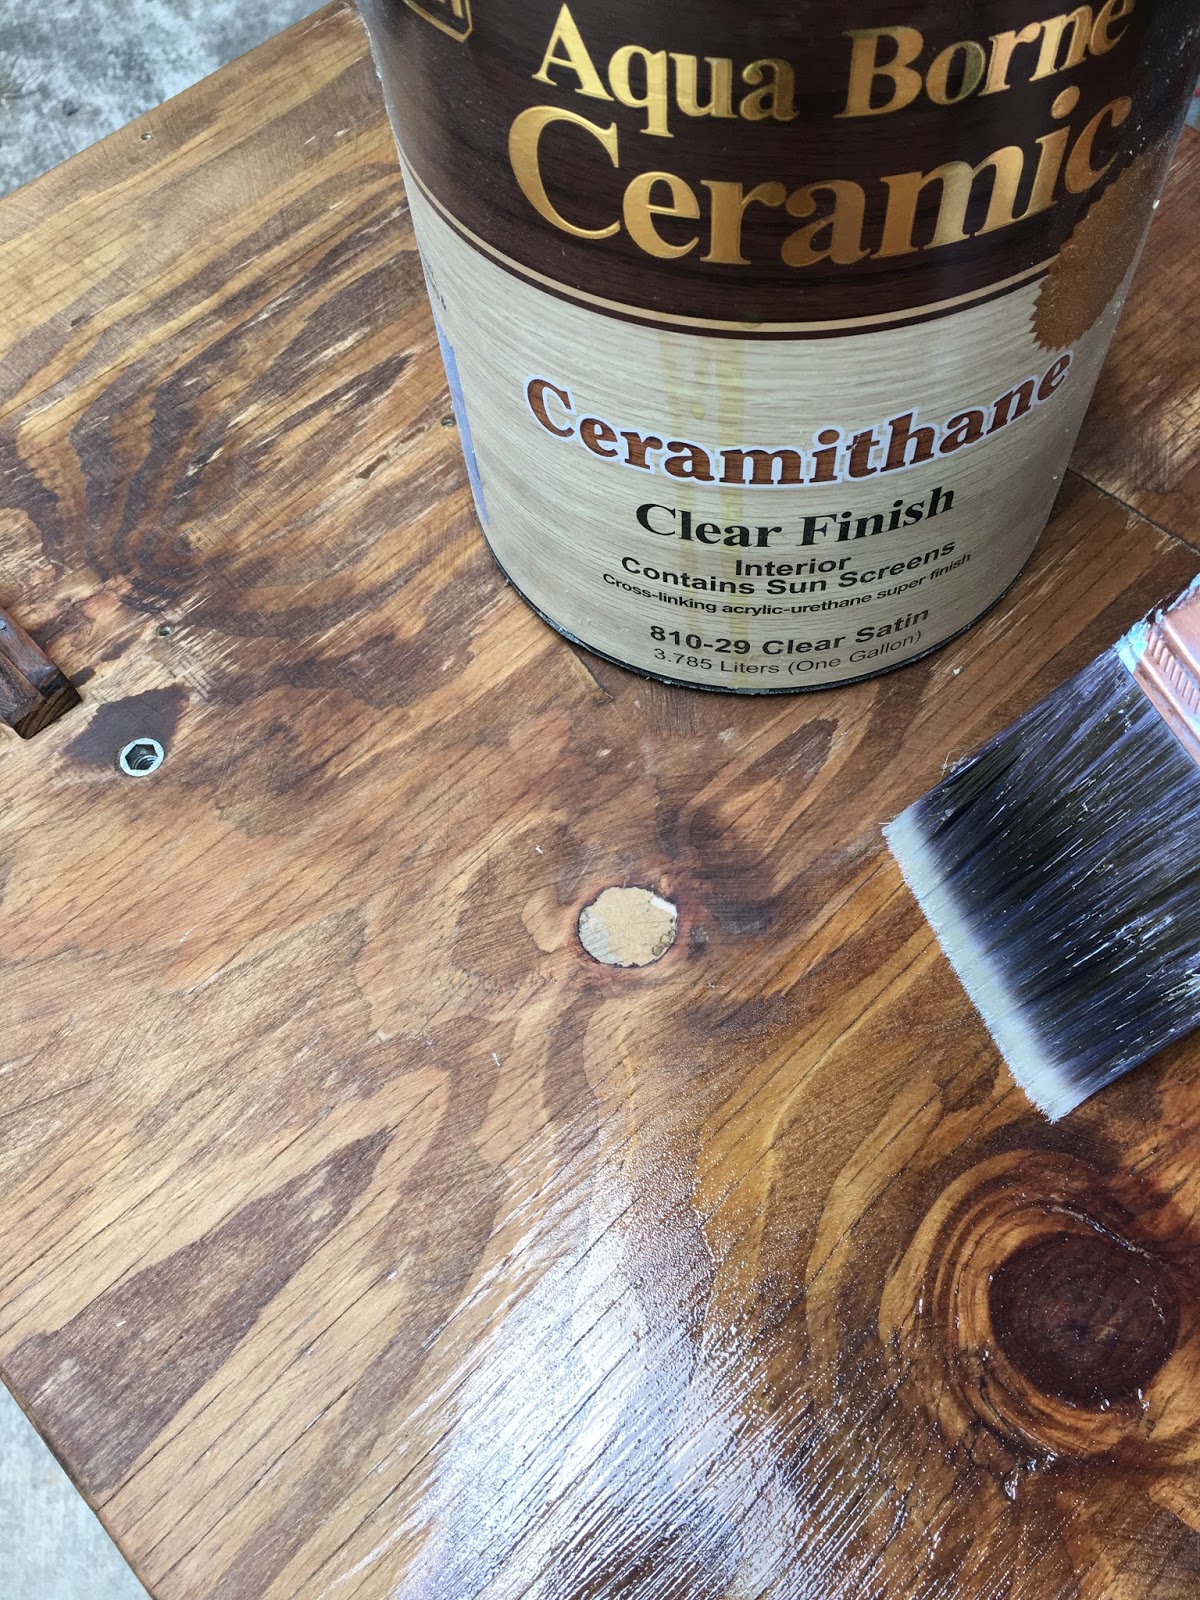
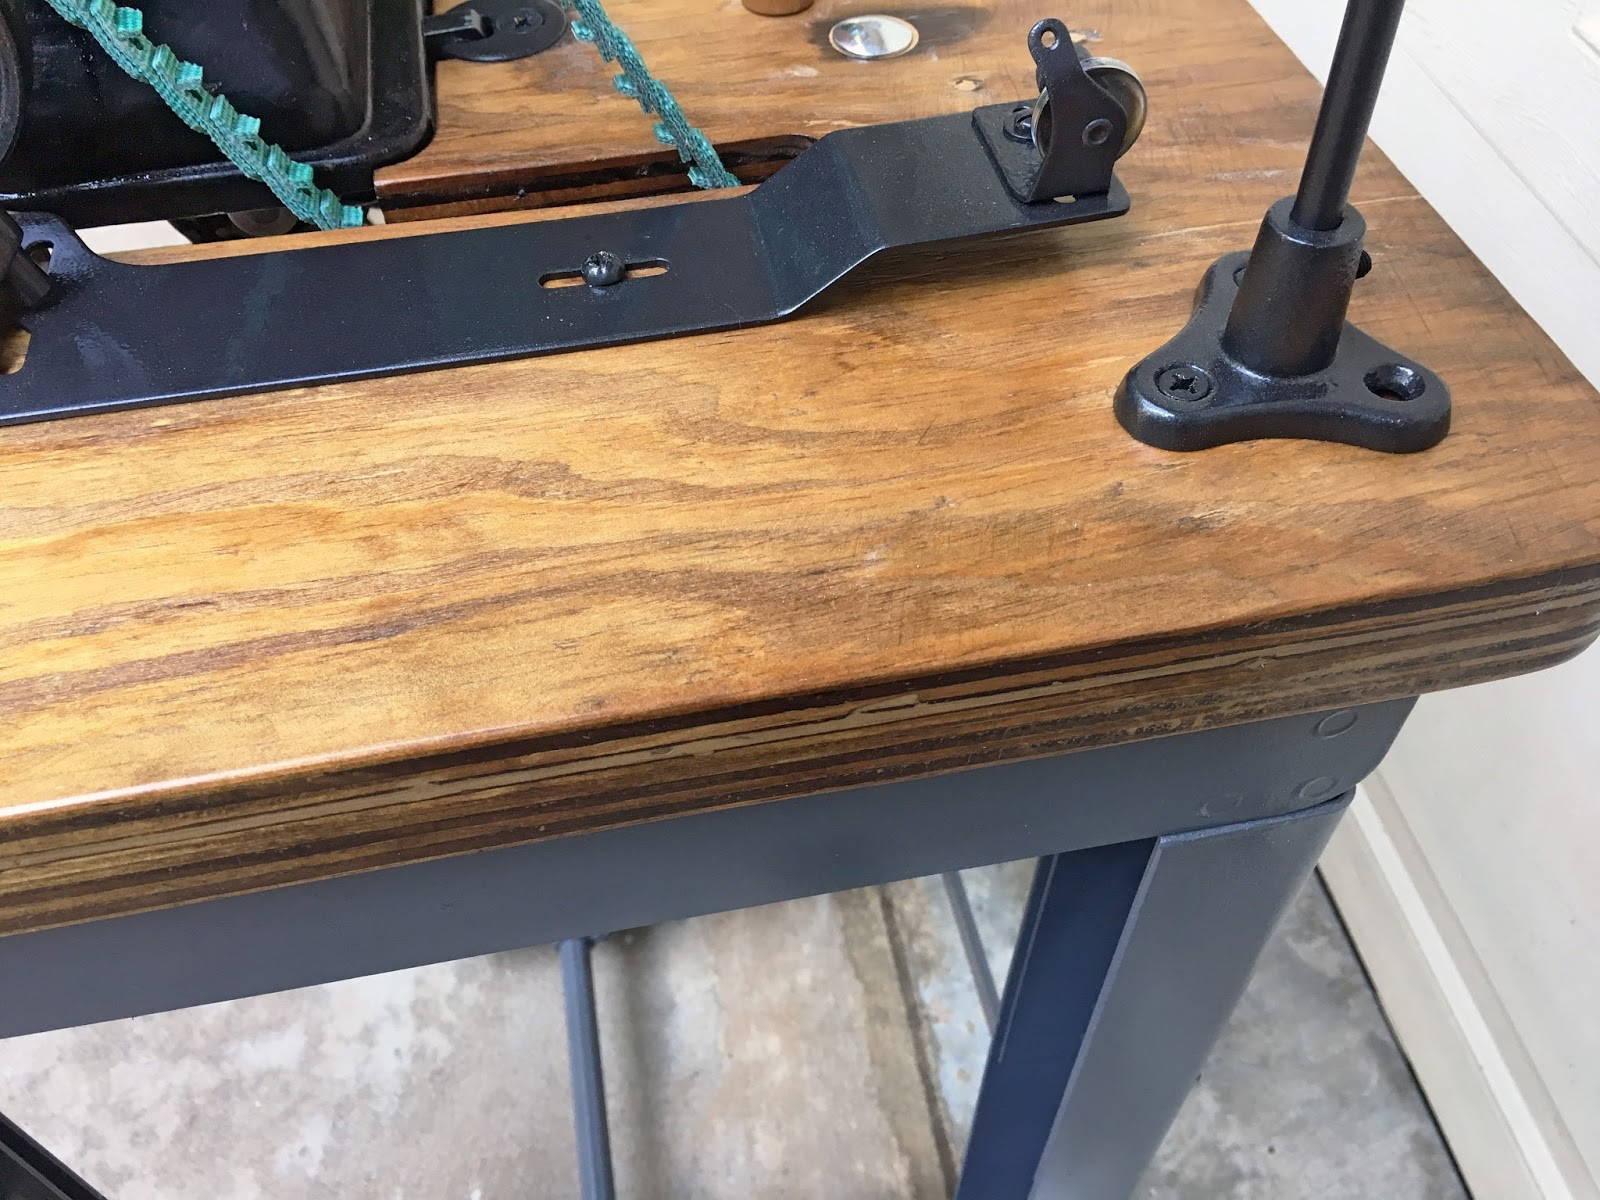
After sanding the table and drawer slides I was ready for oil! I’ve been using Danish Oil on almost all my recent projects – it’s fast, easy, great color and I like knowing it absorbs & cures into the wood.
I did 2 coats of Ceramithane finish which really helped to bring out the color.
– Day 4 –
The motor didn’t come yesterday so I focused on other things.
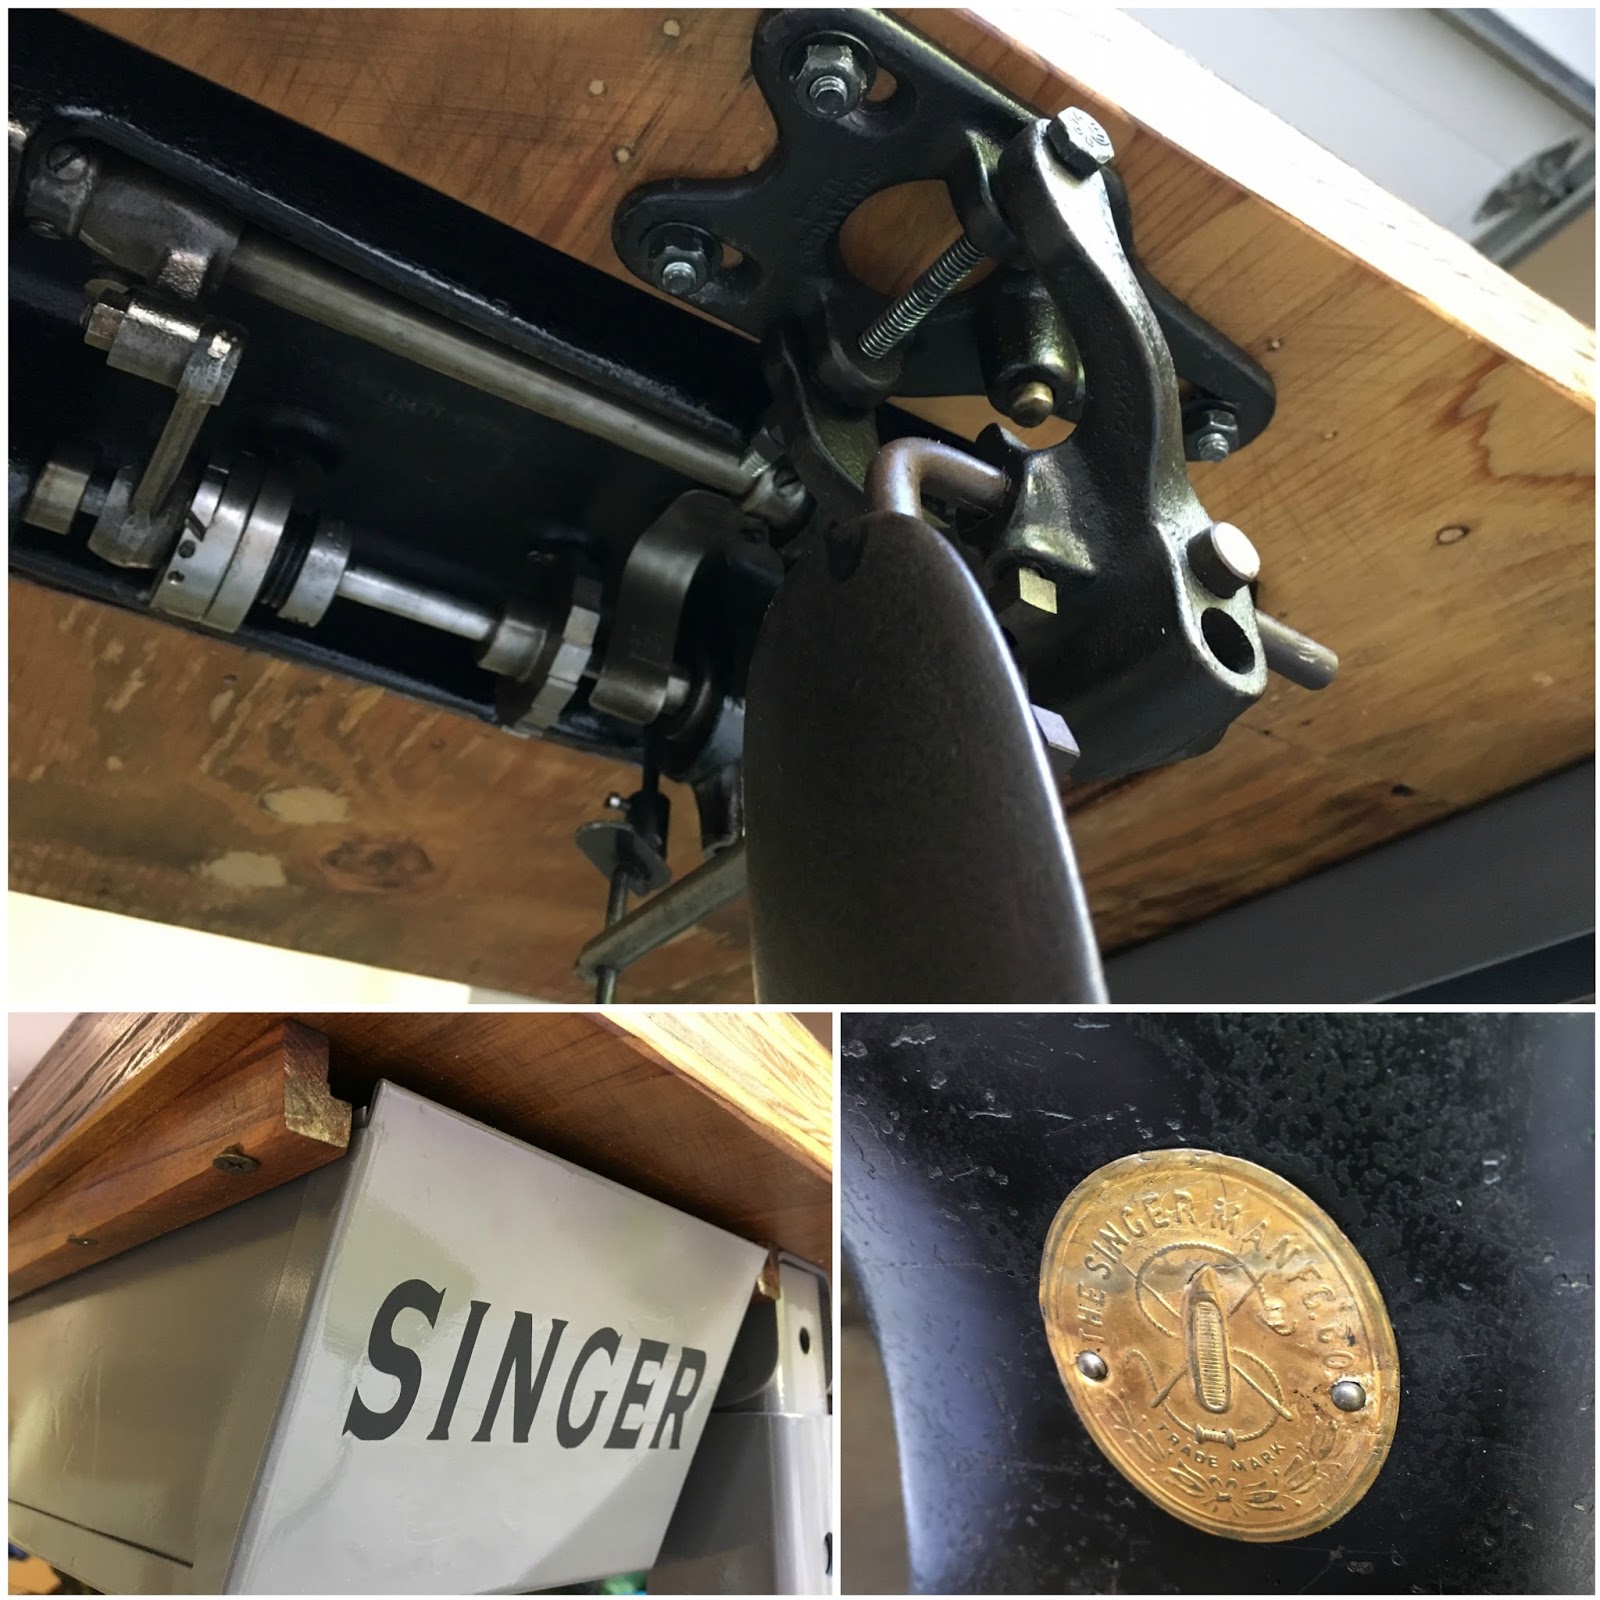
I installed the knee lift, made a vinyl ‘sticker’ for the drawer and flattened the Singer badge and reinstalled it.
The machine’s timing was way off so I searched online for some help and I found the most amazing video that also helped me fix (or confirm things were proper) for a handful of other things:
The machines stitch length indicator was off from how many stitches per inch it actually did, so I followed the instructions in the video to fix it.
The timing needed major adjustments and it felt so good to be able to do it myself! – Day 5 –
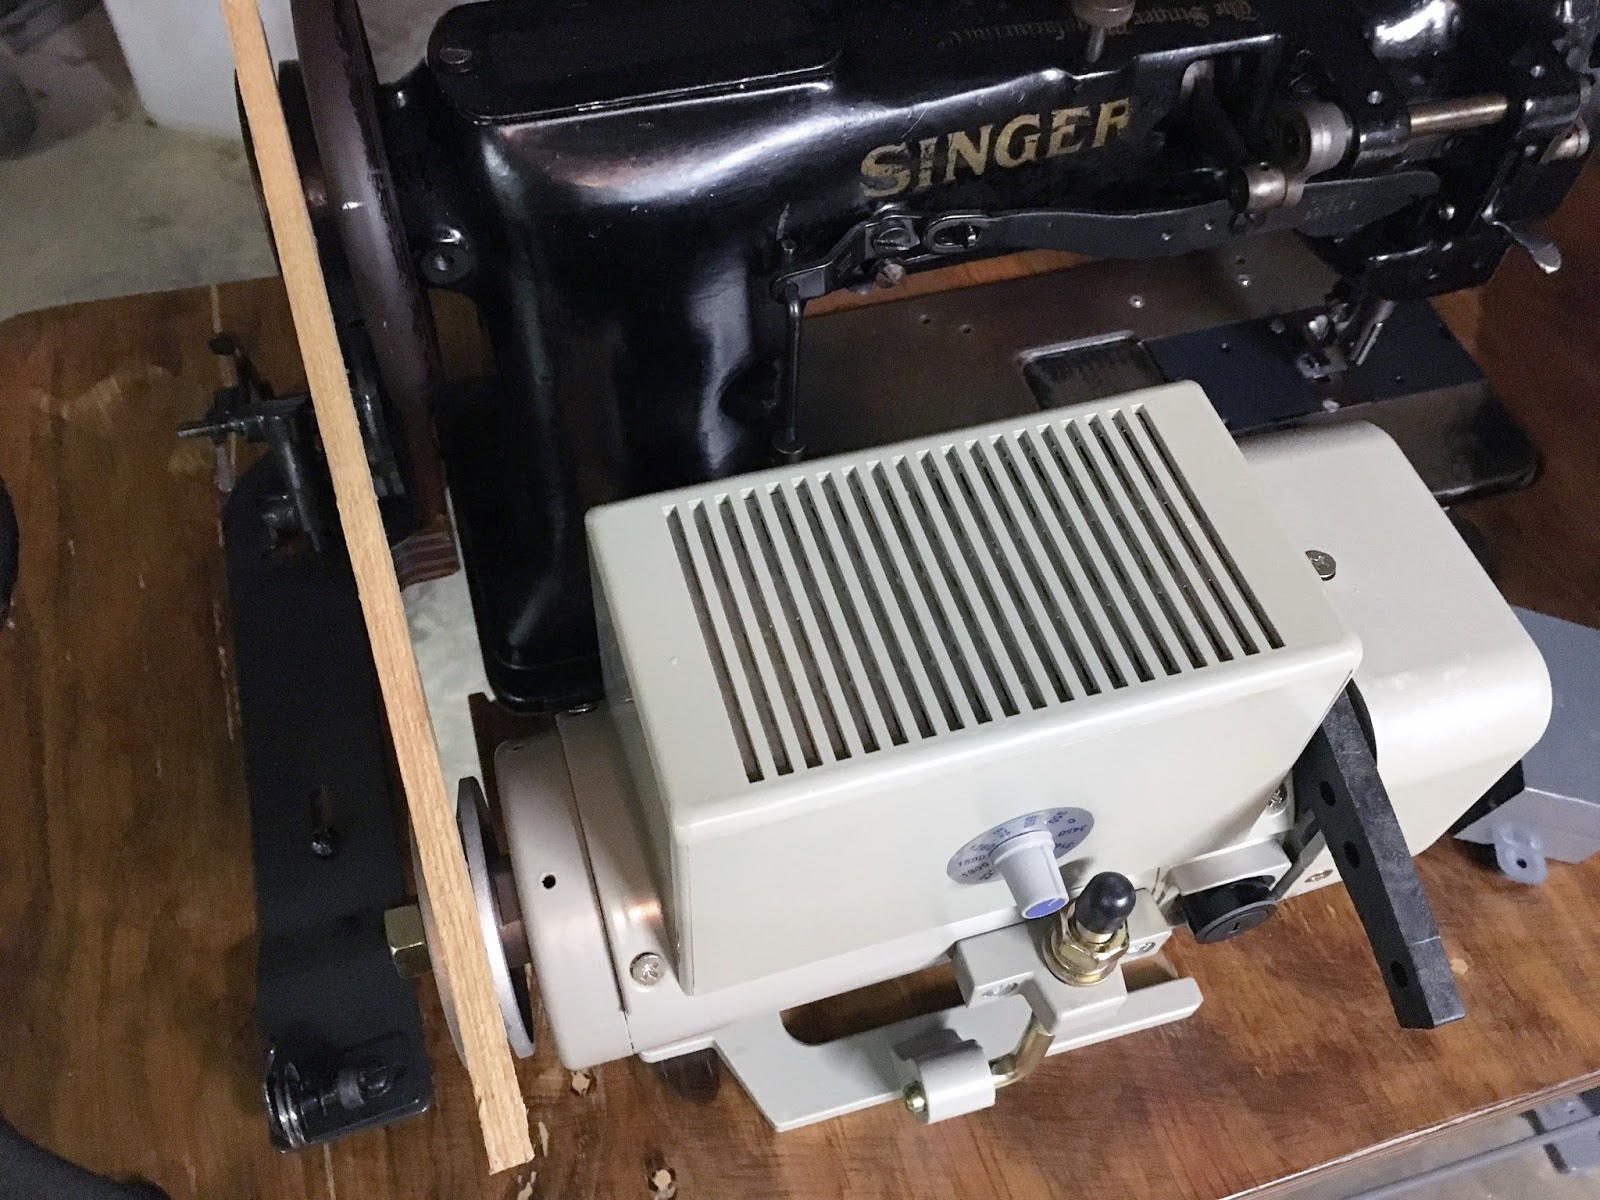
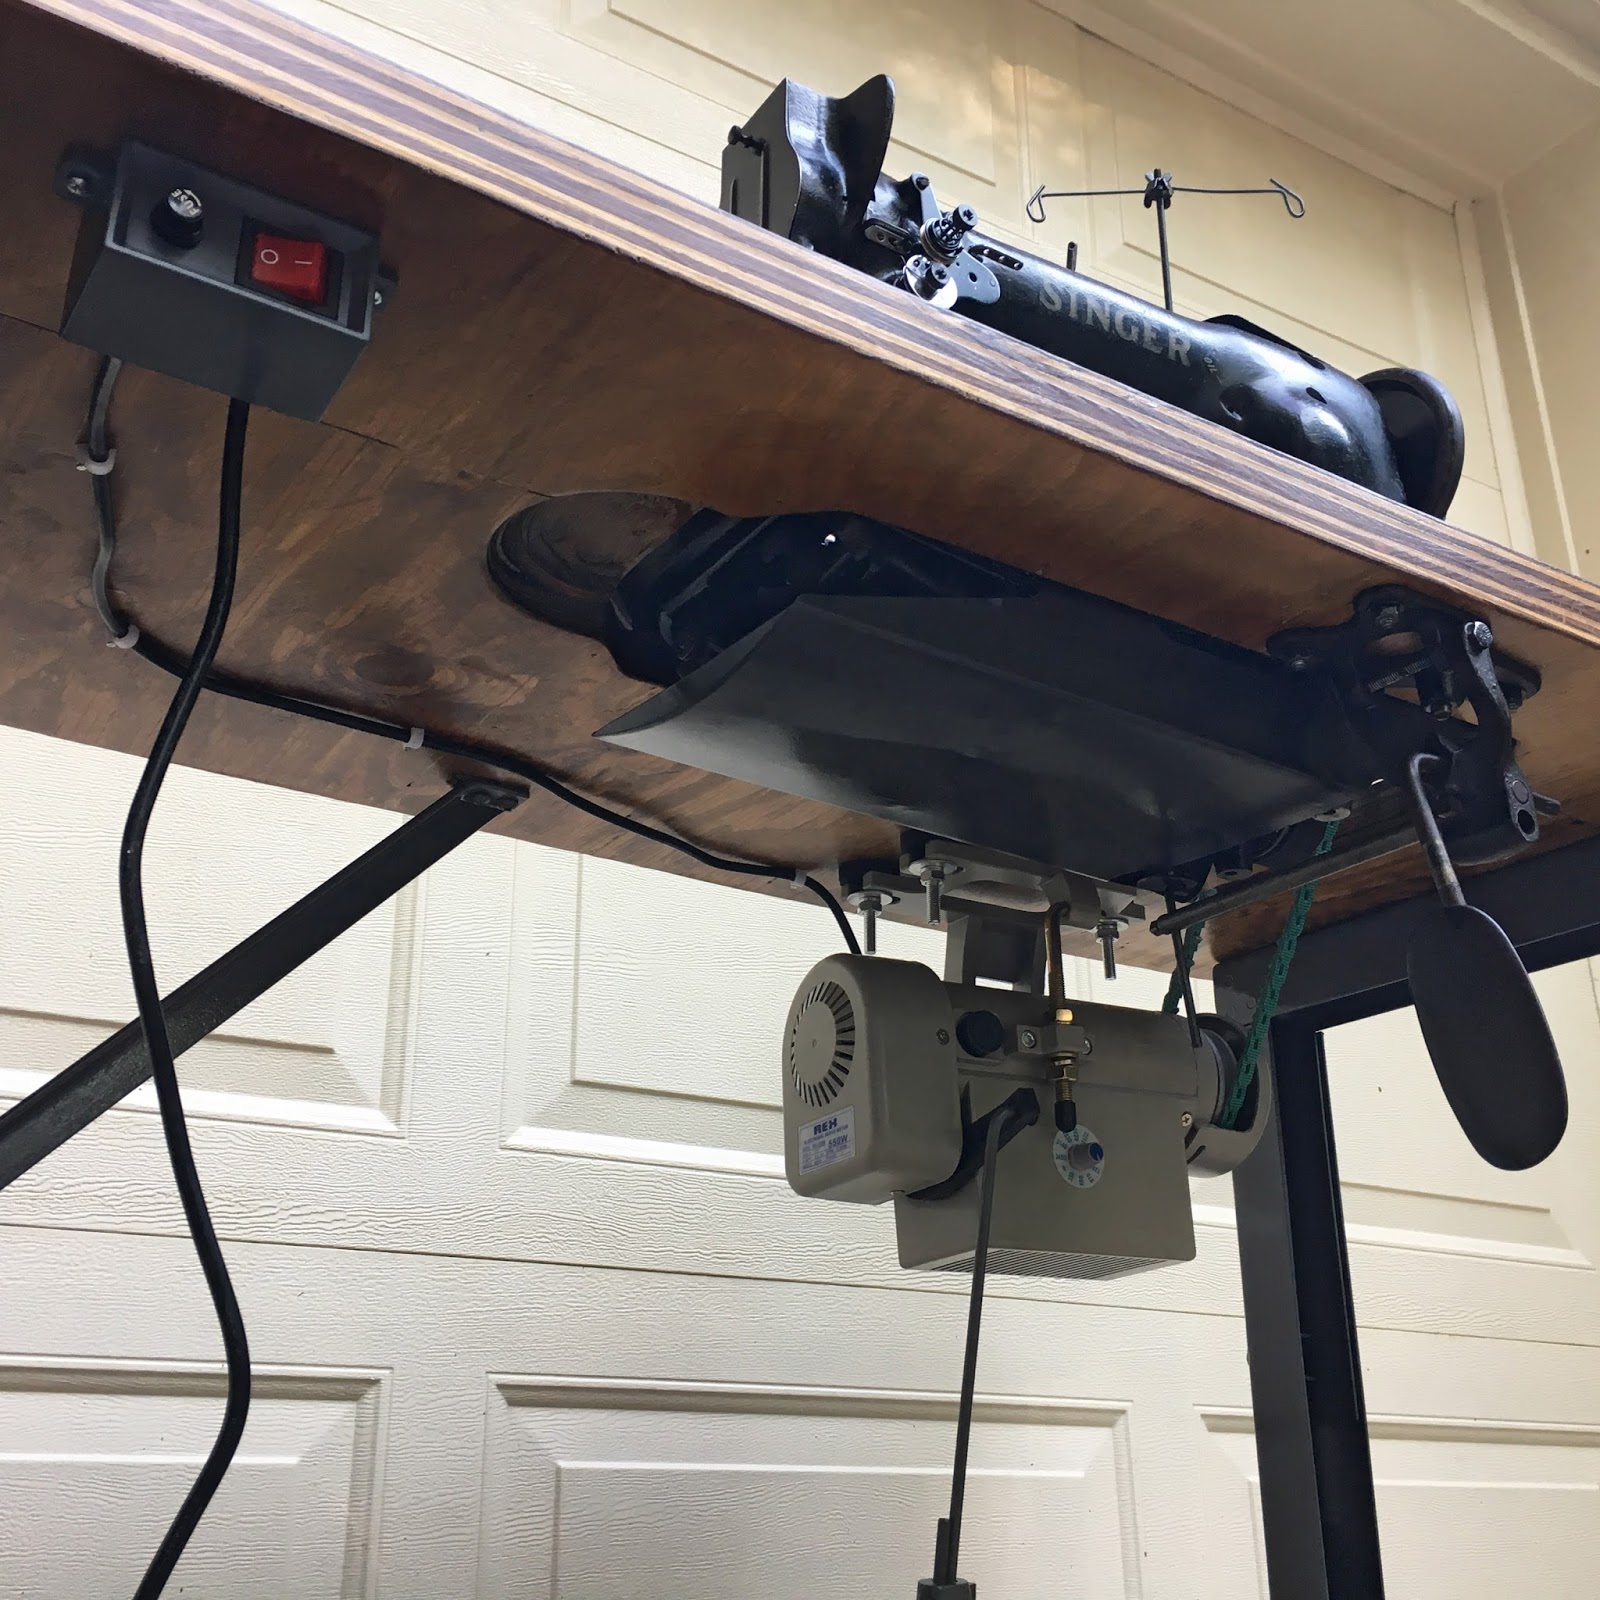
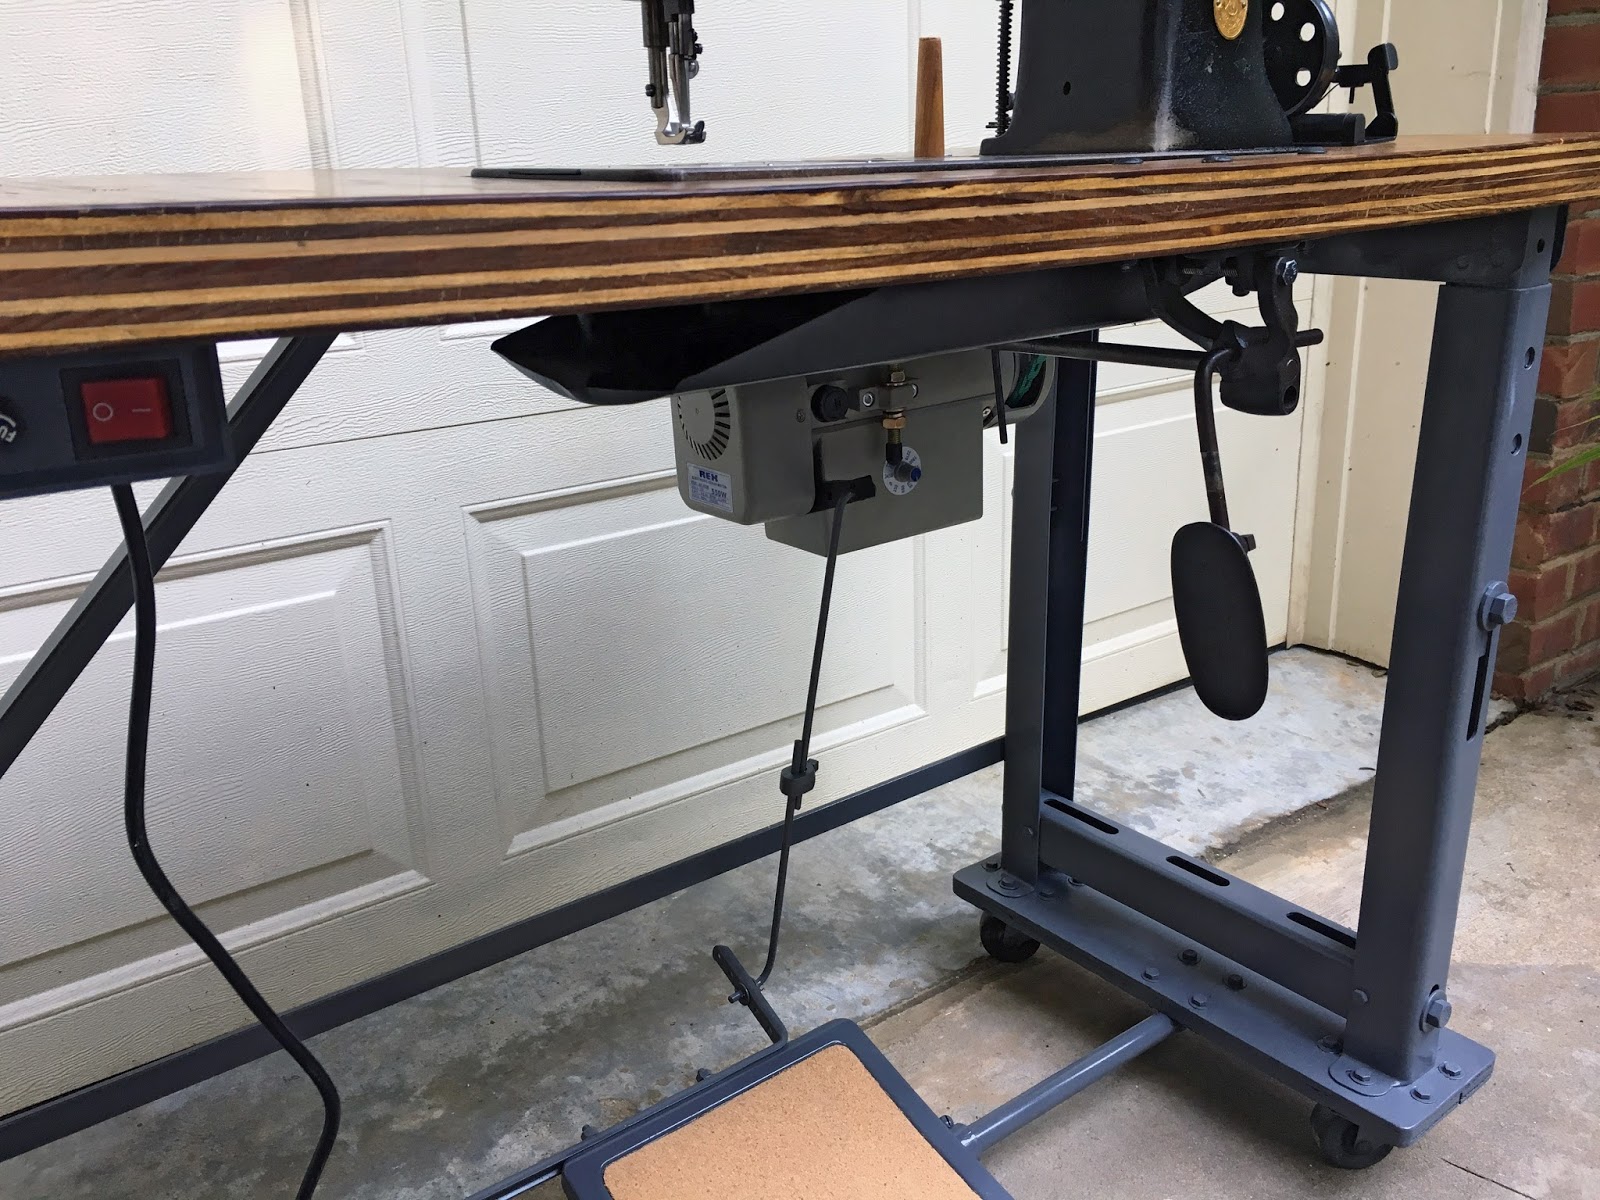
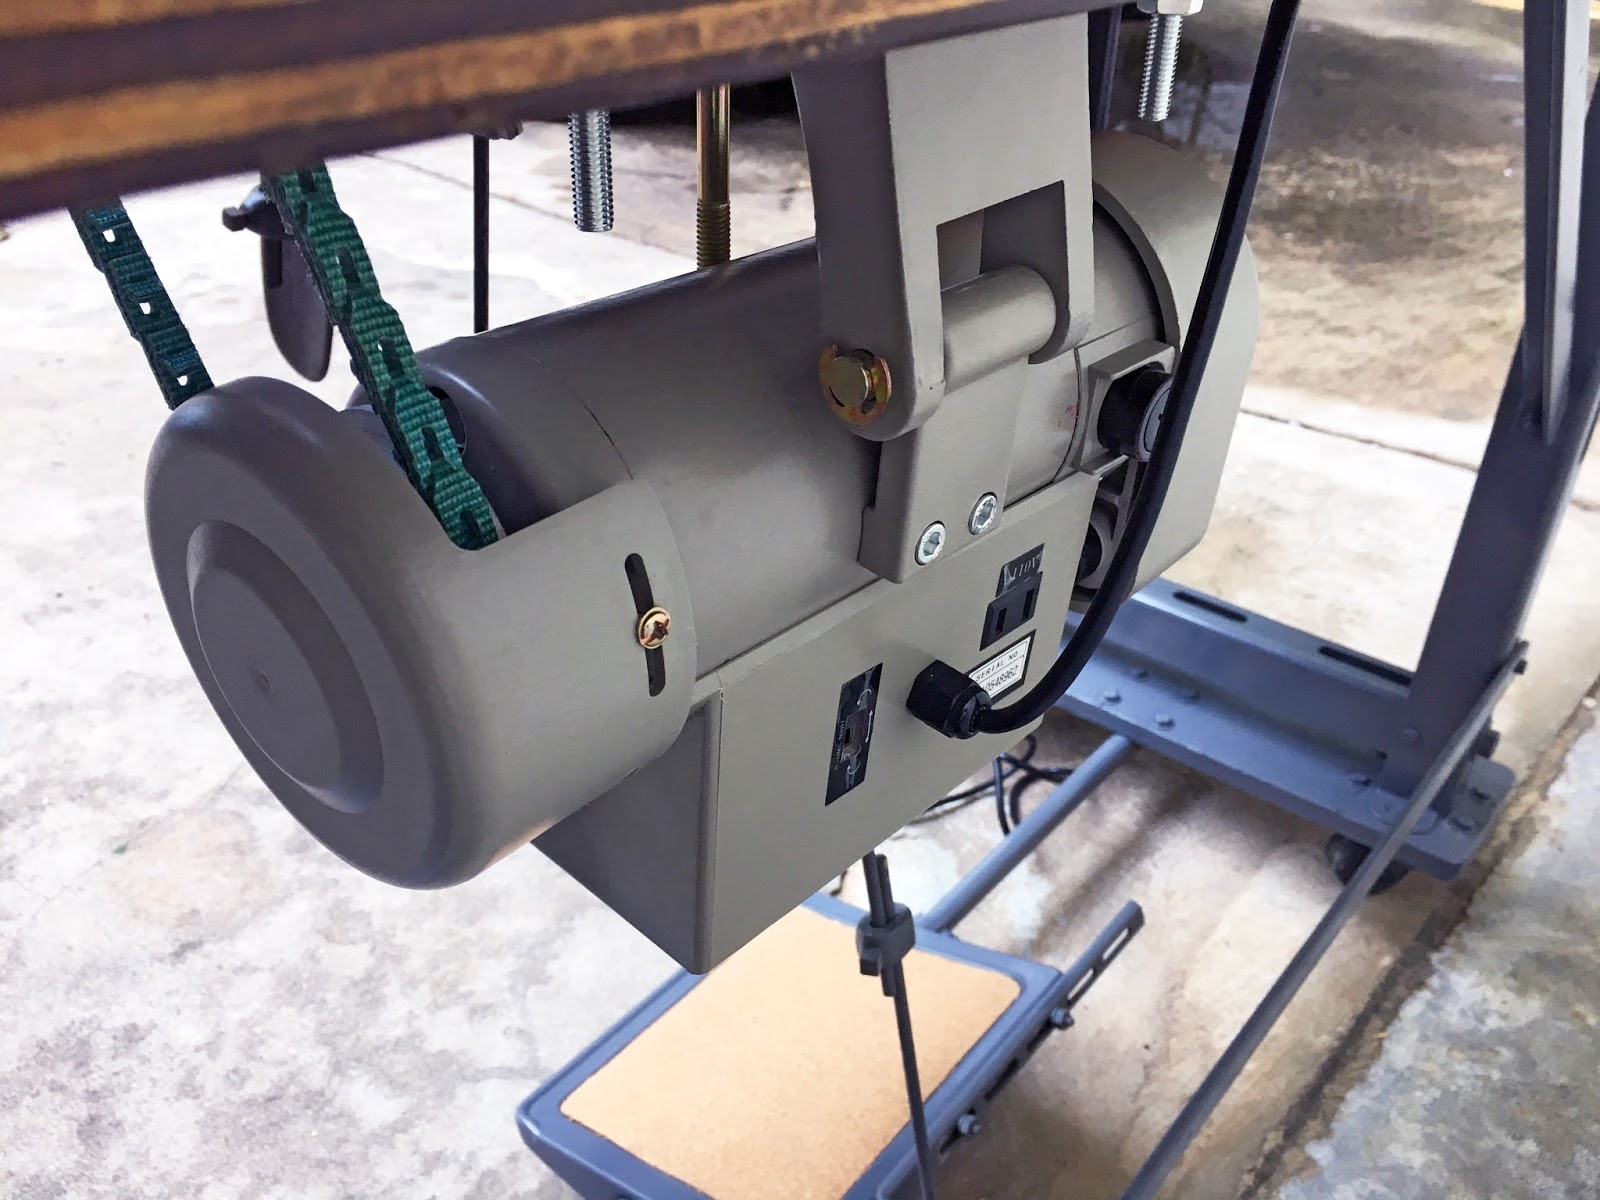
My motor came today! This is the same motor I bought last year for the Singer 31-15 (see that post for more detailed instructions on installing a servo).
The difference between the size and weight of the old clutch motor and the new servo is astonishing!
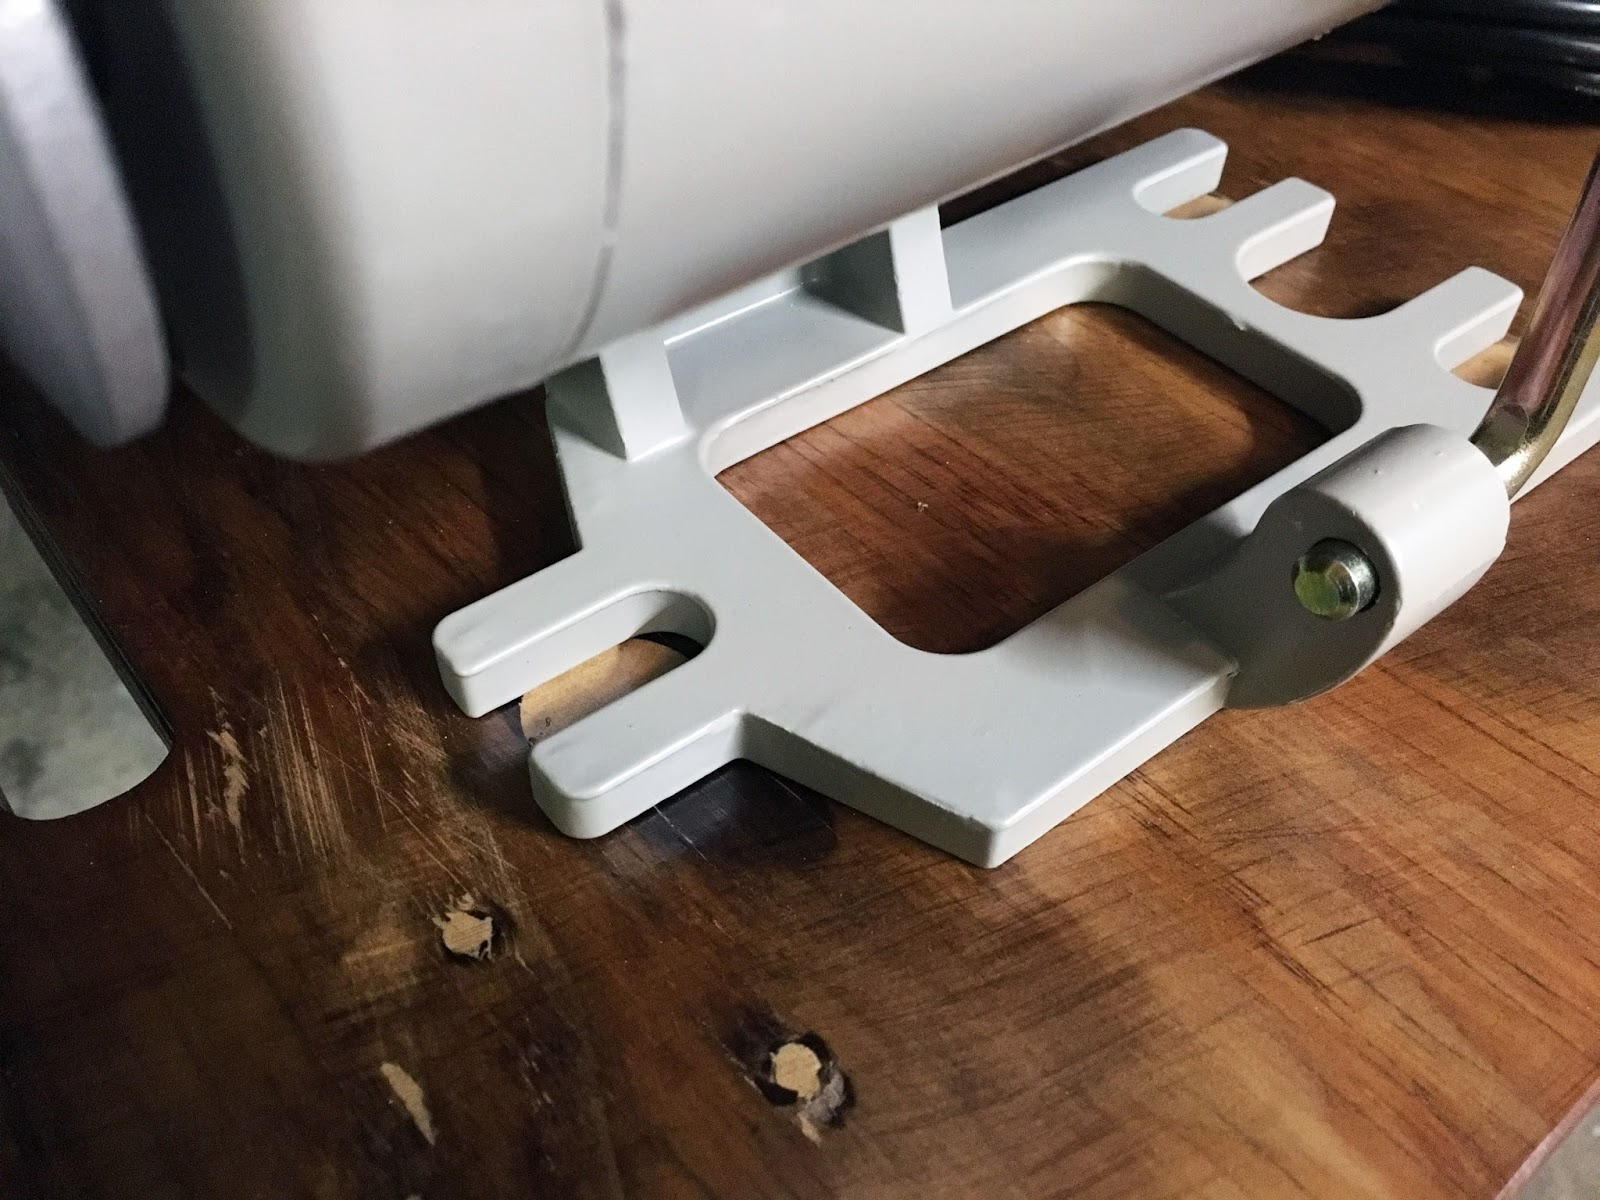
This time around I lined up the pulleys of the motor to sewing machine from the top side for drilling the bolt holes.
The motor bracket matched up pretty close to the original holes (which I filled-in because the top was inset about 1/4″ which I didn’t need).
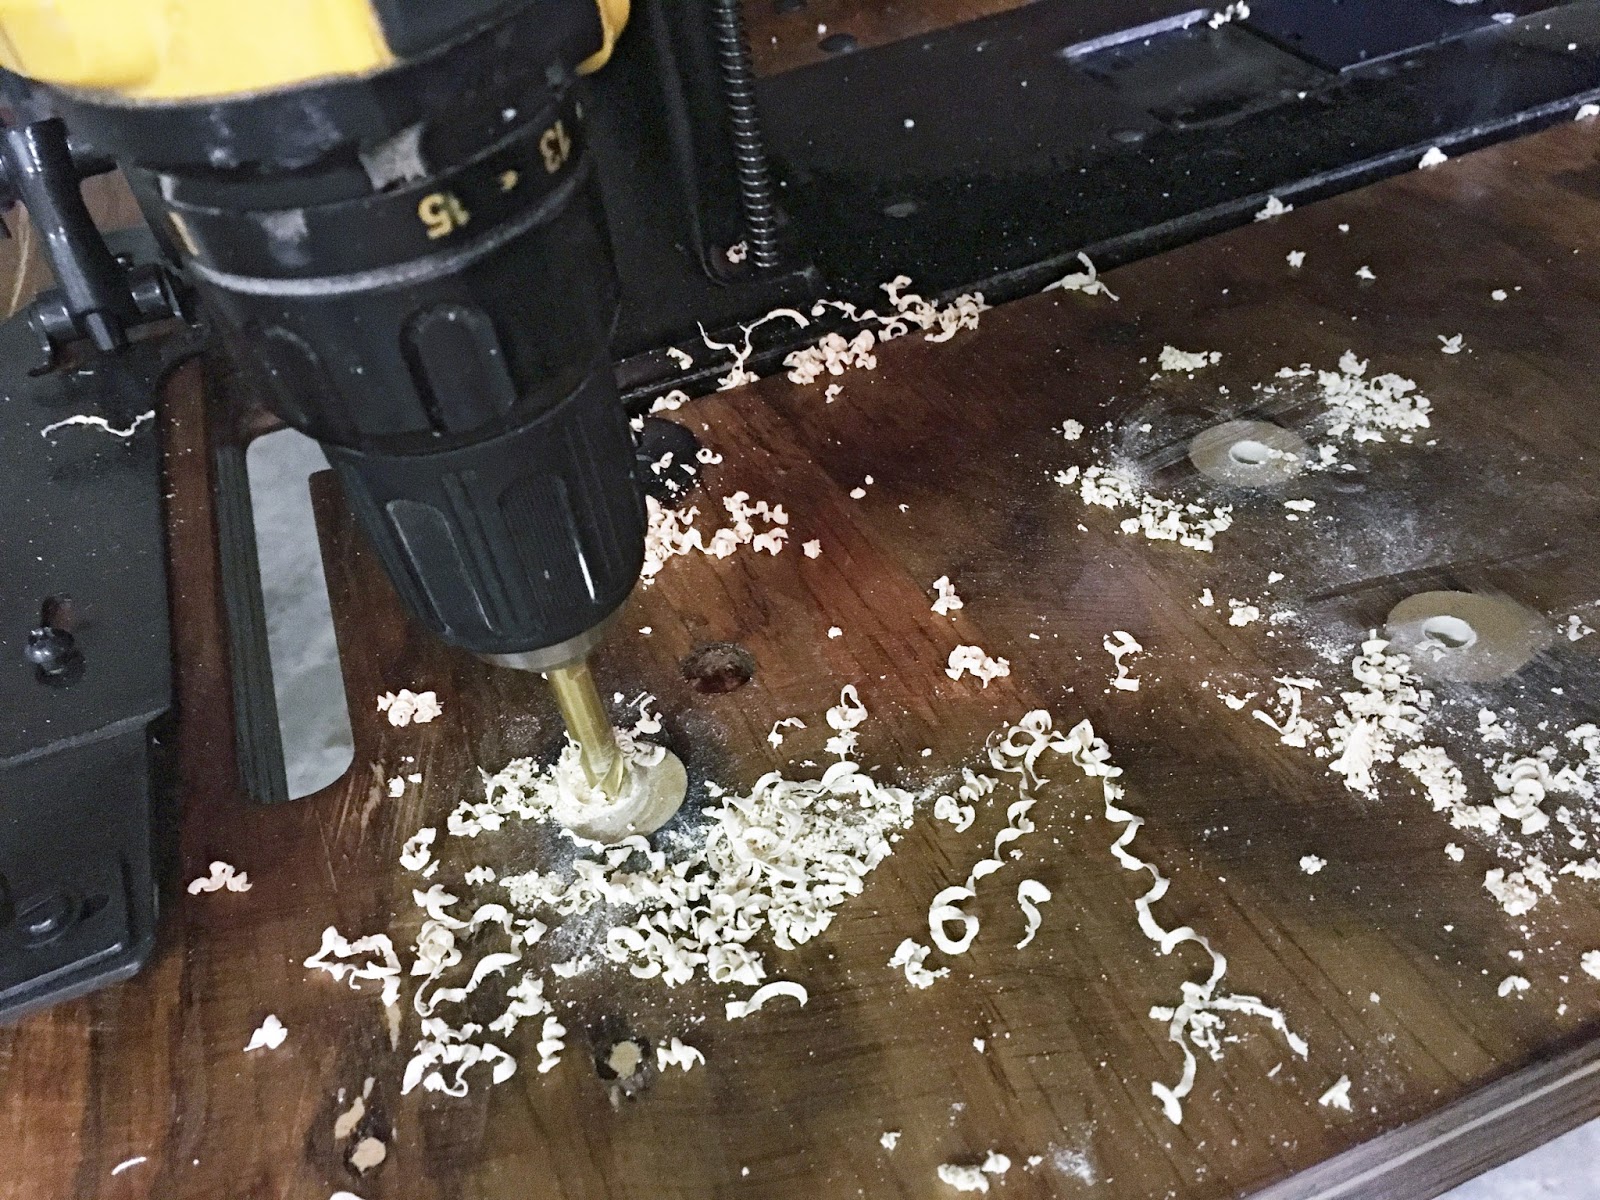
I drilled the new holes. Just a side note: drilling through the Bondo-filled holes was just like drilling through wood. Even pounding the new carriage bolts on to inset into the table didn’t bother the filler – quite amazed!
The motor was very easy to install once the bolts were set on – the whole process took about 45-minutes, including screwing on the switch box and hammering the cord hangers on. The belt that came with the machine was too big, unfortunately, and I didn’t want to wait to buy another one so I stole the adjustable v-link belt off my lathe! I love these belts!
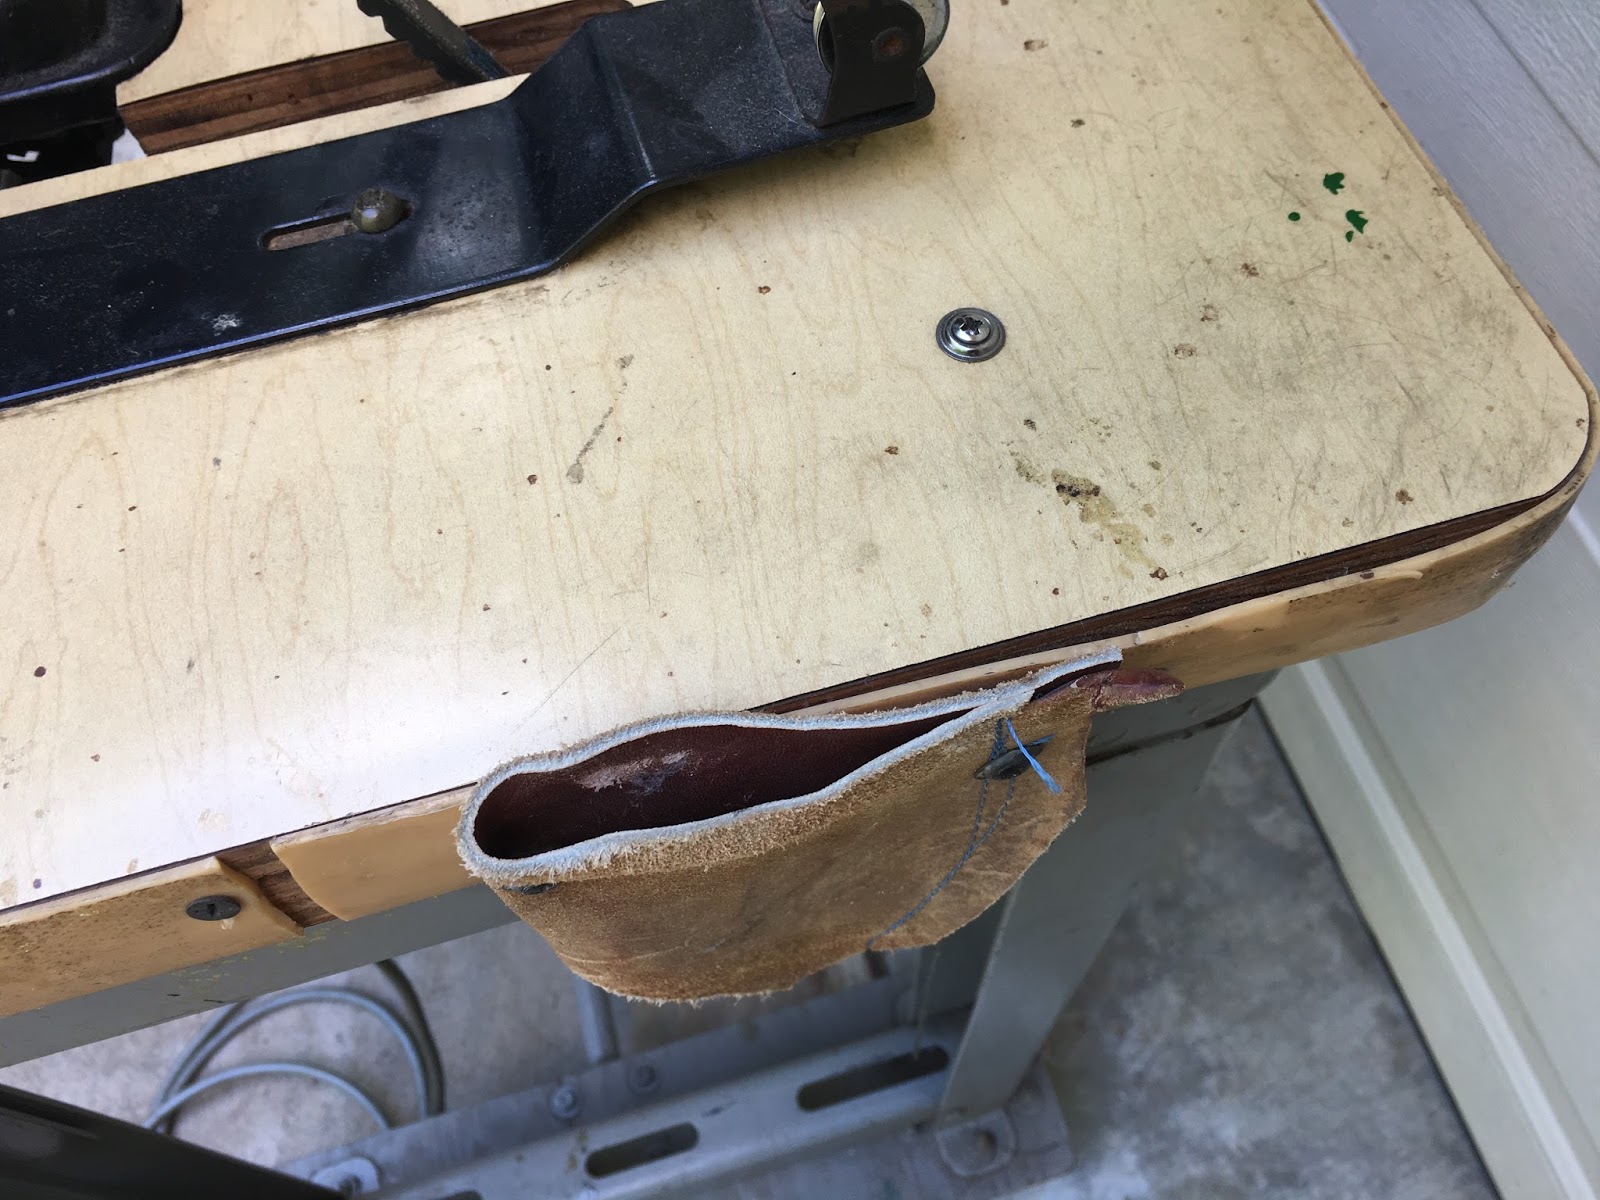
The last thing I did was cut some adhesive-backed cork for the spool holder, drawer lining and pedal. Here’s how it looked before:
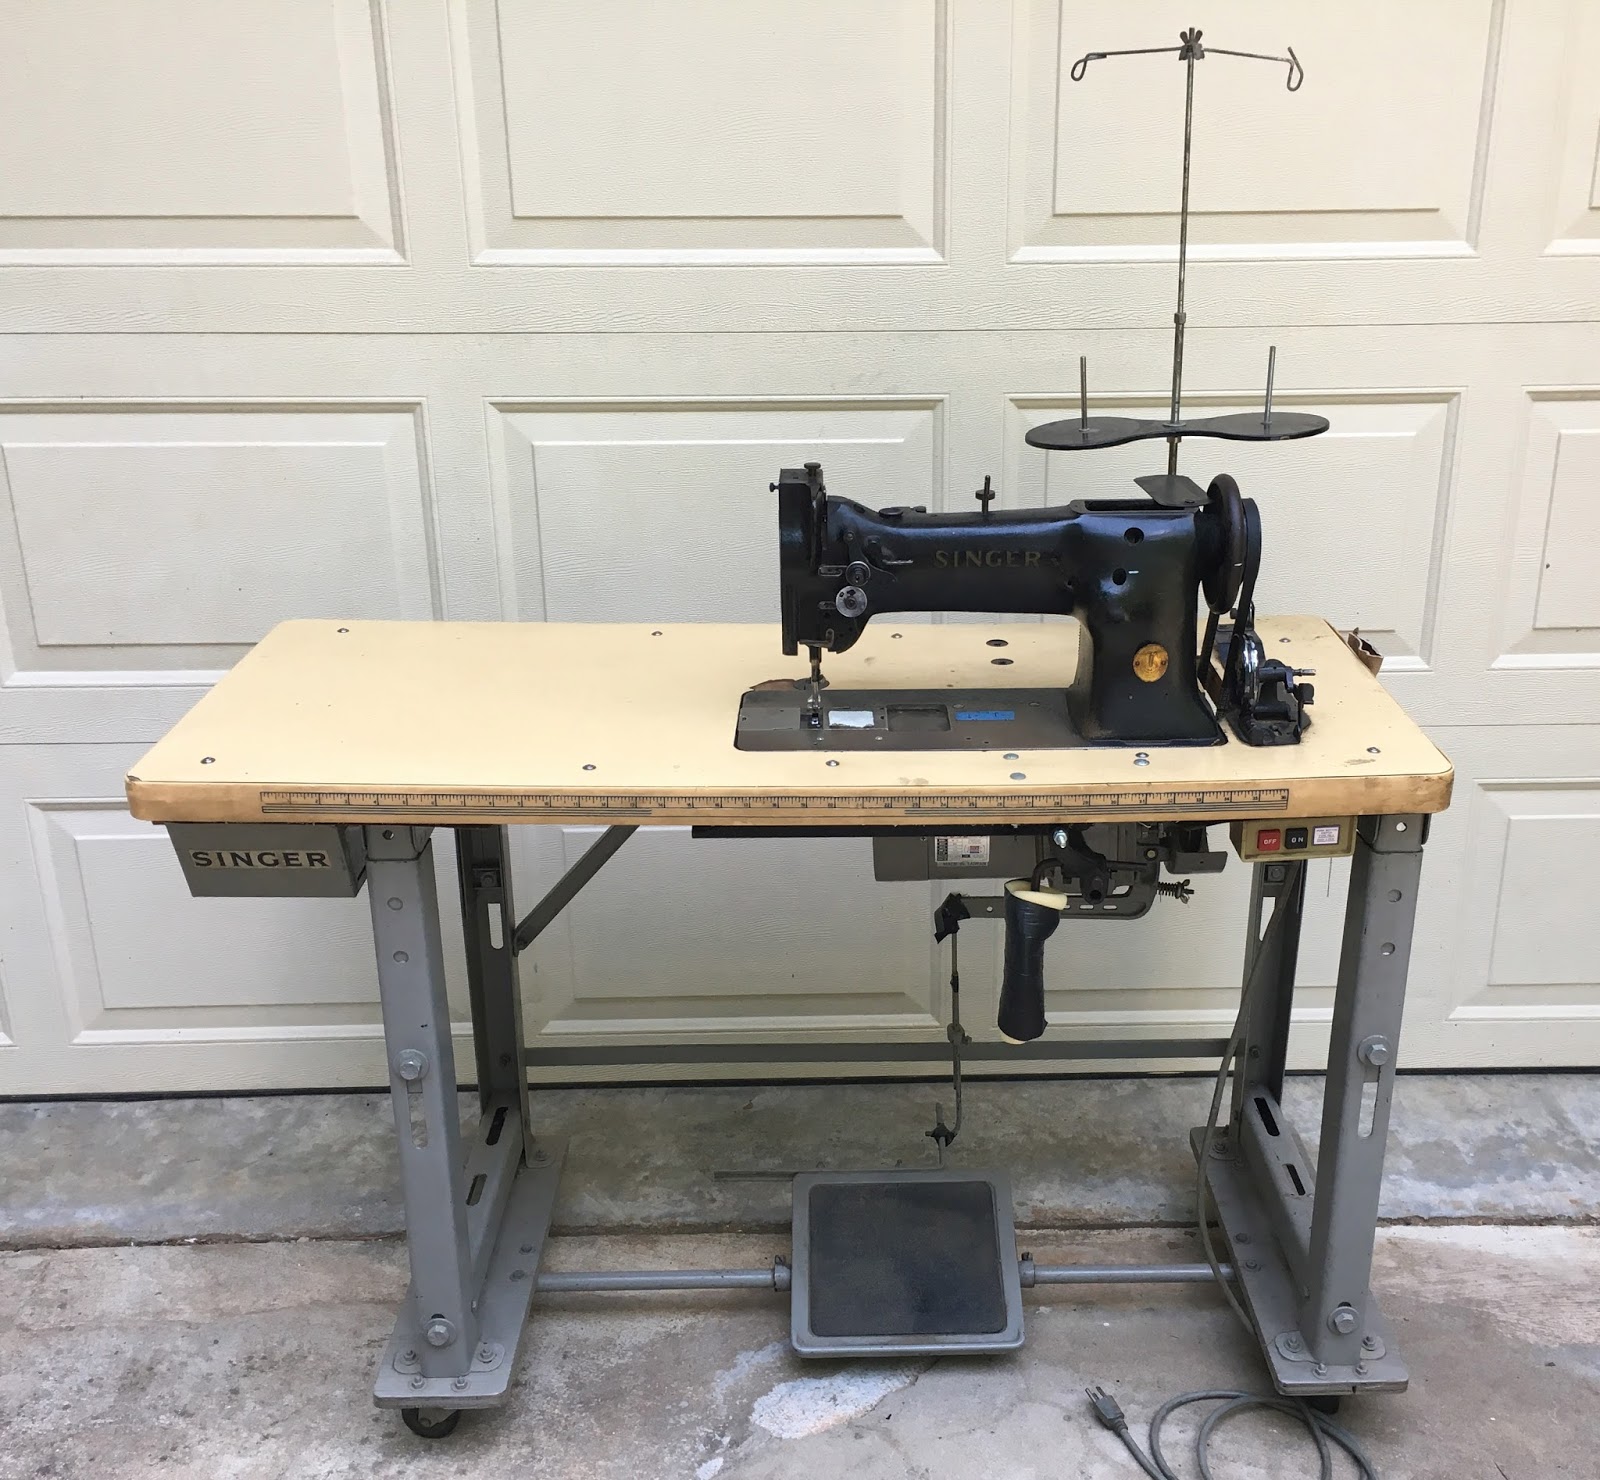
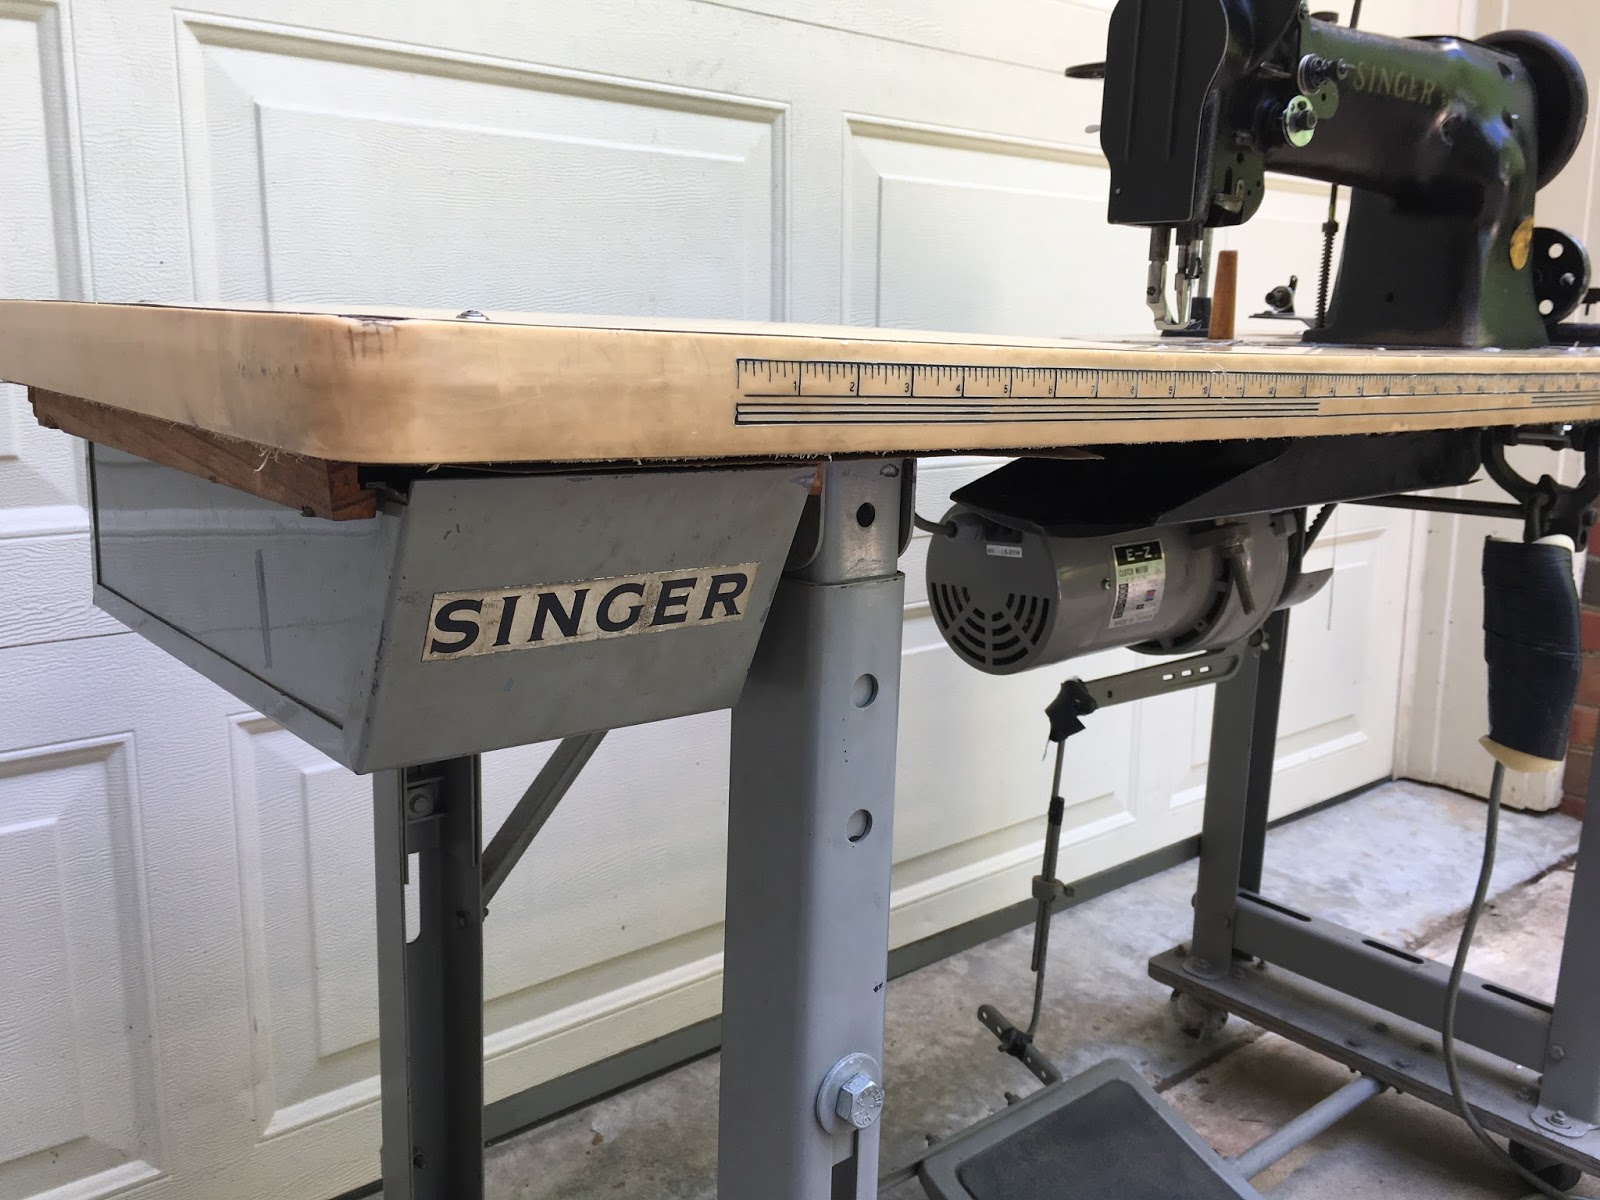
Speaking of BEFORE and AFTER: (I live for this part of the process)
Spending $405 isn’t bad for a compound feed machine that is all fixed up (and pretty) ready to be put to work! I expect this machine to be around for many lifetimes to come!
I know, it was a sad day for sure! Unfortunately I don't have room for many machines! I'm already taking over our front room with too many machines! Lol!
DANI, i have a 31-15 singer that I purchased locally about 18 years ago from a farmers wife for $150. I knew nothing about it, she didn’t even know how to use it anymore, so I took the chance and bought it on the spot. It worked beautifully until my project was done and then that was in. Took it into Ralphs Industrial sewing which cost me $35 for a new bobbin casing and its run ever since. At one point, I considered selling it and Jack at Ralphs said, “Don’t sell it, you’ll regret it”. I have sewn through plastic and projects that barely fit under the foot. But here is my problem. When I engage the knee lift, it will not return. It’s like there should be a spring somewhere. The other issue is that the foot doesn’t seem to raise high enough. I keep thinking there should be some adjustment somewhere but I’m afraid to mess with it too much for fear I screw it up worse. This week I replace the original motor and clutch (which was huge) with a new Servo motor and WOW, what a difference! I’m ready to use it but I’m stuck on these two issues. Do you have any suggestions? Karen
I recently acquired the same machine and this post has been very helpful! I got the timing down and everything, but for some reason I am having issues with my needle catching the bobbin thread. Any ideas what could be going on there?


8 Comments
Looks like you had great fun! Super pictures. congrates
July 12, 2017 at 8:34 amThanks Lee! It was an exciting project but I'm glad it's done and I can stay indoors for a bit! 🙂
July 12, 2017 at 8:38 amnice post
August 9, 2017 at 6:09 amThank you Jack!
August 9, 2017 at 6:10 amWow can't believe you sold it! But that said this one looks amazing as well – I am knee deep in my restoration of Singer 20U will keep you posted
September 19, 2017 at 6:57 amI know, it was a sad day for sure! Unfortunately I don't have room for many machines! I'm already taking over our front room with too many machines! Lol!
September 19, 2017 at 6:59 amDANI, i have a 31-15 singer that I purchased locally about 18 years ago from a farmers wife for $150. I knew nothing about it, she didn’t even know how to use it anymore, so I took the chance and bought it on the spot. It worked beautifully until my project was done and then that was in. Took it into Ralphs Industrial sewing which cost me $35 for a new bobbin casing and its run ever since. At one point, I considered selling it and Jack at Ralphs said, “Don’t sell it, you’ll regret it”. I have sewn through plastic and projects that barely fit under the foot. But here is my problem. When I engage the knee lift, it will not return. It’s like there should be a spring somewhere. The other issue is that the foot doesn’t seem to raise high enough. I keep thinking there should be some adjustment somewhere but I’m afraid to mess with it too much for fear I screw it up worse. This week I replace the original motor and clutch (which was huge) with a new Servo motor and WOW, what a difference! I’m ready to use it but I’m stuck on these two issues. Do you have any suggestions? Karen
August 24, 2019 at 8:59 pmI recently acquired the same machine and this post has been very helpful! I got the timing down and everything, but for some reason I am having issues with my needle catching the bobbin thread. Any ideas what could be going on there?
April 14, 2021 at 4:01 pm