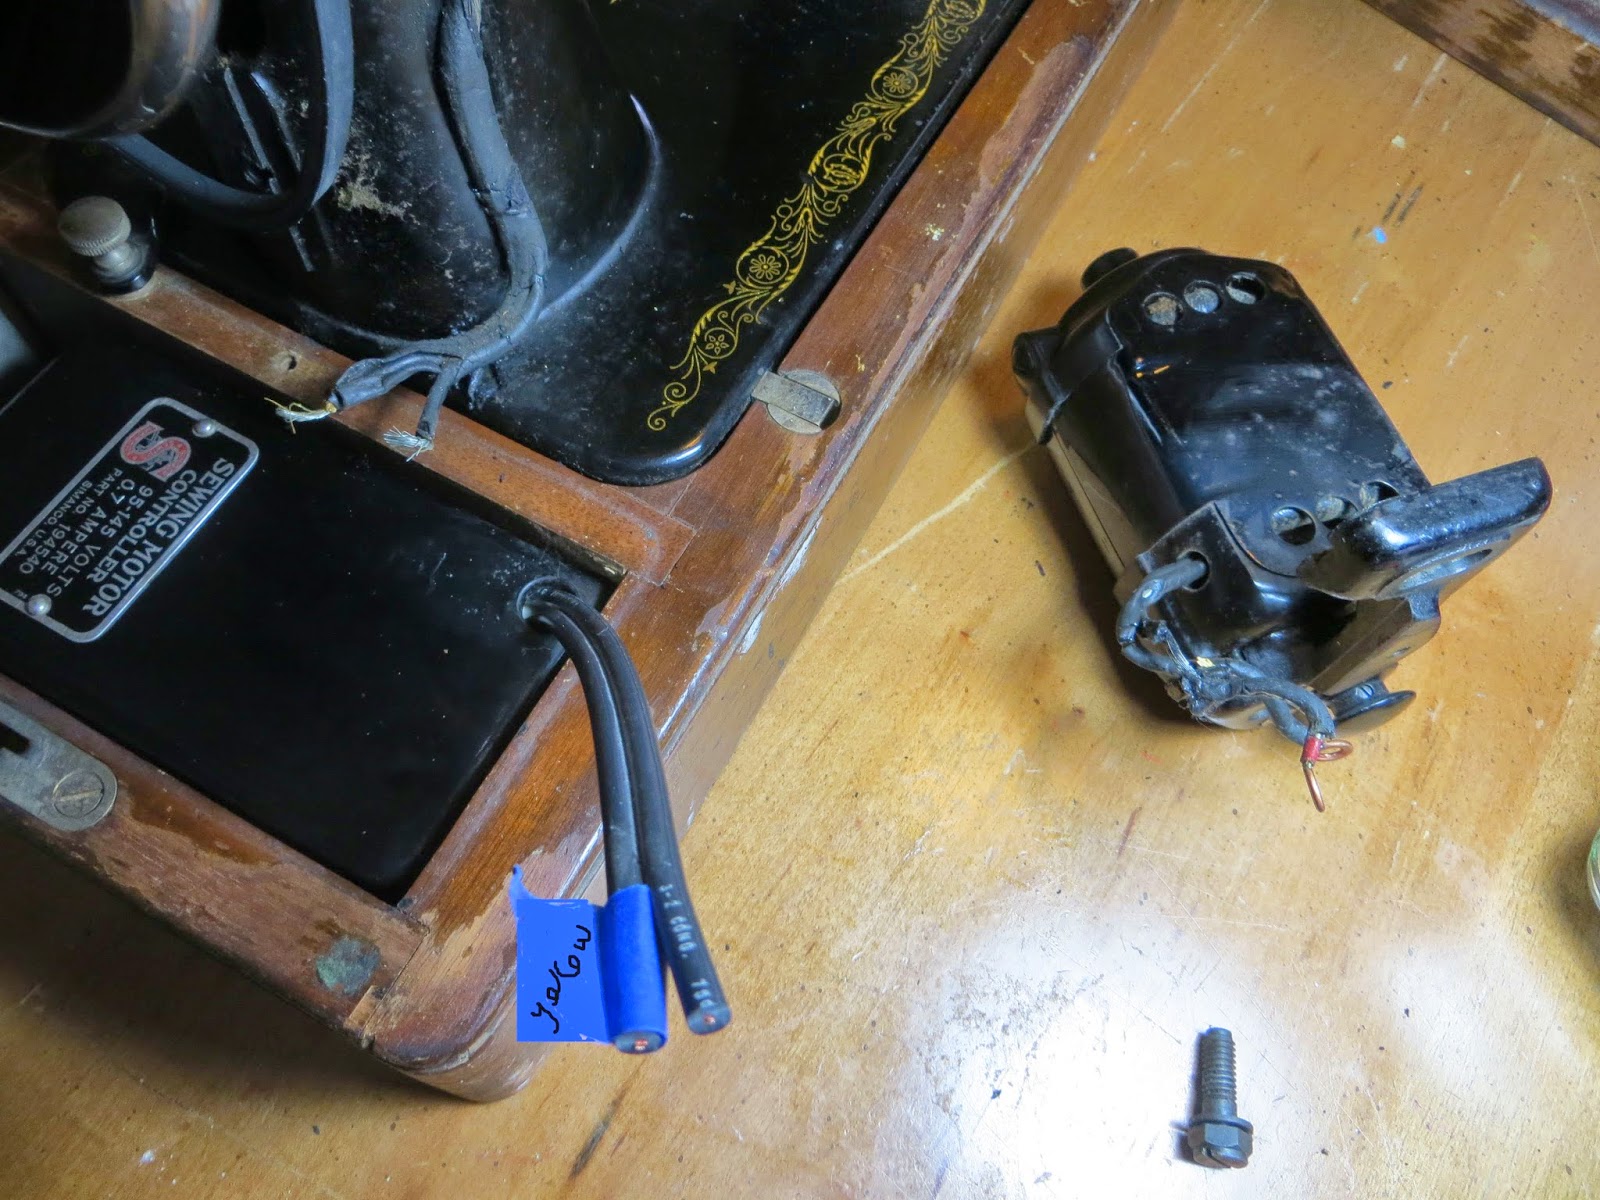
This post will show you step-by-step how I re-wired the light, motor and knee “pedal” on this Singer 99 machine.


Start by removing the screw that holds the terminal to the machine and unscrew the black terminal caps from the prongs.

Take all the wires off. Don’t worry.. I have a diagram that shows how to put everything back on the terminal!
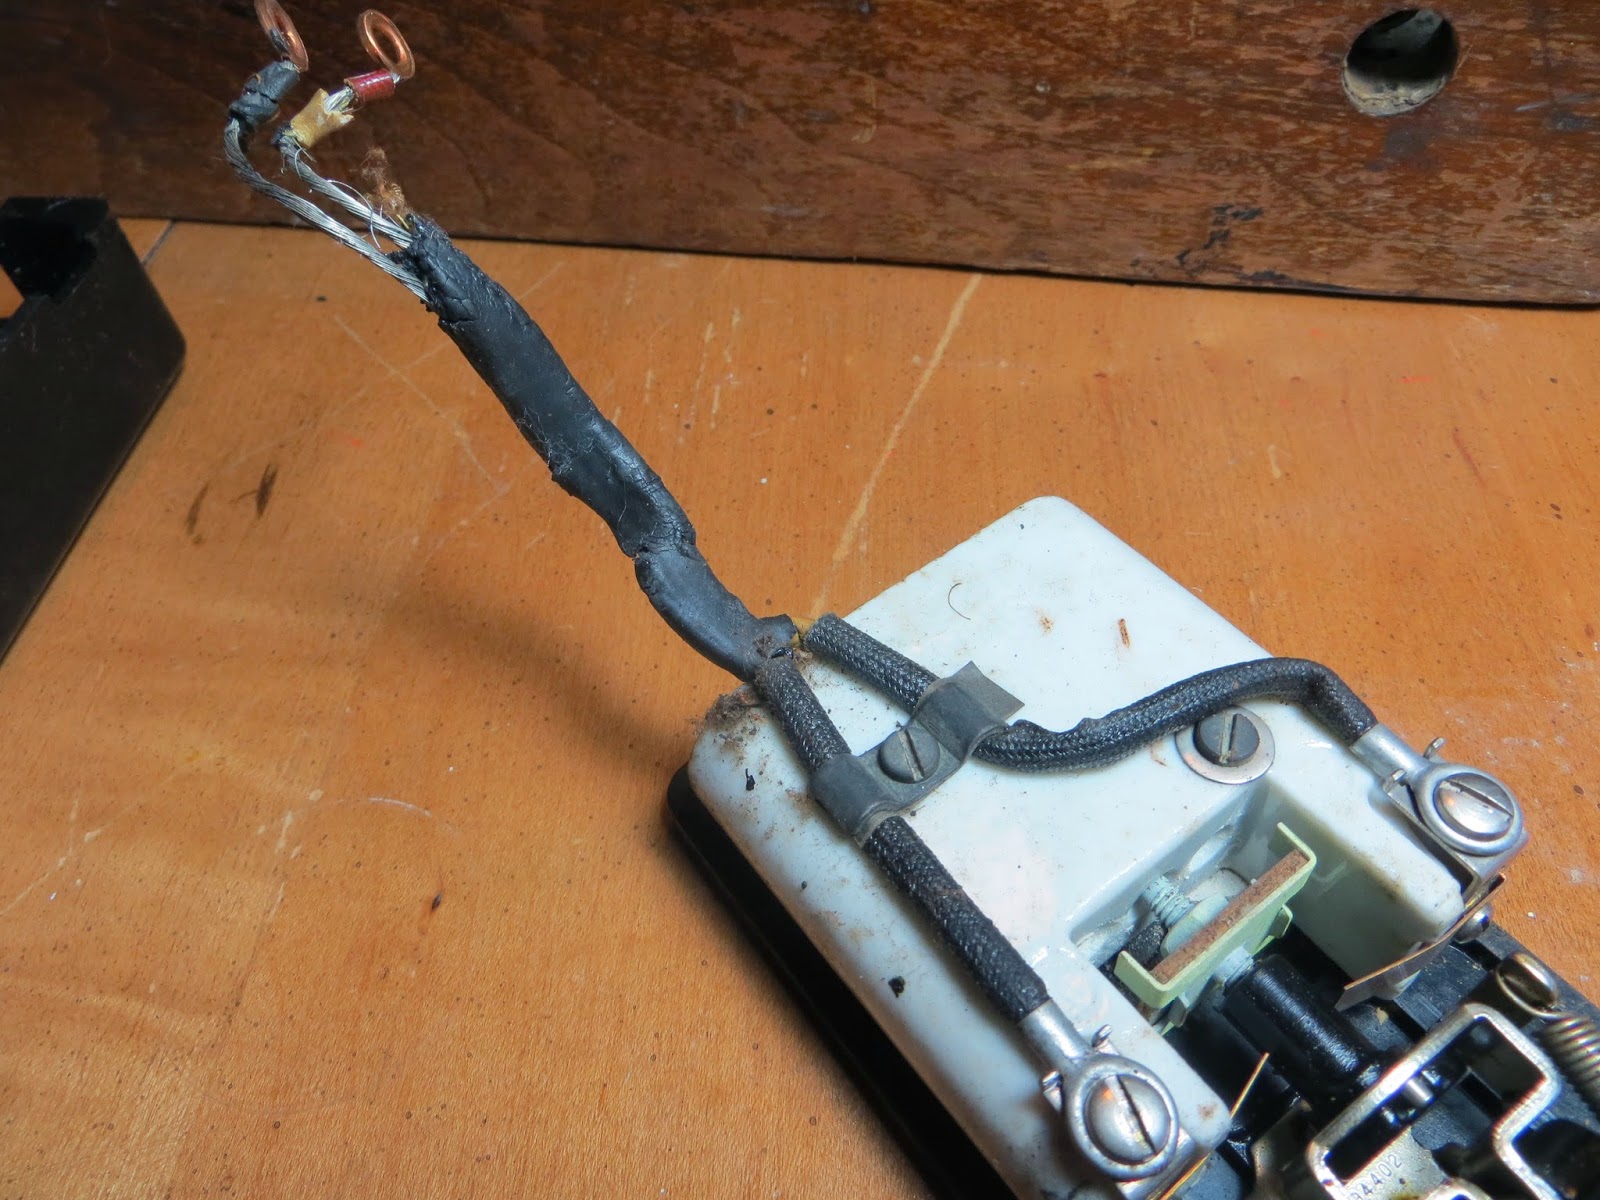
RE-WIRING KNEE-PEDAL

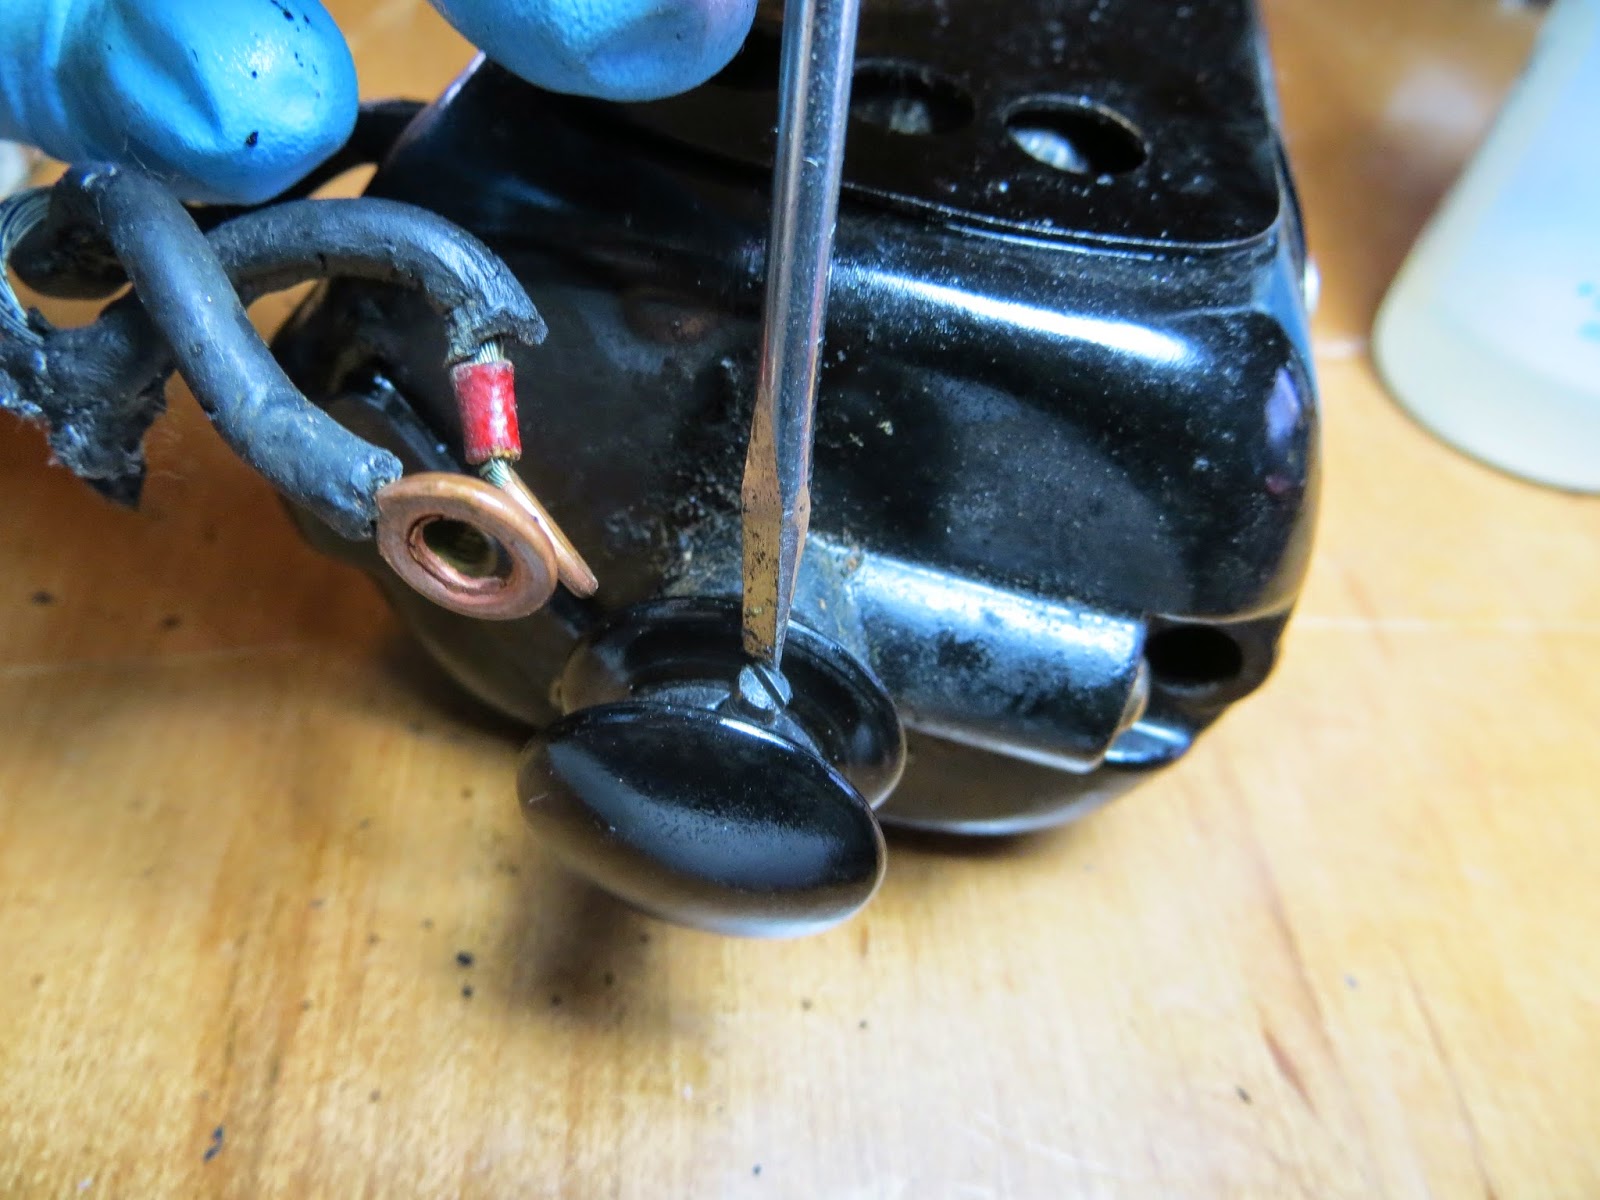
Set the machine on it’s back to unscrew the “pedal” from the underside.

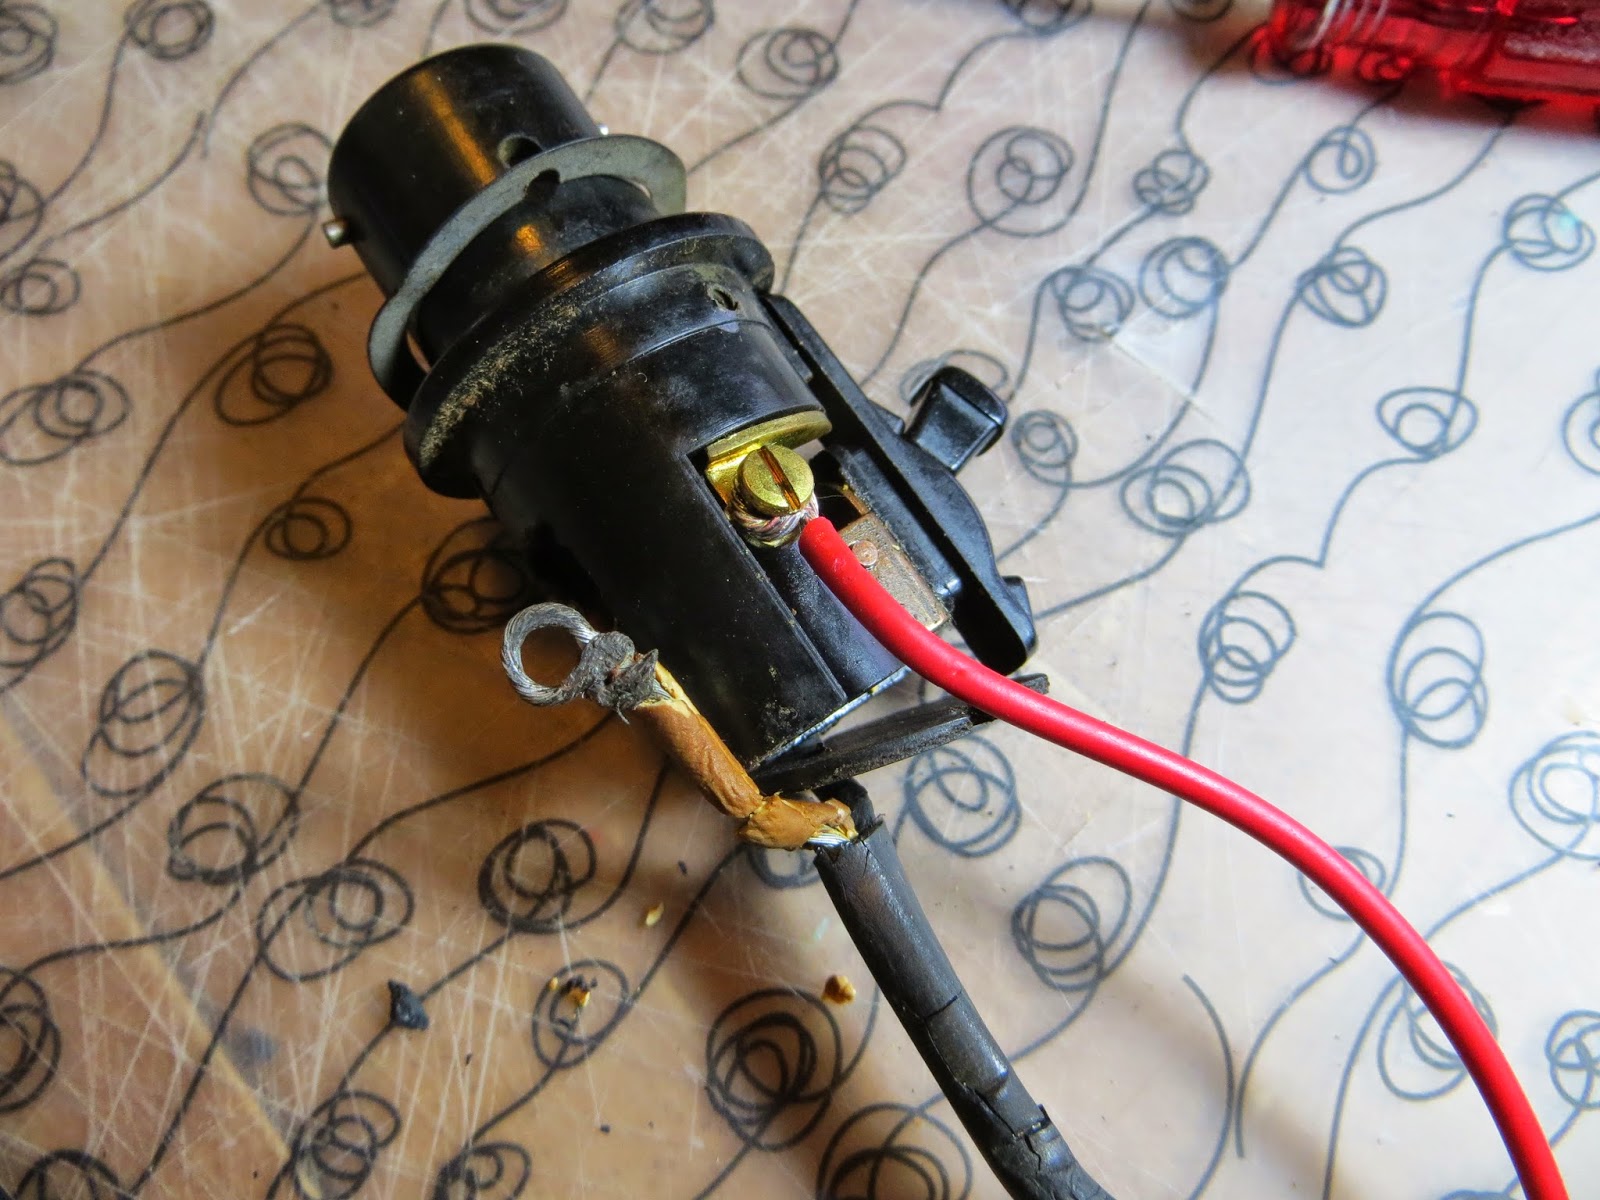
Take out the screws holding the plate against the front side.

Unscrew the base of the “pedal” to take off the top.
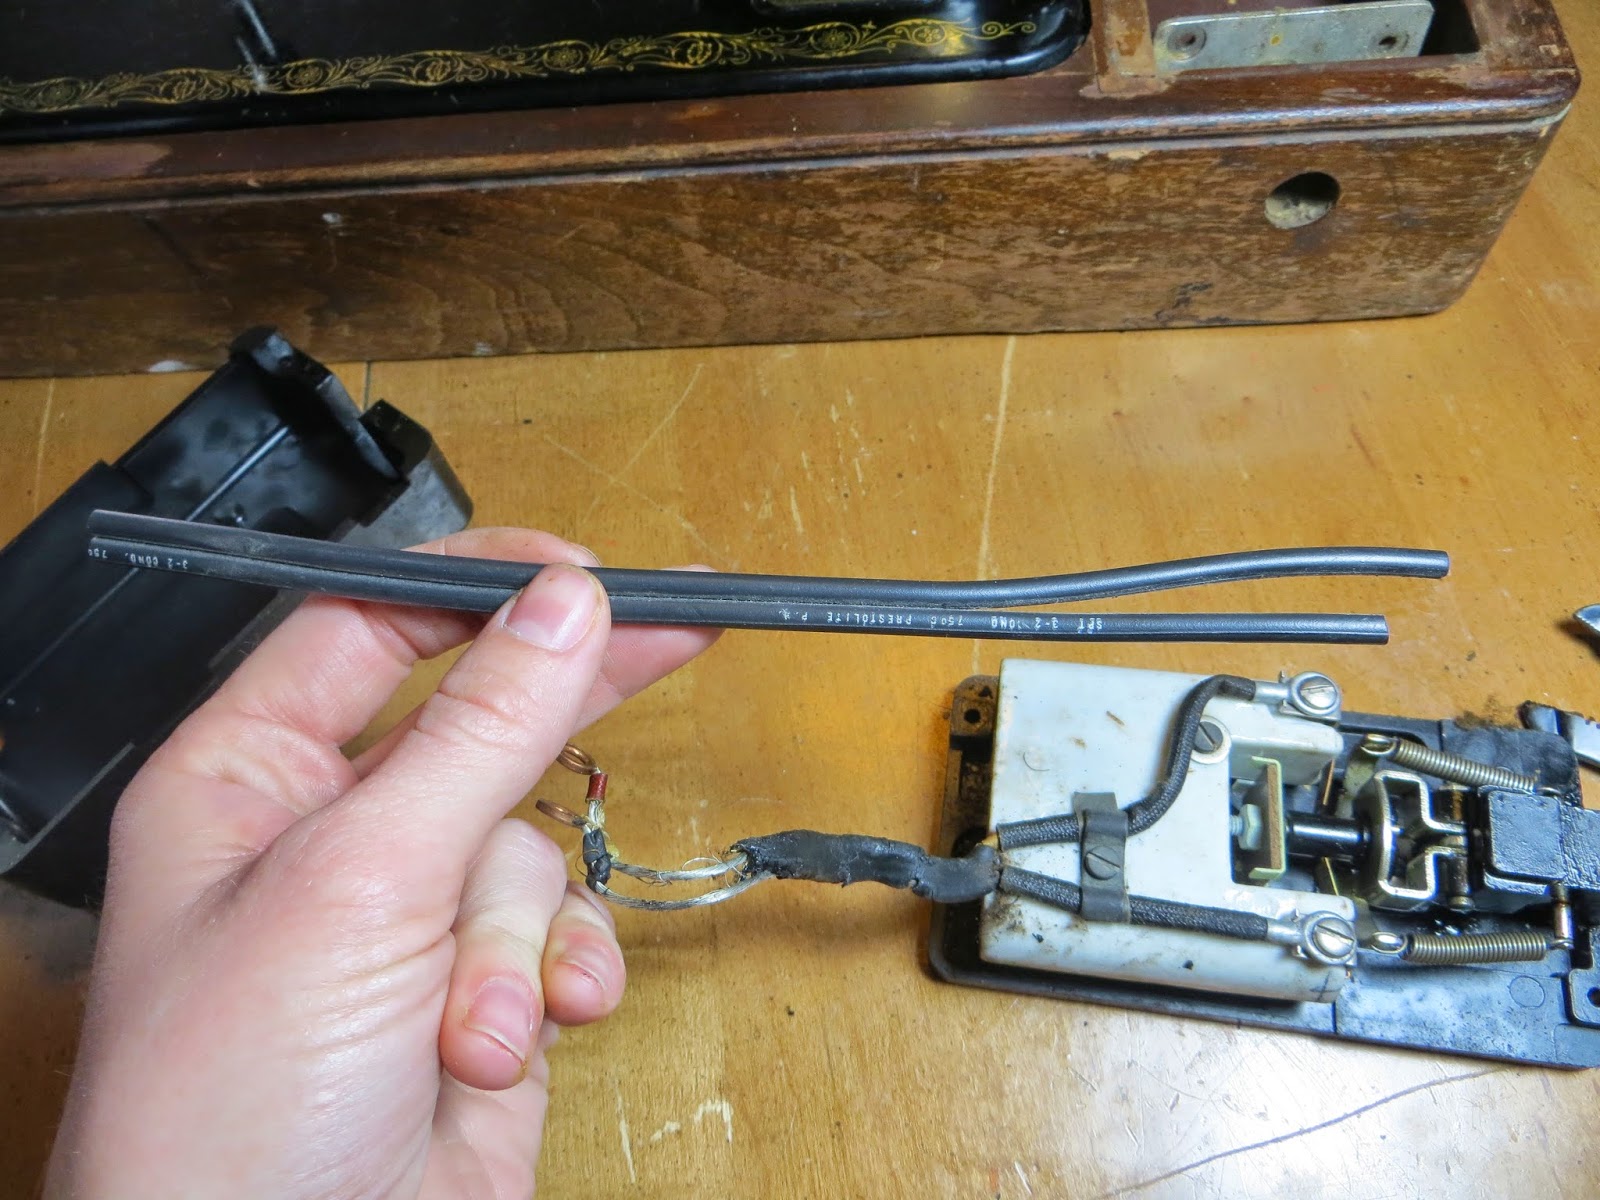
I used a piece of by-the-foot jacketed wire from the hardware store but I would suggest finding something that isn’t so stiff. Even your black/red wires used for re-wiring the motor would work and heat-shrink them together before you put the top of the “pedal” back on.
Have one side longer than the other. The longer side will be YELLOW and shorter, BLACK.

Expose the ends of your wires for your terminals.
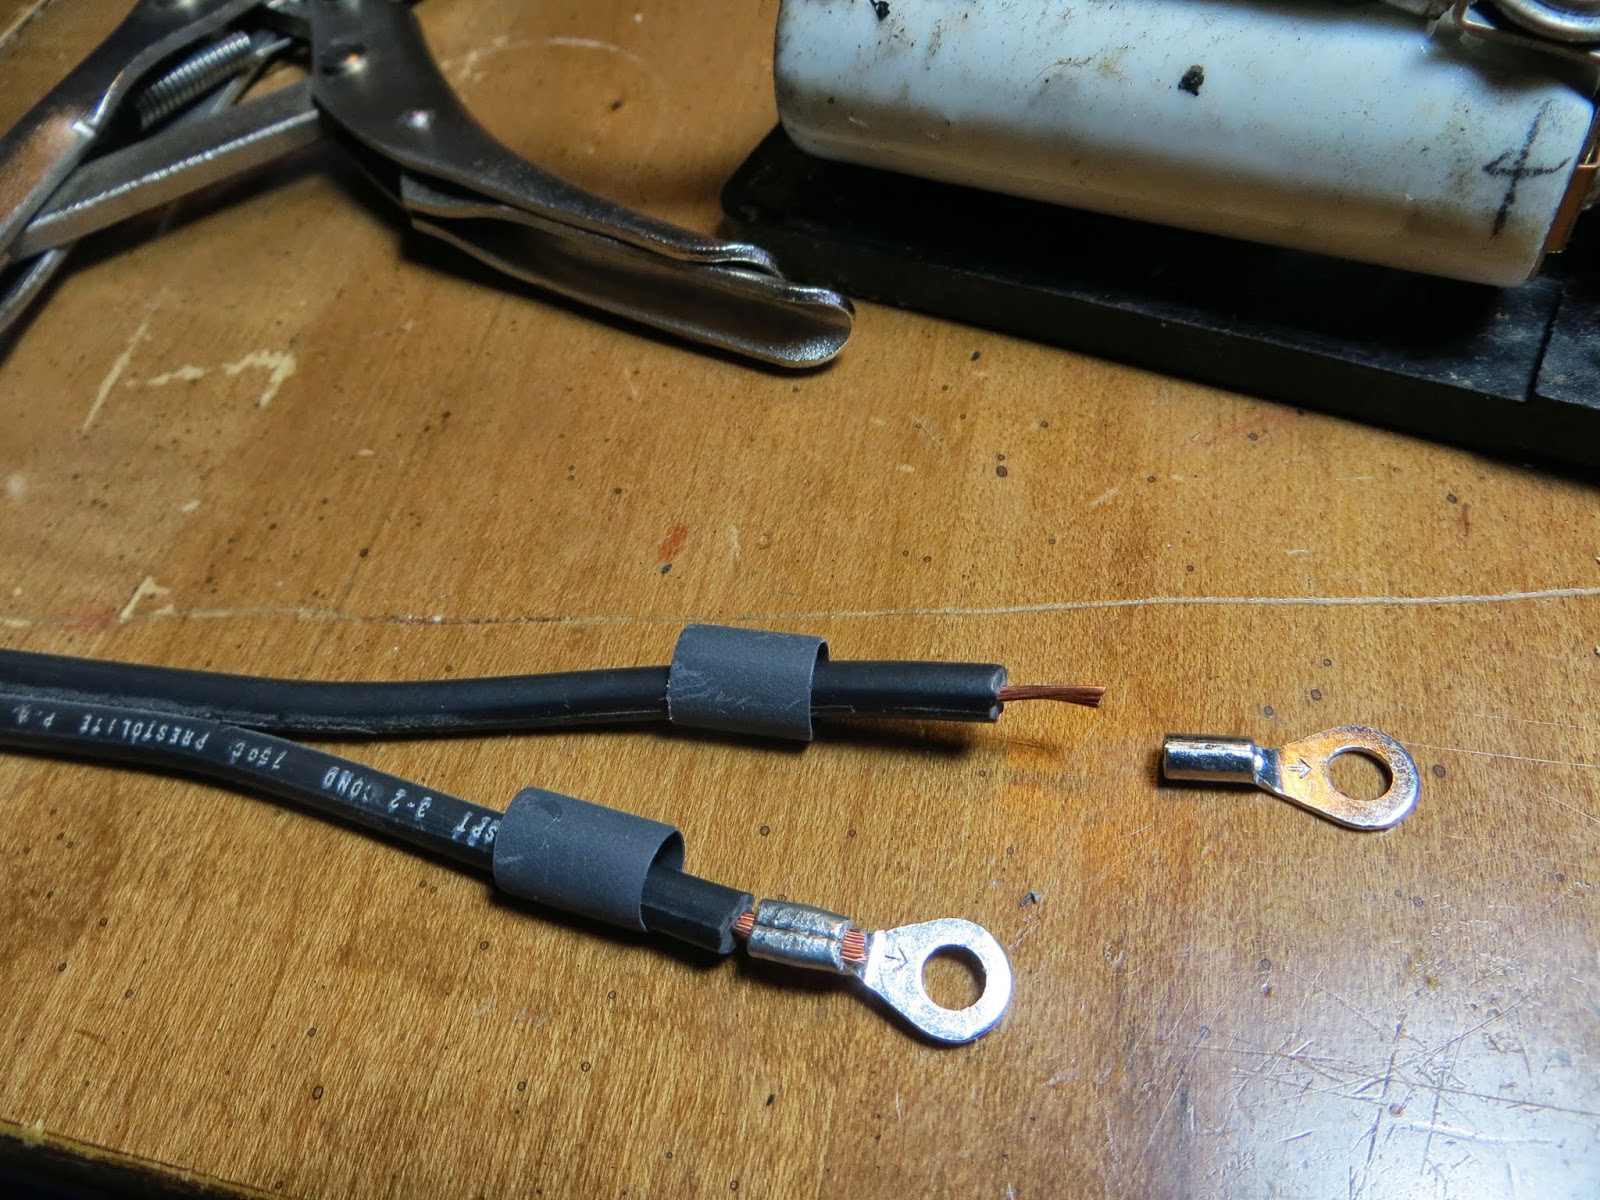
Slide heat-shrink tubing on your wires before you crimp terminals on.
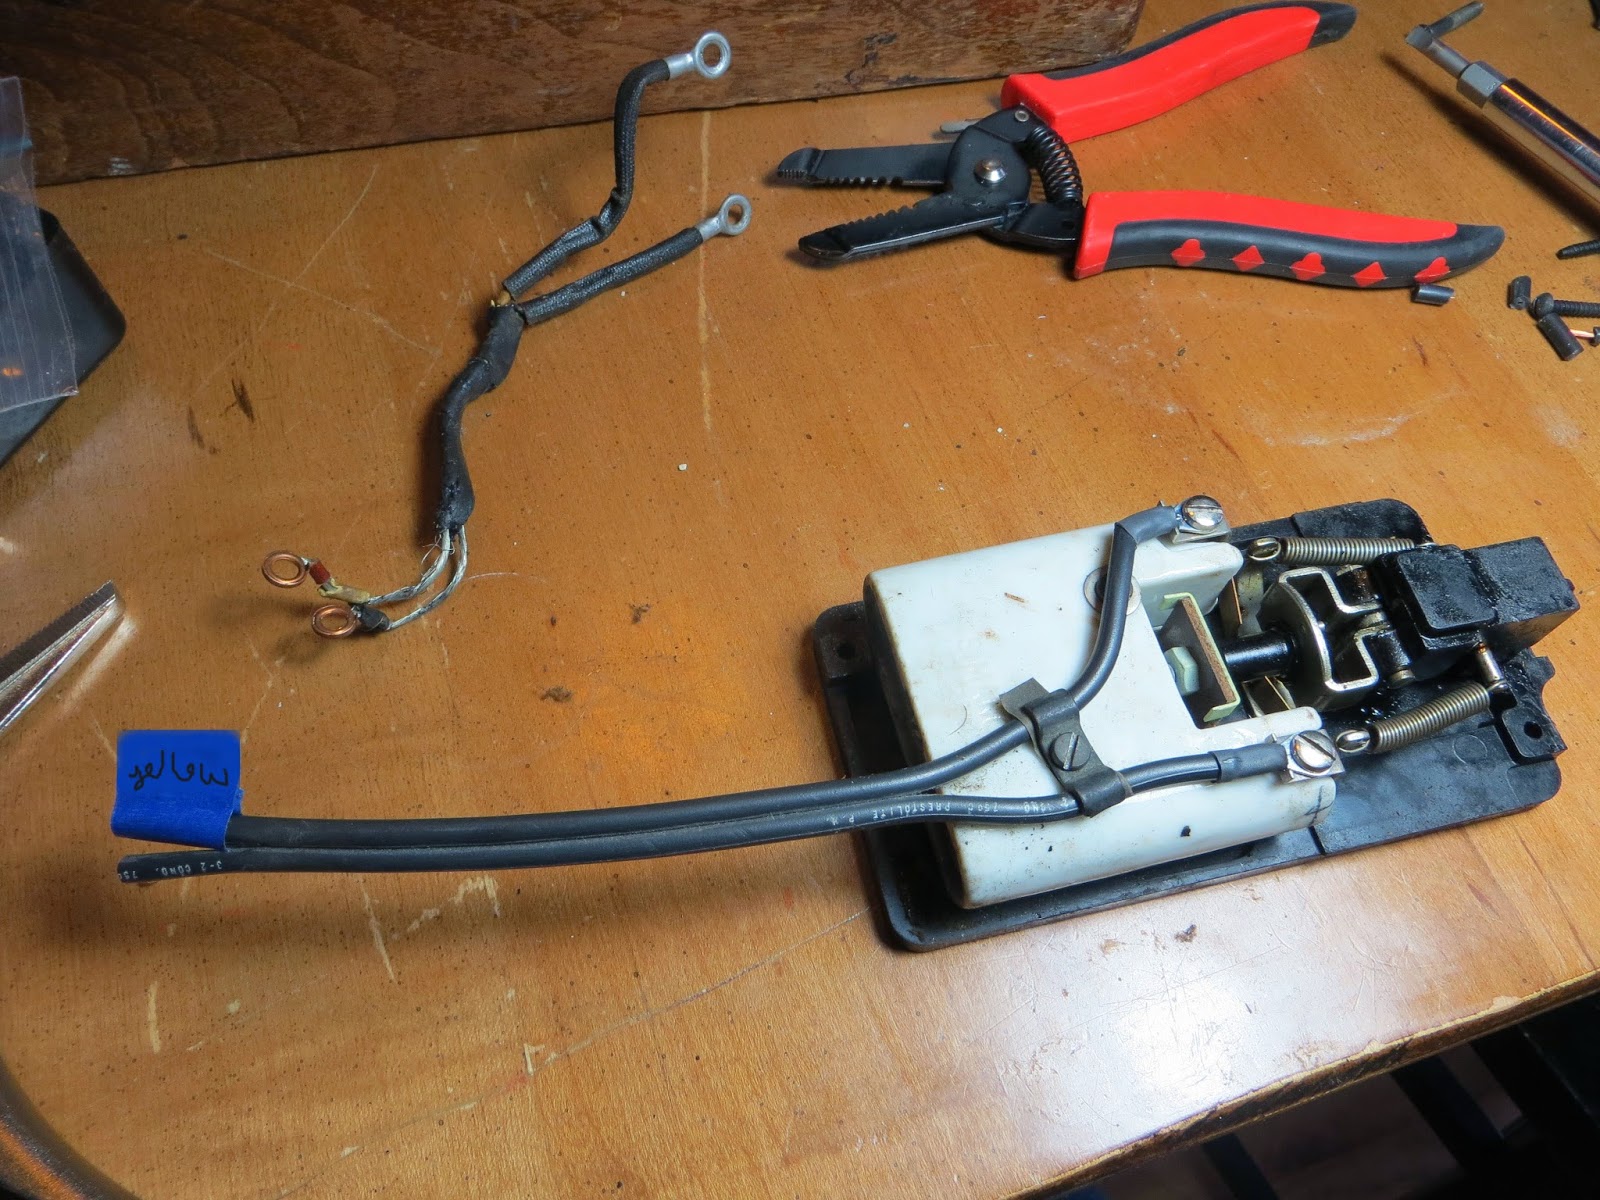
Label/mark your longer wire on the end so you know it goes on the YELLOW terminal prong. Screw wires to “pedal”.
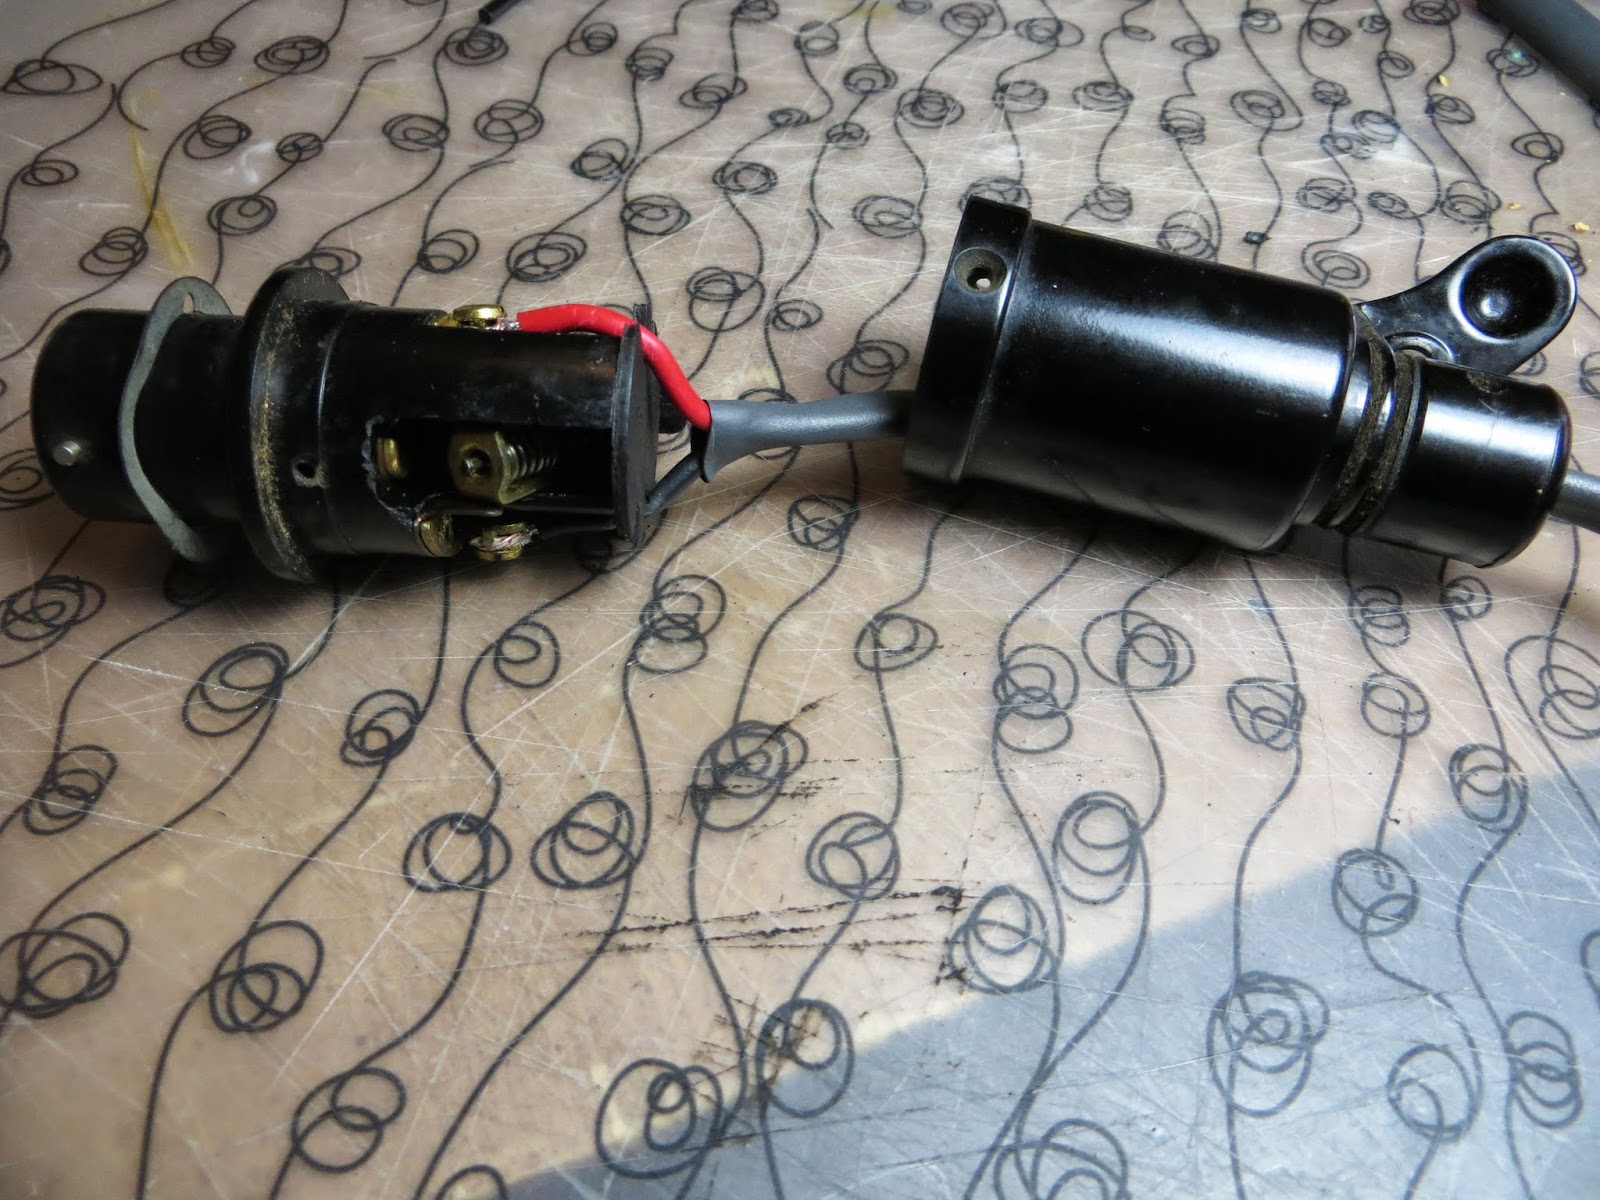
Screw top back onto “pedal”, place in base and replace all screws.
RE-WIRING MOTOR

Remove motor from machine and take off motor bracket that attaches to motor.
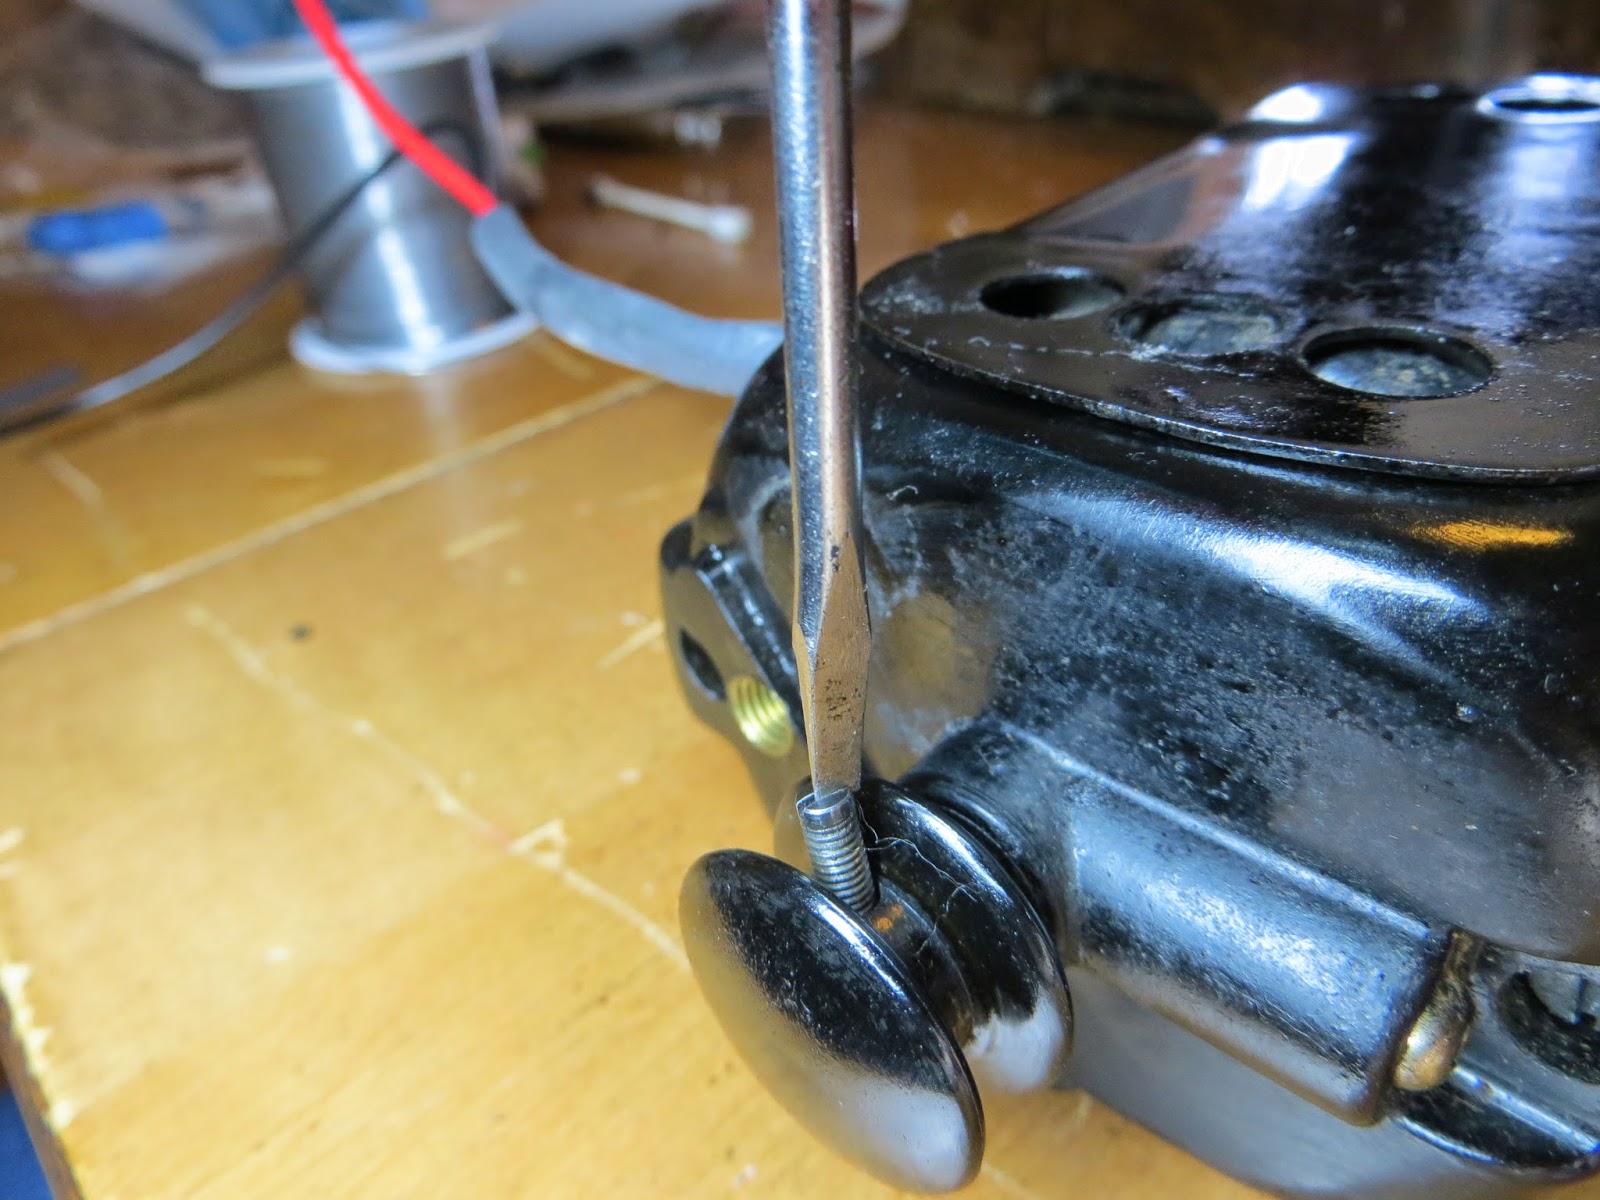
Take out small screw holding belt pulley on shaft.

Remove 2 long screw on motor side that holds everything together. Pull everything apart. TIP: I had to persuade the center casing to pull off of the ends by soaking some oil around the edges and running a very small-thin screw driver along the edges.

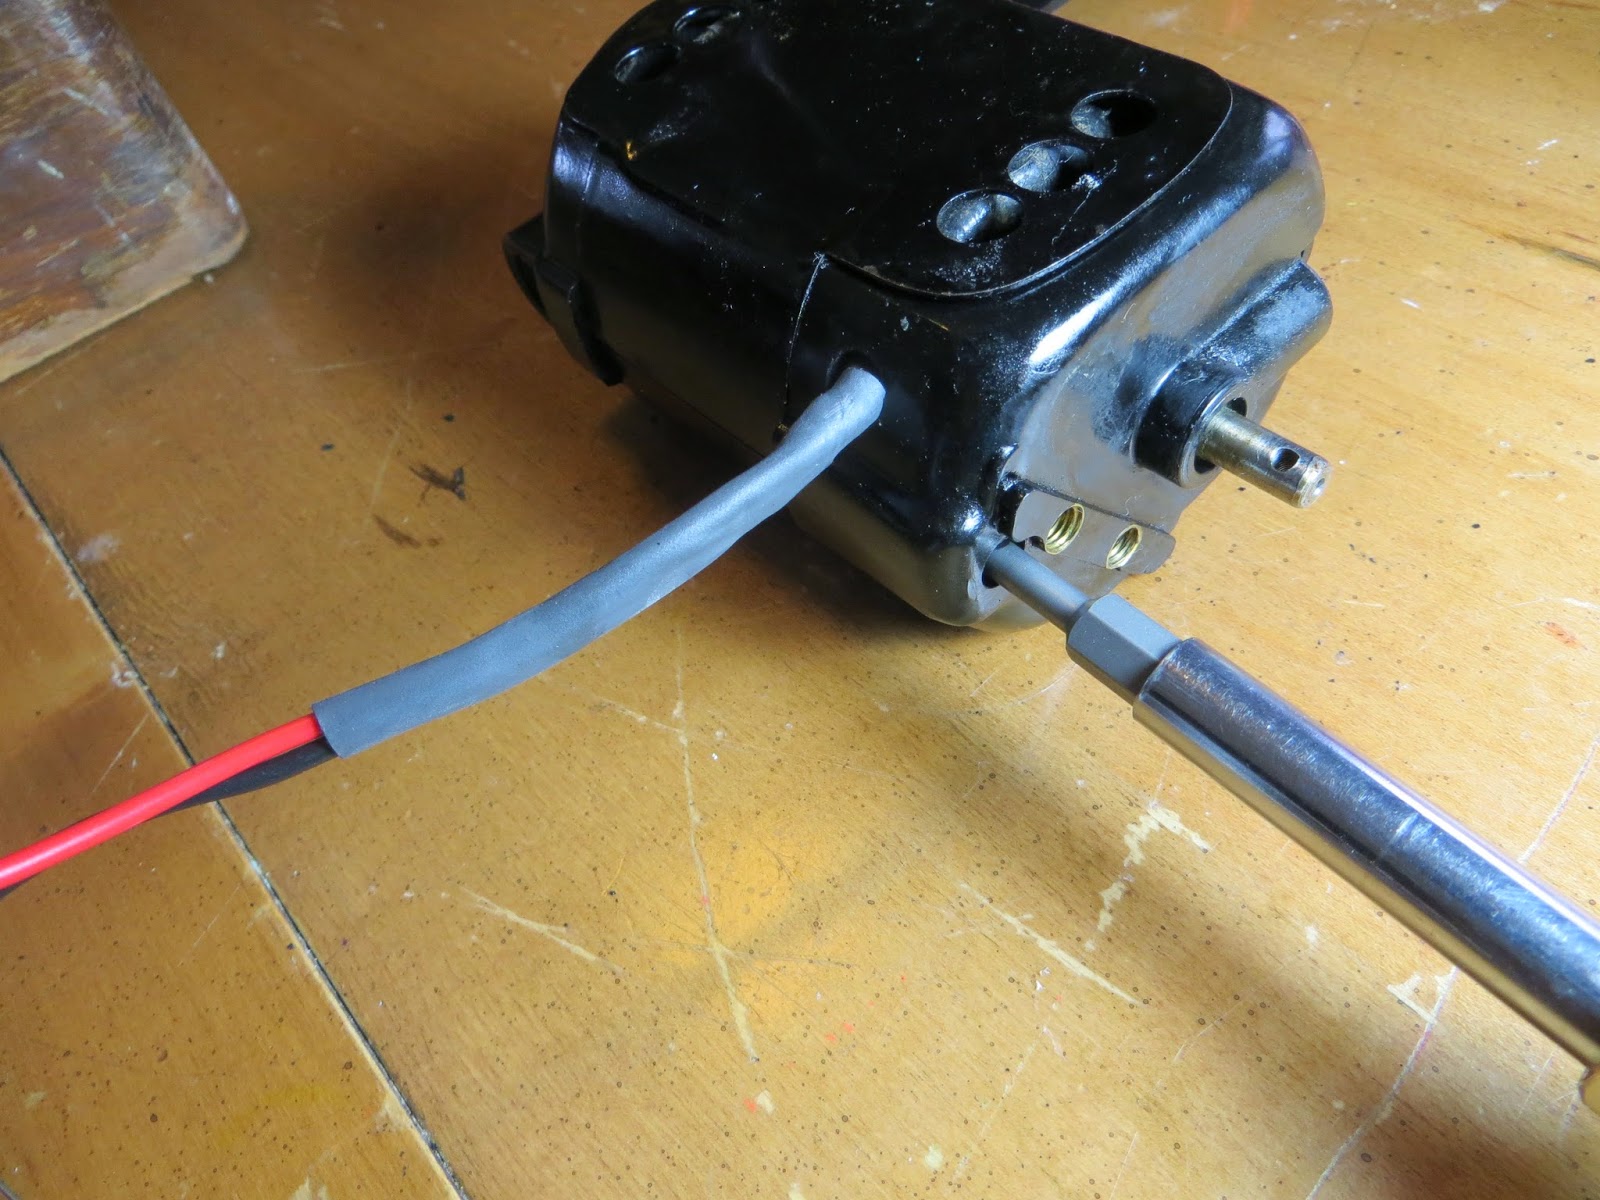
If the motor is propped up with the wires coming from the top, your left wire is RED and the right wire is BLACK. Cut the RED wire so it is 1-1/4″ long and the BLACK wires so it is 1″ long.
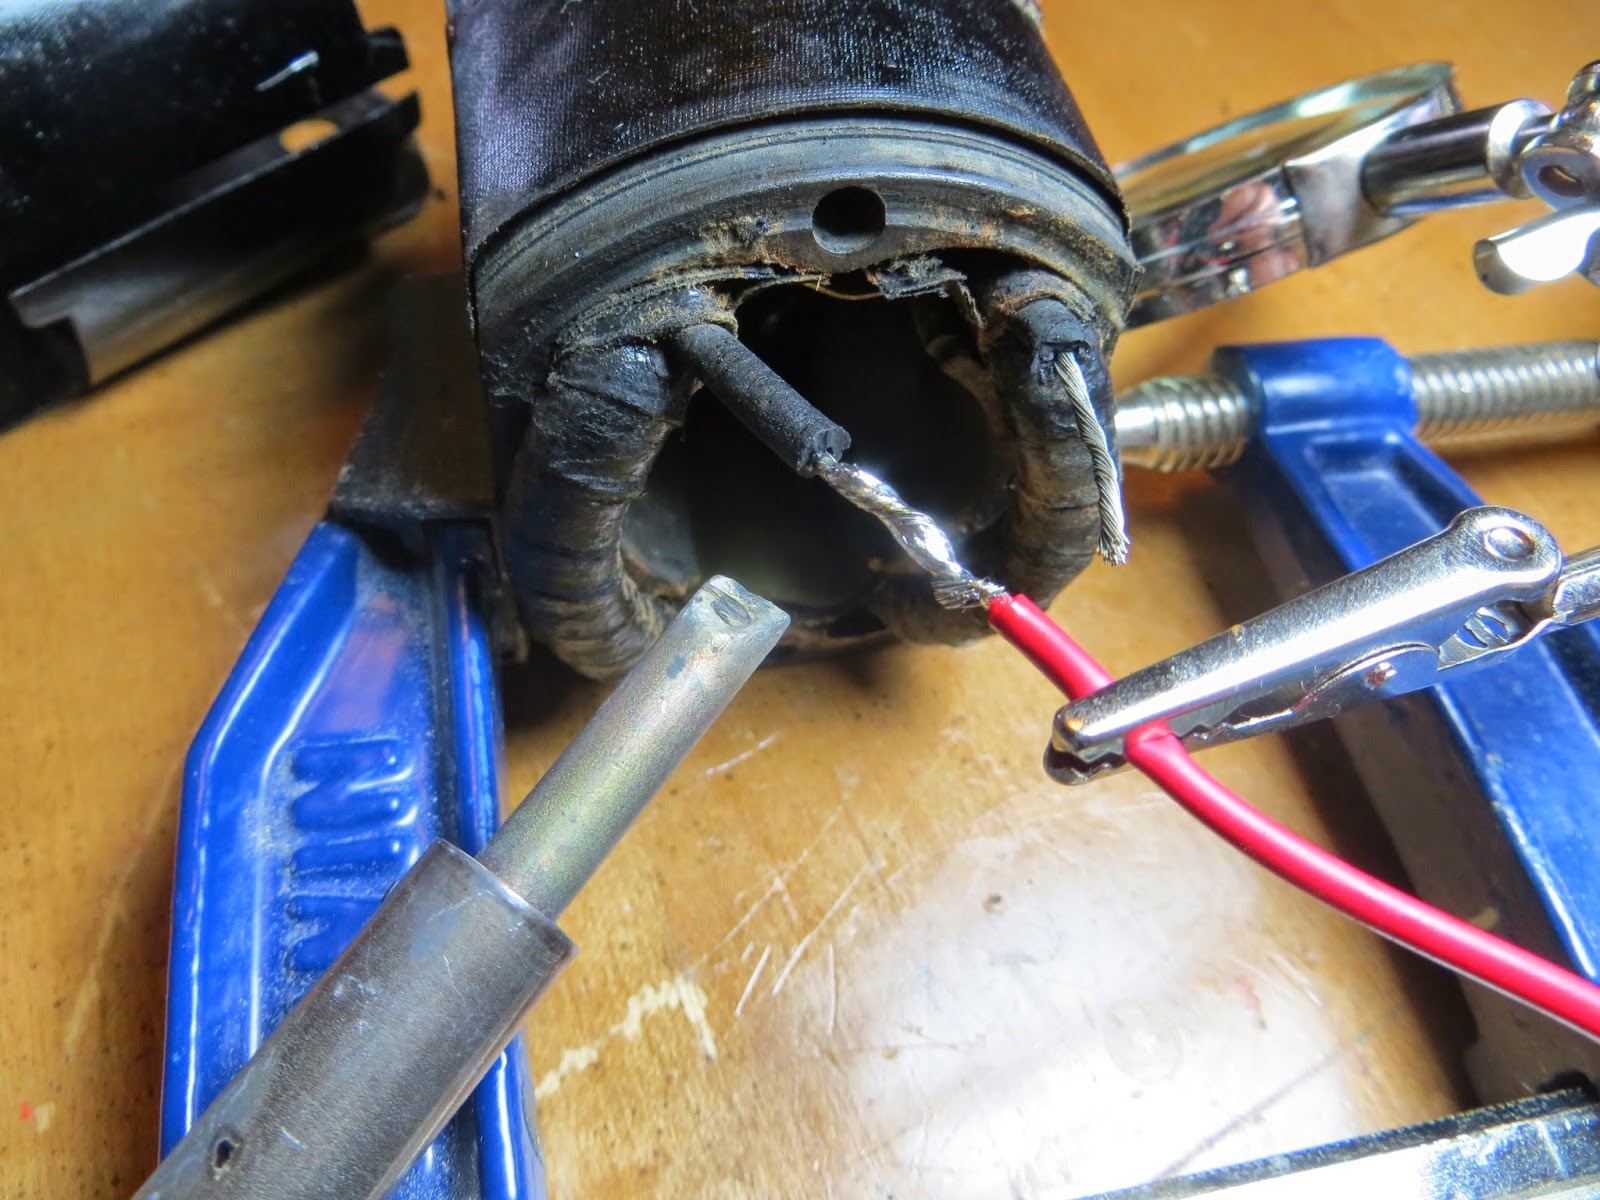
I propped my motor up with some wood clamps. Stabilize your motor while you work on it. Solder new wires on, RED to RED and BLACK to BLACK.
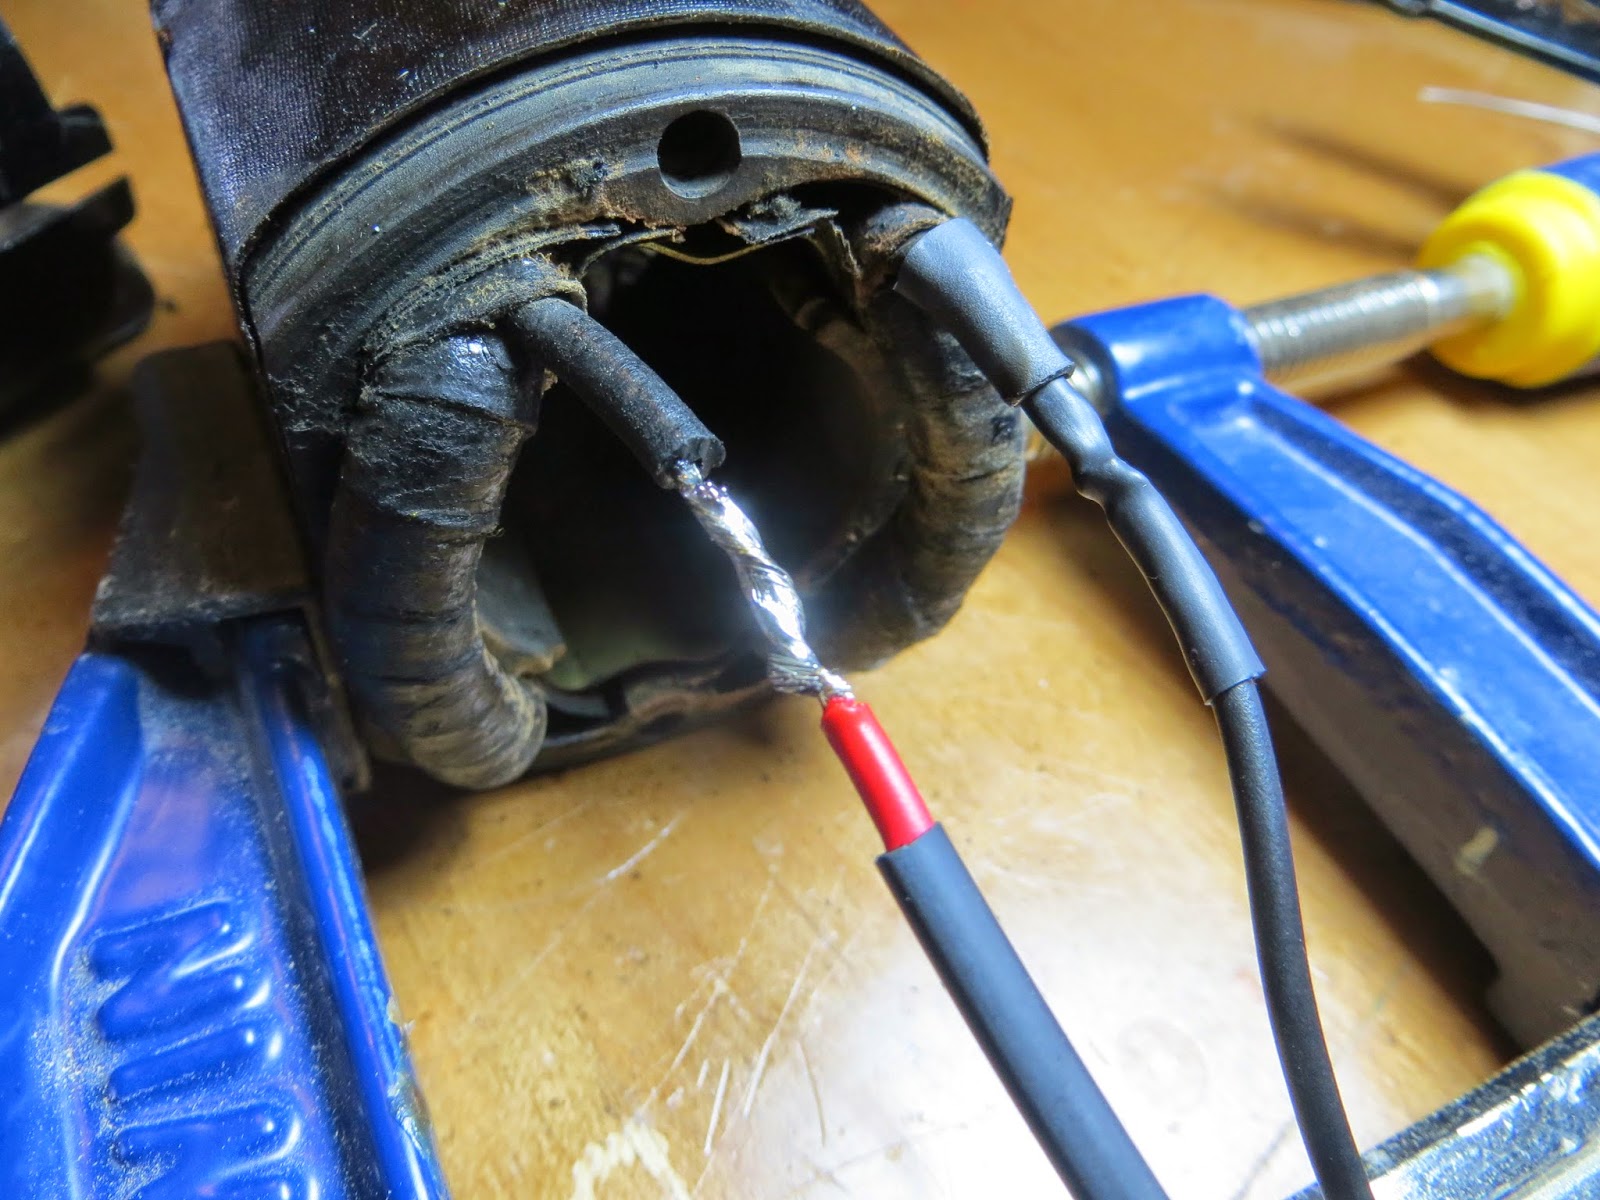
Shrink your tubing over solder joints with a lighter.

Knot wires together as close to motor as you can. Before putting your motor back together, heat shrink larger tubing over BOTH wires (not pictures here – see below picture).
Screw casing back together.
Attach pulley.
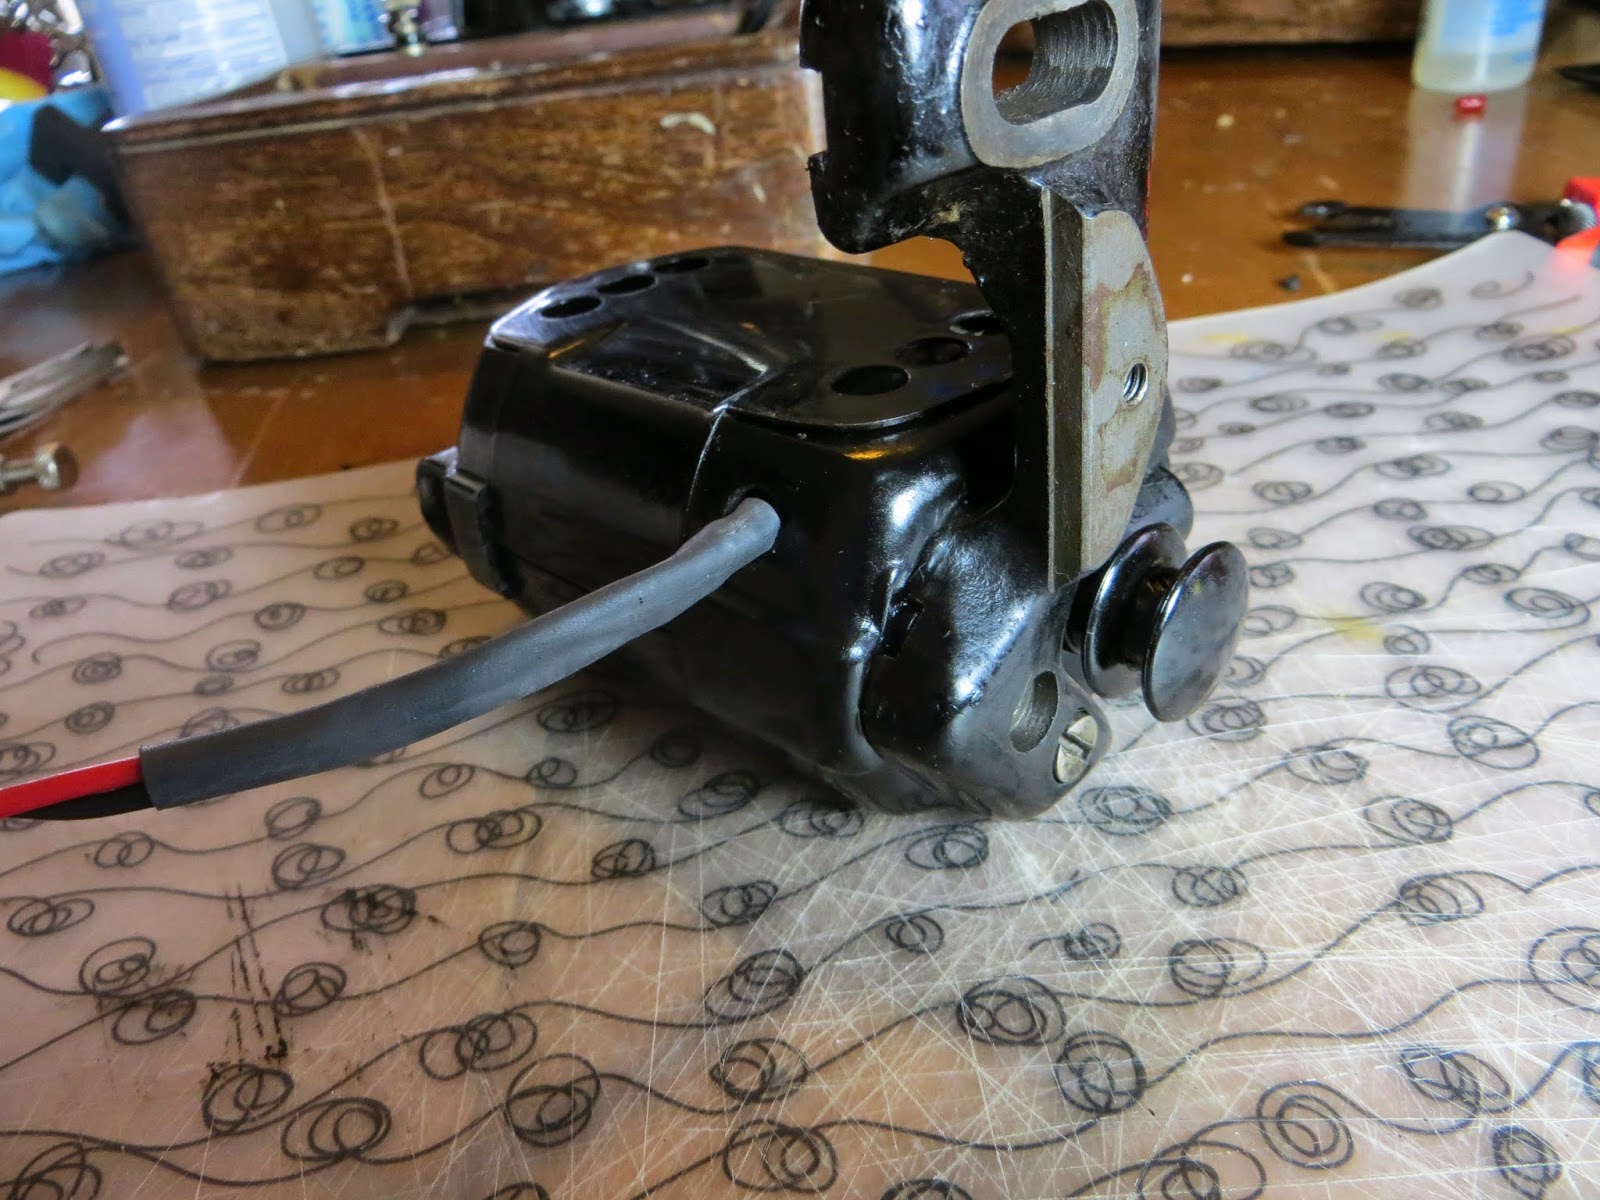
Add metal bracket that attaches to sewing machine.
RE-WIRE LIGHT

Remove light from machine.
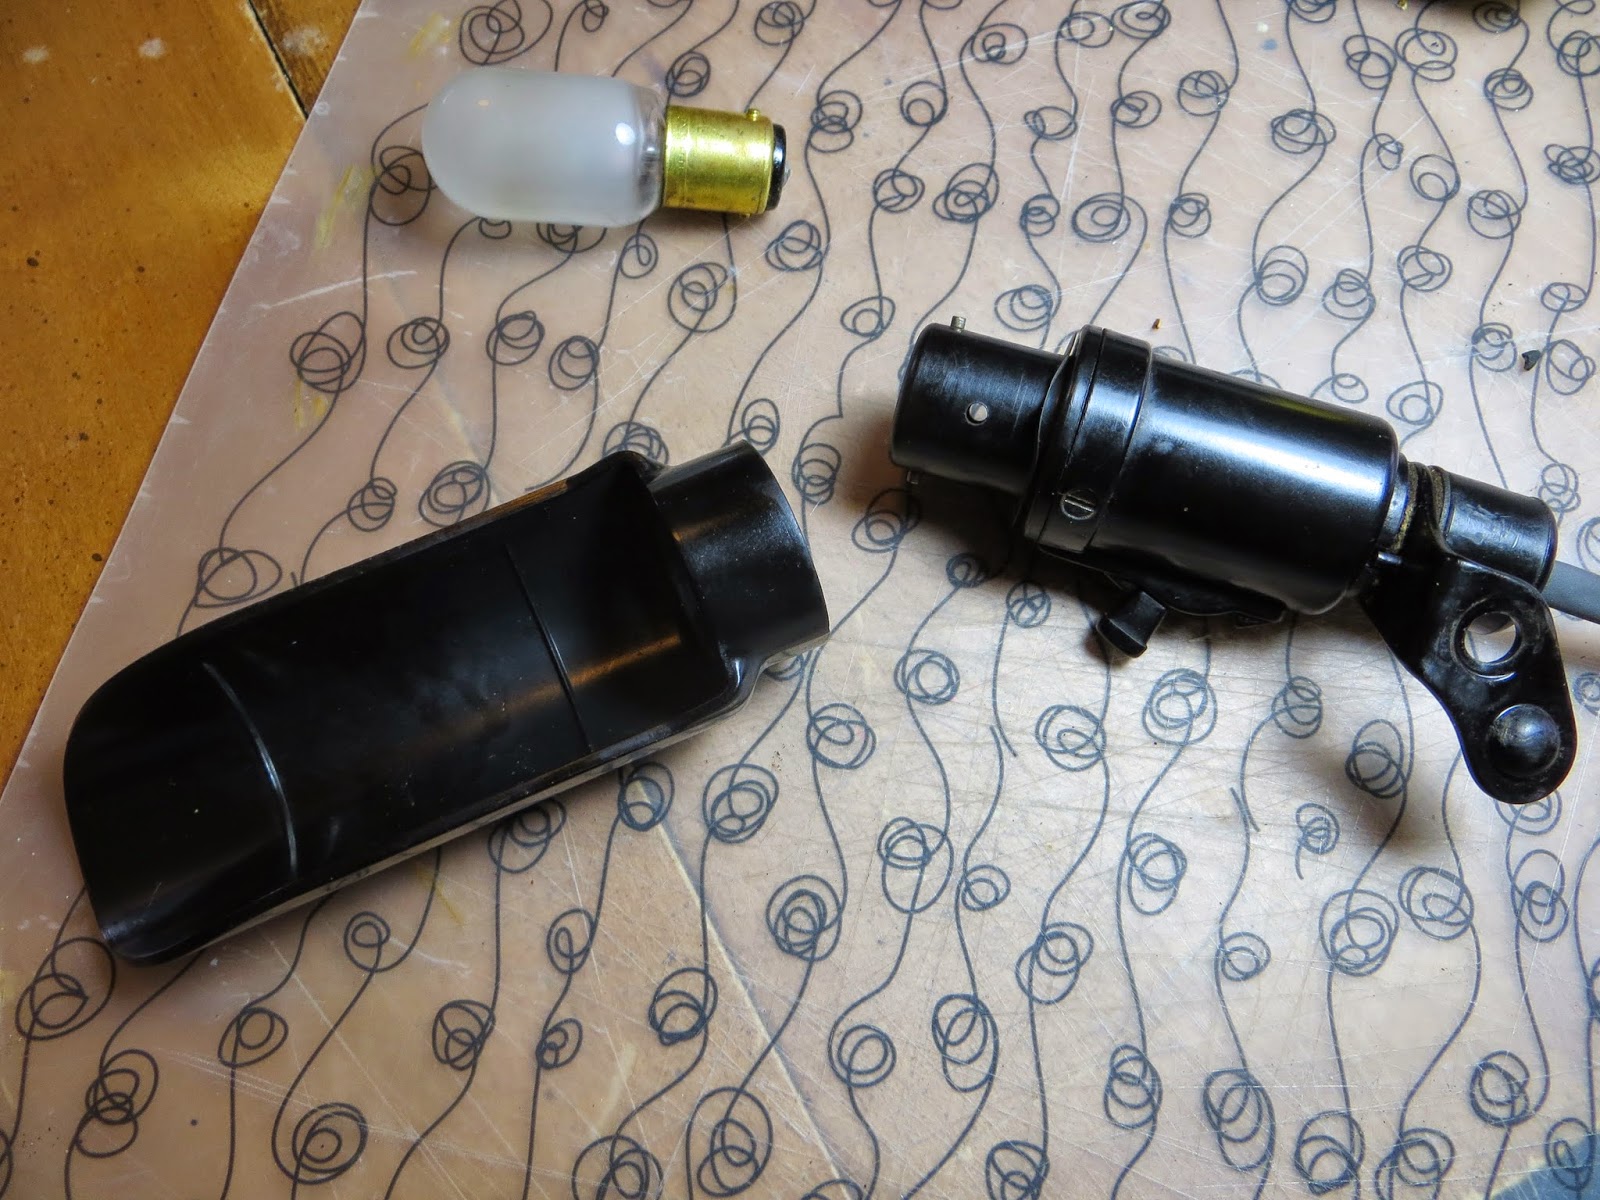
Remove light bulb and bulb shield. There are 3 screws around the shell that houses the ends of the wires, remove those and housing.

Because there wasn’t much room in the housing for large terminals, I decided to make my own by wrapping the ends of the wires around an allen-wrench (pick something the right size)…

…then solder them.
Attach new wires on one at a time to light body. The wires attach on the RED and YELLOW terminal prongs. I could tell which one was the RED so I put my RED wire on that, and the YELLOW I put BLACK.
Heat shrink a LONG piece of tubing over both wires and slip housing back on. Screw back together and re-attach lightbulb and shield.
PUTTING IT ALL BACK TOGETHER
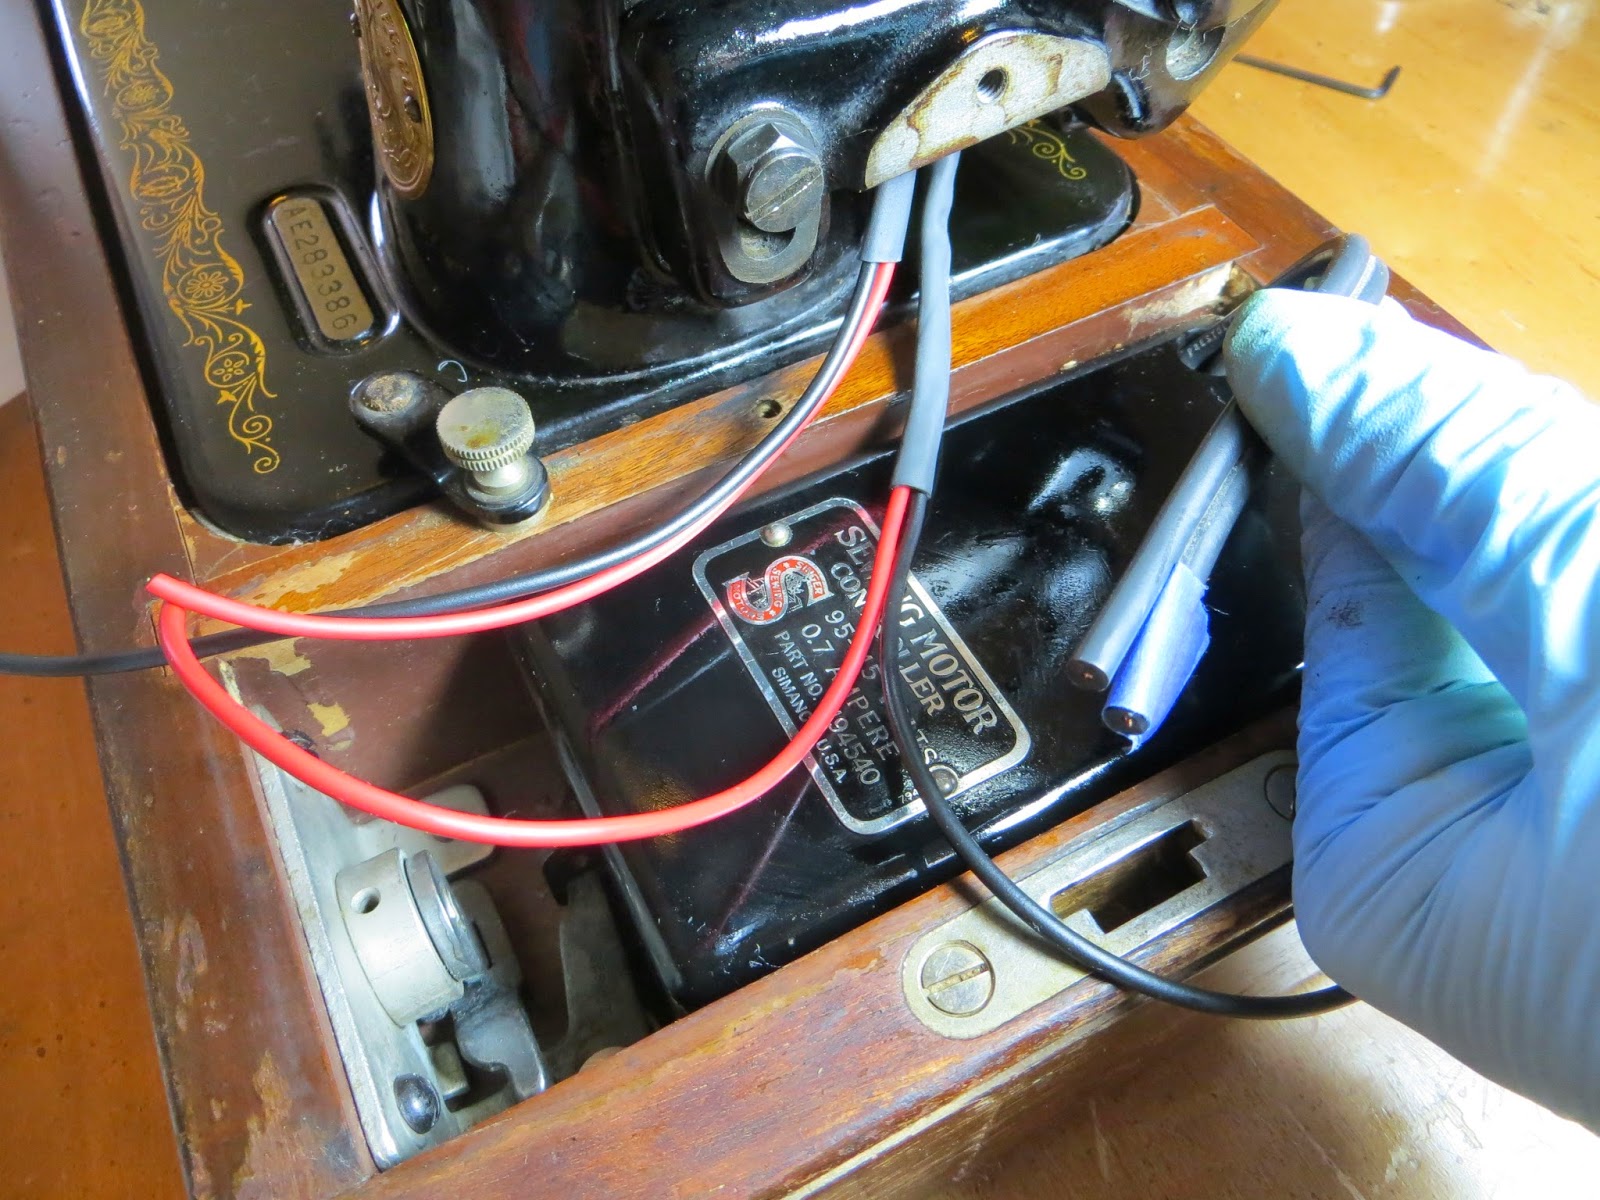
I kept my wires extra long to ensure I wouldn’t make them too-short…
…once you can hold them up to the machine where they will attach to the terminal you can trim them down. I still kept mine a little long until I was actually ready to attach them to the terminal.
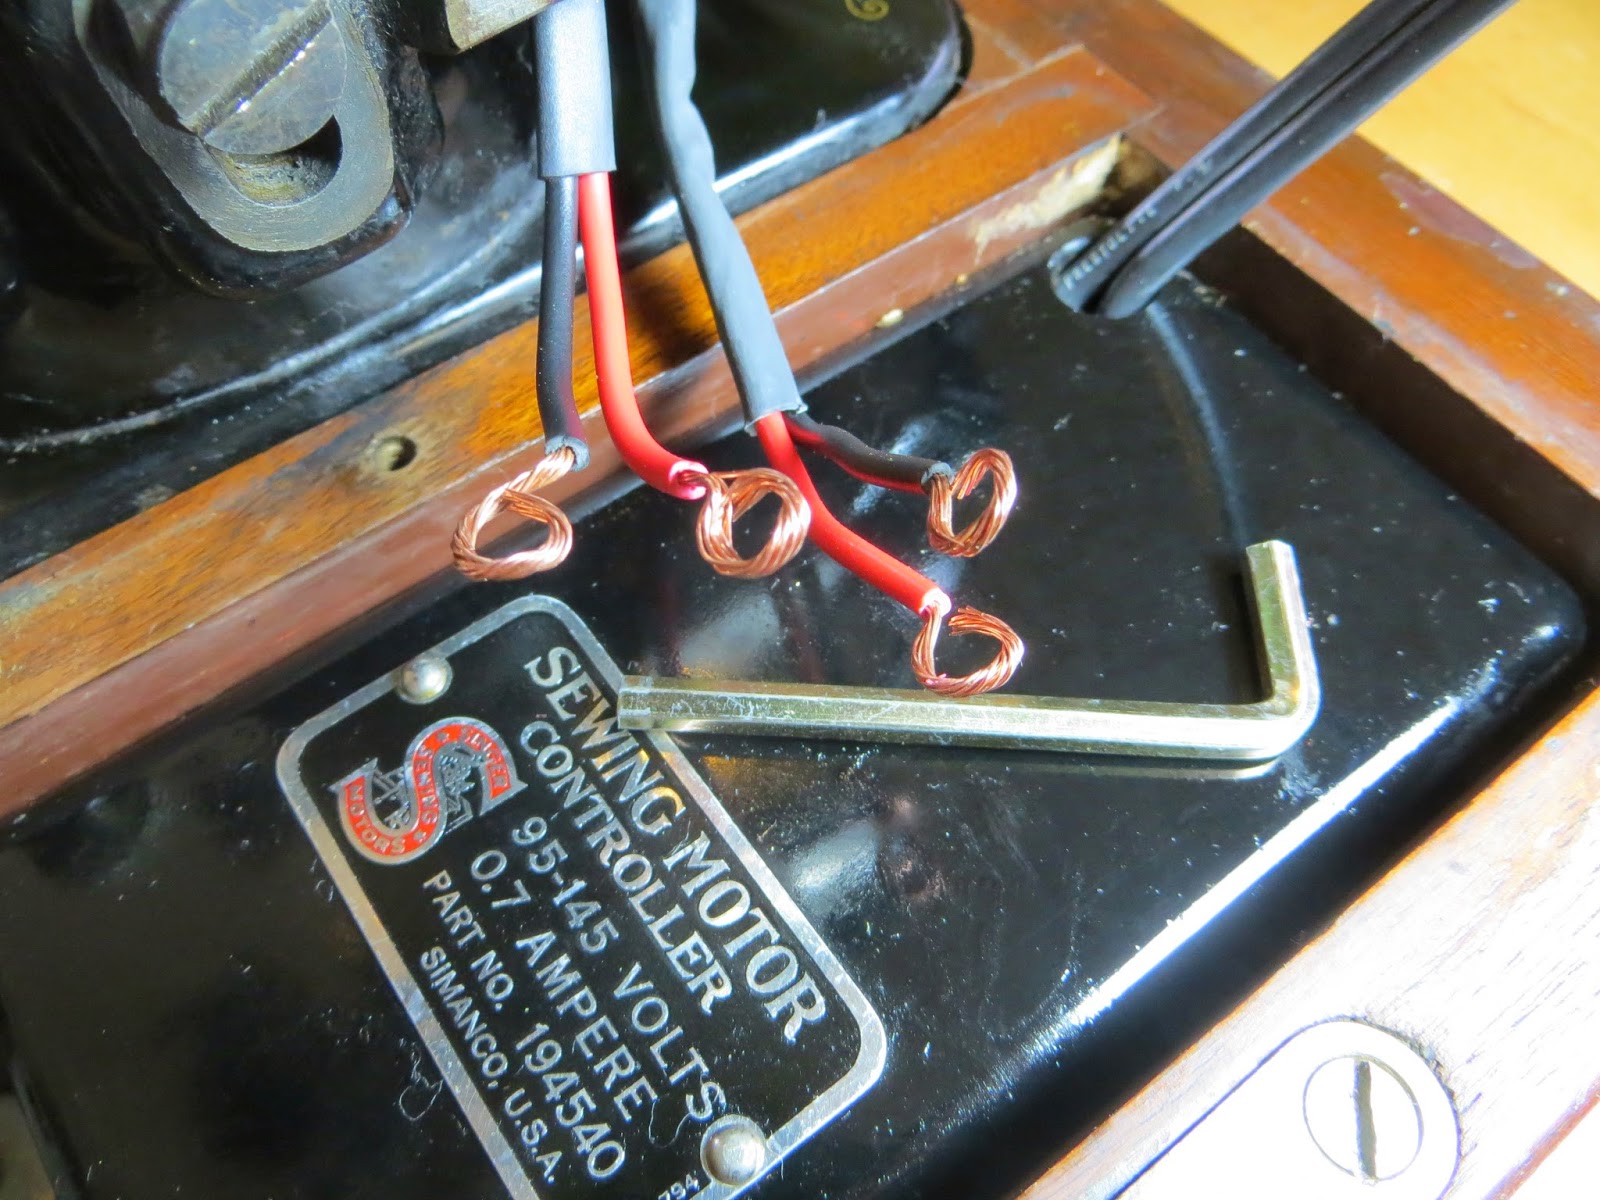
Because there are so many wires attaching to the terminal body I decided to make the terminal connections with the wires just as I did with the light, this time using a bigger allen wrench the size of the prongs on the terminal.
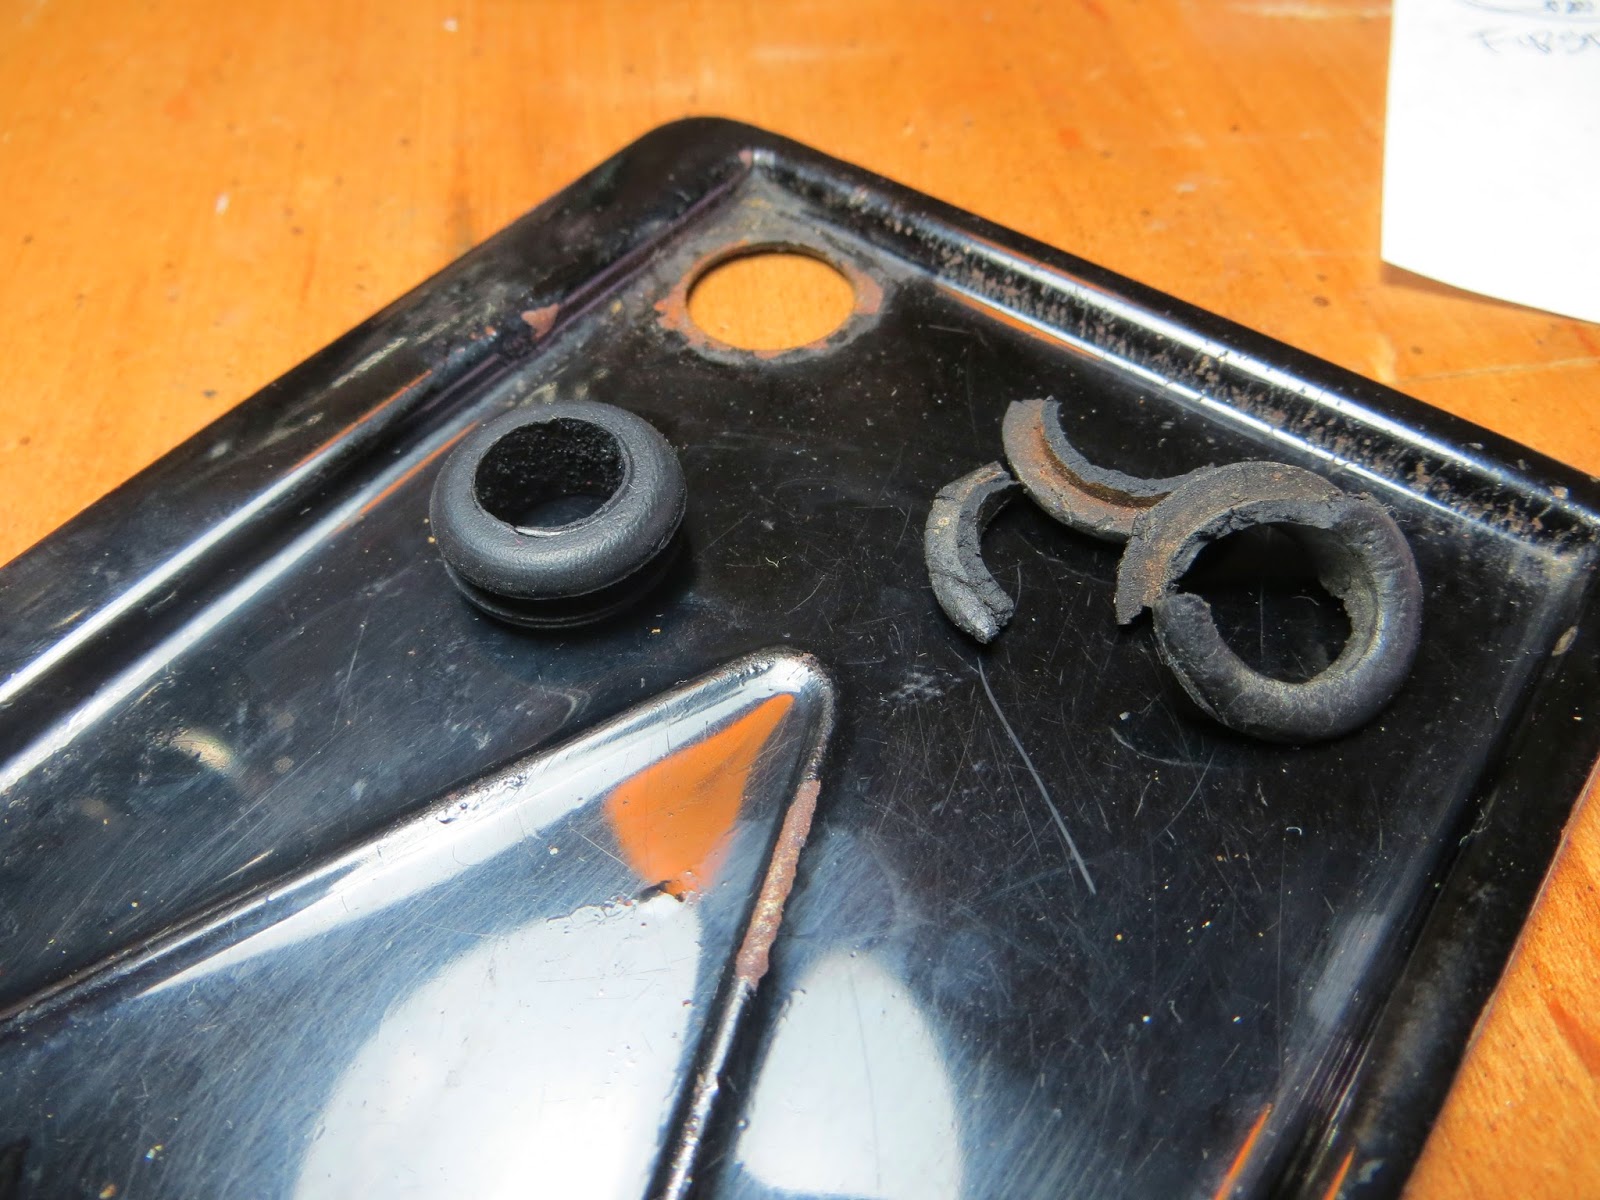
The cover for the pedal had a broken grommet so I used the grommet out of my re-wire kit that would usually go on the motor housing. Re-attach pedal cover on machine base, threading wires through grommet.

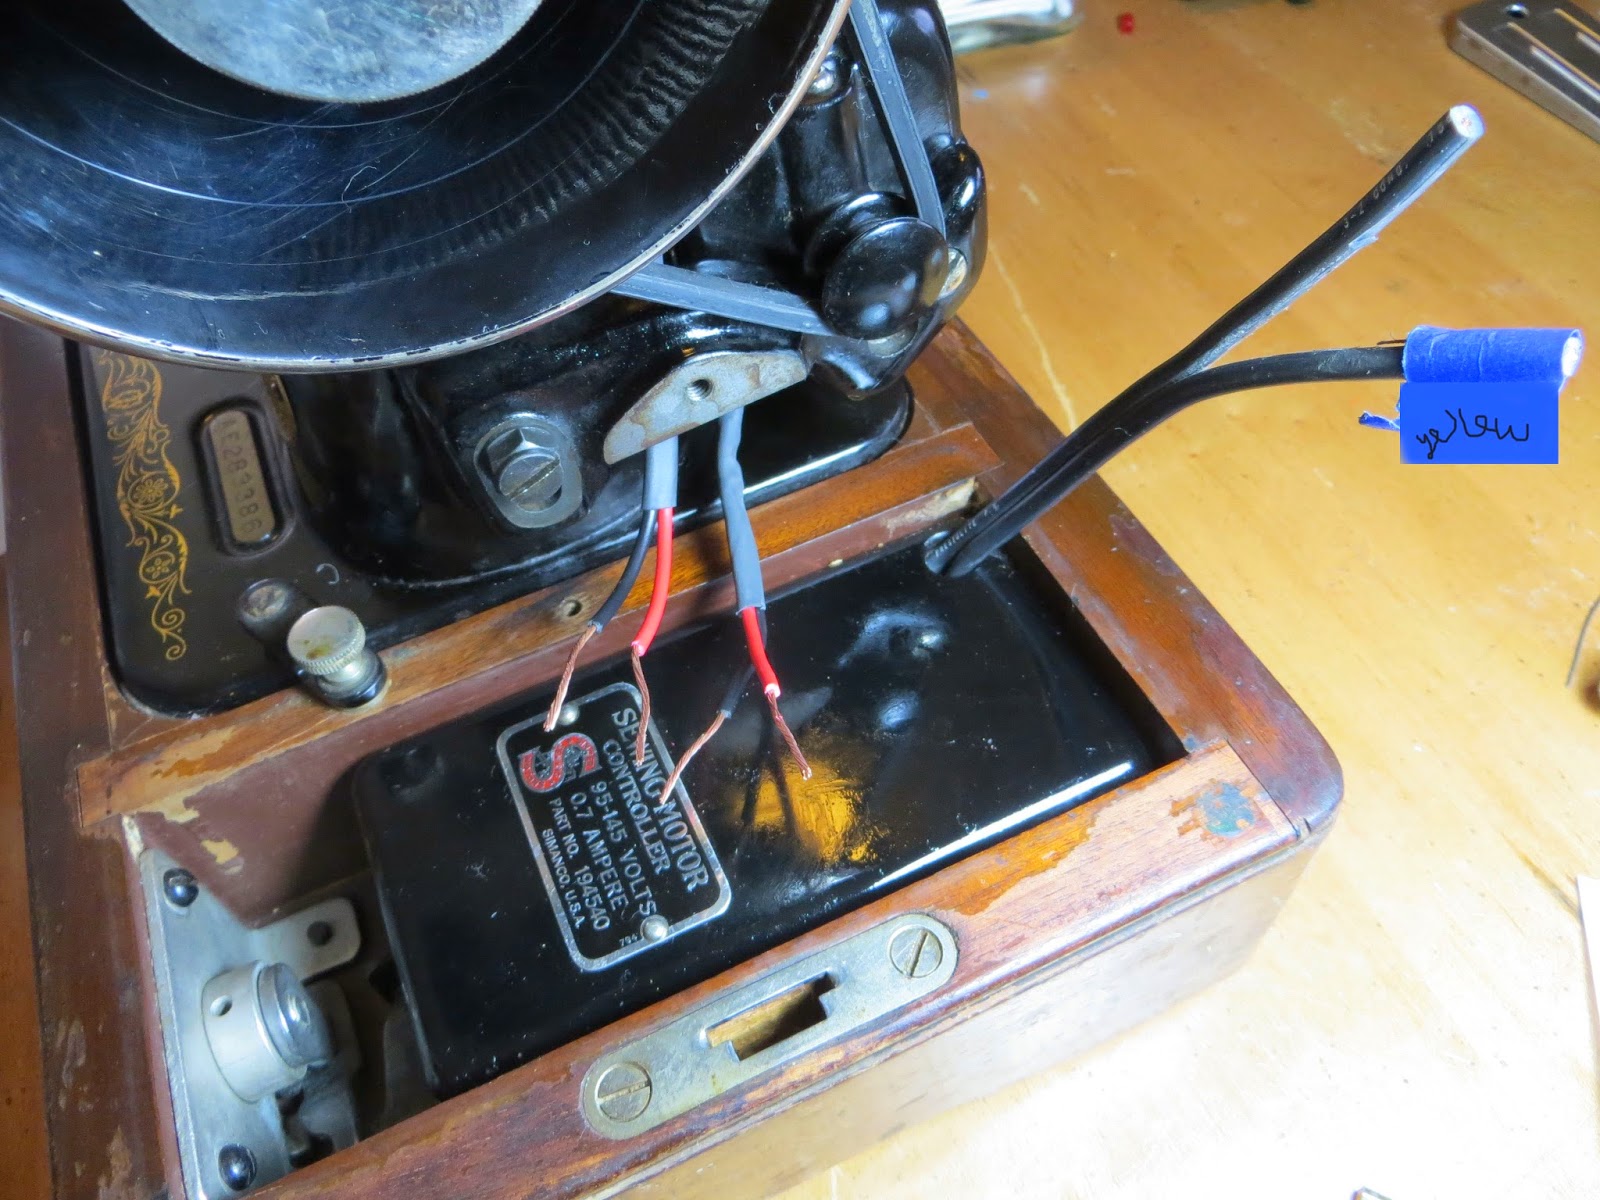
Use this diagram to help you re-attach everything back to the terminal.

Almost there! I had to re-cut the “pedal” wires a few times until they were just the right length. I didn’t want them too long that they were sticking out everywhere, but long enough that I could tilt the machine back for oiling without pulling on them.

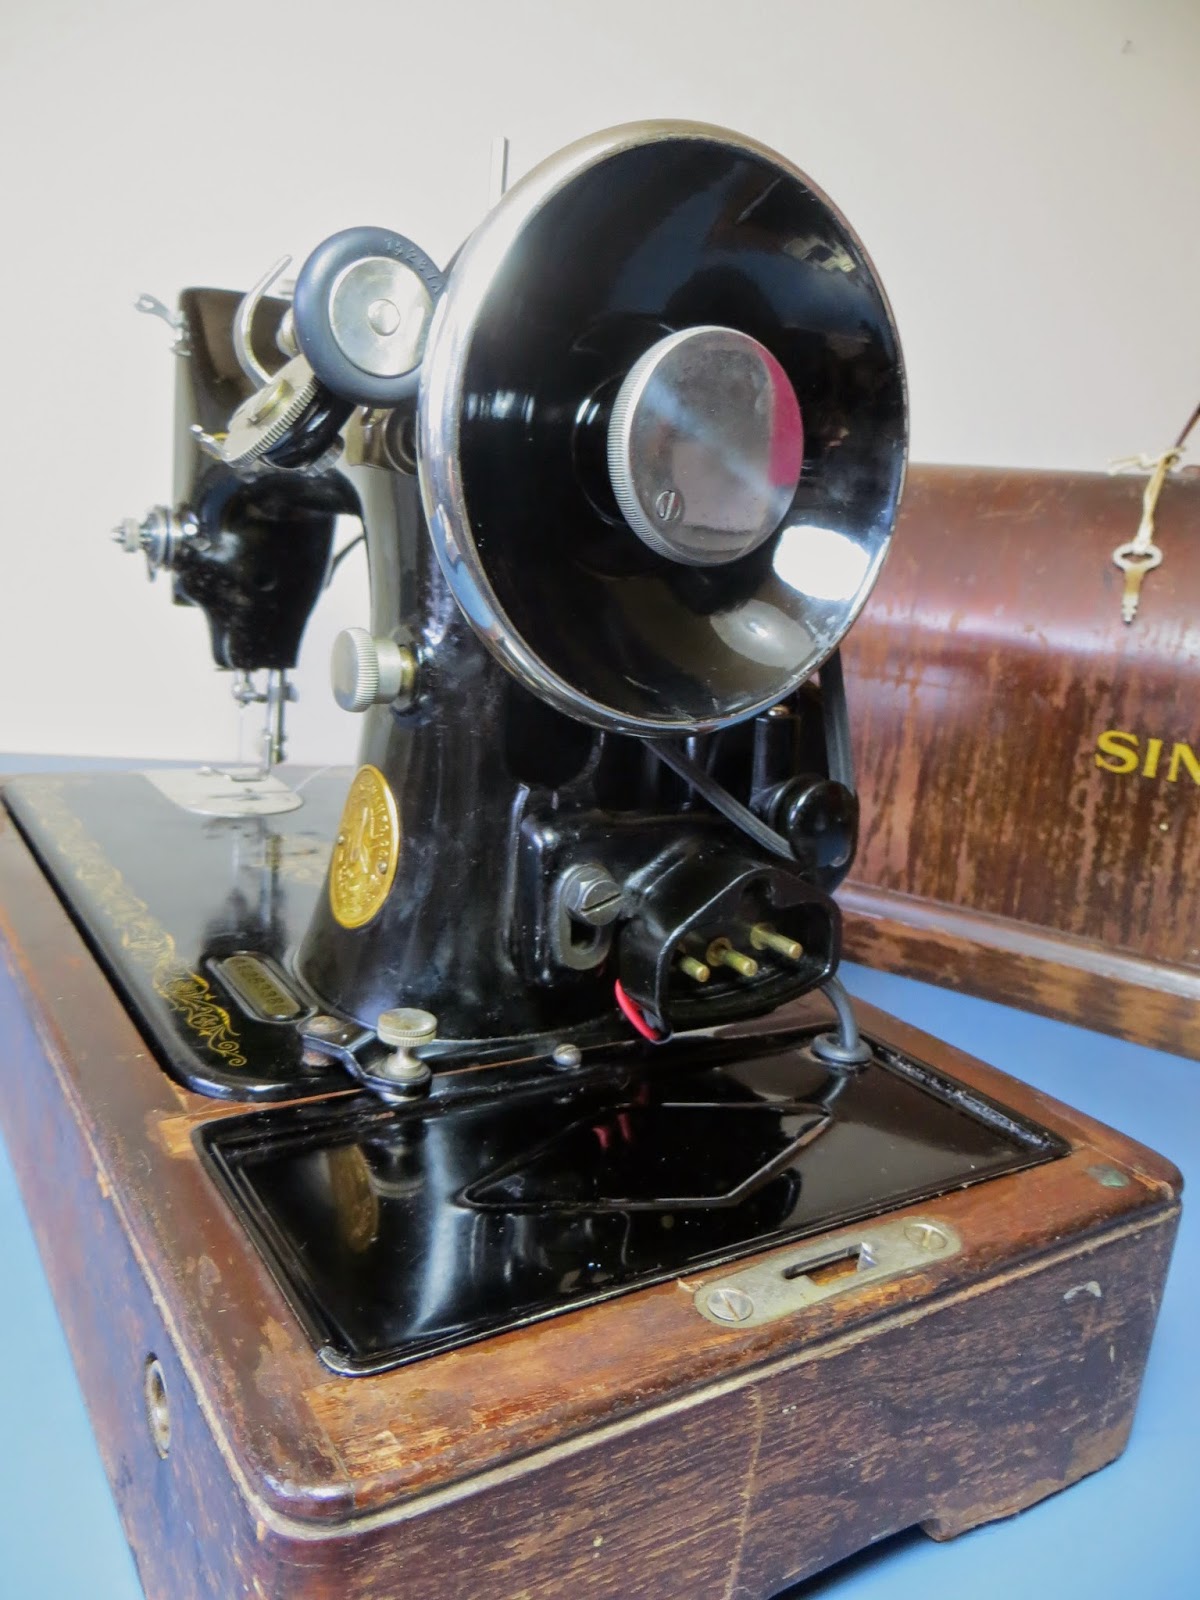
DONE!
22 Comments
Awesome, I'm going to rewire my 15-91.
Why do you read latex gloves when working on your machines?
DR
May 10, 2016 at 11:40 amYou don't need latex gloves but your hands will get super dirty cleaning all the gunk out of the motor 🙂
May 10, 2016 at 11:41 amThat was fantastic! Your directions are crystal clear. Thanks for taking the time to document your re-wiring job.
February 13, 2017 at 1:15 amYou're welcome! I'm always happy to hear I've been of some help!
February 13, 2017 at 1:18 amThanks Dani, the Pfaff 130 I just got also needs the motor rewired. Thanks for posting
March 26, 2017 at 5:43 pmNo problem! Good luck with your rewire!
March 26, 2017 at 5:44 pmSign of relief! I can finally fix my friends machine. I appreciative and grateful to your step by step photos. I'm going in with some confidence now. Many thanks, Allison C. Bayer, Plano, Texas USA
January 31, 2018 at 8:38 pmWow! Thanks for this- plus good clear photos! This is exactly what I needed.
February 21, 2018 at 7:53 amHow did the rewire go?
February 21, 2018 at 7:57 amYou’re very welcome!
February 21, 2018 at 7:57 amThanks for you helpful post. I am wondering where do you get the 6 inch length of heat shrink to cover the wires to the light fixture? I have checked my local hardware stores, the big box stores, and finally found a tractor supplier who carries the 3/16 diameter tubing in a 6 inch length. It is $2.00 but the shipping is $14.00. I am about ready to bite the bullet and get it, unless you have another source. Thanks
March 21, 2018 at 8:00 pmHi Sheila! I think when I wrote this post I had bought a spool that was one continuous piece of heat shrink and that’s what I used. It wasn’t my favorite, however. I love Gardner Bender brand because it shrinks easily and is more rubbery than plastic-like when shrunk. It comes in 4” lengths – shrink one tube on your wires and add another length that overlaps the first slightly and you’ll be good to go! I’ve had good success finding Gardner Bender at my local Town & Country hardware store. Best of luck!
March 21, 2018 at 8:06 pmHow did you know on light body which screw connector was yellow (L1 – hot) or red (L2 – neutral)? Or does it matter?
May 13, 2019 at 1:06 pmPosting is 6 years old and still helping people. I fixed my 66-16 which turns out someone else messed up the wiring.
July 1, 2020 at 2:26 amThanks for the comment Ralph! So glad you could fix up the 66 properly! *thumbs up* to you!
July 4, 2020 at 9:39 amJust got a 99-13 with knee lever and have been searching how to do this – thank you so much for documenting it! This will be very helpful in figuring it all out 🙂
October 27, 2020 at 11:38 amYou’re welcome, glad it helped!
November 5, 2020 at 8:10 amI just bought a 1929 Singer 99 with a broken motor mount. This will be a God send as Inwork to restore it. Thank you so much
March 11, 2021 at 7:23 pmHi from the Netherlands!
February 9, 2022 at 12:01 pmI’m so happy that i found your website. Thanks to your detailed instructions, i was finally able to rewire my Singer 15 . Thanks a lot for sharing.
Thank you so much for posting this 8 years ago. I have a machine in my shop and I have looked for months for information on replacing its one of a kind line cord. Now that I found your post, I have the confidence to rewire it and eliminate the line cord problem.
May 26, 2022 at 3:47 pmWhat gauge of wire of are you using for the pedal and light? I’m rewiring the potted motor on a 15-91 and am using 18 gauge with .03″ jacketing based on N. Rain Noe’s awesome tutorial, but I also need to rewire the pedal and light. Do I need thicker jacketing and/or 16 gauge wire? Also, I was wondering if I need to replace the heat resistant sleeving on the pedal wires. Thank you! Your blog is a wonderful help.
July 26, 2022 at 1:10 pmThank you so much – this is so clear and informative! I have an early 99 with knee lever that needs all new wiring and I’ll follow you step by step!!
May 17, 2023 at 2:18 pm