My mom made me my own twin-sized blanket when I was younger. It was pink on top with a white and pink floral on the bottom side and was tied with white yarn and was so soft! I used that blanket until the material wore thin. I decided I wanted to make matching quilts for my boys. They overhang a good 12-14″ on each side of their bed and can be reversible. DISCLAIMER: I have done a few baby quilts before this project, but I am not a quilter by any means. There are other techniques and tricks out there I’m sure, but this is how I did my quilts.
Project Time: Approximately 4 hours Finished Measurements: 68″-wide x 90″-long Material Shopping List: 5 1/4 yds (45″-wide) top fabric* 5 1/4 yds (45″-wide) bottom fabric* 2 3/4 yds (90″-wide) batting (I used 1/4″ batting so the quilts could be used year round) Thread *The width of fabric determines how many yards you will get. I was working with 45-inch wide fabric so I had to sew 2 pieces together to get it wide enough then I used the extra length on the sides cut stripes for my binding. Get enough fabric so you will have a top and bottom piece at least 72″-wide x 94″-long (giving you 2-3 inches extra on each side to work with) and also factor in that you will need about 9 yards x 3″-wide stripes for binding. The binding can be several stripe pieced together for the length. After you quilt your layers together you will cut it down to finished measurement size.
Instructions: Find a big, open flat surface to work on. Lay out your bottom fabric with right-side down and spread batting out on top of that. Make sure there are no bubbles or creases anywhere. Spread out top fabric with right-side up on top of batting. I like to use my yard stick like a squeegee over all the layers to spread everything out nice and flat. Next I pinned everything down so it stayed together while I quilted. I put a pin about every 5″-inches over the whole top. I recommend starting in the center and doing sort of a spiral affect with your pins until you reach the outer edges to prevent bulges or bagginess.
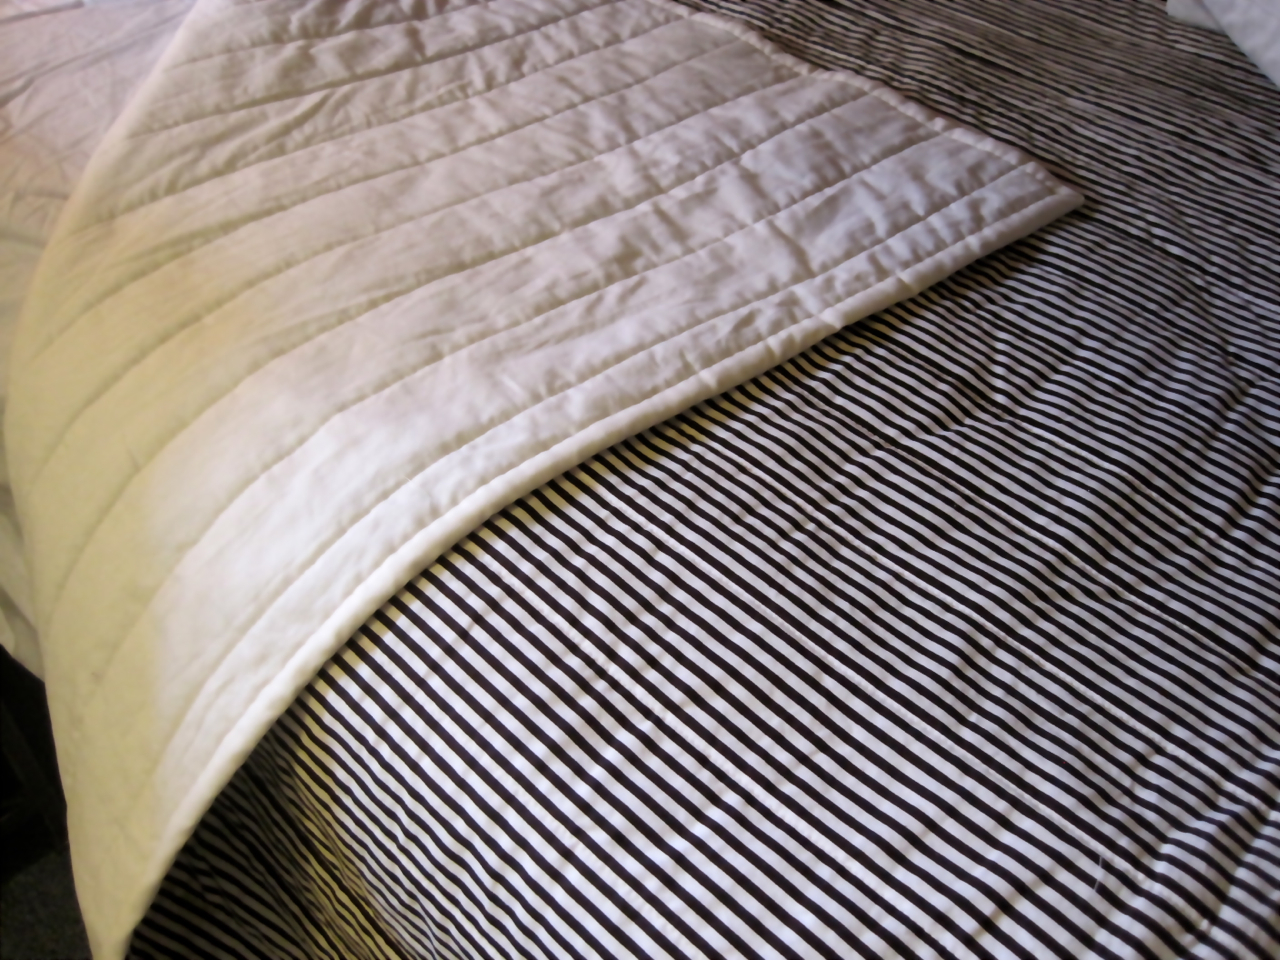
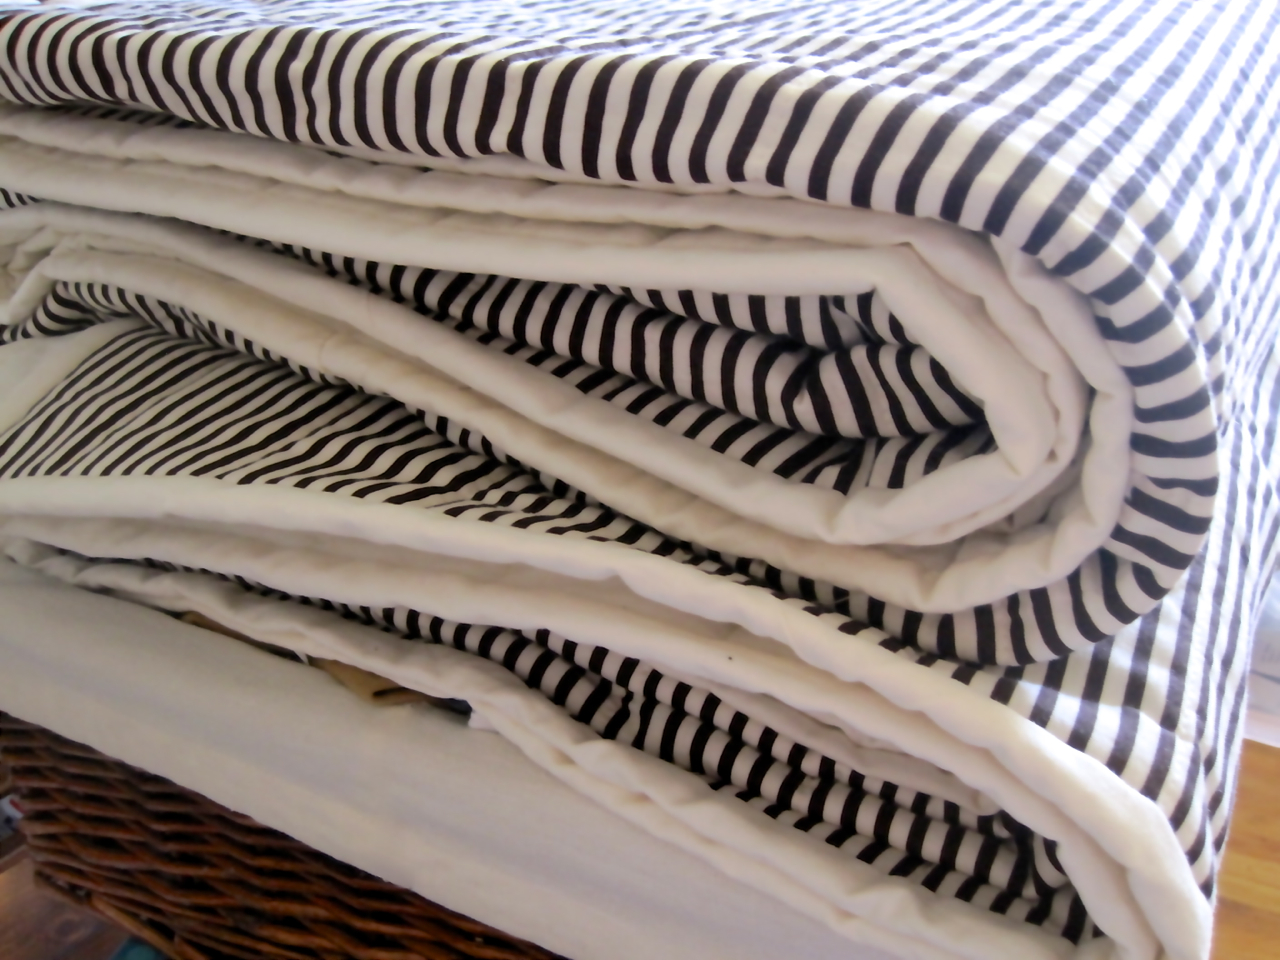
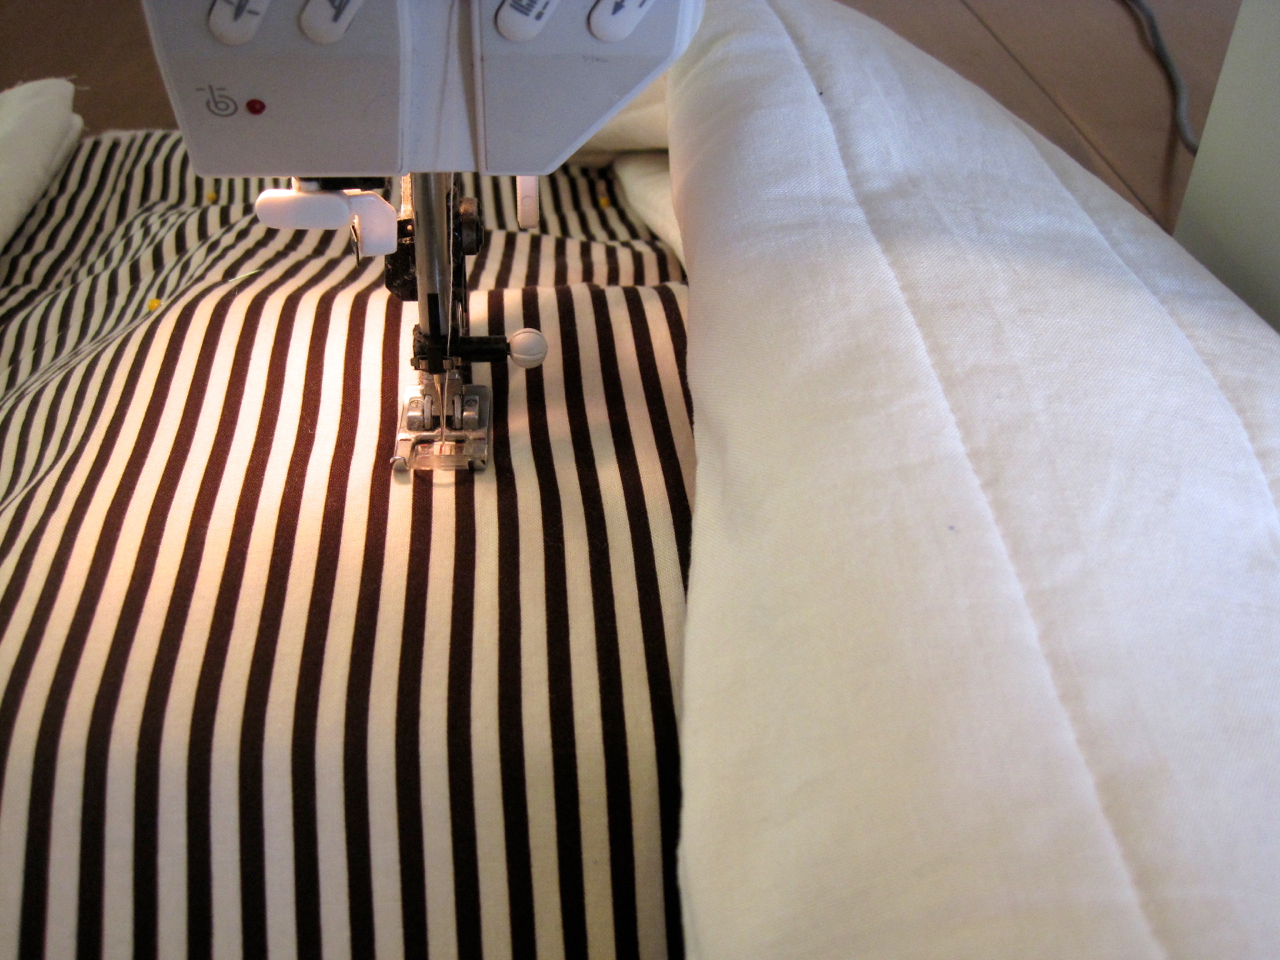
Once your layers are pinned together you can either hand or machine quilt. My fabric had stripes on the top side so I used the stripes to guide where I quilted. I think I quilted on every 7th white stripe. You can do free-motion quilting where you make a random pattern on the top with a darning foot and feed dogs on your machine down or you can mark with a fabric marker where you want to quilt. I like long straight lines because I don’t have to move my fabric around so much.
As I sew my lines and get closer to the center I roll up the side of my quilt that inside my machine like a jell roll to make it more maneuverable plus the jelly roll stiffens that side of the quilt and makes it easier to feed through the machine.
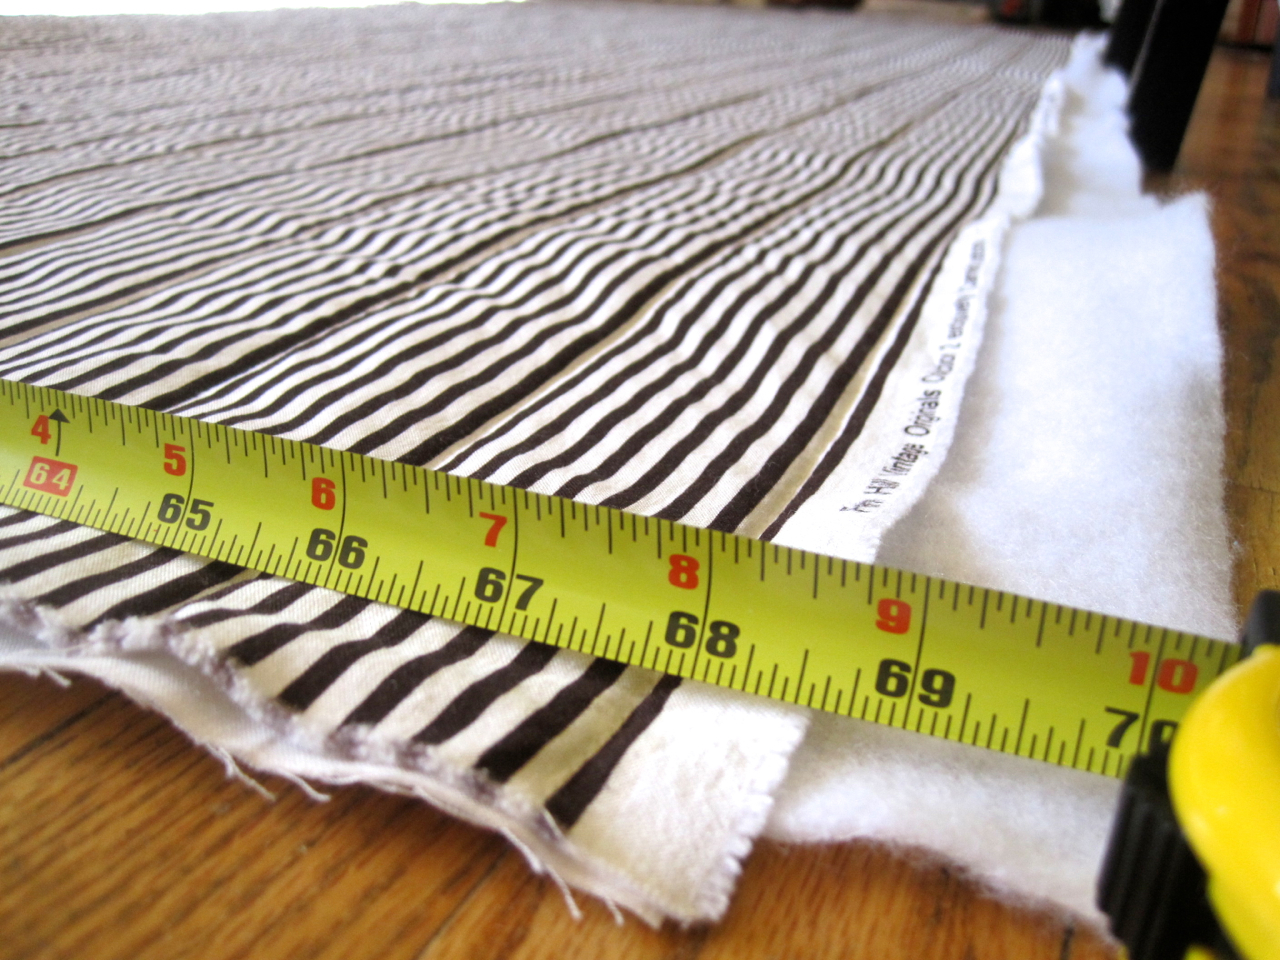
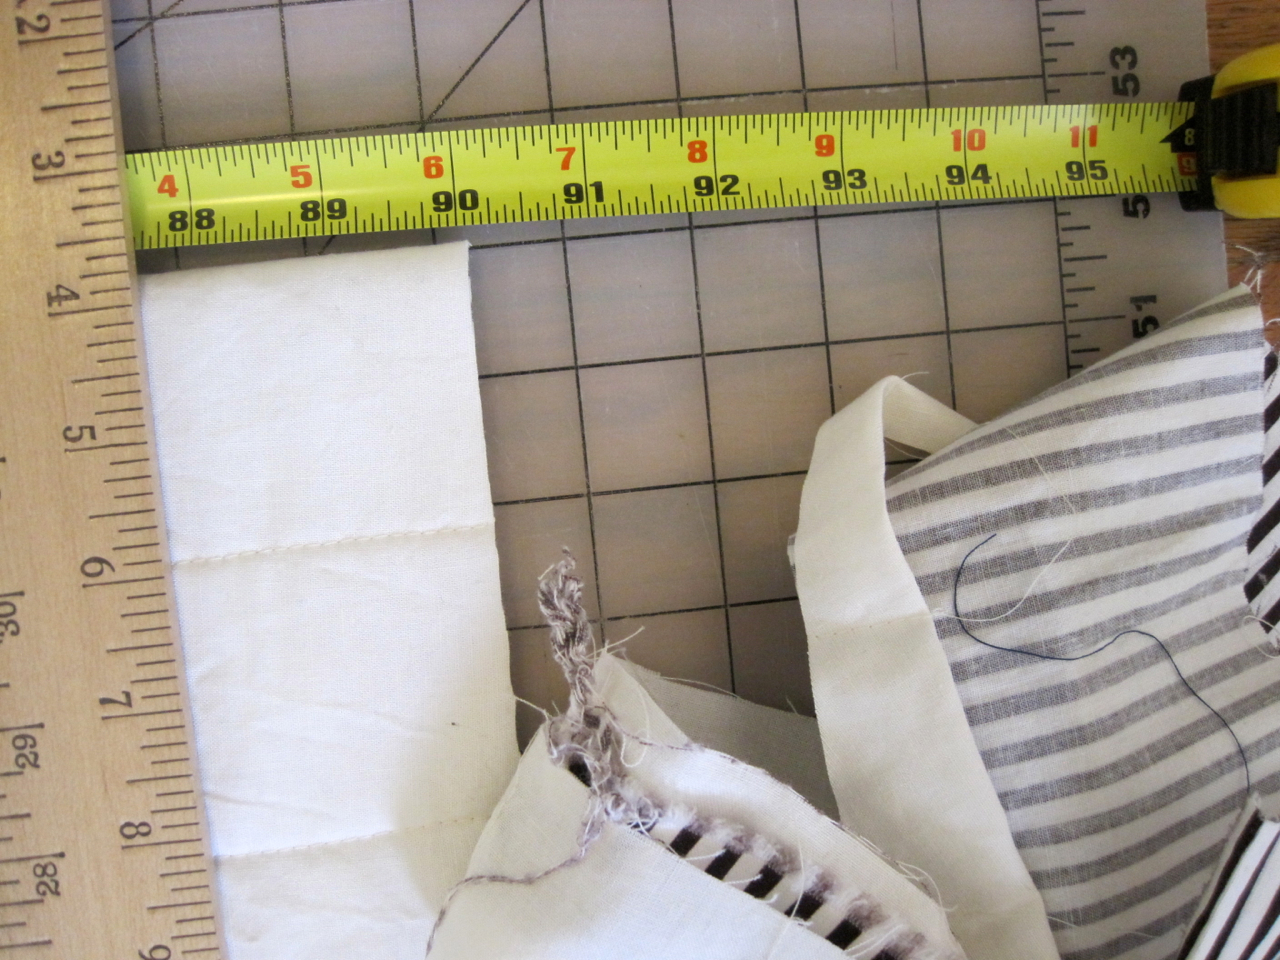
Once I’ve quilted all my layers I spread the quilt out on my cutting board. You can use a yard stick to measure but it was easier to use a measuring tape for these long lengths. Cut the width down to 68″. Make sure you’re cutting on each side to even and clean up the edges.
Next cut down the length to 90″. Make sure you’re cutting on each side to even and clean up the edges.
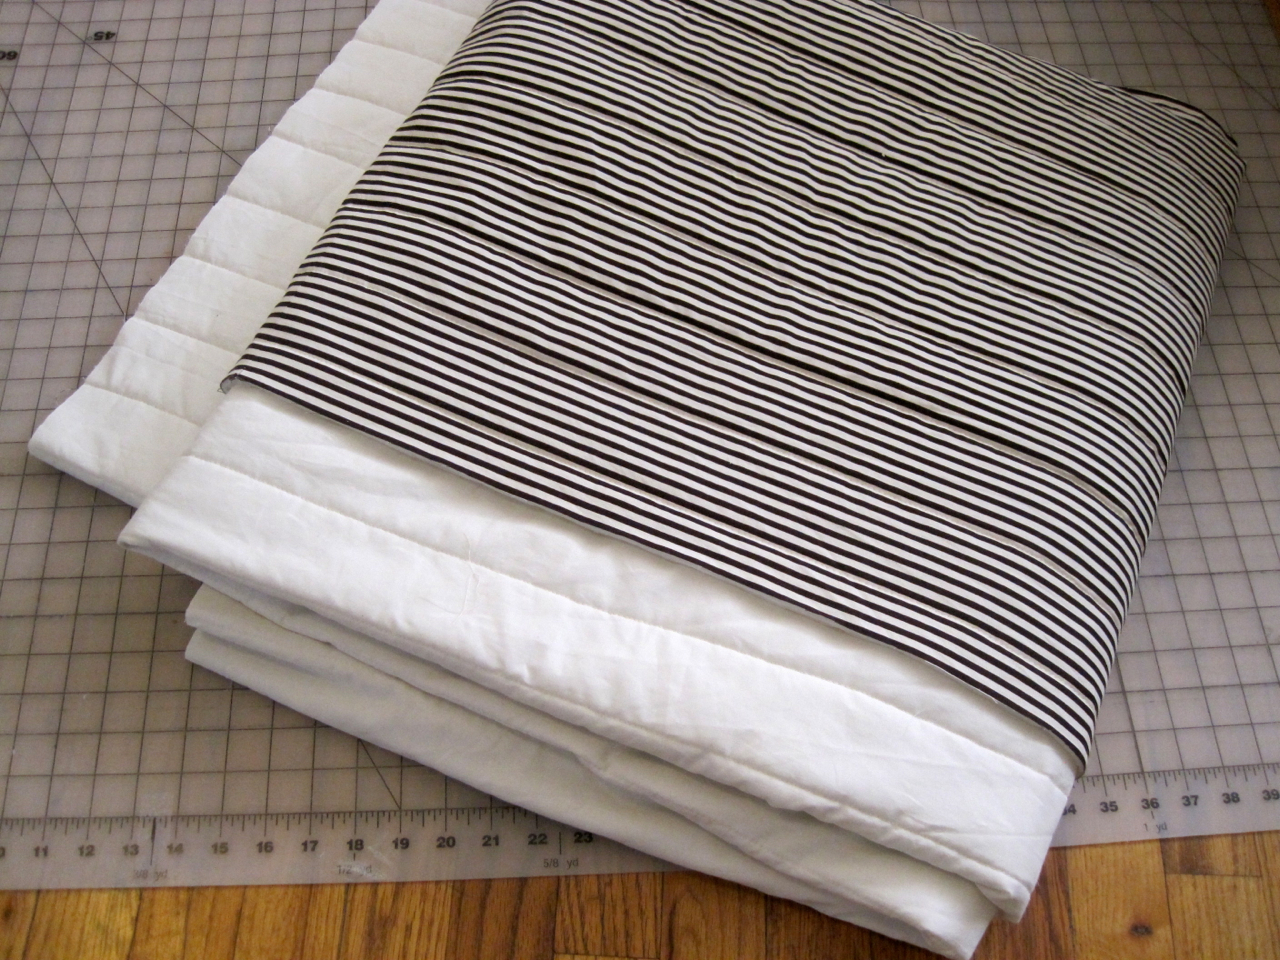
Your quilt should now have nice and clean edges with square corners.
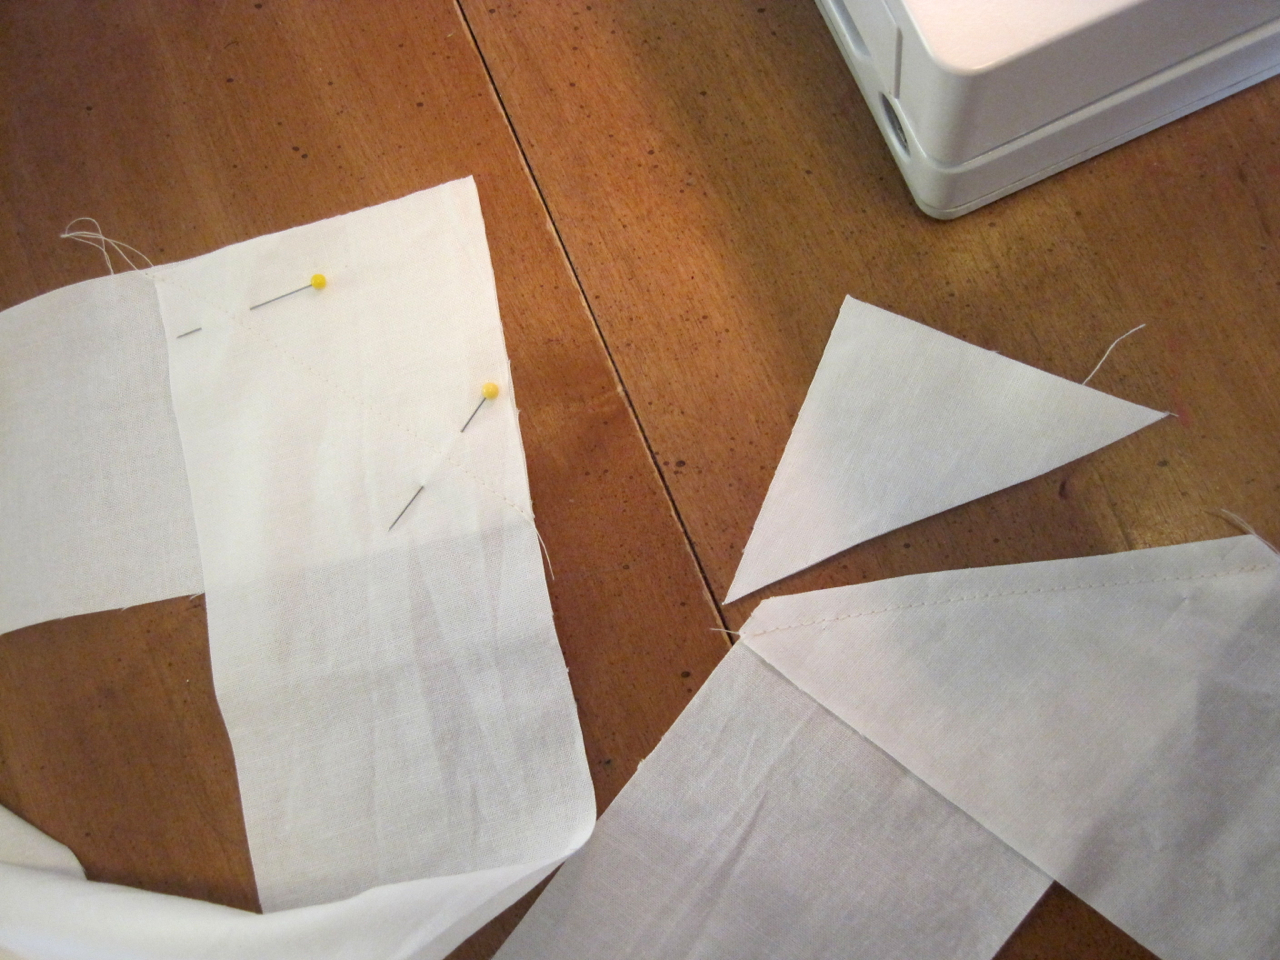
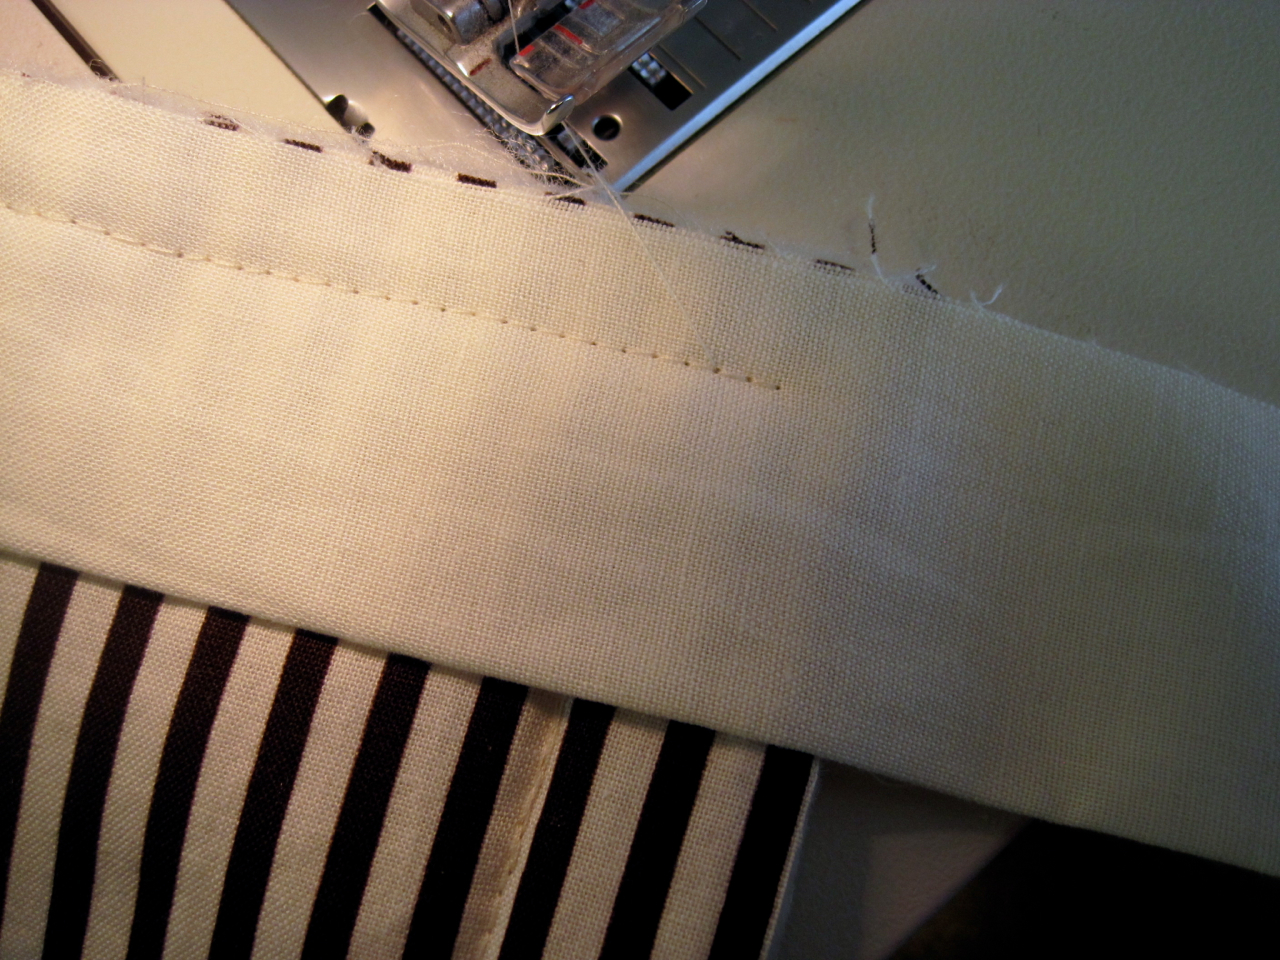
For binding: cut enough 3″-wide stripes of fabric to make about 9 yards in length. Piece your lengths together by matching up right-sides, pinning and sewing from corner to corner. Cut off extra.
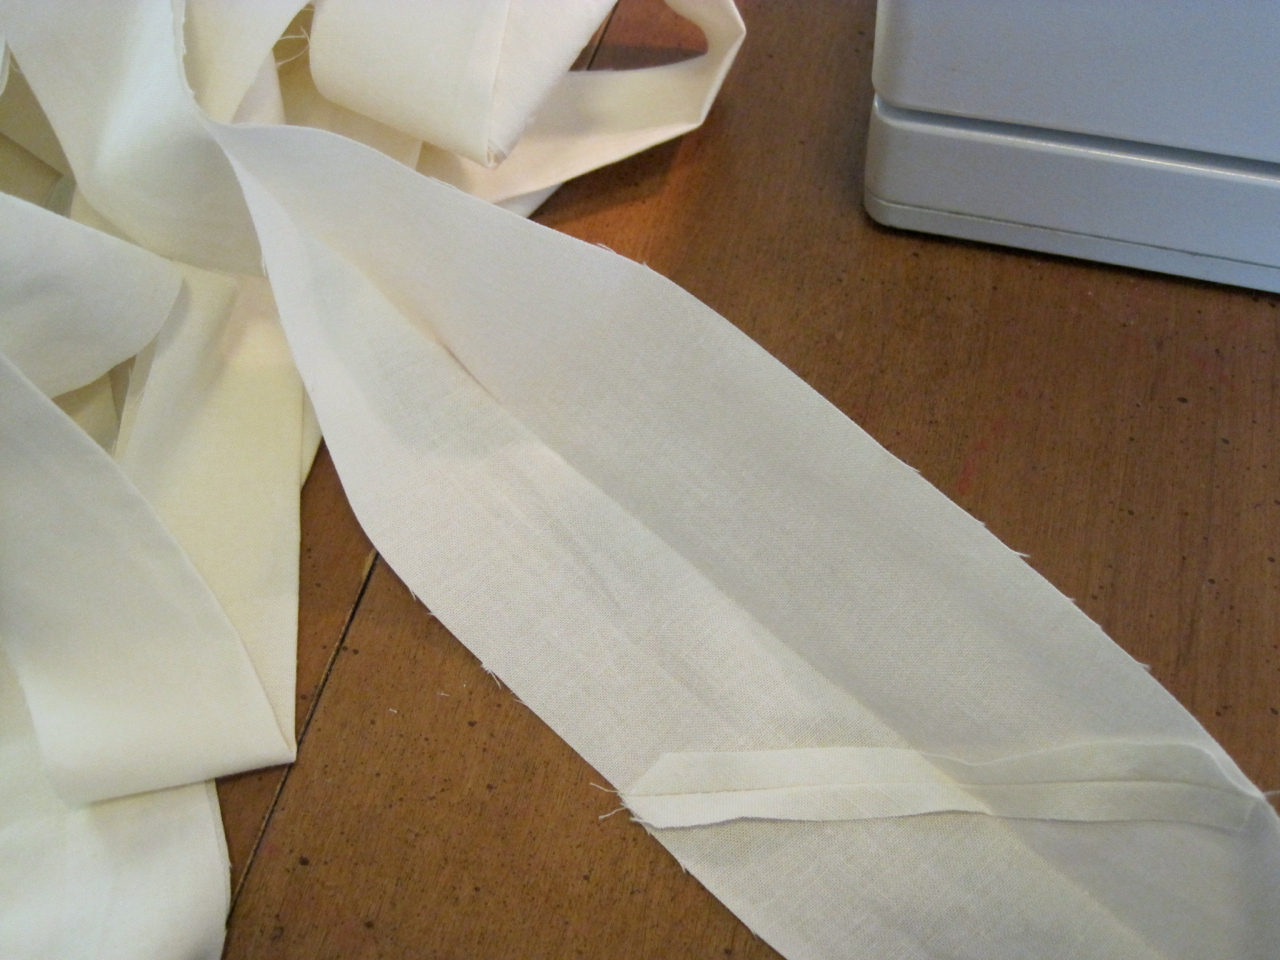
Iron seams open and then fold strip in half (with wrong sides together) and iron flat.
Leave the first 4″ of binding un-sewn. Start sewing your binding to the right side of your quilt, about center and at the bottom end. Match up the raw ends of your binging to your quilt and sew with a 1/2″ seam.
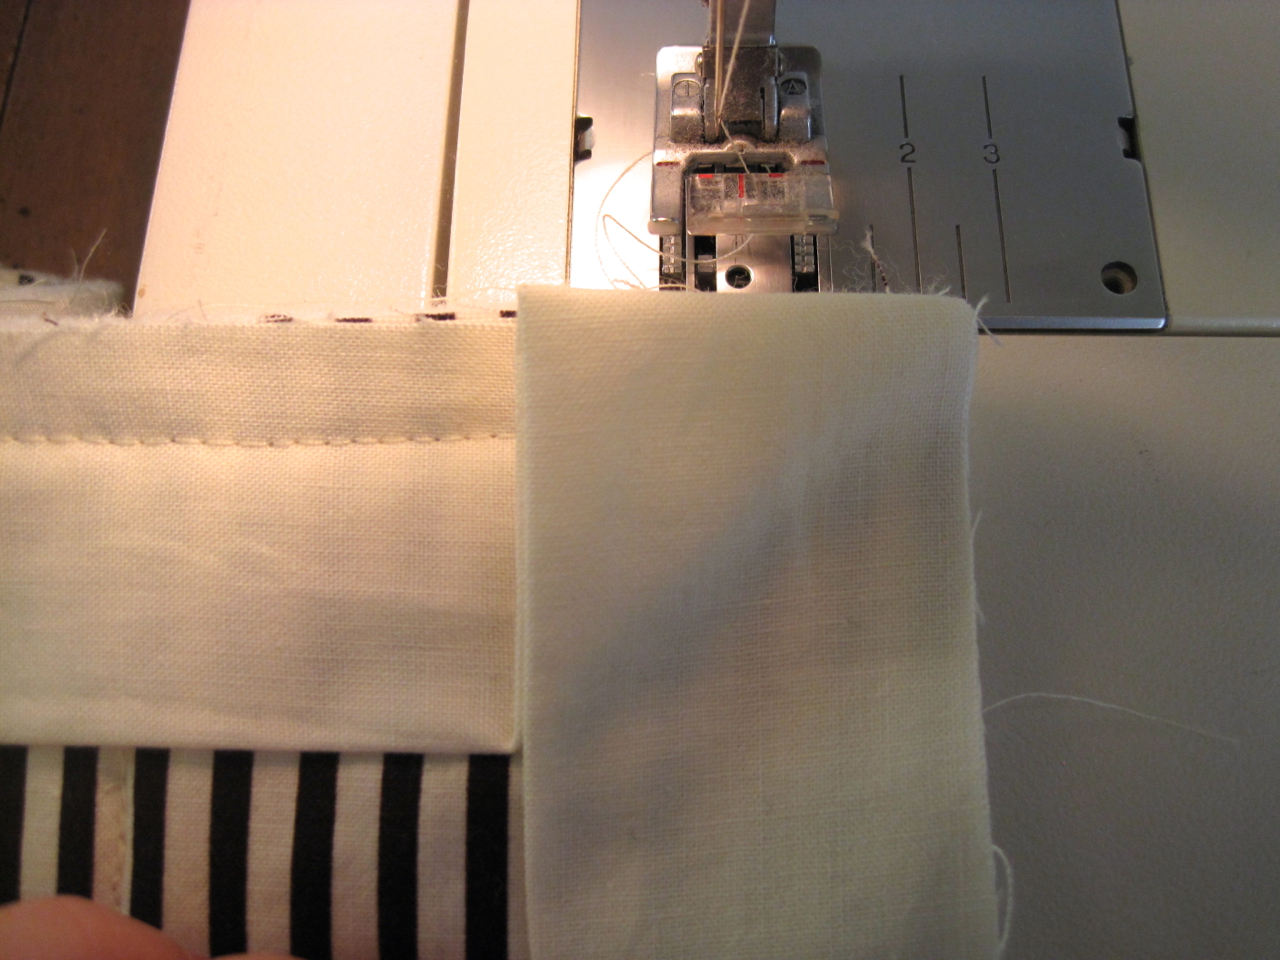
Corners are fun. When you get to a corner, stop 1/2″ before you reach the other side of your quilt and back tack.
Line up your binding with the other side of your quilt, making sure the part where your binding is folded at the top is lined up with the edge of your quilt.
Start sewing where you left off, 1/2″ in and make sure to backtack. Continue your way around the quilt in this fashion.
When you get about 10″ away front the first end of your binding, stop sewing with your needle in the fabric (so it doesn’t move around). You’ll want your ends to overlap 1-2″ and cut a diagonal in one end across the entire width (open your strip to do this).
Pull your flat edge over out of the way and fold your diagonal edge in about 1/2″.
Aline your flat end inside the diagonal end with raw edges together.
As you sew closer to the end, make sure everything is aligned and laying nice and flat. Sew up to your beginning stitch.
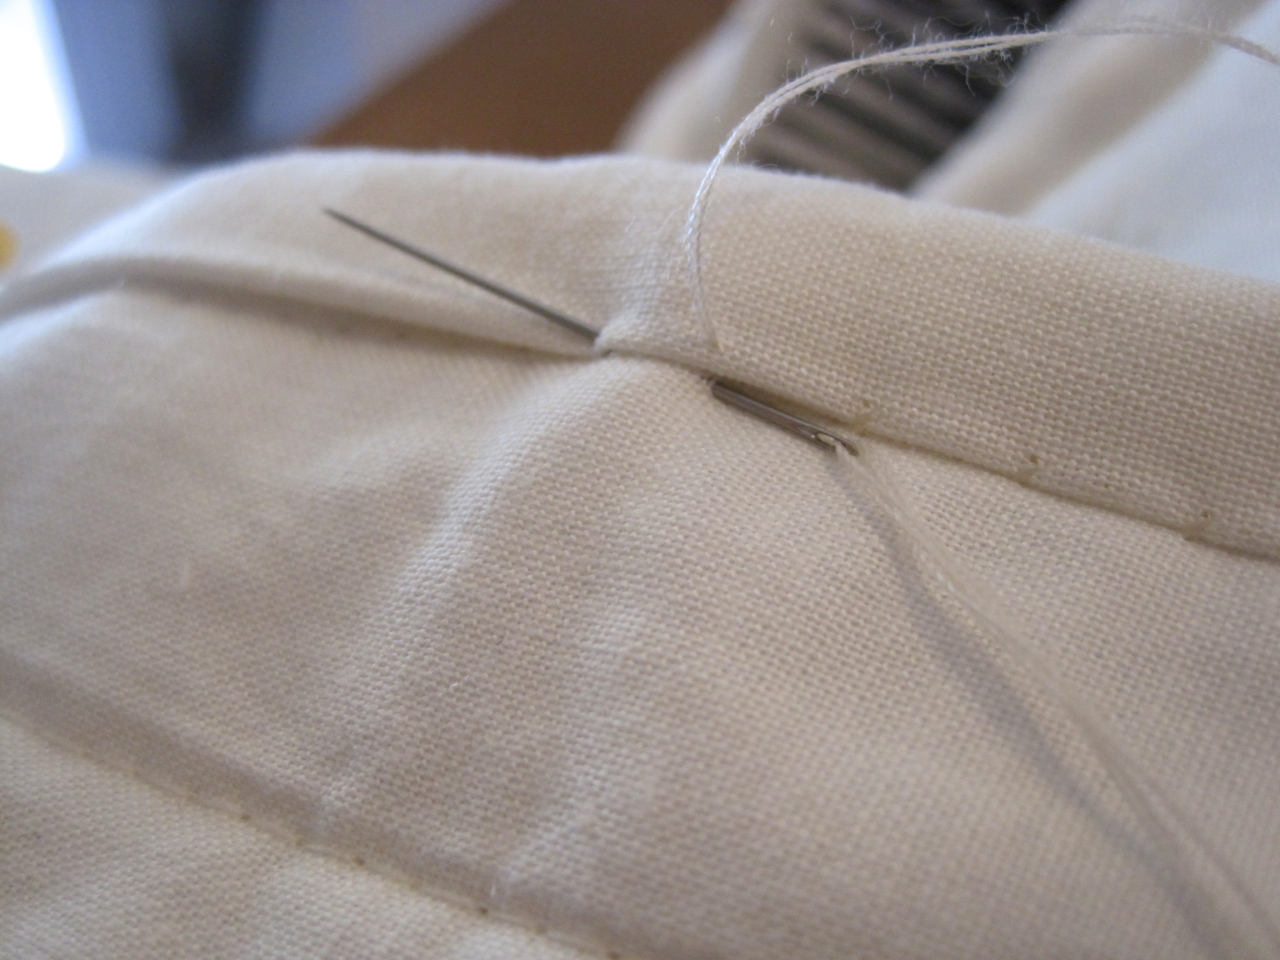
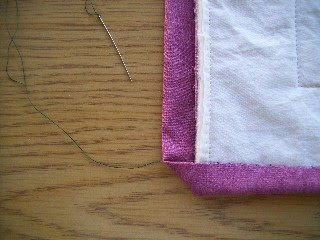
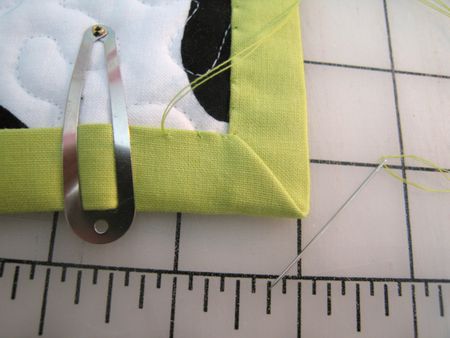
Now you’re ready to hand stitch your binding! This is one of my favorite parts! You’ll fold your binding over the raw edges and just enough to cover your stitches on the other side. It’s probably easier just to look at the picture and figure out how to do it, but I’ll explain how I do it just in case. I put a 2 pins in to hold my binding with about a 10-inch spacing just to hold the binding down while I’m working, then I’ll move them as needed. I like 2 strands of thread and start my end inside the seam allowance to hide the knot, then come up barely on the edge of the binding and put my needle just to the side of that hole on my quilt. I make a stitch about every 1/4″ along my binding. The corners might seam tricky but they’re not! I forgot to take pictures so I found some pictures online.
Stitch all the way to the raw end of your corner.
Then pull the binding over on the other side and start stitching again. It’s that easy!


2 Comments
Is this machine washable?
December 11, 2015 at 12:40 pmYes! I preshrunk the material before sewing and it comes out of the dryer great!
December 11, 2015 at 12:41 pm