
Welcome to Part 2 of my Christmas Tree Ornament Posts!
I grouped these ornaments together because they both use cornstarch and they’re both kind of messy to make (but still wonderful of course)!
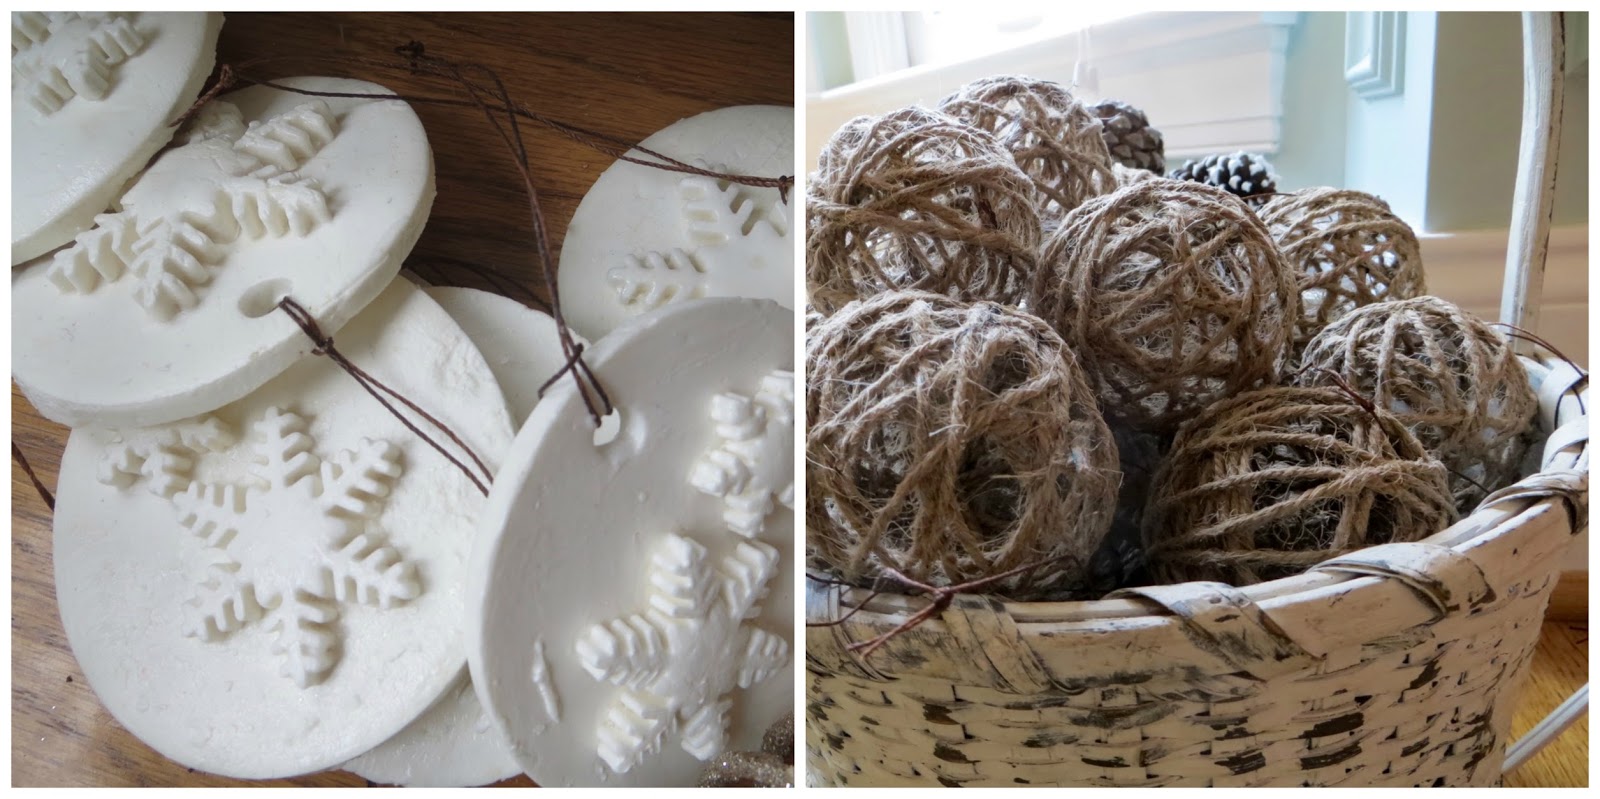
CORNSTARCH ORNAMENTS
SUPPLIES NEEDED:
-2 c. Baking Soda
-1 c. Cornstarch
-1-1/4 c. Water
-Straw for Ornament Hole
-String for Ornament Hanger
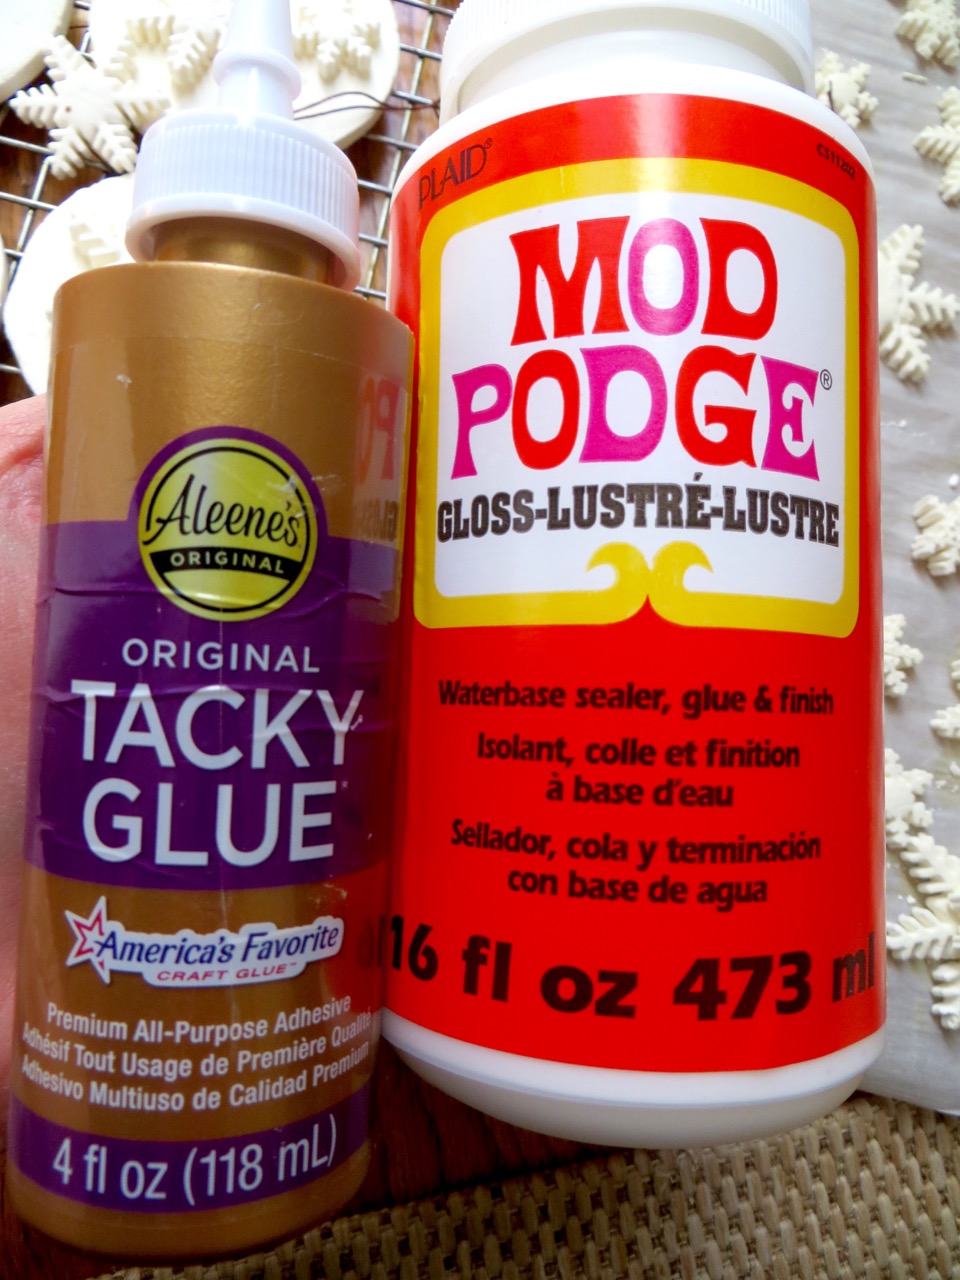
-Tacky Glue (if you have it – otherwise Modge Podge)
-Modge Podge
-Parchment Paper
TOOLS NEEDED:
-Rolling Pin
-Silicone Mat (recommended)
-Cookie Cutters
-Baking Pan + Cooling Racks
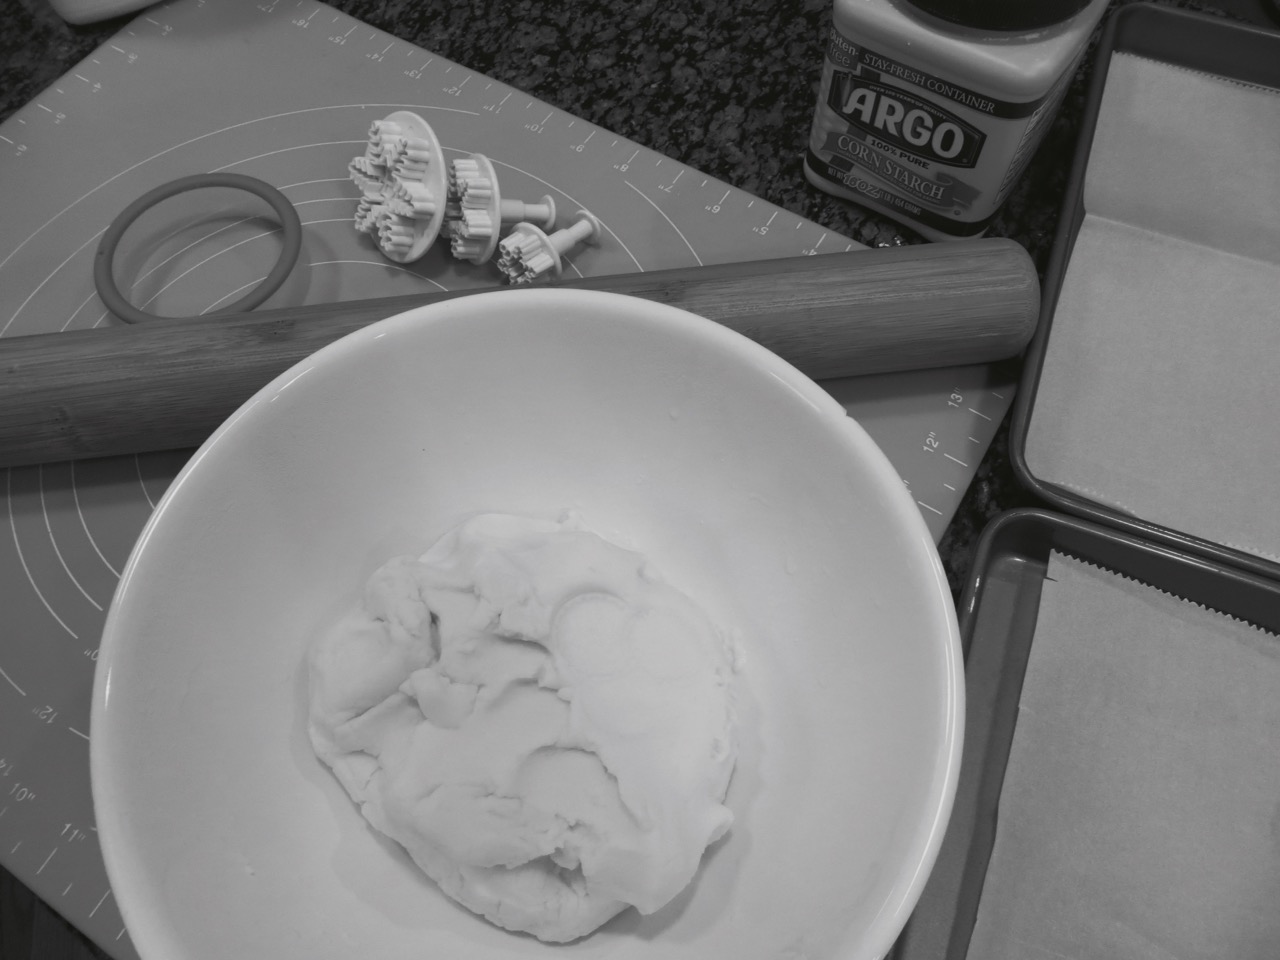
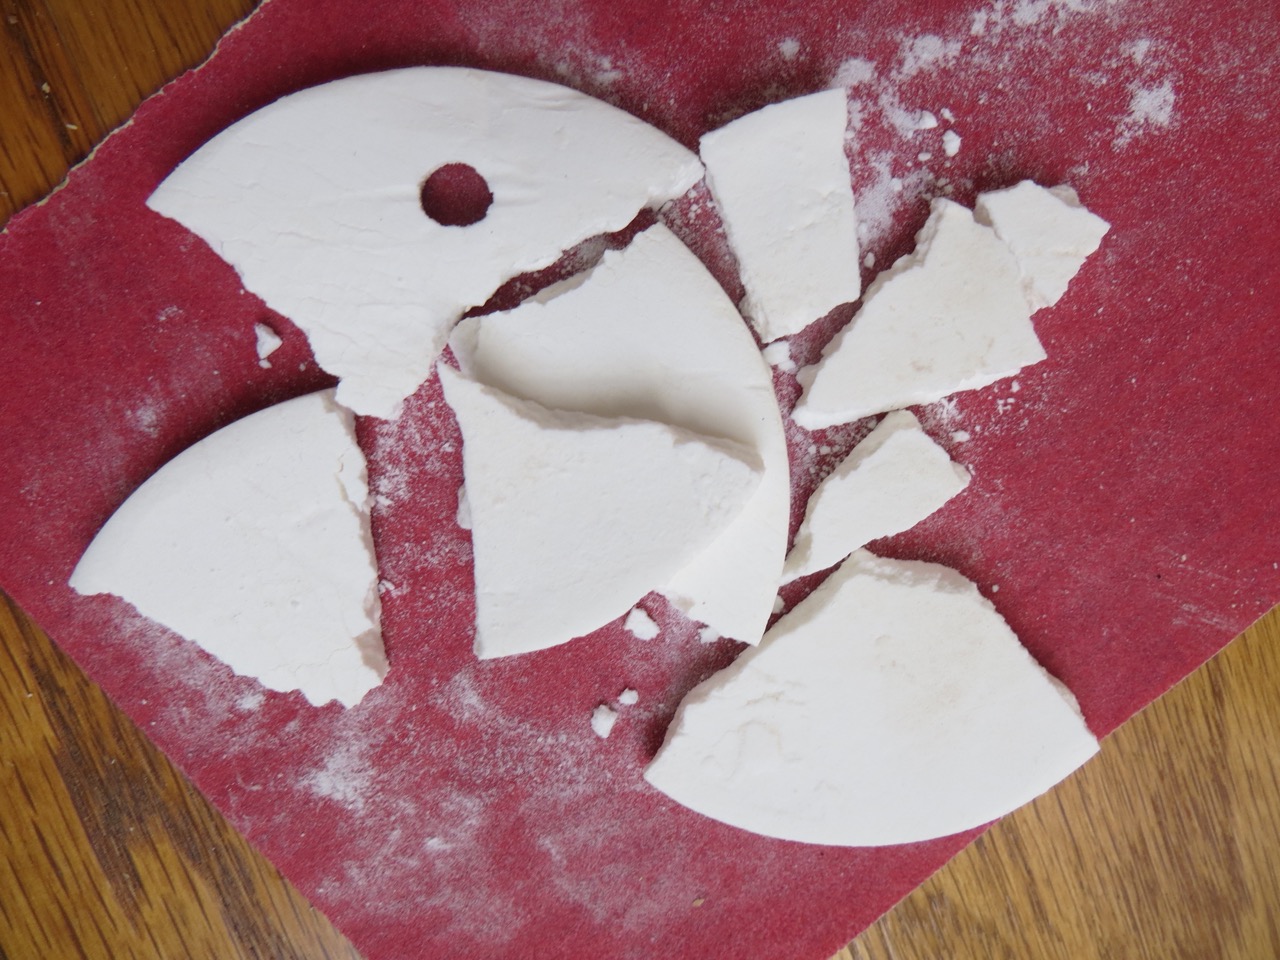
 CAUTION: I first tried this recipe using Generic+Dollar Store brand ingredients (left) and the ornaments got big cracks in the centers while drying. The second time around I used name brand ingredients (right) and they turned out just fine!
Mix your 2 c. baking soda, 1 c. cornstarch and 1-1/4 c. water in a medium saucepan over medium heat and stir continually. Keep stirring until mixture thicken to the consistency of slightly dry mashed potatoes. Don’t under or over cook or your ornaments won’t turn out (or so the recipe says).
Set dough in a bowl covered with a damp towel until cooled – about 1 hour.
Line baking sheets with parchment paper and have extra cornstarch to keep dough from sticking. If you have a silicone mat you’ll be glad you did – this dough is kind of hard to work with and any extra thing will help!

Sprinkle cornstarch on your mat to keep dough from sticking. TIP: Keeping the dough from sticking to the mat is essential so you’ll be able to transfer them easily to the parchment paper. Roll your dough out 1/4 inch thick. Make sure you keep your rolling pin dry by coating it with cornstarch once in a while.

I bought the 3 snowflake cookie cutters as a set at Hobby Lobby for $3 and they are a gem! They cut so smoothly and you push the button on top to get the dough out.
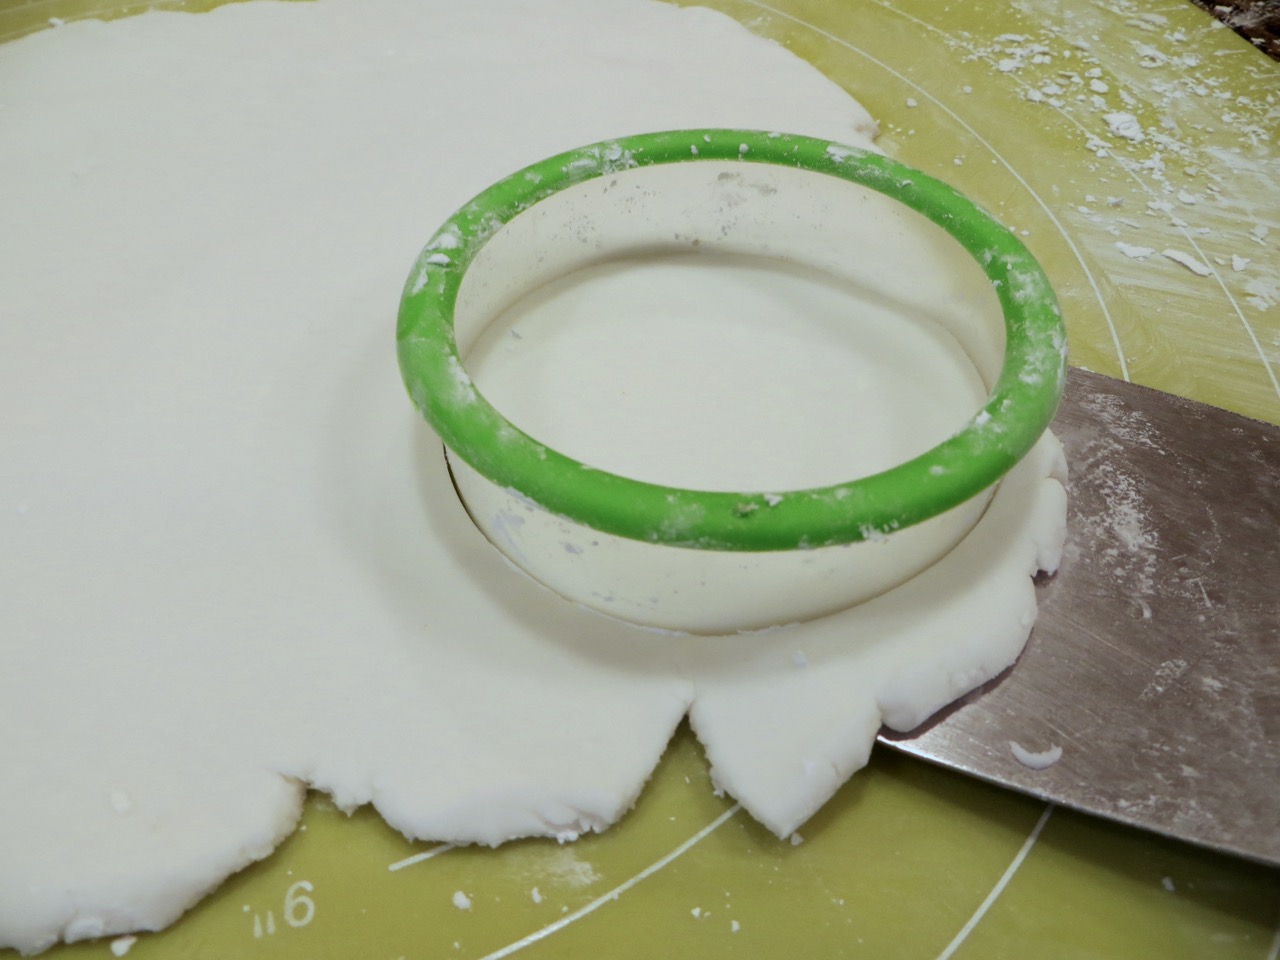
For the circles it was trial and error to figure out how to transfer them without deforming them. I kept the cookie cutter in place while I used a thin spatula to scoop them up. The cookie cutter held the shape of the dough while I put it on the parchment.
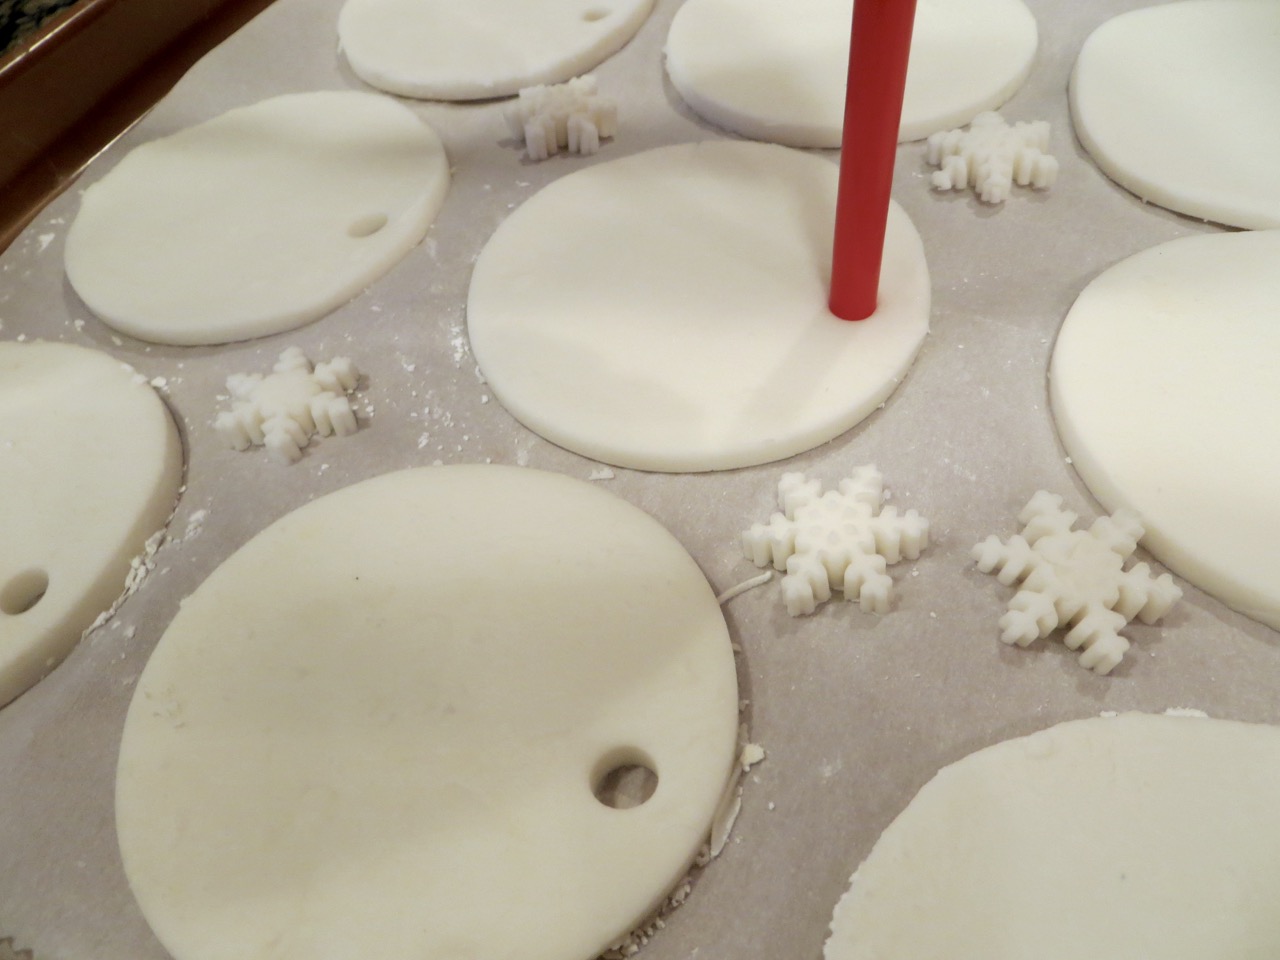
Use a straw to cut holes in your ornaments for the string. Blow the dough out after each one.
I baked my first ‘test’ batch (the one with cheap ingredients) in a 170 degree oven and they ended up cracking in the centers and curling up on the sides so I wanted to air dry my ornaments.

After several hours I transferred my parchment sheets to a large wire rack for better drying.
After 24 hours I tried sanding my circles and the first one broke! I was so surprised because I’ve read people say how durable these are. I could see that the inside wasn’t quite dry yet.
After being frustrated (and impatient) I decided to pop the wire rack in a warm 170-degree oven for a few hours – that would do the trick!
Certainly enough they were dry after being in the oven for 8 hours (Oops… Mommy brain!).
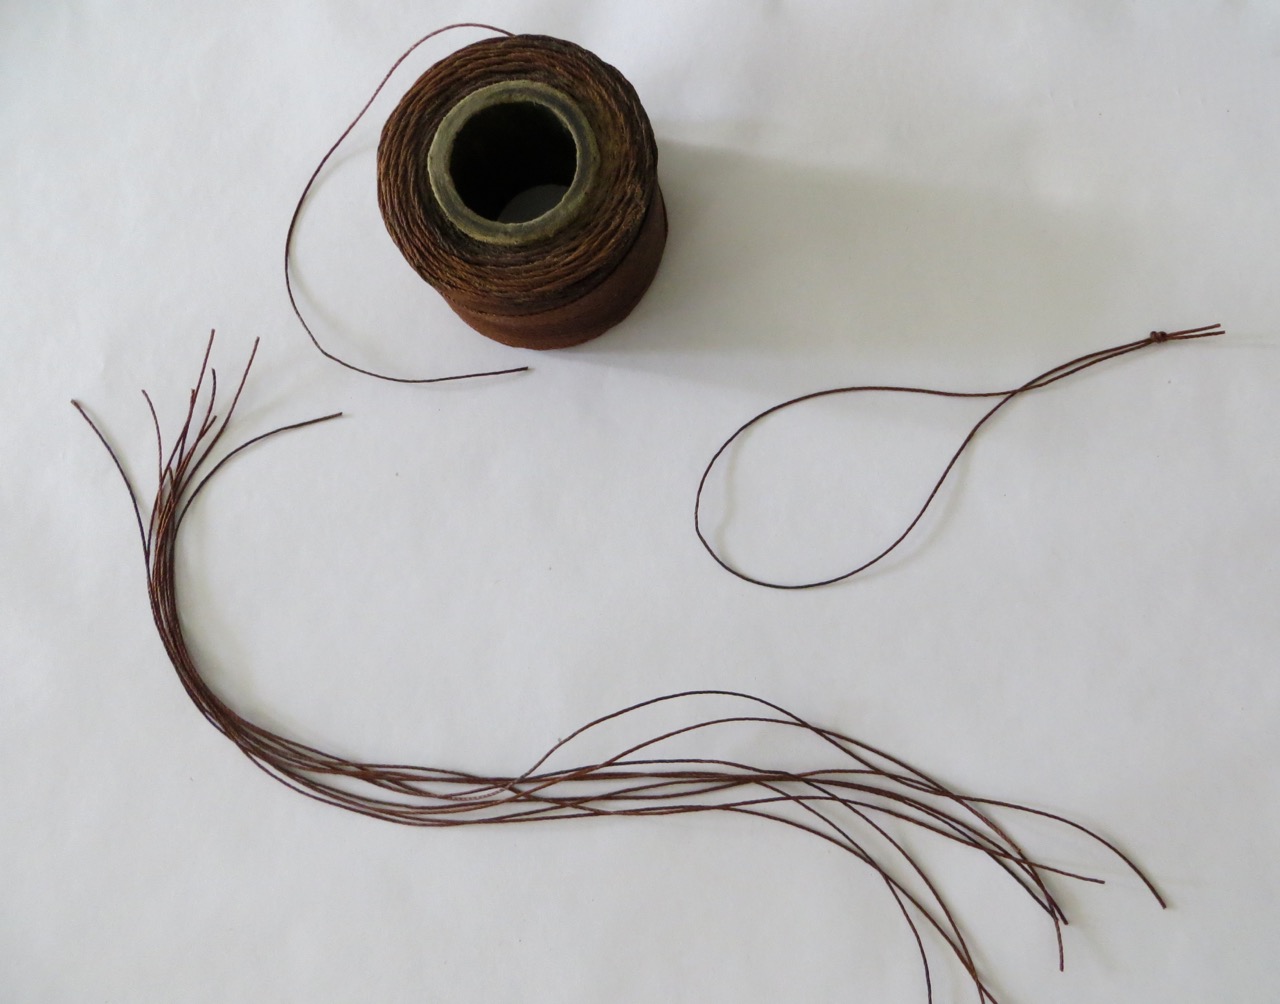
Cut string pieces long enough so once a loop is created they can slip over a branch on your tree. Knot the two ends together and fish the folded end through the hole on ornament and thread knotted end through loop and pull tight.

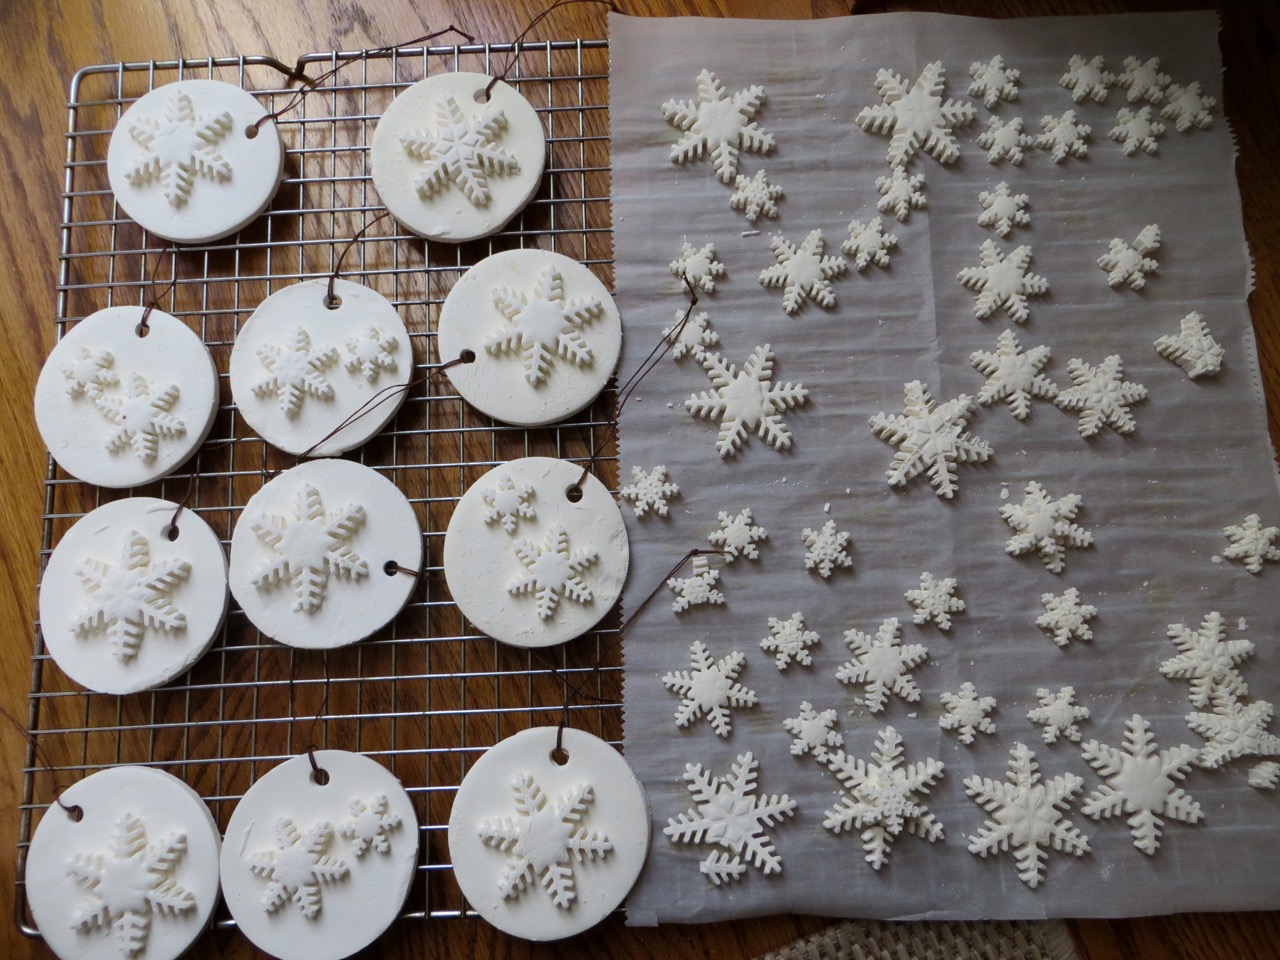
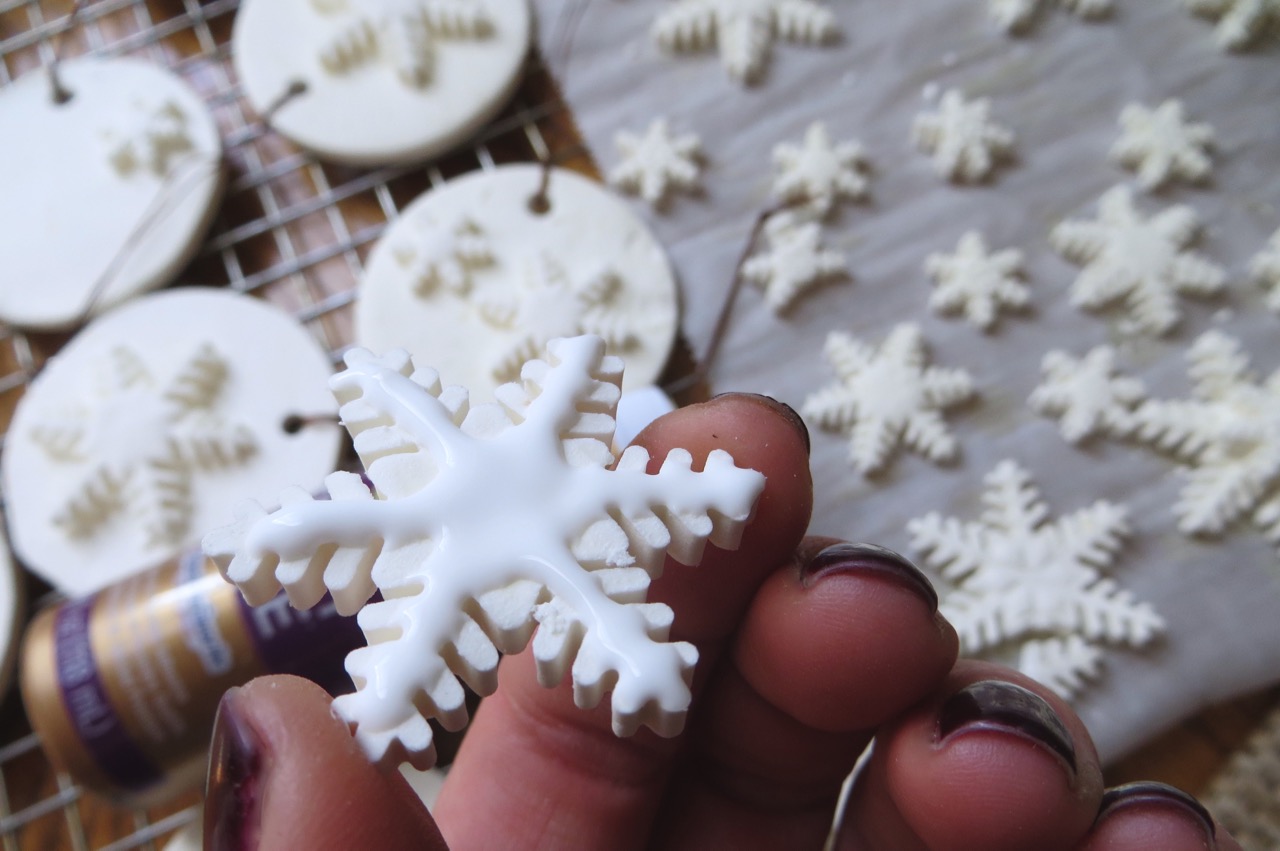
I decided I actually like the imperfections because it made them look more like actual snow! The snowflakes are fragile because of the thin ‘stems’ so I handles them carefully and decided which ones I liked best for keeping (I had a lot of extras).
Tacky glue was fascinating at how well and fast it stuck the snowflakes to the circles!
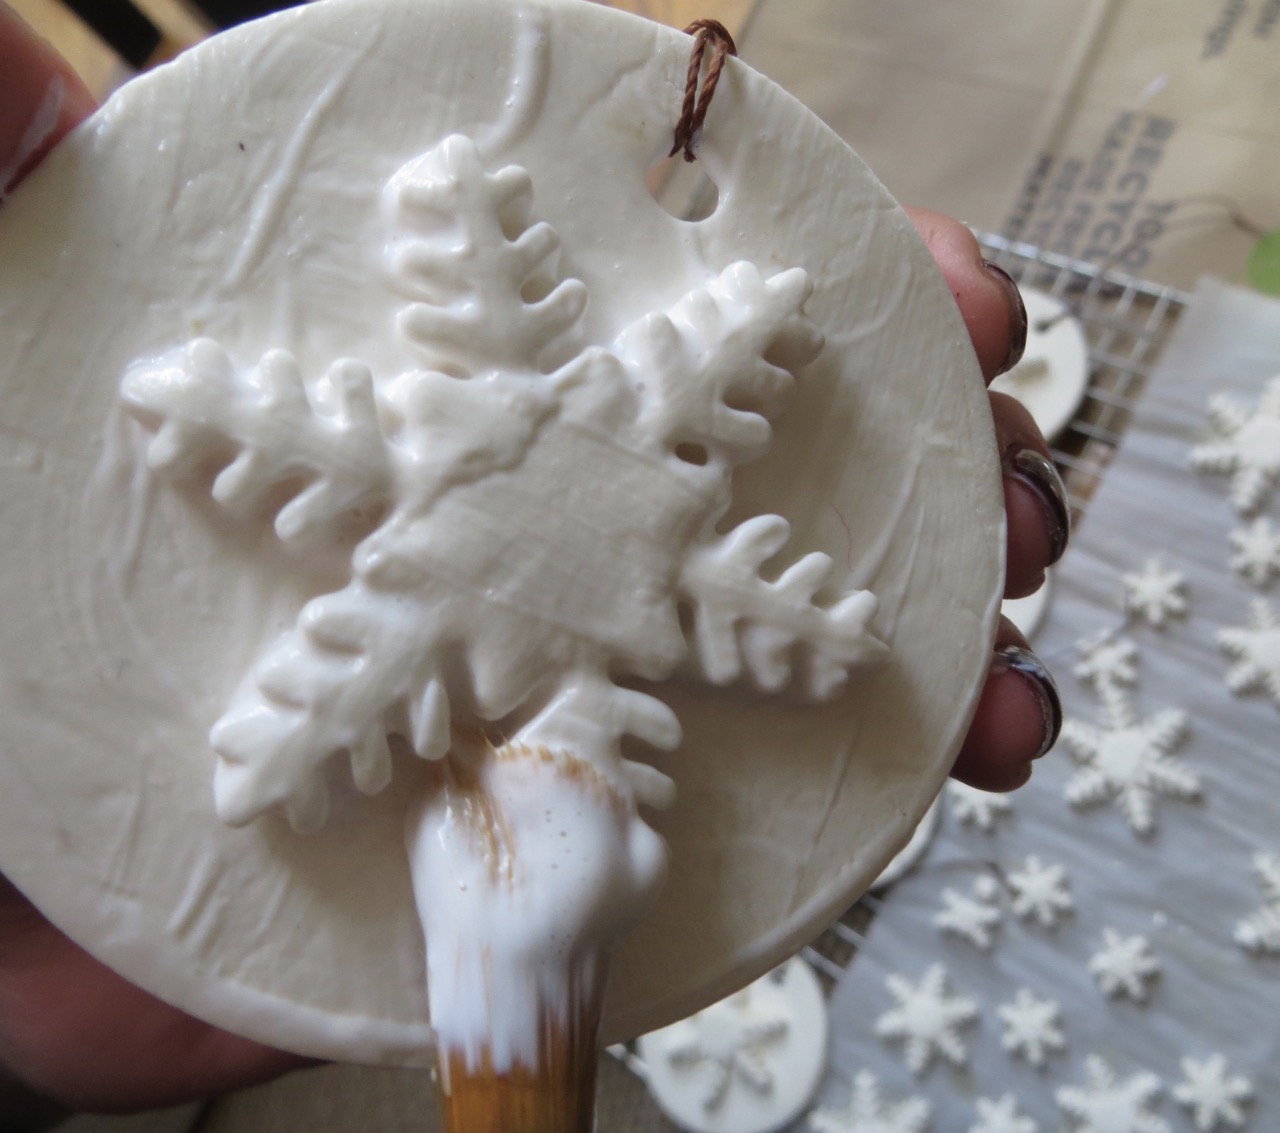
I painted Modge Podge in and around every little crevice of the ornaments to ensure they were sealed well and would last. I haven’t dared to test how strong the ornaments are but they feel stronger after I baked and dried them completely.
Hang to dry.
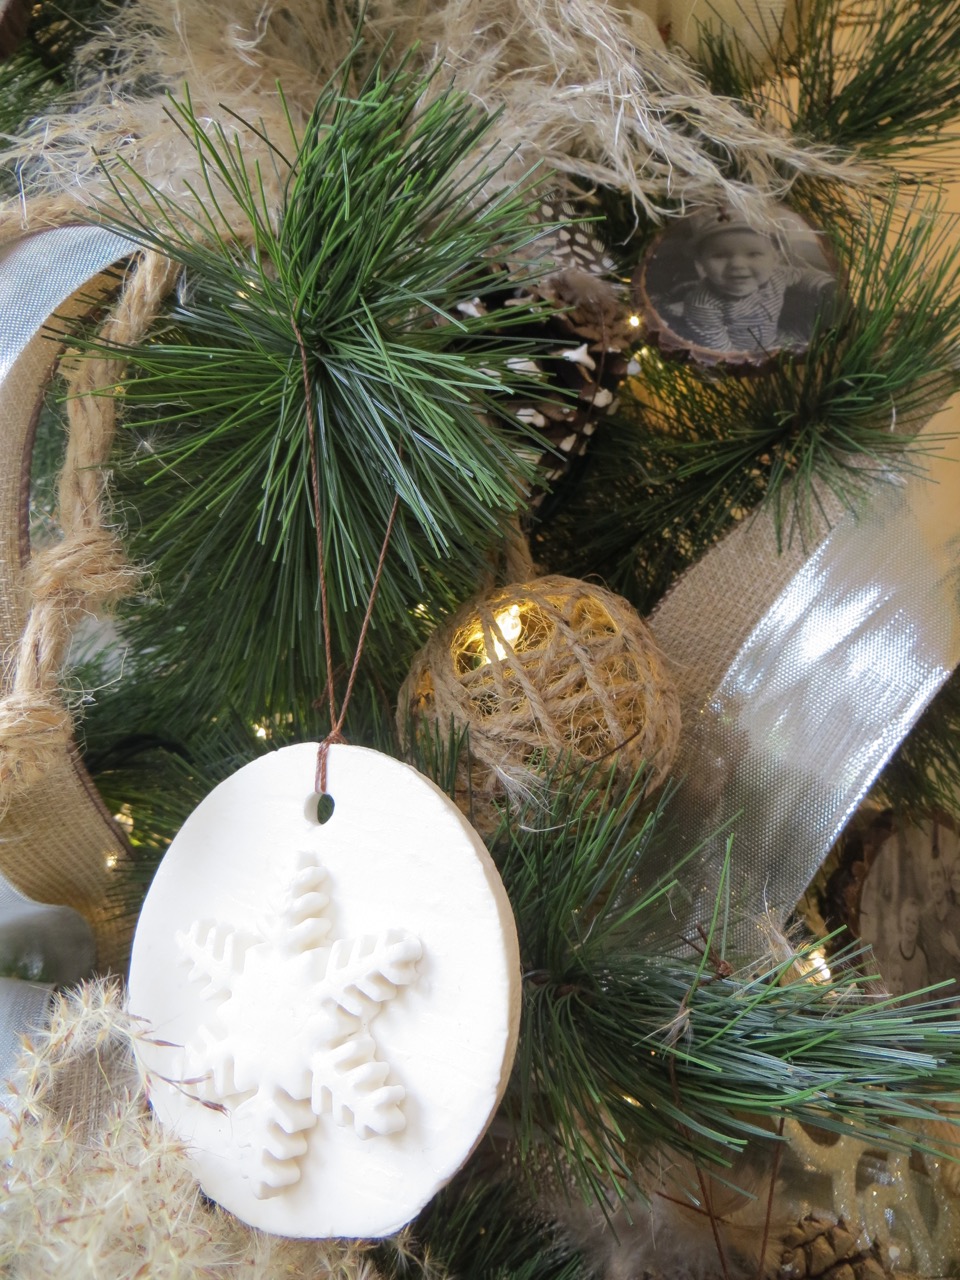
FINISHED!
. . . . . . . . . . . . . . . . . .
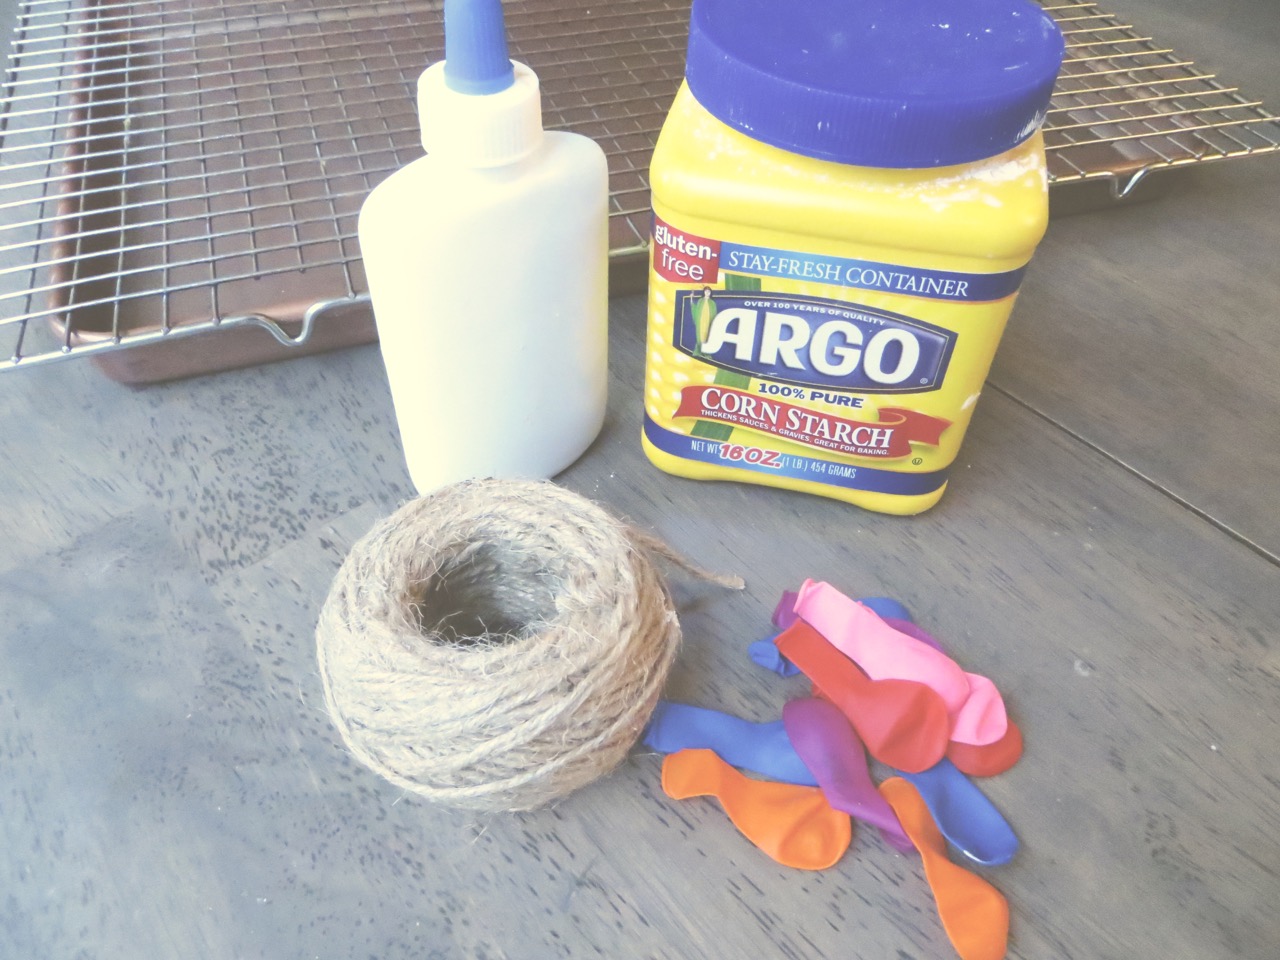
TWINE BALL ORNAMENTS
SUPPLIES NEEDED:
-Twine*
-Water Balloons
-Cornstarch
-Full Bottle Elmer’s Glue
-Water
-String for Ornament Hanger (optional)
*You can also use yarn or crochet thread to make the ornaments
TOOLS NEEDED:
-Jelly Roll Pan + Wire Racks
Blow up as many balloons as you want ornaments.

Wrap your twine around your balloons so it’s taught (but not tight). I overlap my end with string to keep in place.
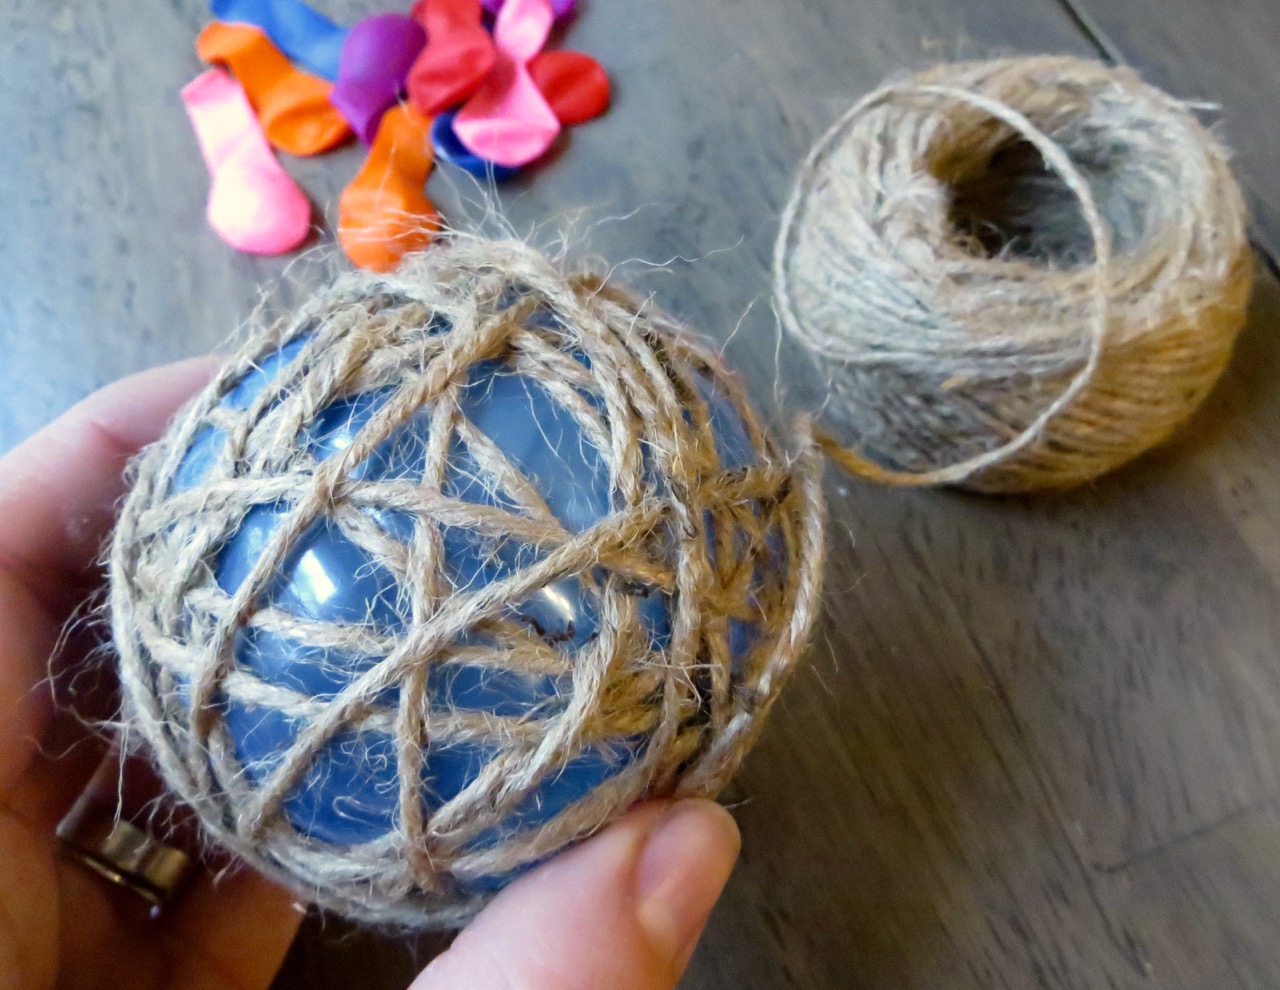
Wrap randomly without much thought, except to get even coverage with no large holes.
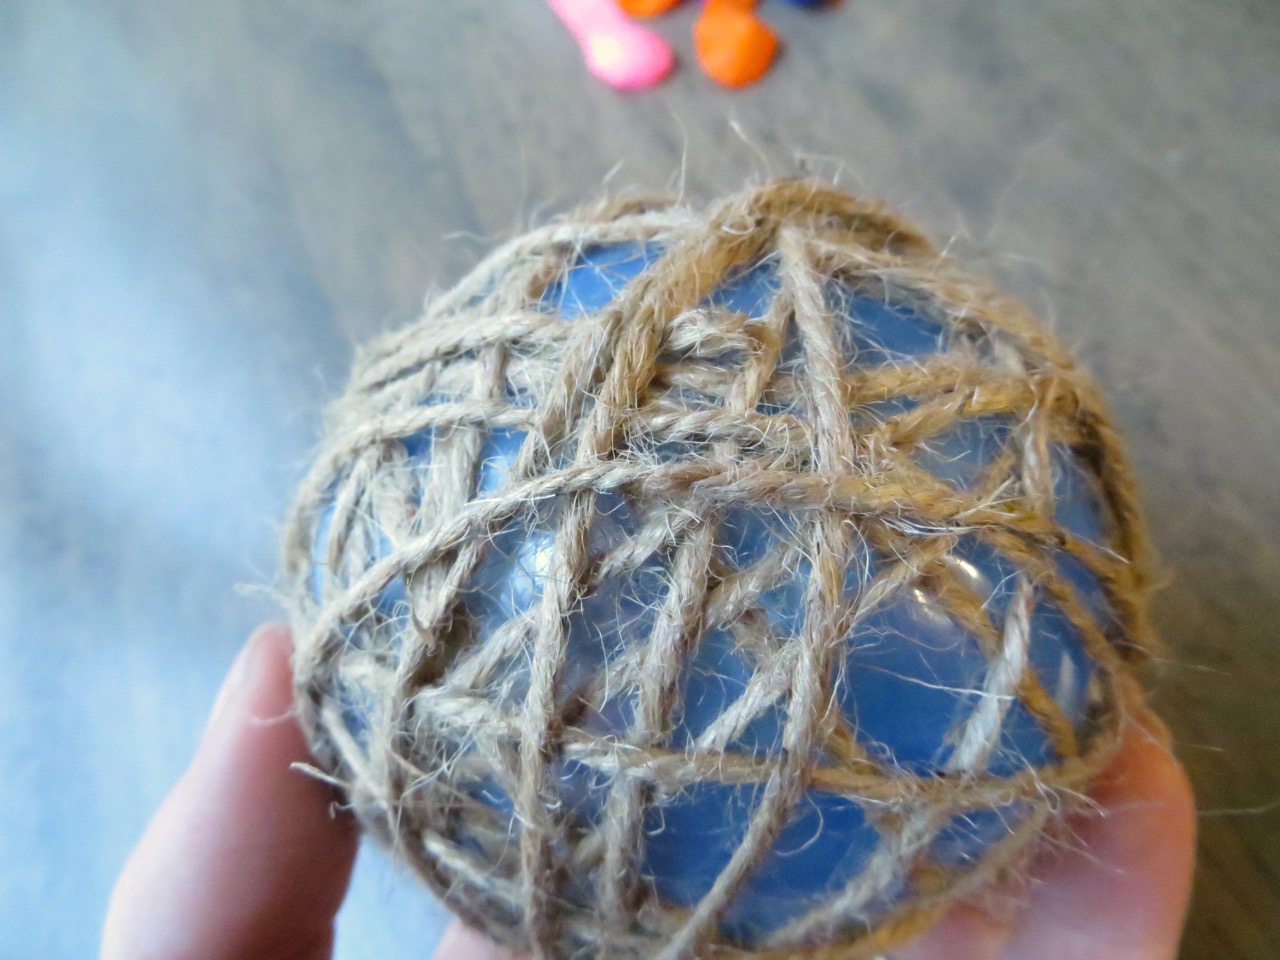
Cut twine and tuck under.

In a small bowl mix a full bottle of Elmer’s glue, 1/2 c. cornstarch and 1/3 c. water.

Roll each balloon around in the mixture until all the twine is saturated.

Place on wire rack over jelly roll pan to drip dry. After several hours my twine was dry enough that I could pop the balloons with a bin and they would hold their shape. Once the balloons were popped I transferred the wire rack with the twine balls into a warm 170-degree oven to dry quicker. TIP: DO NOT try this with the balloons. I now from experience. They will expand and push through your lovely twine and create ugly spaces.

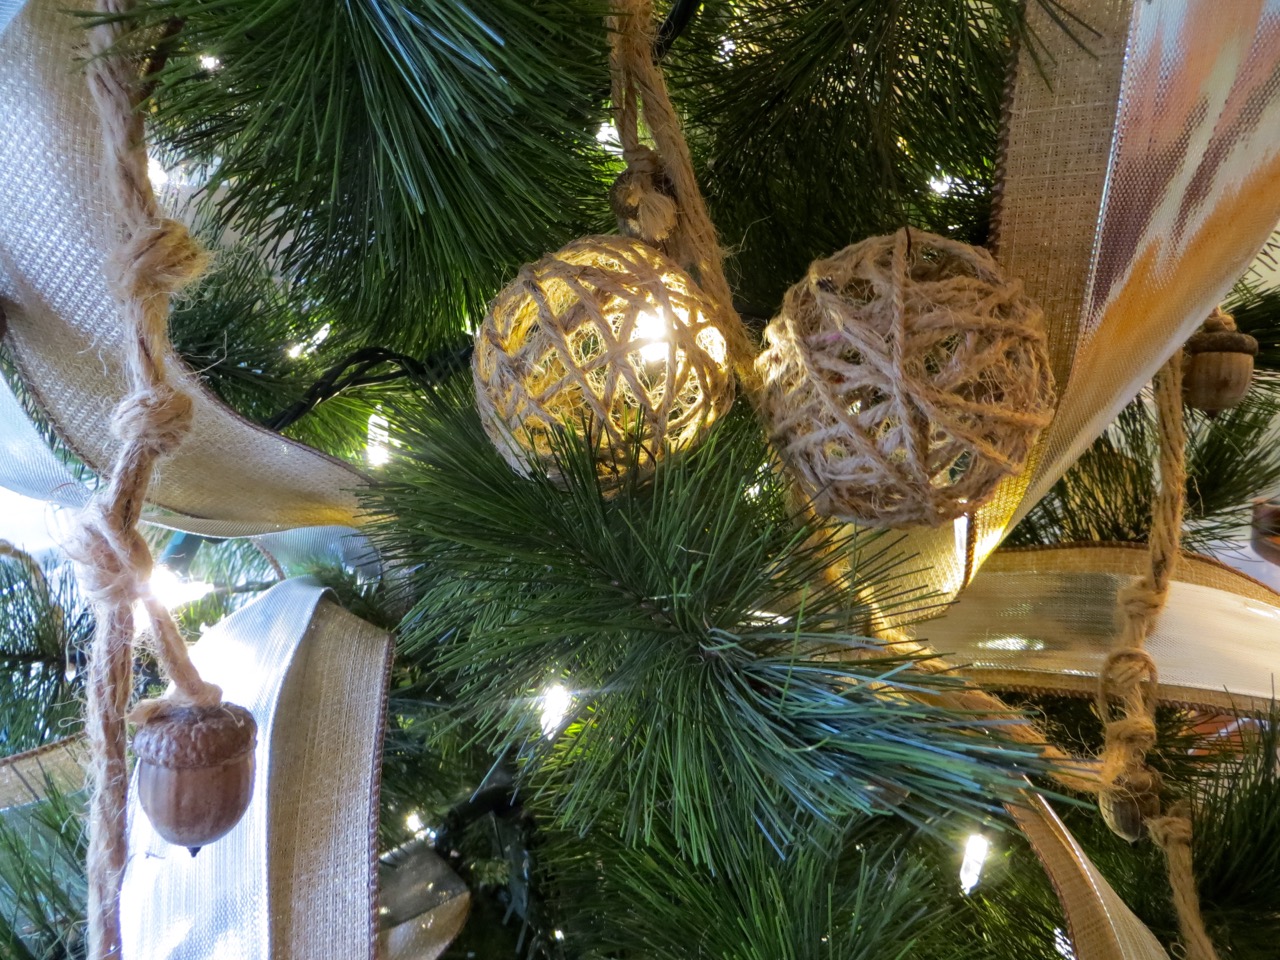
These ornaments can clip right onto a light on your Christmas tree so no hanger is necessary.

This shows you the difference between one that has a light inside and one without – it totally lights up!
If you prefer to hang your ornaments thread string through and tie a knot.

FINISHED!
OTHER CHRISTMAS TREE ORNAMENT POSTS:
No Comments