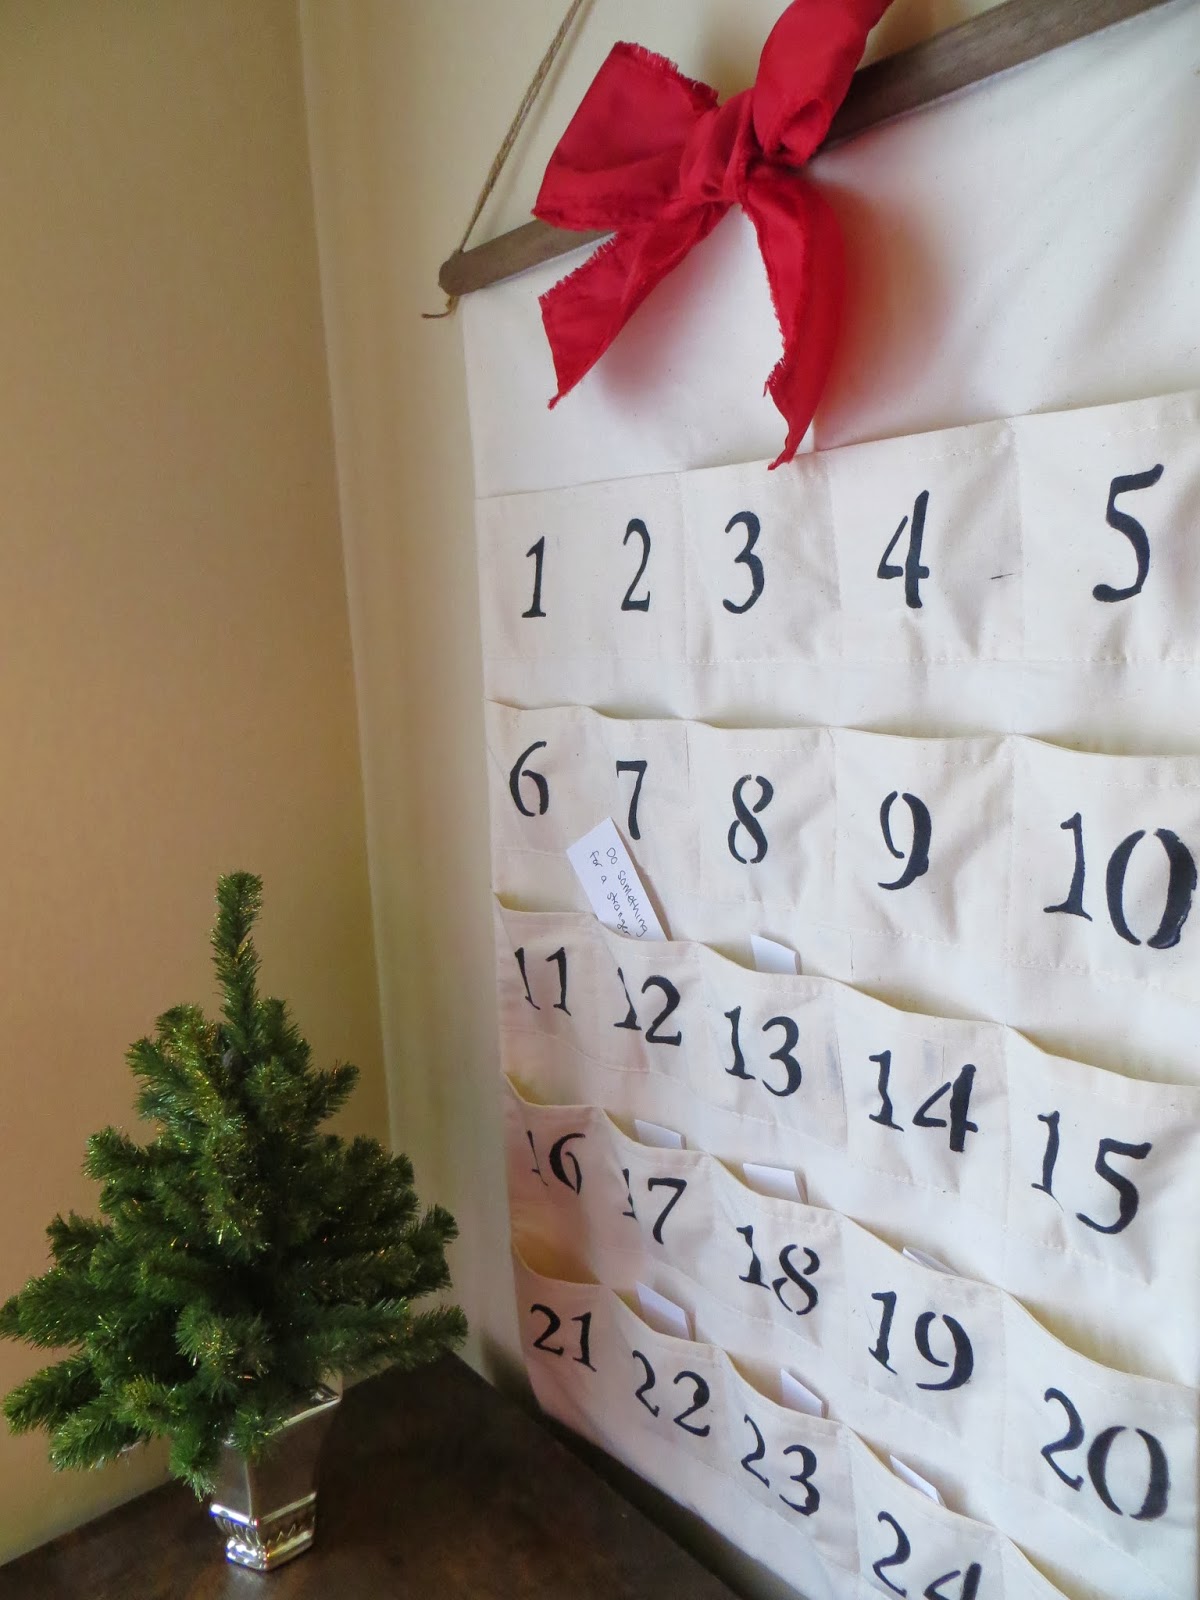
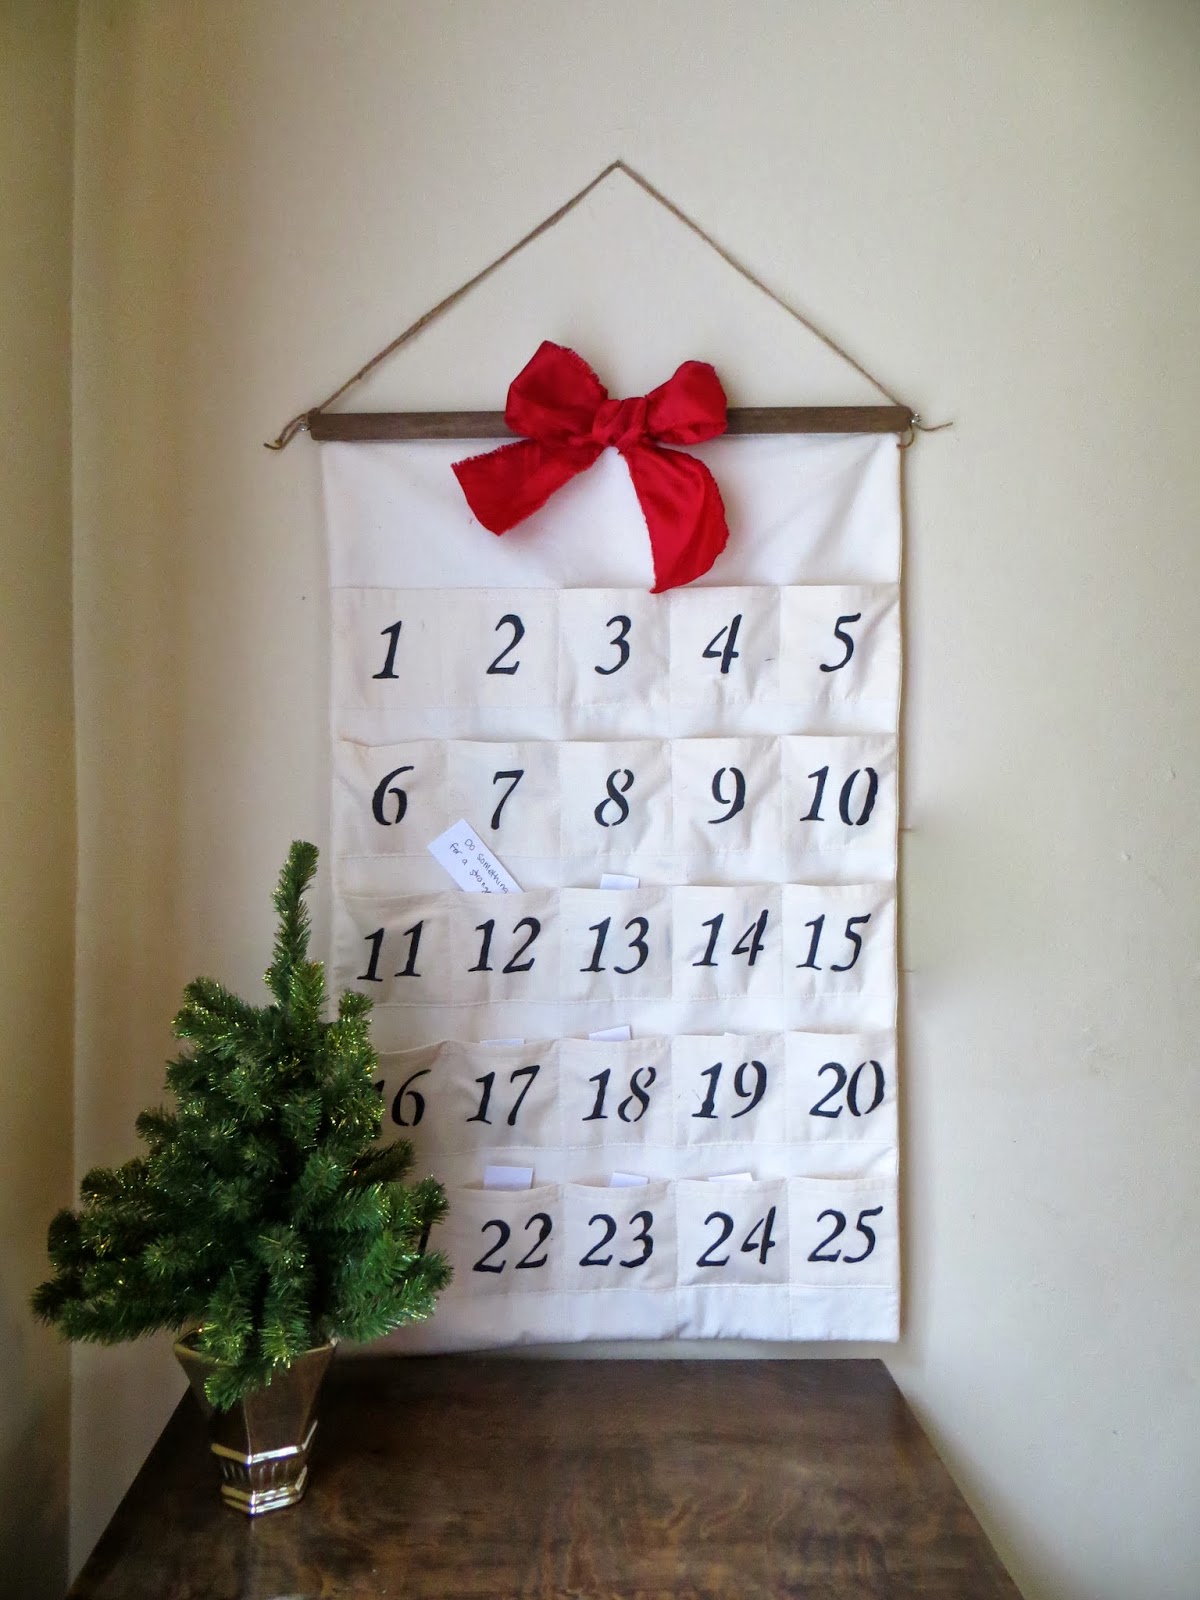
My friend Angela came over to show me an advent calendar she was working on and I loved it! It was simple with stenciled numbers and large pockets. We both thought a little mini tree would be fun to decorate with ornaments from the pockets. In each pocket you can also put different activities/quotes/etc that you can do that day. The only credit I can take is the red bow at the top!

Project Time:
About 3 hours
Finished Measurements:
32″-high x 20″-wide
Shopping List:
2 yards (45″-wide) muslin fabric
5/8 yard white craft felt
1/4 yard red satin fabric
red and creme thread
2″-tall numbered stencils
dark fabric paint
stencil paint applicator
7/8″ diameter (21″-long) wooden dowel
2 eye hooks
6-feet jute twine
wood stain (opt)
Yard stick
Fabric marker or chalk
Staple gun
Optional:
Small Mini Tree
25 Ornaments
Instructions:

Cut muslin according to diagram.
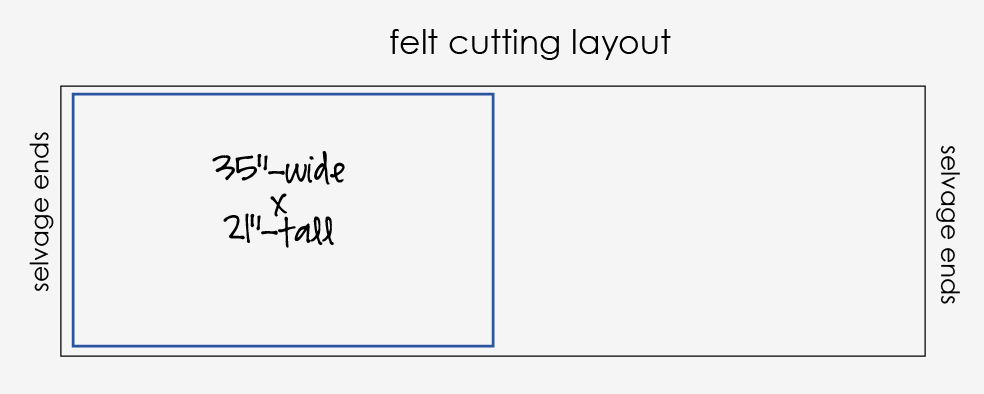
Cut felt according to diagram.
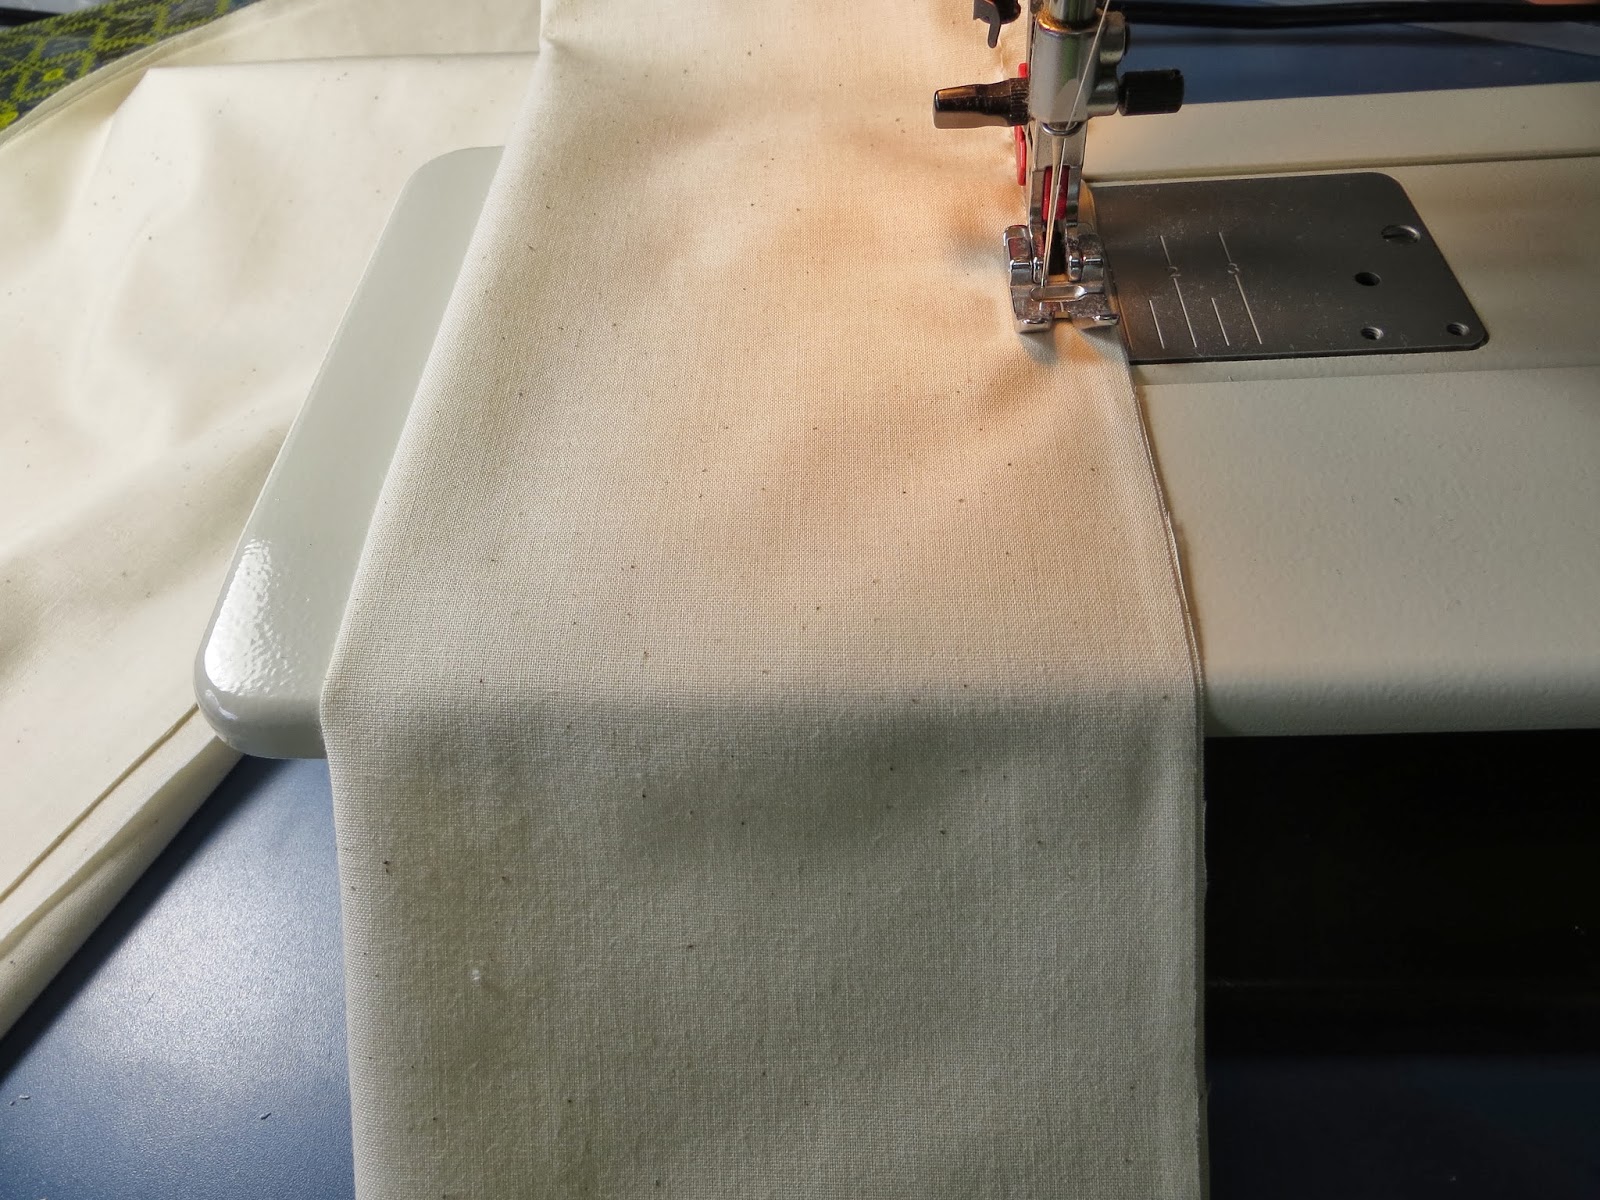
To make pockets, fold and pin your 5 muslin rectangles in-half ‘hot dog’ style. Sew along the long raw edges with a 1/2″ seam.
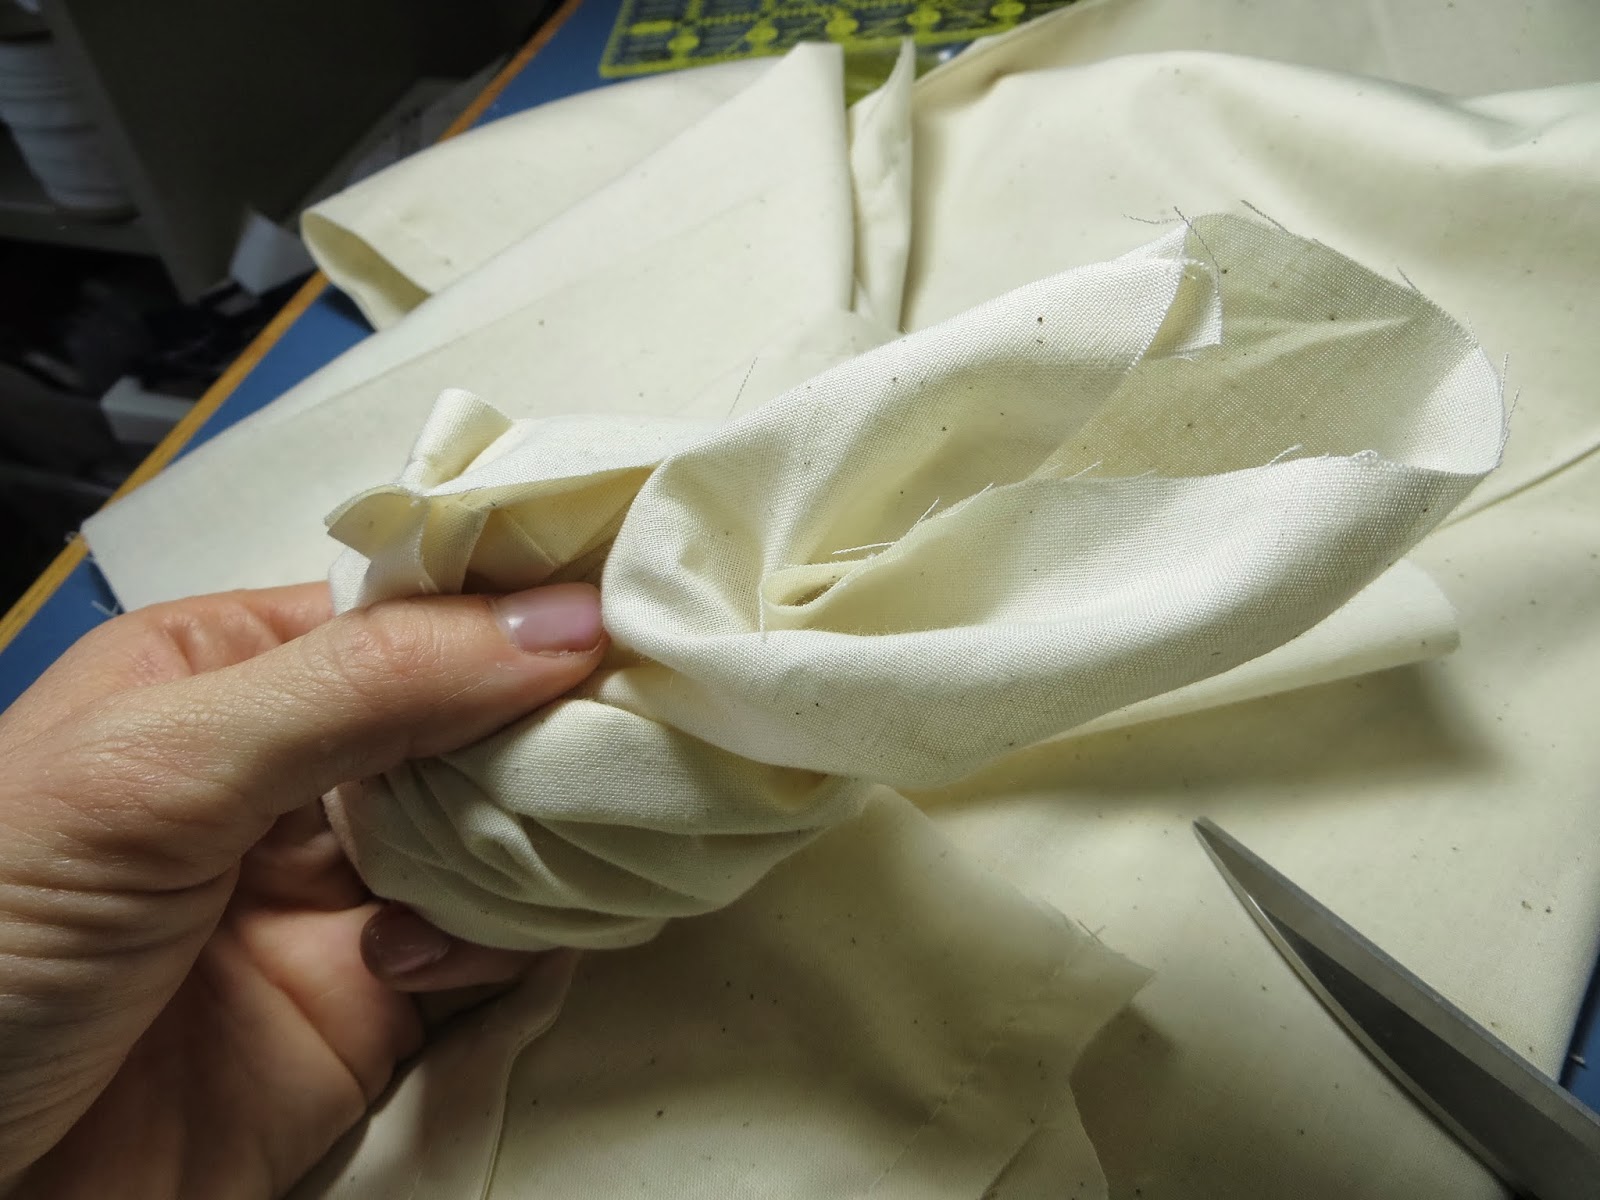
Turn strips right side out.

Iron strips flat by first pressing the seam side flat, finger rolling as necessary to get the seam right out to the edge.

Topstitch along the seam side on all pocket strips, about 1/2″ from the edge.
Layer your felt piece and one large muslin piece on top of that, matching corners and edges. Pin together.

Lay out your 5 pocket strips according to the diagram (above) and picture (below). Pin in place along the bottom edges and sides.
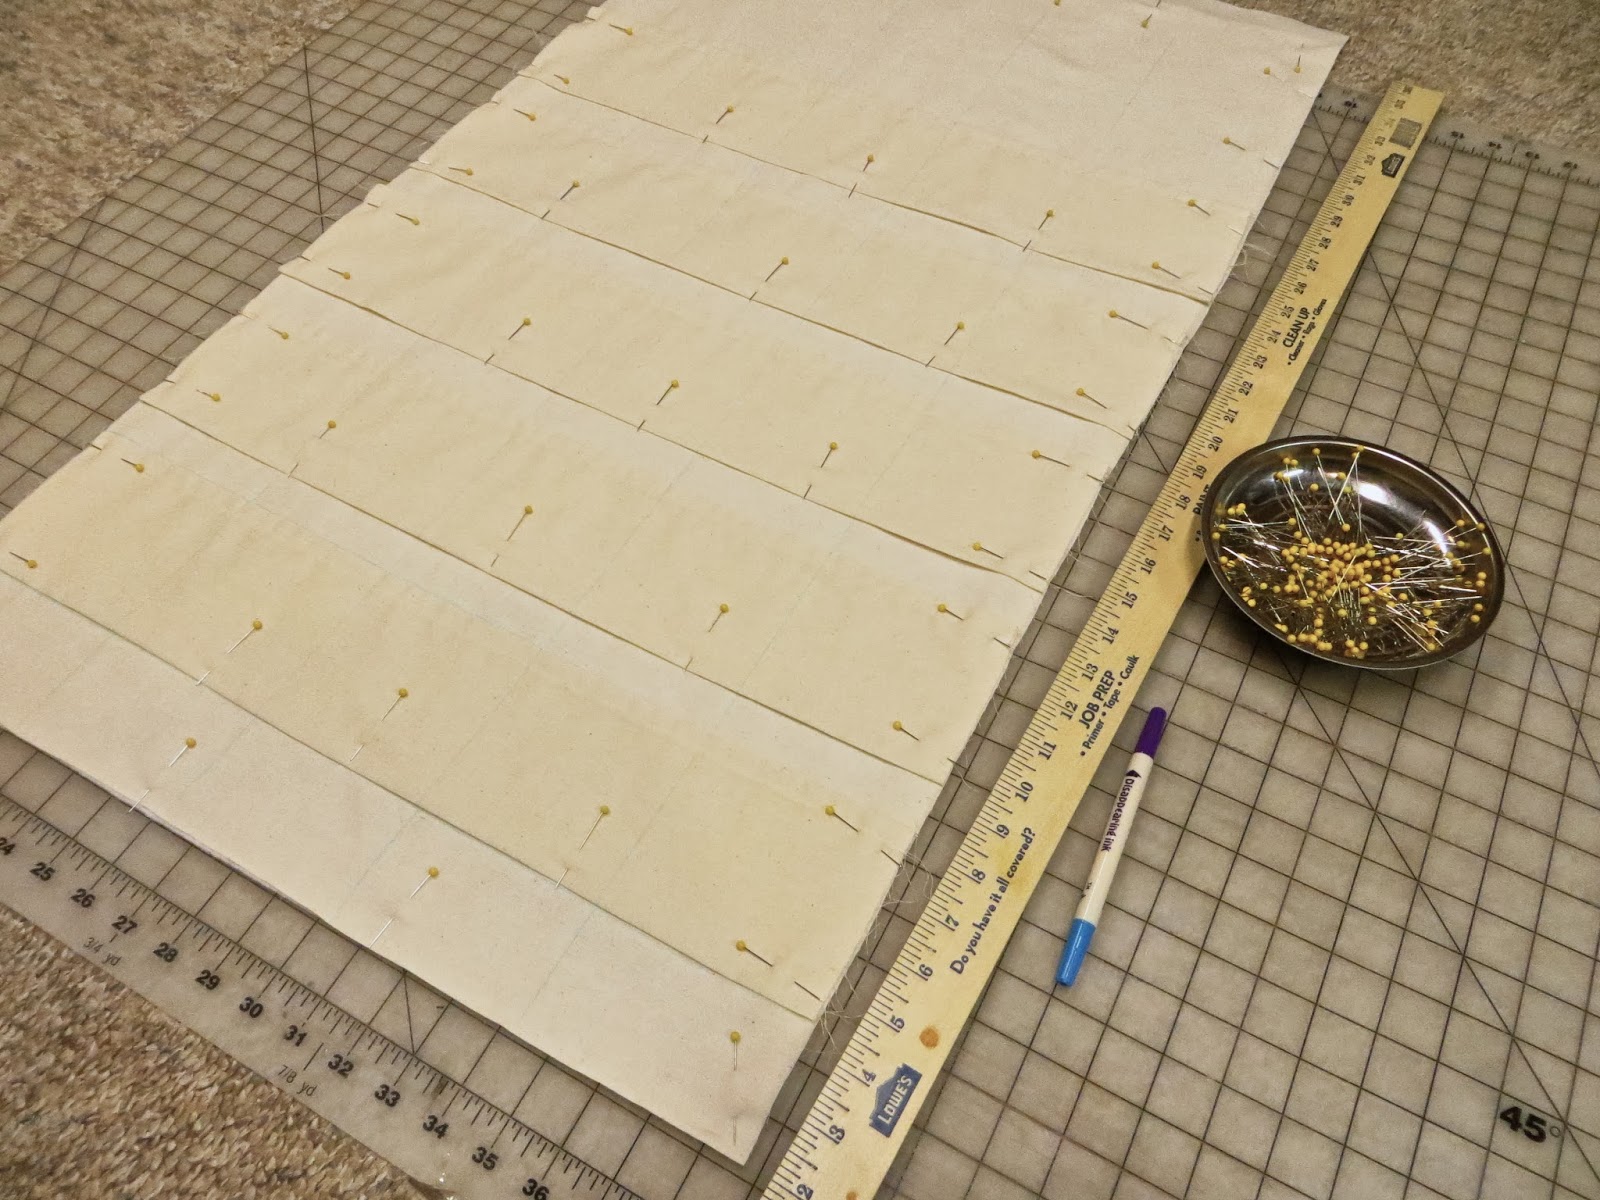

Mark across your pockets with a fabric marker and yardstick according to the diagram (above).

Stitch across the bottom edge of pockets, close to the edge.
Baste around the entire outer edges to keep everything together.
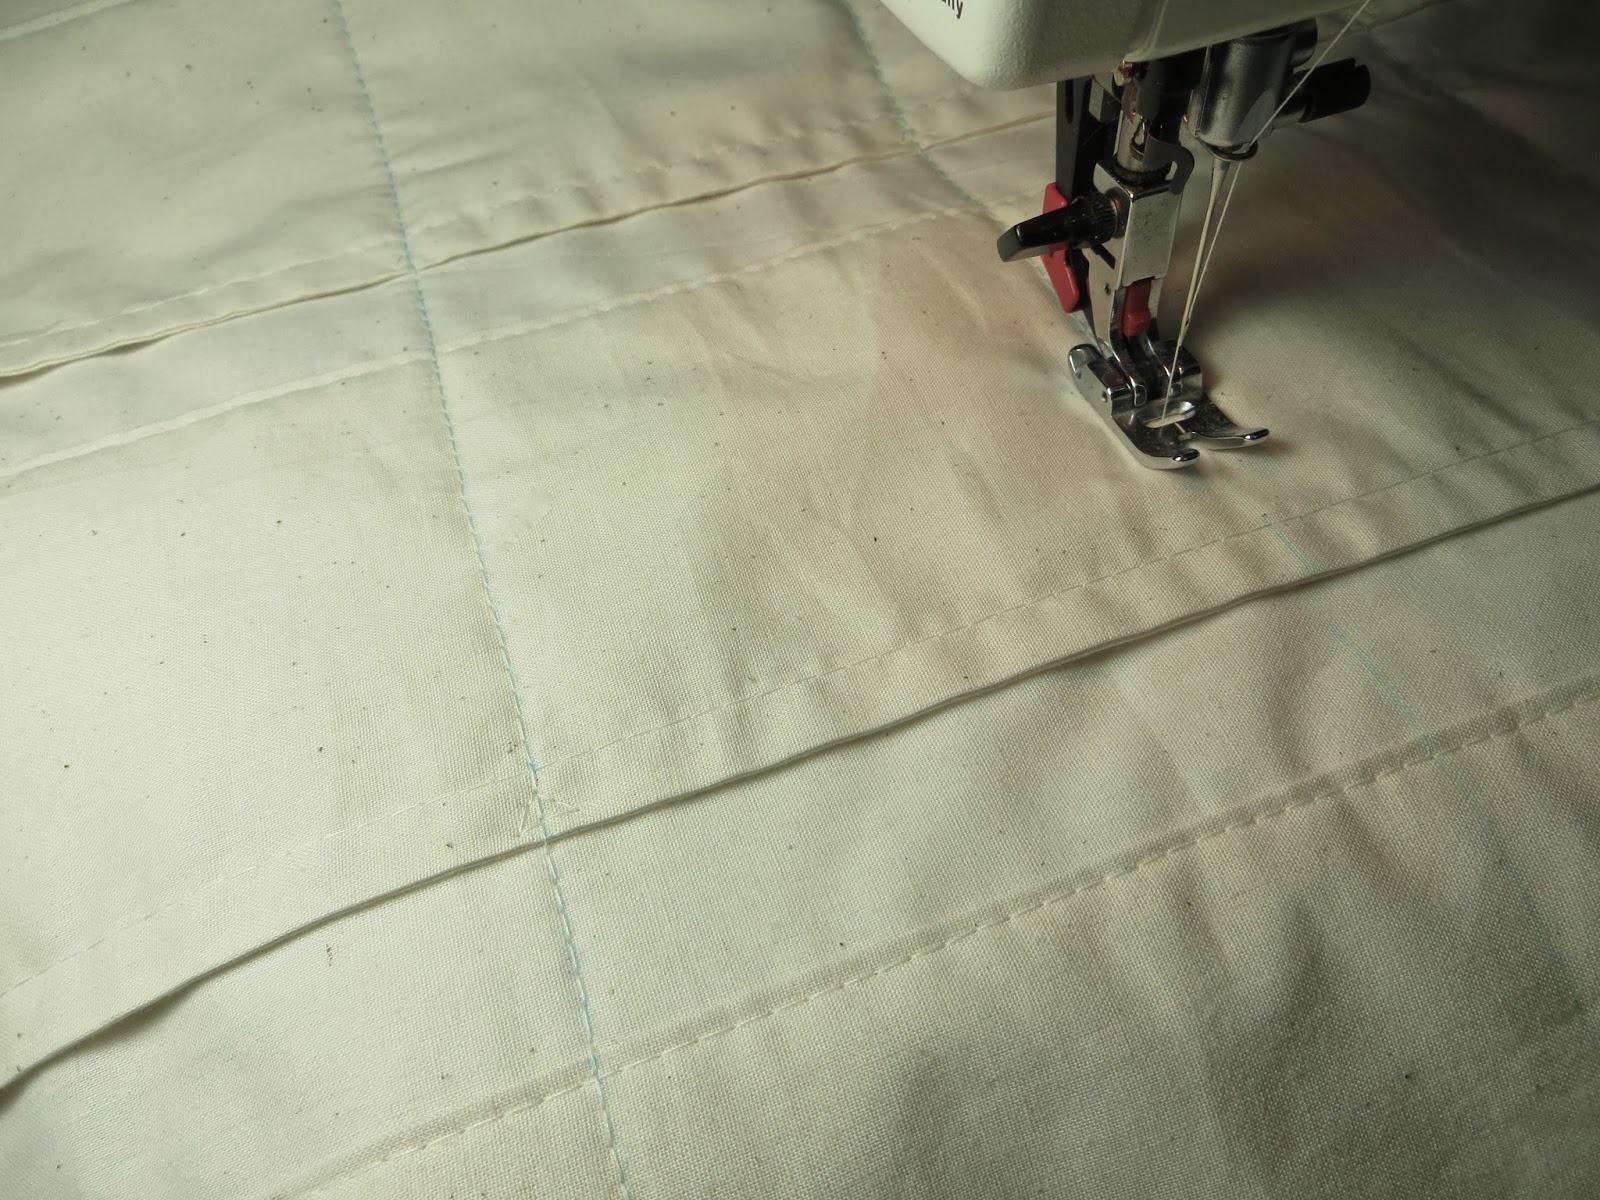
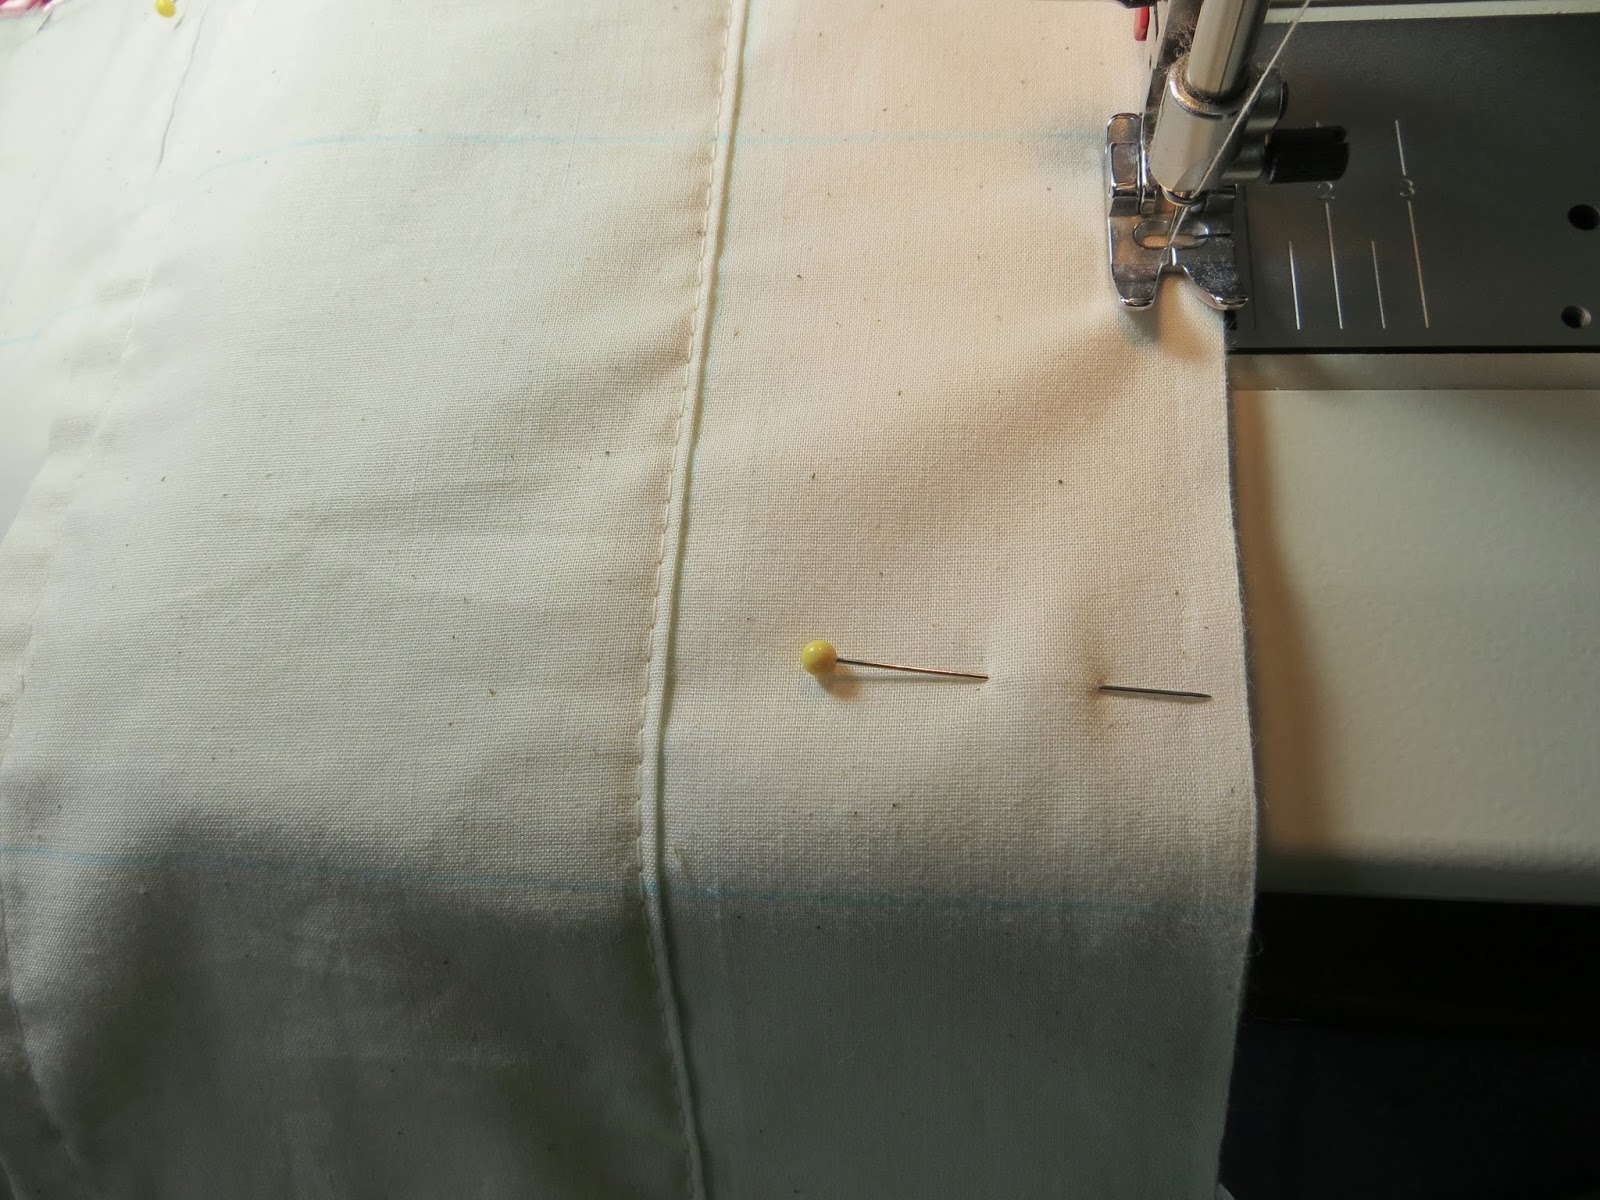
Stitch your pocket lines over the markings you did previous. TIP: Stitch from the bottom of the advent going up. I prefer to make one continuos stitch through all 5 pocket strips because it’s easier and nicer looking in my opinion (if you do this, make sure you reverse stitch at the top of each pocket because you don’t want your stitches to pull out over time with use).

TIP: Instead of clipping my threads I like to pull them to the back for a cleaner look.

Put your last layer of muslin over the top of your pockets. Match corners and edges and pin in place.
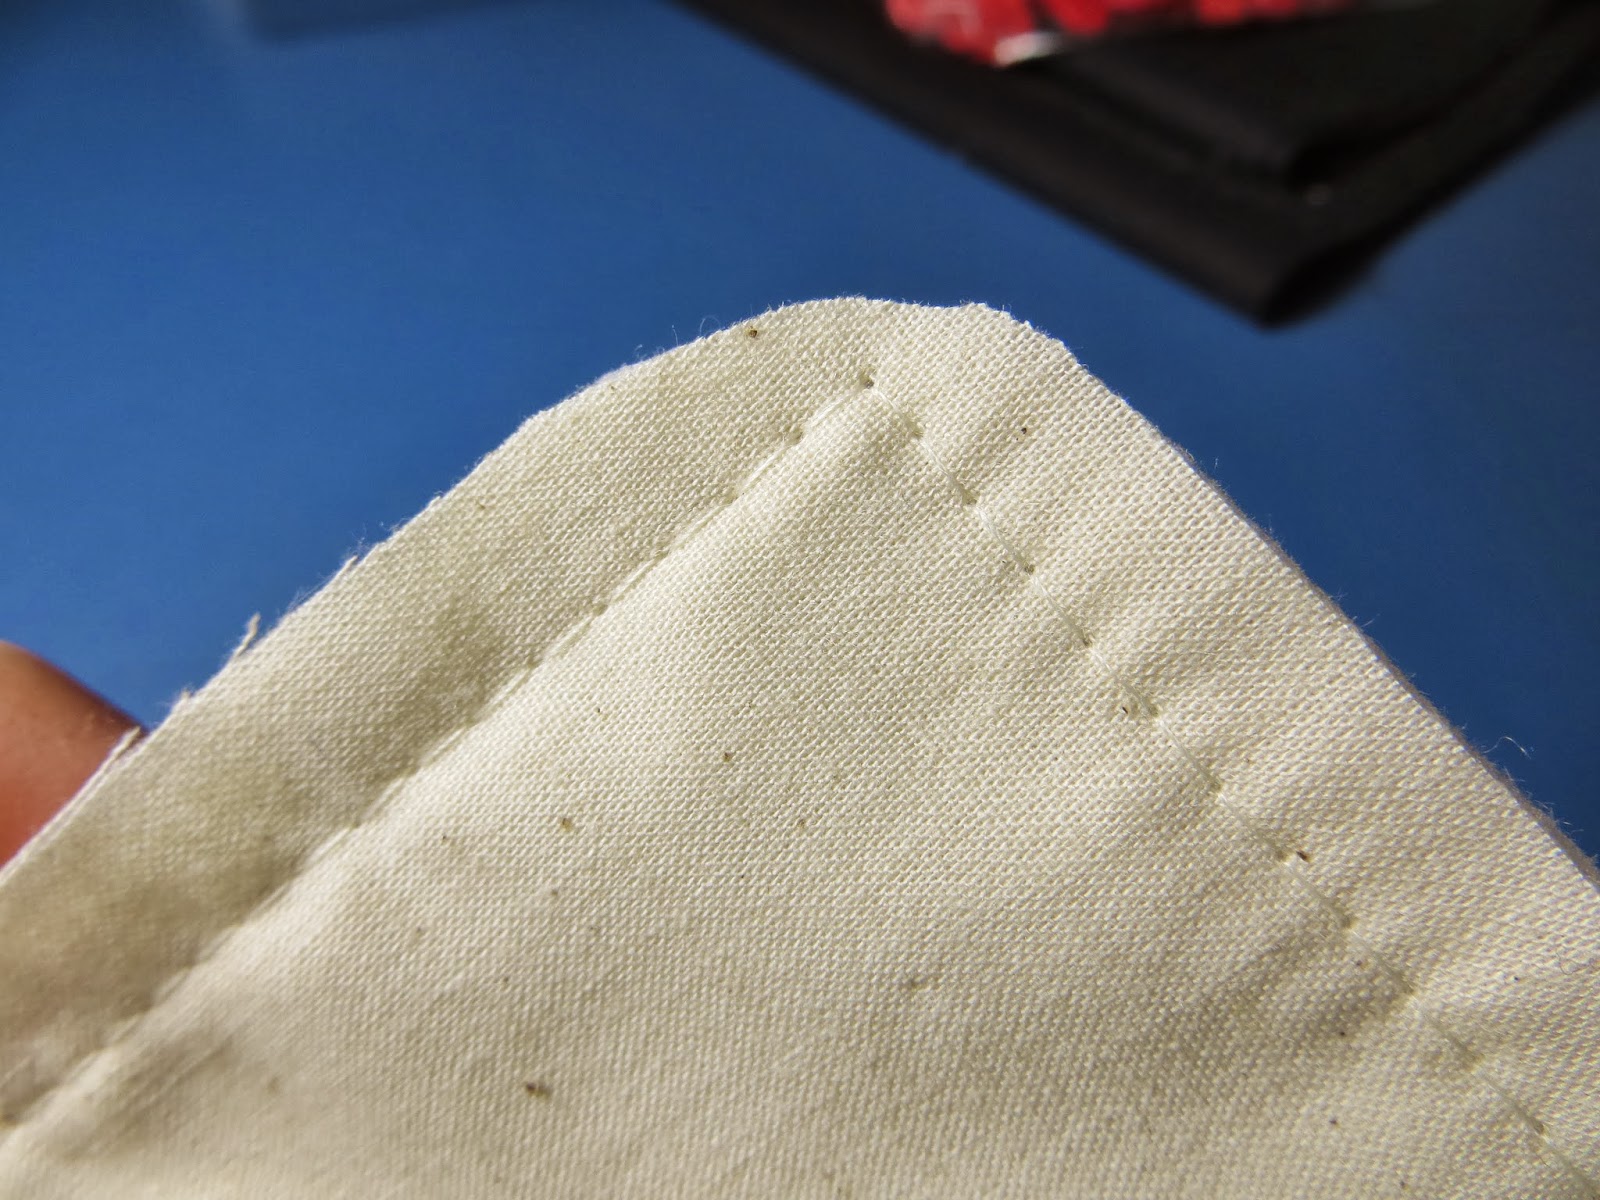
Stitch around the edges with a 1/2″ seam leaving the top-short end open. Round off corners to reduce bulk.
Turn advent right-side out through top opening. Pull out bottom corners with a pin or seam ripper so they’re nice and square.
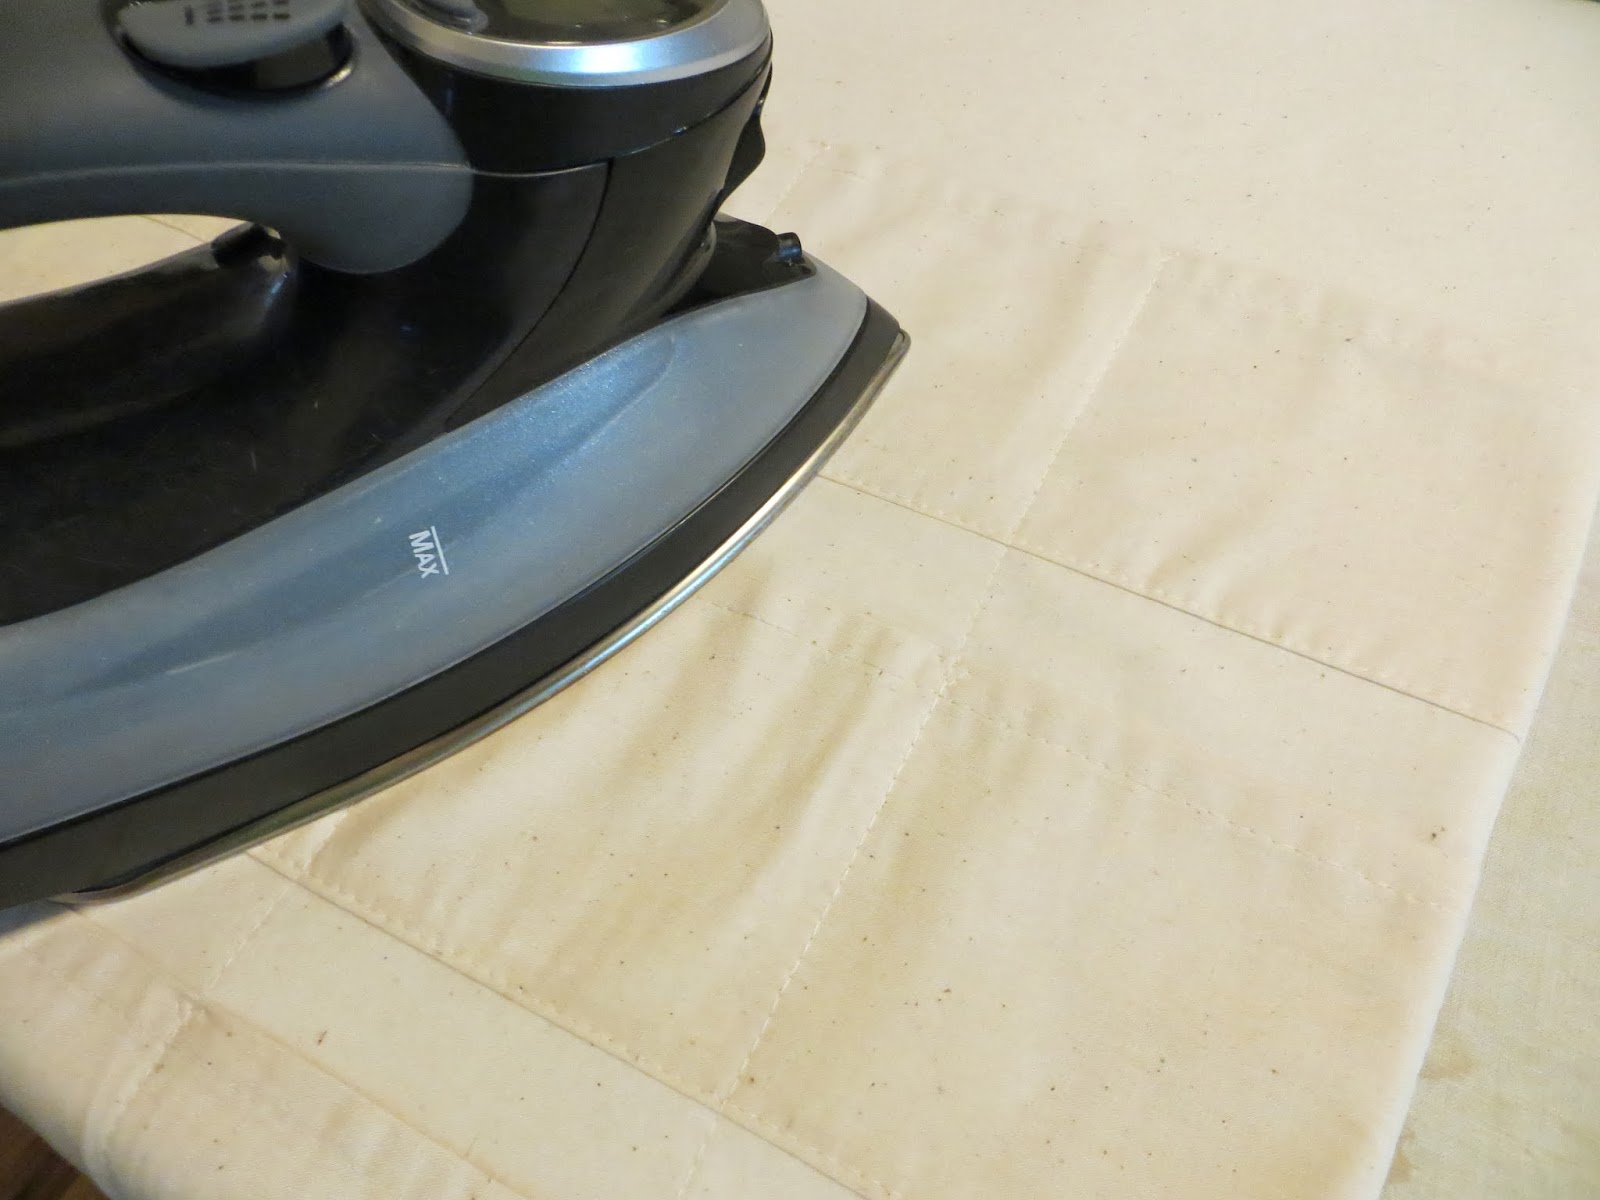
Use a steam iron to press edges flat and smooth out wrinkles.

Measure 33″ from the bottom of your advent to the top and trim off any excess (from the top-open end).

Pin top edge and sew a wide zig-zag stitch over the edge to prevent fraying.
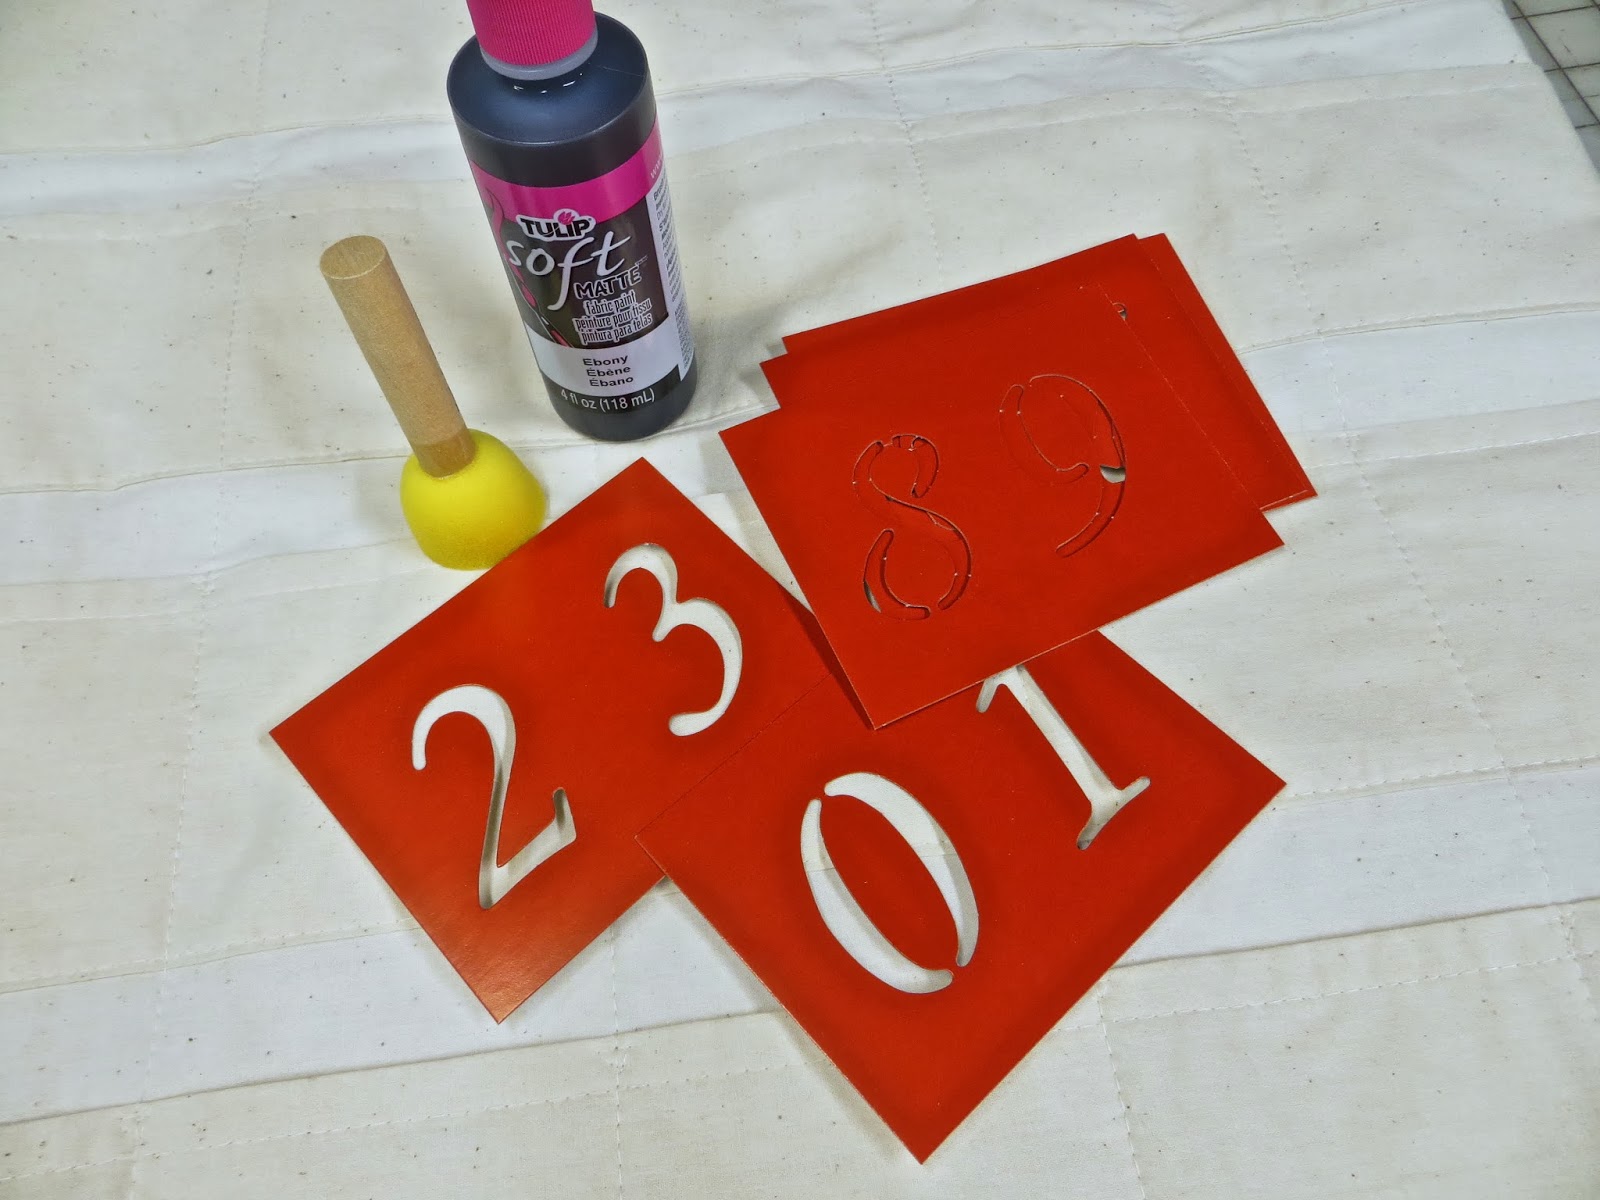
Use your number stencils and fabric paint to apply the numbers. You may want to do this in steps because I was impatient and did the double-digit numbers while the other was still wet… not a good idea!

I must have had too much paint in some parts because it bled under the stencil.. adds character, right? Angela said she uses a special stencil brush that has tough bristles and her numbers were PEFECT looking! I’ll need to get one of those!
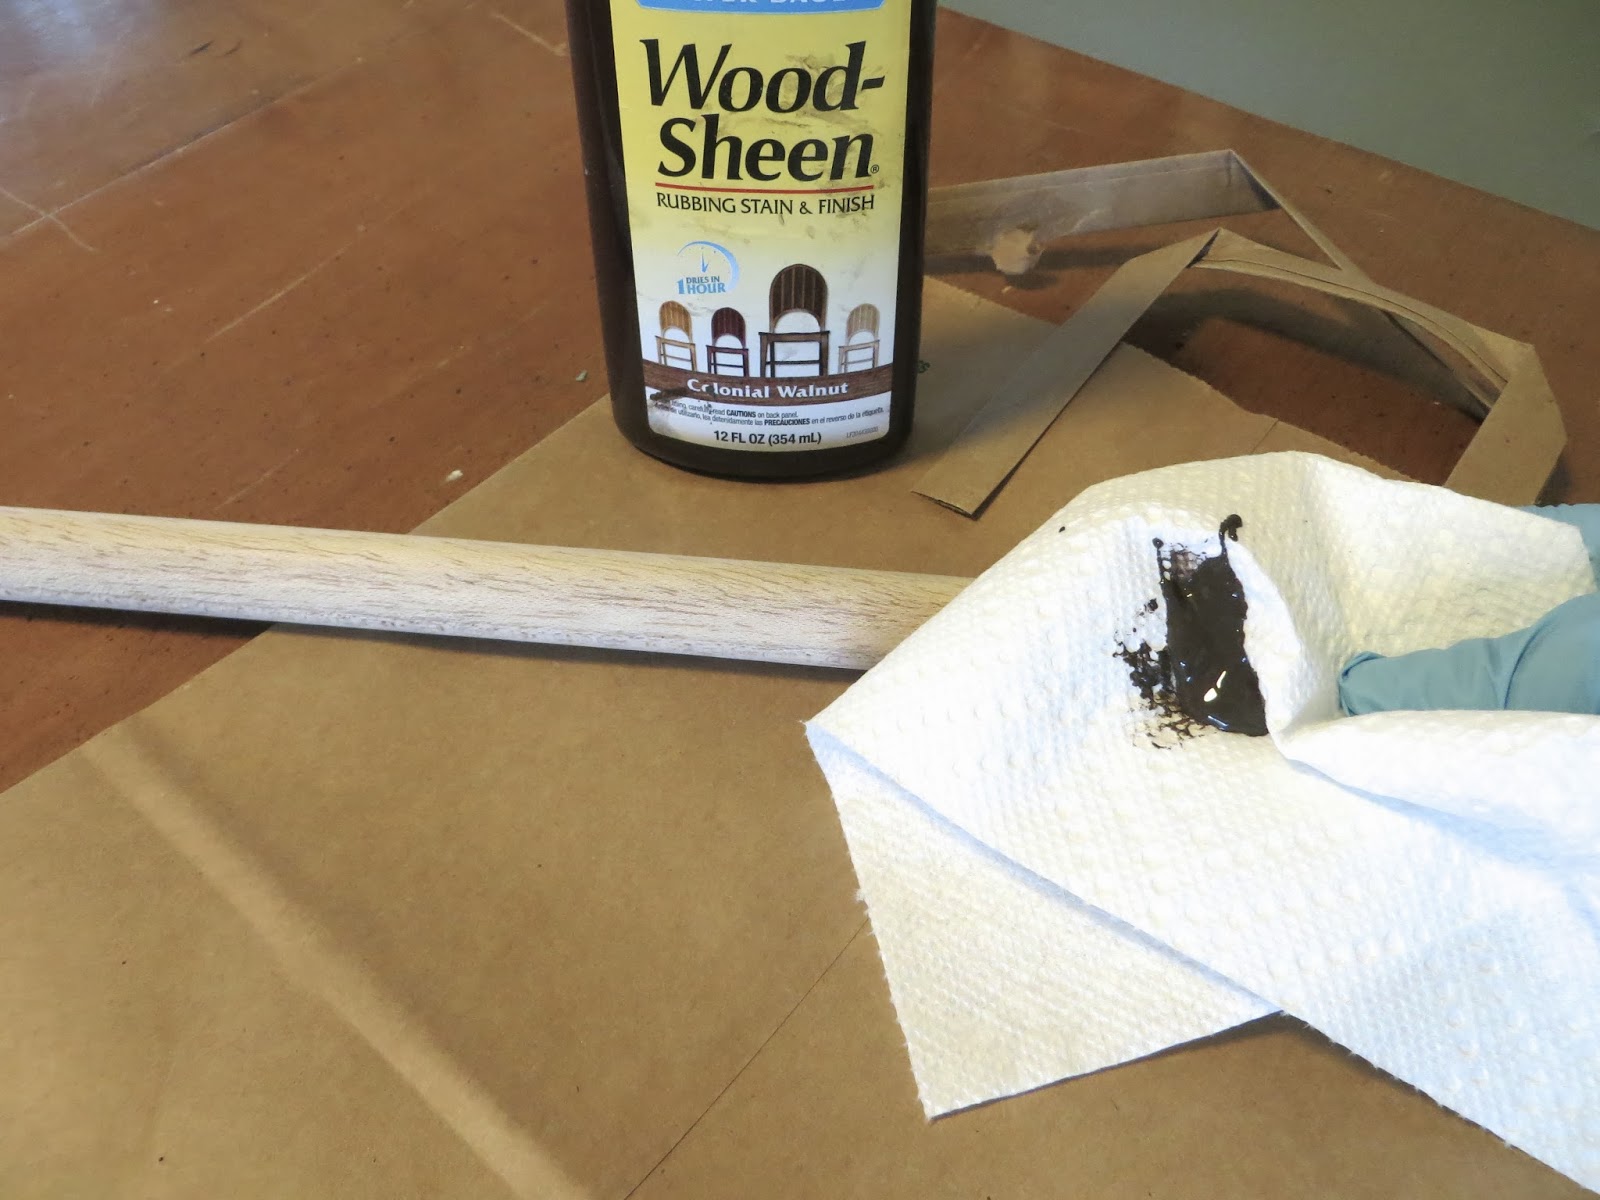
If you want your dowel a darker color so it doesn’t blend into the fabric rub a wood stain on with a paper towel and let sit for a few minutes before wiping excess off.
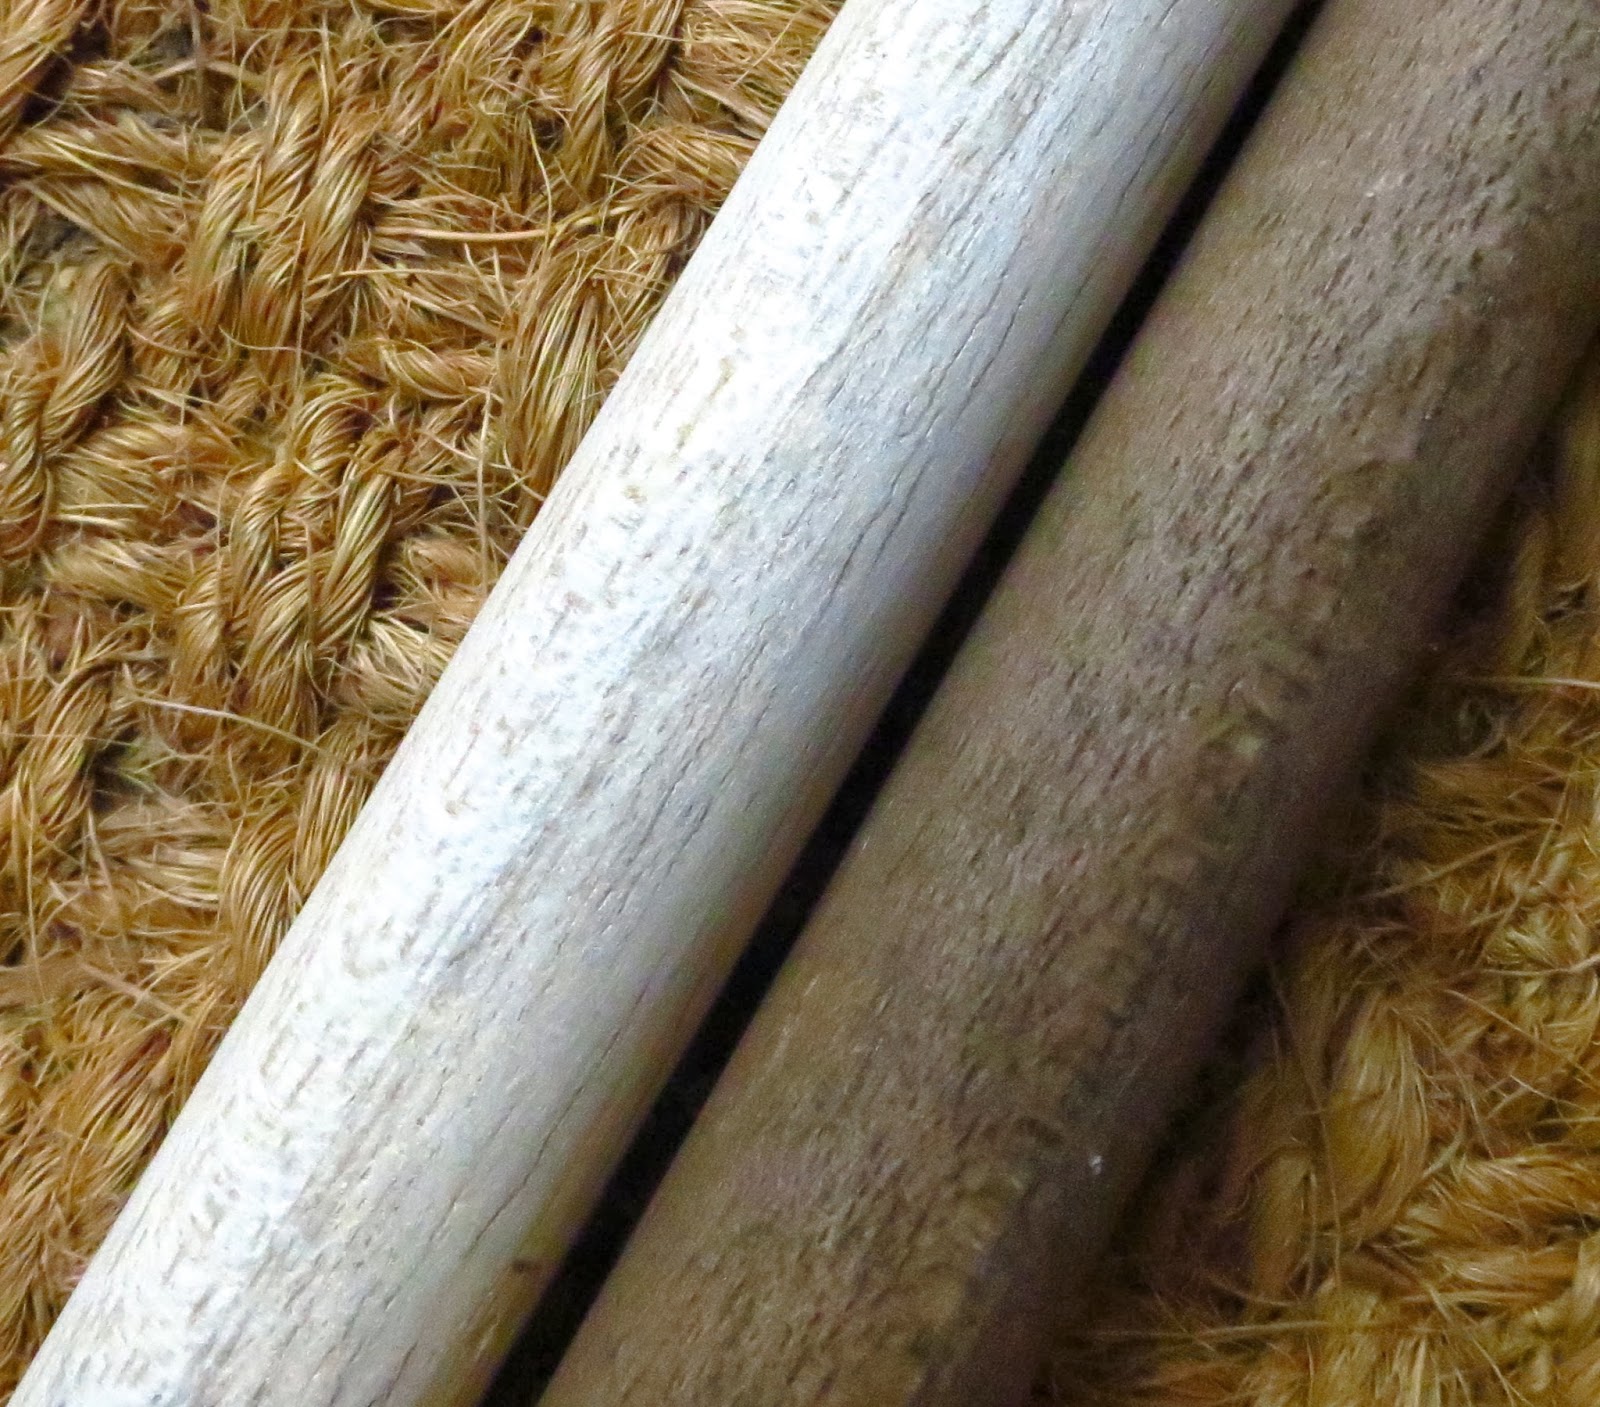
Before and after.

Screw your eye hooks in the ends.
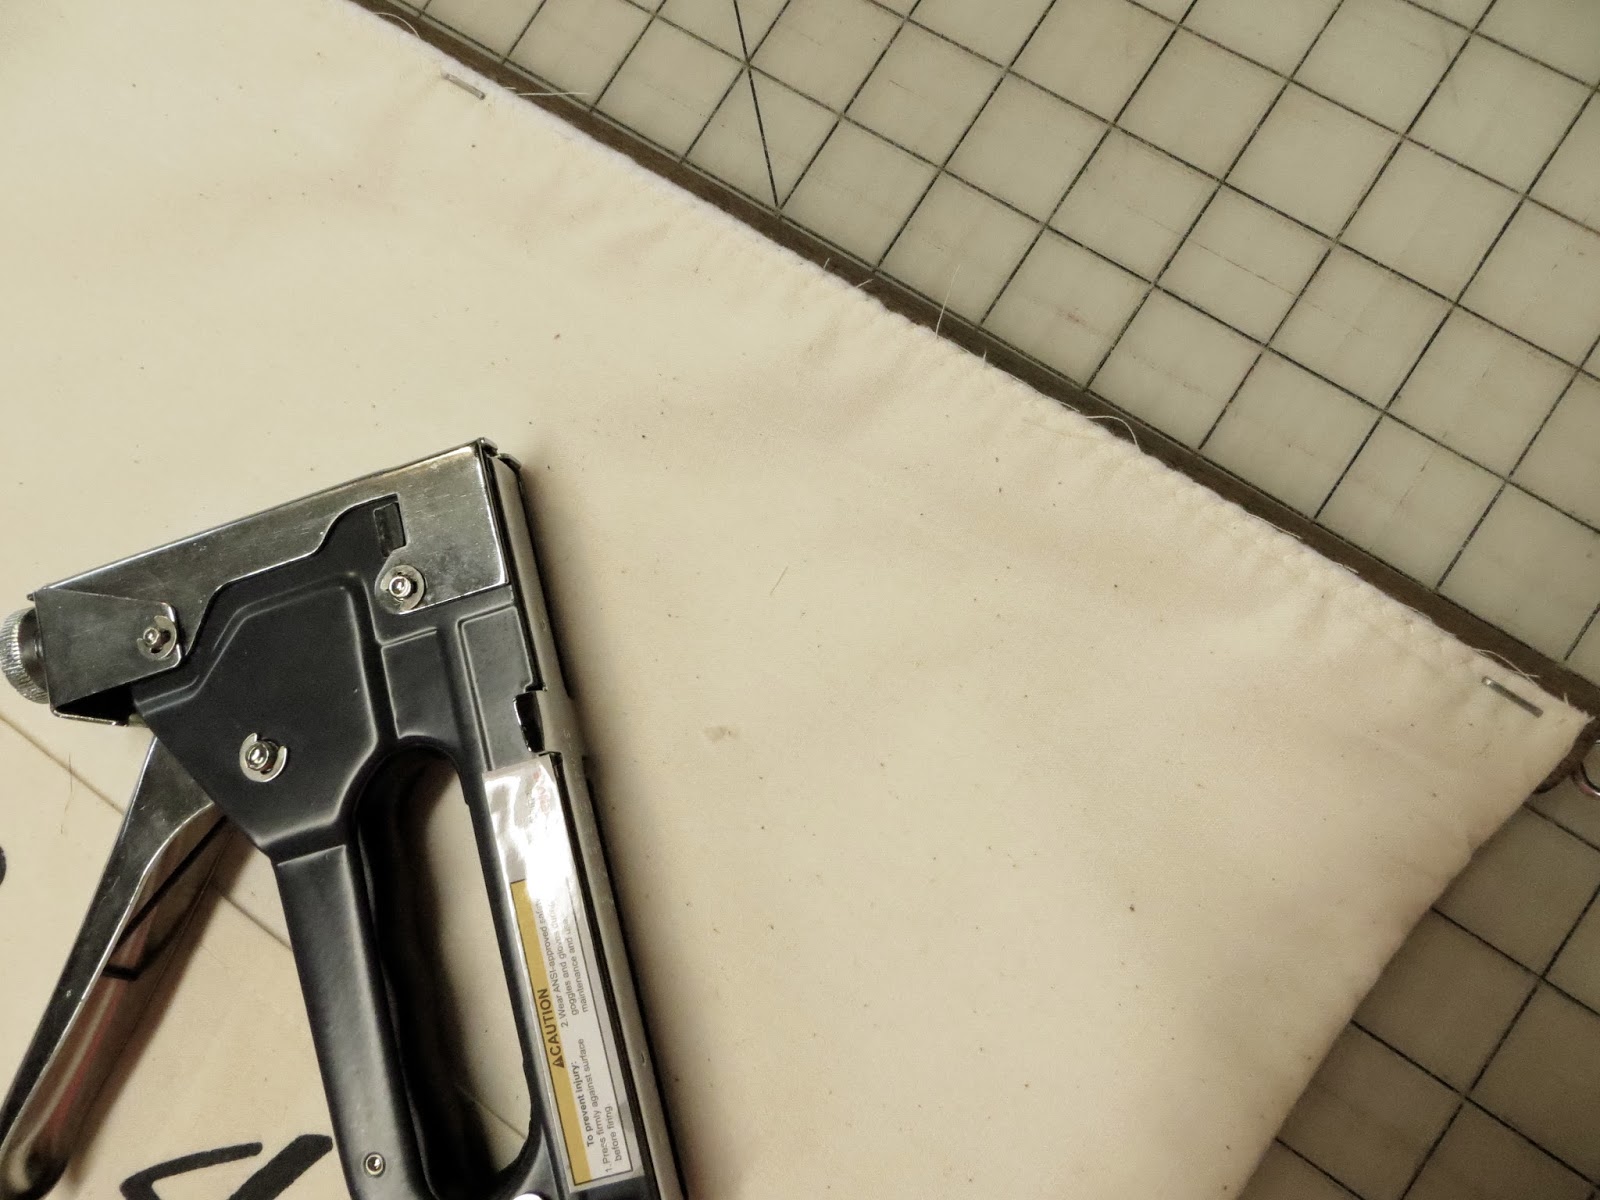
Center your dowel over the top edge of your advent on the under side. Use your staple gun to put a staple in each end and center.
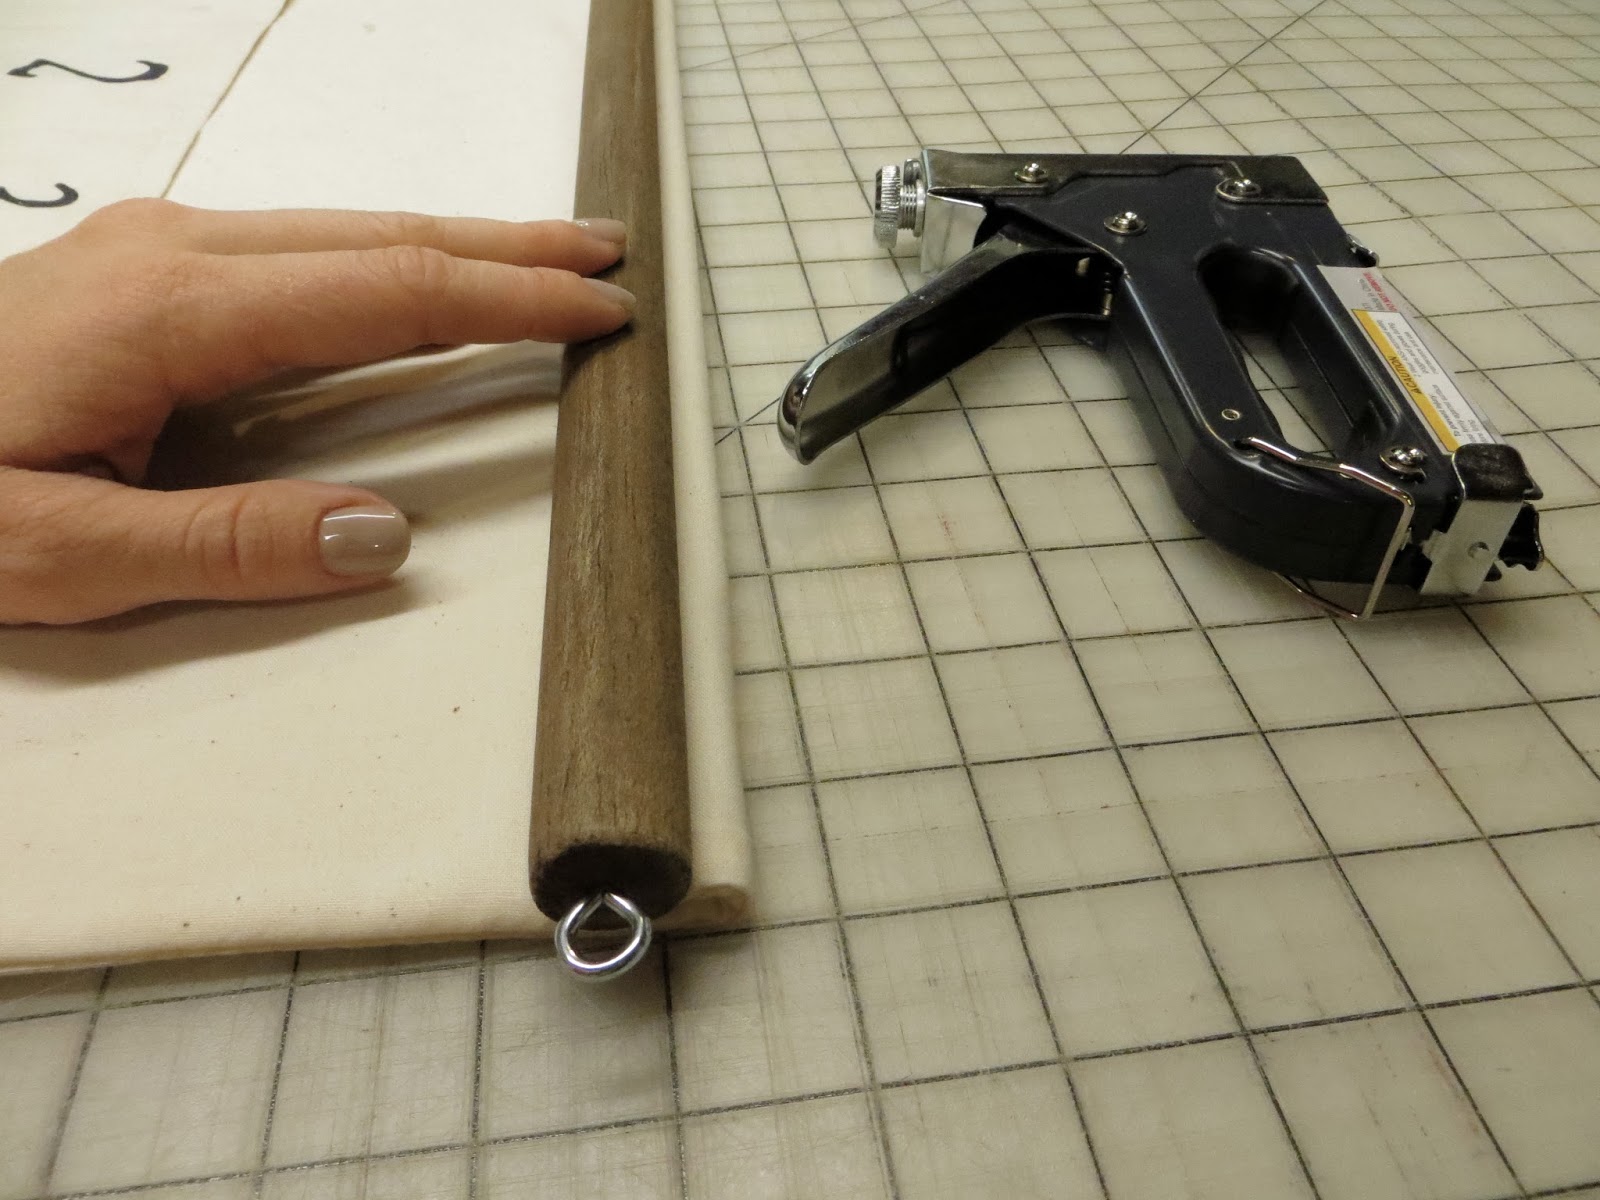
Flip the dowel over to the right side leaving a bit of an overhang of fabric. Hold dowel in place while flipping everything over again.
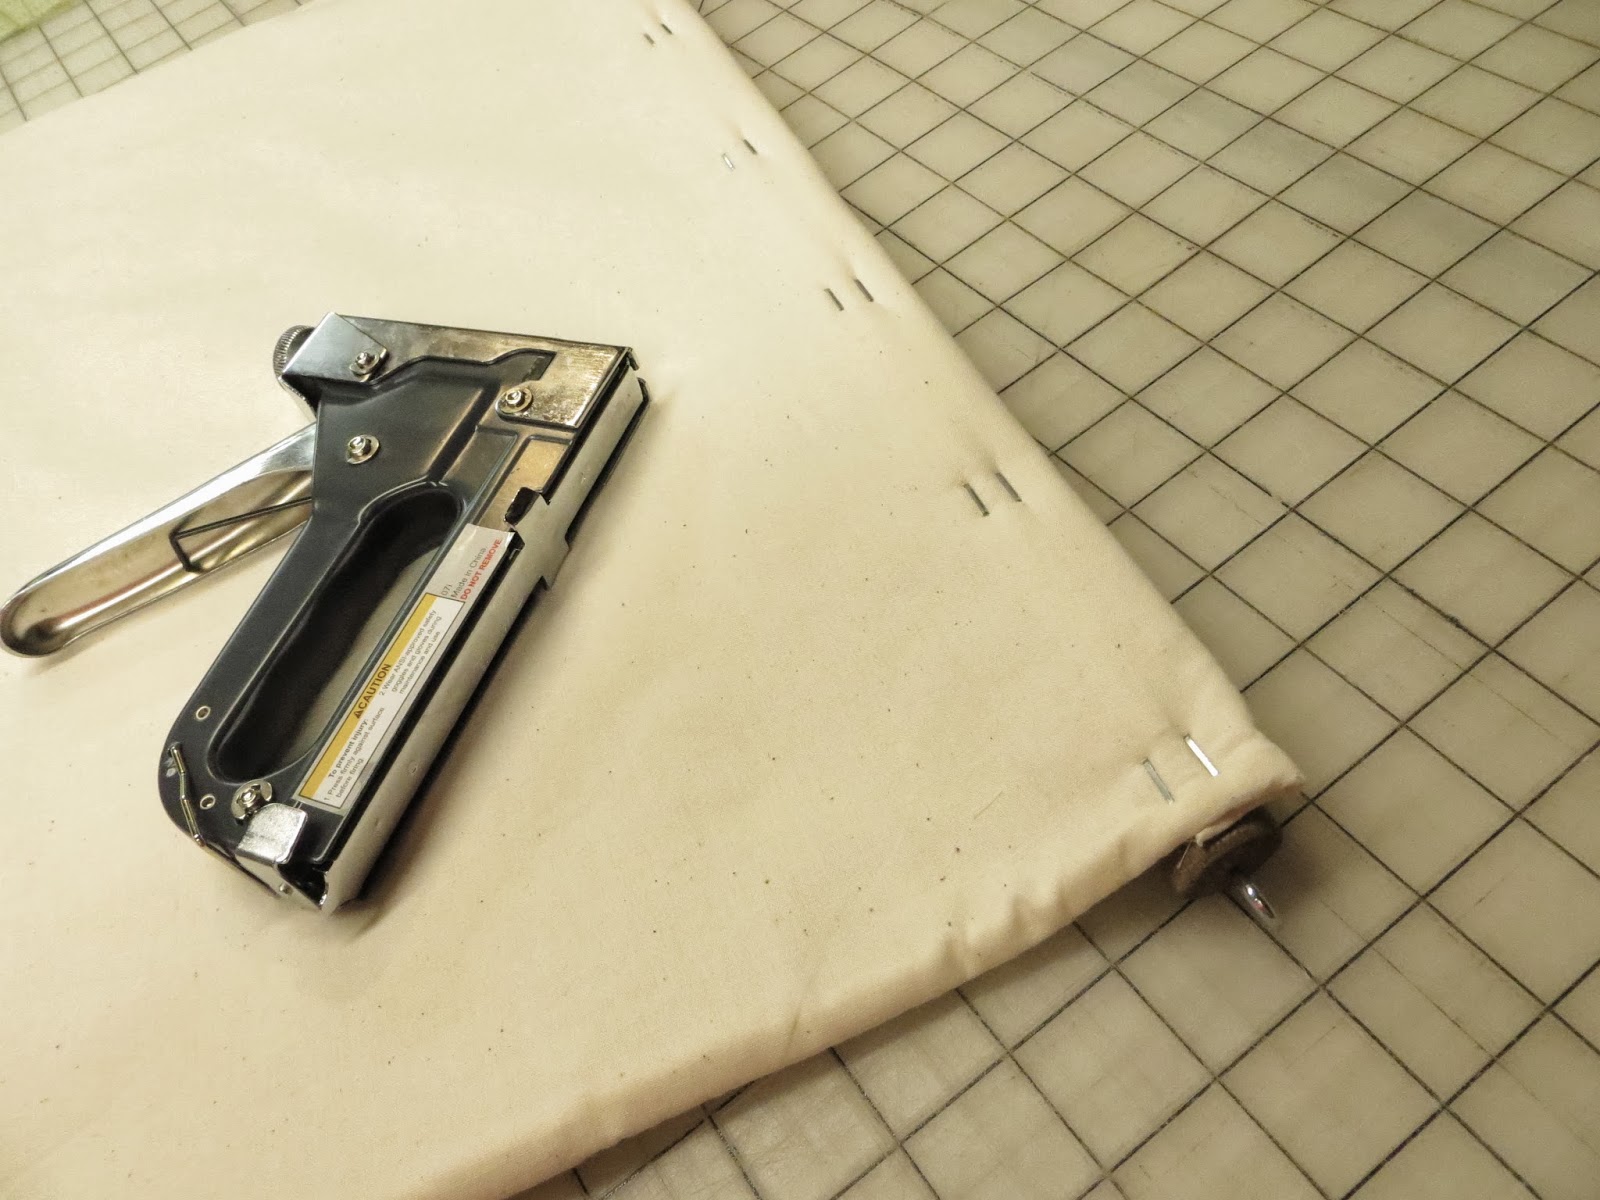
Staple fabric over dowel again, putting a row of stitches on the top and on the bottom to prevent dowel from rolling up while hanging.
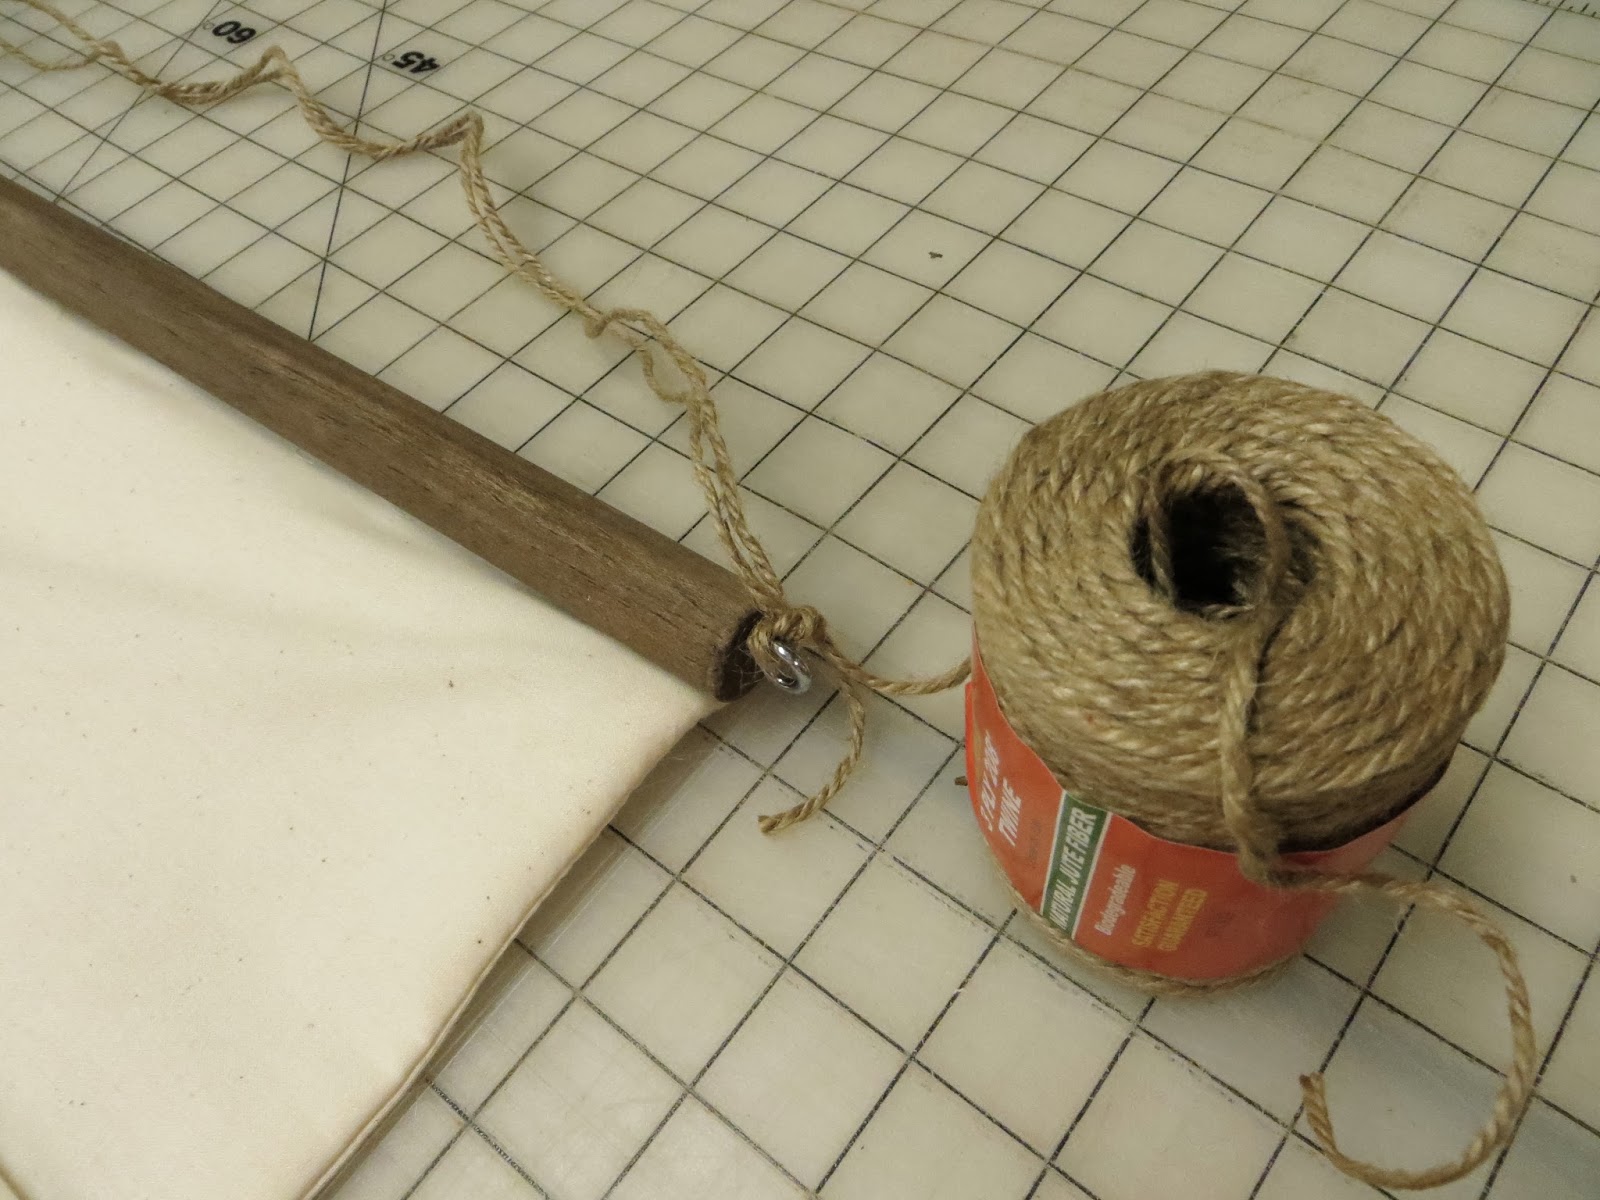
Double up some twine and tie on eye hooks according to the length of your preference. I used 68″ pieces on mine.
I wanted a rustic bow so I ripped my satin into 2 long strips that measured 3-1/2″ across.

I layered and pinned my 2 strips on top of each other and folded in half. Measure 18″ from the fold and trim off excess. Now your strips are 36″-long and are pinned together ready to be sewn! I sewed all around my strips 1/4″ from the edge.
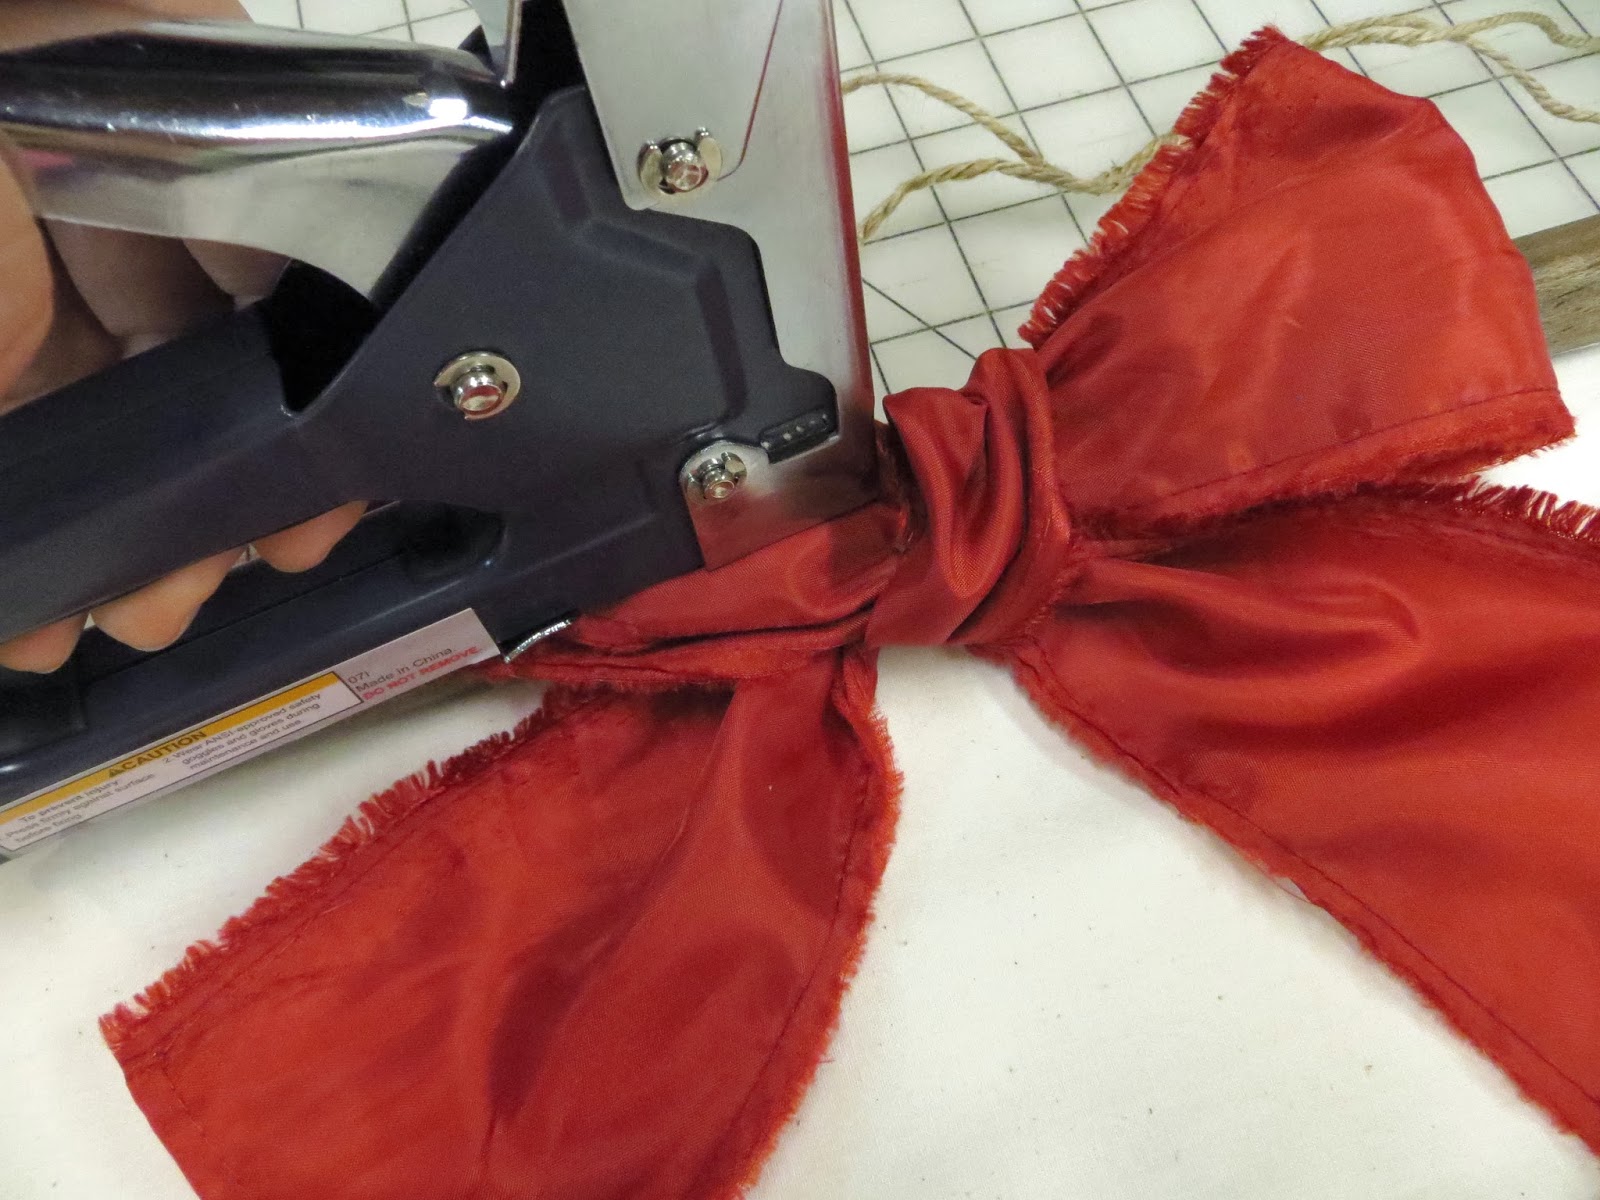
Tie and un-tie your bow until it looks just right. I centered my bow over my dowel on the front and used my staple gun to tack in place under the knot (hides staples). Some people might want to hot glue their bow in place but I chose to do it this way because A) it’s easy and B) it get’s both layers so the bow can’t un-tie!
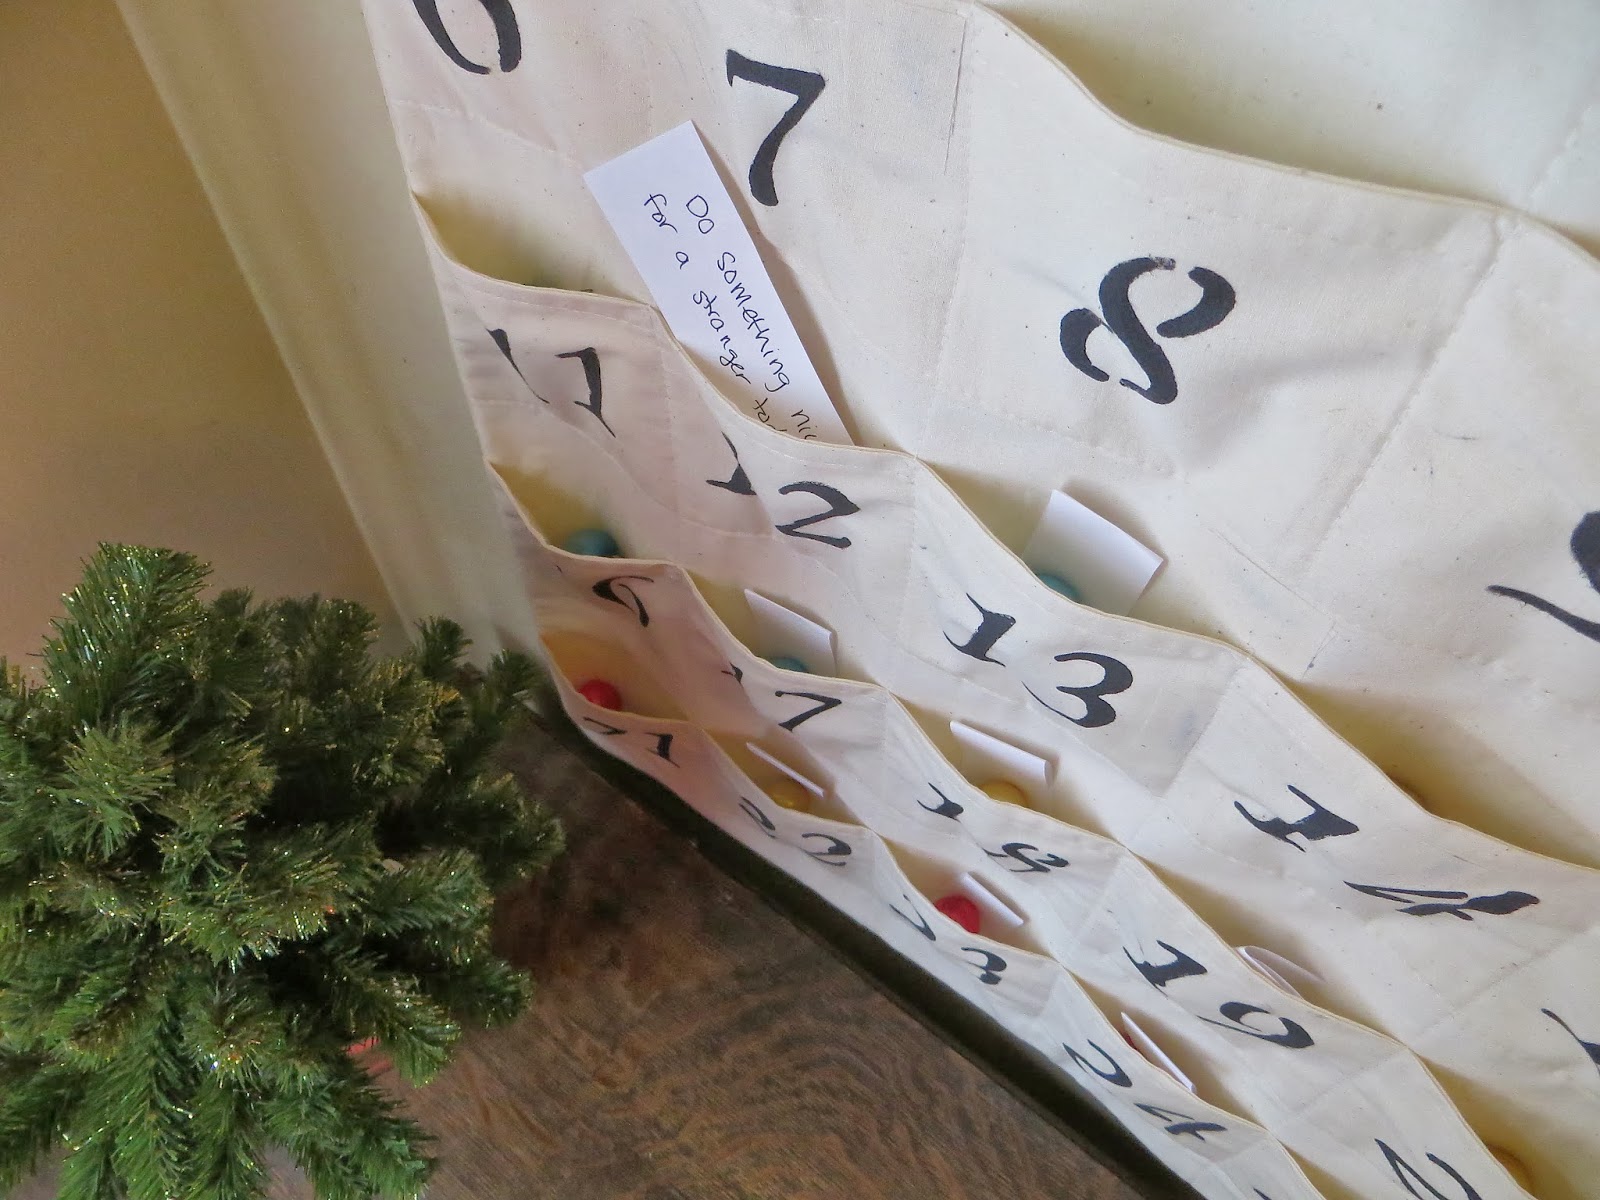
Fill your pockets and you’re done!!
UPDATE 12/25/2015:

I decided to put our “25 Days of Christ” ornaments in each pocket of the advent and it’s been great! I first was using small clothespins to pin the ornaments off the top edge of each pocket but since they were heavy it would pull the pocket down.

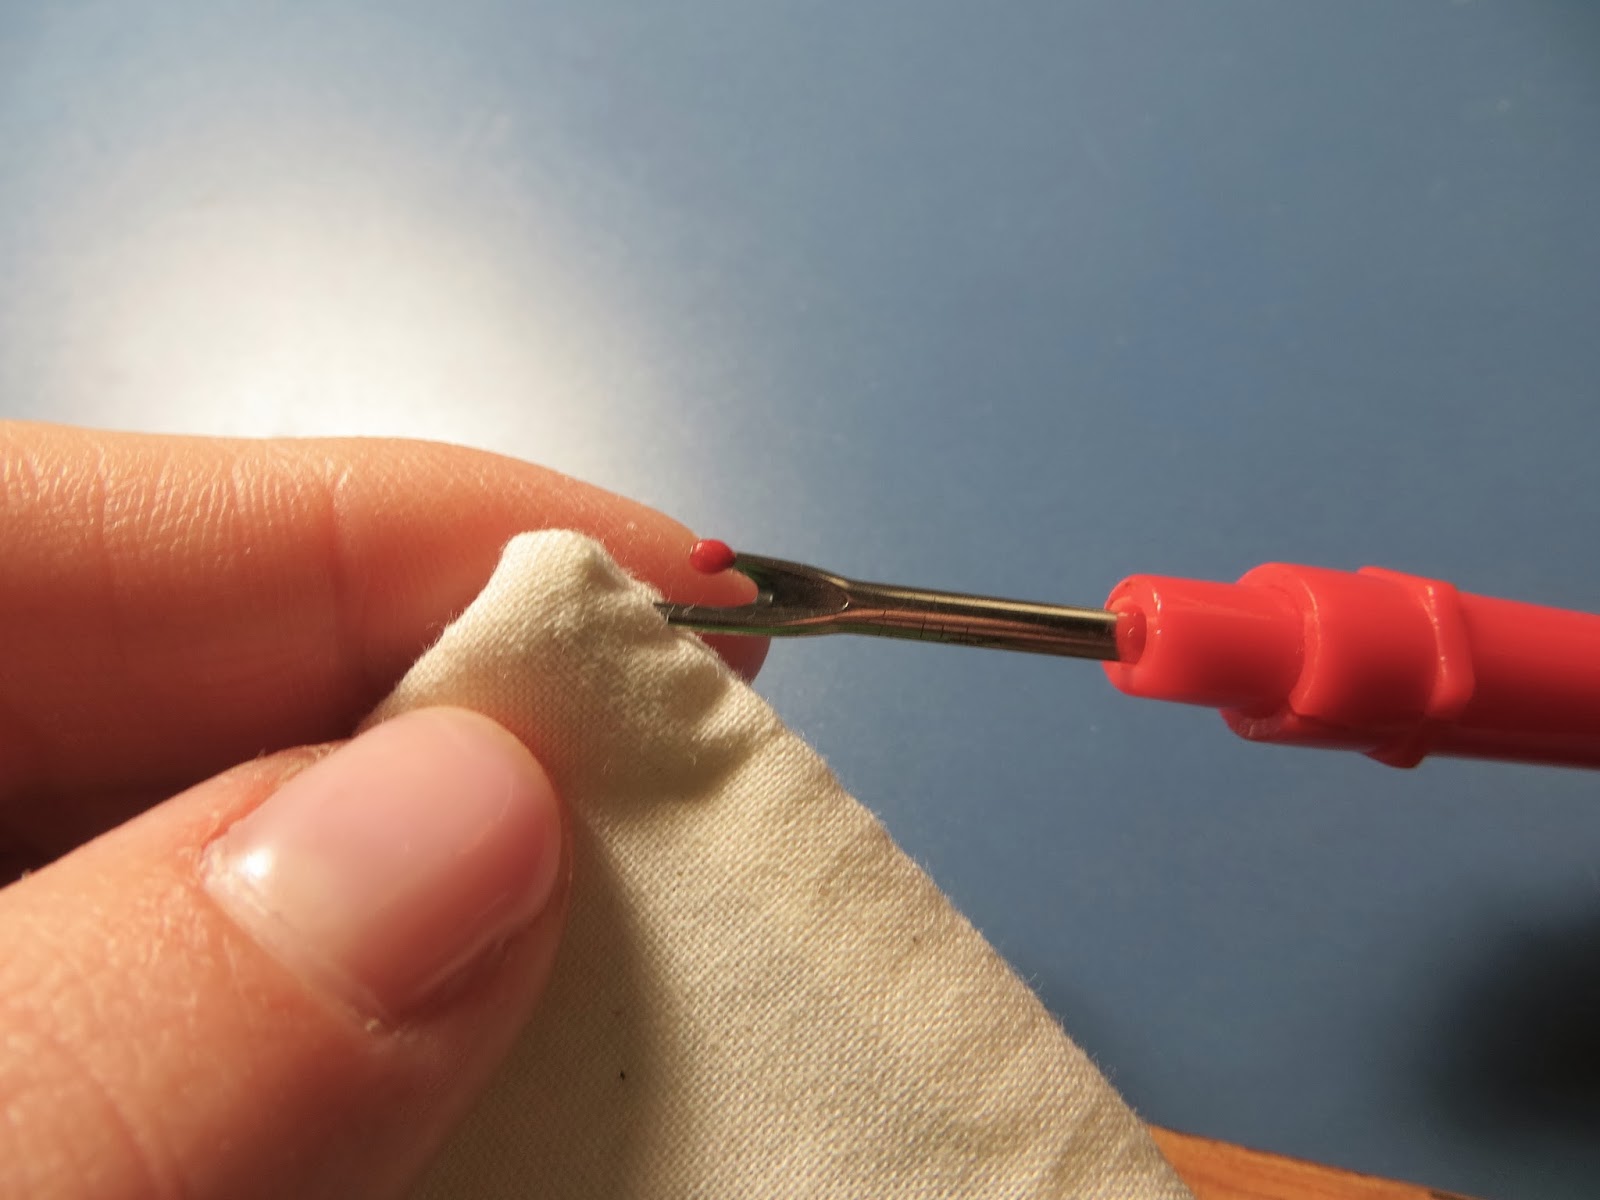
I brainstormed a bit and decided to make small buttonholes through the back of the advent to put the clothespins through. It’s even better than I originally thought because I can also close each pocket with the ornaments inside to prevent the kids from pulling them out and peaking which ones are next (I like it to be a surprise each day)!
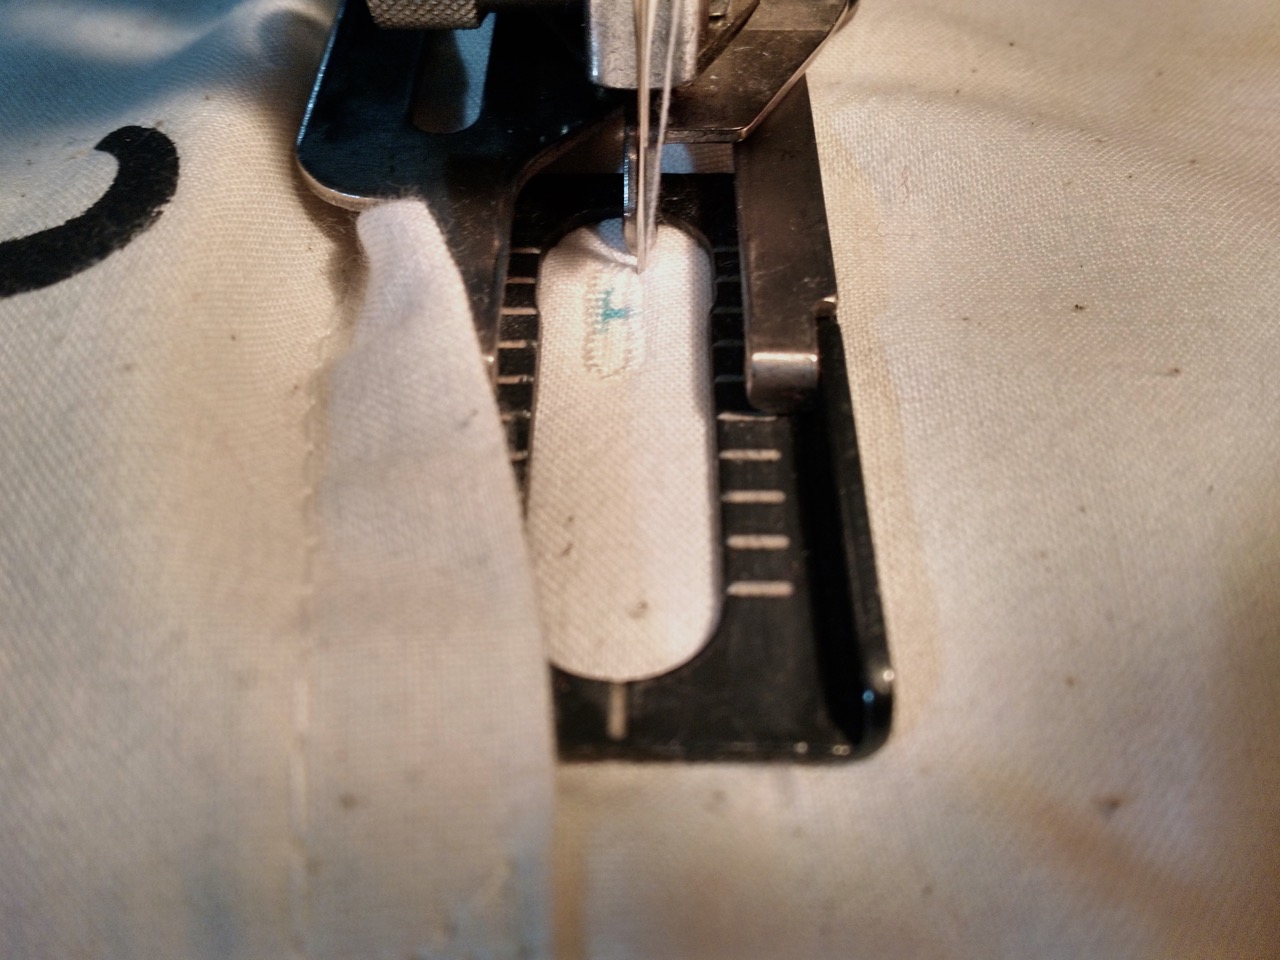
Use a fabric marker and place a mark at the top-center of each pocket to mark where to center your buttonhole.

I can’t say enough good things about the buttonhole attachment for my Singer 201-2. If I want perfect buttonholes I always use this set-up. I picked a buttonhole that had a 1/4″ opening. It was a bit tricky to slide the advent around under the attachment because there’s not much clearance – I would highly recommend doing this step before stitching pockets completely down.

Seam rip the buttonholes open and clip threads.
2 Comments
Thank you so much for your advent calendar post. I have just made two for my boys during this Covid lockdown. The instructions were super clear and easy to follow. Even though one of my boys is locked down away from home at University I don’t think you are ever too old for an advent calendar (!) which I will fill and send him. Thank you so much. Nicky (UK)
November 21, 2020 at 4:26 pmThat’s so fun to hear! Thanks for the comment! Happy holidays!
November 24, 2020 at 11:38 am