
Welcome to the boys’ bathroom! I decided it had been neglected for long enough. It used to be the ugliest room in our house – now it’s the nicest (& cleanest)! I did 85% of the work while Mr. Toddler was napping and it took approximately 10 days and $170 dollars. Wahoo!
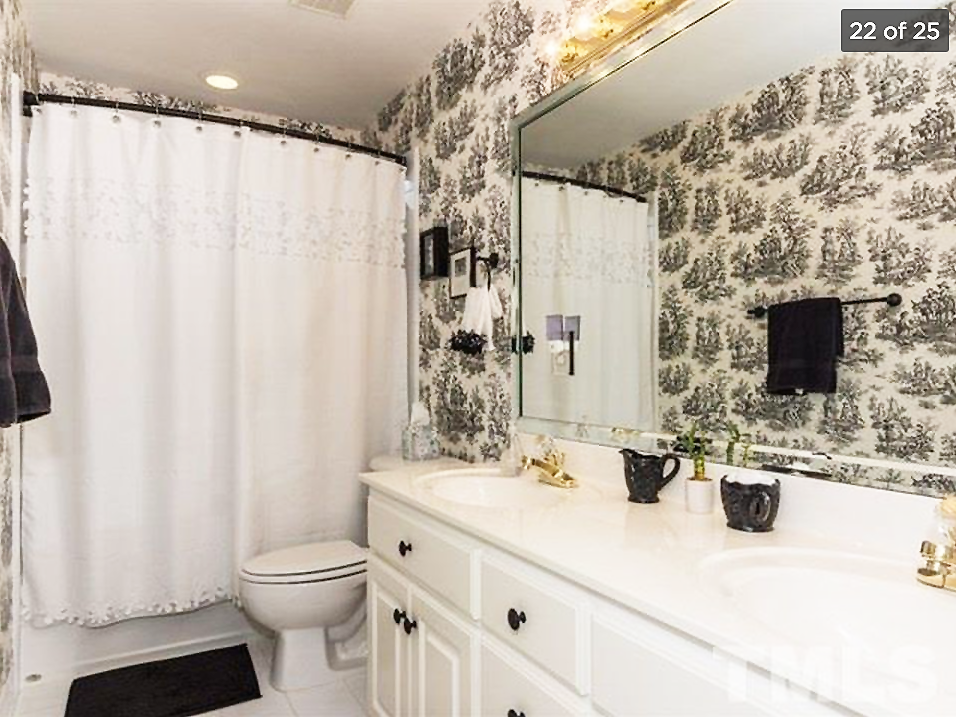
This is how the bathroom looked when we moved into our house 1-1/2 years ago. The first thing my mom and I did after our things were moved in (but still in boxes of course) was pull the wallpaper off. That was our #1 priority 😂

Yup. For 1-1/2 years the walls have looked like this. Patchy with little bits of wallpaper fuzz. I’ve been wanting to do shiplap on this wall for the longest time but have had too many other projects.
I happened to be at Home Depot getting some underlayment when I decided I might as well get a few more sheets so I won’t have any more excuses not to do the bathroom. “TODAY WAS THE DAY”, I told myself!

I came right home and took this picture as a ‘before’ so I could get to work. What I didn’t know was the extent of work that would follow. One thing always leads to another, right?
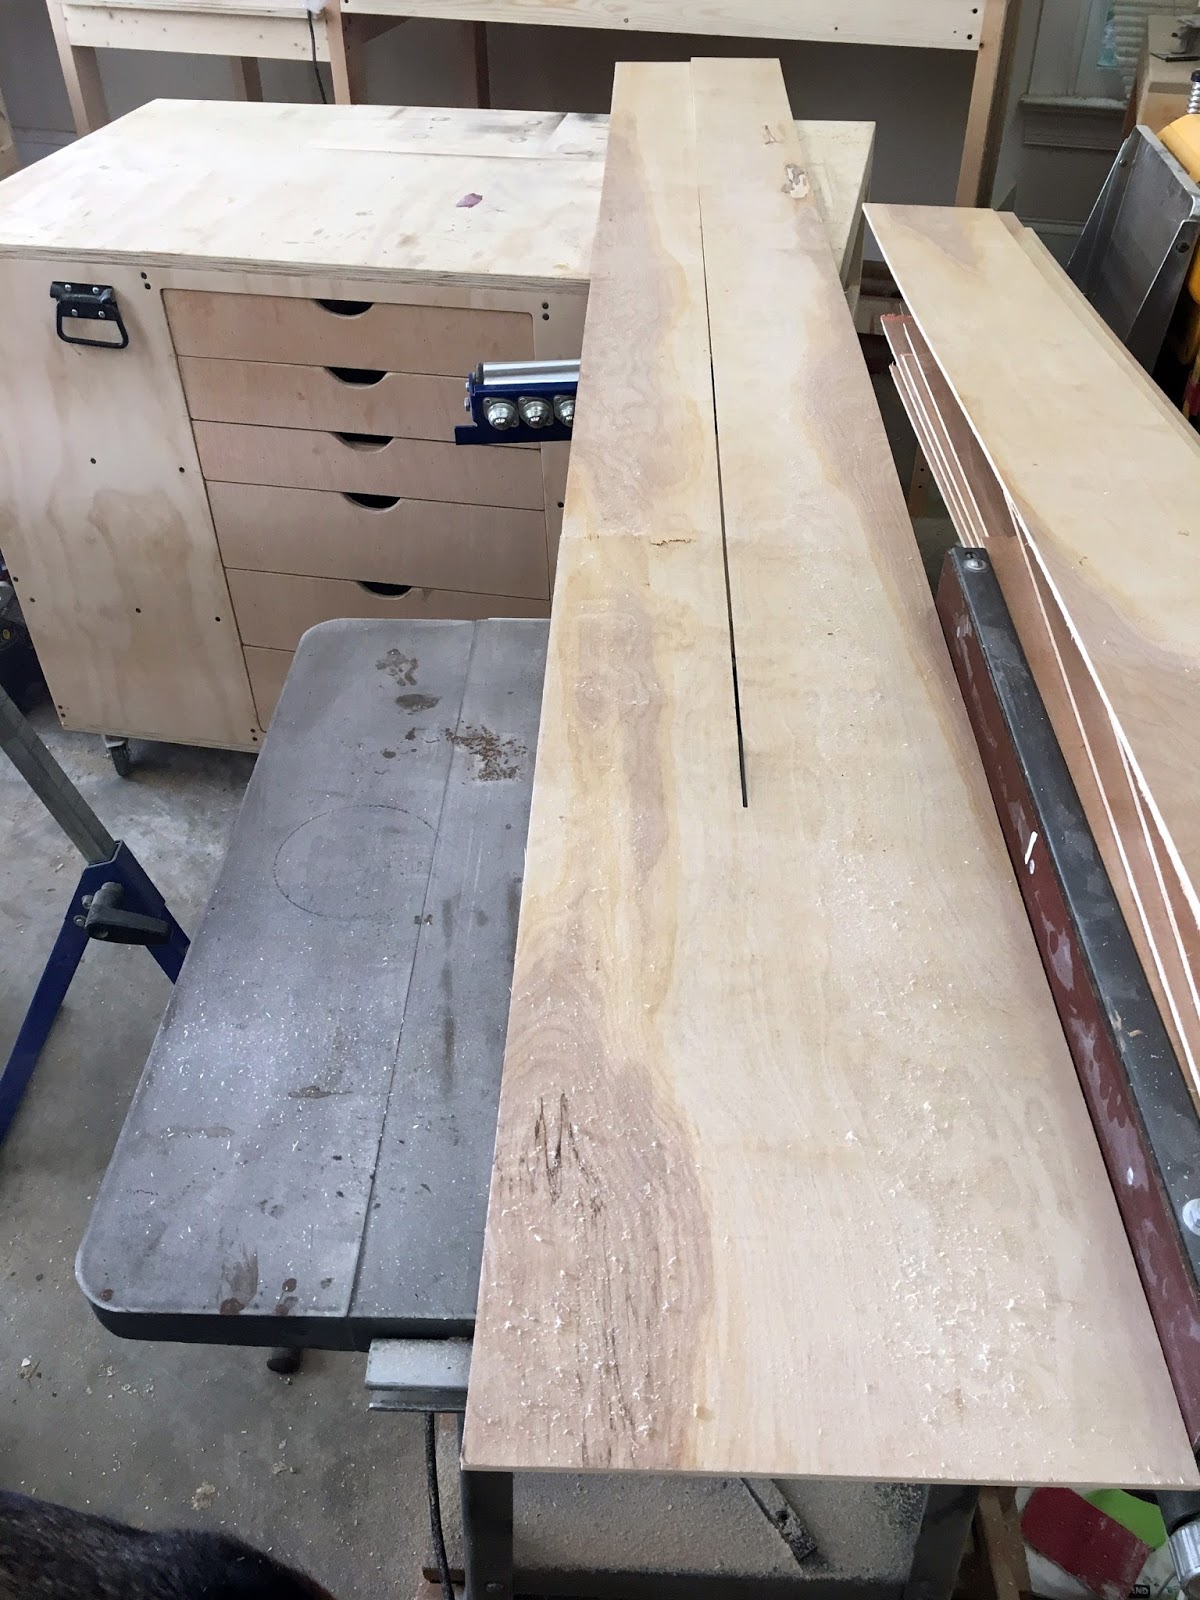
I rigged up my table saw with a nice out-feed system so I could cut the 4×8 sheets into 6″ strips. I sanded the edges smooth before hauling all my supplies upstairs.

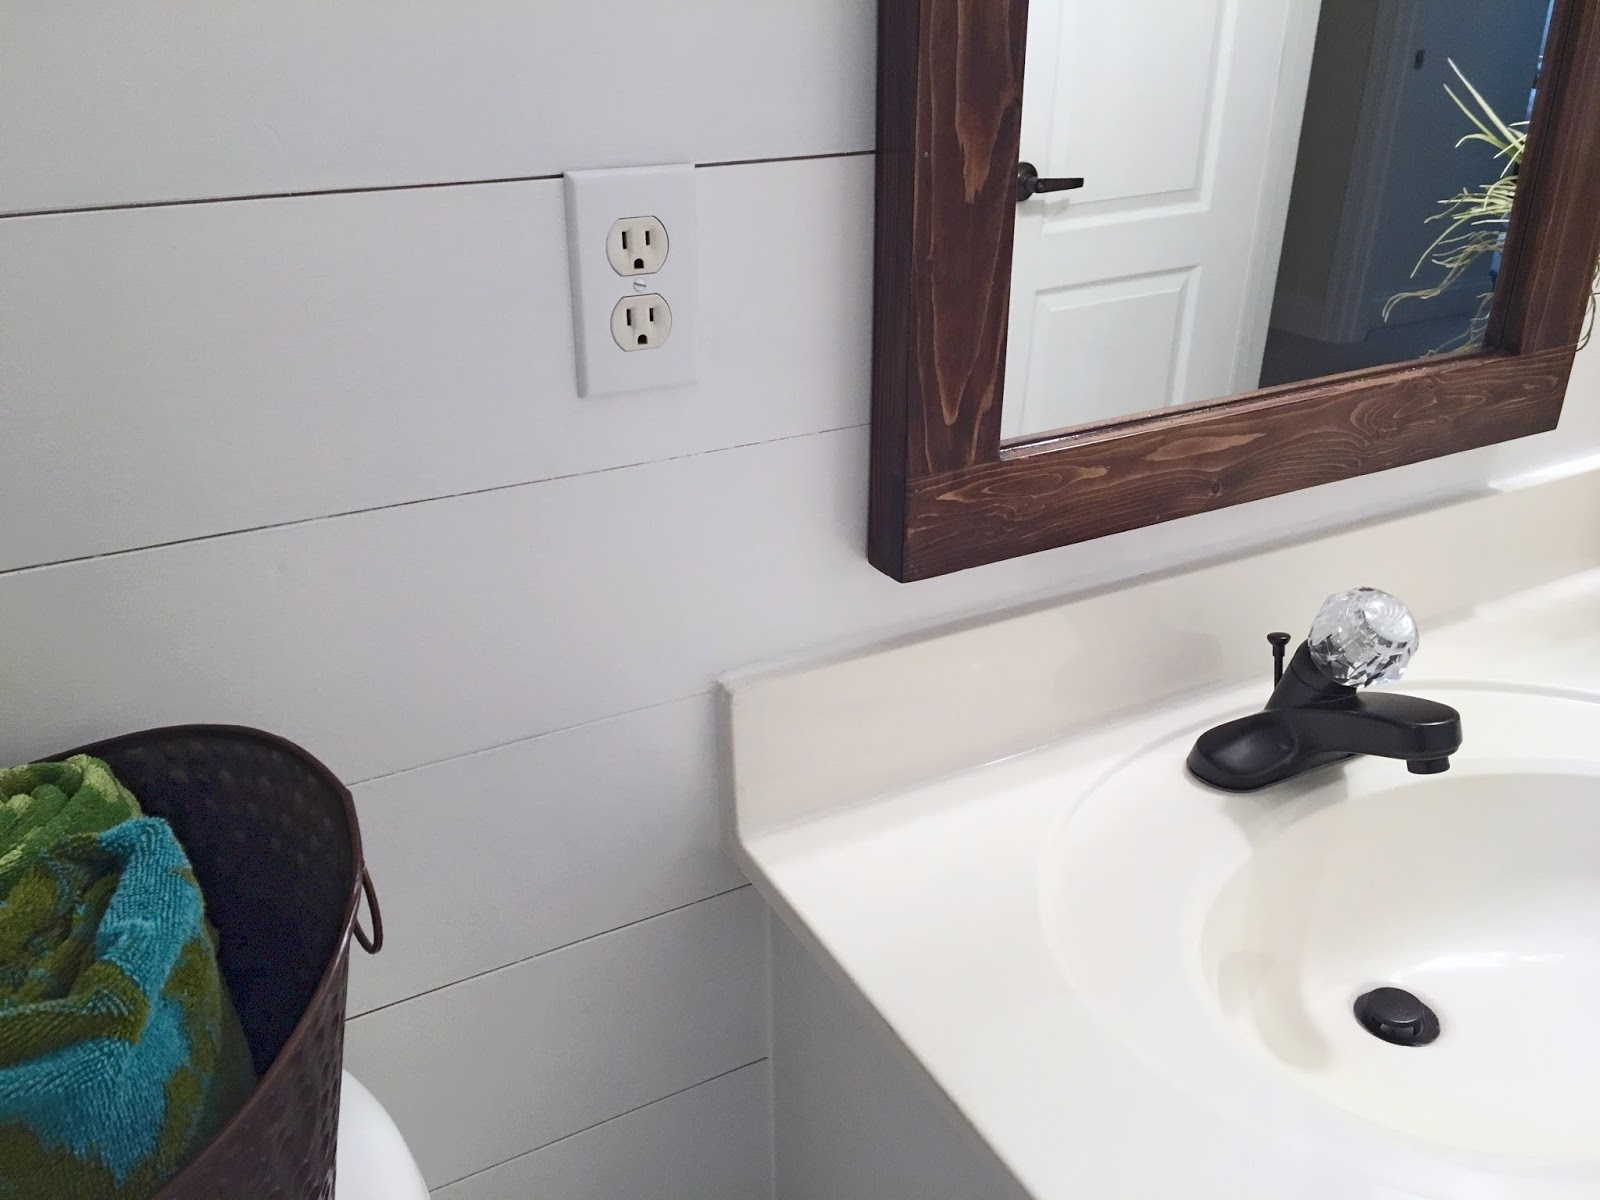
I marked where my studs were on the wall. I buttered the backs of the underlayment ‘shiplap’ with wood glue and nailed the first row right on top of our tile baseboard with 1-1/4″-18 gauge finish nails. For the next levels I used pennies for spacers and staggered where the ends of the boards met.
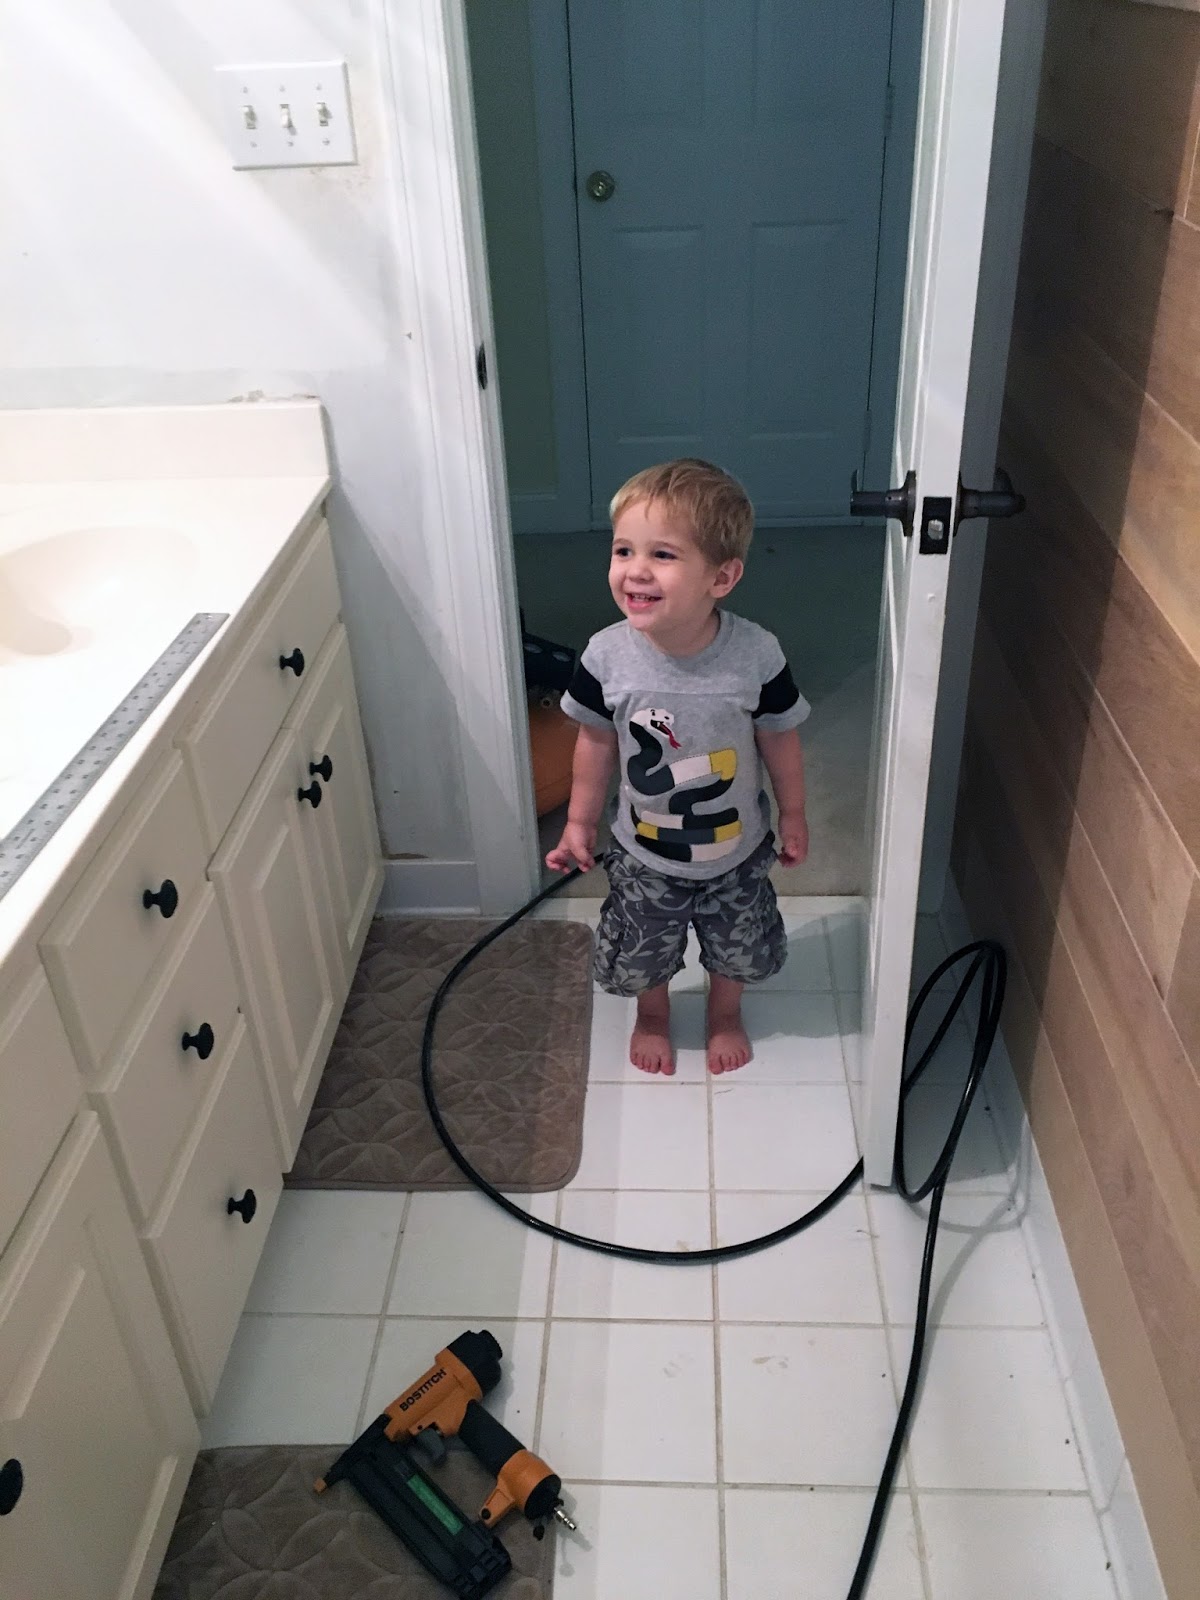
Tanner woke up just in time to see the “finished” wall! It took me about 3 hours from start to finish. The worst part was going up/down the stairs to cut new sections of wood, which also meant sanding the new cut edges every time.

I used 3/8″ plywood for the top trim pieces. The big trim piece is 3″-wide and the very top piece is 1″-wide (turned on it’s side). I used glue on these pieces as well but a larger 2″-16 gauge nailer.
I took this picture to send to my husband (he didn’t know I was doing anything to the bathroom – oops) and told him how the wall of wood only cost $20.
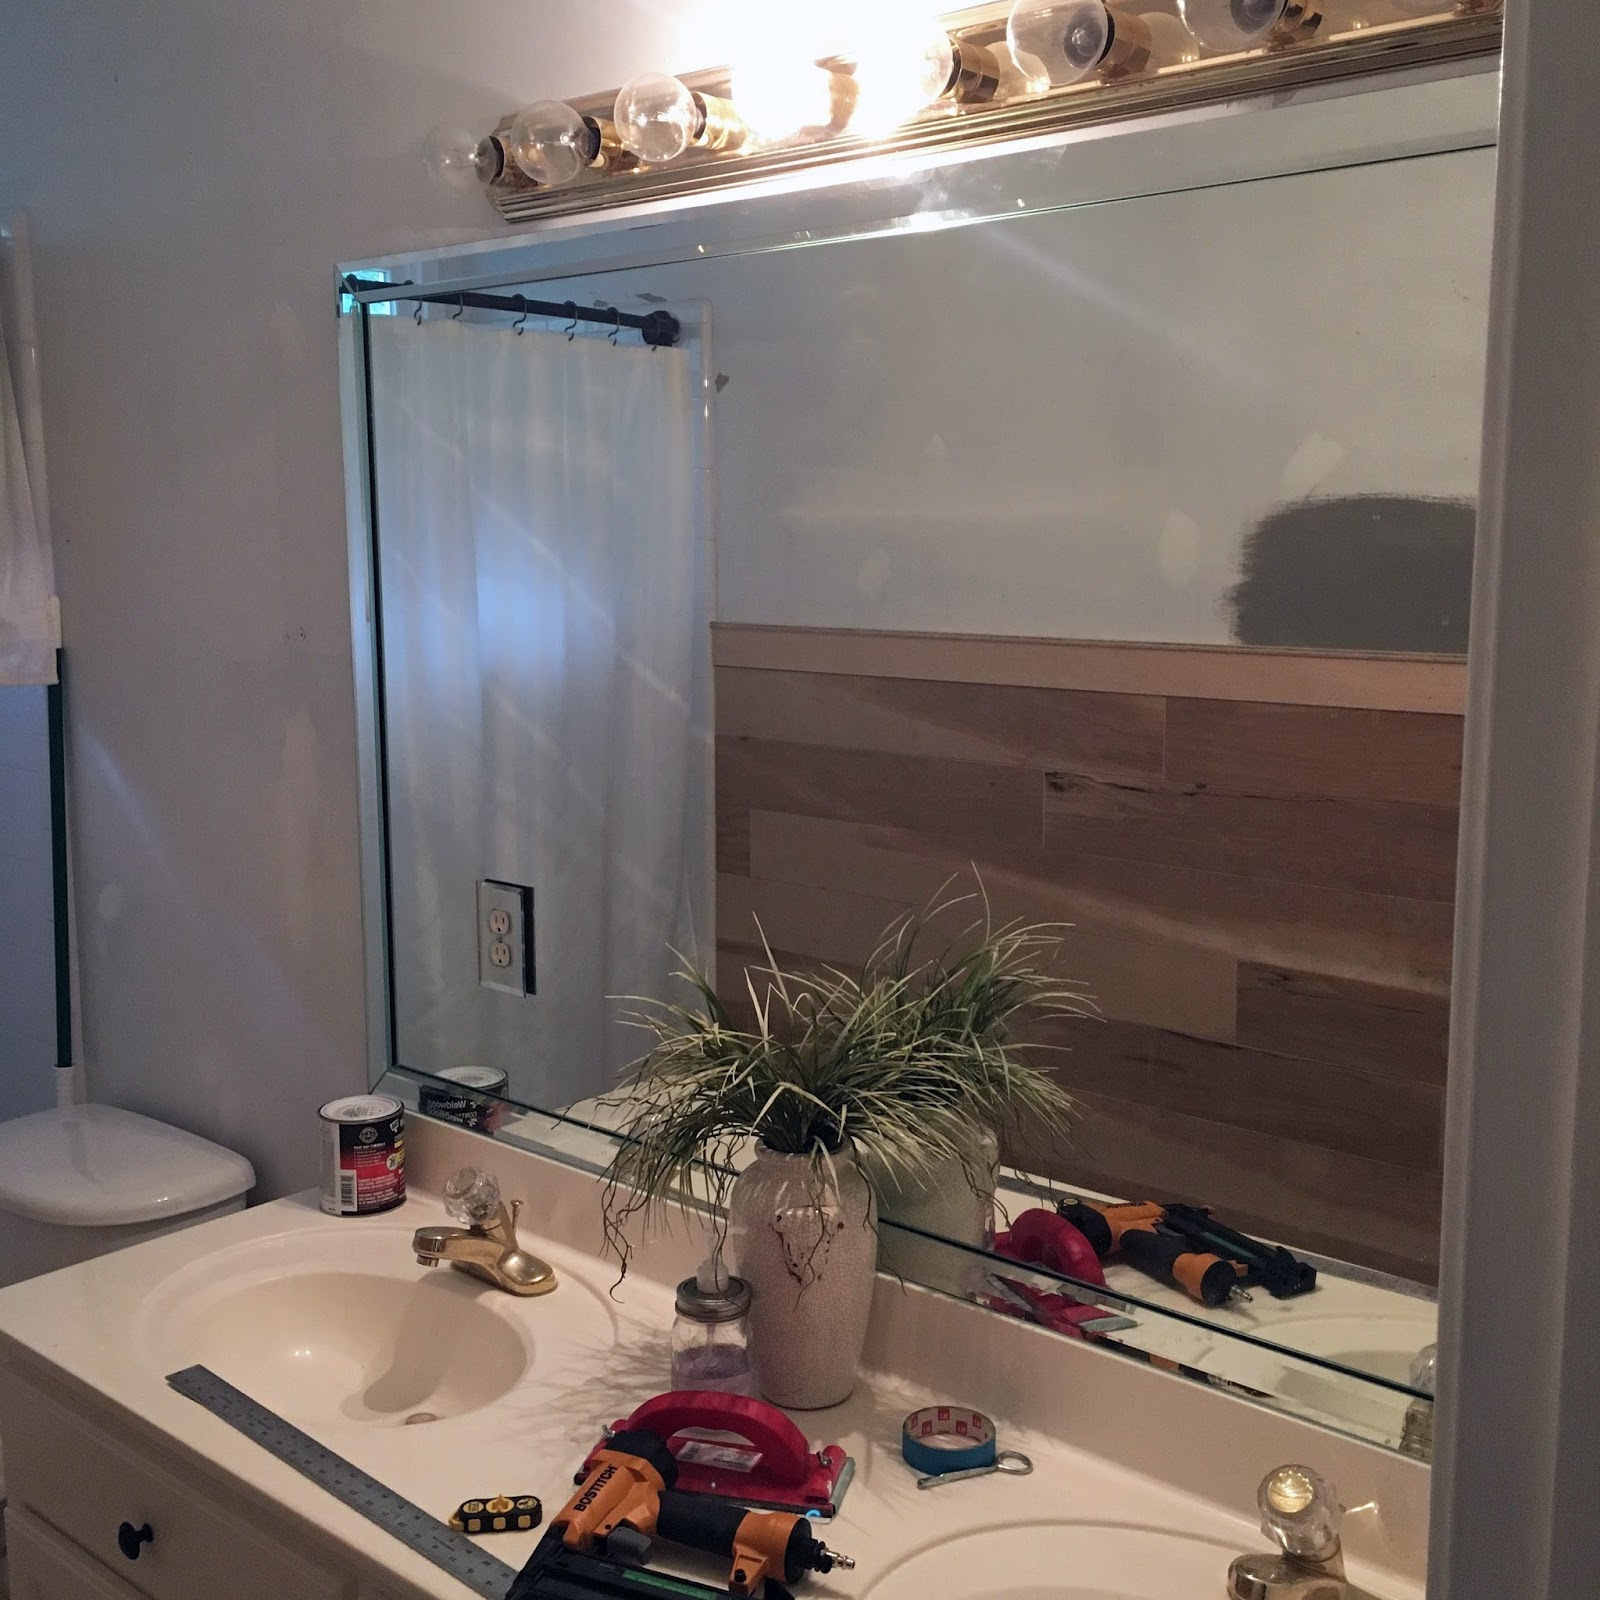
I started to think that if I was going to go through the trouble of painting I might as well fix up the whole bathroom while I was at it. The main things I REALLY didn’t like was the long brass light fixture with super bright lights (we could only have 2 on at a time) and the massive mirror – mostly because of the outlet that was in the mirror (seriously, WHY would you put an outlet in a mirror???). Other things bothered me like all the other brass fixtures and gross grout on the floor but I wasn’t thinking that far ahead.
I asked my husband if I could put up 2 smaller mirrors and get a new light fixture. He gave me the go ahead (I figured) by saying “If it doesn’t cost too much”.
DAY 2

I got right to work by taking off the light fixture and Googling: ‘how to remove a bathroom mirror’.
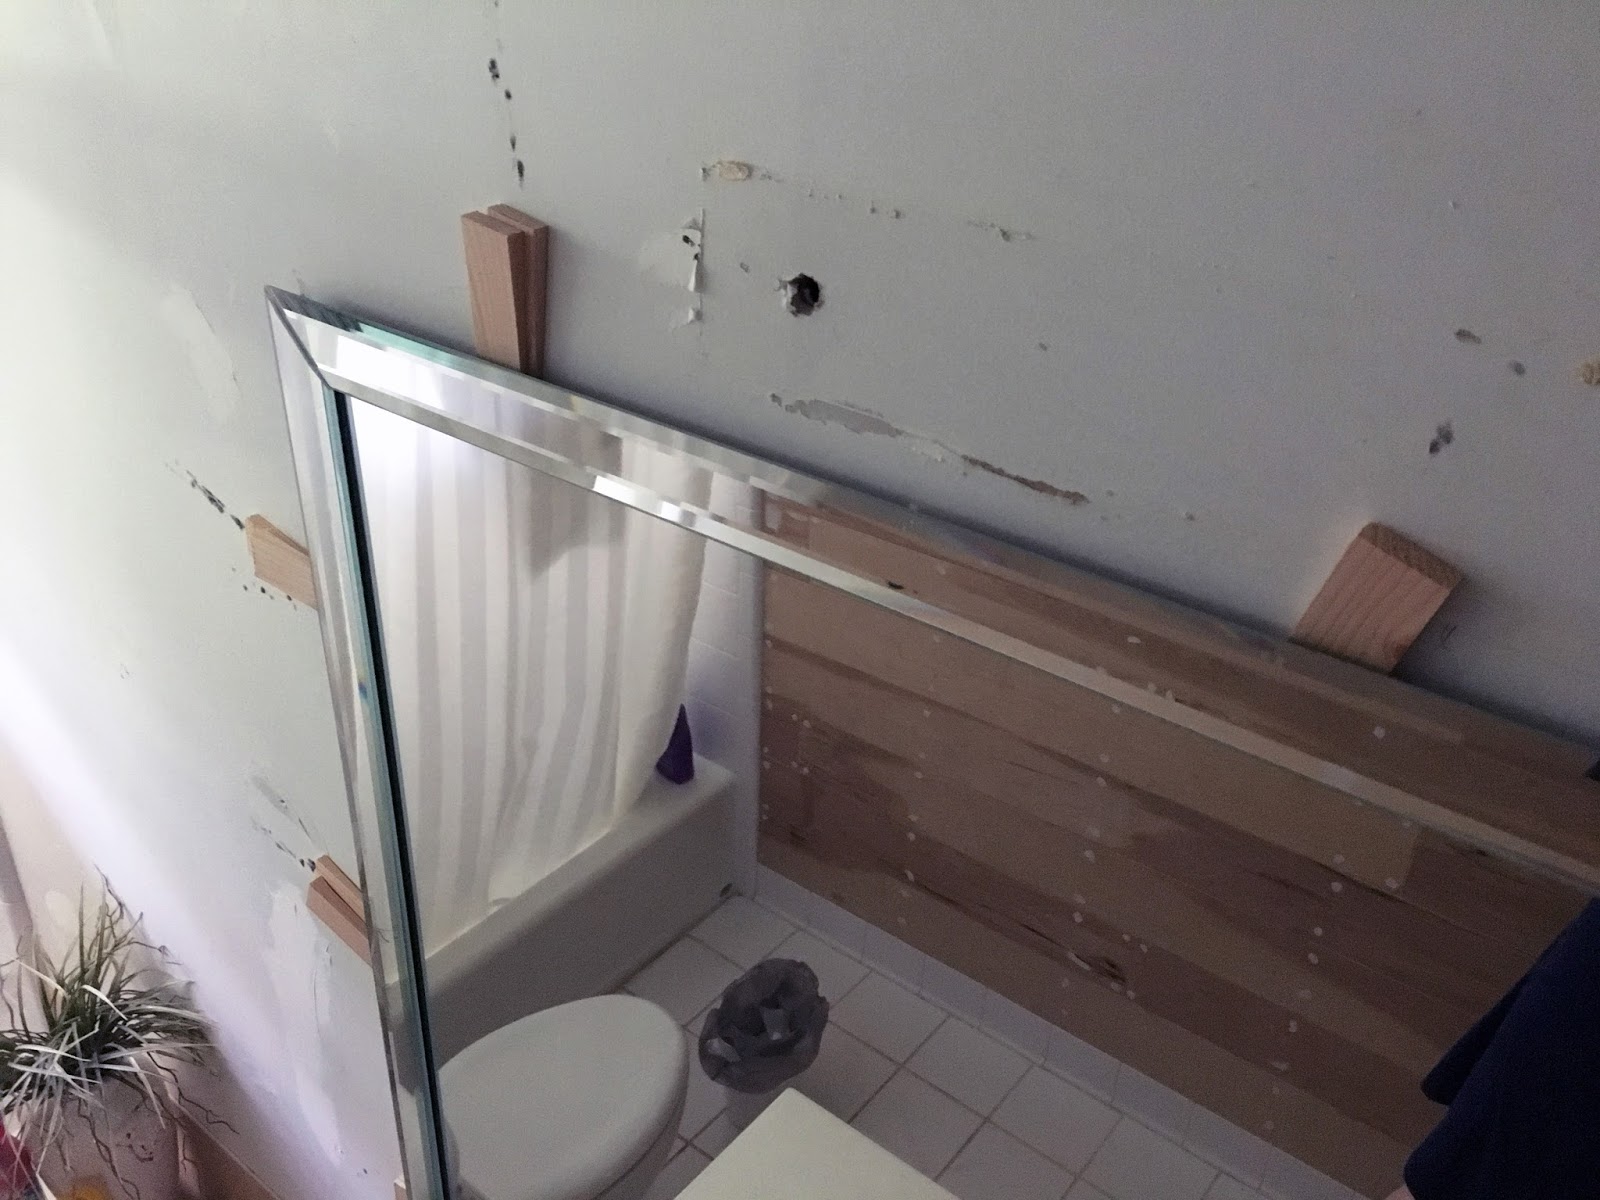
I cut up some shims and started pounding them in slowly. I could hear it separating from the wall a little at a time.
After about 20 minutes it came off!
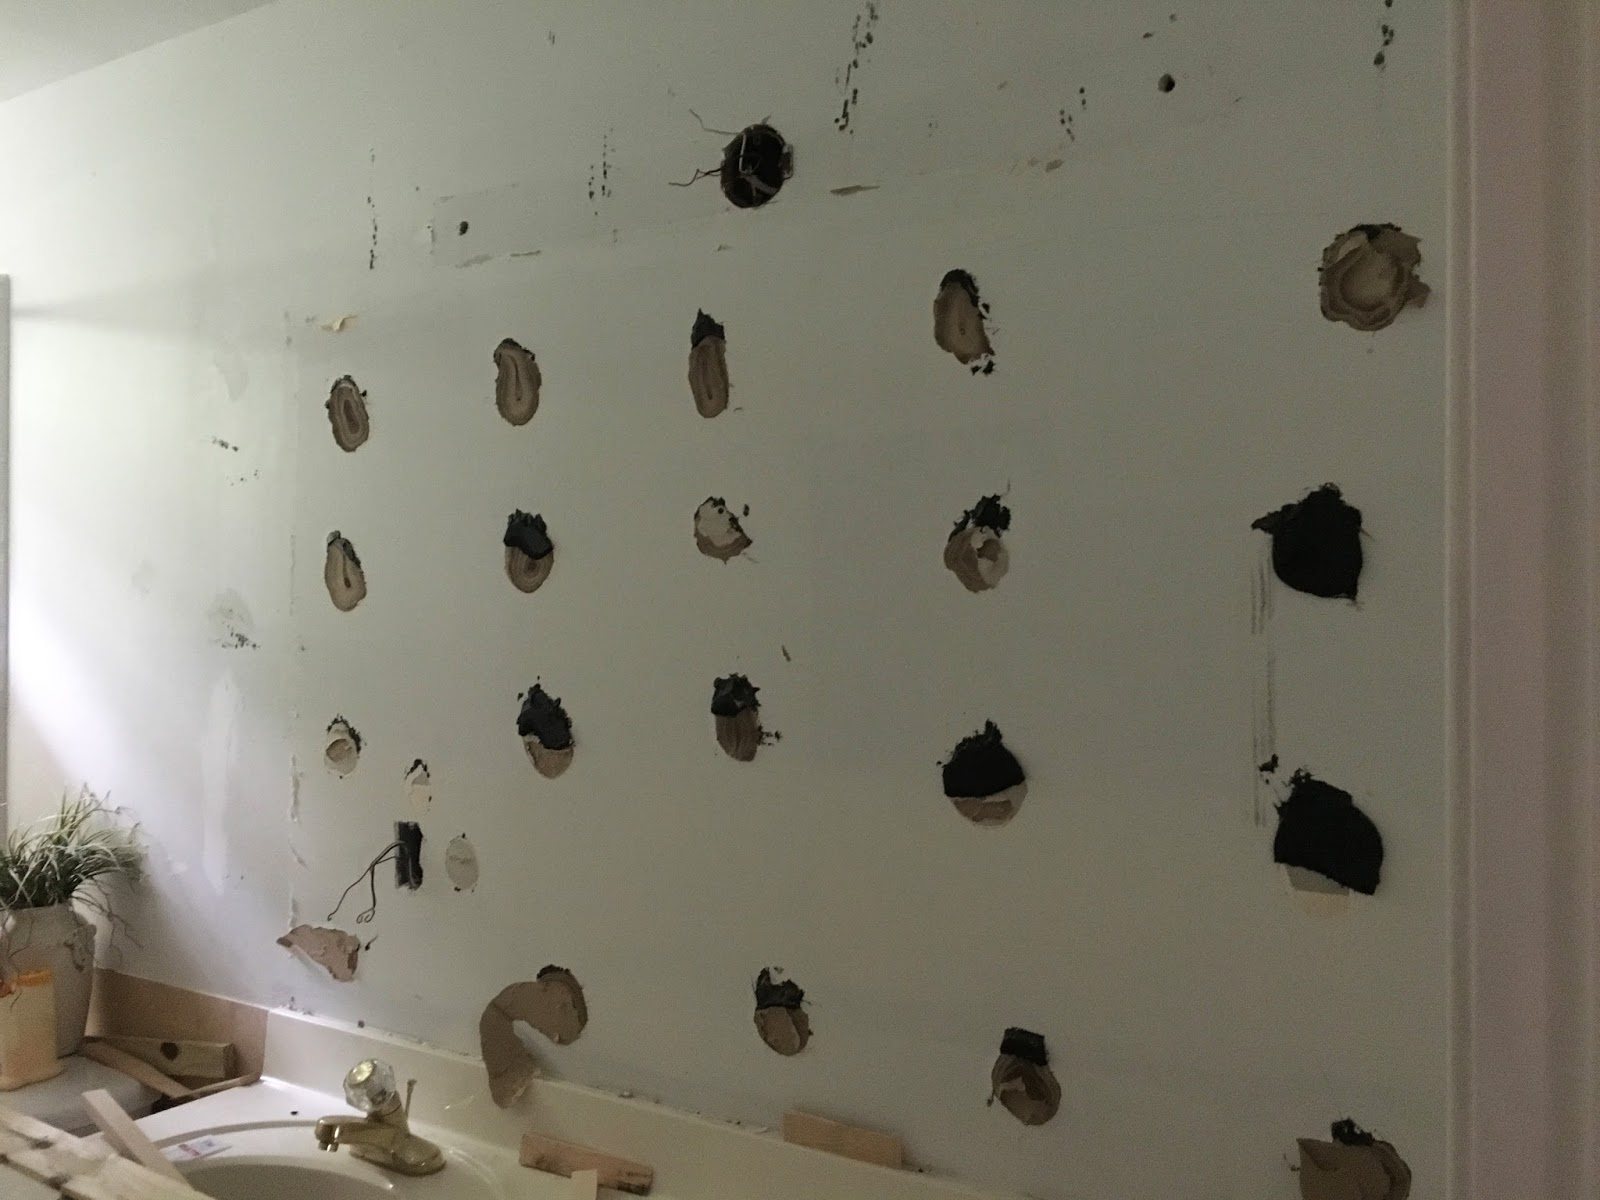
I didn’t take pictures of this process but I moved the outlet that was in the mirror over to the next stud on the left. I created holes in the sheetrock to do so which I patched before covering with ‘shiplap’.

I pulled off the chunks of tar-adhesive and the first layer of sheetrock paper that was under it (it was bubbled).
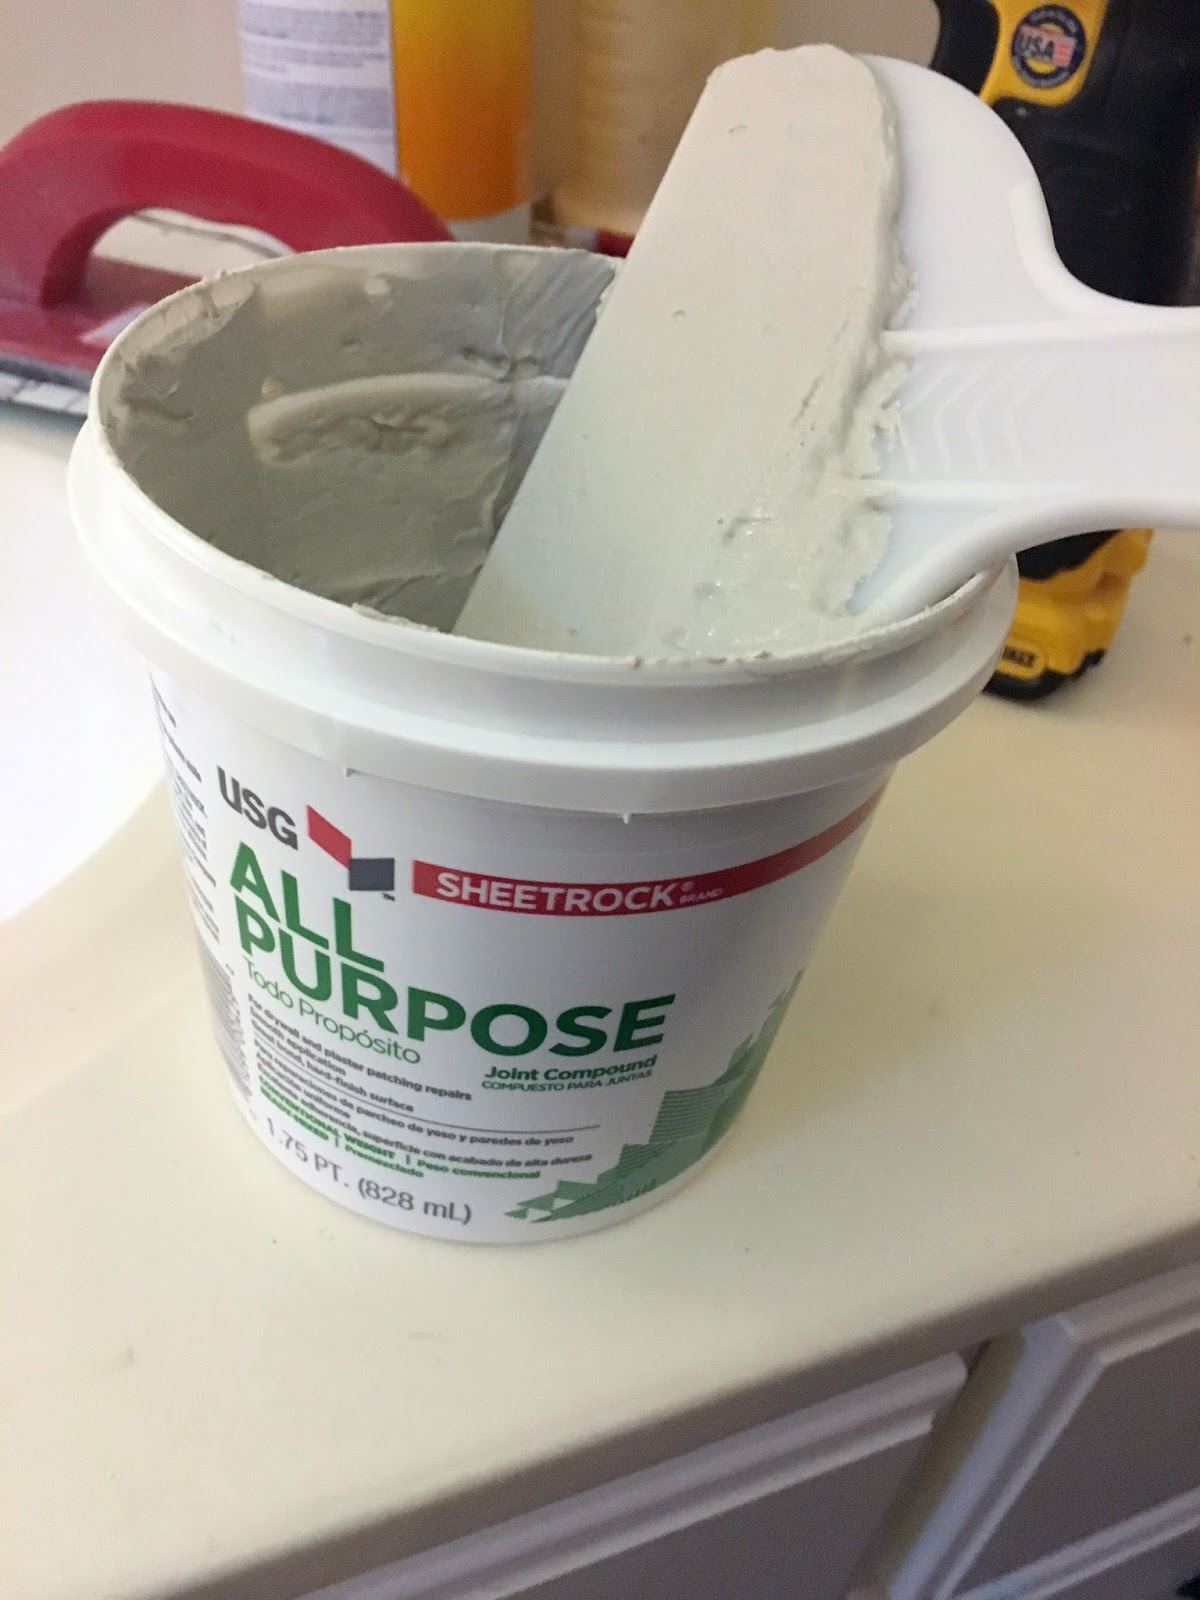
I used pre-mixed joint compound to patch the walls.

The compound is very easy to work with. Goes on smoothly and took about 2 hours to dry. I sanded smooth with a sheetrock sanding pad and patched again to ensure everything was perfectly smooth.

I worked by daylight + a small little lamp on the toilet 😁
DAY 3

I wasn’t home much on this day but I was able to finish nailing the ‘shiplap’ and trim.
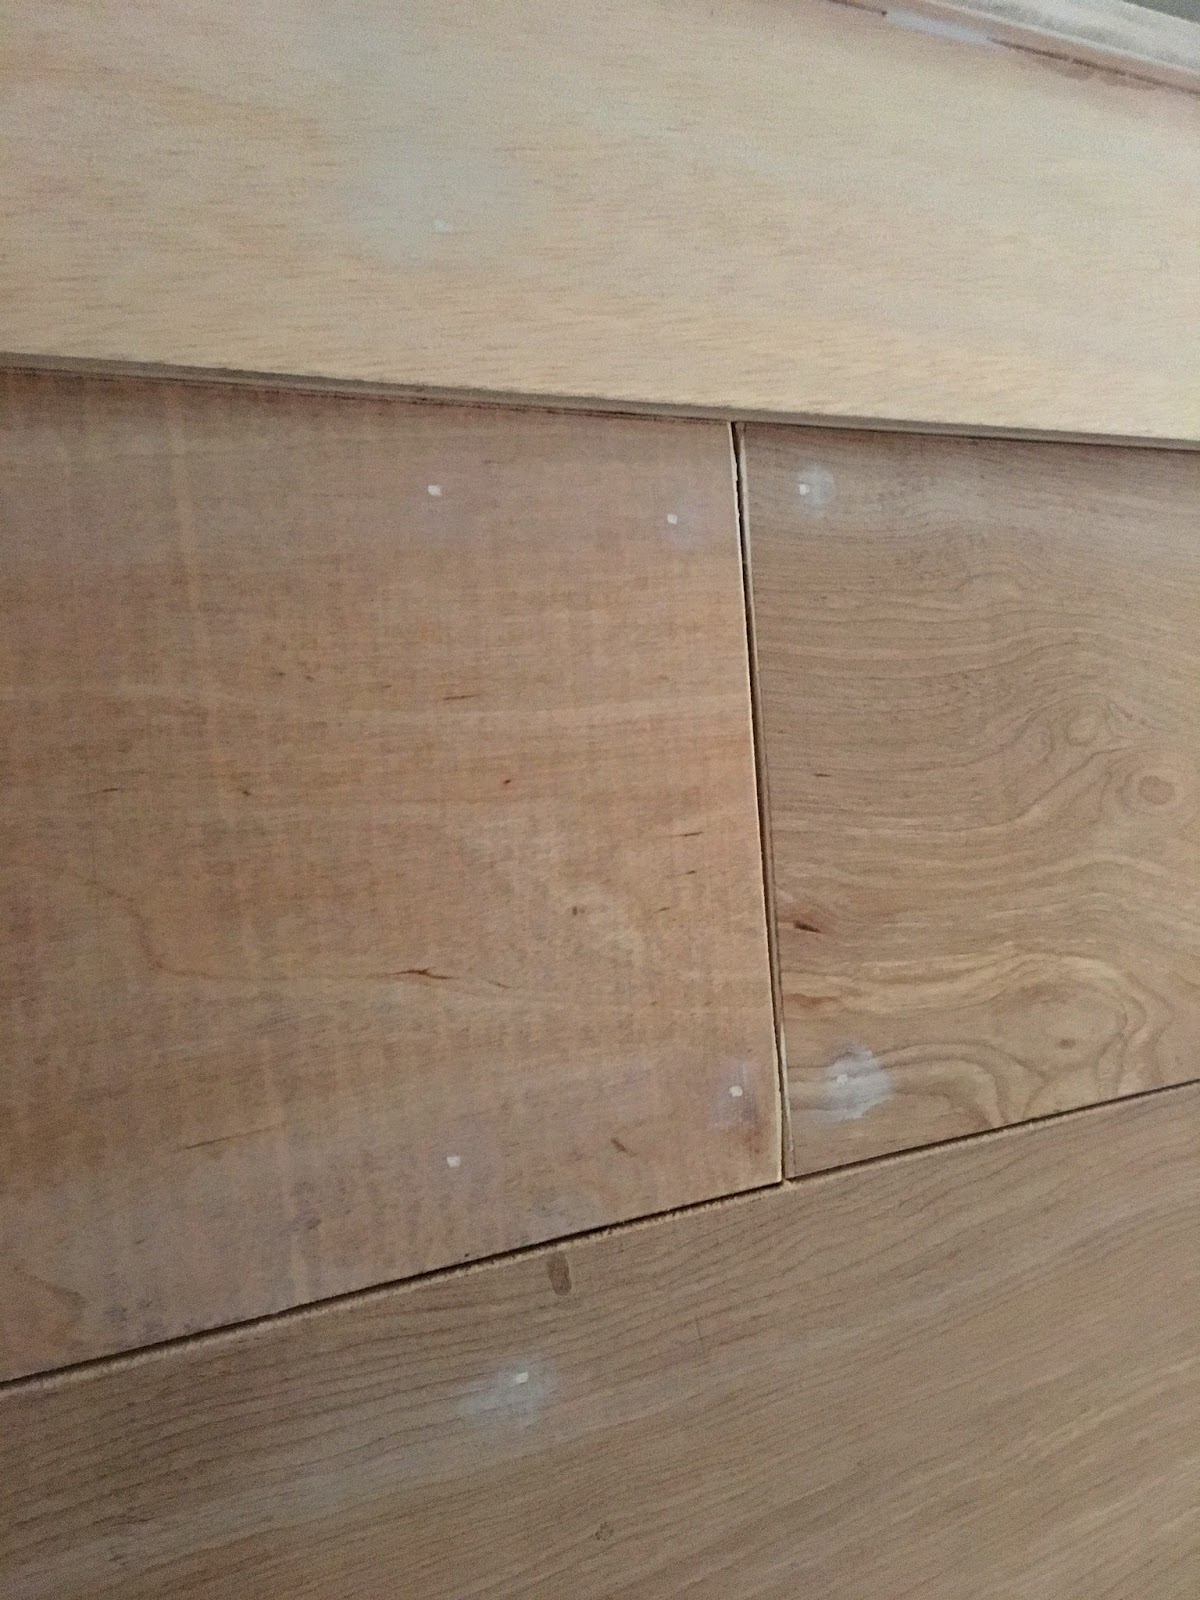
All the tiny nail holes got filled and sanded.
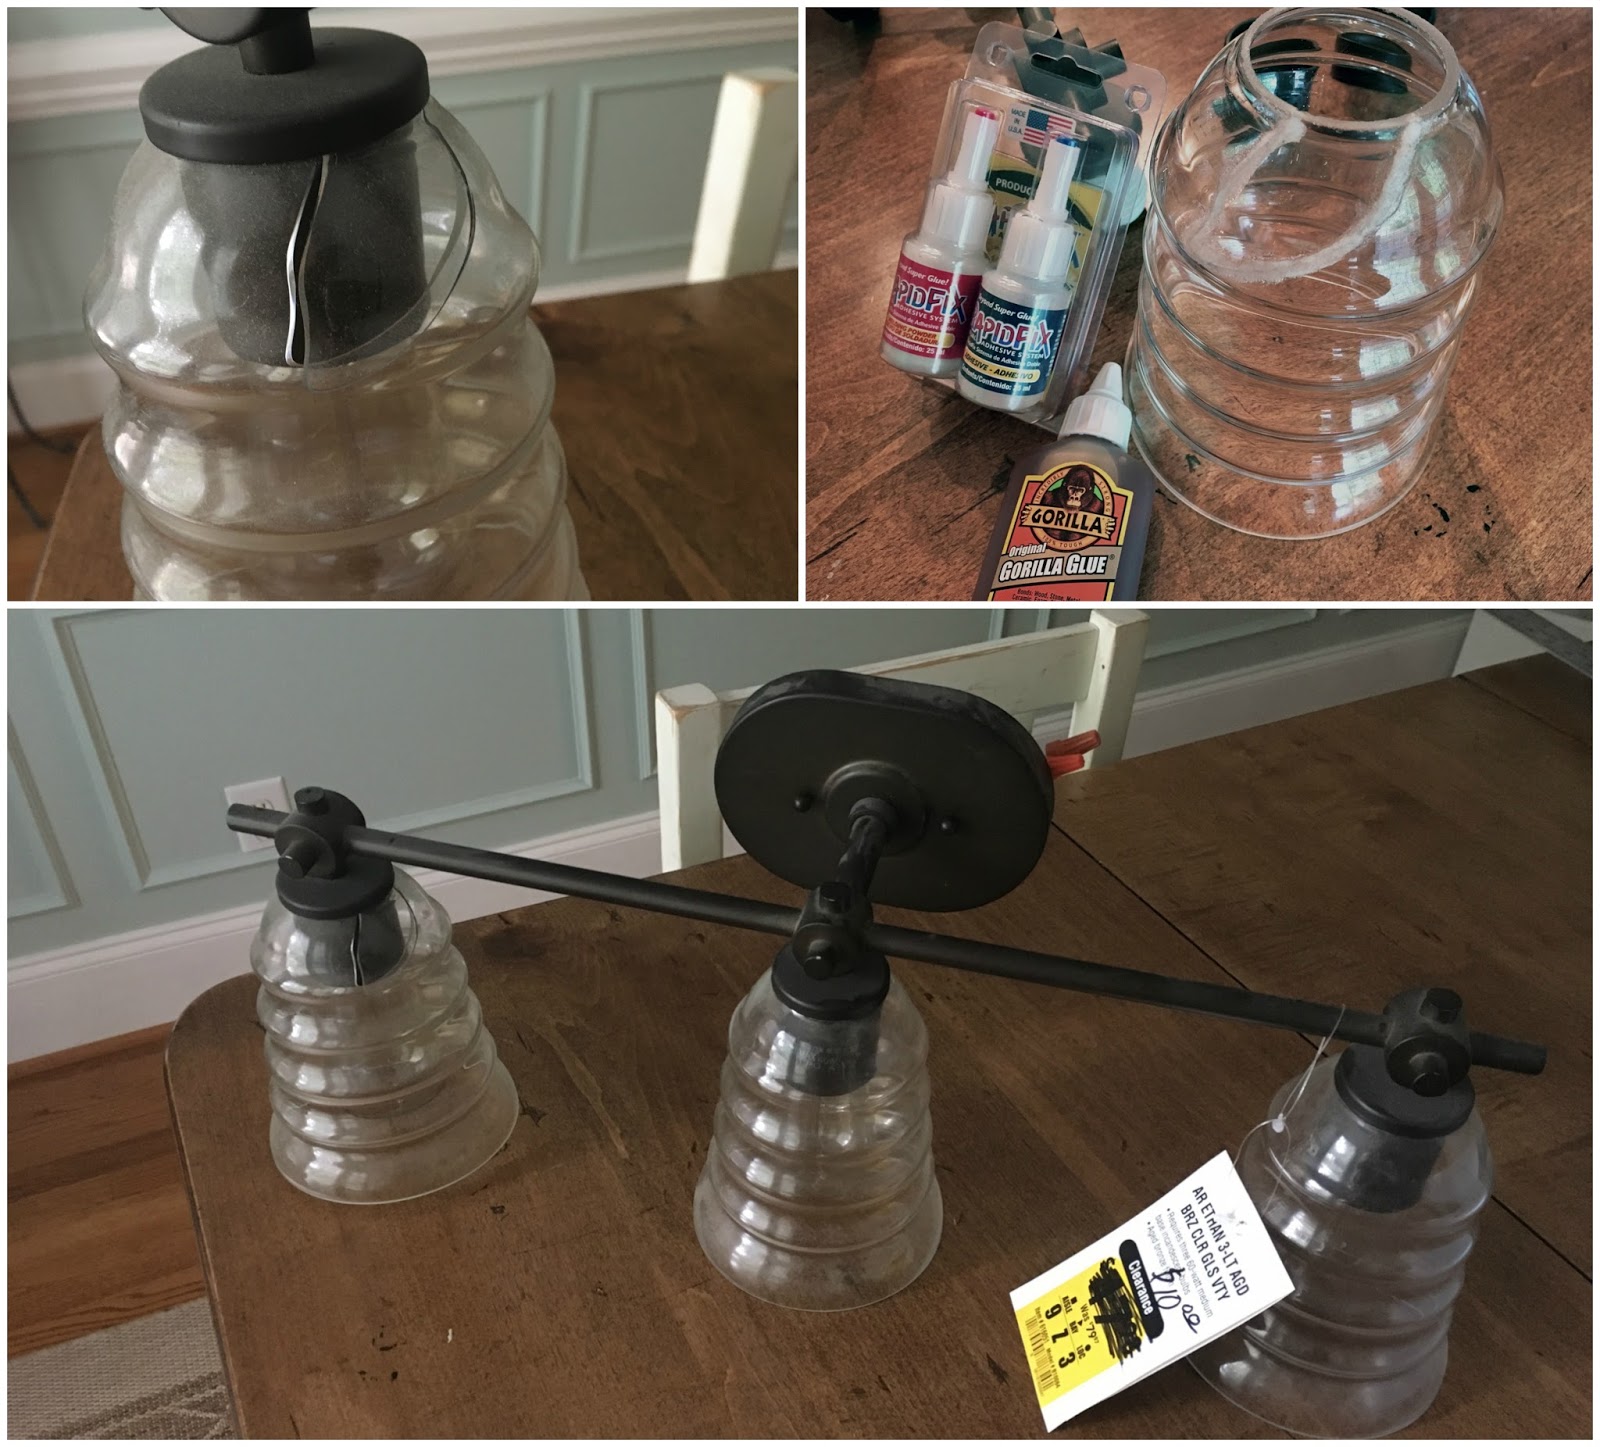
I scored a $10 light fixture at Lowe’s! It was a store display, the LAST one in the store and it was broken. Nothing a little glue won’t fix. “Rapid Fix” may have been a little overkill but I’d rather be safe than sorry.
DAY 4

The walls and ‘shiplap’ got primed and ready for paint!

I figured what size of mirrors I needed and headed to the thrift store. It was my lucky day because I found 2 mirrors that were just the right size! I reluctantly paid $20 for both of them.
When I got home I was super excited to get them out of the ugly frames and in my haste I broke one of them! I stood there in disbelief while holding broken pieces – ack, I was so annoyed. This was the most frustrating part of the whole remodel!
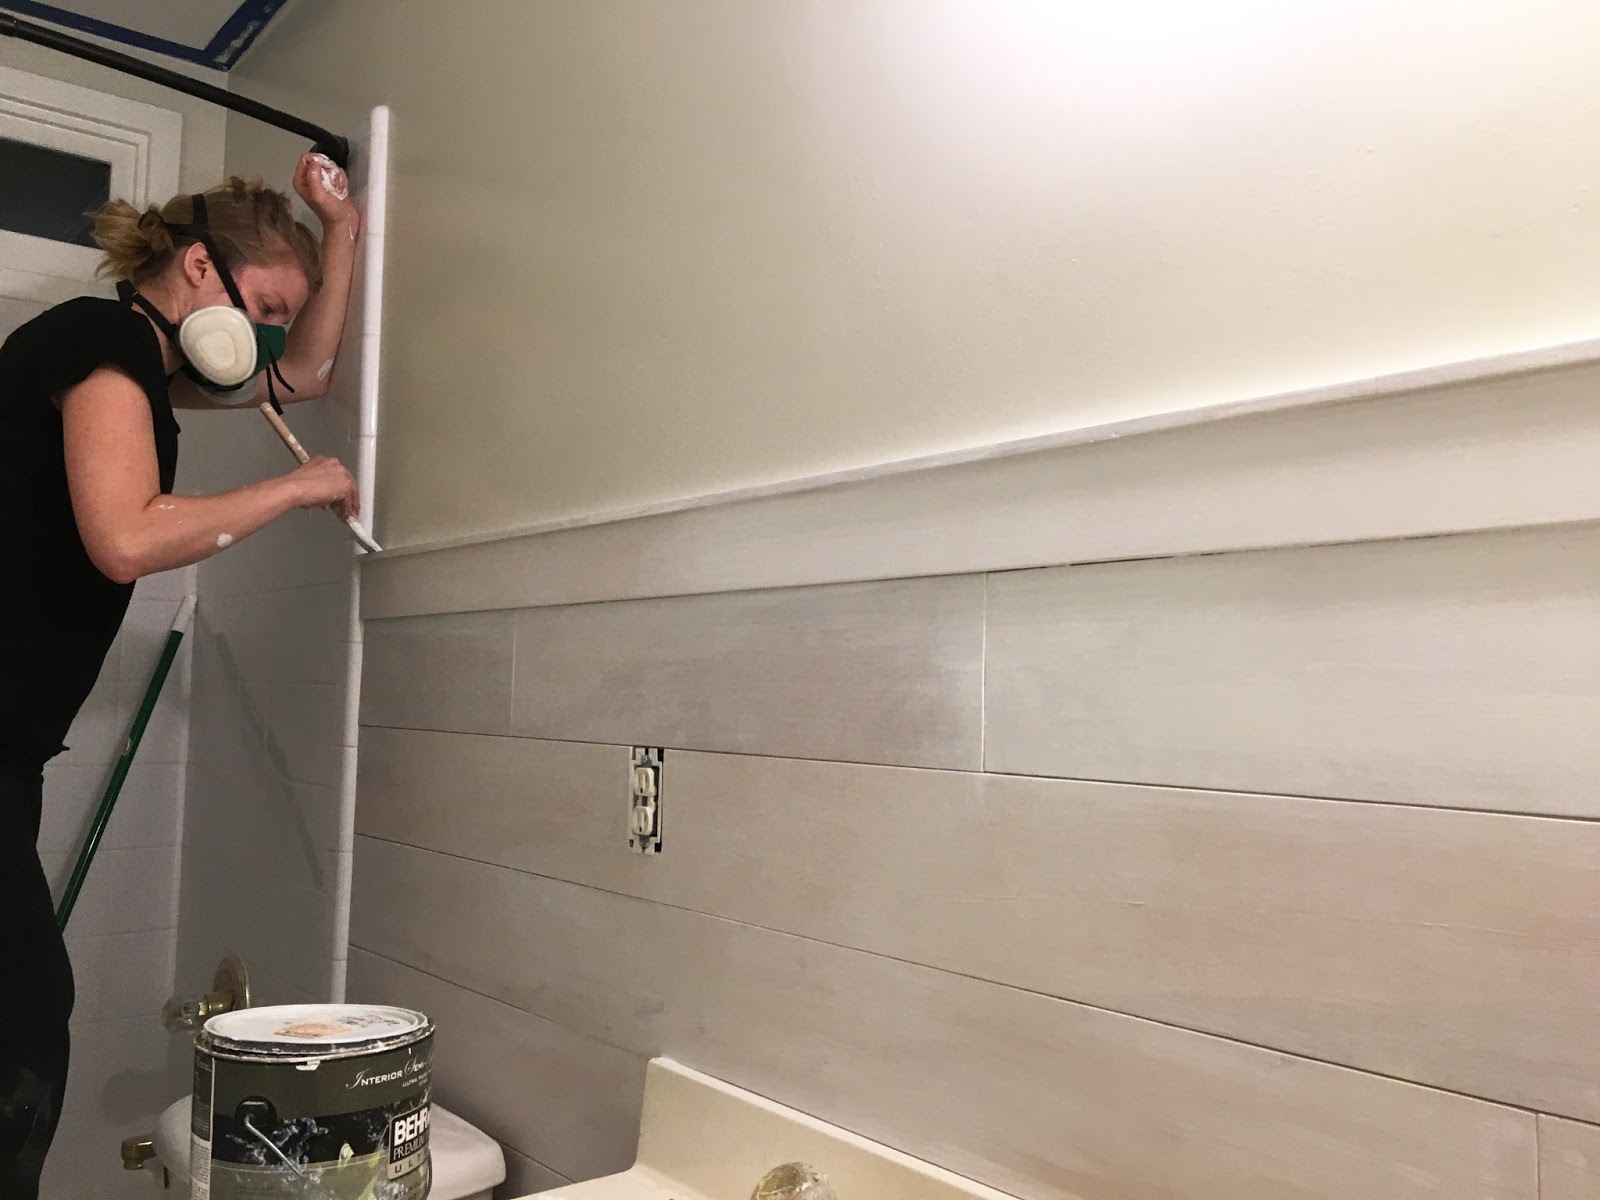
I painted the top half of the walls and it felt so good. I hate painting but it makes the biggest difference!
I did the 1st coat of white on the ‘shiplap’ (the same paint as all the trim in the house). I was very careful to keep the grooves in the ‘shiplap’ clear from paint. It was noticeable if paint got between the boards so I’d go back over with a razor blade and clear it out.
DAY 5

I woke up to stare at the bathroom. With one coat of white paint on the ‘shiplap’ I was really starting to freak out about all the different shades of white in the bathroom. It wasn’t looking good!

While I was out running errands I found some ‘OOPS’ paint at Home Depot and tested it on the walls. It was at this point I texted my good friend (who gives me home decor advice) to ask her what I should do. Luckily she said to go ahead with the white (she knows what’s best)! The metal bin was another thrift store find!

I added a little bit of the taupe ‘OOPS’ paint into my white to soften the color a little and I was so relieved after finishing the 2nd coat. It looked SO much better!
Painting was finished so I started scraping paint off areas it shouldn’t be. A few hours later I found myself pulling and scrapping all the caulking from around the tub and floor. Many hours later I was glad to stand up and not be hugging a toilet anymore.
DAY 6

It’s the weekend so I didn’t do too much. I bought some supplies for coloring the grout. I decided the yellow pee-stained grout wasn’t going to work for me anymore (I’ve already tried soaking it with bleach and other cleaners)… all these products were about $40 😳 – but totally worth having nice grout, right!?
** I do NOT recommend the caulking I used in the picture above! It stains yellow from urine, attracts lint and has overall yellowed/grayed over a 2 month period **
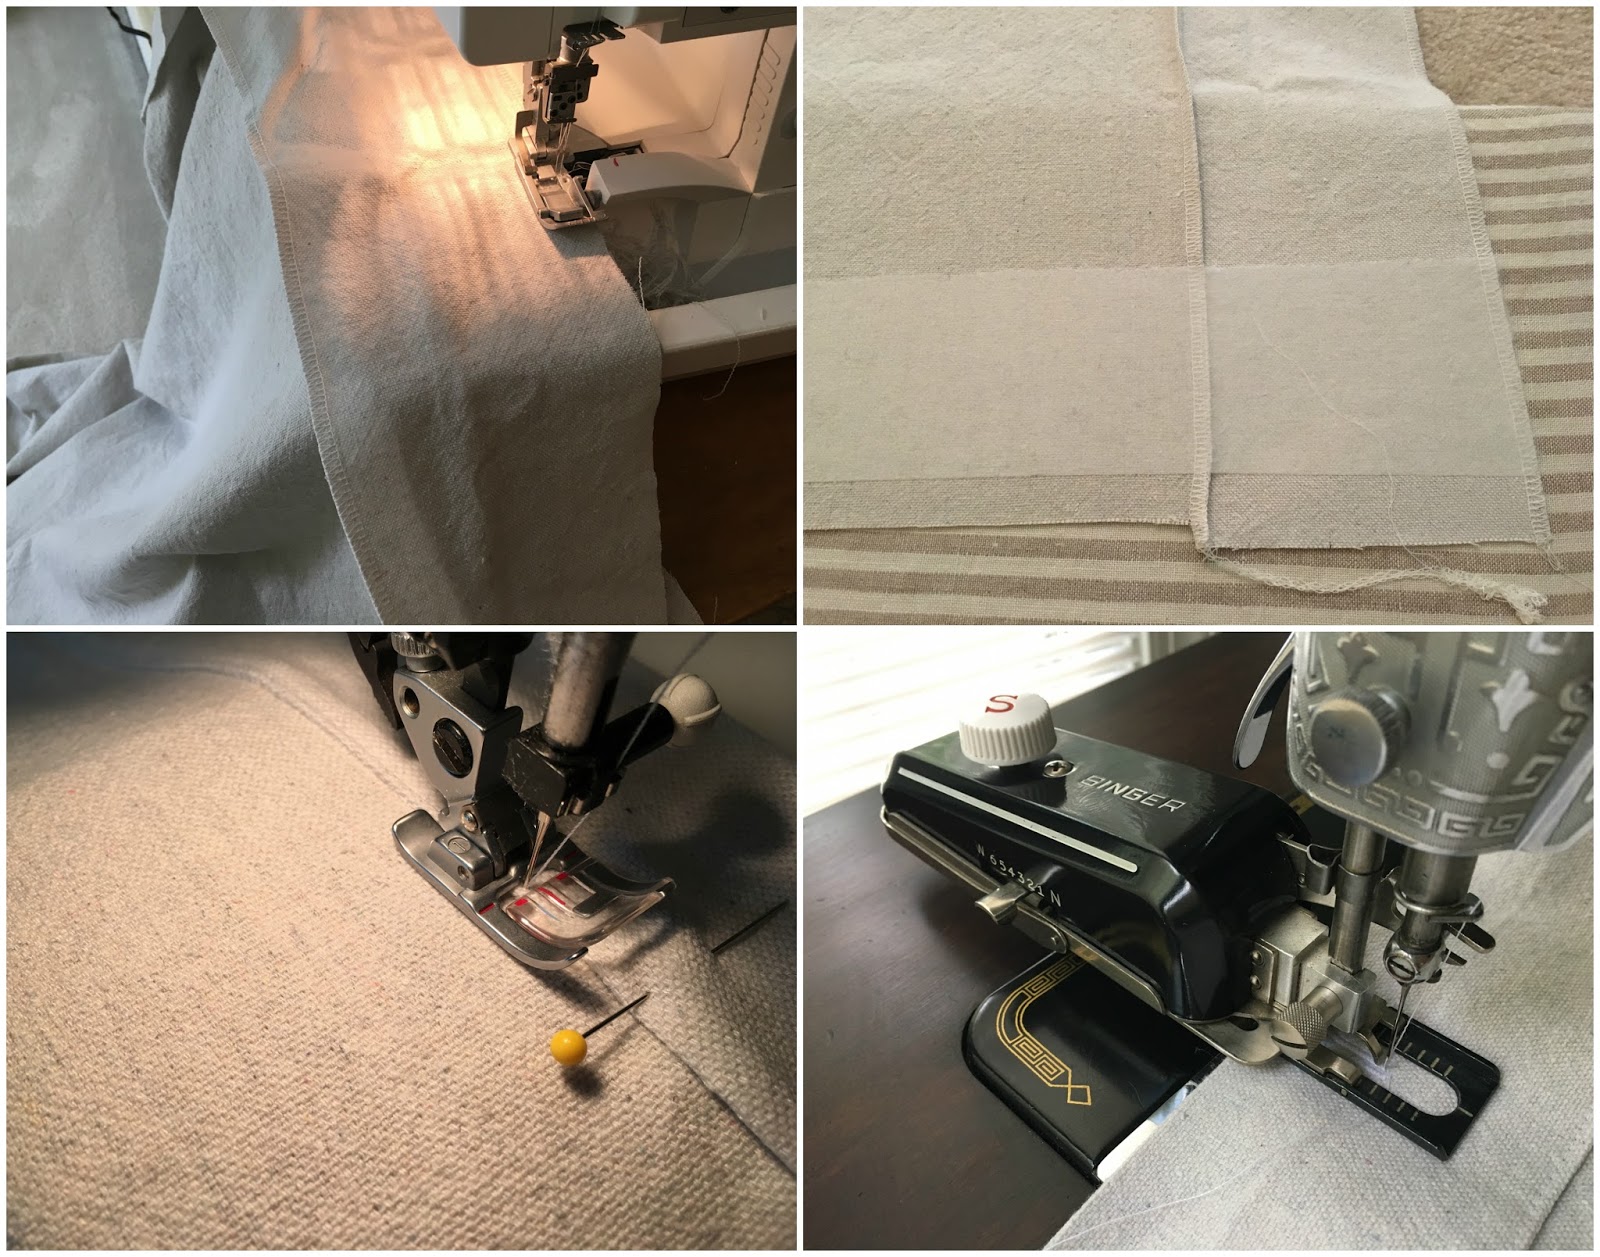
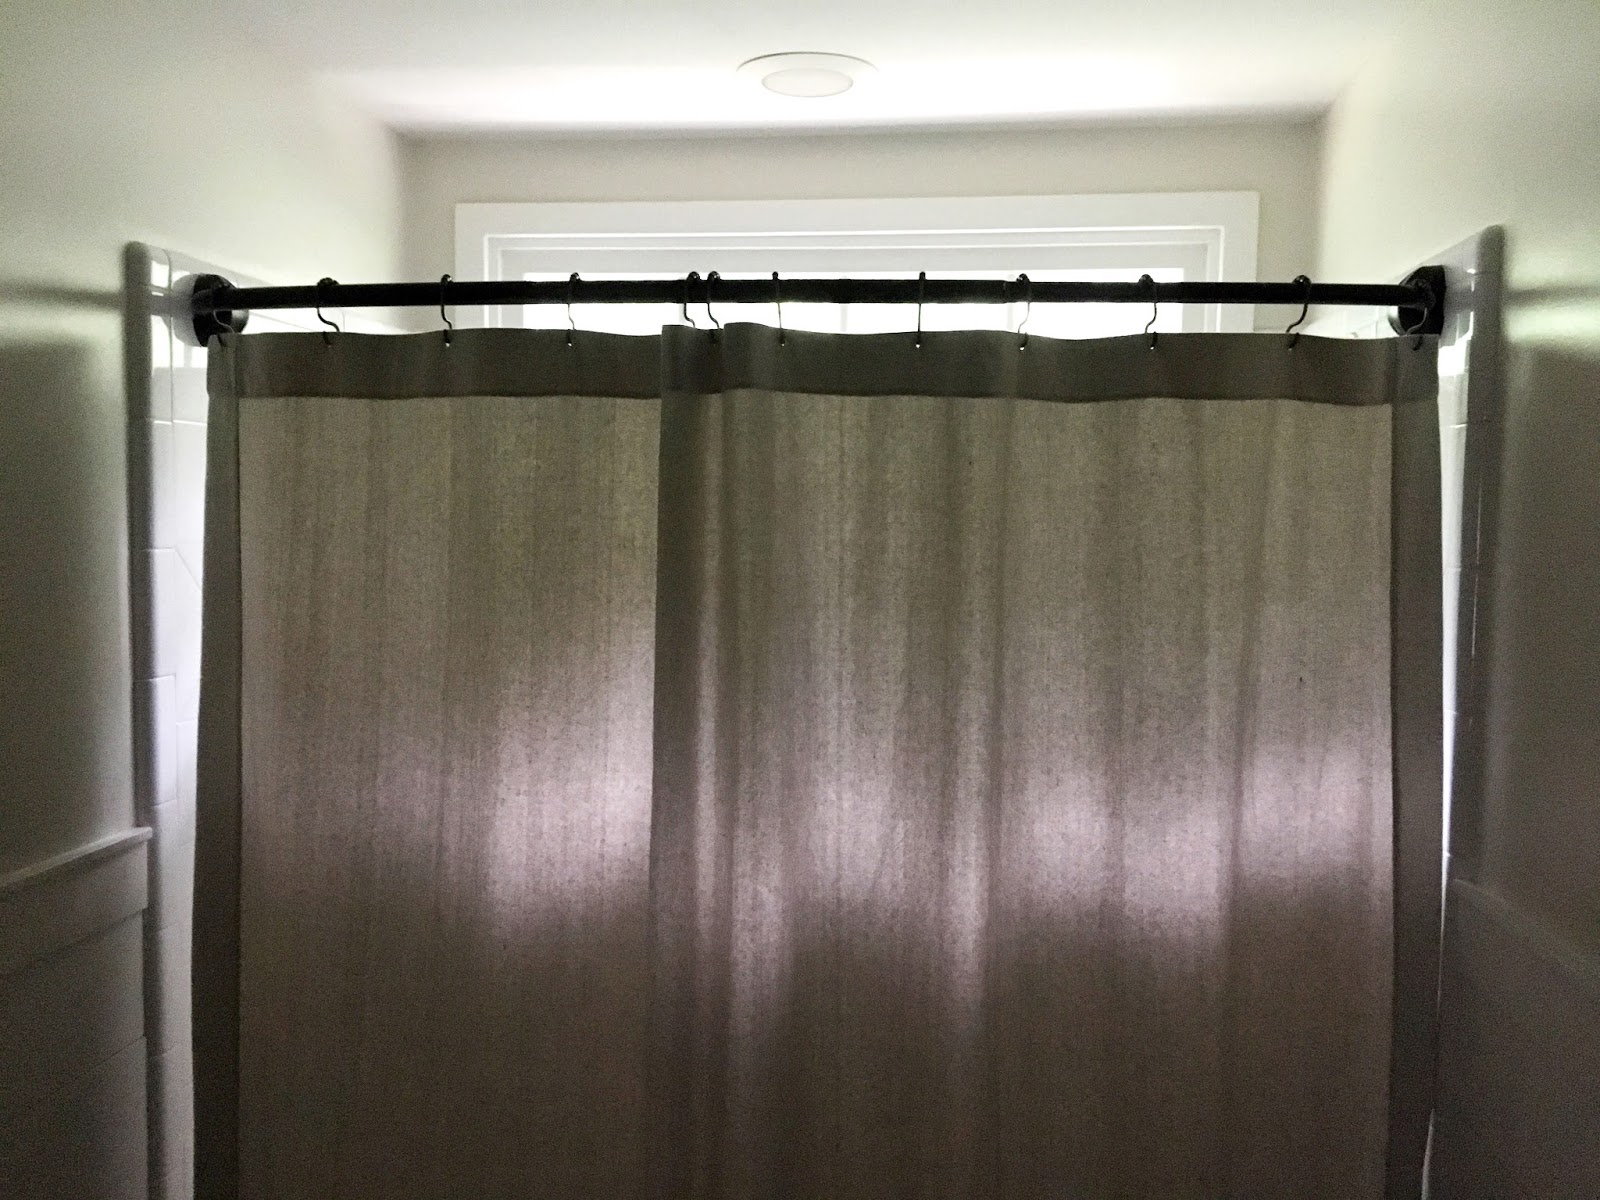
I bought a $10 painter’s drop cloth to make a shower curtain. I pre-washed/shrunk it which made it a few inches too narrow so I had to sew extra strips on the sides (looks better than a regular-old hem anyways)! I ironed fusible interfacing inside the top hem where the buttonholes were to go to add stability.
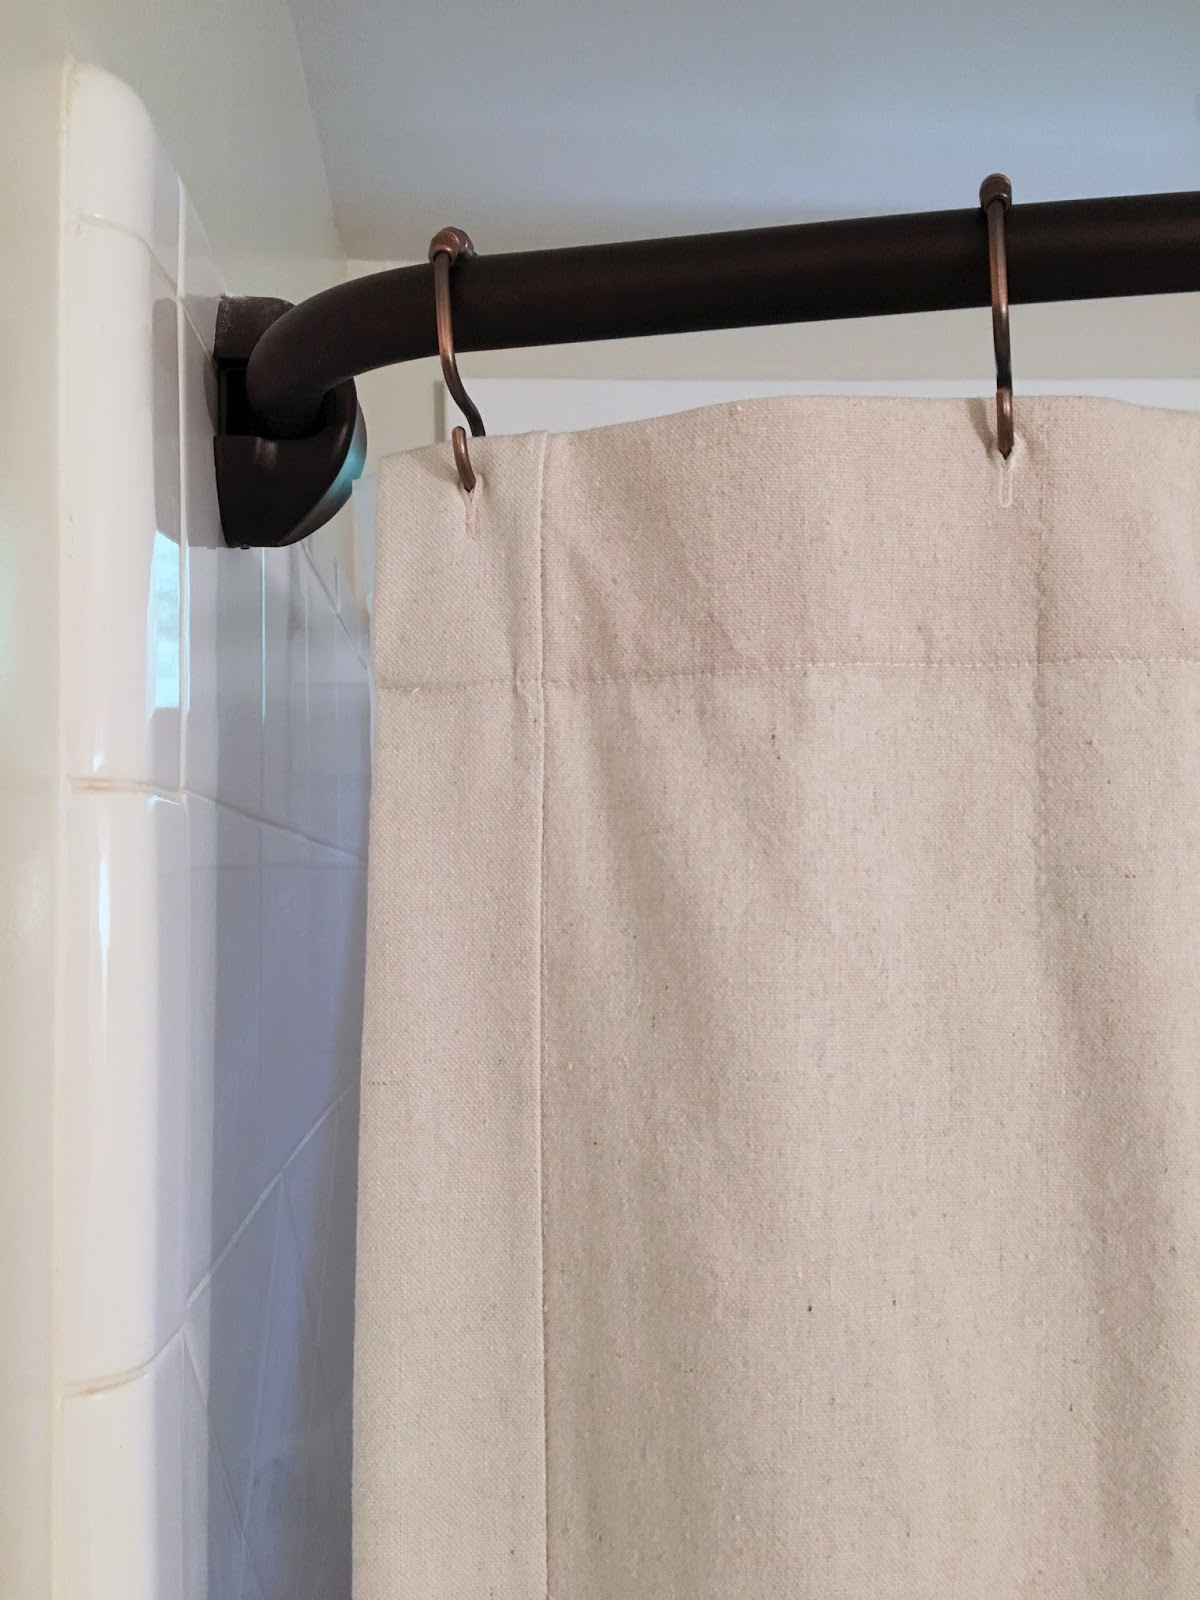
It’s starting to come together!
DAY 7

Ummm. Yeah. I love Grout Renew!
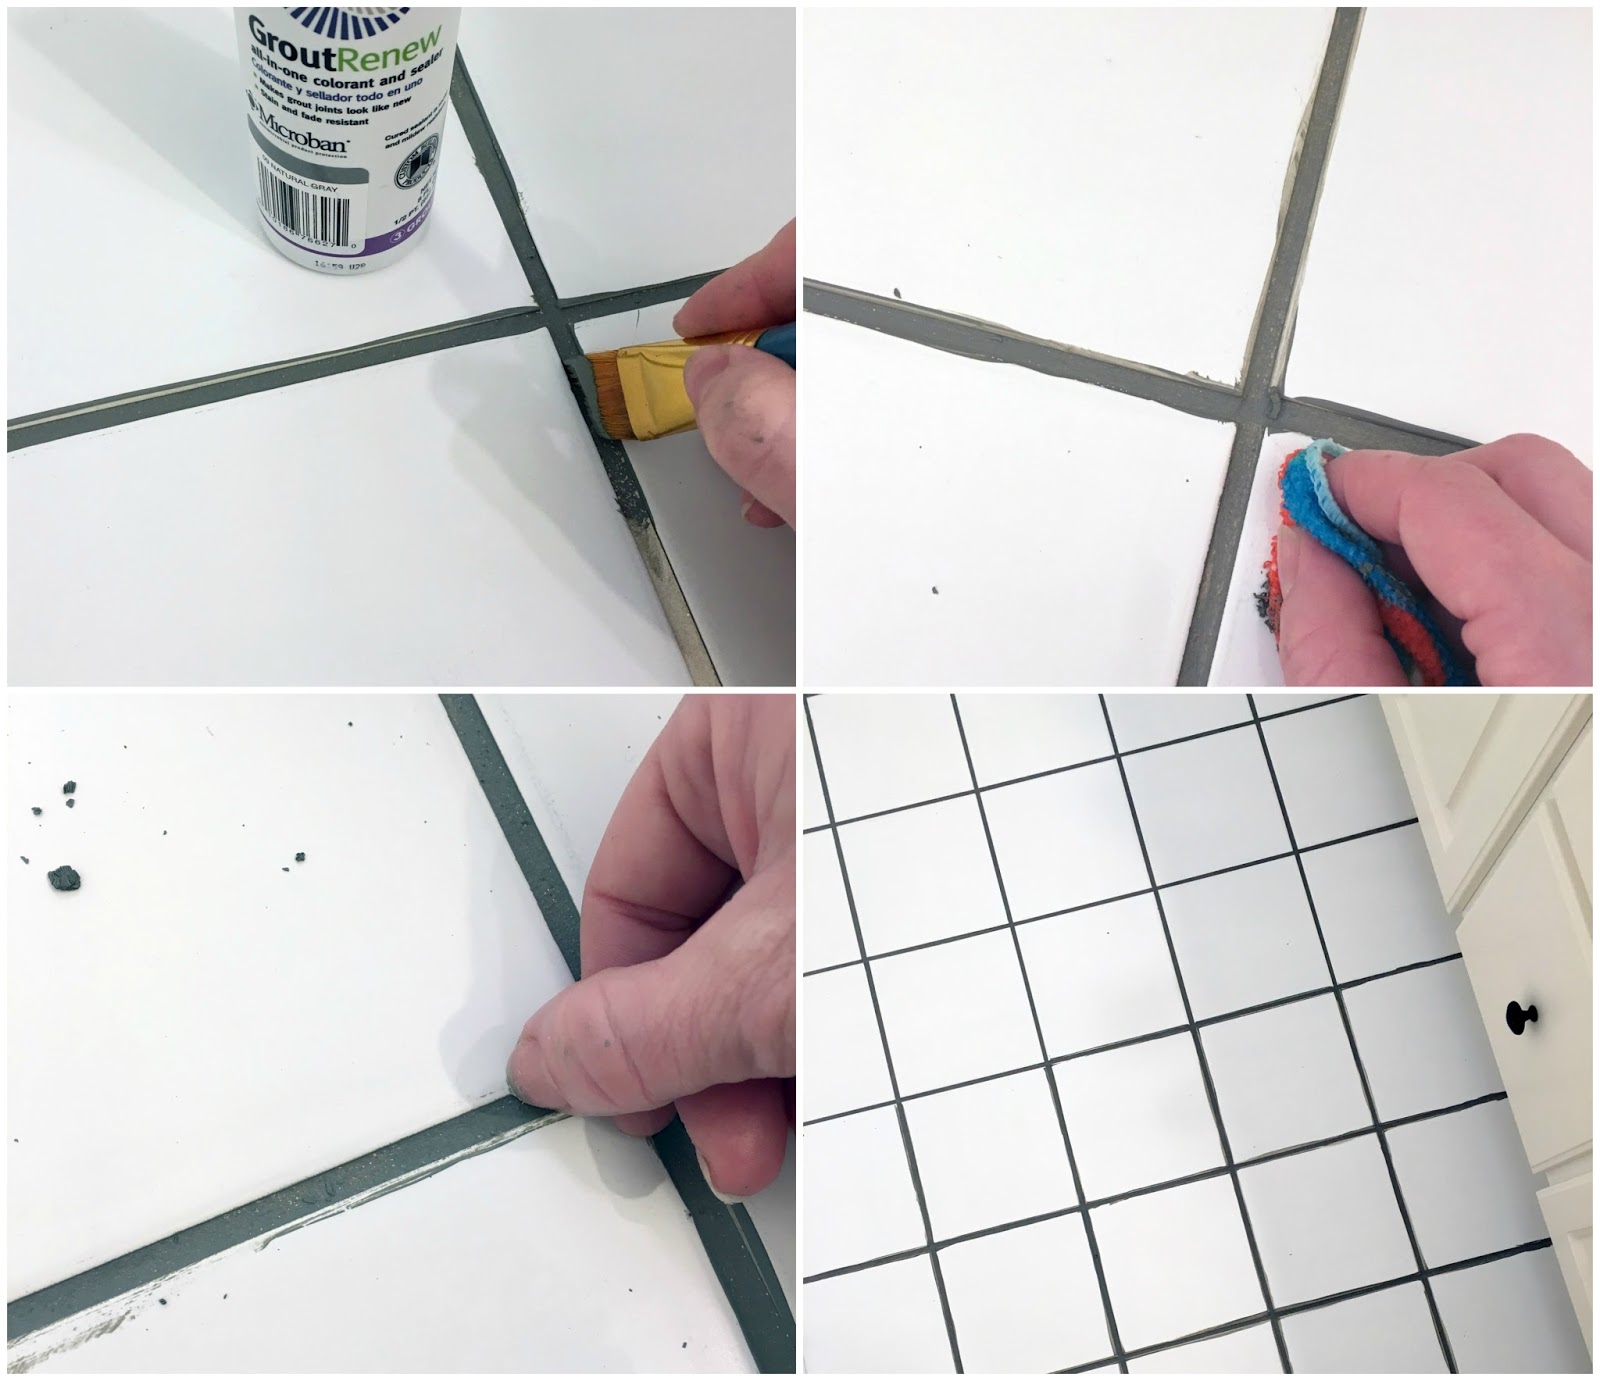
First – I deep cleaned my grout and tiles really well. I tried several different brushes and it’s nearly impossible to get the color on JUST the grout. I found the best brush (wide, angled and stiff) that helped me agitate the color into the grout and did the best job about keeping the color on the grout lines. Once it dried for about 3 hours I took a SUPER-super damp rag and worked in sections by rubbing the rag over a few lines and going right over with my thumbnail to scrap it off. This was pretty easy – just tedious. You can see in the last picture the lines that have been cleaned verses the lines that need to be tidied. TIP: the color scrapped off really easy on MY tiles (I don’t know about yours).
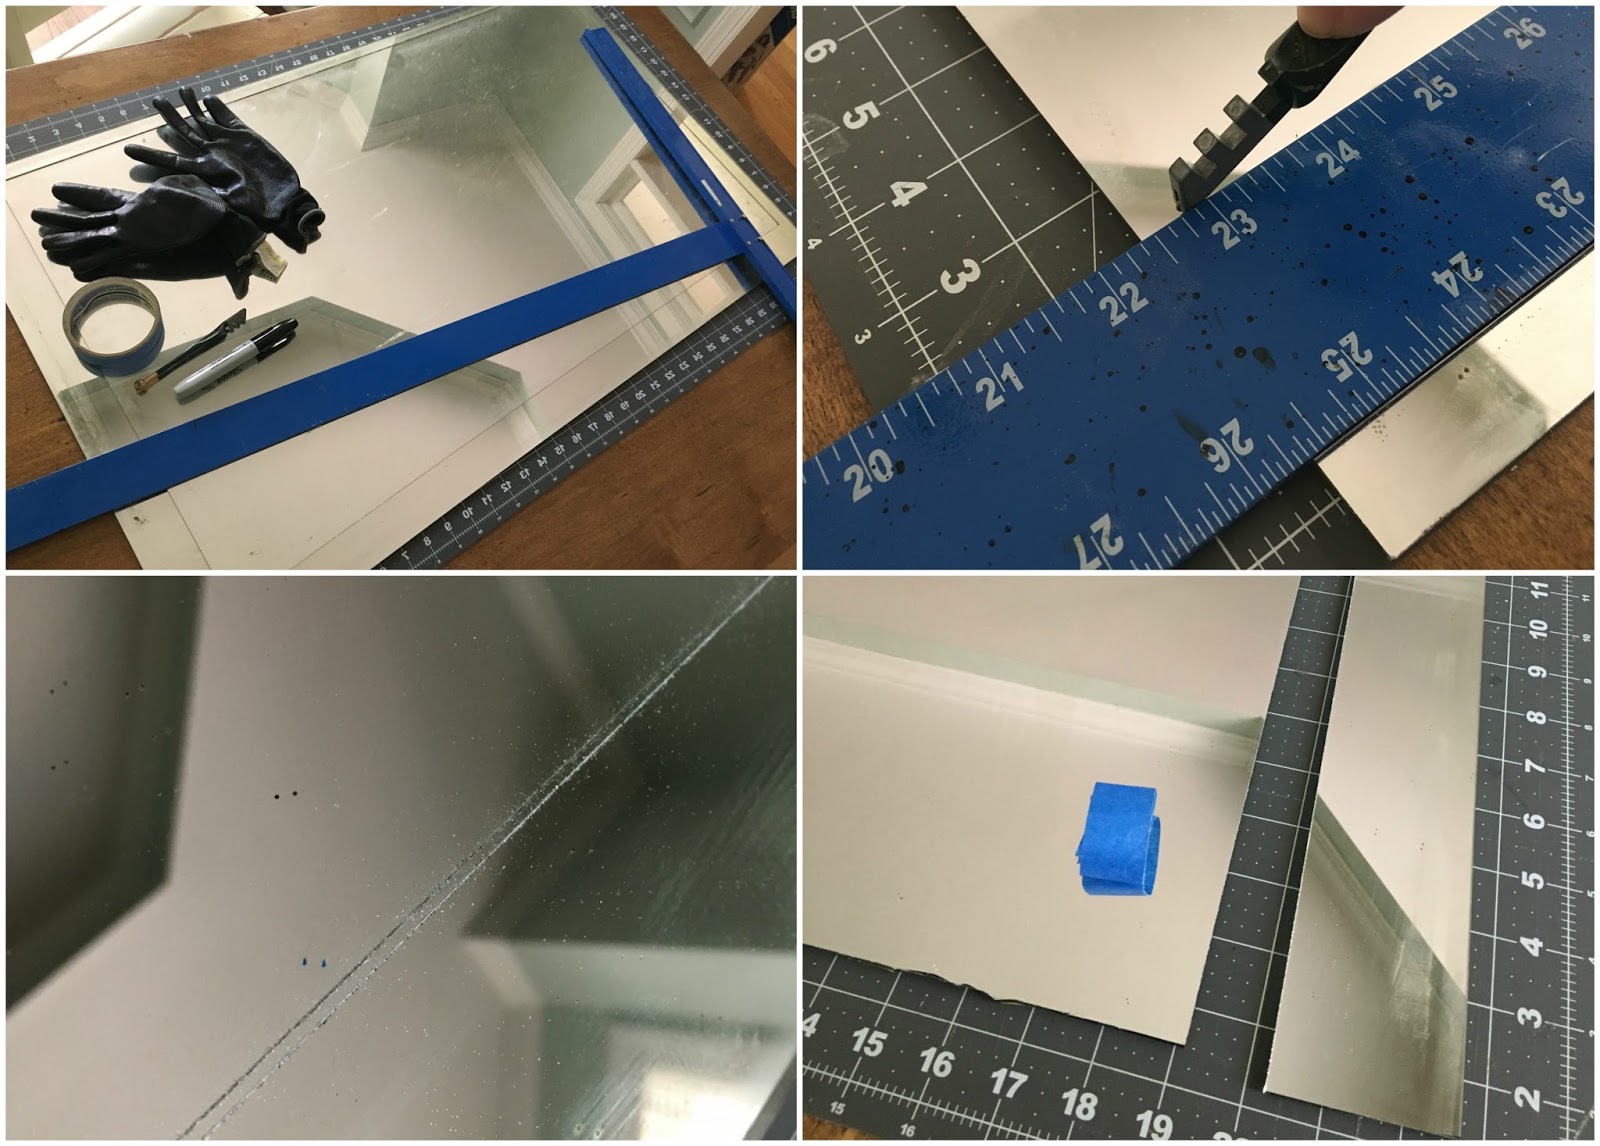
I finally found another mirror after going to several other stores-thank goodness! The mirror was about 2″ bigger on each side than my other mirror so I had to say a few prayers and hold my breath as I worked to cut off the extra. I felt pretty accomplished to not shatter the mirror to pieces! One of the biggest tips I can tell you is to tape your straight edge against your mirror so it doesn’t slide around while scoring with your tool. You want to score in one single pass with medium pressure so you hear a ‘ripping’ sound.
DAY 8

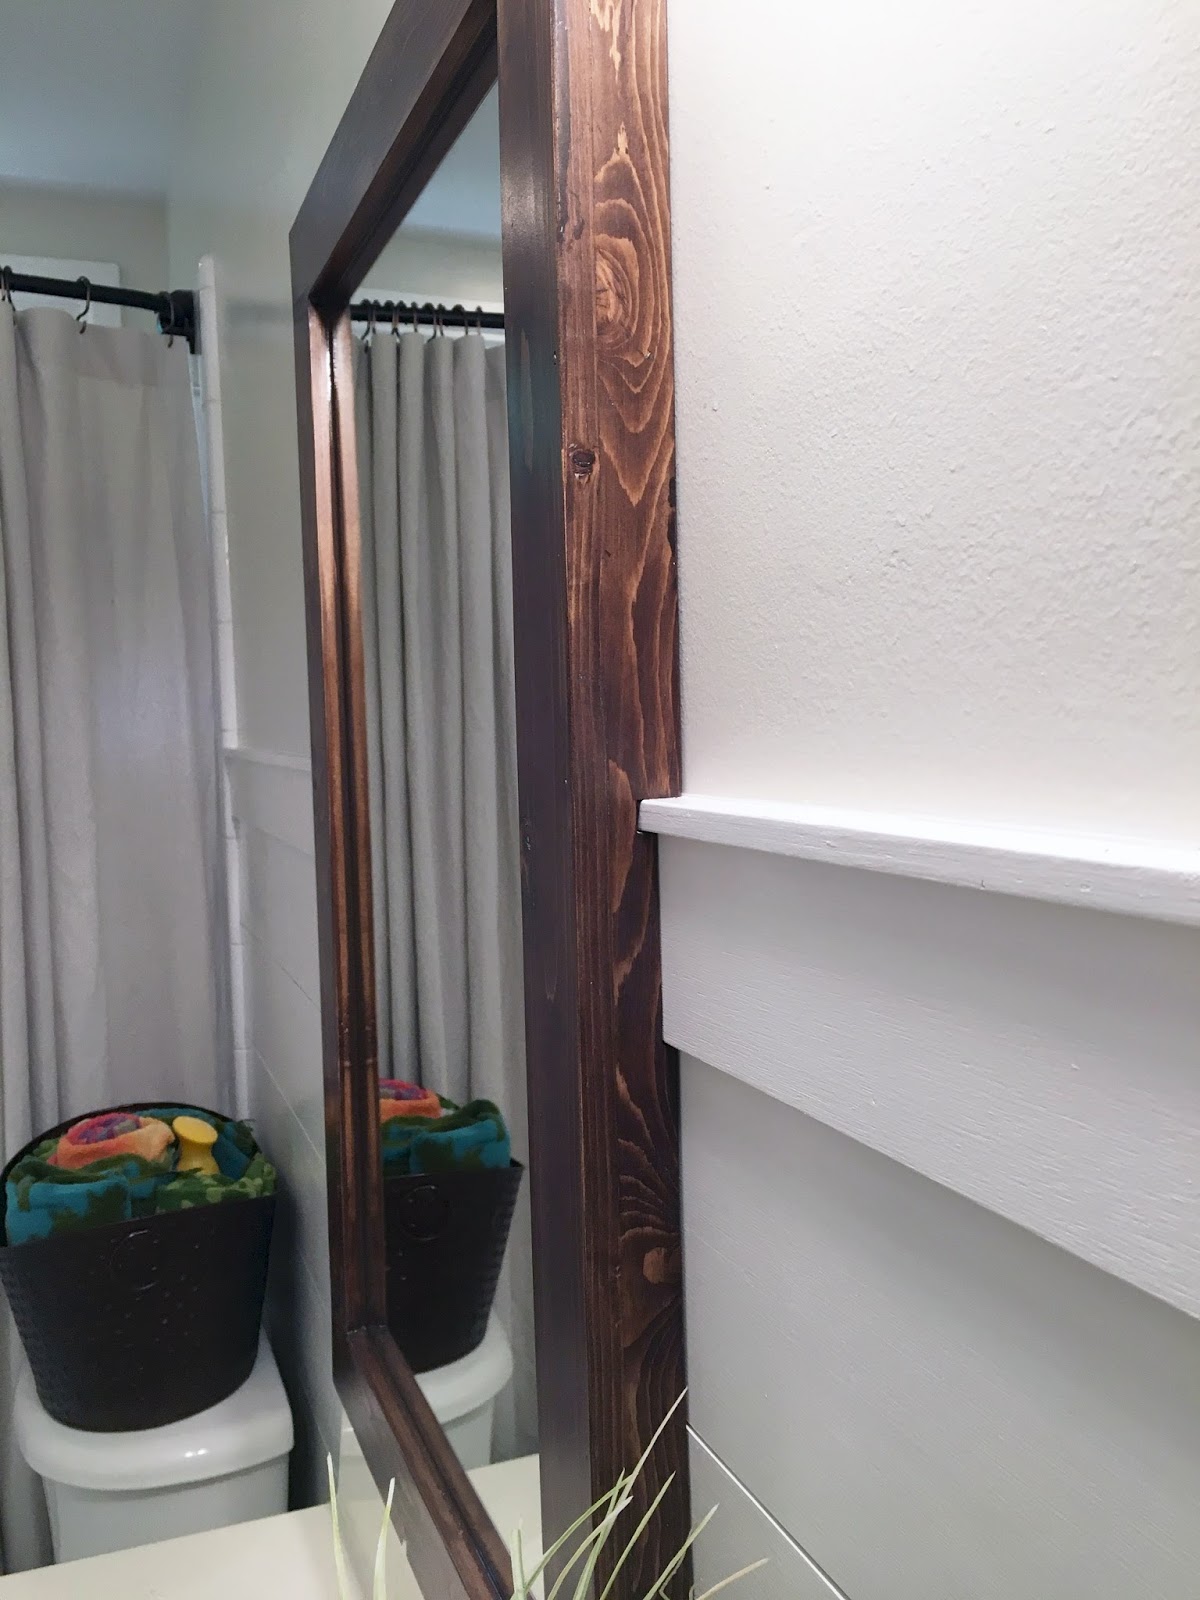
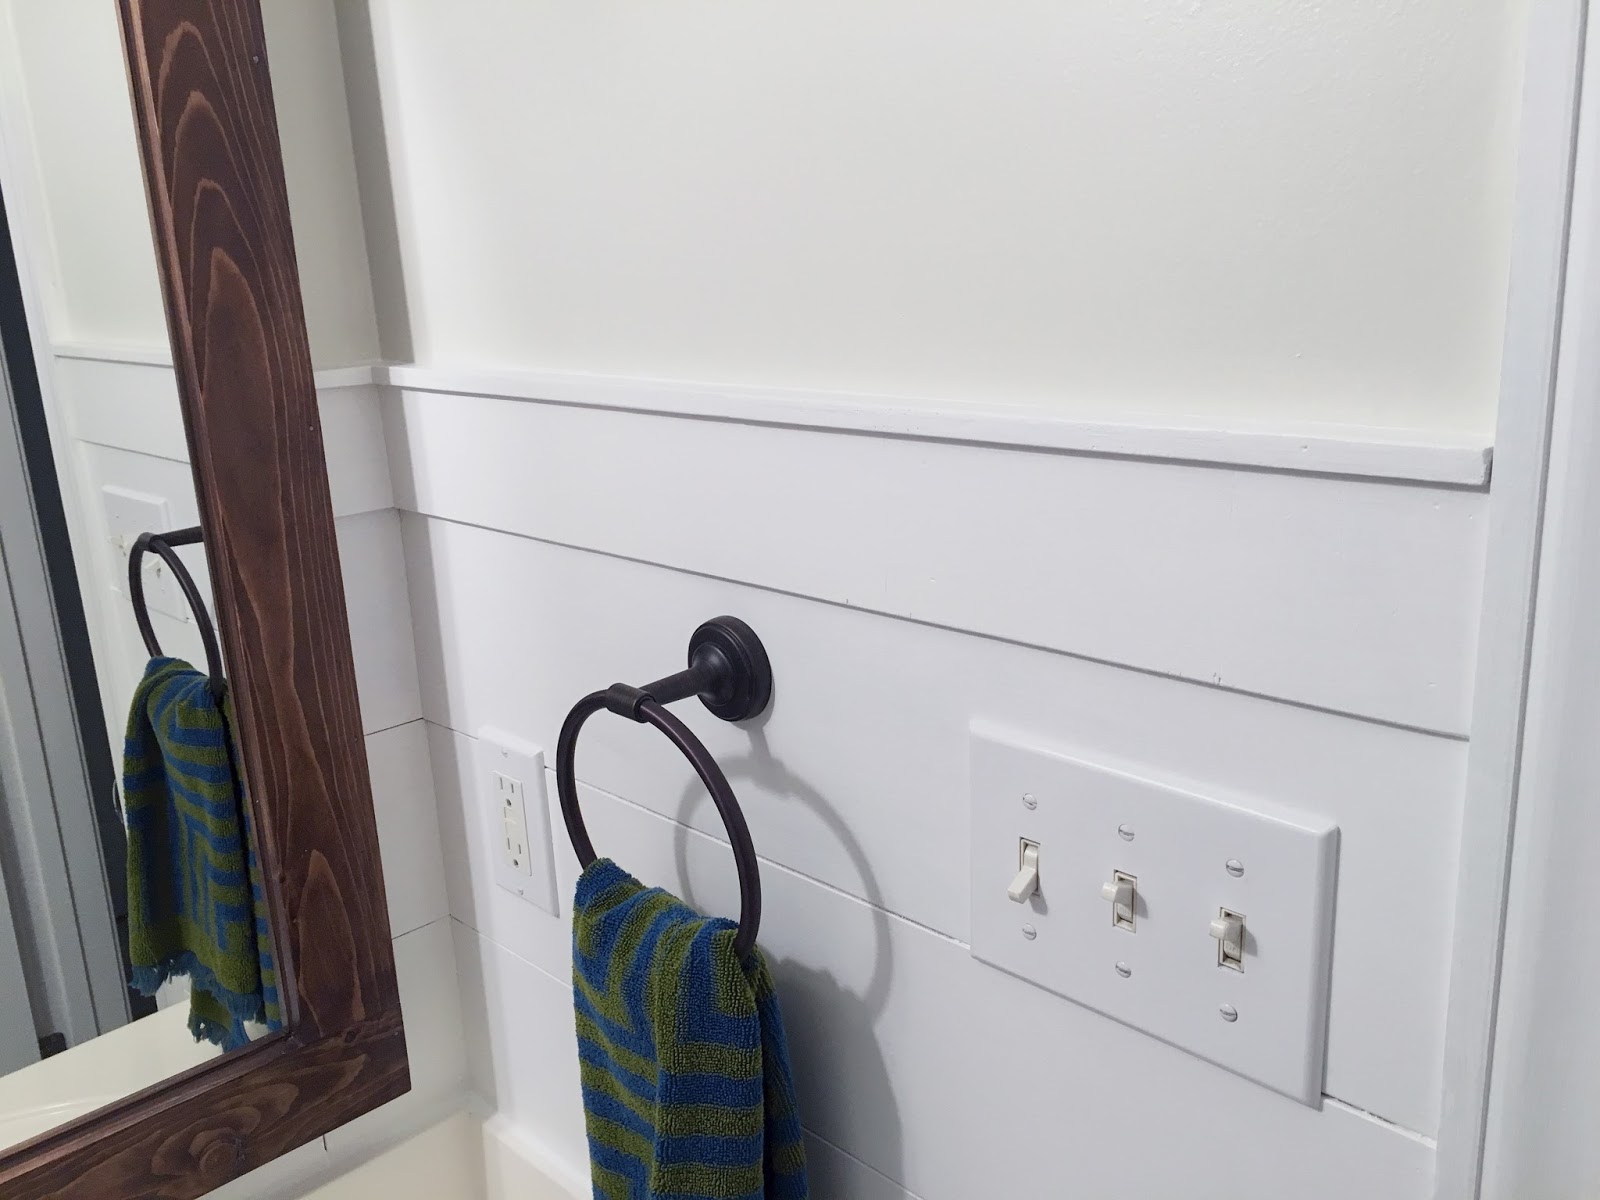
I machined some not-so-pretty boards into components for framing my mirrors. I stewed many days over the best way to hang mirrors over the shiplap/trim and the solution was to cut the frame of the mirror to match the molding on the wall. TIP: I used scrap cutoffs from the wall for my pattern on the boards.

Here I have the face frame and the sides ready to be glued and nailed together.

Test fit: pass!
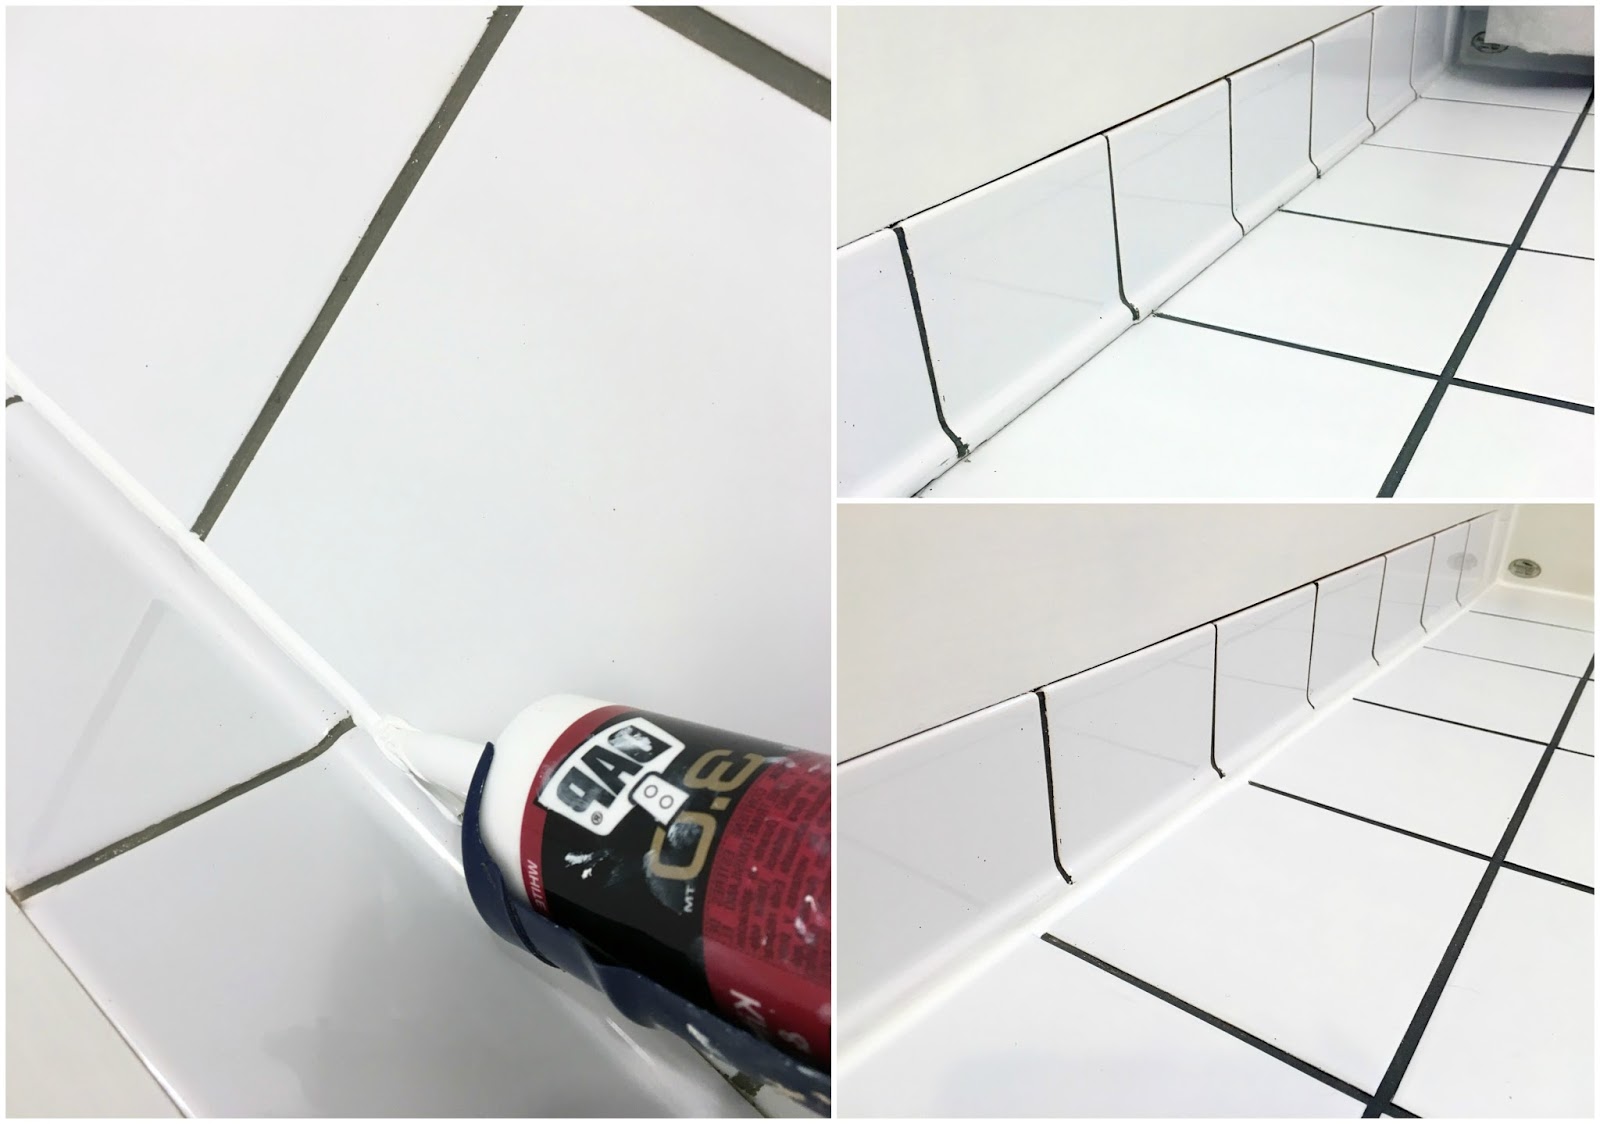
All I can say is I’m glad the caulking is done. SO messy!
** I do NOT recommend the caulking I used in the picture above! It stains yellow from urine, attracts lint and has overall yellowed/grayed over a 2 month period **
DAY 9
I was SO close to buying new faucets! It would have been so easy to install pretty ones and be done with it but I couldn’t justify spending over $100 for new faucets when the ones we have work just fine.

Luckily I had some supplies on hand to paint them for now.

I used sandpaper and steel wool to scratch up the surface to help the paint adhere better. The brushes got around the cracks and edges nicely. Next I taped off the area so I could prime and paint. I turned the water off to each sink for a few days while the paint cured. I’m still not happy with how they look but black is better than brass – and I still have money in my pocket!

While I was waiting for the coats of paint on the faucets to dry I was out in the garage painting a few other things!
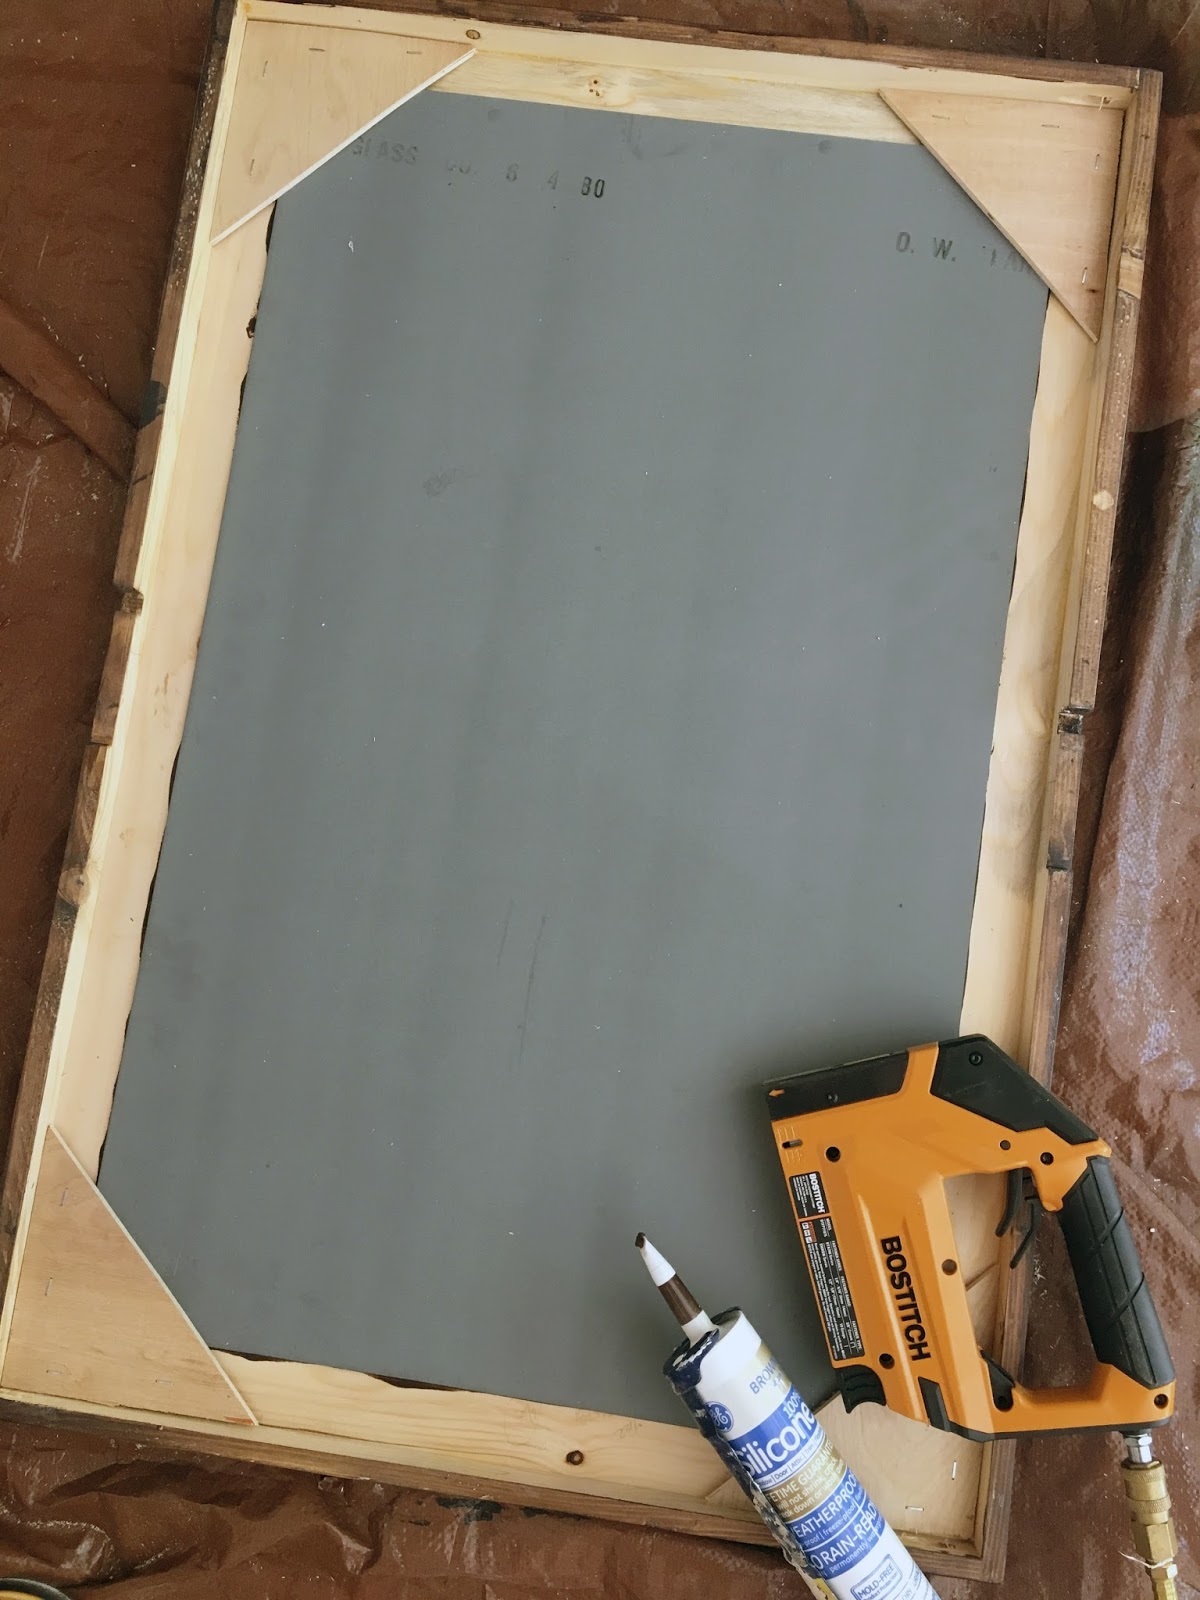
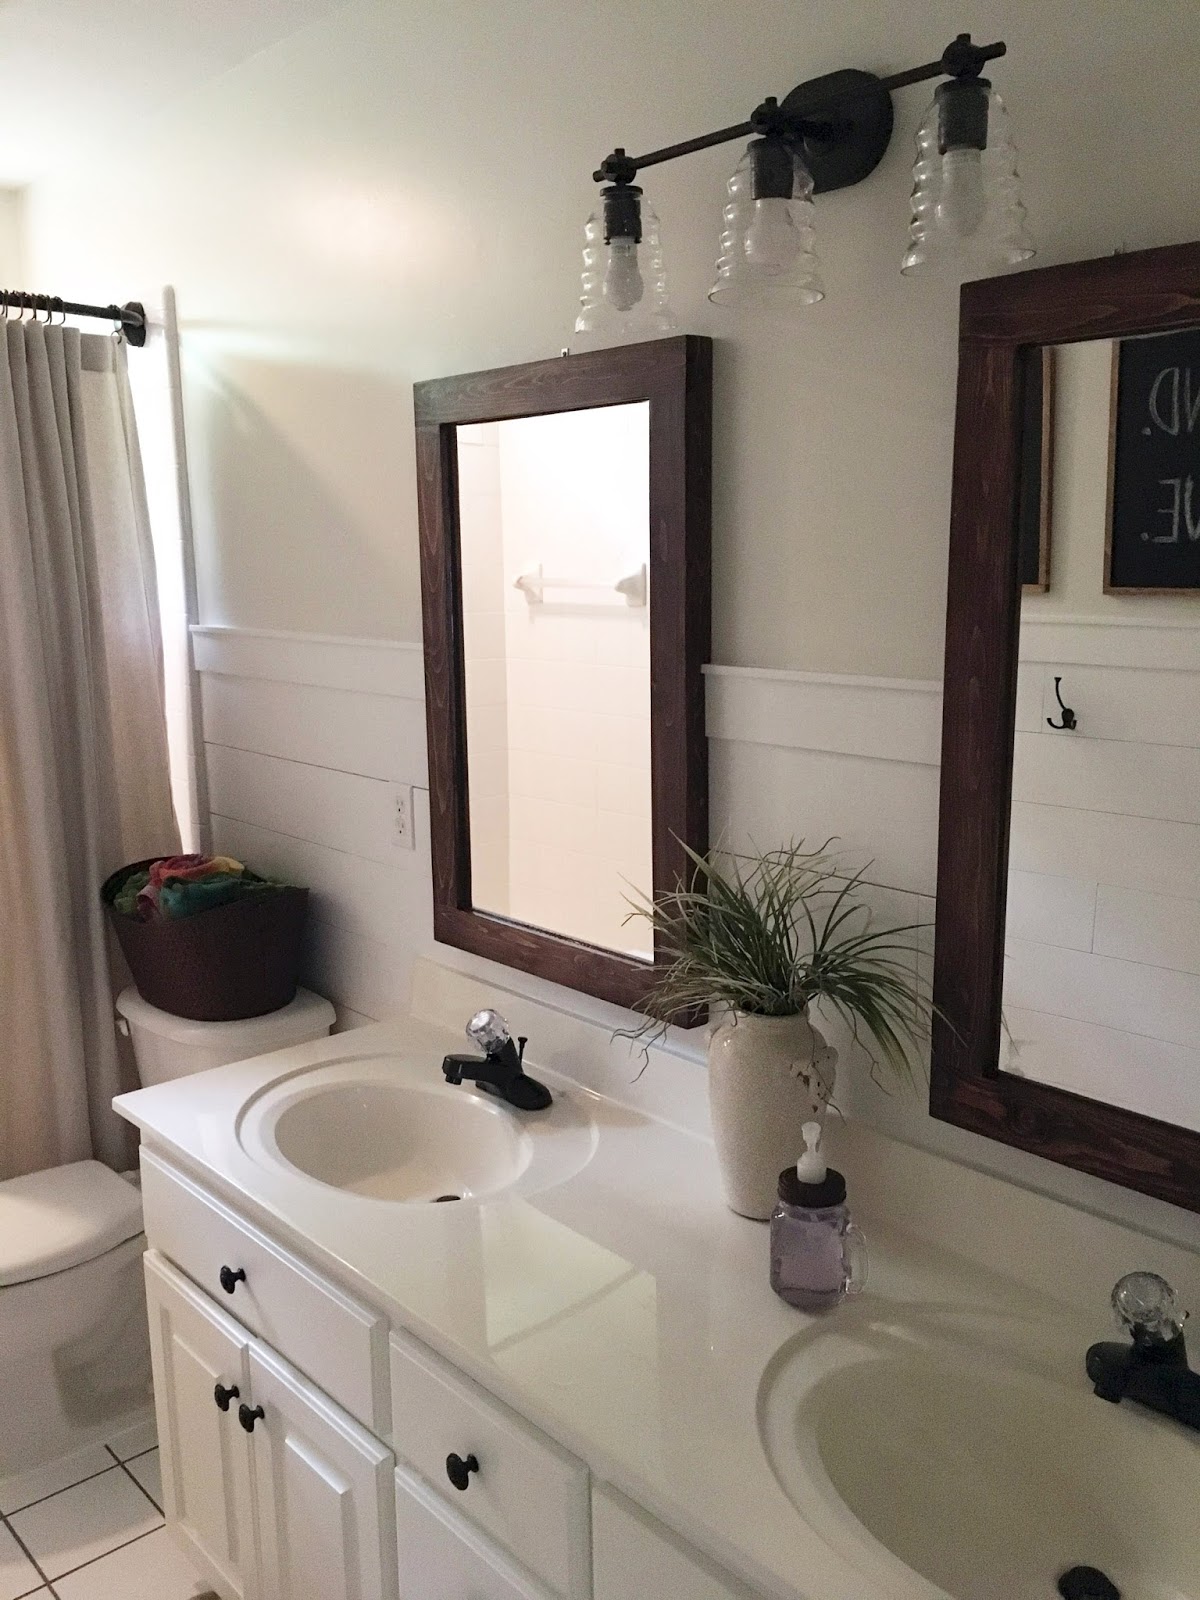
I sanded, stained, clear-coated and waxed the mirror frames. Before putting the mirrors down I caulked around the inside edge of the frames. I liked the idea of having a buffer between them to avoid rattling, to keep water from getting between and to give everything an extra hold.
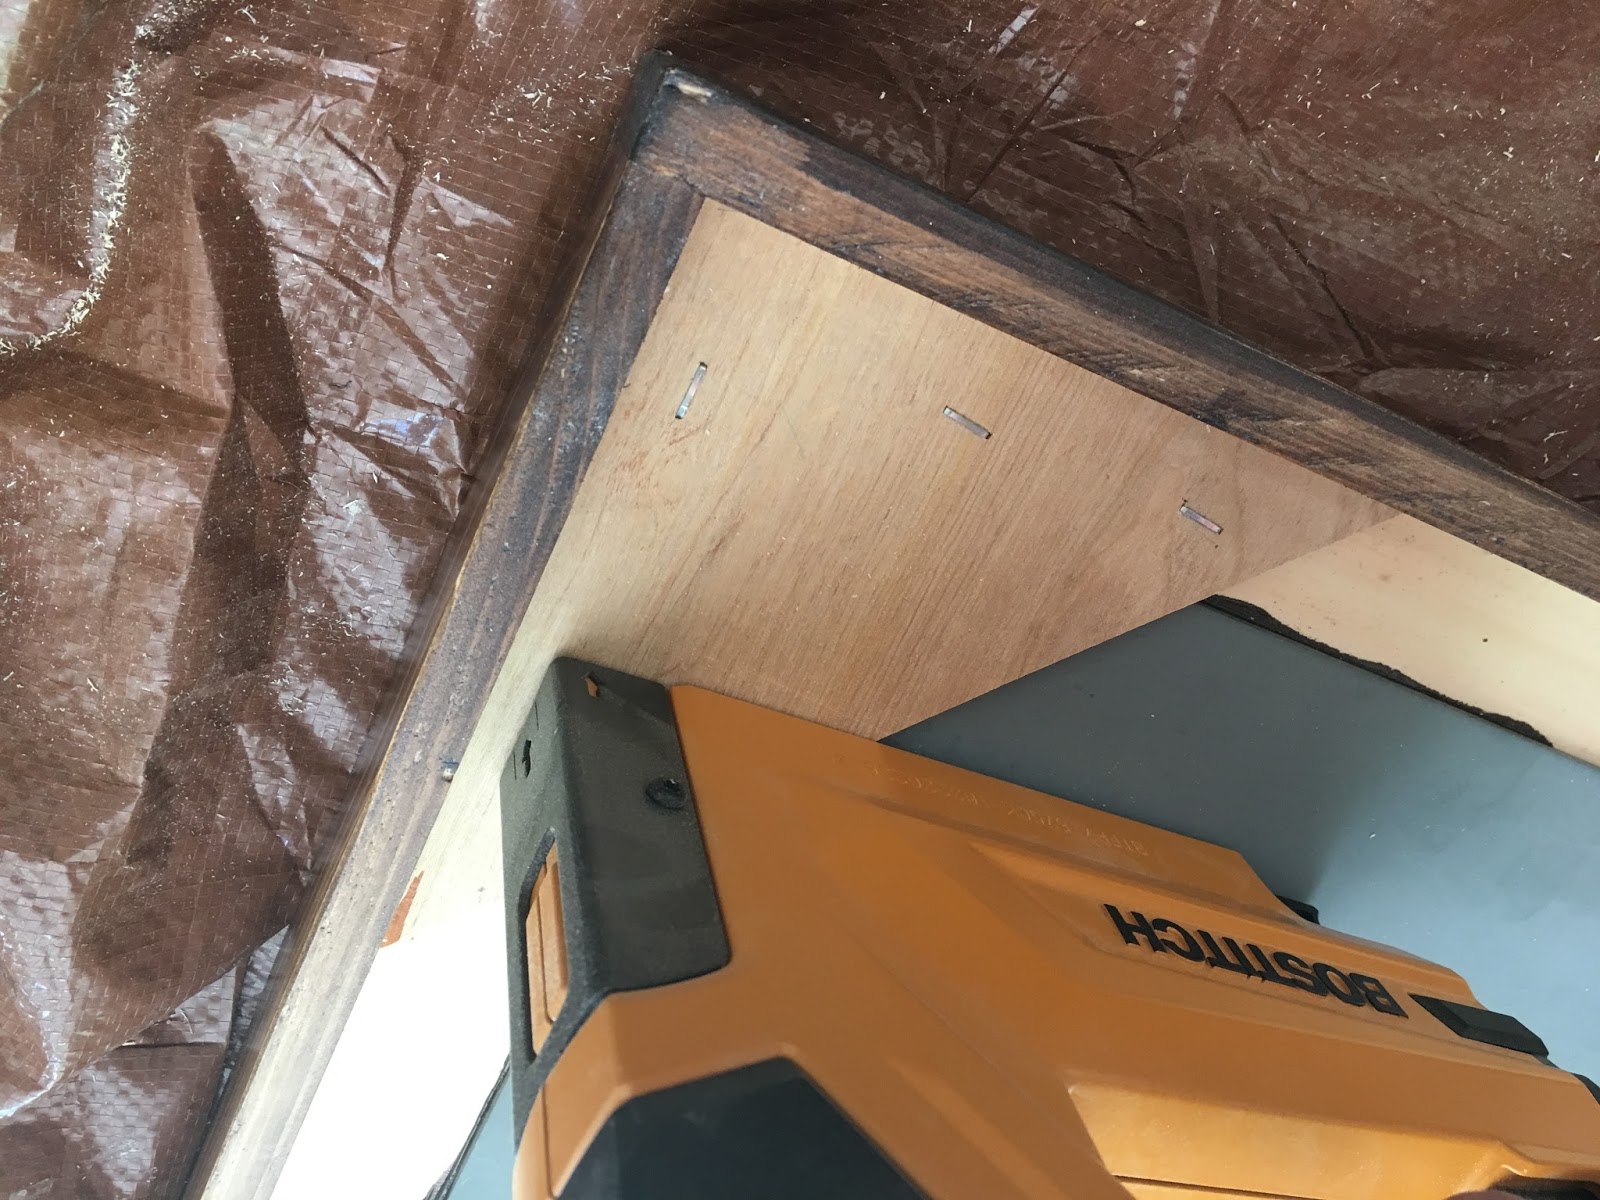
I used scrap plywood from the walls to staple the mirror down and into place. I can’t say enough good things about this Bostitch stapler!

The mirrors hung easily by screwing a bracket into the top through a stud in the wall (the moulding is doing all the heavy work by holding the mirror up and stable – the bracket just keeps it from going anywhere).
DAY 10

Today was the day I finally got some bolts I needed to hang the light fixture up completely.

I ensured my breaker was off and attached the mounting bracket, looped ground wire around ground screw, twisted wires to corresponding colors and added wire nuts. I held wires down while sliding fixture onto bolts and screwing bolt caps on.

Added shades and lightbulbs to be officially DONE (now I have LOTS of messes to clean up)!!


I made these chalkboards the previous week and thought I’d like them in the boys bathroom – turns out they work great in here!

I had the hooks on hand from an old coat rack and was really happy that the spacing on the studs works out great to screw them into.

COST BREAKDOWN:
$30 Wood for Walls
$5 Wood for Mirrors
$30 for Mirrors
$10 for Light Fixture
$40 for Grout Products
$10 Drop Cloth – Curtain
$5 for Basket
$40 estimated for paint/primer (already on hand)
TOTAL = $170 approximately
I hope this post helps YOU with any sort of remodeling you want to tackle. Get in there and ‘just do it’!

4 Comments
nice post
August 16, 2017 at 8:05 amThank you Jolie!
August 16, 2017 at 8:10 amOOOOOHHHHHH! The Mirrors are GORGEOUS!!!! I have been going crazy looking for "The Mirrors"!
February 7, 2018 at 1:07 pmAre you going to make some!? 🙂
February 7, 2018 at 1:08 pm