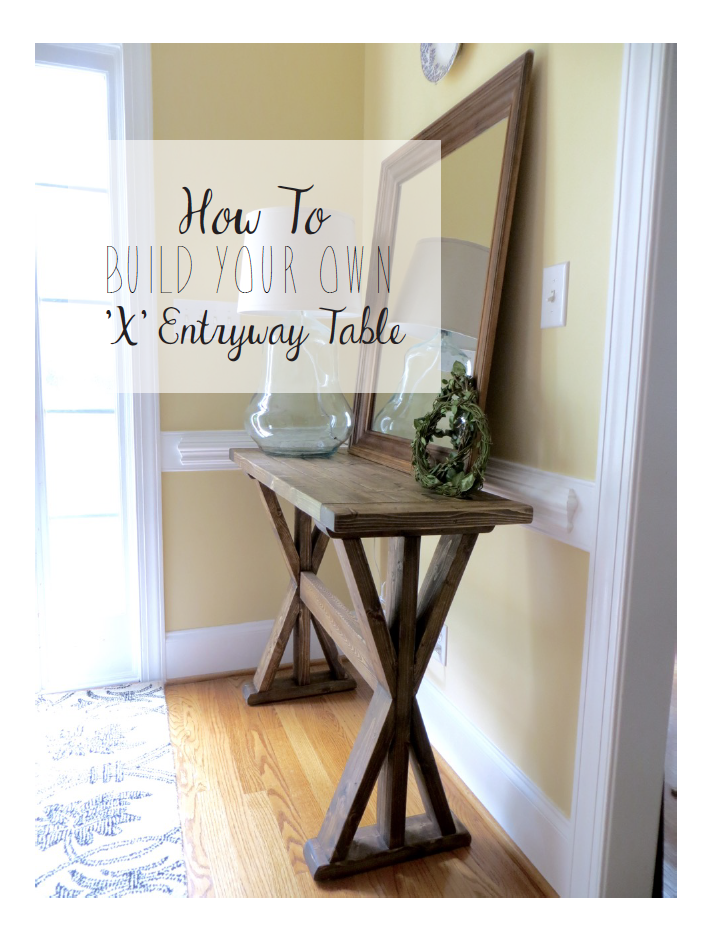
This was a rewarding project for me and I’m happy to share it with you so you can make your own! The lumber only cost $15 and it was finished in a day!
In my search to find an entryway table that required minimal lumber (I didn’t have much on hand and wanted a quick project) I came across a few tables that I got inspiration from.
I quickly gathered my 2×4’s and began measuring the dimensions of our entryway to build my own!
If it weren’t for the 20-degree angles (or 70-degrees off square) on the table legs this project would be done in a pinch… and very well suited for a beginner. I must warn that the angles do make it awkward and hard to cut on a miter saw (mine only cut up to 50-degrees)… so please consider how you can cut safely by making a jig (here’s a good one) to keep your board steady and in place or use another means of cutting (bandsaw or handsaw, perhaps).
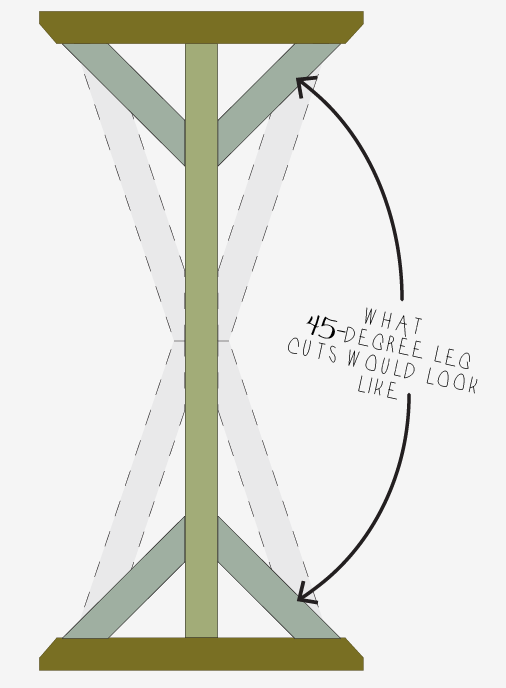
Another option would be cutting 45-degree angles on the legs and make it simple and straight forward. The diagram above shows what that might look like.


Something to consider: For this project I decided to join the horizontal-top boards together using biscuits and glue rather than making a bunch of pocketholes all over (even though they’d be on the underside I wanted to avoid the need I have to plug them). If you go the biscuit+glue joining route you need to take extra care of cleaning the glue off your boards if you are staining (stain doesn’t penetrate glue and you’ll end up with very obvious splotches).
Supplies Needed:
(6) 2x4x8′ – the best & straightest you can find!
(12) large biscuits for joining top (optional – otherwise you’ll want more PH screws
(18) 2-1/2″ pockethole screws
(28) 2-1/2″ wood screws
Wood Glue and Brush
Wood Finish Products of Choosing
Template for Table Leg Angles (download HERE)
Tools:
Table Saw
Miter Saw
Bandsaw/handsaw if you can’t cut safely on Miter
Sander & Various Grit Papers
Drill (+Bits)
Pockethole Jig
Biscuit Joiner (if using biscuits)
Wood Clamps
I wasn’t planning on blogging about this project so I didn’t take pictures of the assembly process – I hope my diagrams will suffice!
My 2×4’s weren’t very smooth/even on the edges so I decided to rip them down and square them up a bit on my table saw for a finished width of 3-1/4″ (about 1/8″ on each side). This isn’t necessary so if you prefer to forgo this step it doesn’t affect the cut list or assembly other than for the ‘top-side’ boards which would be 17.5″ rather than 16.5″.
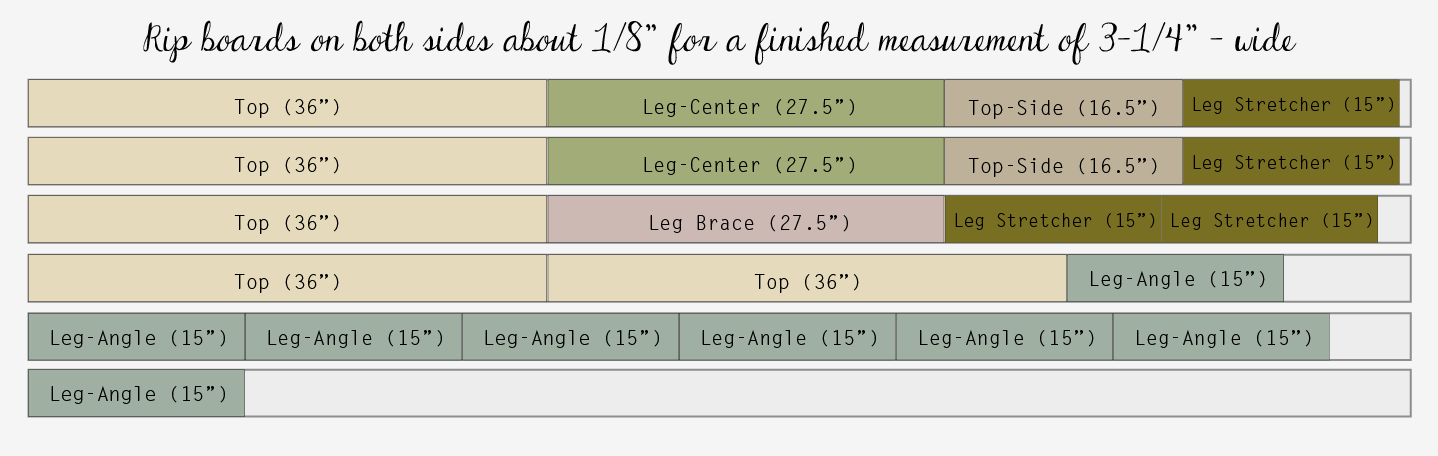
Cut List:
(5) @ 36″ – Top
(2) @ 16.5″ Top-Sides
(3) @ 27.5″ – Leg Centers & Leg Brace
(12) @ 15″ – Leg Stretchers & Leg-Angles
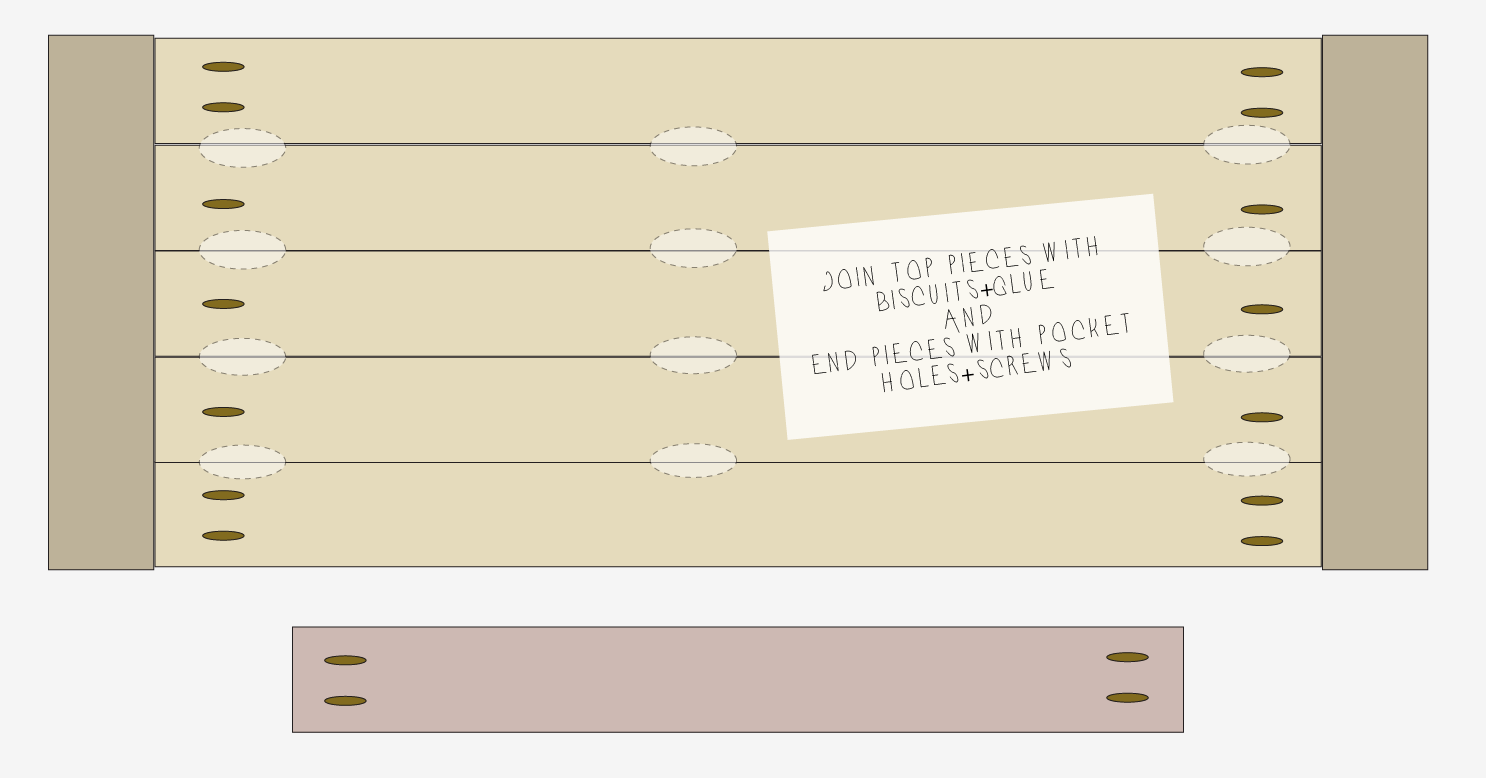
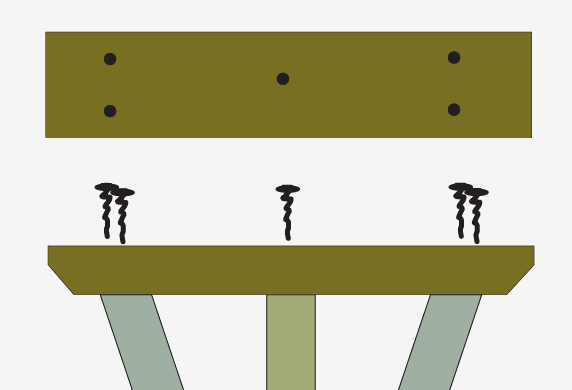
Arrange ‘top’ boards how you’d like them once joined – mark with a * or something so you know what is the upside. On what will be the backside, drill pocketholes on the 5 ‘top’ boards and the ‘leg brace’ as shown in diagram. If using biscuit joinery, make grooves to accept biscuits (or do pocket holes instead).
If using biscuits, ensure you are using enough glue for a solid joint but not so much that it’s dripping. Butter both sides of wood/biscuits that are to be joined. Clamp 5 ‘top’ pieces together with at least 4 clamps. Allow to dry and attach ‘top-sides’ with pockethole screws.
If only using pocketholes you can join your ‘top’ pieces together and then your ‘top-sides’.
Now for the legs!
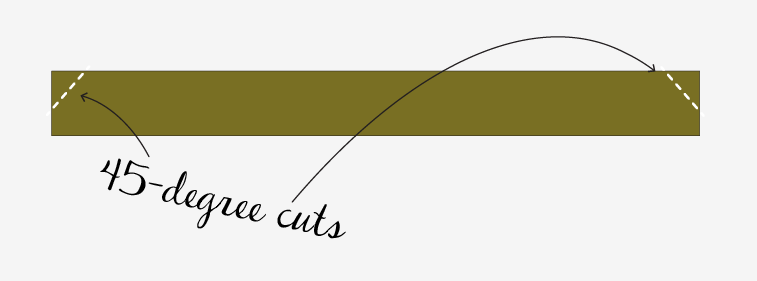
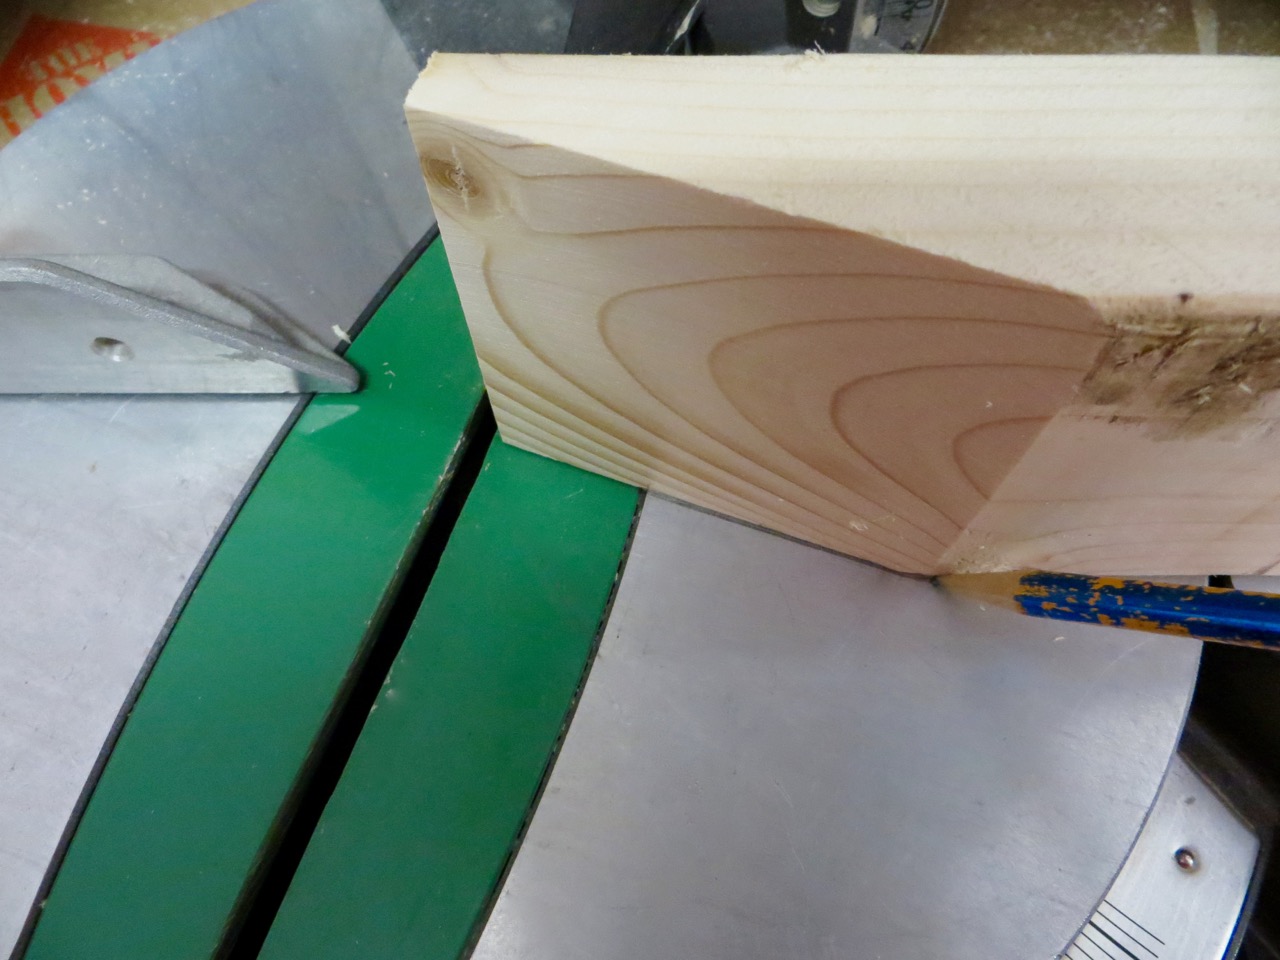
Start by cutting the corners of your ‘leg-stretchers’ with a 45-degree angle…

…you’re only taking off part of the corner like this (rounding the edges later with a sander).
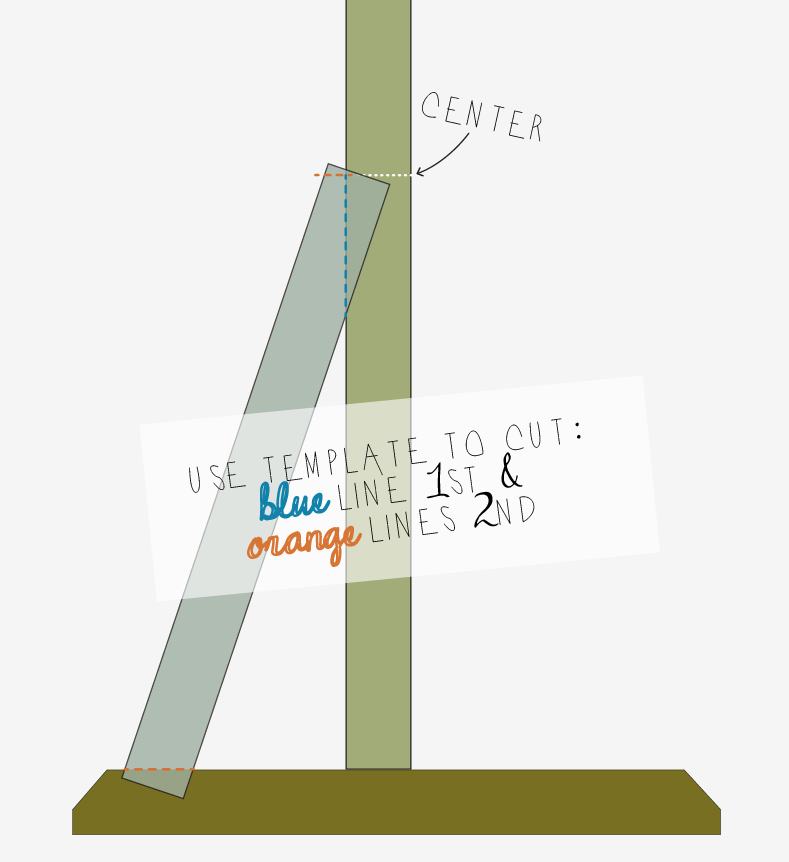
Print and cutout the template for the ‘leg angles’. Use this to mark on all 8 of your boards. The diagram above shows how your 15″ board will be cut down to fit against the ‘leg-center’ and ‘leg-stretcher’.
Cut the blue angle first on all boards. TIP: save the cut-off pieces of these cuts to assist with clamping later on.
Next, set your miter to cut the small orange angle – if you have an angle finder to transfer the angle from the template to the blade that would be best, otherwise do your best to line the blade up with the marking on your wood.
Once you have the position of your first piece set, use a pencil to mark the corner/edges of your board on the base of your miter to easily line up the next 7 boards.

Leave your miter angle the same for cutting the other end of your boards… simply slide them across to the other side of your blade and cut along the last mark.
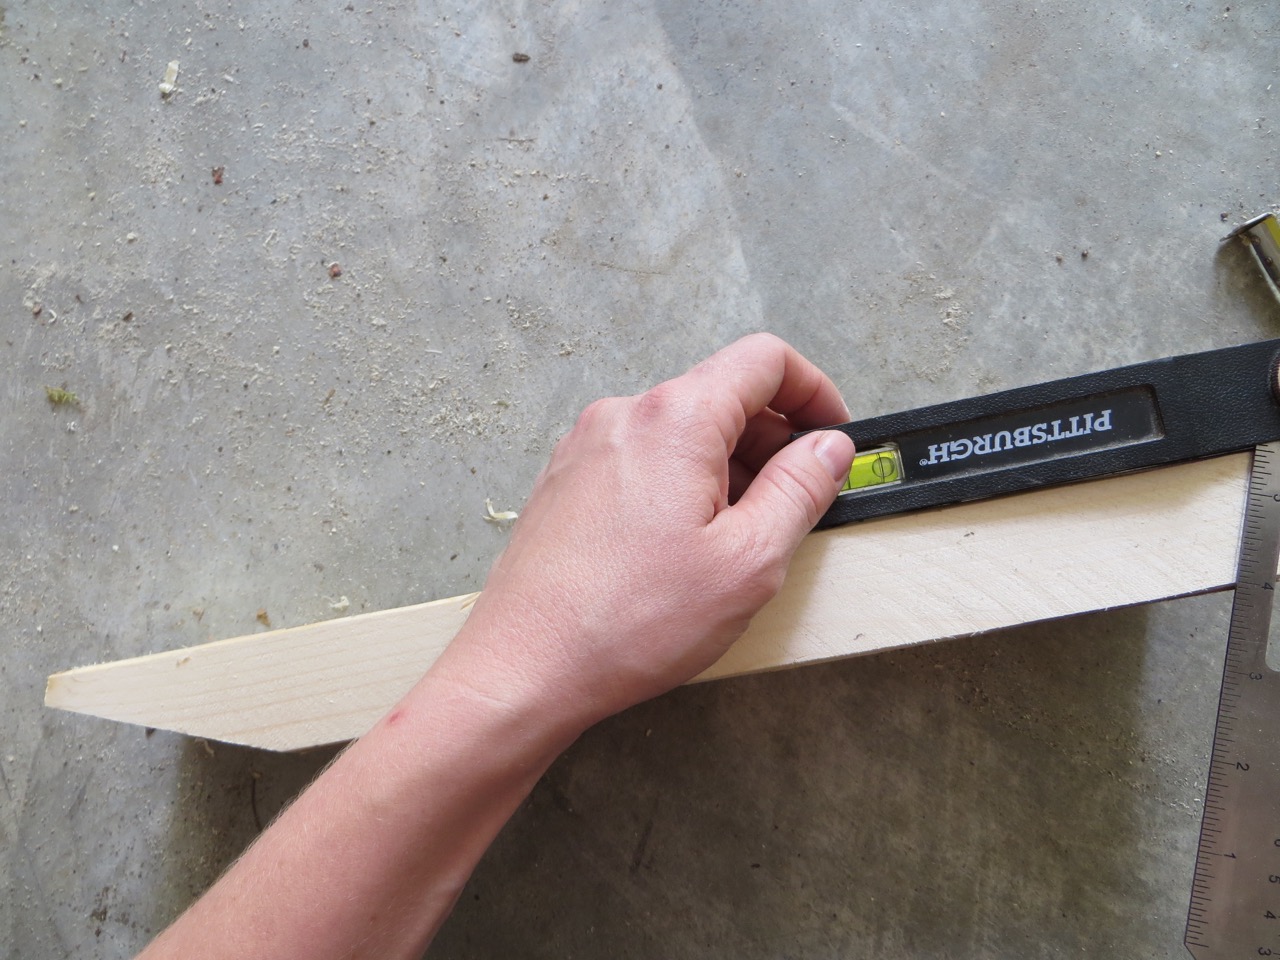
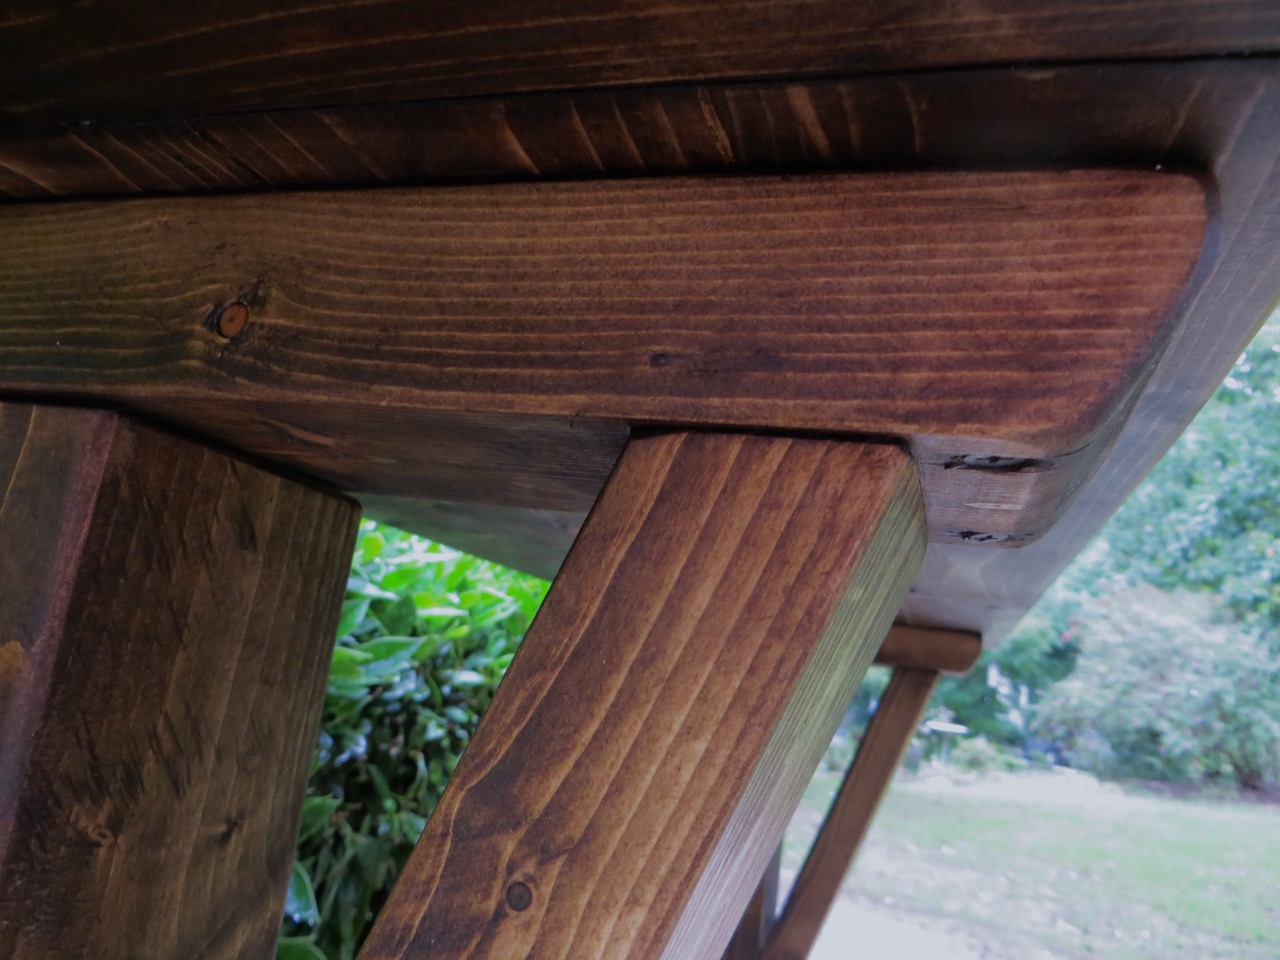
This picture should help you see how both ends have the same angled cut.
Do a test fit to ensure all board for the legs fit together nicely. and make any necessary changes. Sand all your boards and round edges/corners to your liking – I sanded from 100 to 180 grit.

Glue the edges of your ‘leg-angle’ boards that will be touching and spread evenly with a brush.
Use your cut-off pieces I mentioned saving previously to create a flat surface in the “valley” of the ‘x’ for clamping. Wipe off excess glue and leave to dry. TIP: although you aren’t gluing the ‘leg stretchers’ in this step, it is best to clamp them in place to ensure all the pieces will glue & set in the correct place (i.e straight across the top/bottom ends).
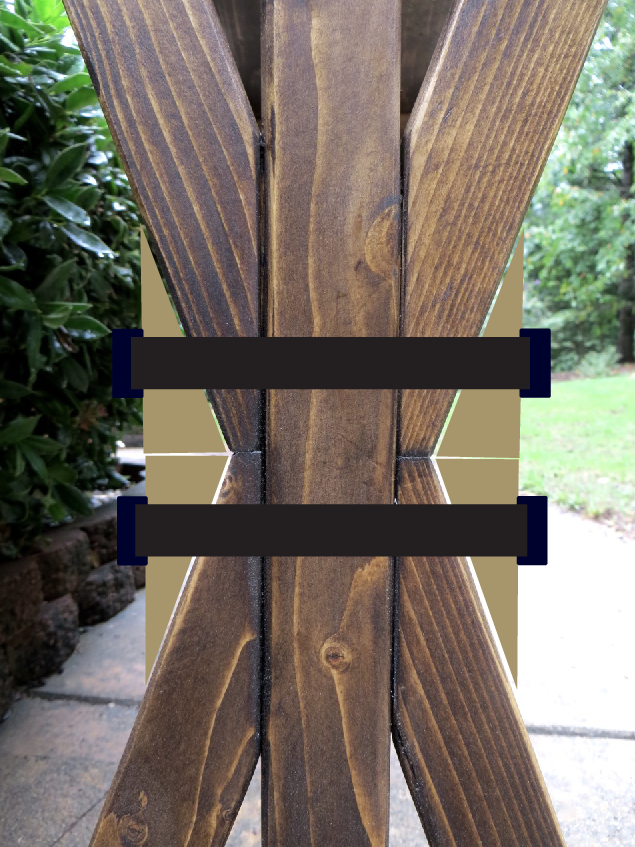
Pre-drill and screw in your 2-1/2″ wood screws to attach the 4 stretchers to the top & bottom of the leg ‘x’ pieces. I did 2 screws through the angled pieces and 1 through the center.
Center and clamp the ‘leg brace’ to each ‘x’ (I used a long pipe clamp). Use 4 pockethole screws to attach.
Have the table top laying on the ground with the top-side (the one you’ll see) against the floor. Center your legs over the table top (lucky you, this should cover all the pocketholes that were drilled for attaching the top-sides)!
Pre-drill and drill 2-1/2″ wood screws through the end of each ‘leg stretcher’ into the table top. I realize this isn’t a conventional way of attaching boards that will swell in opposing directions but I figured it was an inexpensive/fast build project and I would roll with it…
Do a final sanding if you wish and apply your wood finish of choice. I personally had some Minwax Dark Walnut Stain on hand and used that (after using a wood conditioner first). Every time I use Minwax I’m surprised at how stinky it is… for DAYS! As soon as I run out of my Minwax products I’m going to try and stay with General Finishes Stains – so much better in so many ways!

I finished it off with some Paste Wax!
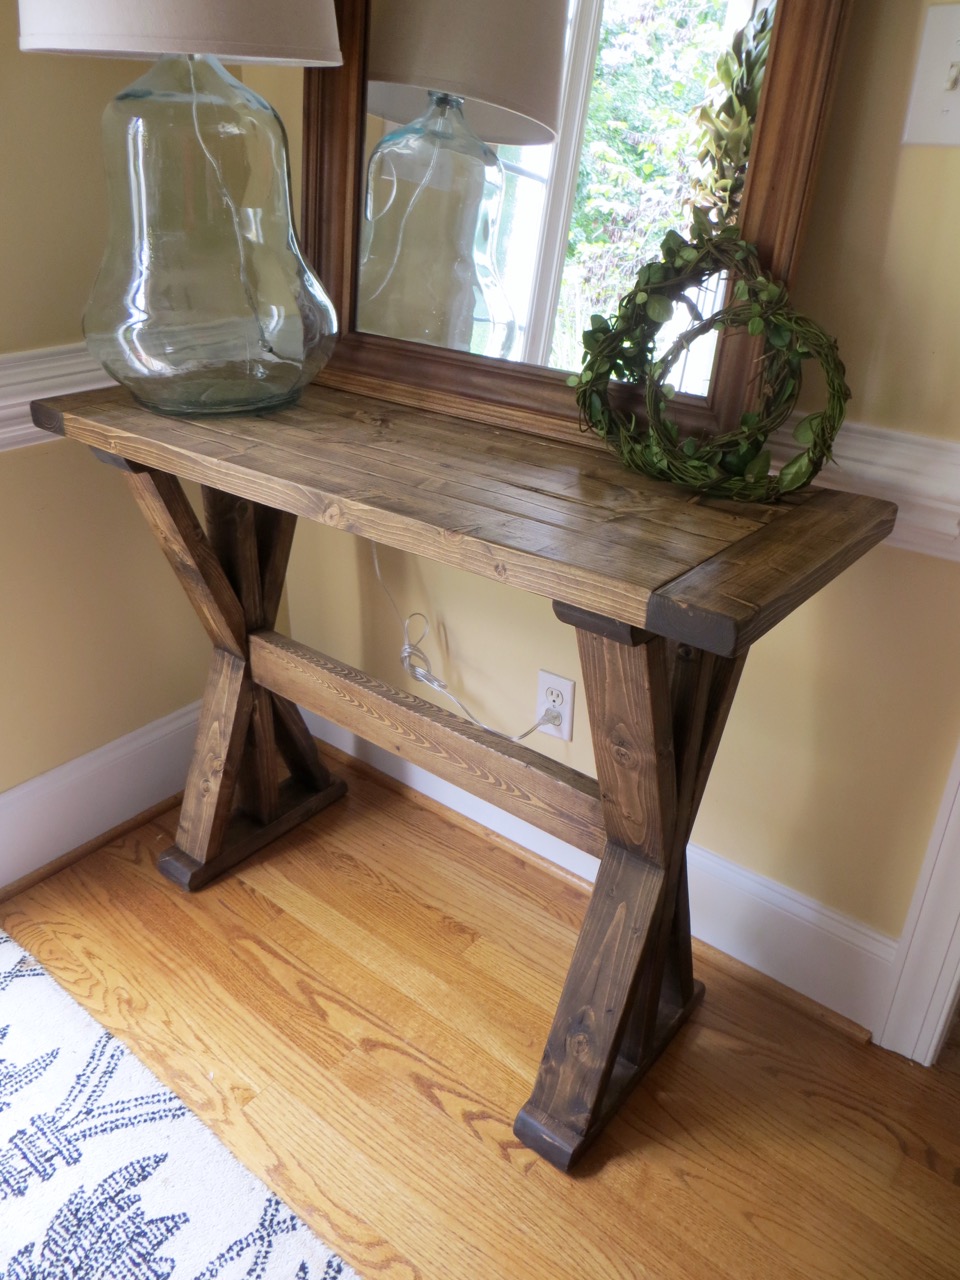
Our previous entryway table was a sewing cabinet I refinished but it felt too small and out of place!
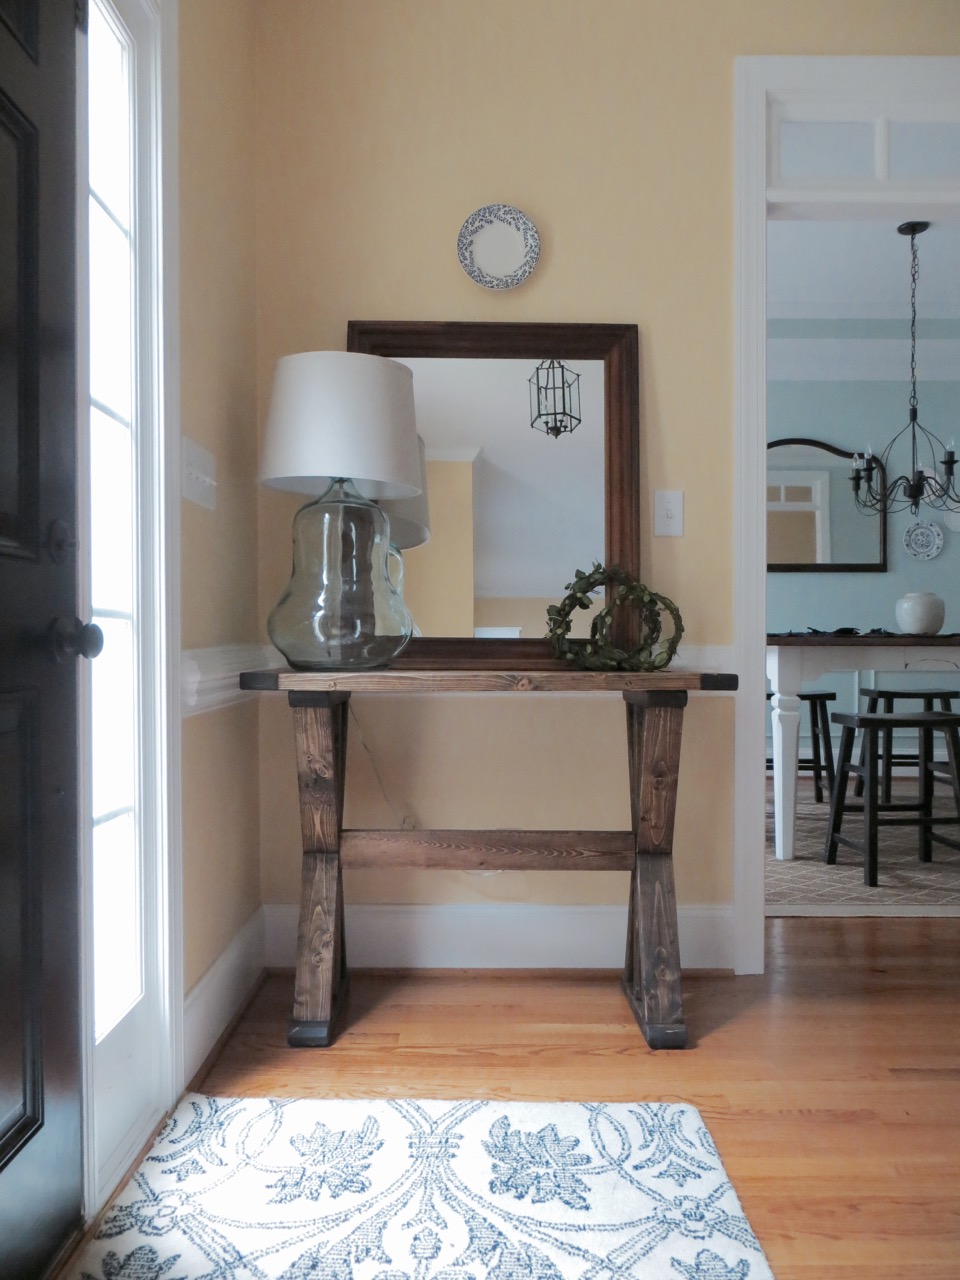
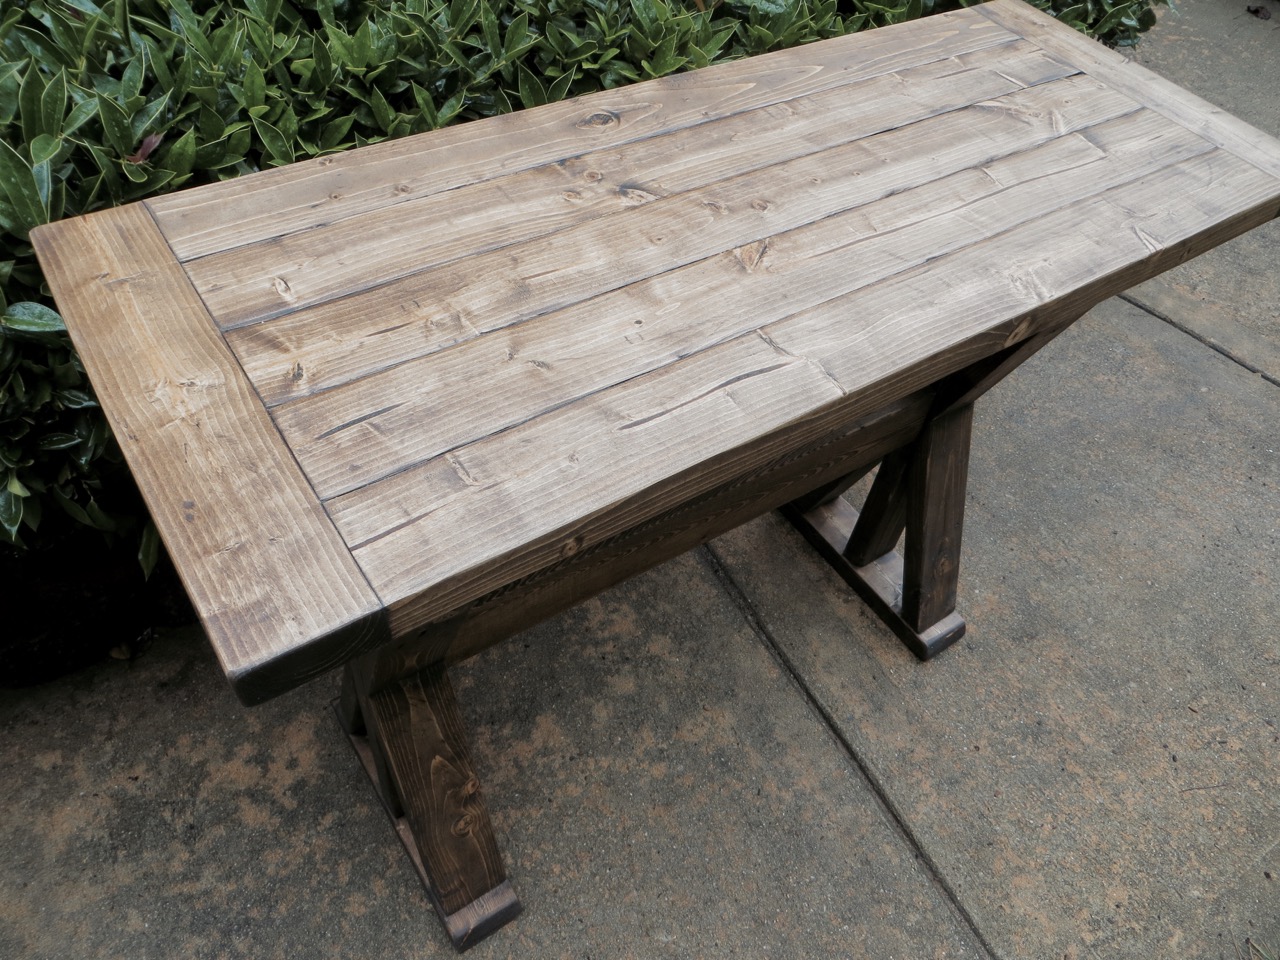
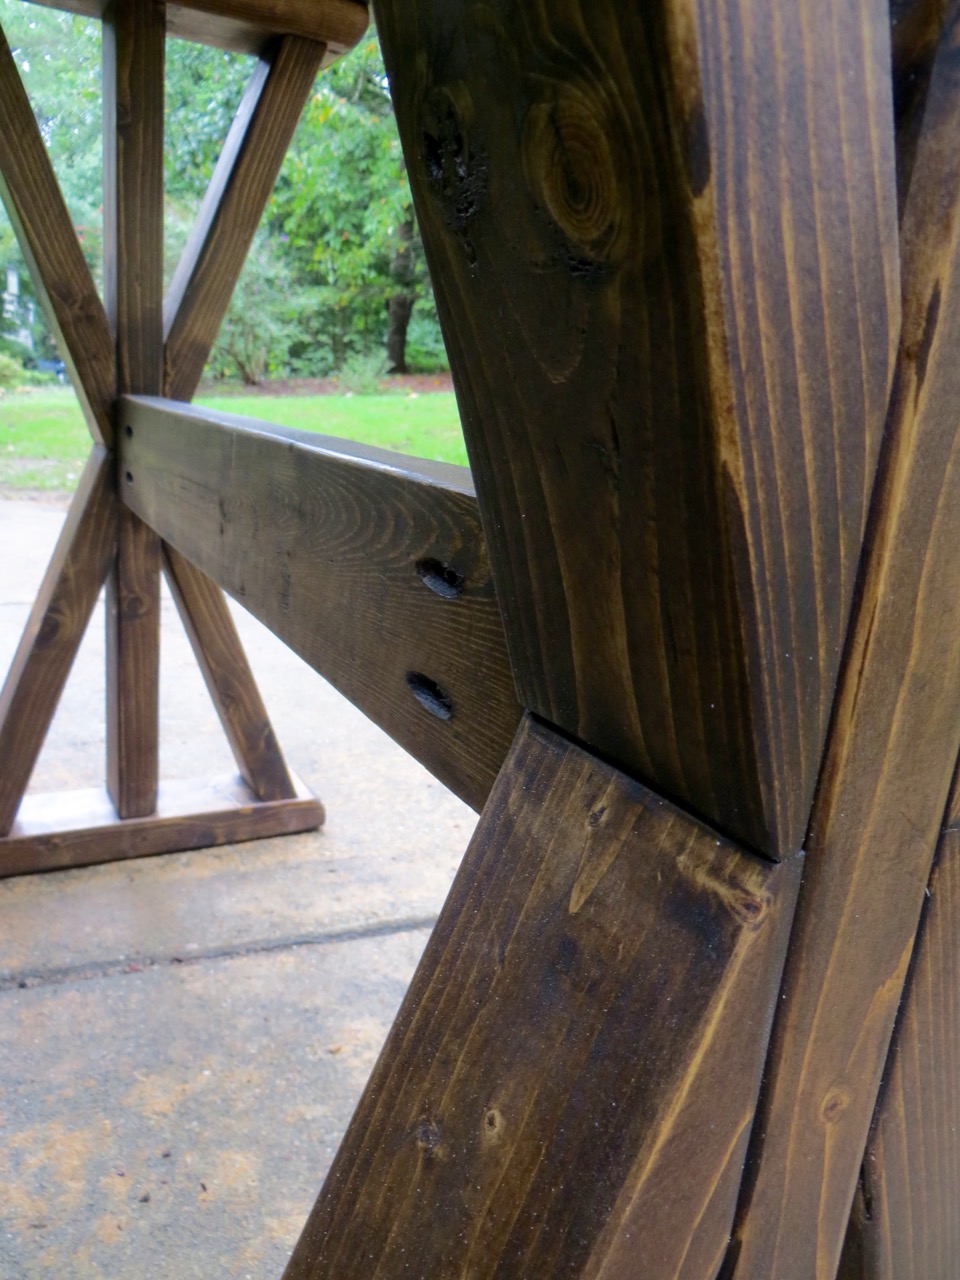
I’m really happy with how it is now!
On a side note can I tell you how much I love thrifting?!?
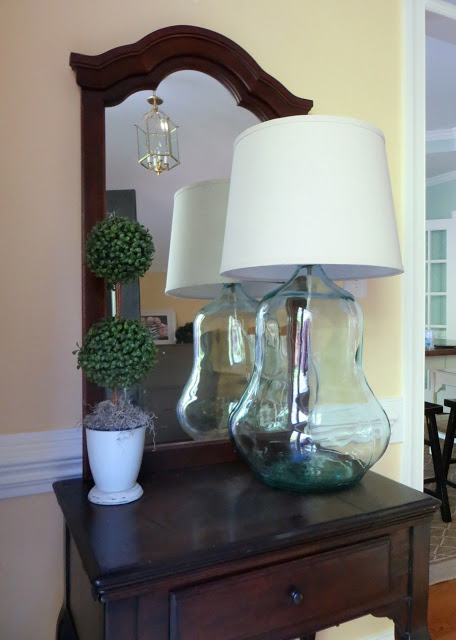
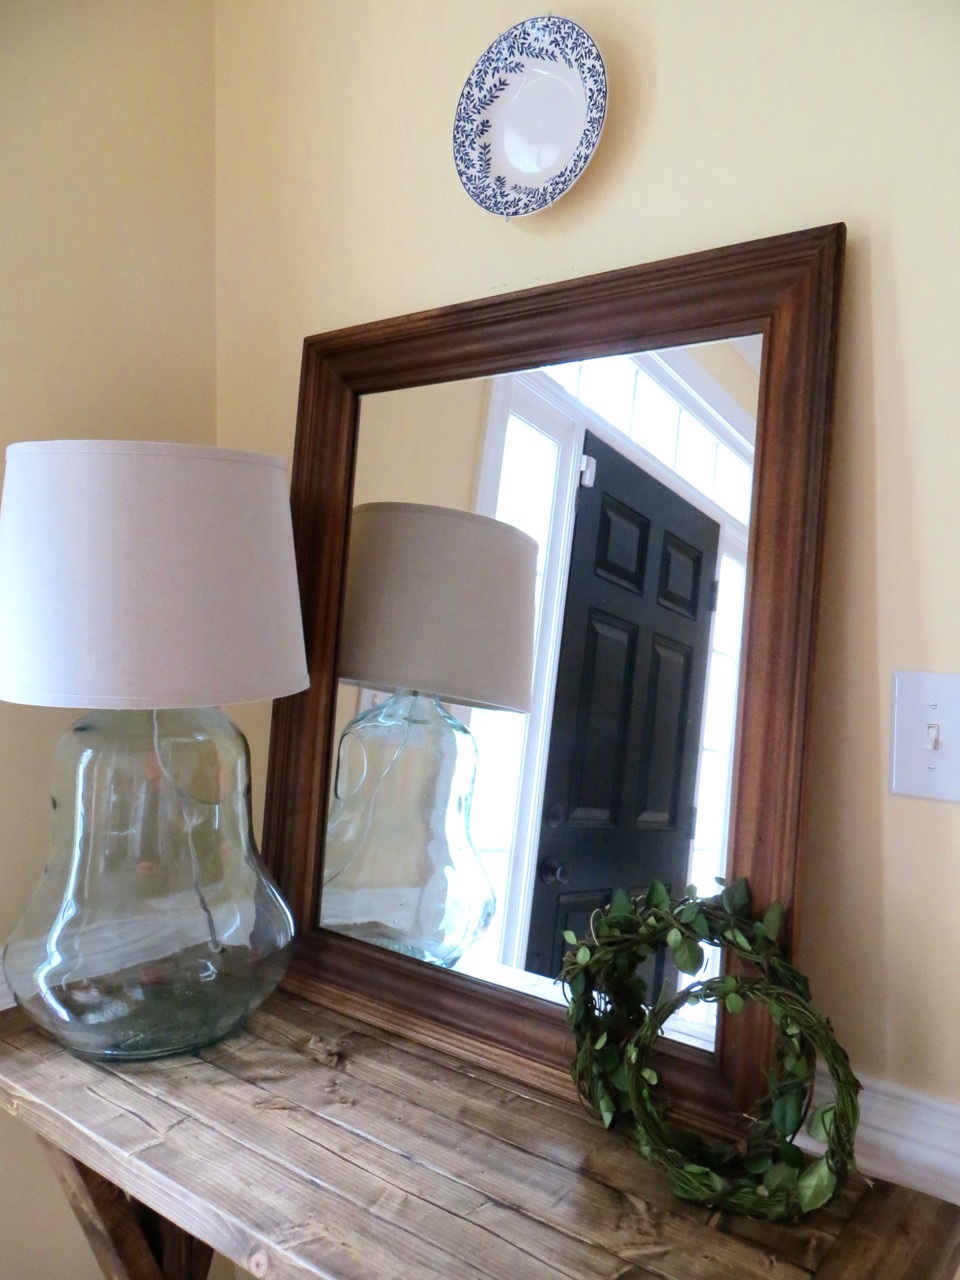
Remember how ugly the lamp used to be? It was only $15 (so exciting)! The blue & white plate was a recent score at $1.50… and I just brought the mirror home a few days ago for $10 (the corners of the molding were all coming apart with 1/4″ gaps but there’s nothing a little glue won’t fix)!
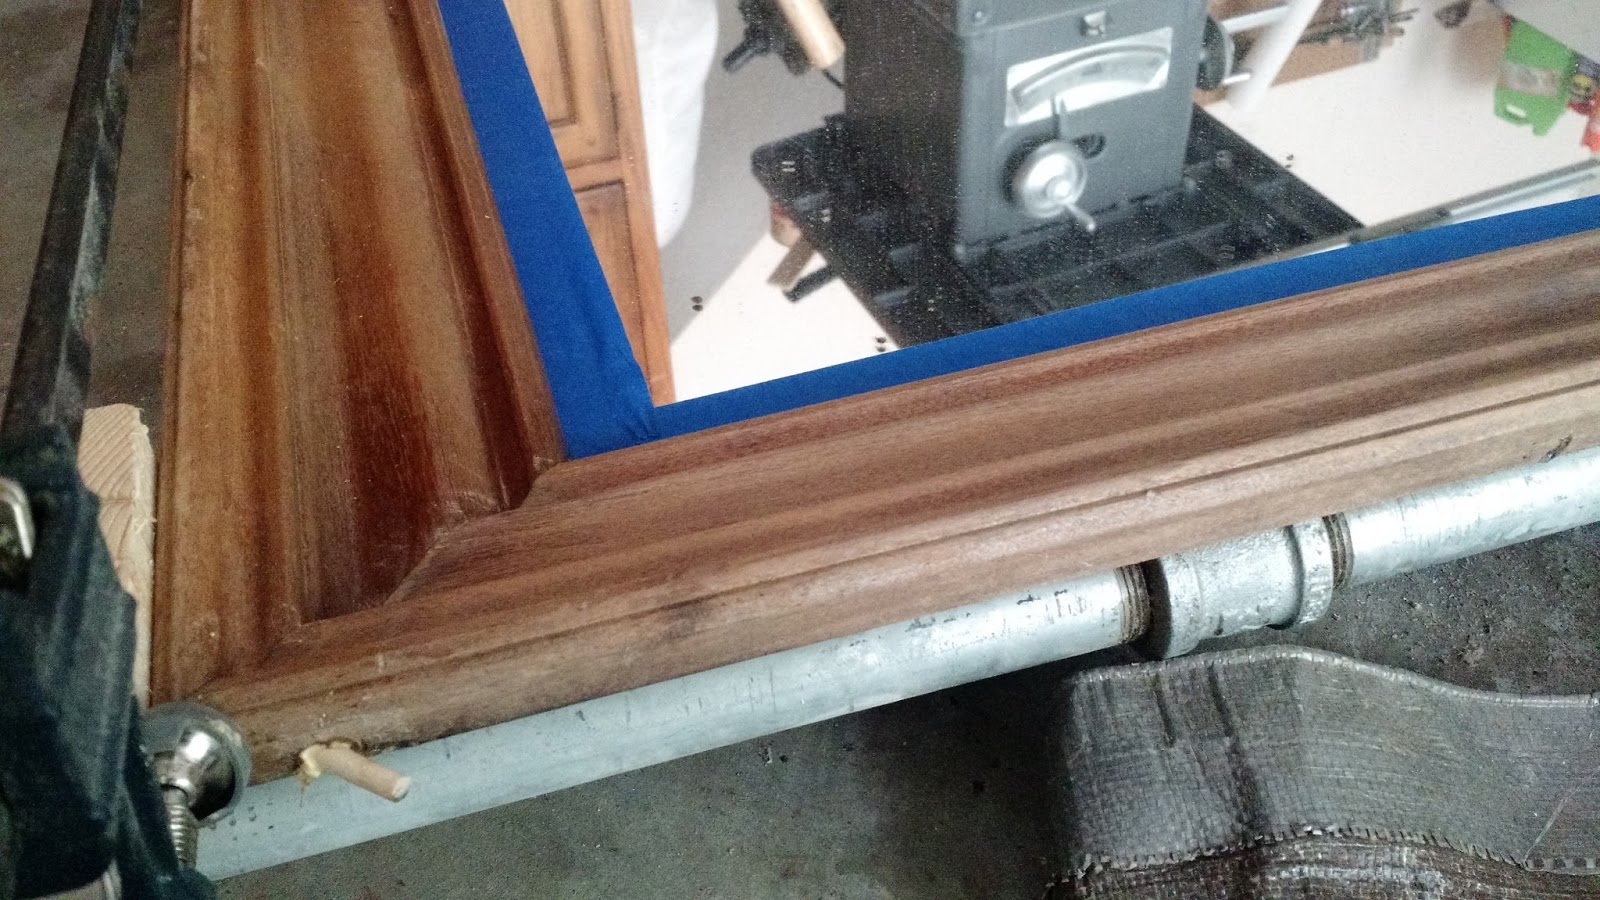
Glue and clamping MAY have been strong enough but I decided to drill holes through the corners to accept some dowels. Once dry I cut the dowels flush and sanded the frame…

… rubbed some stain on…

…and finished off with a little wax.
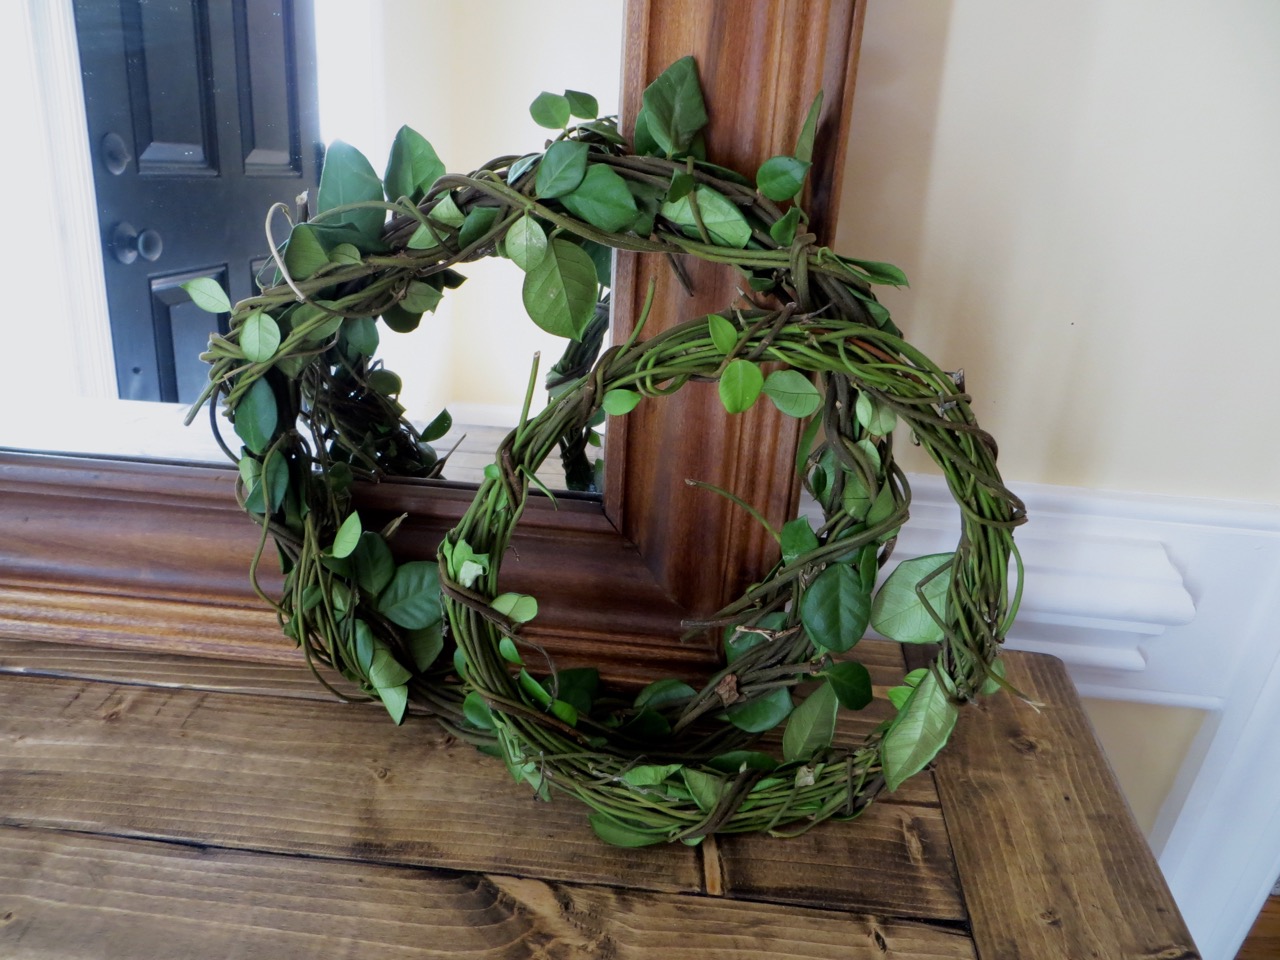
Oh, see these little wreathes?…
…yard waste! HAHA!!
Ok, I need to go to bed! It’s 2am and my little ones will need breakfast in 5 hours! 🙂
Hope this helped!
16 Comments
I saw your table on an Ana White facebook post. Love it! Also, just curious, what is the name of the color on your wall?
September 27, 2016 at 12:00 pmHi there! Wow, I'm so excited to be on Ana's Facebook!!! What a wonderful surprise! I looked at the paint can's in our garage left by the previous owners and I think it's "Pale Daffodile" color by Behr. Thanks for messaging!
September 27, 2016 at 12:56 pmThank you..Clearly,a great deal of work went into building this and illustrating it for us. Angles are not my strong point, but this is well explained. 🙂
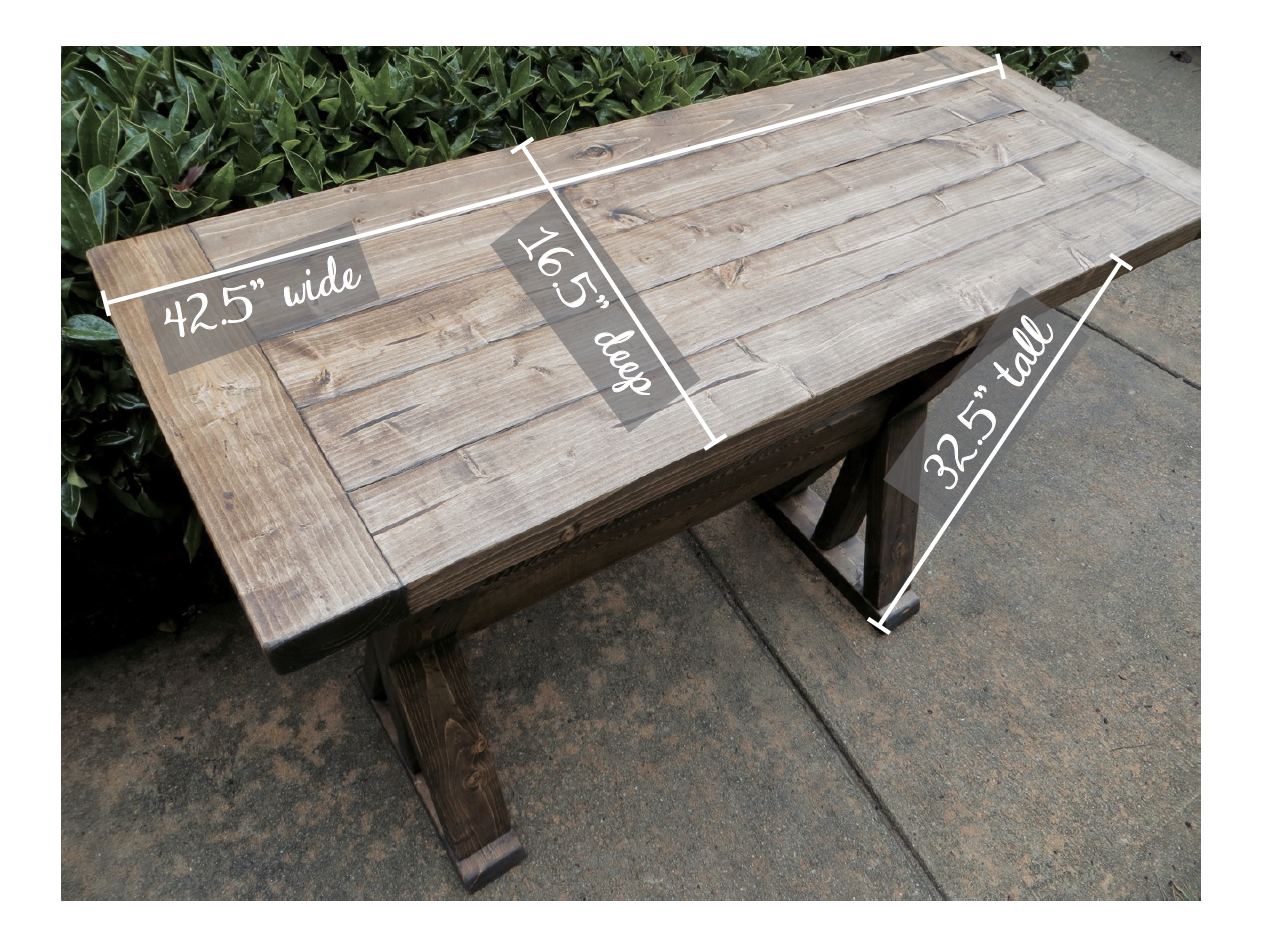
September 27, 2016 at 2:21 pmWhat are the finished dimensions?
September 27, 2016 at 2:21 pmHi Elisabeth!
The dimensions are 42.5" wide x 16.5" deep x 32.5" tall
September 27, 2016 at 2:24 pmThank you! Angles aren't my strong point either but I'm learning to not be afraid of them 🙂
September 27, 2016 at 2:25 pmit's really not well explained. it basically says figure out how to cut 70 degree angles…. here is a template that is 70 degrees hahahahaa. OR you can make a NOT x table by cutting 45 degree angles. Does not provide a way to create a jig to accomplish the 70 degree angles….
October 18, 2016 at 9:19 pmI'd assume if you're working with wood you'd be able to problem solve. I do these tutorials from the little spare time I have with only the hopes that it helps someone. It really ruins it when someone is nit picky. Try going on YouTube: "how to cut sharp angles on miter"… Use a handsaw if you must (that's what the template is for)! Best of luck!
October 18, 2016 at 9:31 pmHi there,
October 28, 2016 at 2:50 pmI'm building the table as I type this. Where is the leg angle template?
This is a great project. Thank you for posting!
Hi there! It's under "supplies needed". Here's the link: https://drive.google.com/file/d/0B1g-Dqmj9MiPLUhJQ0hZZkY2Q1E/view
Good luck!!
October 28, 2016 at 2:51 pmI found the link to these plans on Ana White. My hubby built two of them…one for my entrance (which is also a yellow color) and then made a longer one as an accent table in my living room….now he is playing with the plans to make an end table LOL. I find the ideas and he does the work. 😉 Thanks so much.
March 18, 2017 at 4:20 pmYay for husbands that are so nice!! I'm so happy to hear that the plans are working out and you're having so much success! I'd LOVE pictures! twirlybirdbaby@gmail.com
March 20, 2017 at 7:41 amDani, wonderful dessign! I built one for my daughter-in-law but I made it a week long project. I jointed and planed the base boards and made the top from blue stained tongue and groove 1X6’s. I painted the base a cream color with a hickory gel stain on the top.
July 27, 2018 at 1:14 amYou need to ignore the not pickers and keep up your good work. There are wonderful you tubes for a jig to cut the angles. I built one and have needed it several times since you opened my brain to angles that don’t fit my chop saw.
Again, thank you for your efforts to help us create.
Thank you for your comment Patrick! Comments like yours makes all this work worth it! 🙂
July 27, 2018 at 7:13 amUsing Youtube will get you tons of ways to get to a 70 degree. Built one for my wife a few weeks ago. Now I have an order from my sister in law. Great plans and thank you for your time.
November 8, 2018 at 1:54 pmThank you for the comment! Happy building! 🙂
November 8, 2018 at 3:25 pm