
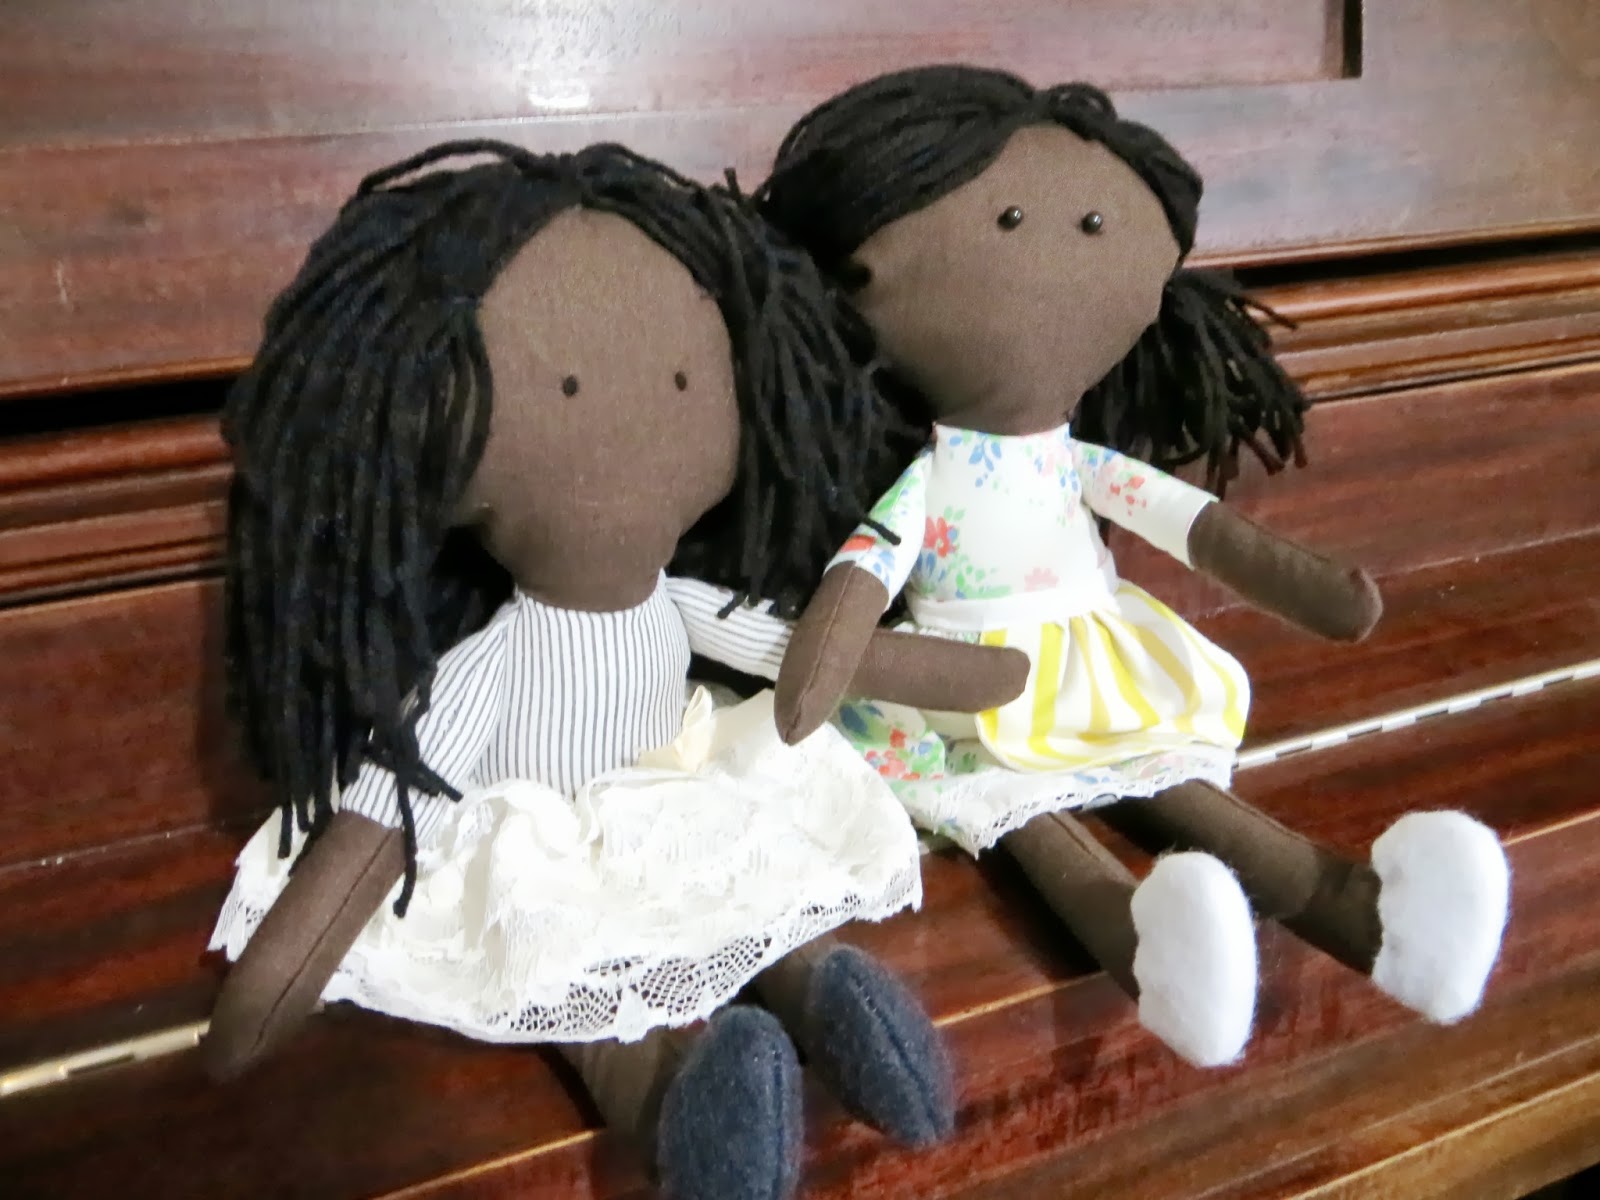
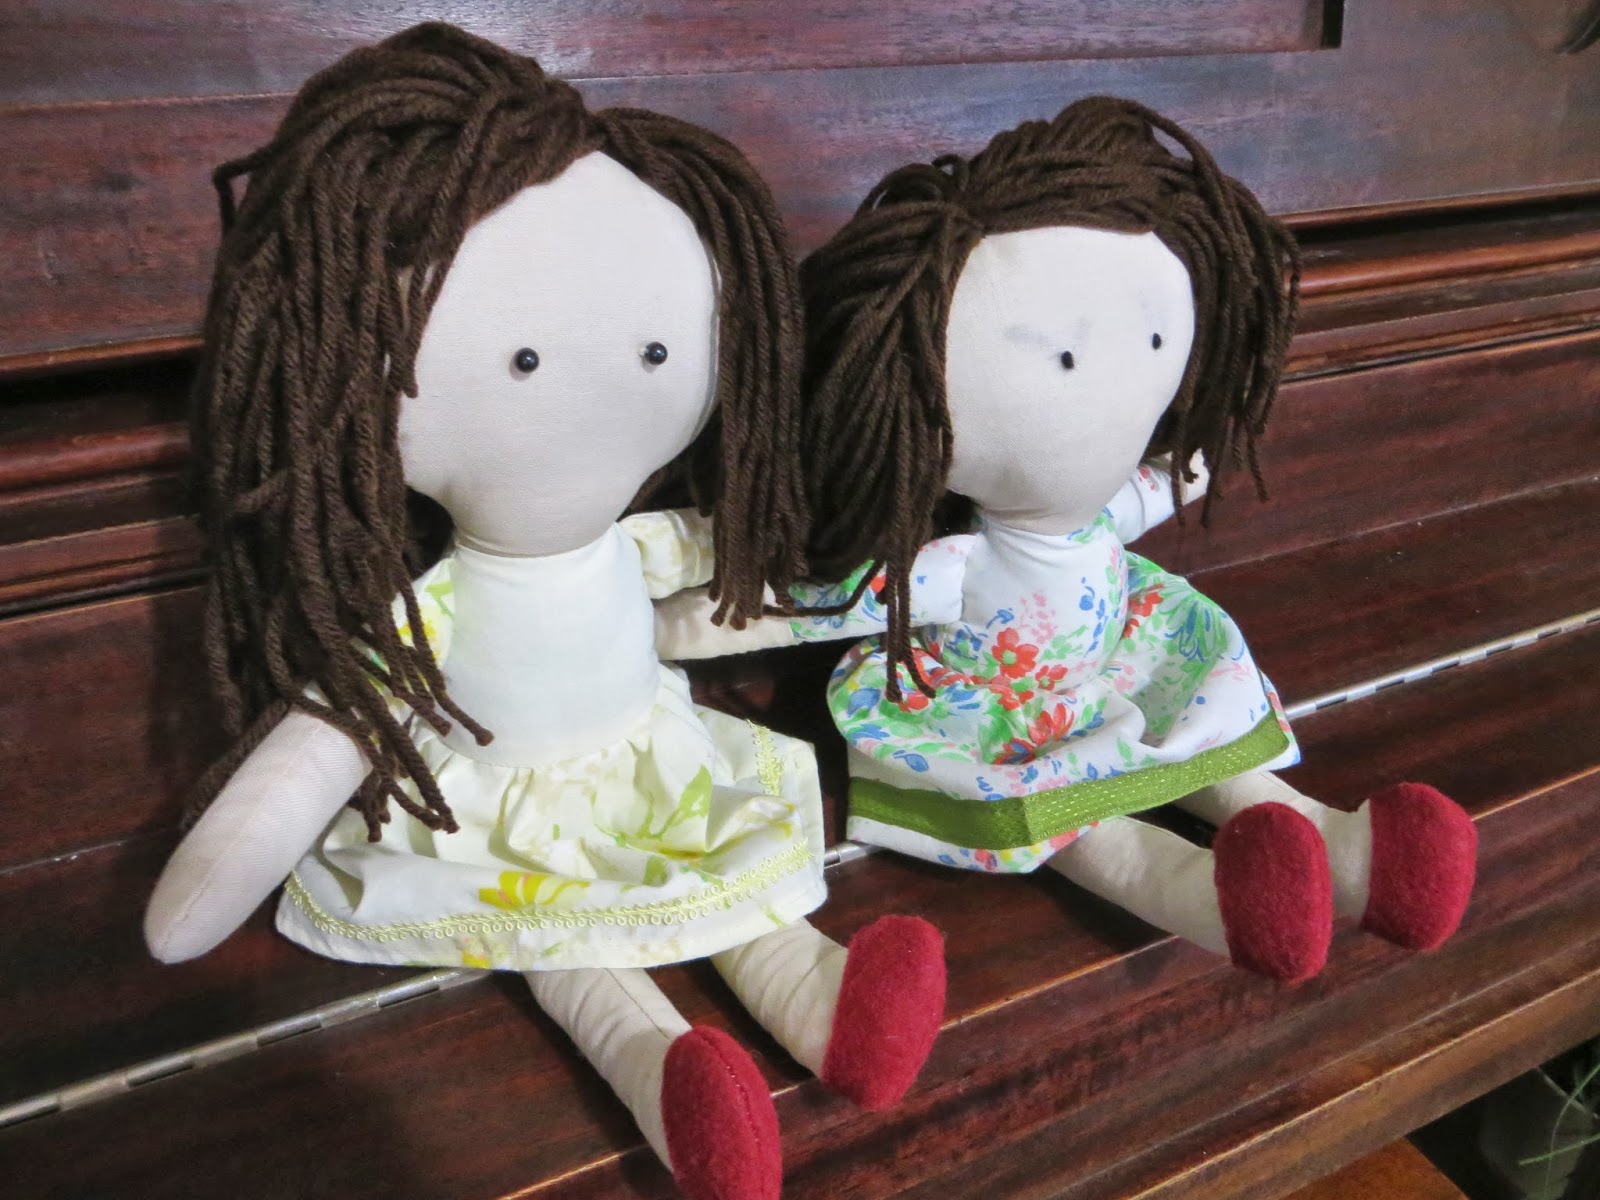
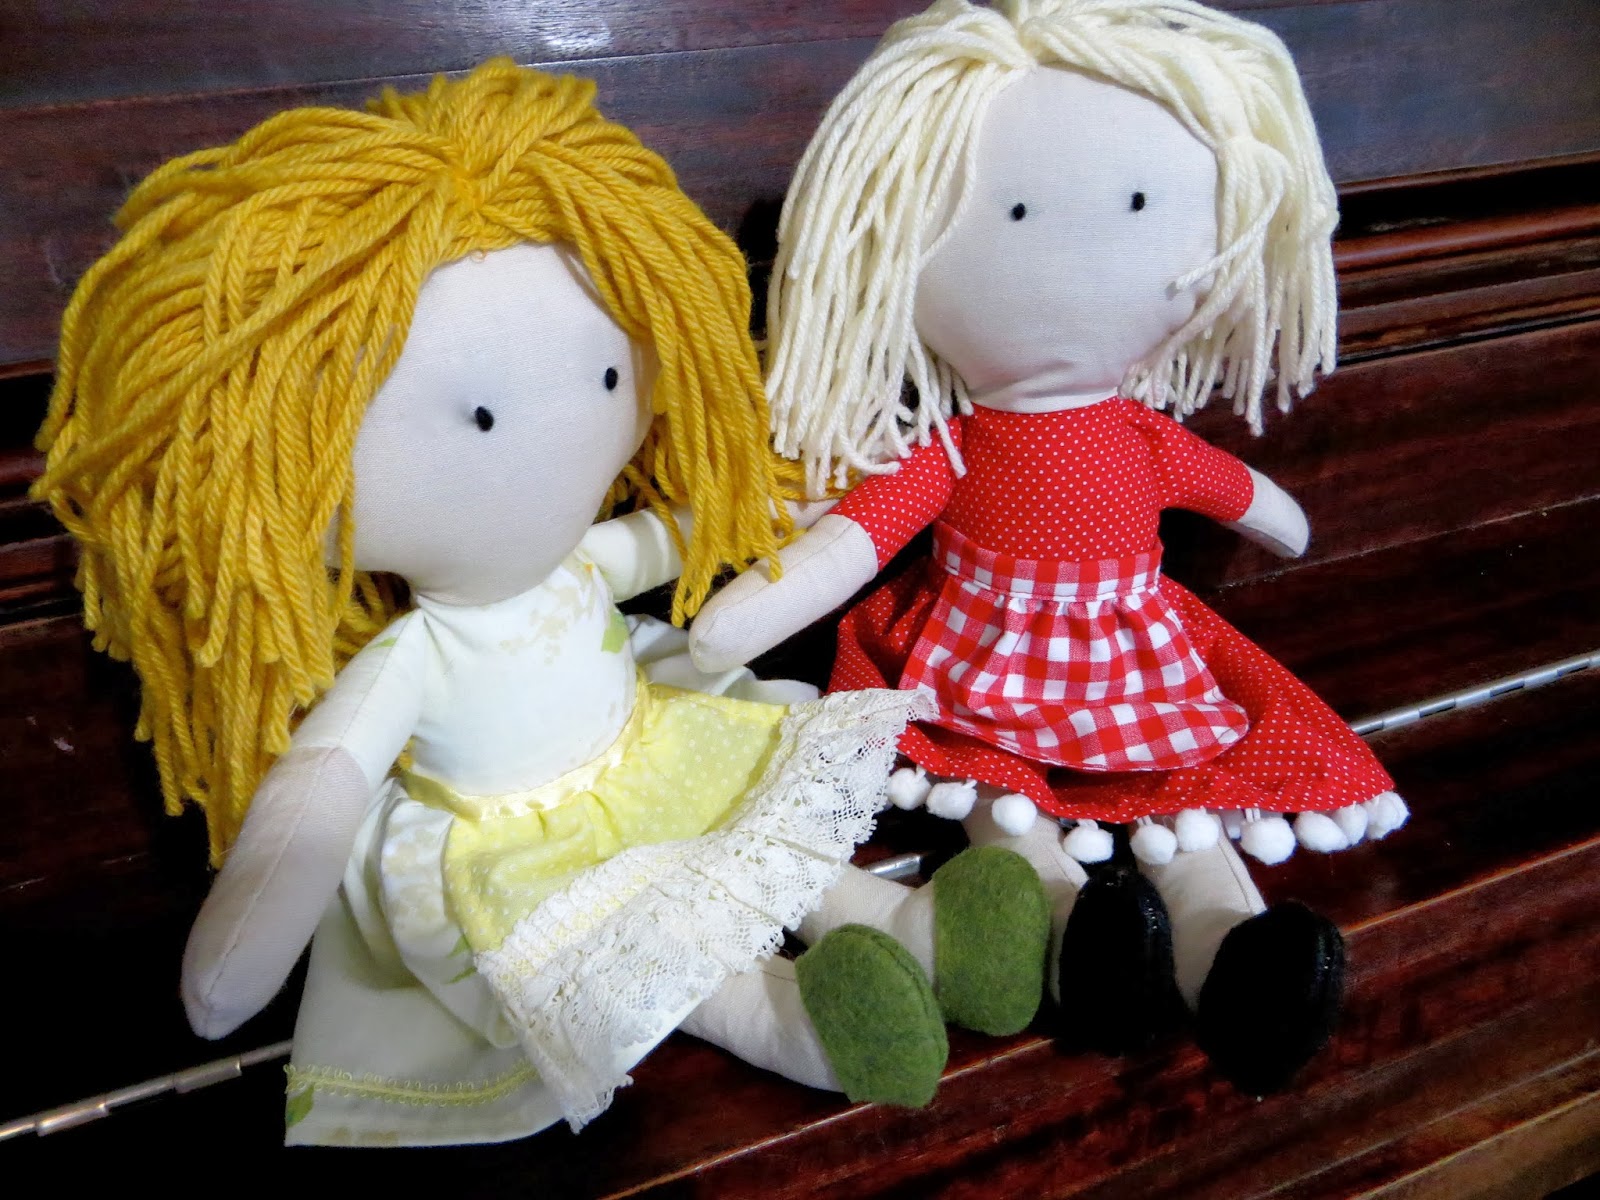
I did a previous post about a doll pattern I liked. The pattern was easy and the doll was adorable but I couldn’t get past how the hair looked. The tutorial had you sew one piece of yarn at a time down the center of the head. It was too thin and when the doll was turned to the side the hair would flop over to one side exposing a bald head. It was also time consuming and tedious to sew one yarn piece at a time!
I created a fast and easy solution that covers the head more fully.
Once you finish your doll, you’ll need:
-yarn and matching thread
-pins
-hand sewing needle
-erasable fabric marker
-sewing machine with zigzag stitch

Decide how long you want your doll’s hair – measure starting at the center of the forehead, going along the side of the head and down where you want it to end. I wanted my shortest layer about shoulder length which was about 5″. Find a flat sturdy object twice the length you want your hair – this lid was 10″ long. Wrap your yarn around the object about 60 full turns. TIP: don’t stretch your yarn too tight because once you cut it, it will be shorter than what you want.

Carefully cut along the yarn folds on each end of the object.
Using an erasable fabric marker, mark your doll’s head where you will be attaching the hair, starting 1/2″ onto the forehead and going down the center of the head…

…ending where you want the base of the head to be, about 1″ up from the shoulders.
Then mark on the side of the seam closest to the face (so your hair will hide the seam), running from the very edge of the head, over the top to the other edge (about where the ears would be).
For the hair you’ll be sewing your yarn pieces along a long double strand of yarn (spine). The strand of yarn stabilizes the hair pieces and anchors them together. You will be making 2 section of hair to go along the 2 markings you made on your dolls head.
The first section will be the length of the first mark you made on the center your of doll head PLUS 2″. You will want to sew your hair pieces really heavy/thick together.
The second section will be the length of the second mark you made on the doll head along the seam from ear to ear PLUS 1″. This section will thin out in the middle where it crosses the first section on dolls head.

Start of with a long double strand of yarn (spine), about 15″ longer than both section lengths combined. With a wide zigzag stitch, stitch over both strands about 1/2″.

For your FIRST SECTION of hair, mark on your spine the length you need to fill. Center thick sections of yarn over spine and zigzag over the centers making sure you’re sewing over the spine. Keep working until you get the length you need.

TIP: when sewing over yarn it’s easiest to put pressure over both sides of the presser foot and help machine by pushing the thickness through.

For your SECOND SECTION, leave a few inch gap between the first and continue on the spine, doing it just as you did the first but thin in out in the center.
The back of your sections should look like this (the bottom).
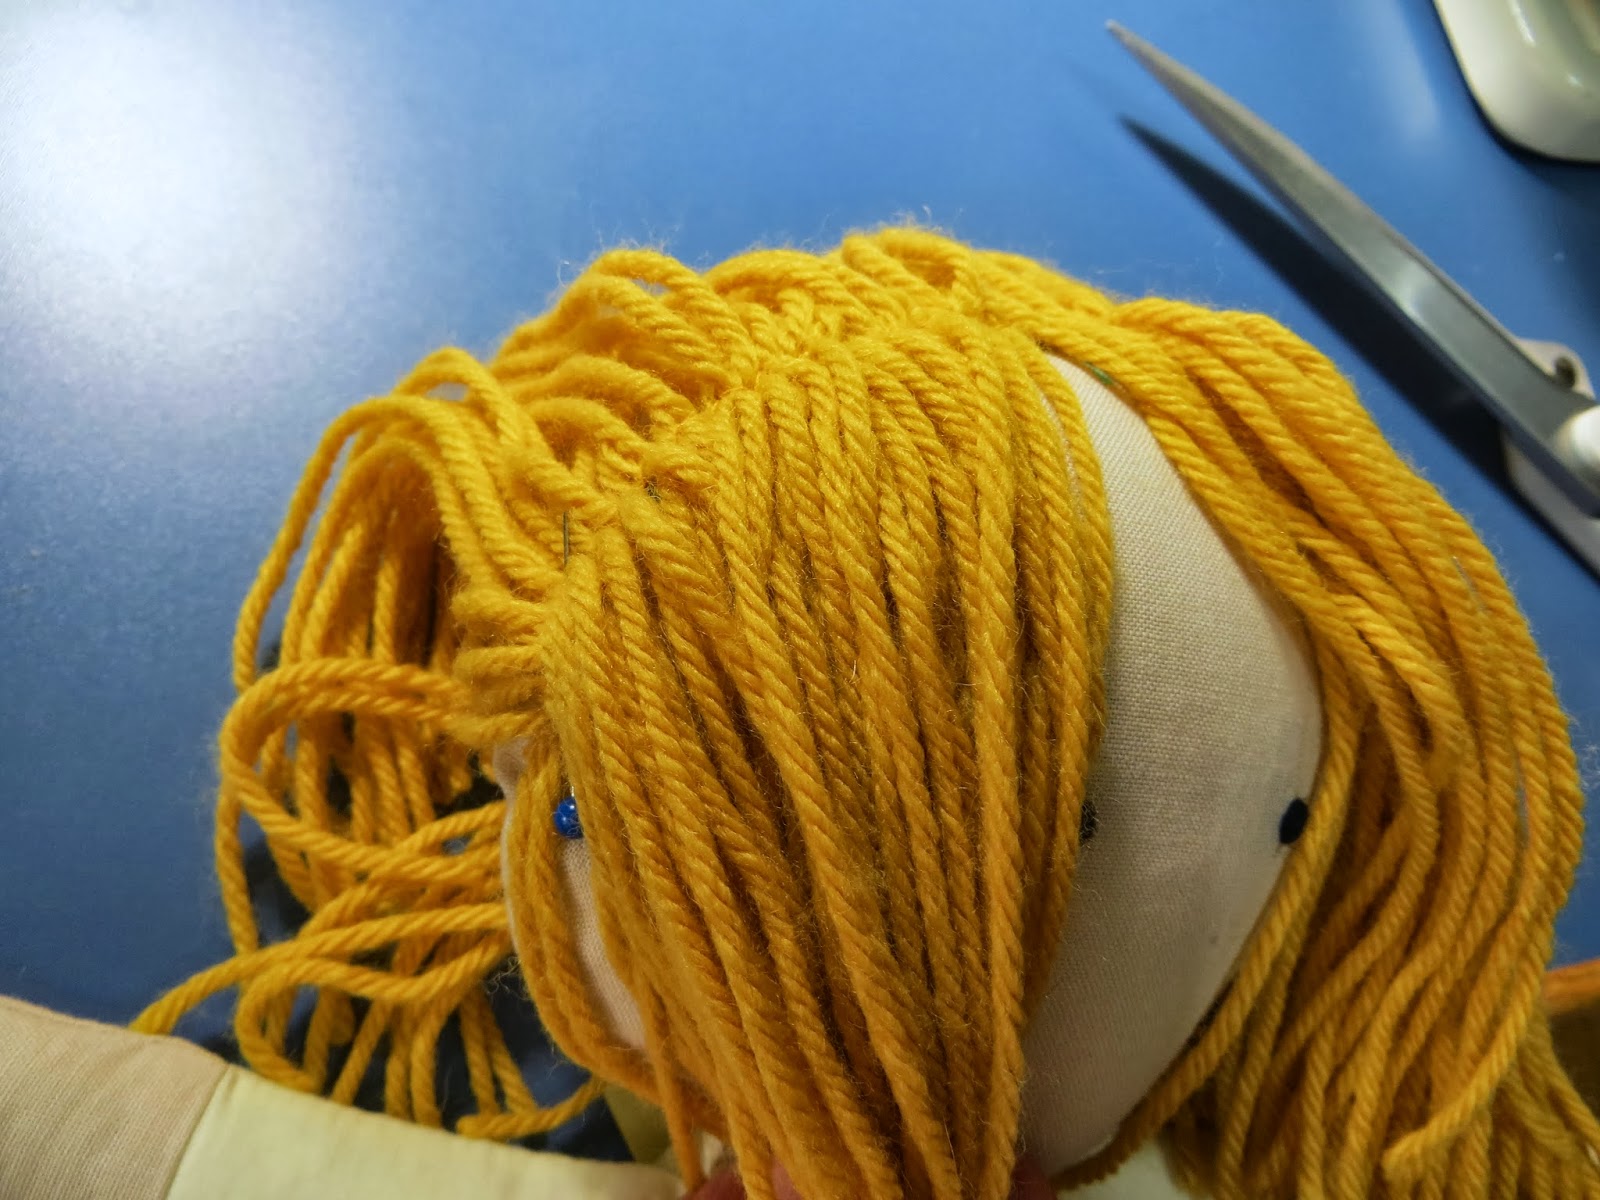
Sew SECOND SECTION of hair on doll first, centering over the side markings of head with yarn spine on mark. Fold under excess ends of spine to hide ends. Pin in place.

Use needle and double thread and anchor thread to one side. Do a simple chain stitch over the top of the spine all the way to the other side. Tie off thread…

…and pull needle through back of head and cut threads right against head (this hides the ends of your threads inside).

Split yarn where the center mark is to prepare for next section.

Fold end of FIRST SECTION under about 1/2″ and pin at base of head…

…flip doll over and match spine with marking…

…you’ll see it extends longer than your marking by about an inch (this gives it extra volume in the front)…

…fold excess under…

…pin in place. Sew section in place just like previous section.

You can see the hair is longer in the back – do a little trimming and…

…Done!
You can also create a ‘side part’ easily by changing center mark where you want it. With a side part I like to anchor the fuller side to the side of the head with thread and needle to keep it from falling in the face.

32 Comments
Thanks Dani for this sweet tutorial…..
October 5, 2015 at 10:19 pmLove the layers!
December 6, 2015 at 8:33 amI could really use your help on how to do it.
December 25, 2015 at 1:40 pmthis was great! I whipped out hair for a doll in no time and it looks terrific. Thanks so much for posting this!
January 1, 2016 at 7:04 pmCan you do it without a sewing machine?
February 1, 2016 at 12:26 pmThat is brilliant. Like a wig.
March 14, 2016 at 6:55 amI'm stressing over how to do a wig for a felt doll .I'm book marking this one.
Finally!!A simple wig and great instructions! Thank you so much for sharing this!
March 20, 2016 at 1:42 pmYou could but it would be tedious and a lot more work… same concept but you'd use a hand needle and thread to attach yarn to the "spine".
March 20, 2016 at 1:44 pmYou're welcome! I'm always happy to hear my project posts help someone out (that's why I do it)! 🙂
March 20, 2016 at 1:45 pmHow do you make bangs?
June 5, 2016 at 9:08 pmI would do everything the same in the tutorial and at the very end cut the front hair shorter – the length you want? I'd assume the pieces would fall over the forehead but I can't really say what it would look like because I've never made bangs before 🙂
June 5, 2016 at 9:10 pmThank you so much for this! I'm making a doll for someone (the doll is from a game they've been playing) and I've never made a doll before, but these instructions are quite helpful thank you. By the way I love your blonde haired doll, she's beautiful. X)
June 11, 2016 at 6:45 amI'm so glad this was helpful for you! I never know if any of my posts help much but I keep posting anyways! 😉
June 11, 2016 at 7:51 amThank you for this tutorial. My puppet's got awesome hair, thanks to you. I mixed yellow, beige, and brown yarn.
January 9, 2017 at 1:46 amI'm glad my tutorial helped!
January 9, 2017 at 1:48 amOh so great thank you
January 31, 2017 at 11:03 pmHi there! LOVE your tutorial. Can you tell me where you got your doll pattern? Thank you very much!
September 4, 2017 at 4:10 pmSo glad you like it! I did a review on the pattern and I've included a link for pattern: https://www.theprojectlady.com/2013/10/pattern-review-emily-doll.html?m=1
September 4, 2017 at 4:13 pmLooking forward to trying this for my doll's hair. Looks super quick and easy. Thanks for sharing.
October 12, 2017 at 3:14 pmYou're welcome!!
October 12, 2017 at 3:16 pmI LOVE this so so much and it's making me want to make 5 of these dolls for all my nieces for Christmas… trying to reign it in.
November 9, 2017 at 2:02 pmThey're a fun rewarding project! Grab a bunch of scraps fabrics pieces at the thrift store and yarns to make it less expensive! DO IT! 🙂
November 9, 2017 at 2:03 pmDo I need to cut the two parts of the wig to separate them before pinning and sewing?
February 13, 2018 at 11:07 amHi Lilly! Yes, you will want to cut them so they’re separate!
February 13, 2018 at 11:08 amOK thanks!
February 16, 2018 at 6:19 pmHow do you keep the ends of the yarn from fraying? I want to use a “Homespun Thick & Quick” yarn to make mermaid hair. Do you dip the ends into something like Fray Check?
February 25, 2020 at 10:33 amThis is the best tutorial for dolls’ hair I’ve come across. Thank you.
I don’t do anything with the ends 🙂
March 13, 2020 at 1:04 pmThank you for this, made my daughters two dolls so fast with this very nice tutorial!
March 26, 2020 at 9:41 pmI’m so glad to hear that it helped! 🙂
March 27, 2020 at 9:30 amThis is a fantastic method for rag doll hair. Thank you
March 29, 2021 at 8:26 amYou’re welcome! 🙂
March 29, 2021 at 8:31 am[…] Quote from the source: … […]
November 30, 2022 at 12:33 pm