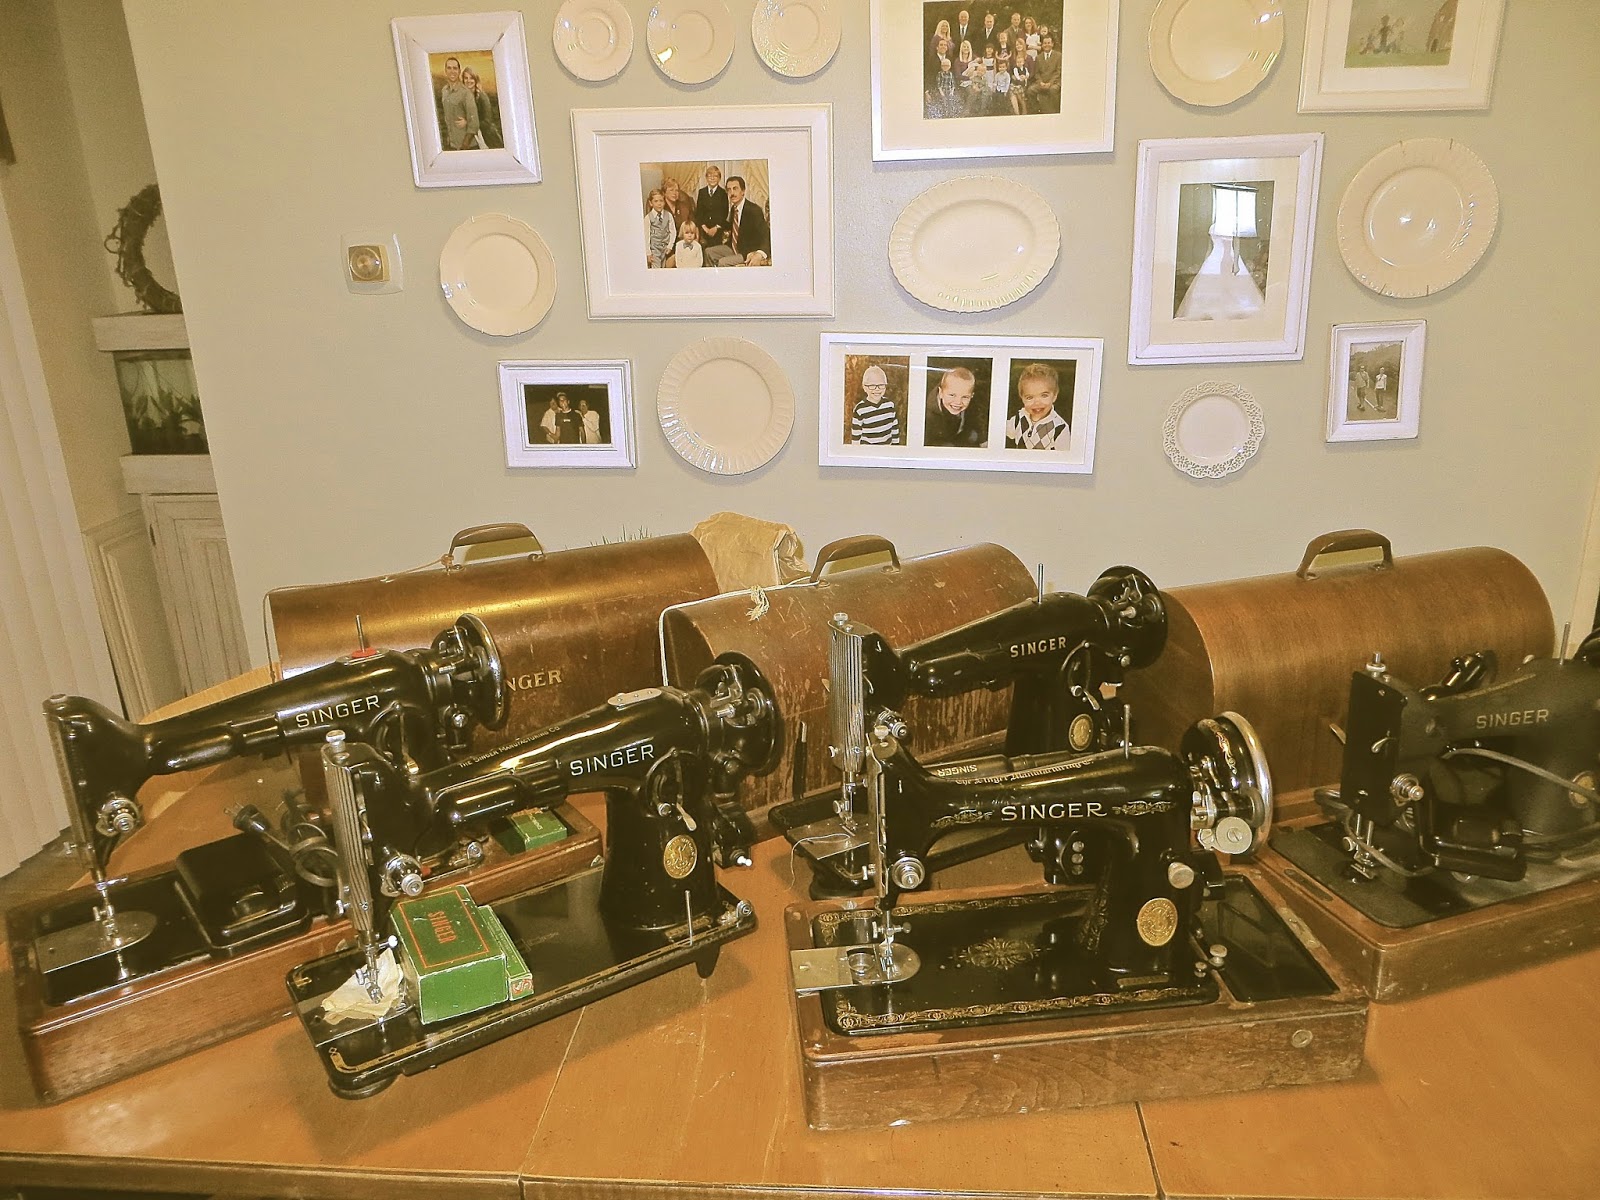
I got a little crazy and collected 5 Singer machines that needed to be overhauled. Some were worse than others. I had 3 Singer 201-2’s that needed to be re-wired, a Singer 99 that needed to be completely re-wired (light, motor, knee “pedal”) and a Singer 128 that only needed to be cleaned and oiled.
I wish I had a video of the first experience I had with a machine that had exposed wires. It really is dangerous! I had plugged a machine in and tilted it back to see underneath and when I set the machine back down against the base, the exposed wires got caught between the metal machine and the base, it sparked and the whole wire started sparking and smoking all the way down to the plug (looked like a wick from a stick of dynamite when you light it on fire). It felt like everything was in slow motion and I wondered whether to let the sparking happen and possibly ruin the whole machine/motor or grab the base of the machine and yank the whole thing off the cord plugged into the wall. I ended up yanking the machine from the cord while it was sparking – probably a bad idea but the machine was salvaged!
Okay, so onto bad wires… if you have an older machine, check your wires before you attempt to plug it in and sew! Most machines before 1950 need to be re-wired! If you need a re-wire kit for an older Singer machine I sell them on eBay.
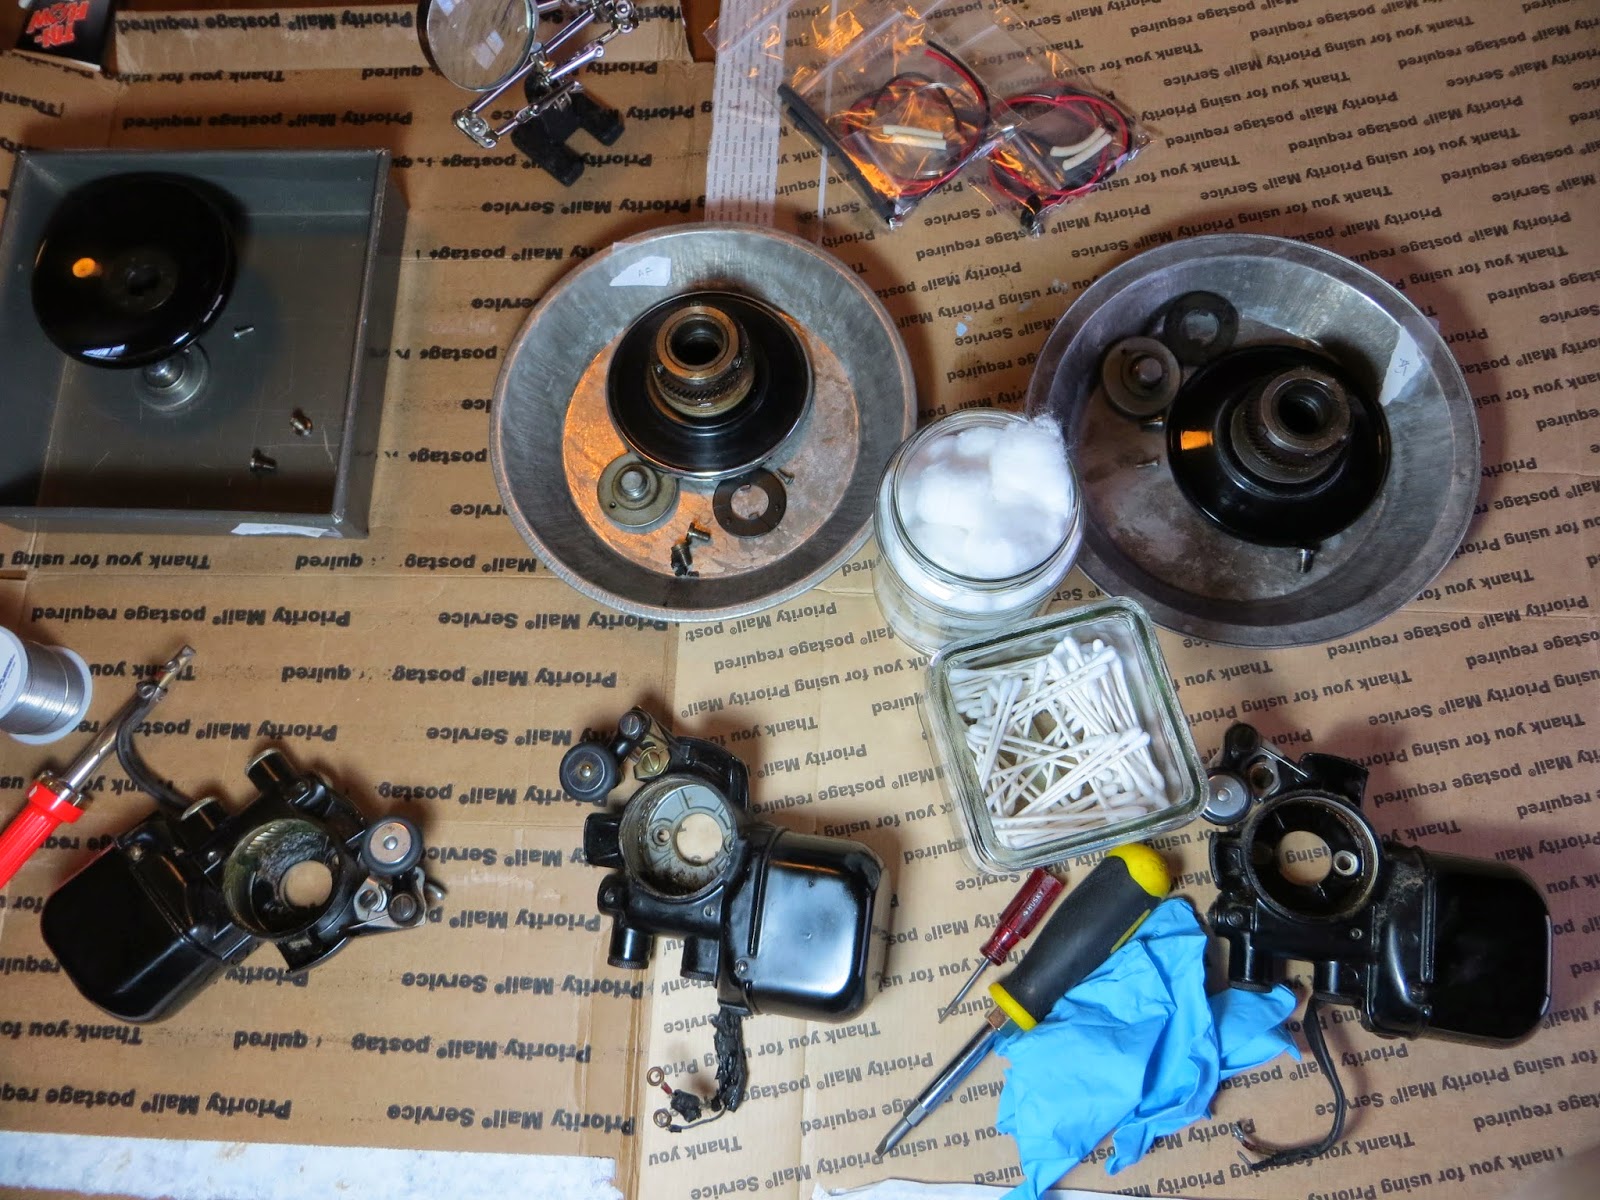
Here’s the 3 201-2 motors off and ready to be worked on. Let’s just say my living room table was a mess for a few days.
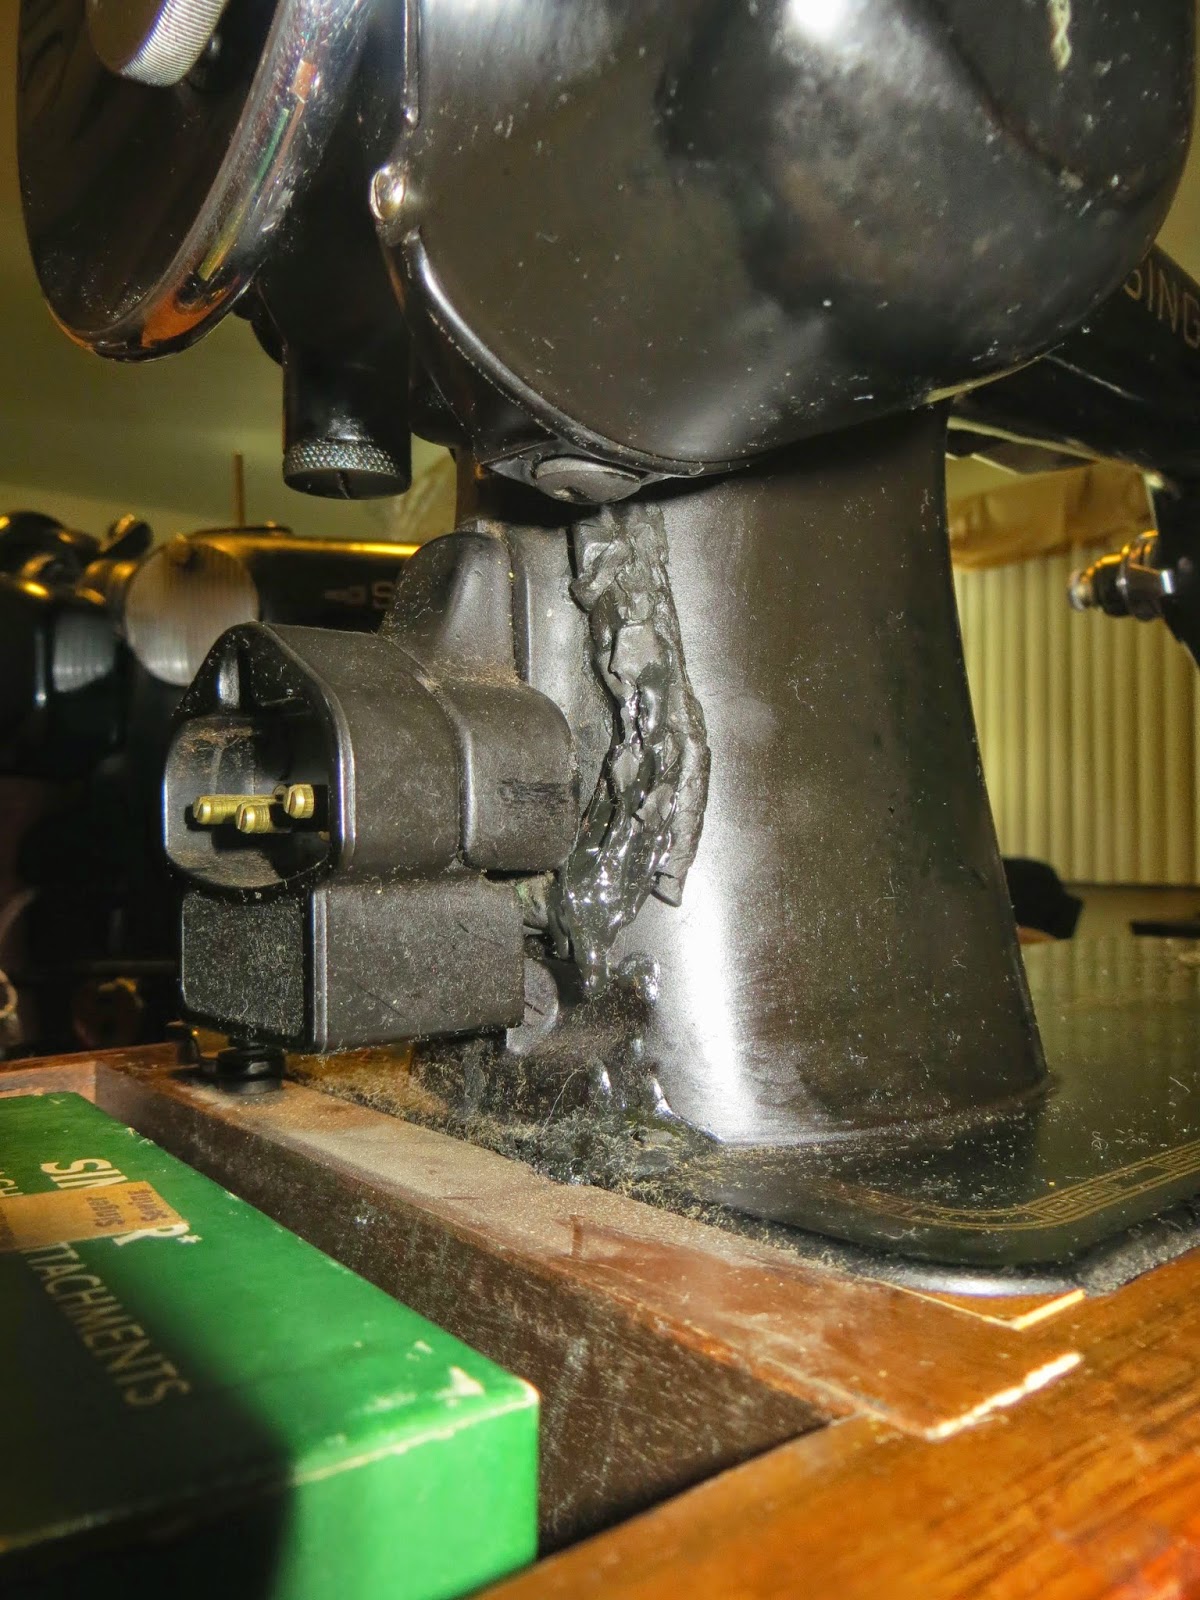
The worst 201-2 in the bunch was this one that had the motor wires completely melted to the side of the machine and had even melted so much that there was a hard-molten pile of wire-coating on the base of the machine. The guy I bought it from said a lady came over and tested it before I bought it and couldn’t get it to work properly. Once I saw the wires I was really nervous for what could have happened!

This is what the wires looked like when I took them off the terminal!

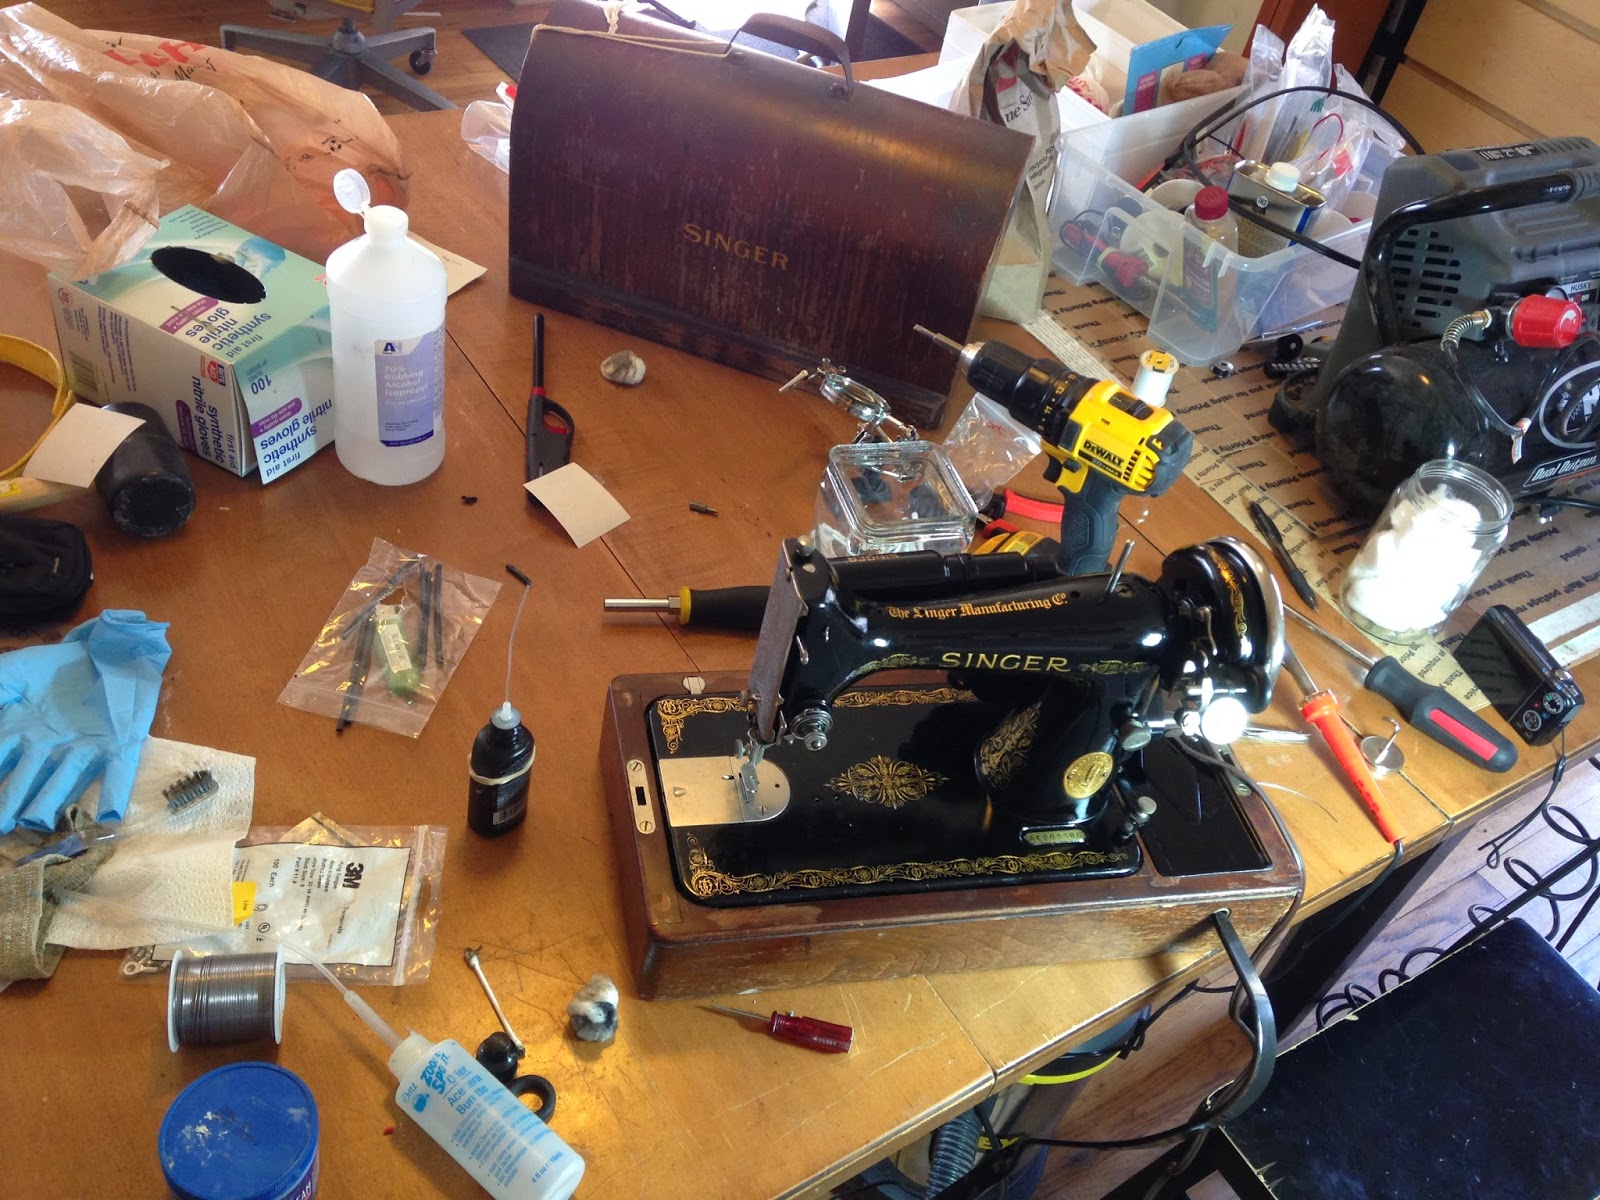
This is the outcome after re-wiring and cleaning the machine. So much better and it runs nice and smooth!

Here’s the exposed wires of the 99.
Here’s the 99 being worked on. To see the full re-wire process of the Singer 99, click here.

2 Comments
How did you get the melted wires off the 201-2?? Did you use a certain product? I have the same exact problem, but I don't want to use anything that will damage the paint/top coat too much. Thanks for any advice!
June 15, 2017 at 7:30 amHi there!
I can't remember exactly. I'm sure much of it came off by hand but I think I had to scrap the rest off with a razor blade. Goo-Gone is an amazing product but I think since the rubber coating was so hard I didn't even attempt… it would be worth trying though!
June 15, 2017 at 7:54 am