
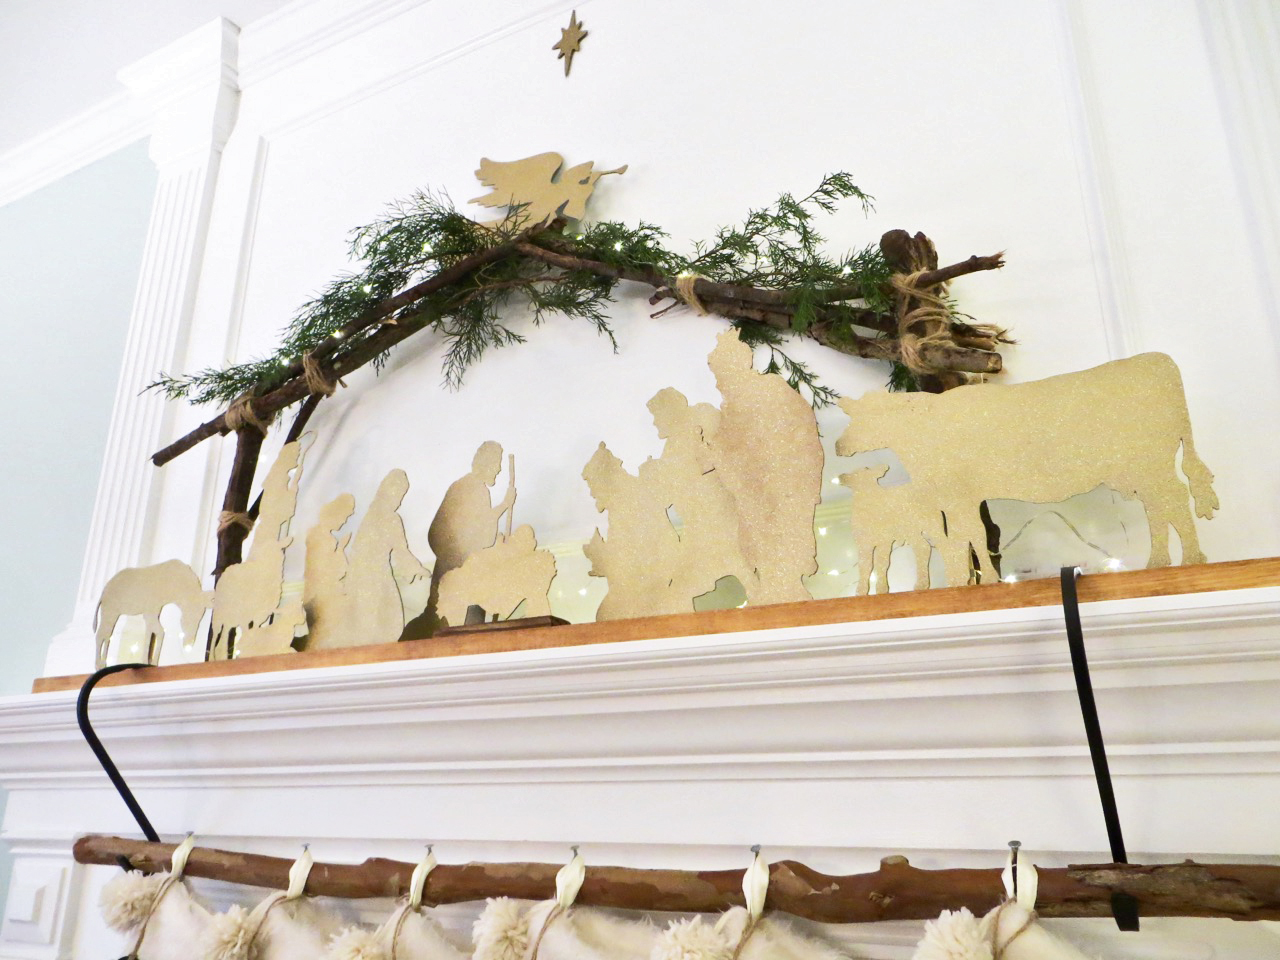
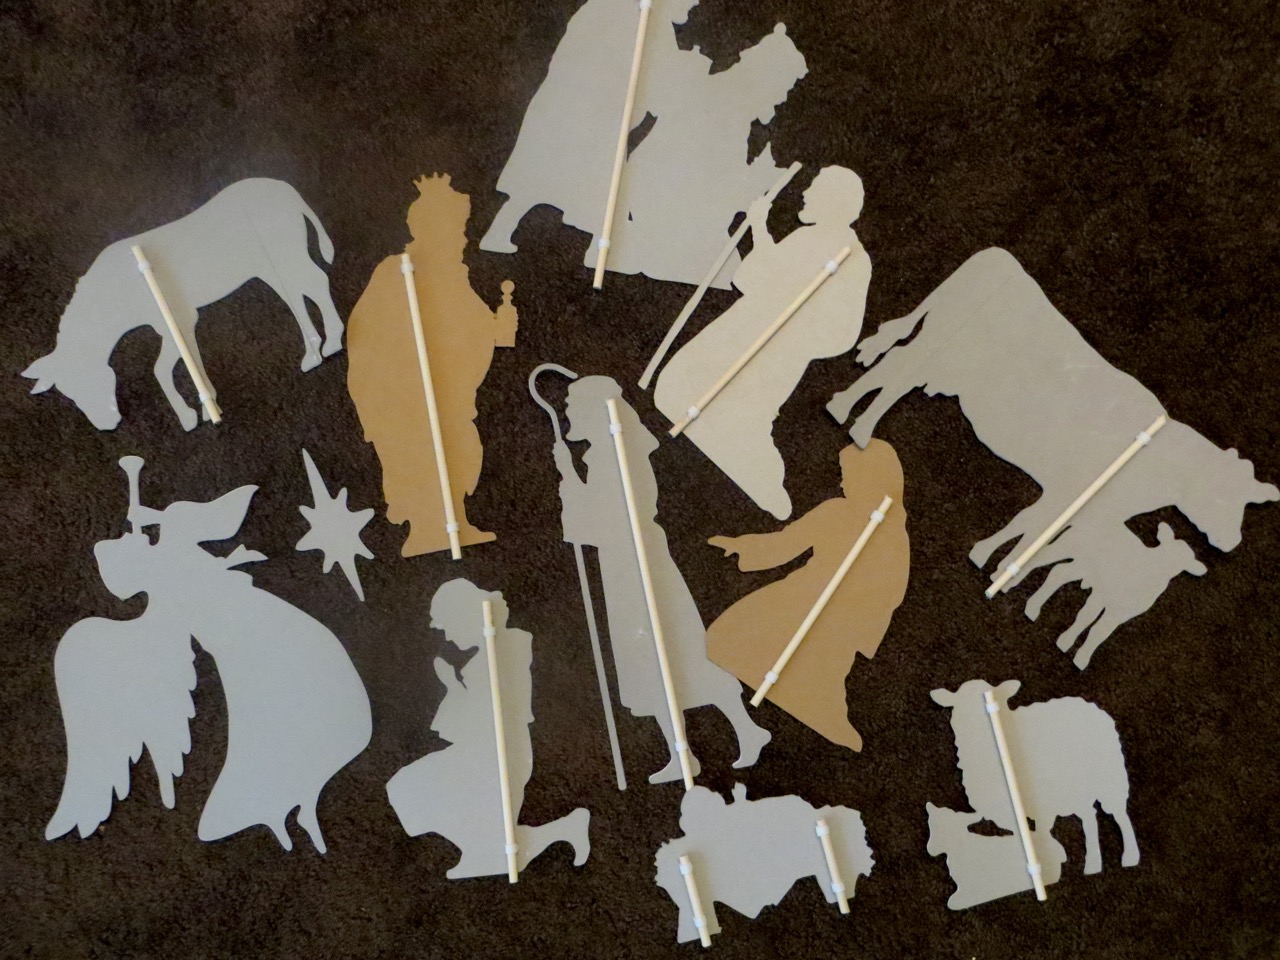
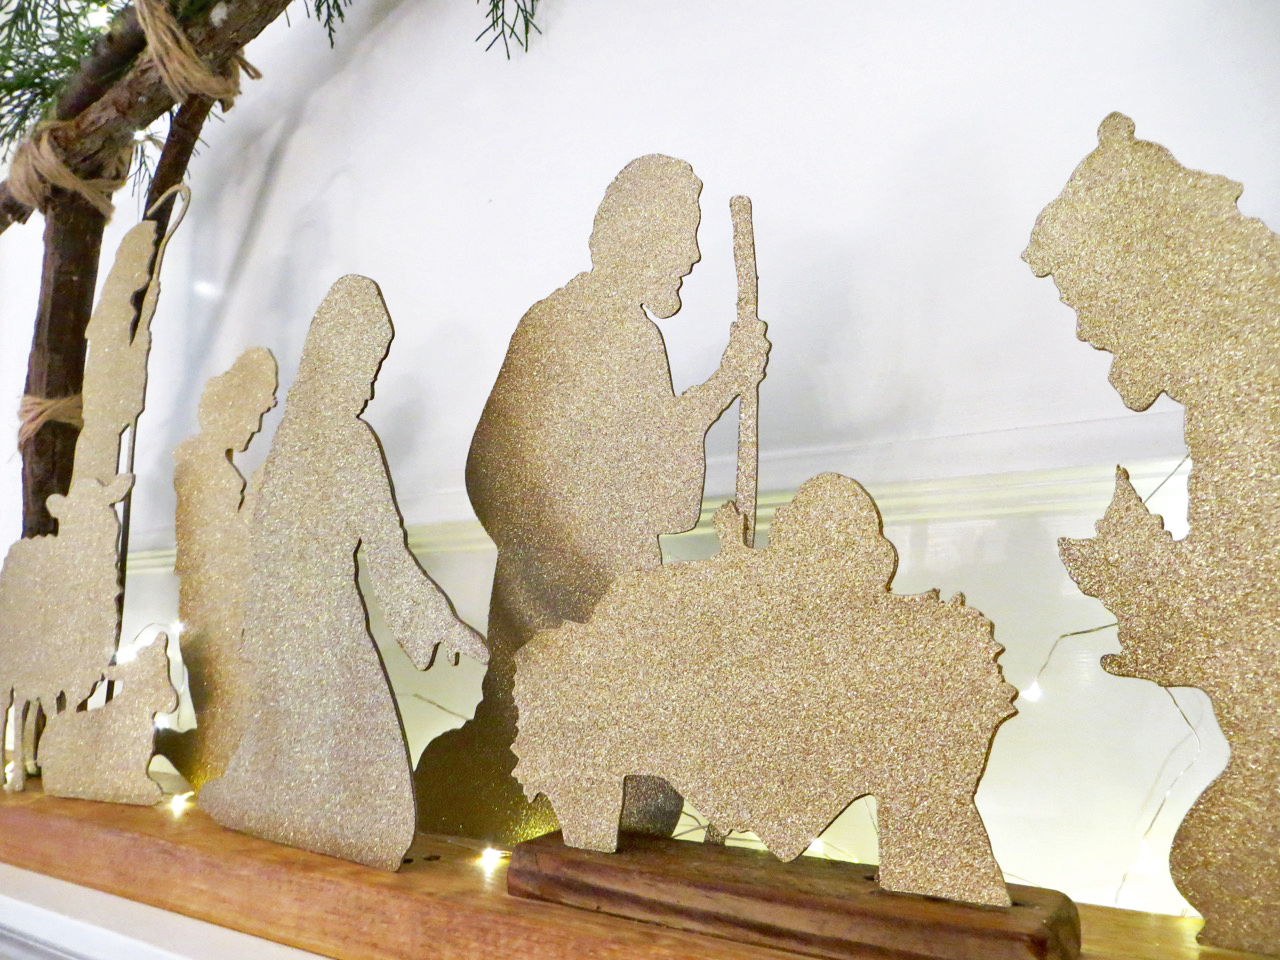
We didn’t have a proper nativity and I wanted something big and bold – a statement piece – that reminds us everyday the true meaning of Christmas. This turned out better than I imagined and it’s much bigger looking in person – spanning nearly our entire mantle!
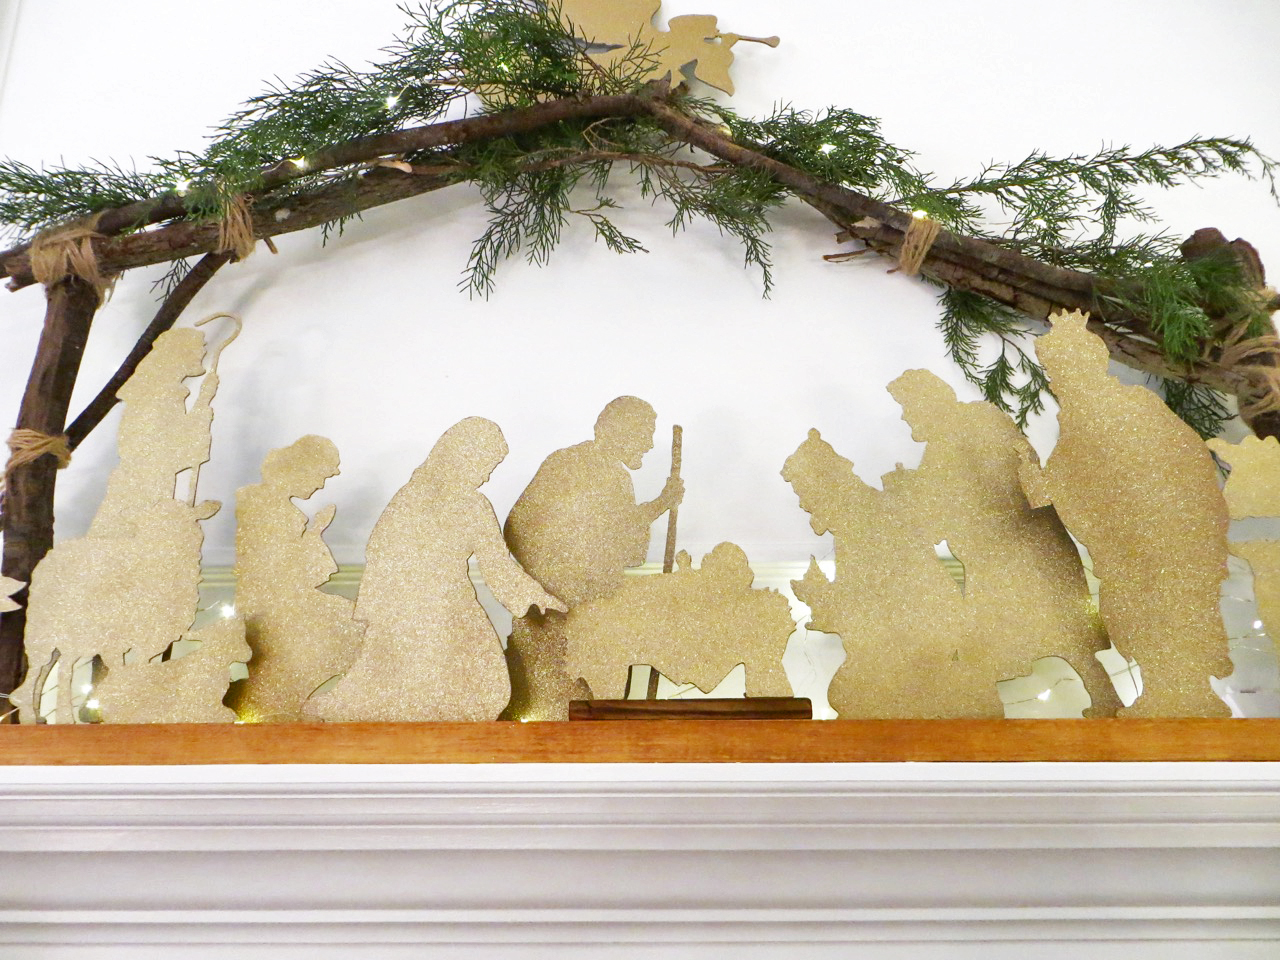
I really love how the silhouettes are leaning in, kneeling or bowing to show respect/love for Baby Jesus.

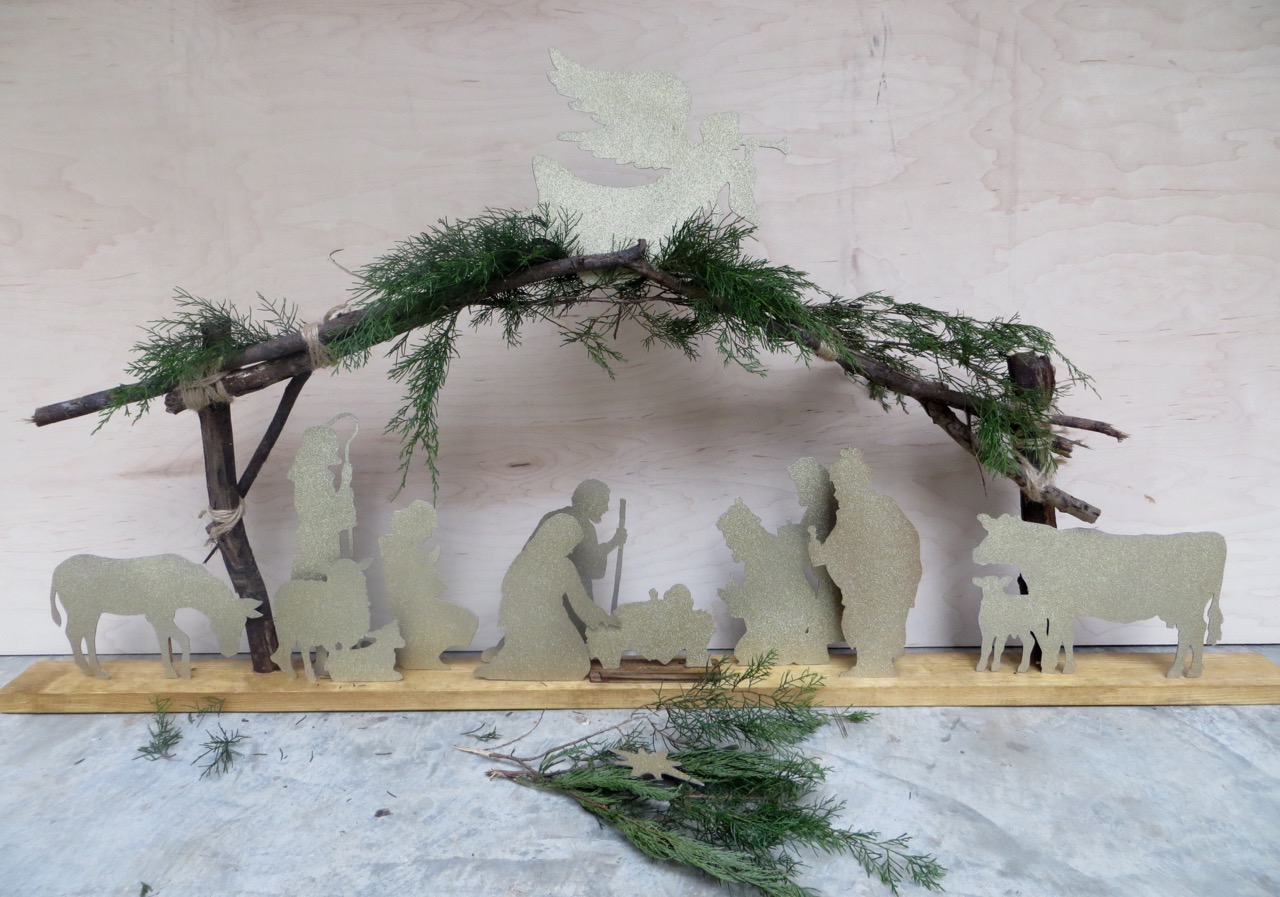
DIMENSIONS: The entire length of the base board for the nativity is 5-feet long and the branches reach 2-feet to the tip of the manger from the base. The total depth is 3.5-inches. TIP: Make your base whatever size you want but make your silhouettes first so you can build the manger around them.
The biggest thing to consider for this project is how you’ll cut the silhouettes. You could use a Cricut/Silhouette cutting machine like I did and use chipboard, but if you have a scroll saw it would be even better to have your pieces cut out of wood to last longer! If you don’t have any fancy cutting tools go with pure determination and an Xacto knife in your hand!
Do you know what’s great? No major woodworking equipment needed – you can get by with a regular-old handsaw!
COST: The most expensive part of this nativity was the glitter spray paint – honest! I spent about $6 on chipboard and $16 for spray paint. All the other items I had on hand, but you can expect to pay around $8 for the base board of the nativity (if you get nice pine) and a few dollars for twine. Consider adding small micro-dot LED lights like I did to really draw attention (I got them at Costco in their seasonal department for around $15)!
SUPPLIES NEEDED:
Chipboard
1/4″ Dowels
1/4″ Sewing Elastic (optional) if you want to remove dowels from silhouettes
Tacky Glue + Small Paint Brush
Glitter Spray Paint
Spray Paint for Back (optional) if you’re crazy like me and want the silhouette backs to look nice 🙂
Spray Paint for Back (optional) if you’re crazy like me and want the silhouette backs to look nice 🙂
Branches
Evergreen Greenery
Twine
1×4* Wood Board** @ whatever length you want your nativity base
Scrap 1×2 Board + Wood Glue or Nails (optional) to raise Baby Jesus higher
Wood Finish of Choice
*The board we had on-hand is actually a 5/4 thickness (find it here) — it’s 1/4″ thicker than your regular 1″ board and great quality! **This might be obvious, but depending on the overall size of your nativity you can choose to do a more narrow or wider board.
TOOLS:
Miter Saw or Handsaw
Drill Bit + 1/4″ Bit
Forstner Bit size of Wood Branches (optional) for drilling in base
Hot Glue Gun + Glue Sticks
Sander + Sandpaper
Sander + Sandpaper
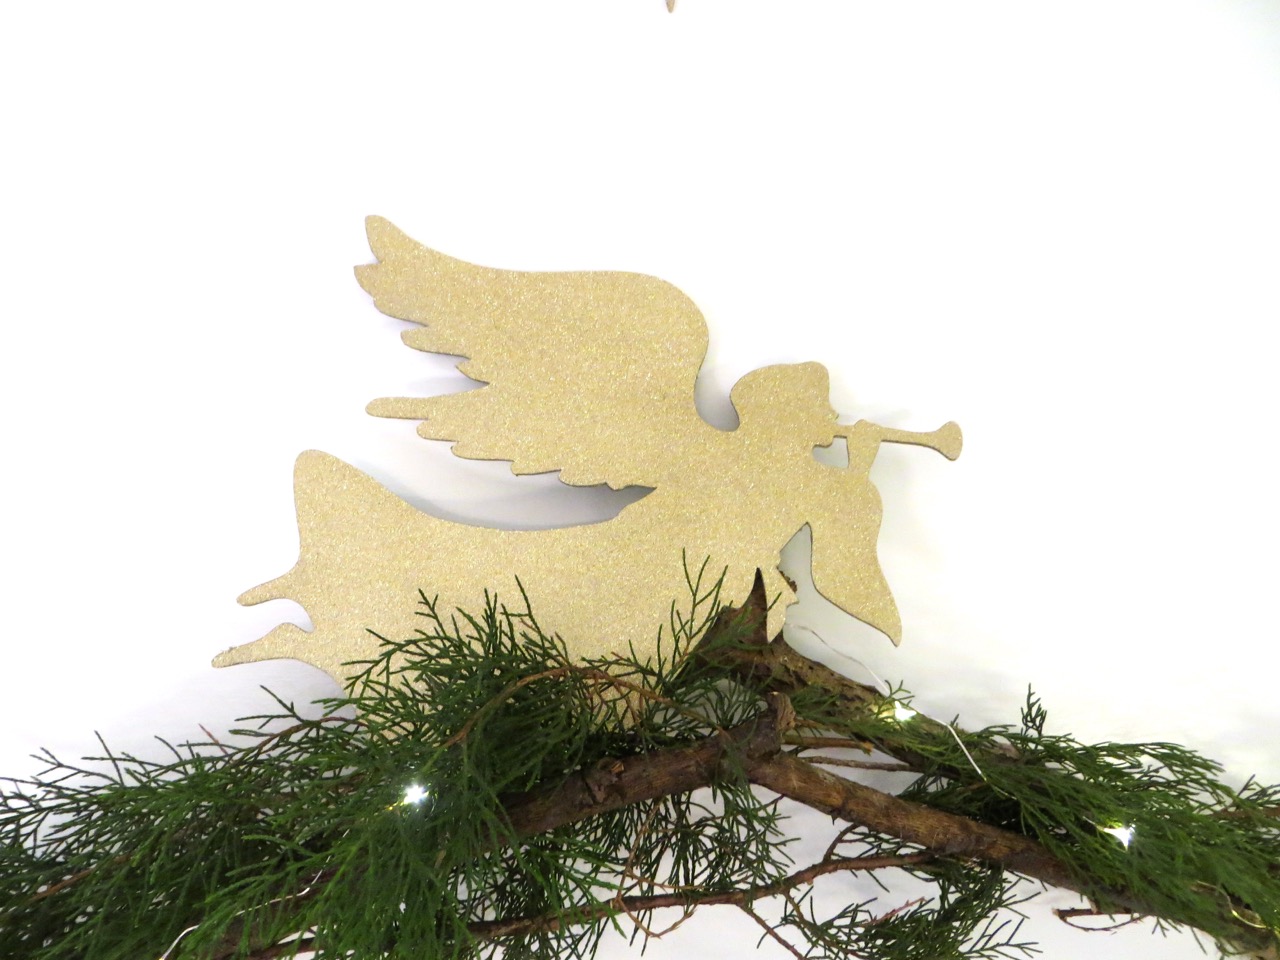
The first decision is figuring out the size you want to make your silhouettes. My tallest (the Shepherd w/staff) is 14-1/2″ tall.

(you can upload this file directly to Cricut’s design space or open in Ai to alter).

Once you know your silhouette dimensions you’ll know the size chipboard needed. I saved boxes for several weeks only to realize that 80% of them were going to be too small for my large silhouettes. I found some gift boxes at the dollar store that I used for 10 out of 12 of the silhouettes because they were the right size.
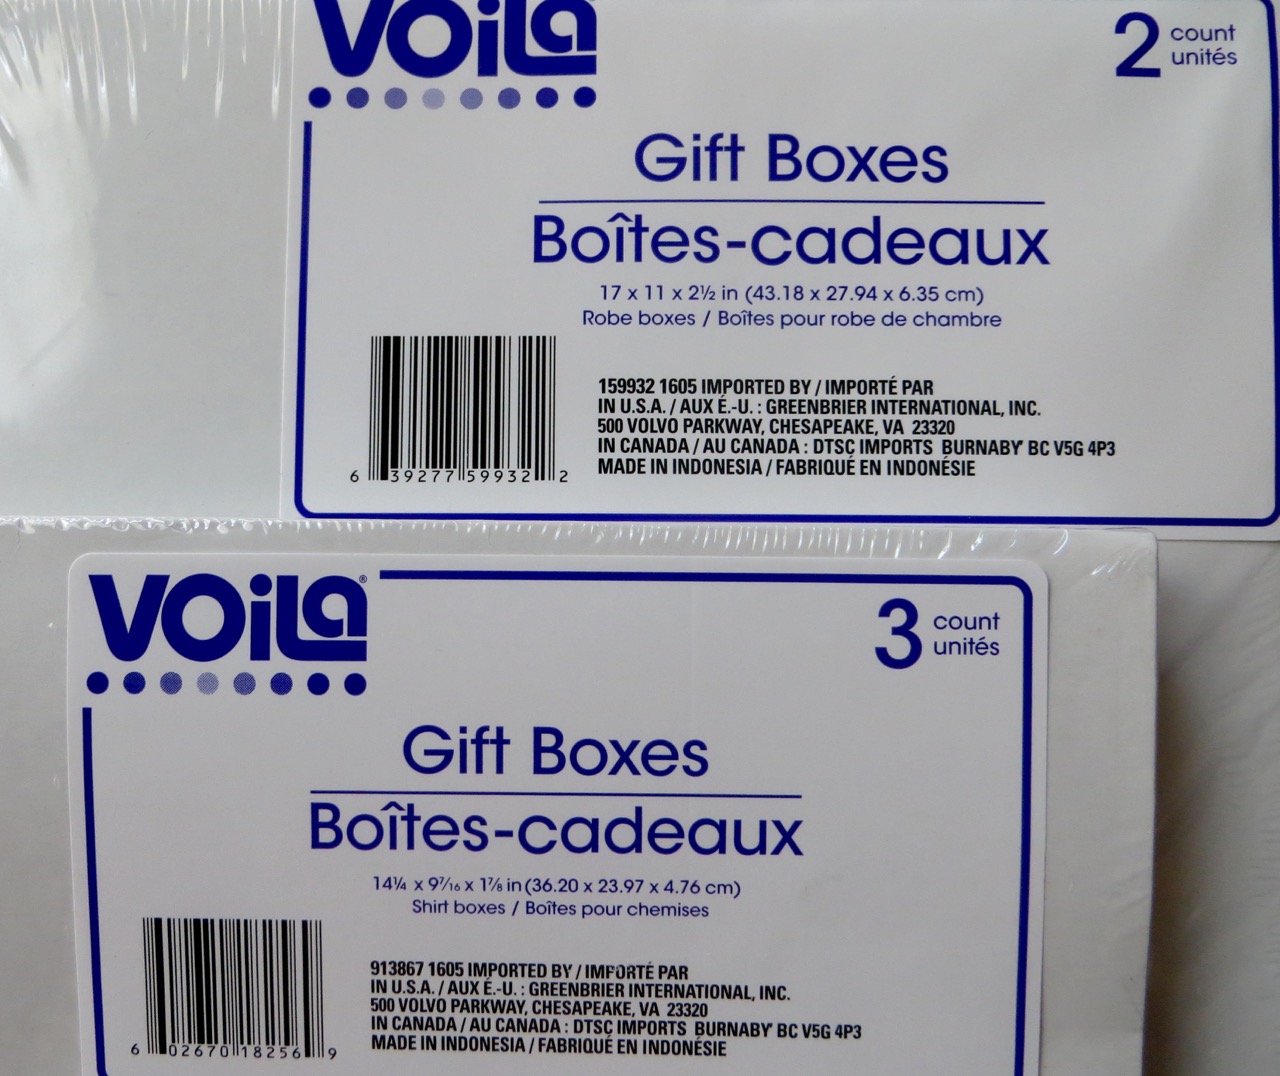
These are the sizes of boxes I bought – 3 packages of each to ensure I had enough.

I used an Xacto knife and a metal ruler to trim away the edges of my boxes.
CUTTING WITH CRICUT:
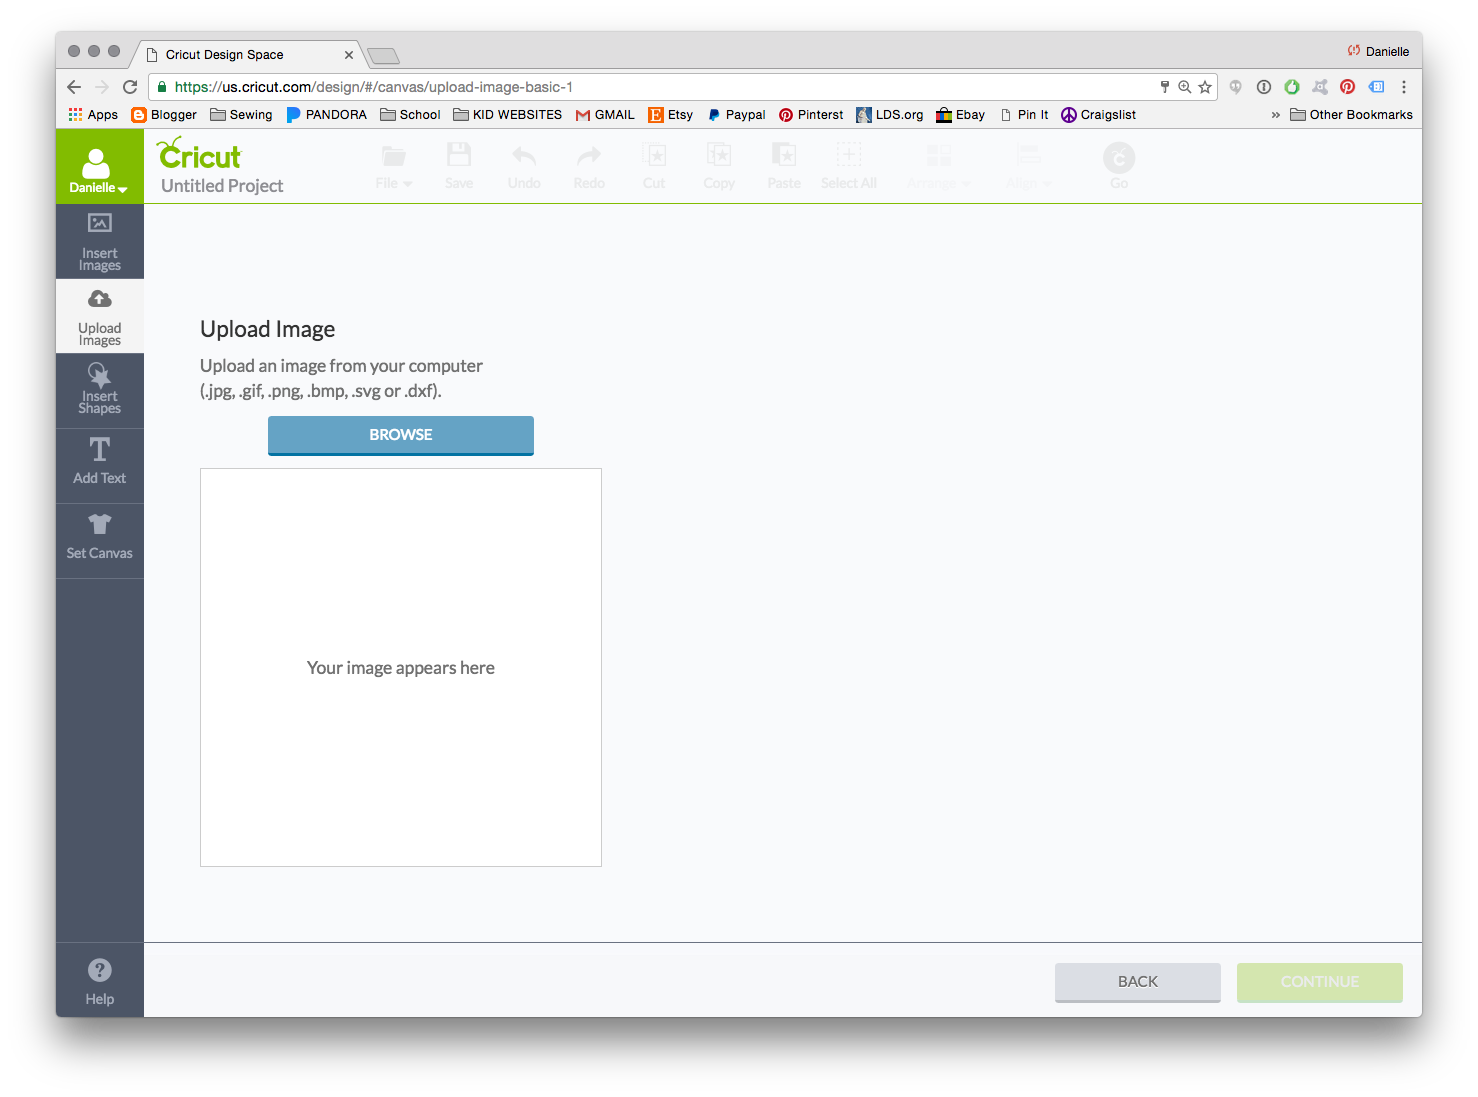
In Cricut’s Design Space you can upload your whole .svg file.
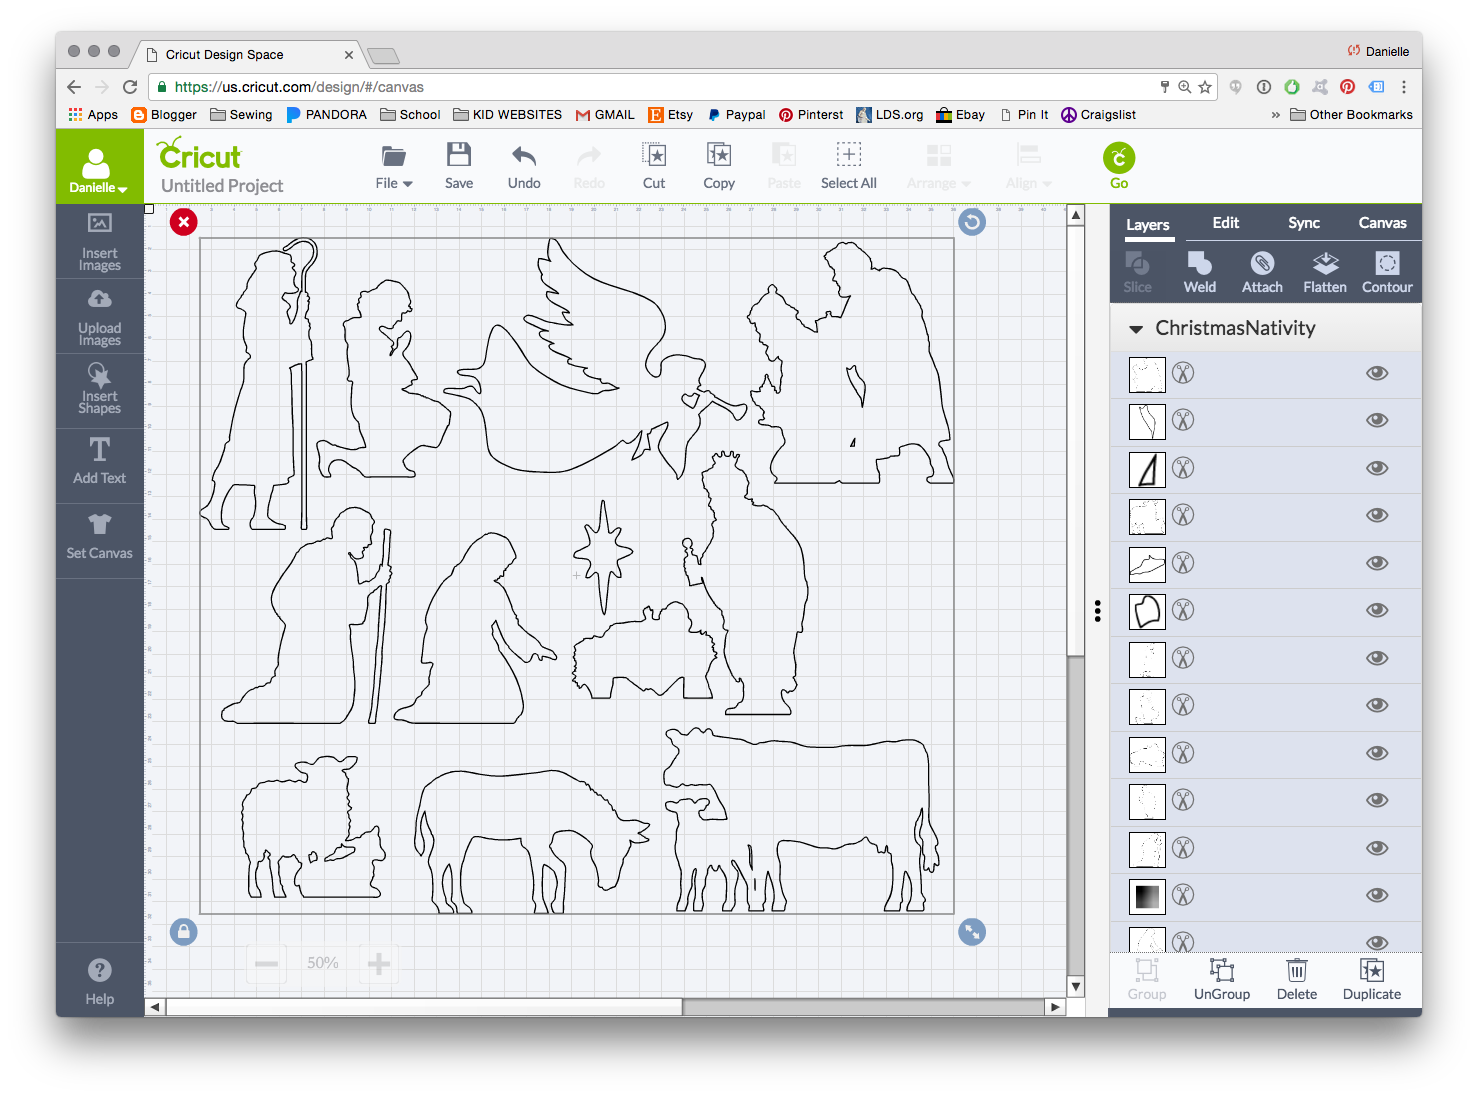
I’m not an expert with .svg files but the only way I could find how to do it is once images are uploaded you need to ‘ungroup’ them on the bottom of the screen.
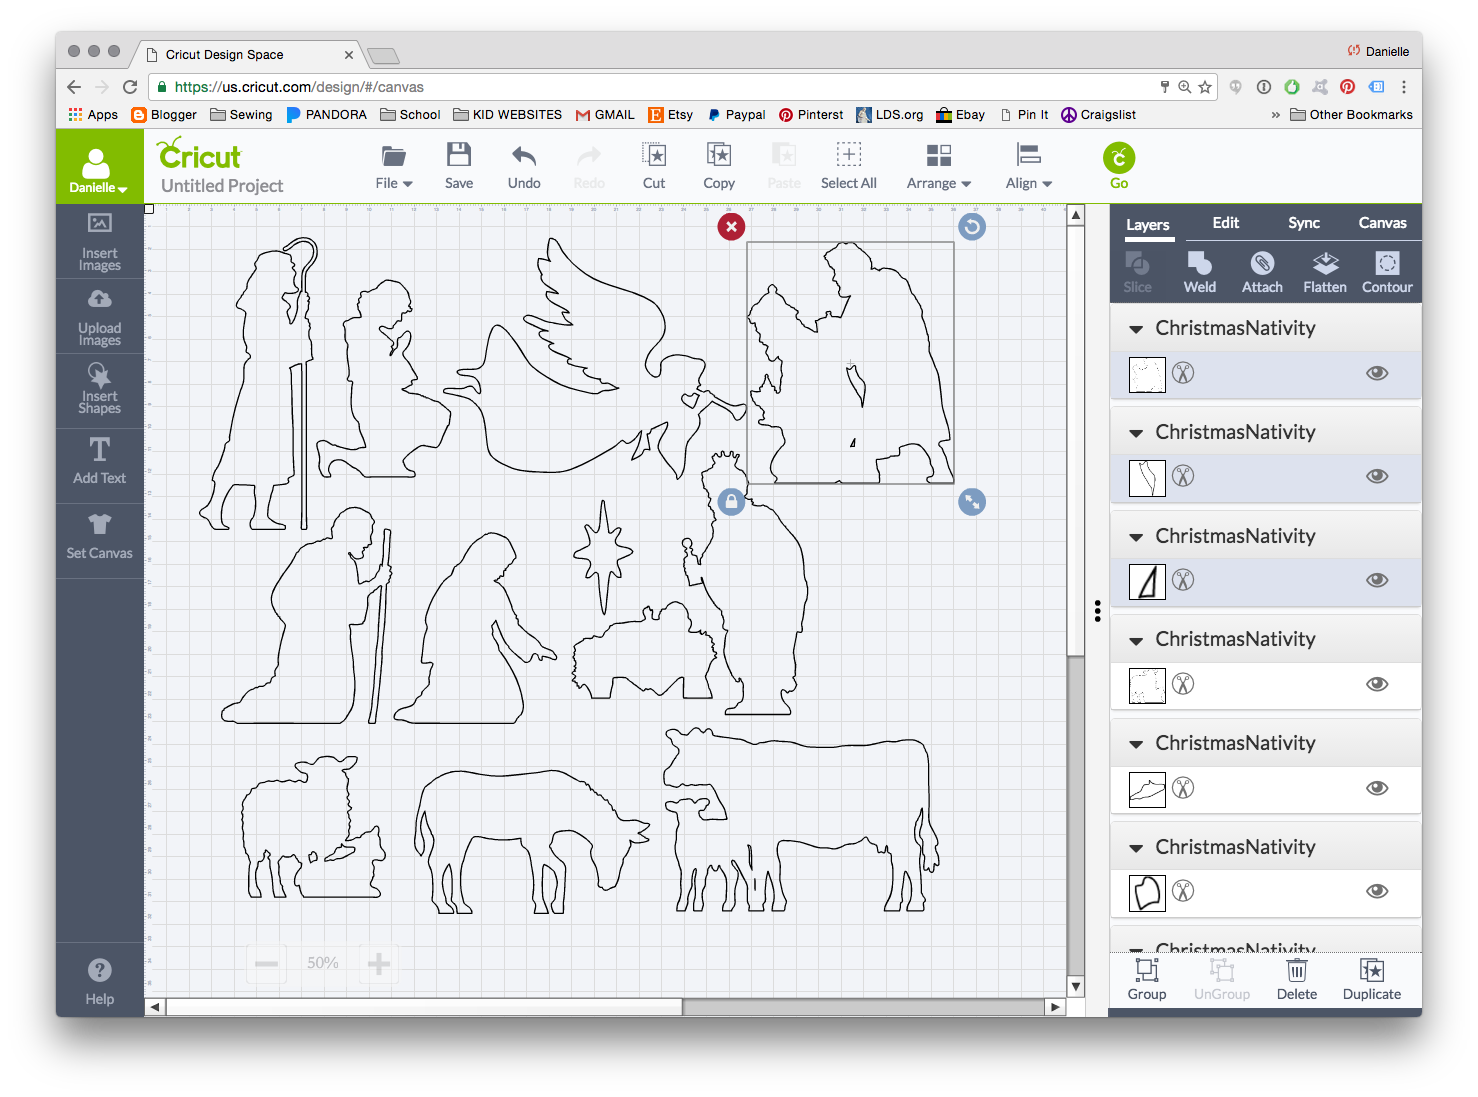
There are a few silhouettes with cutouts between the legs and such where you’ll need to select all the pieces together for that silhouette and ‘attach’ them together on the top of the screen. Your right column should show that you have 12 groupings/images total for cutting.
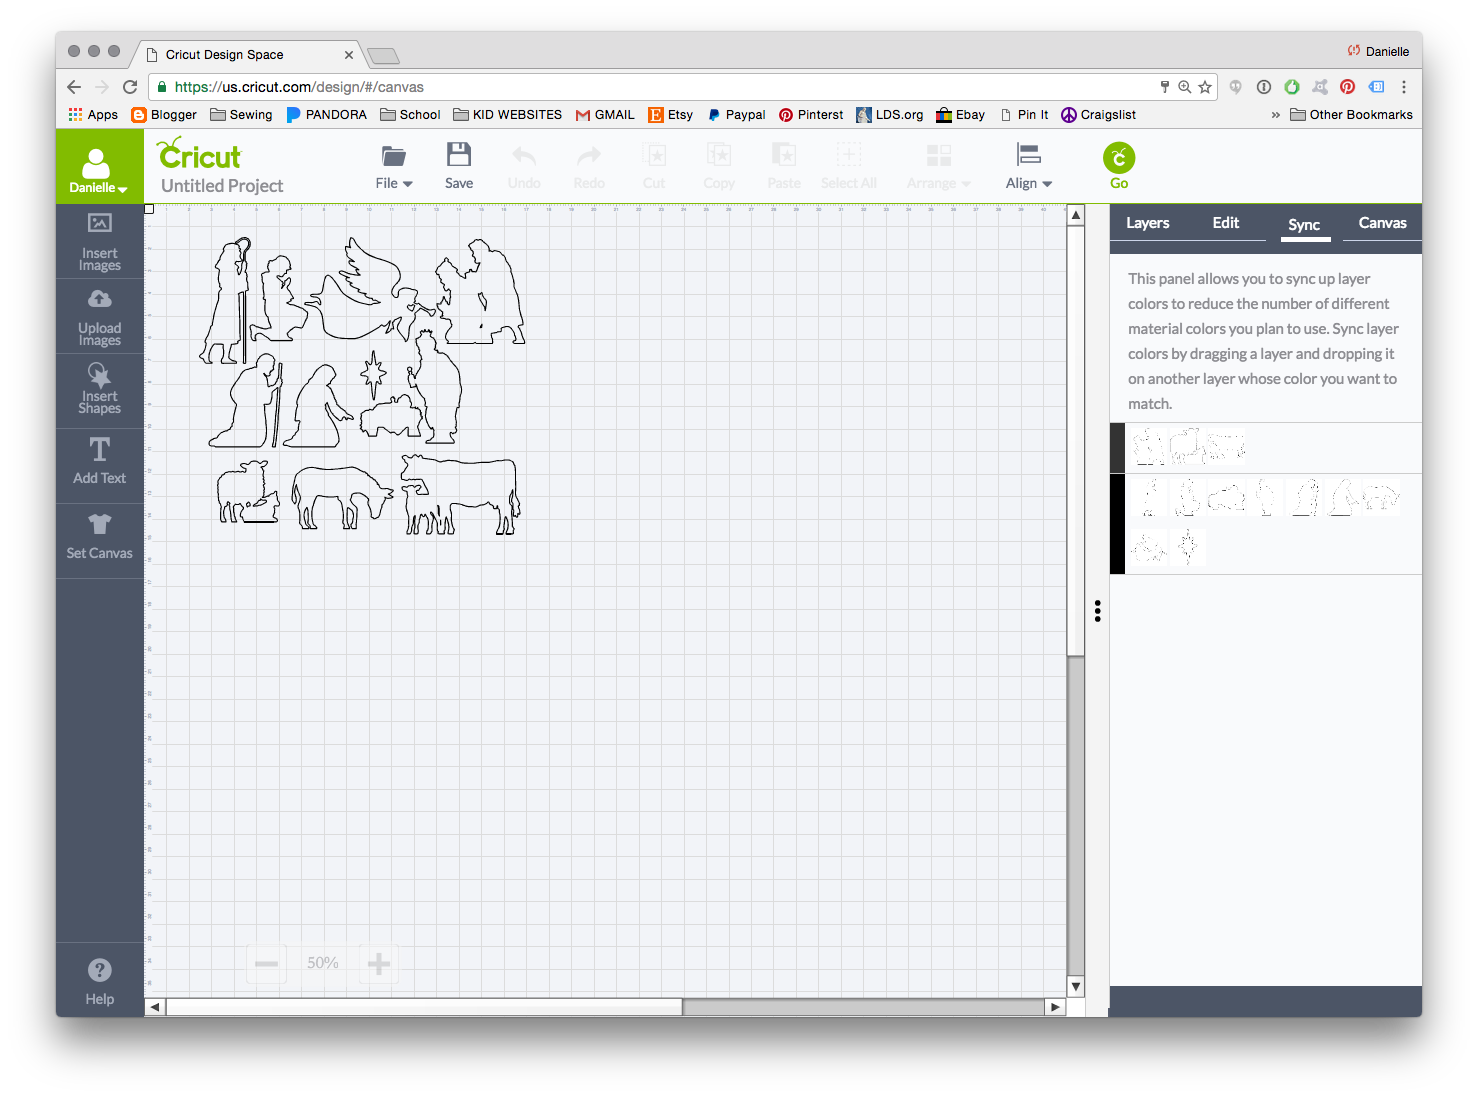
Go to the ‘sync’ tab on the top and drag all your images to one color (unless you’re cutting them from different colored/types of chipboard on purpose).
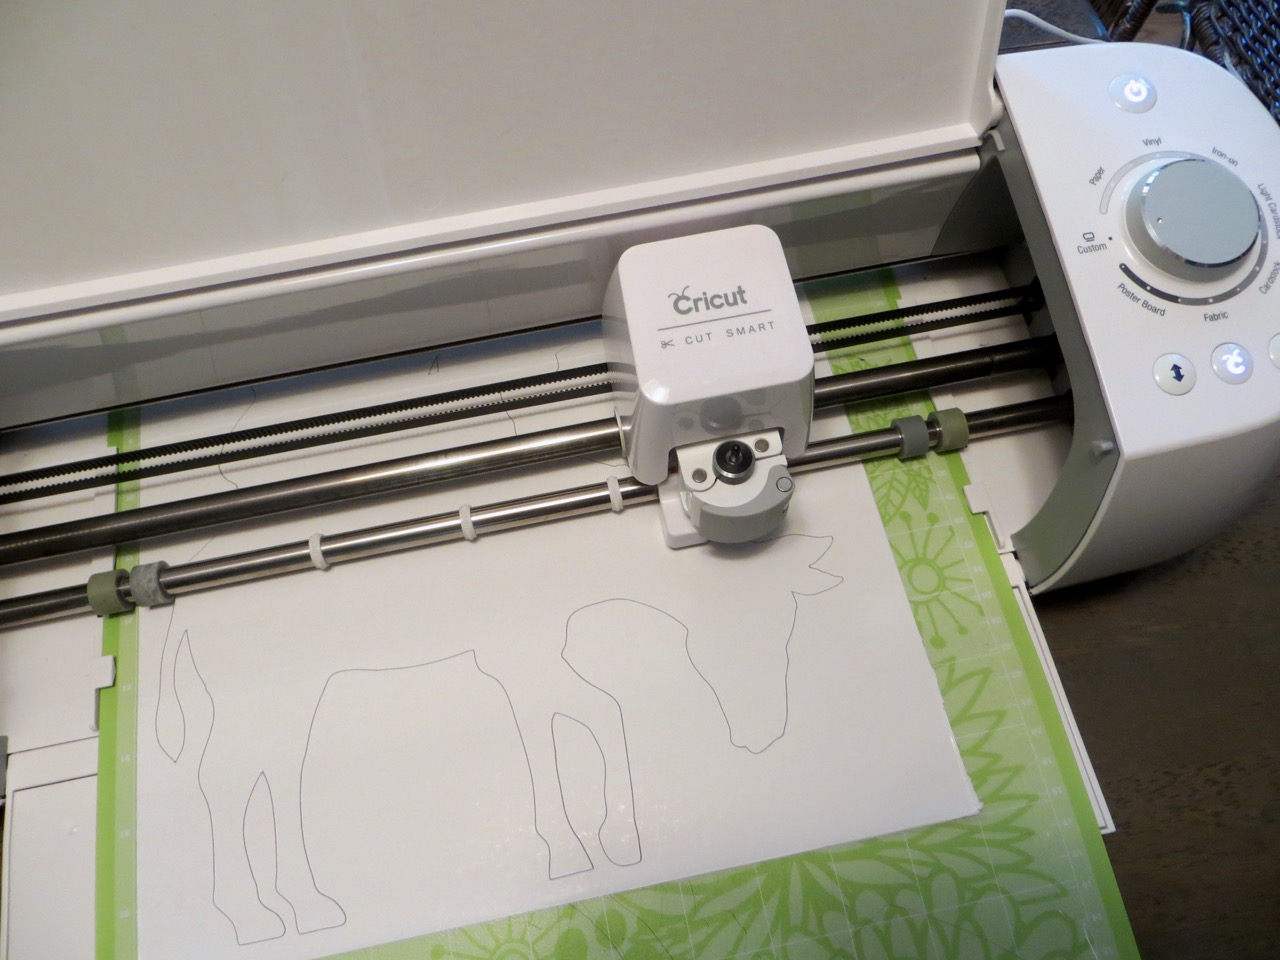
The chipboard from the gift boxes was really smooth and easy for the machine to cut – I set it to “custom” and selected ‘Light Chipboard’ but ‘Poster Board’ would work too. The chipboard from cereal boxes was much thicker so I set the cut settings to “custom” and selected ‘Heavy Chipboard’.
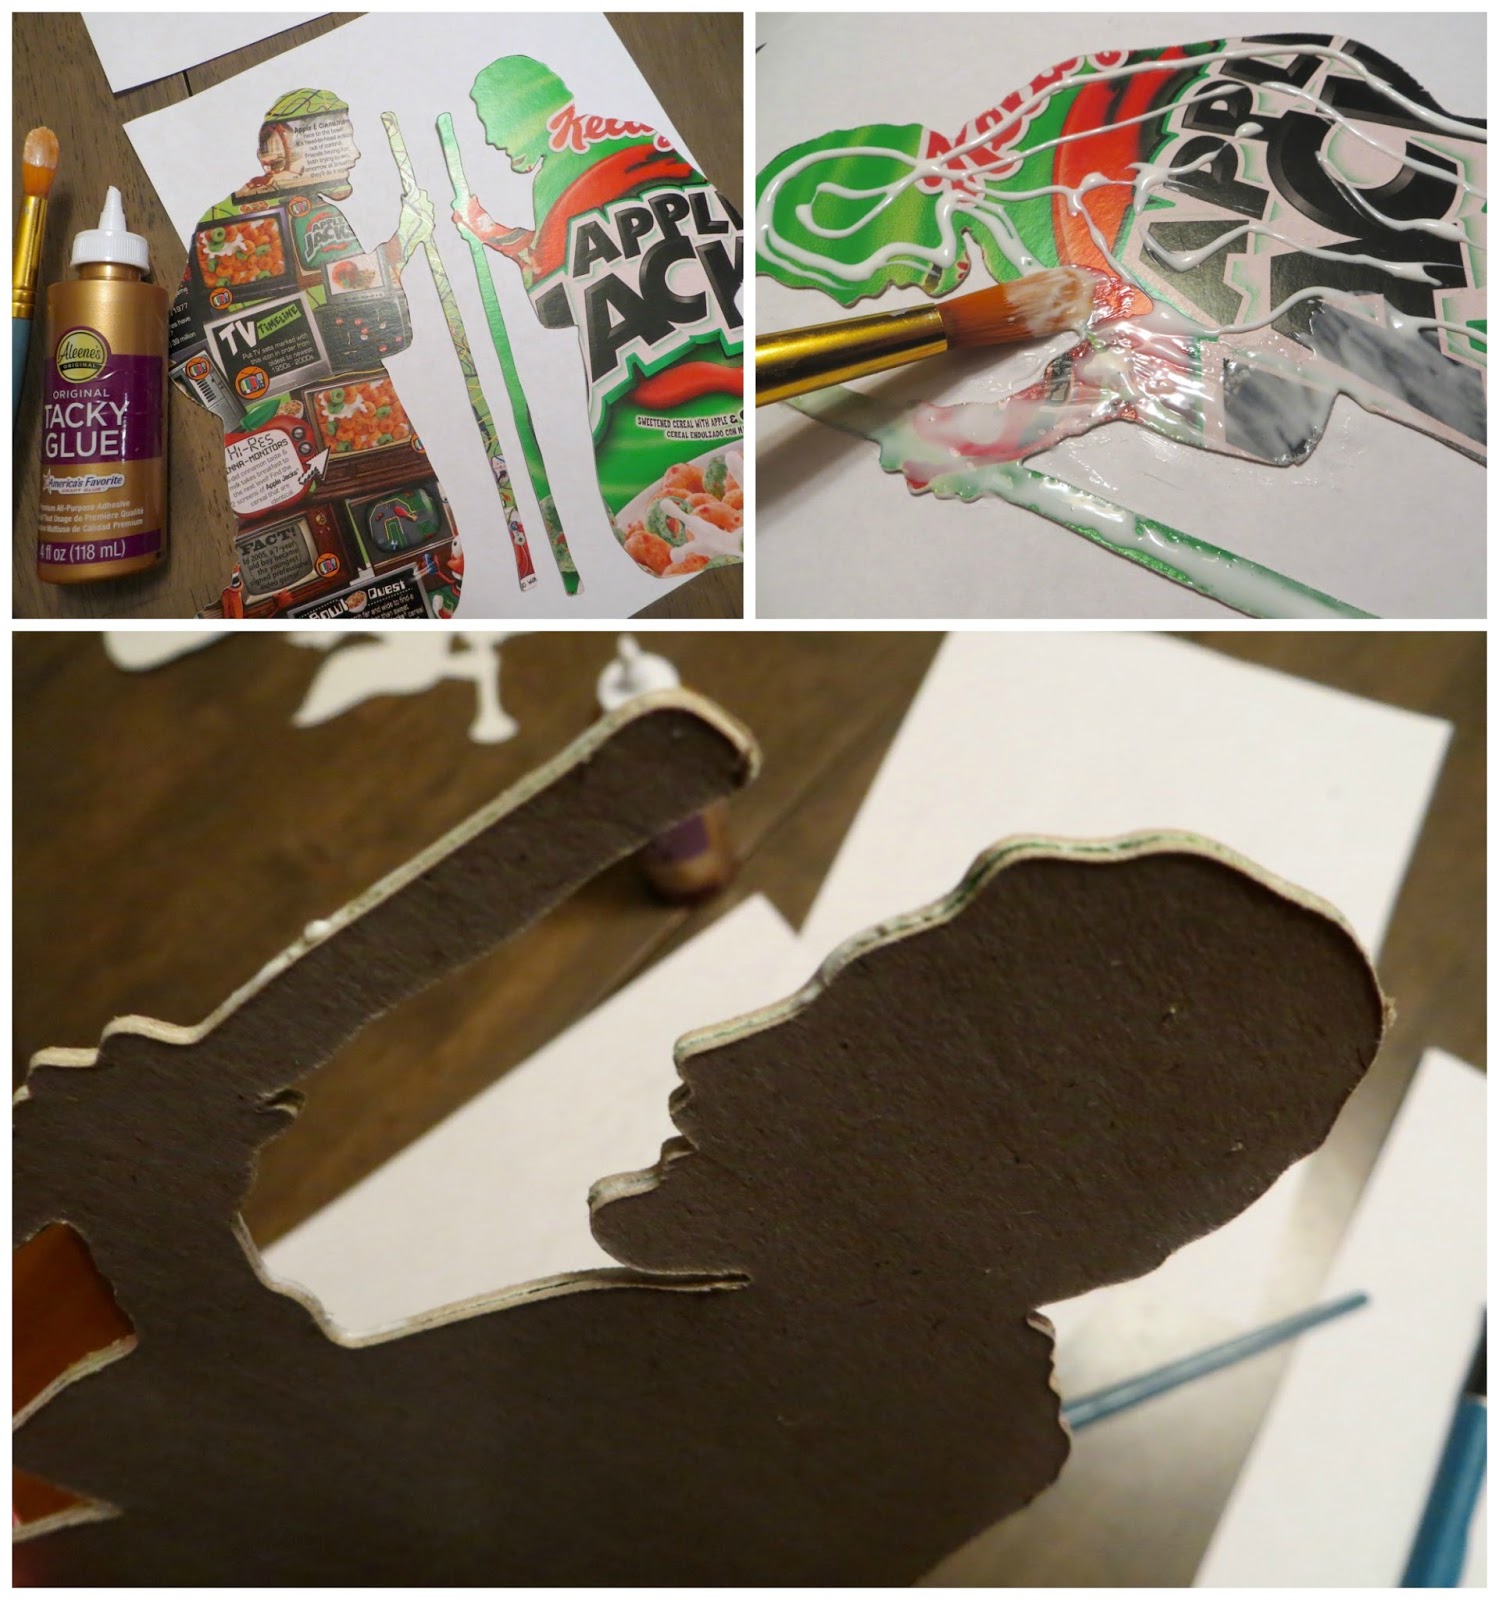
I cut 3 of each silhouette if I was using the gift boxes (light chipboard) and 2 of each silhouette if I was using cereal boxes (heavy chipboard). I laminated the layers together by spreading tacky glue evenly over the surface-especially the edges so there would’t be gaps-and rolled over the top with a rolling pin. I also pressed the silhouettes between boards with weight on top to dry overnight.
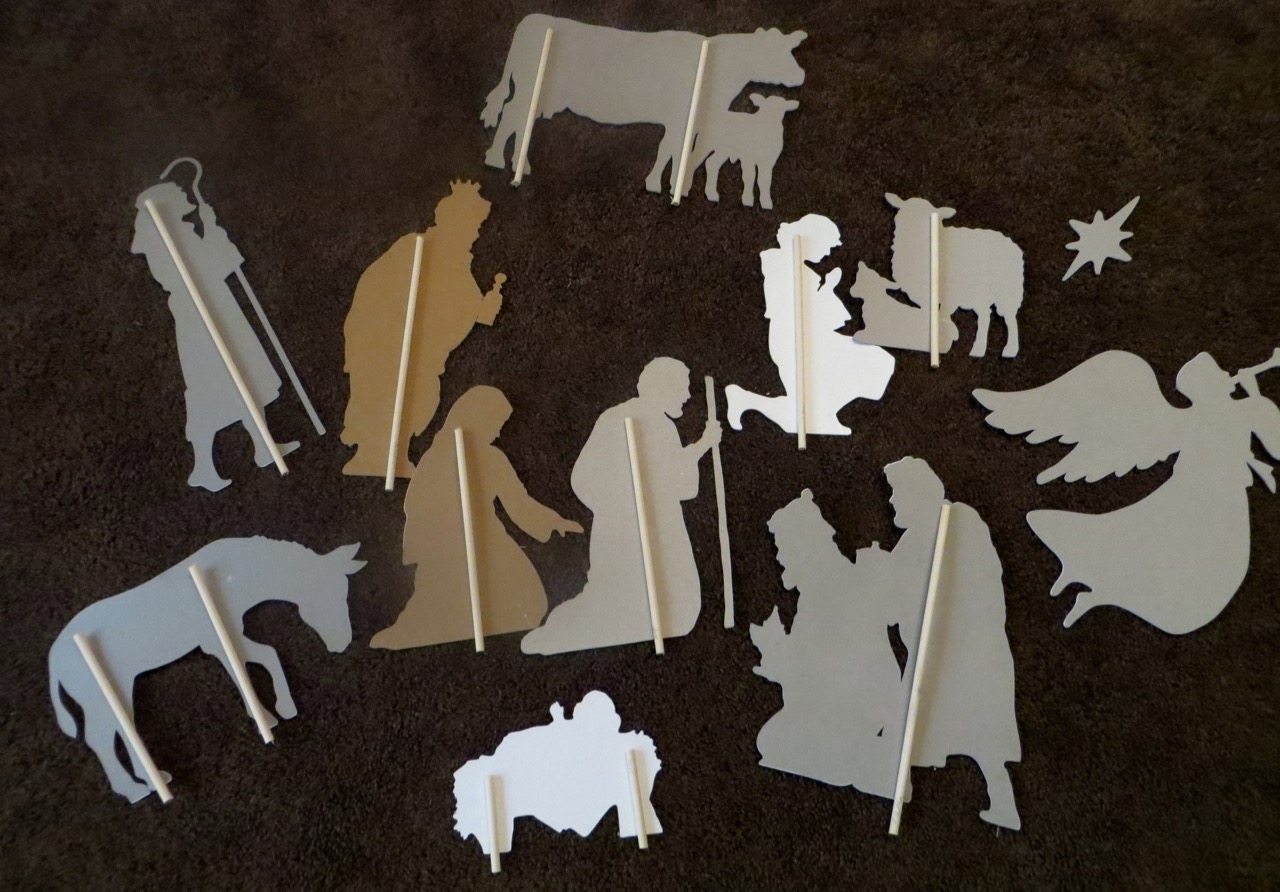
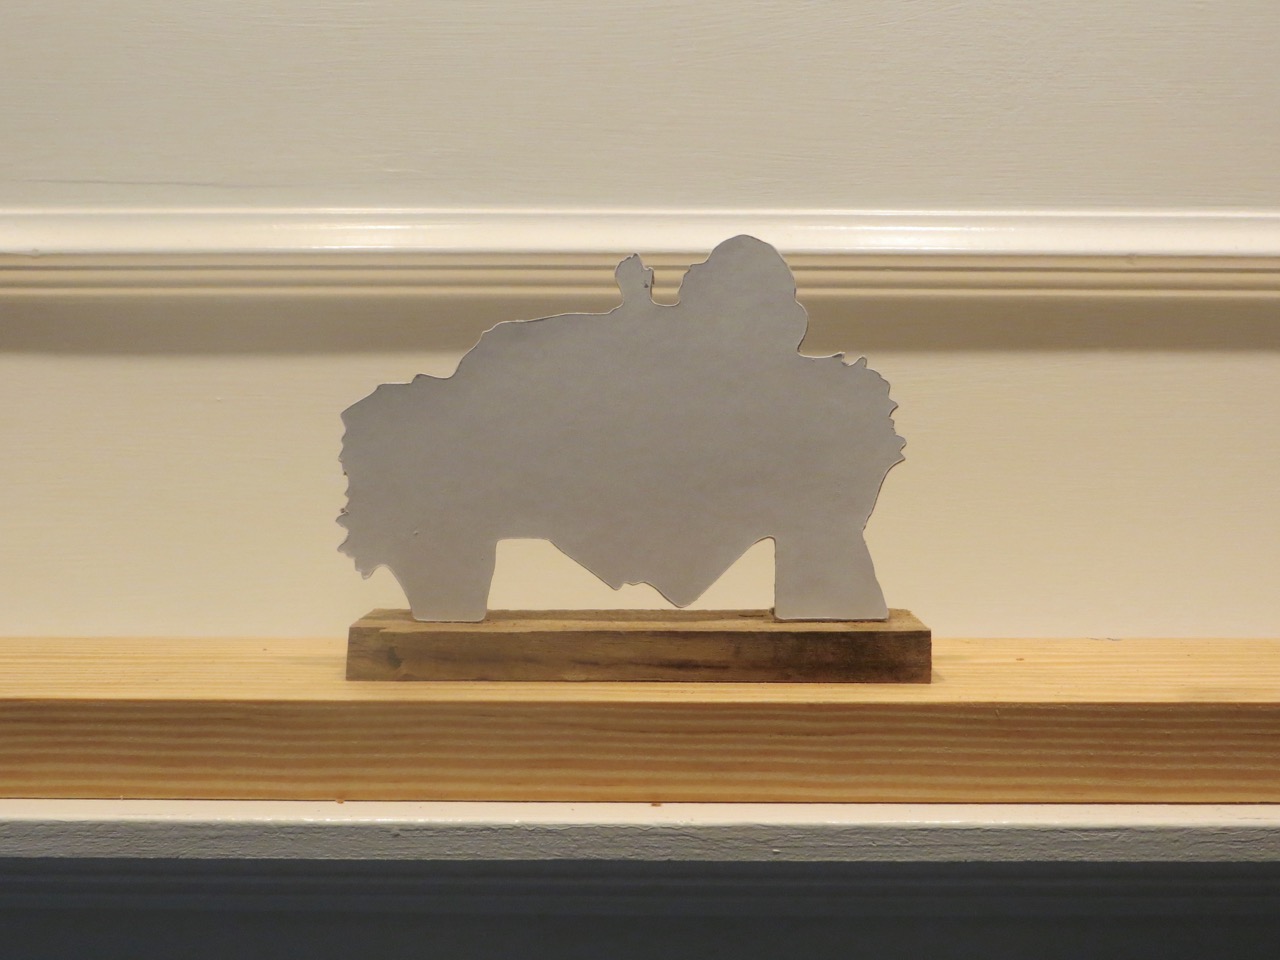
I cut dowels for each silhouette and wrote the figure name on each so I could match them up. Account for about 3/8″ of the dowel to sit inside the wood base.
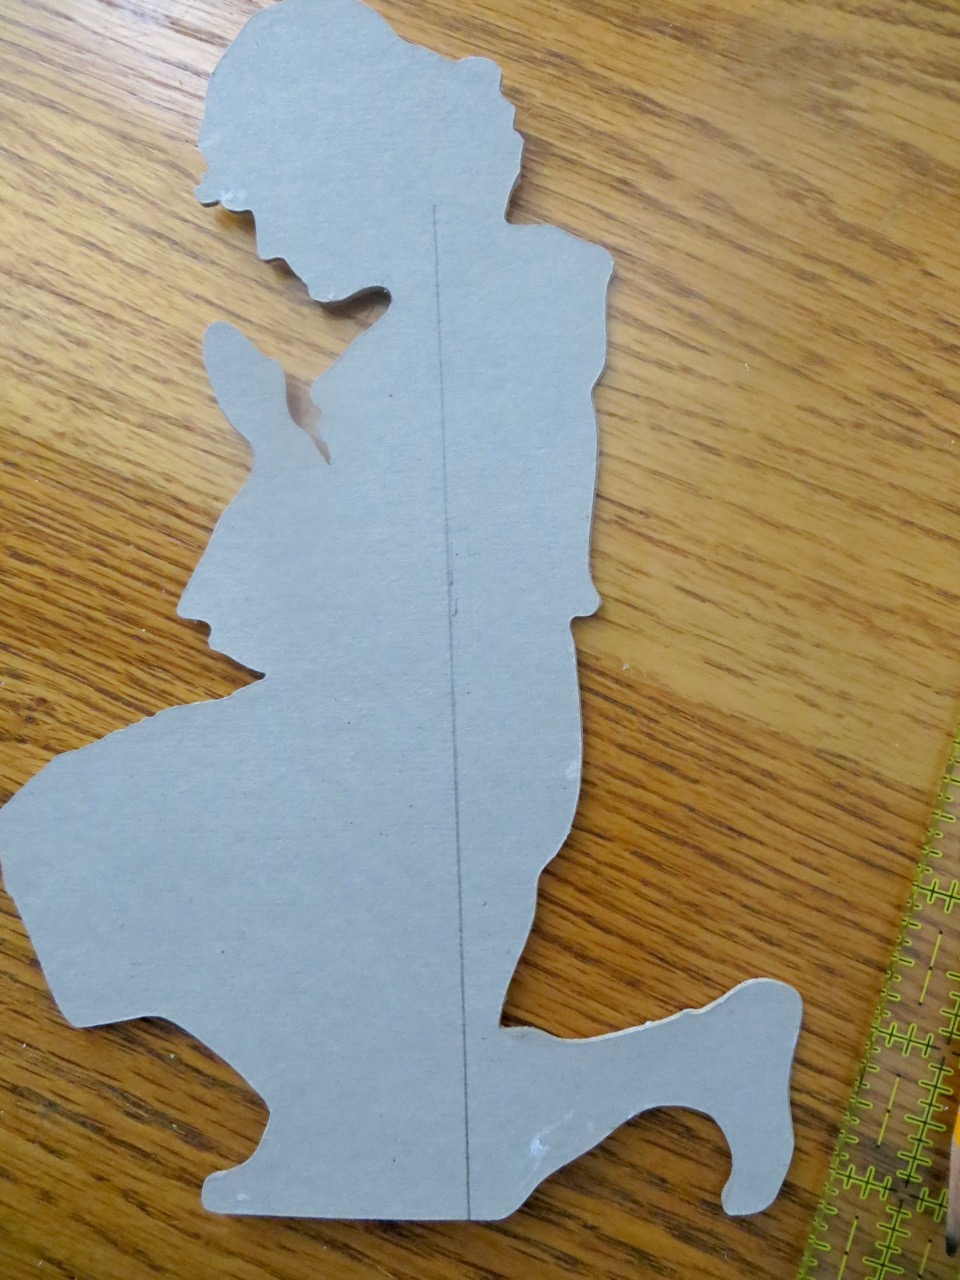
See what side you want your back to be by laying the silhouettes out and decide how you best like them oriented for the nativity. Draw a straight line on the back where the dowel placement will be. TIP: you want the line perfectly perpendicular with the bottom of each silhouette so they won’t sit crooked on your nativity.
If you prefer the dowels to be glued directly to the back of each silhouette, go ahead and hot glue along your marked line and press your dowel over until the glue dries. Remember to make sure you leave about 3/8″ of the dowel overhanging on the bottom!
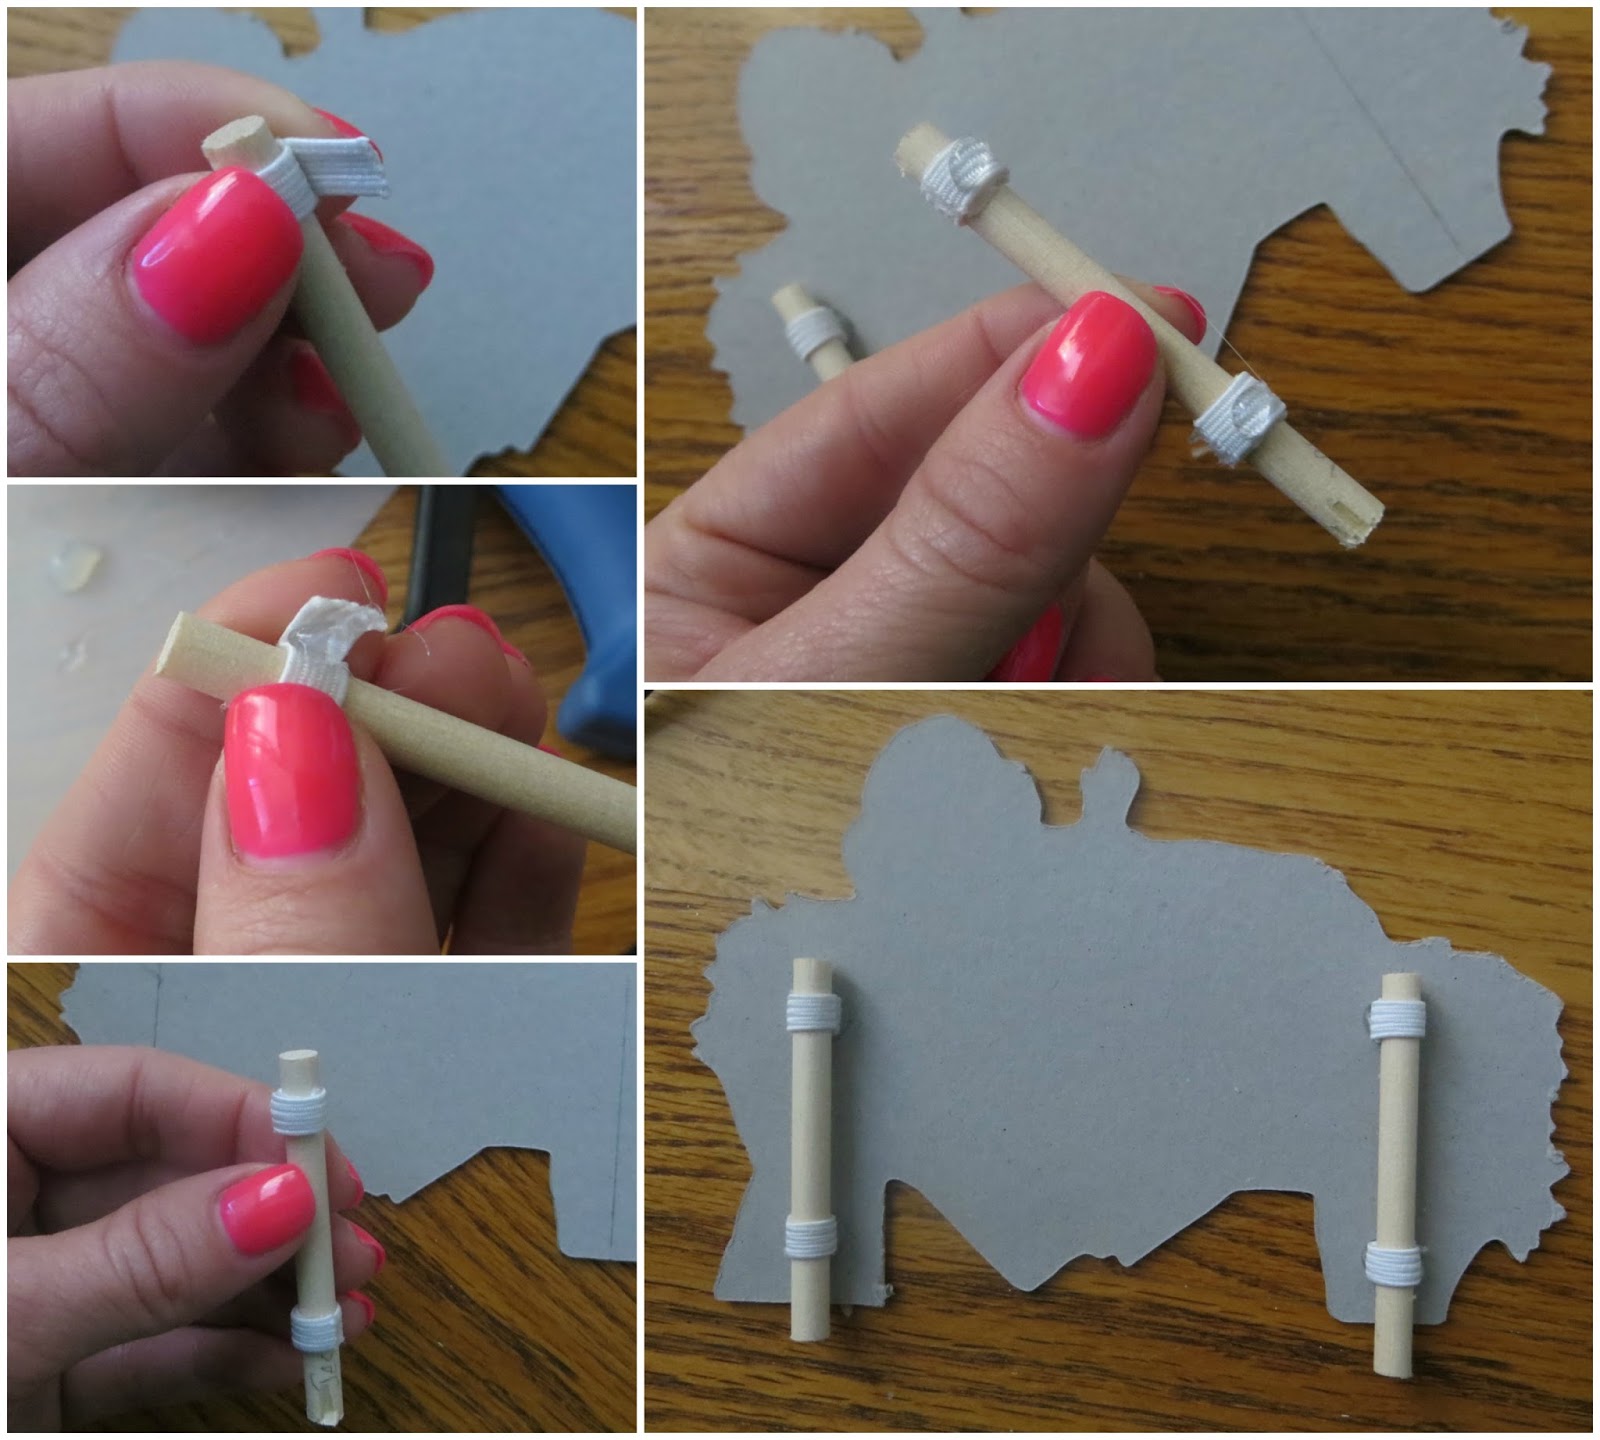
I preferred the option of removing my dowels so the silhouettes would store flat. I first glue 1″ pieces of elastic in a loop, using my dowel as a guage to ensure they’d be snug. I kept the loops on my dowels while gluing along the backs because it kept the loops in a perfect line. TIP: be careful you don’t get glue on your dowels!
Ready for the next step!?
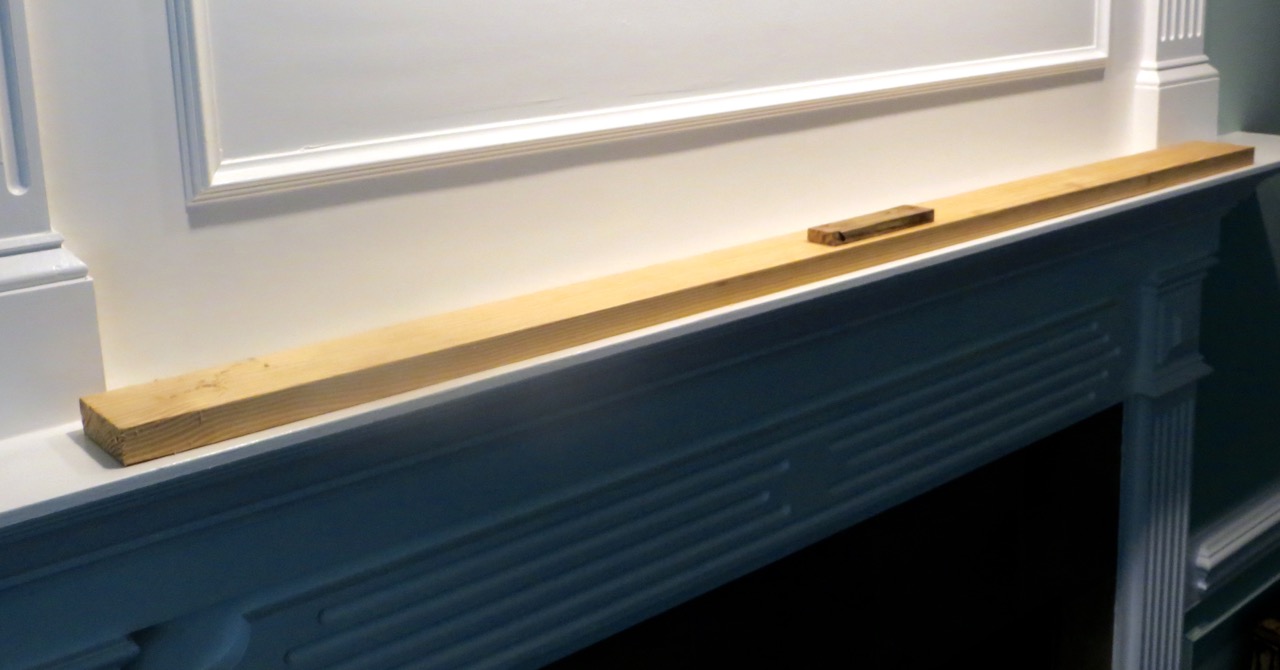
Grab your board and cut it to the length you want and sand smooth with 150 grit. If you’re not sure on the length just yet you can cut it down after you get your silhouettes placed (in a few more steps).
See my cute little scrap in the center?….
… I buttered that with glue…
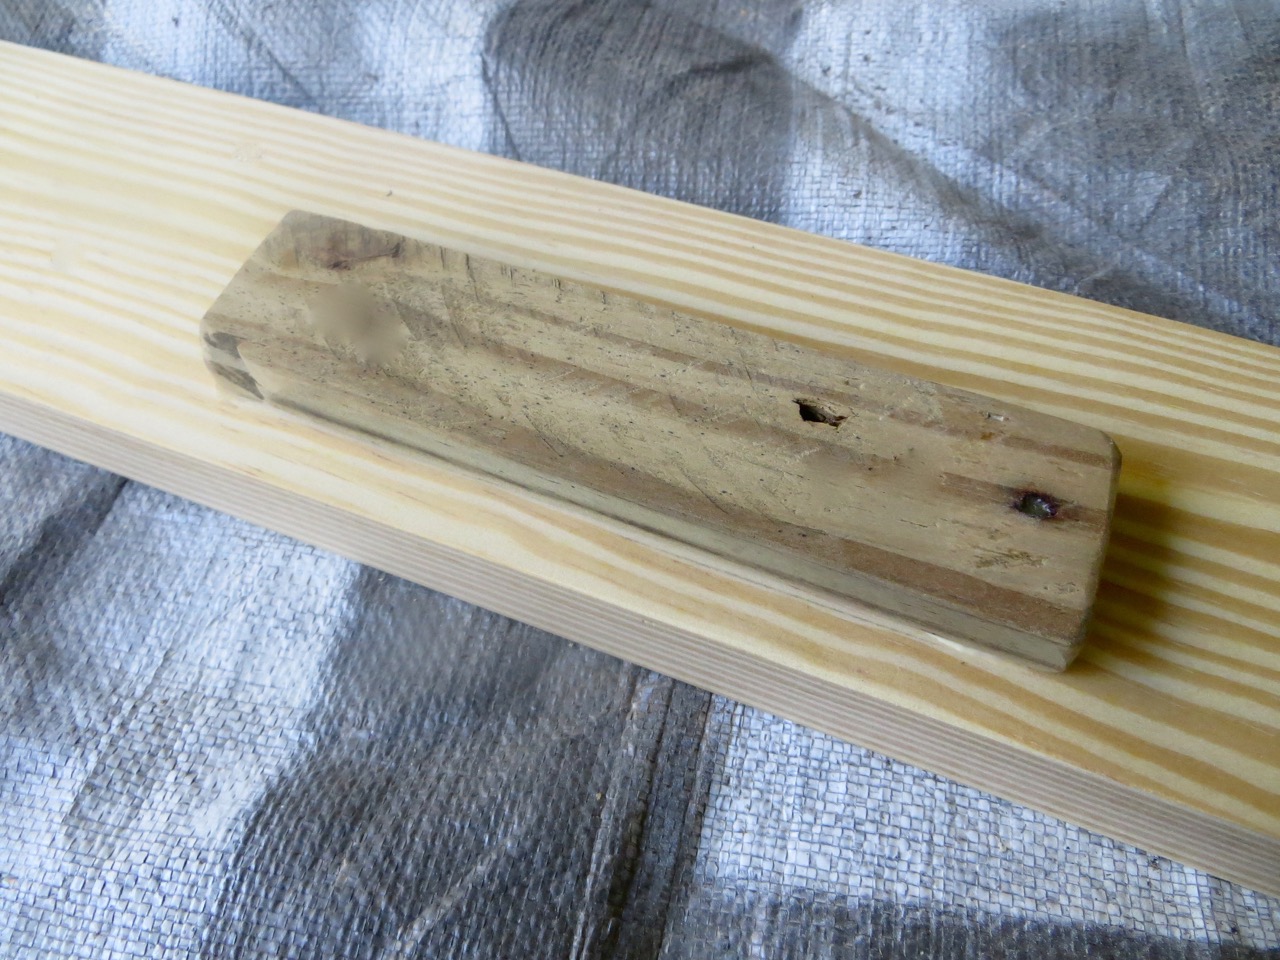
…and centered it on my board so it was slightly more towards the front.

While your glue is drying go ahead and sand the ends of your dowels smooth. The rounded ends help them go into the holes you’re about to drill.
Now it’s time to drill holes for your silhouettes! This is where it gets real exciting!
You’ll be holding up your silhouettes over your board, marking where the dowel is, drilling a 1/4″ hole (about 1/2″ deep) and moving onto the next. Start from the center (Baby Jesus) and work your way outward.
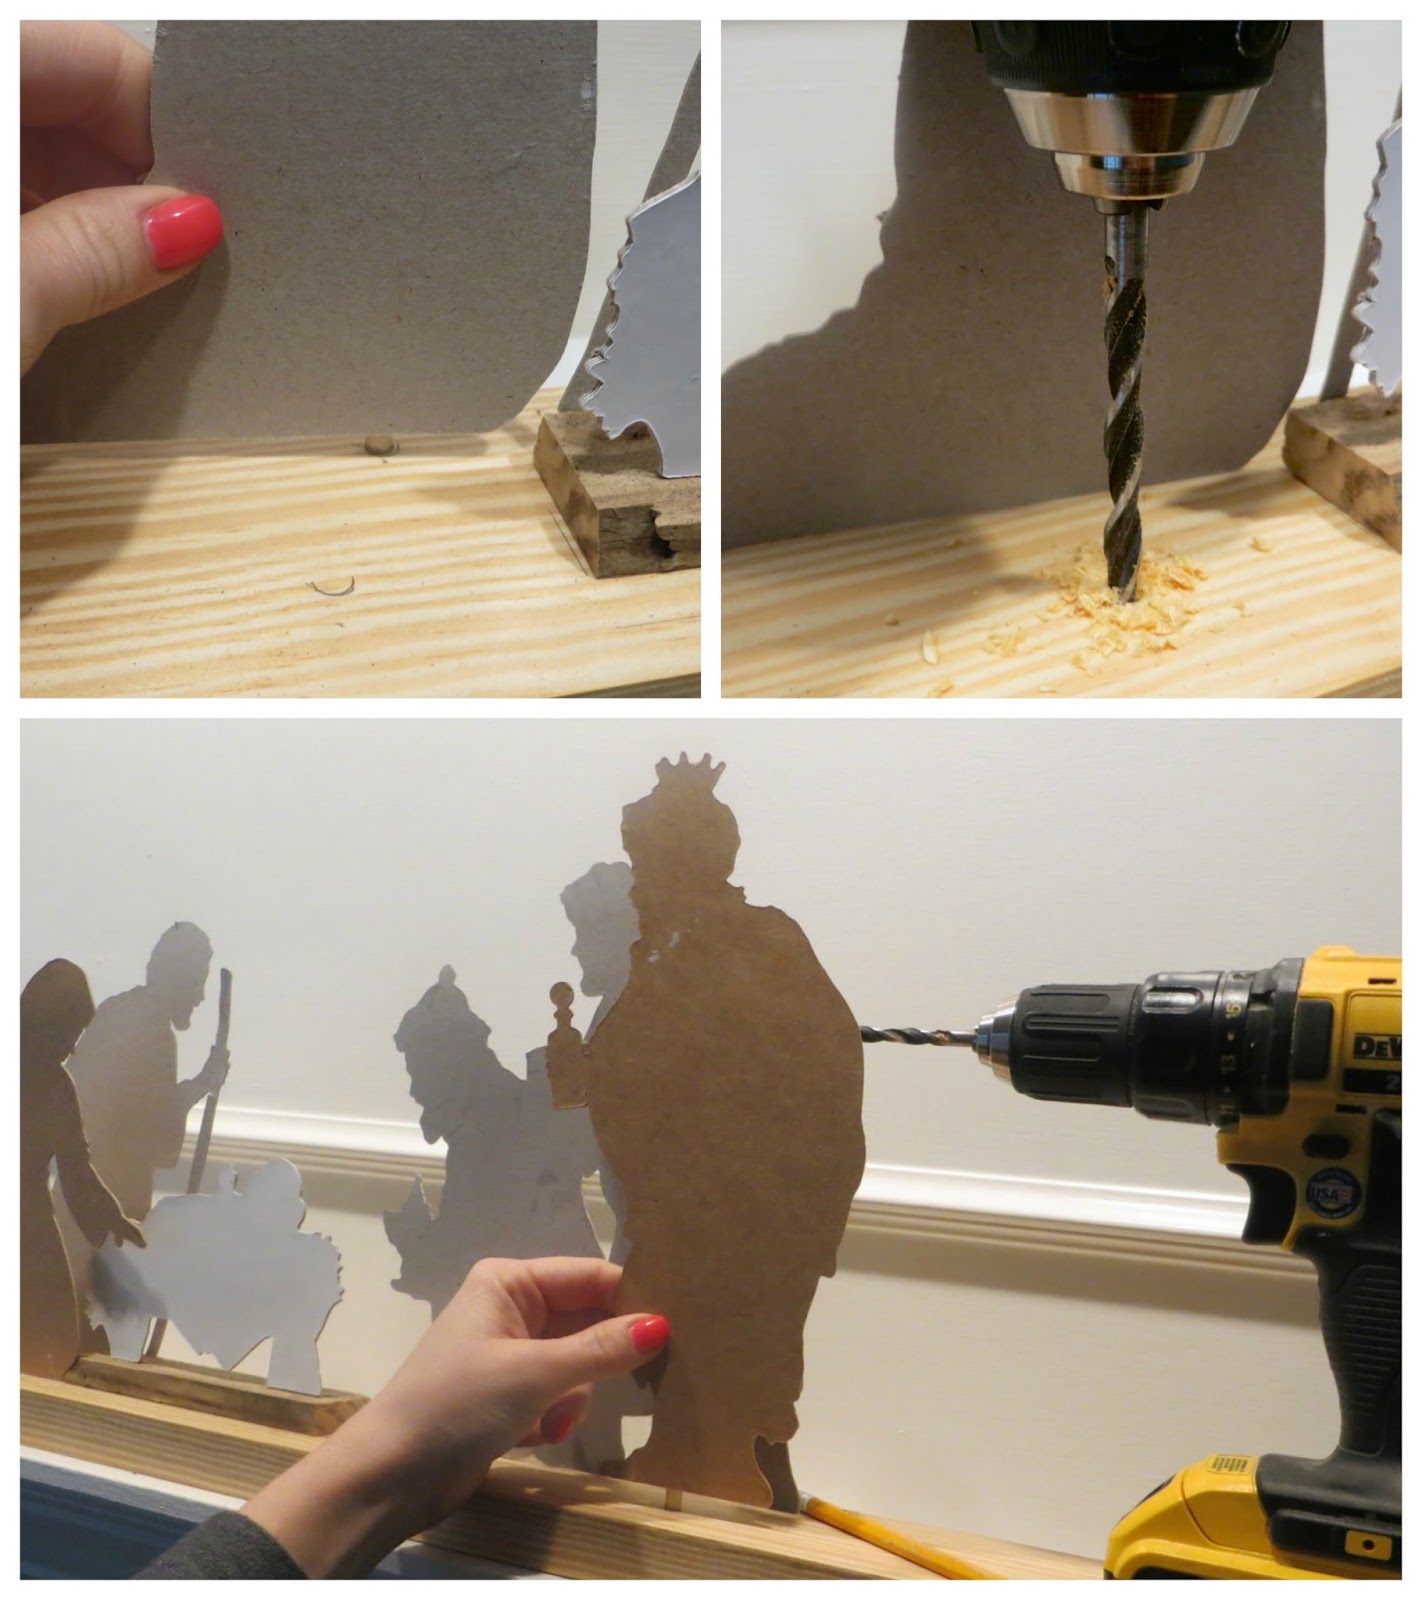
Hold up, mark, drill. Next one–hold up, mark, drill… etc. It’s okay if you change your mind and have to drill new holes… no one will notice! I have a handful of ‘extra’ holes on my base. One of the biggest tips I can give you is that you want as much blank space behind the silhouettes as possible. Another tip is to think about where you want the frame of the manger to be built – give yourself some room where the sides of the frame will be, whether it’s behind silhouettes or between them.
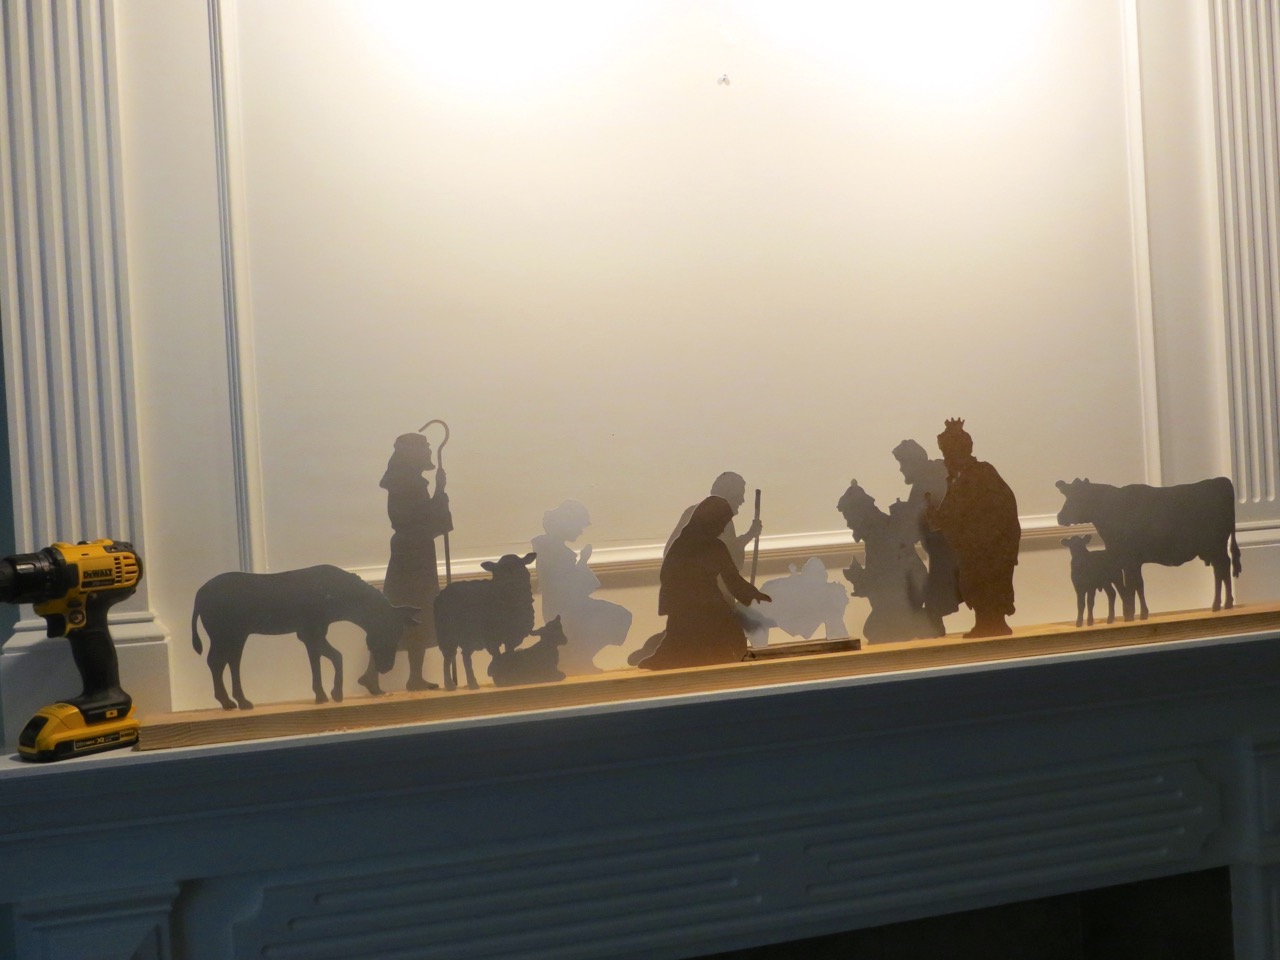
This picture shows how my silhouettes were overlapping a little too much at first. Once I painted them all the same color they didn’t stand out enough so I spread them out later on.
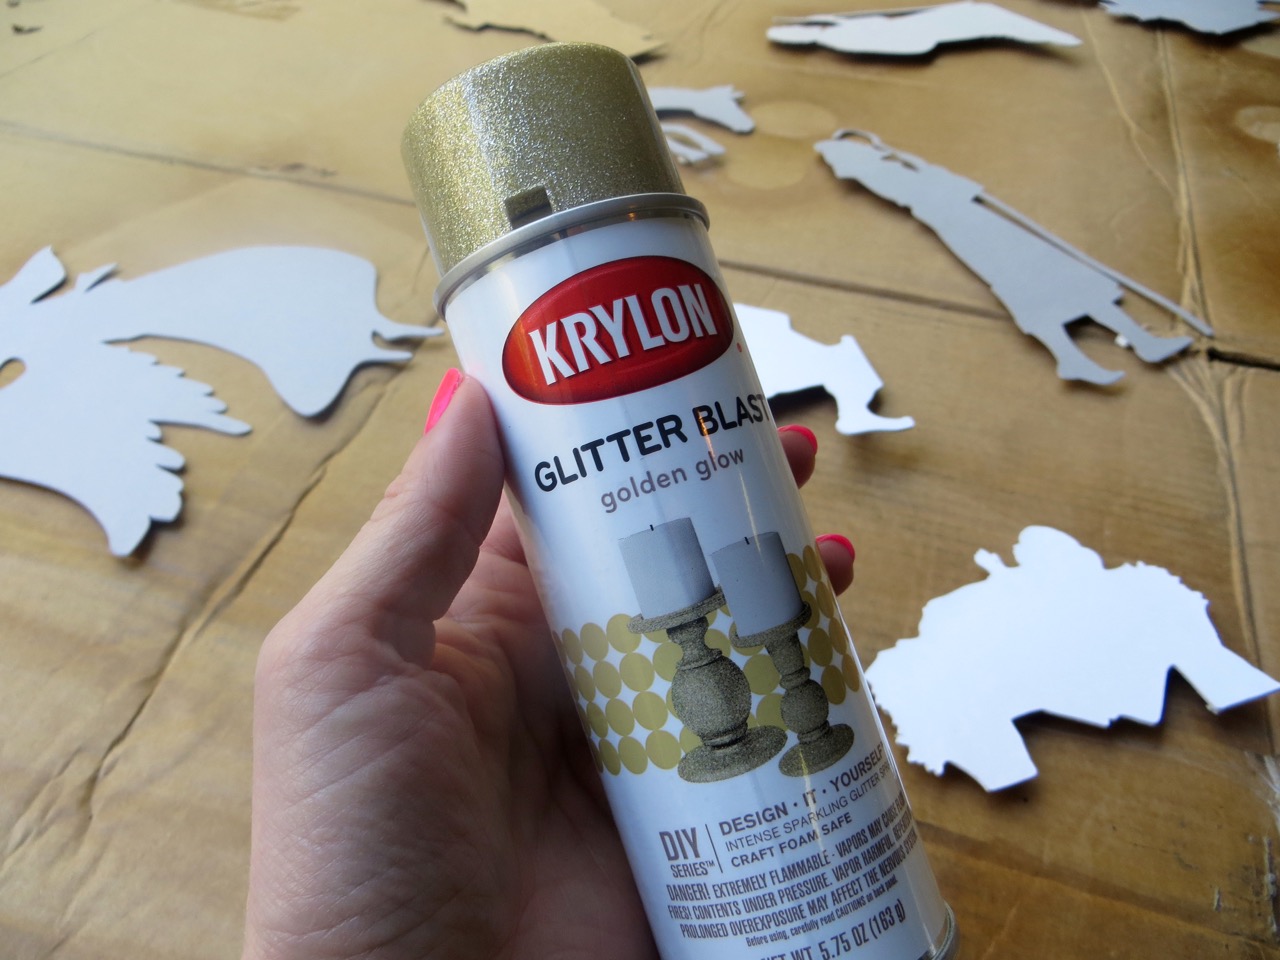
I bought 2 of these small cans of glitter spray paint and it was enough to do 2 coats on the front sides with little to spare. It was REALLY hard for me to spend $13 for glitter, especially when I’m not usually a ‘glittery person’. Let the fronts dry for a good 2 hours before handling.
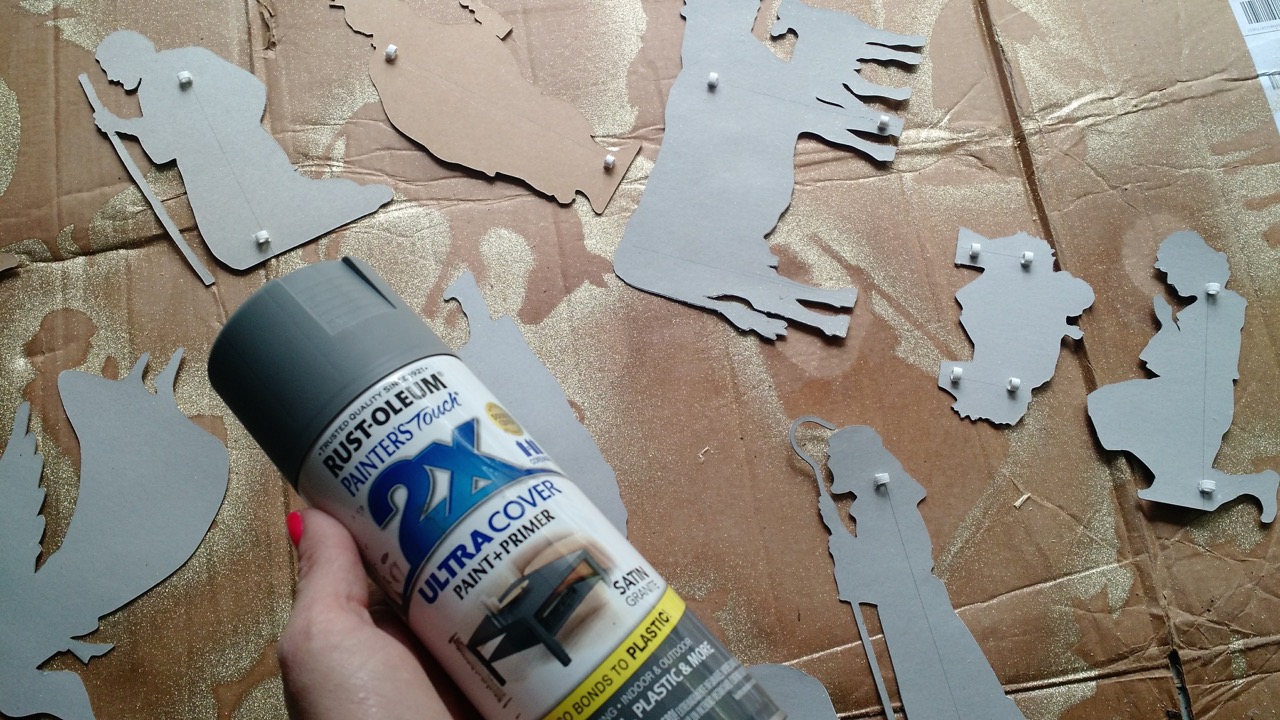
I knew it would bug me to not have the backsides look nice so I also sprayed the backs, haha!
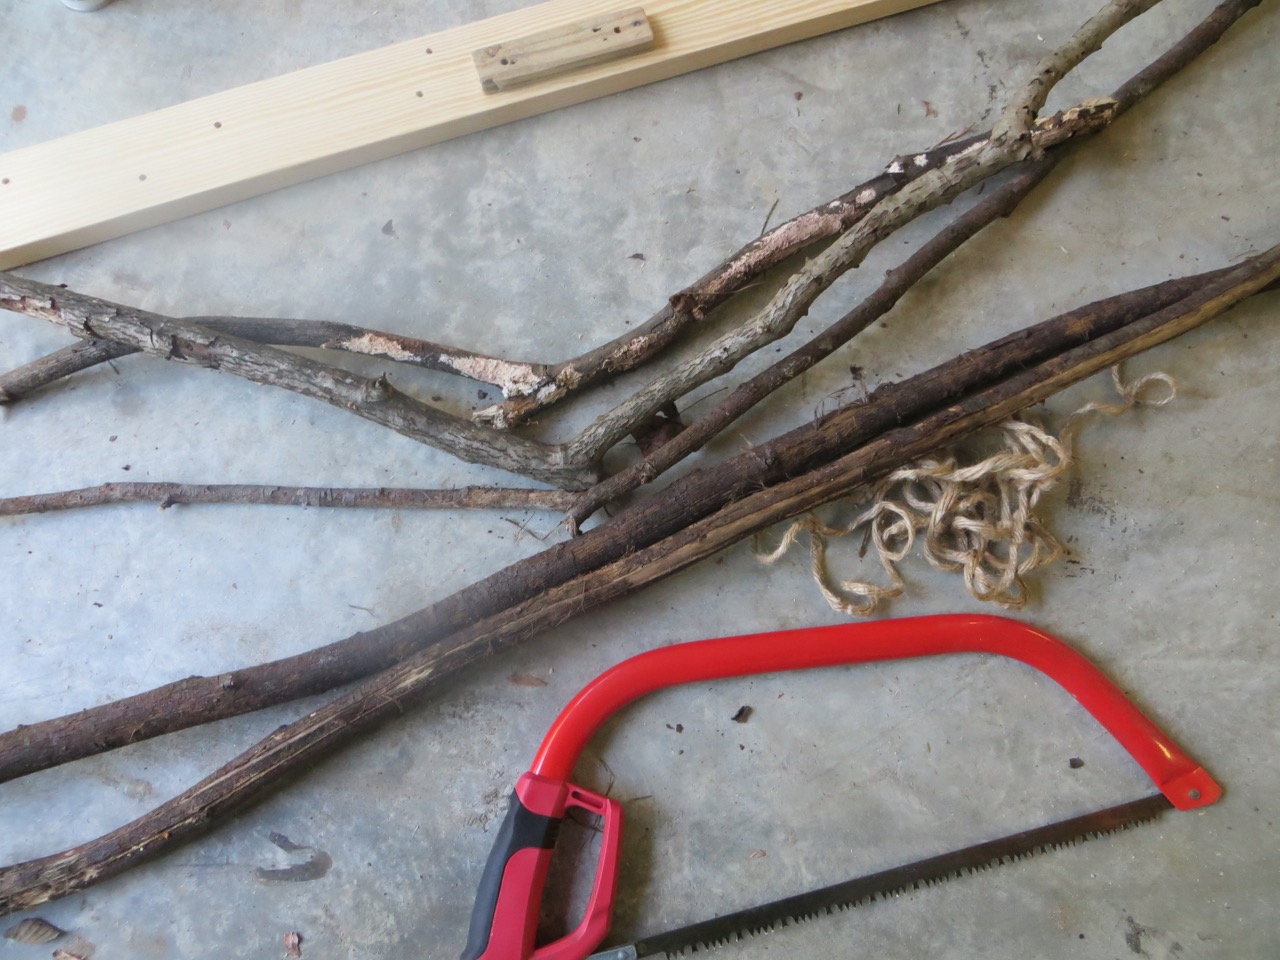
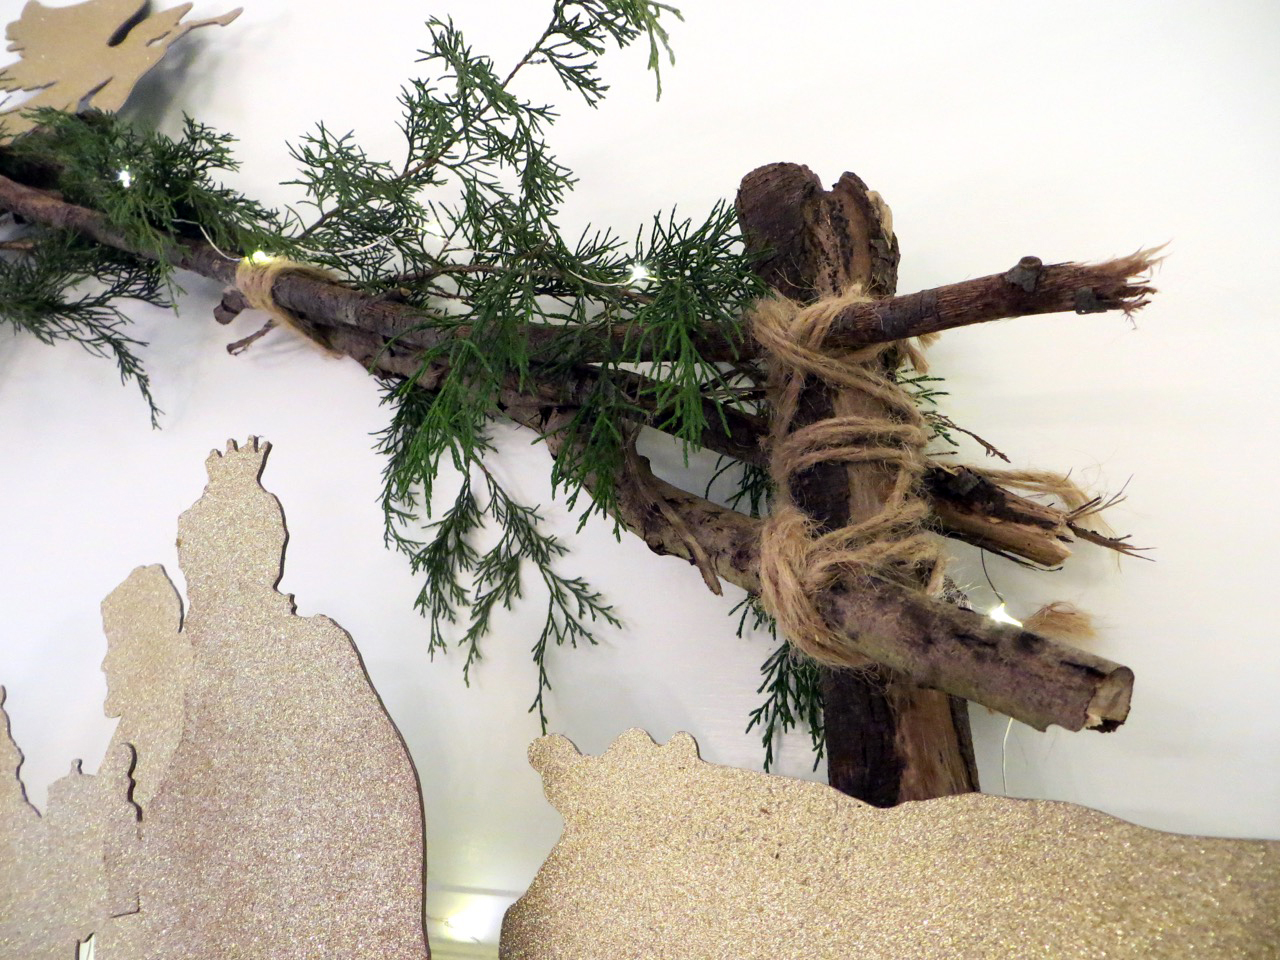
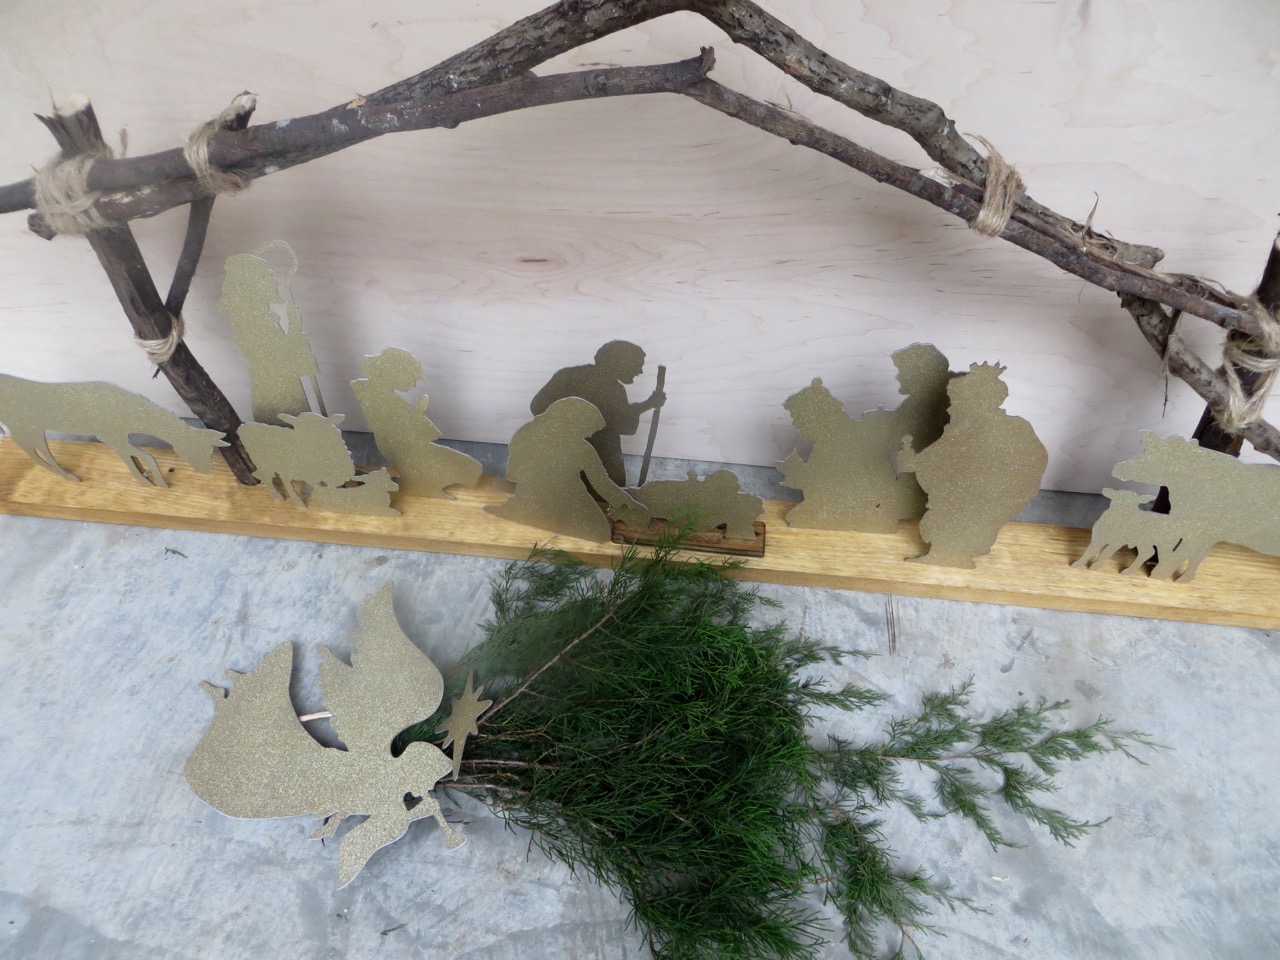
Gather some branches and your twine. This is where you get to be creative! TIP: I knew I wanted the branches that made the sides of the manger to have a ‘pocket’ in the wood base to rest in to keep from moving around so I made sure I had a forstner bit the same size before I started assembling.
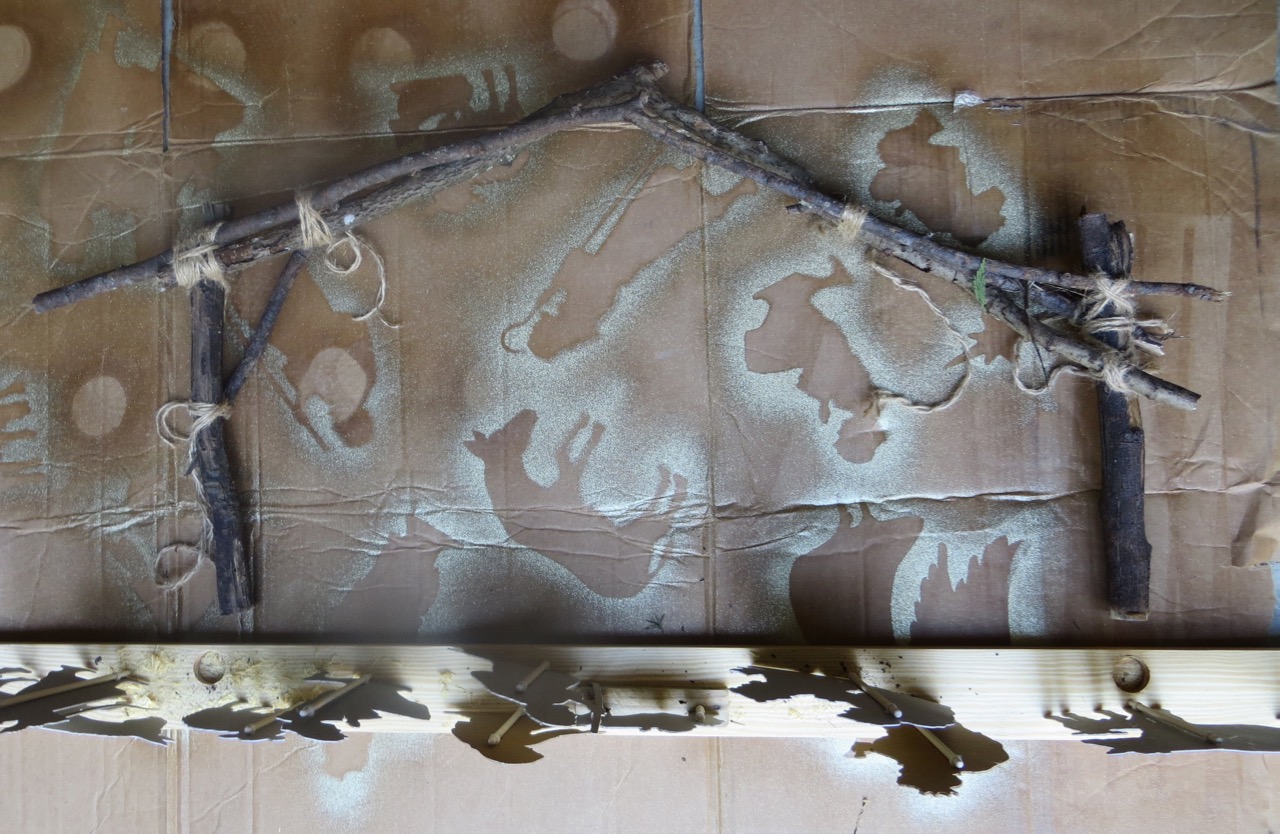
Place your silhouettes in the board so you can decide the size of manger you want and start cutting pieces and tying together until it’s just right. You’ll want to hold it up once in a while as you go to make sure it’s not too low/high.
I made a brace on this side to keep the structure more stable.
I found the right size bit to fit the branches that made up my manger sides…
…and drilled holes in my base to accommodate them, about 3/8″ deep.

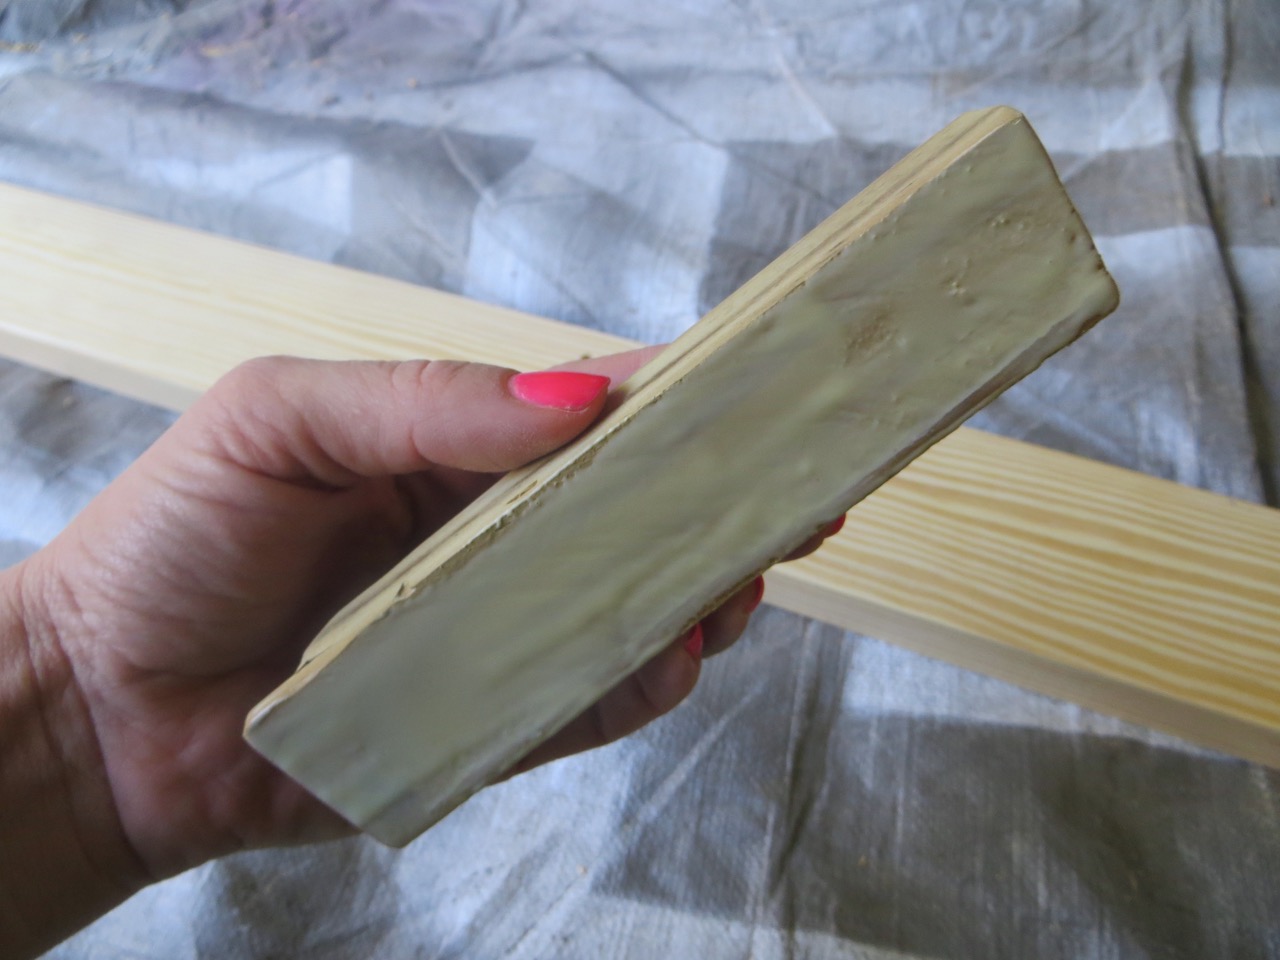
This was going to be a test run using this Watco Danish Oil. I’ve never used it until now and I must say… it’s lovely!
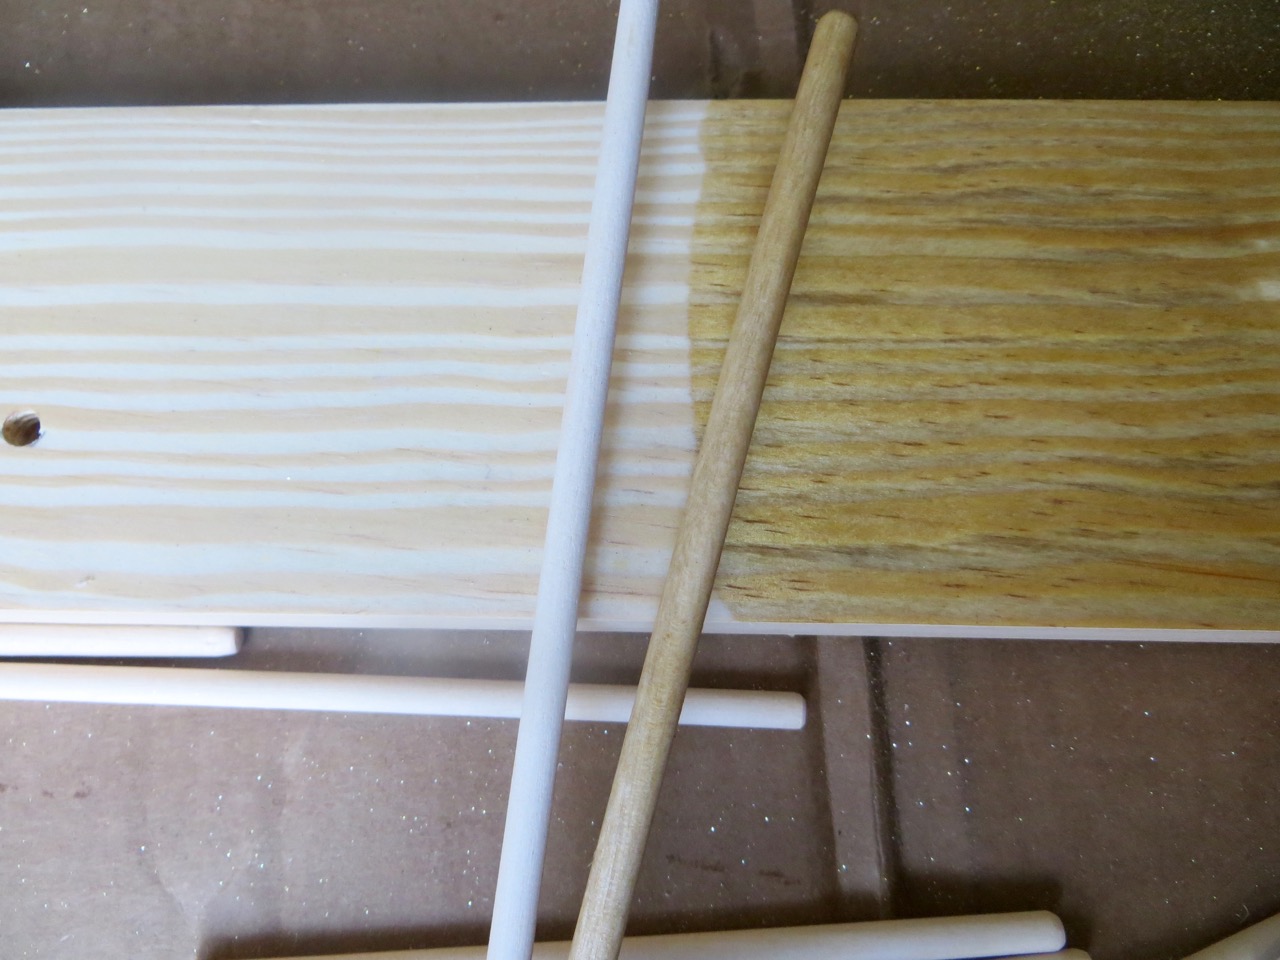
You can see the difference between bare wood vs 1 coat. It’s super easy to apply and dries with a smooth finish. I can see how it’s not good for pine as there were a few blotchy areas (and this is even some of the best pine wood I’ve used)!
I did 2 coats of oil and was so excited to get to this point!
I slipped the greenery between branches and twine.

See how pretty the backs are!? Maybe only I would appreciate them!

FINISHED!
I think if I were to do it again I would do the silhouettes in back a darker color to give them more dimension.
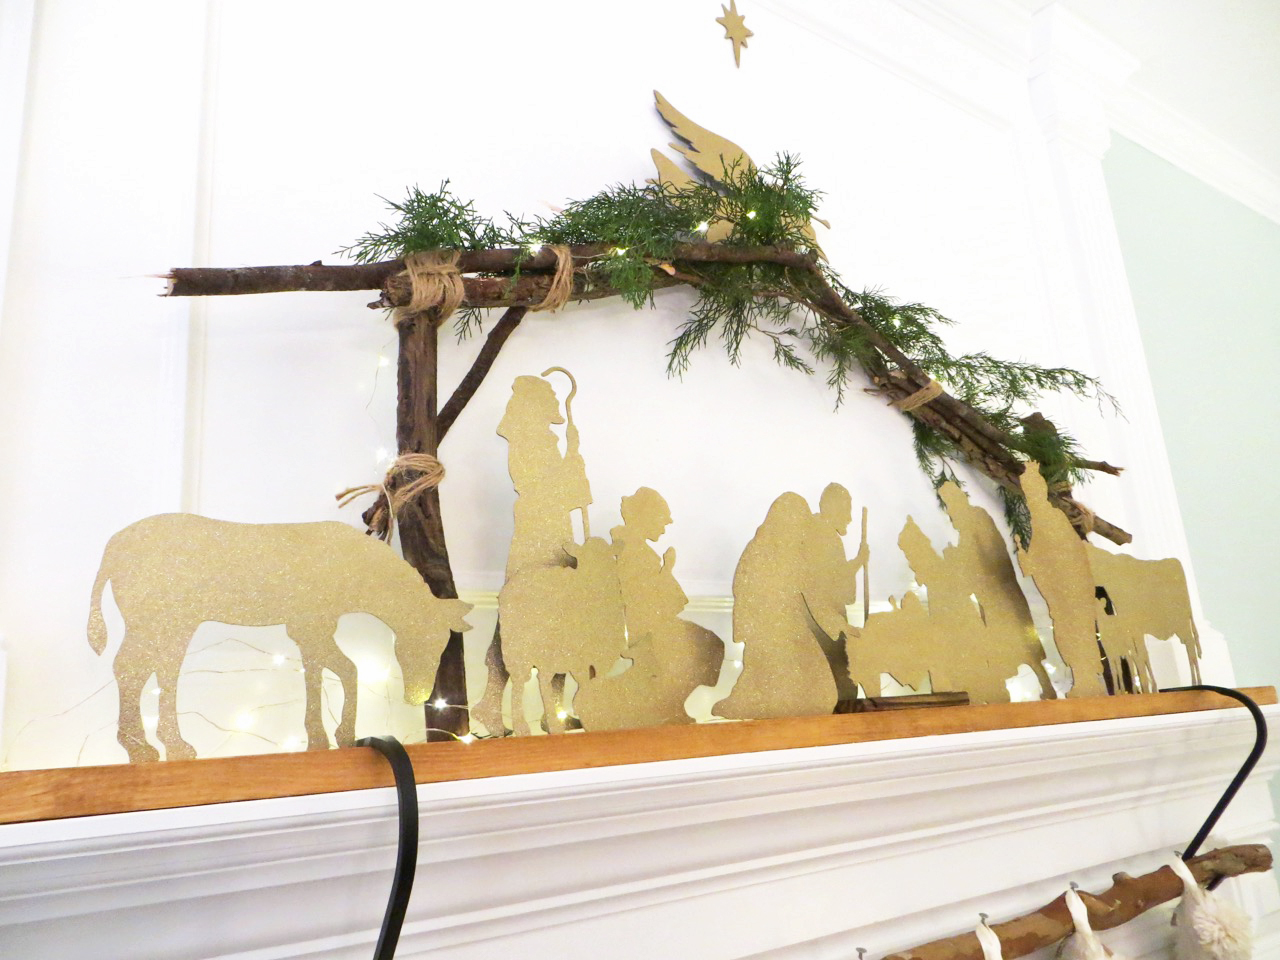
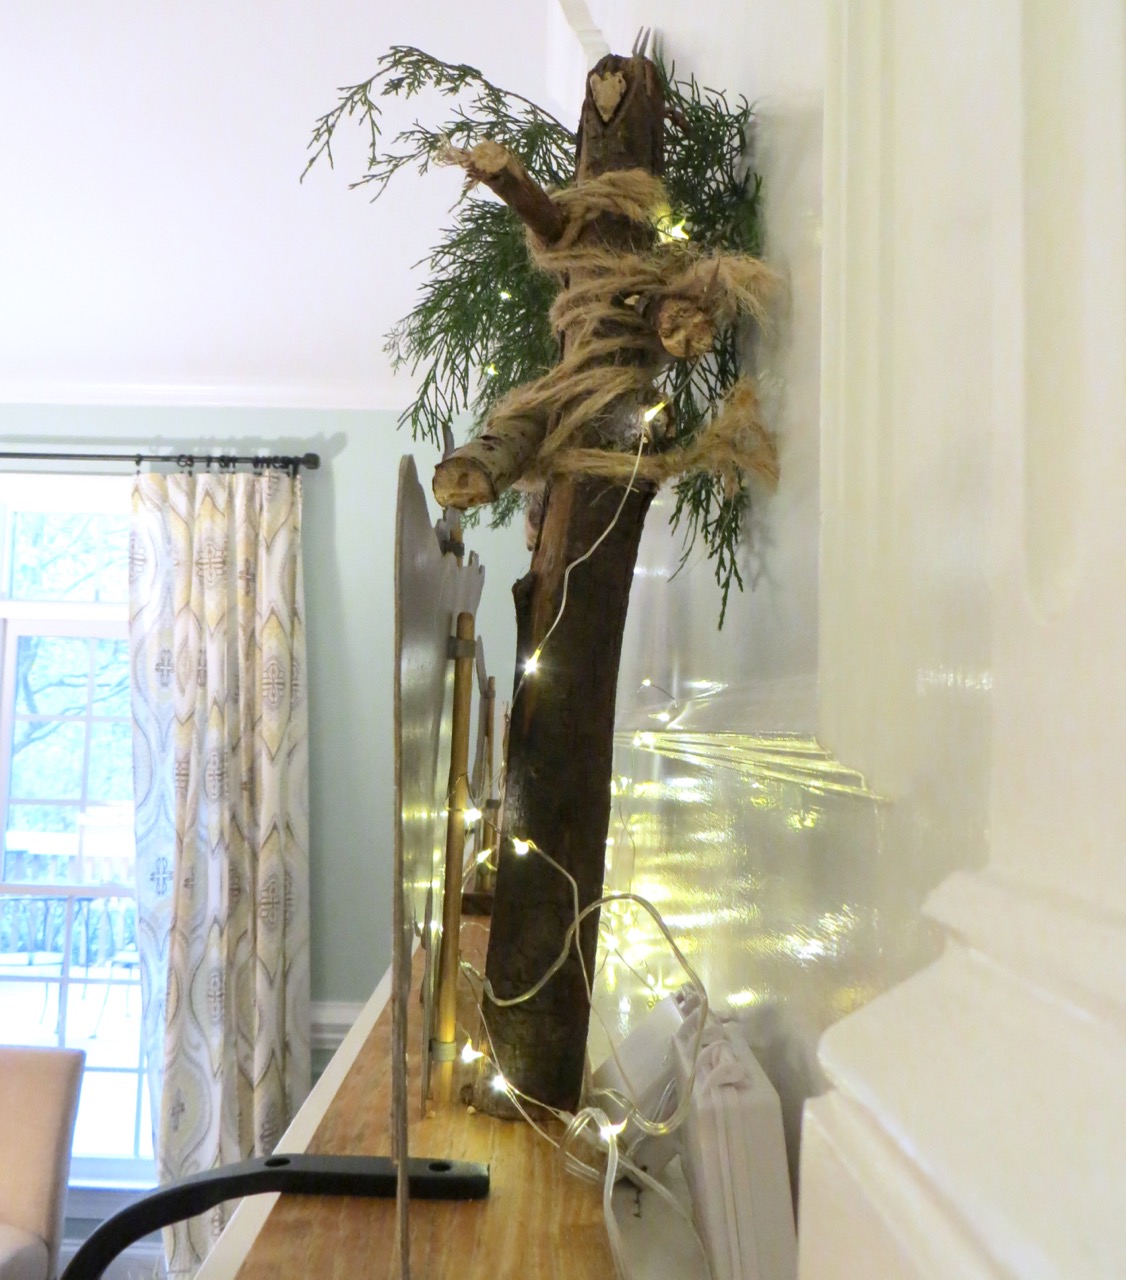
A little peak ‘behind the scenes’! I used 2 strips of LED lights – I’m really happy with them and appreciate how they have a timer and will turn off after 6 hours.
Now I’m thinking – wouldn’t a little-mini nativity be so cute?… maybe one kids could play with and switch the silhouettes around!
Now I’m thinking – wouldn’t a little-mini nativity be so cute?… maybe one kids could play with and switch the silhouettes around!
Oh, and were you wondering about my nifty stocking hanger? See more about that, here.
I’d love to hear if this tutorial helped you! Have a picture of your finished nativty? – I’d love to see it! Tag me on Instagram #theprojectlady

3 Comments
Hi Dani, Thank you so much for the svg file and the steps to go about making the nativity. Unfortunately when I started cutting on my cricut it was double cutting the file. Is that normal when you cut a thin piece of paper as a template. Thank you.
October 17, 2019 at 2:13 pmHi Jessica! I remember setting my Cricut to cutting posterboard so it double cut the line for the thicker material – I don’t know why yours would double cut if your setting is for something thinner, sorry!!
October 17, 2019 at 2:40 pmWhat kind of cricut do you have? I’m new to this and their are so many out there ha.
October 28, 2019 at 9:52 am