I wrote a previous post about this treadle sewing machine and how I picked it up from the thrift store for $15.

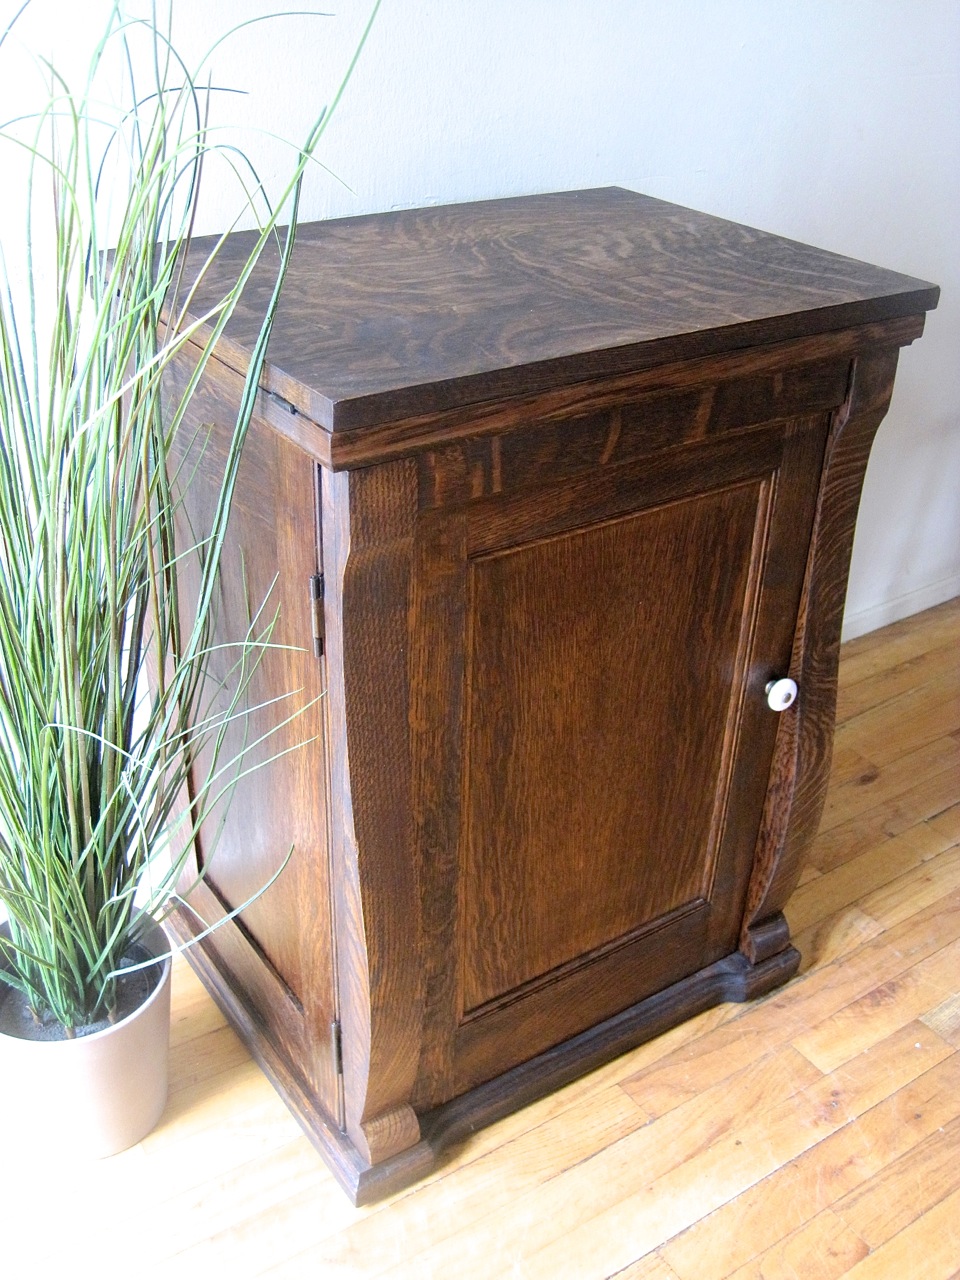
The machine itself was in beautiful condition, hardly a scratch and no rust whatsoever which is pretty rare. The cabinet however was showing it’s 100 years (born in 1913) on the surface. The door had a large crack stemming from the bottom half-way up. The door would fall open with nothing to hold it shut.
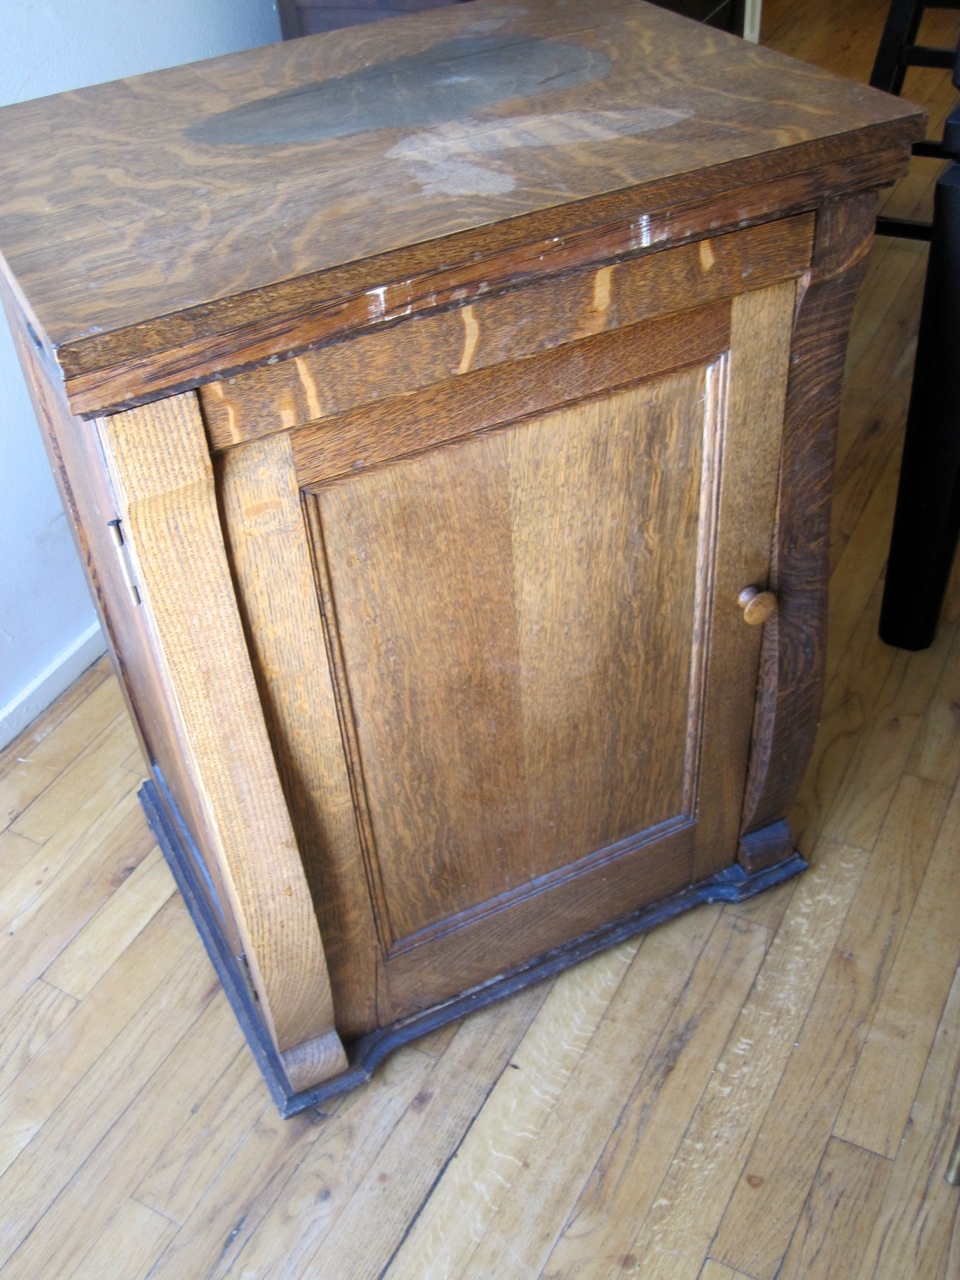
There was a huge water stain and crack on the top.
The bottom was looking really worn and almost brittle and there was a wheel missing which made the cabinet wobble.
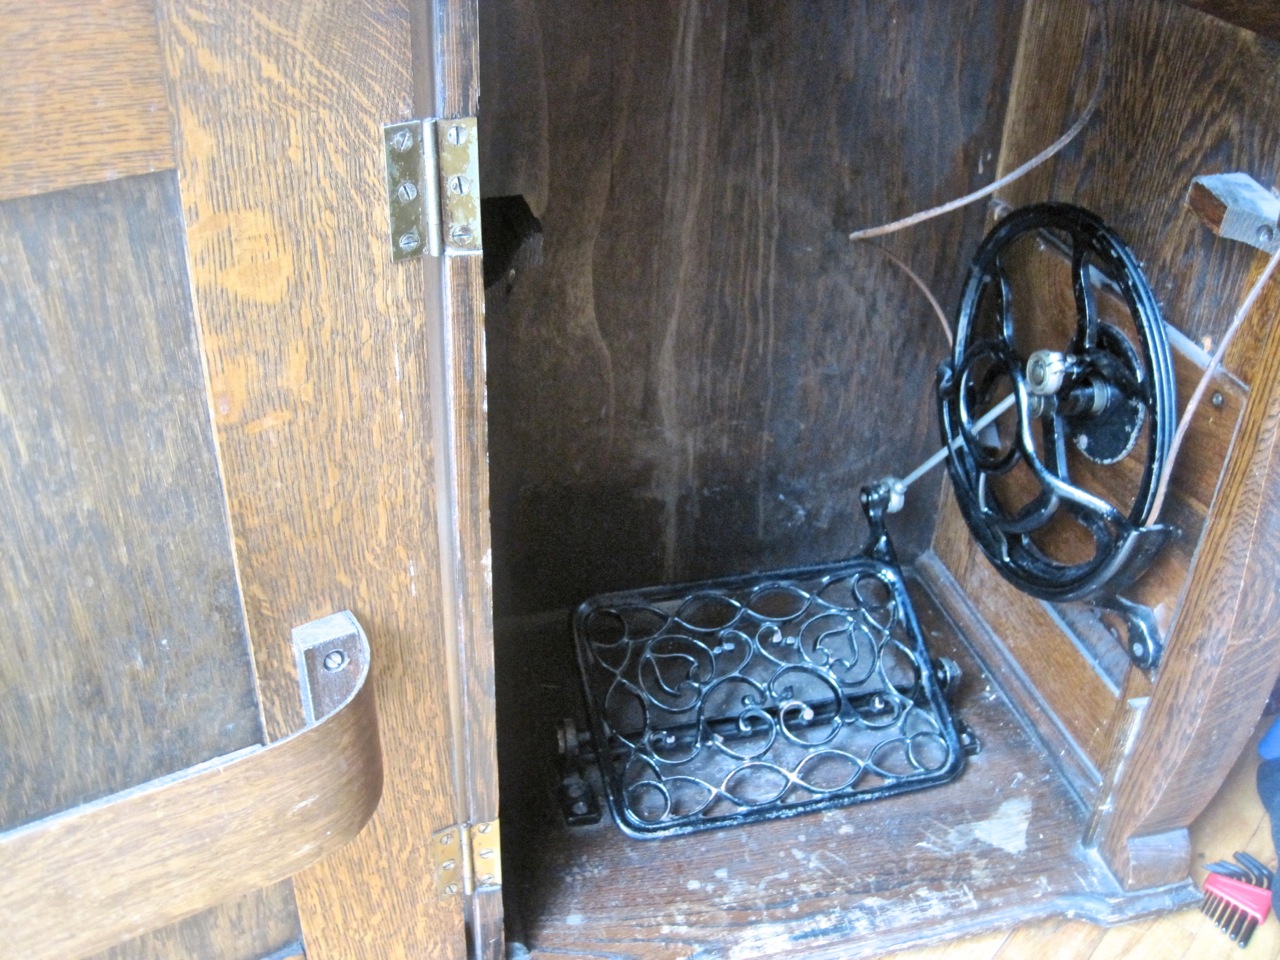
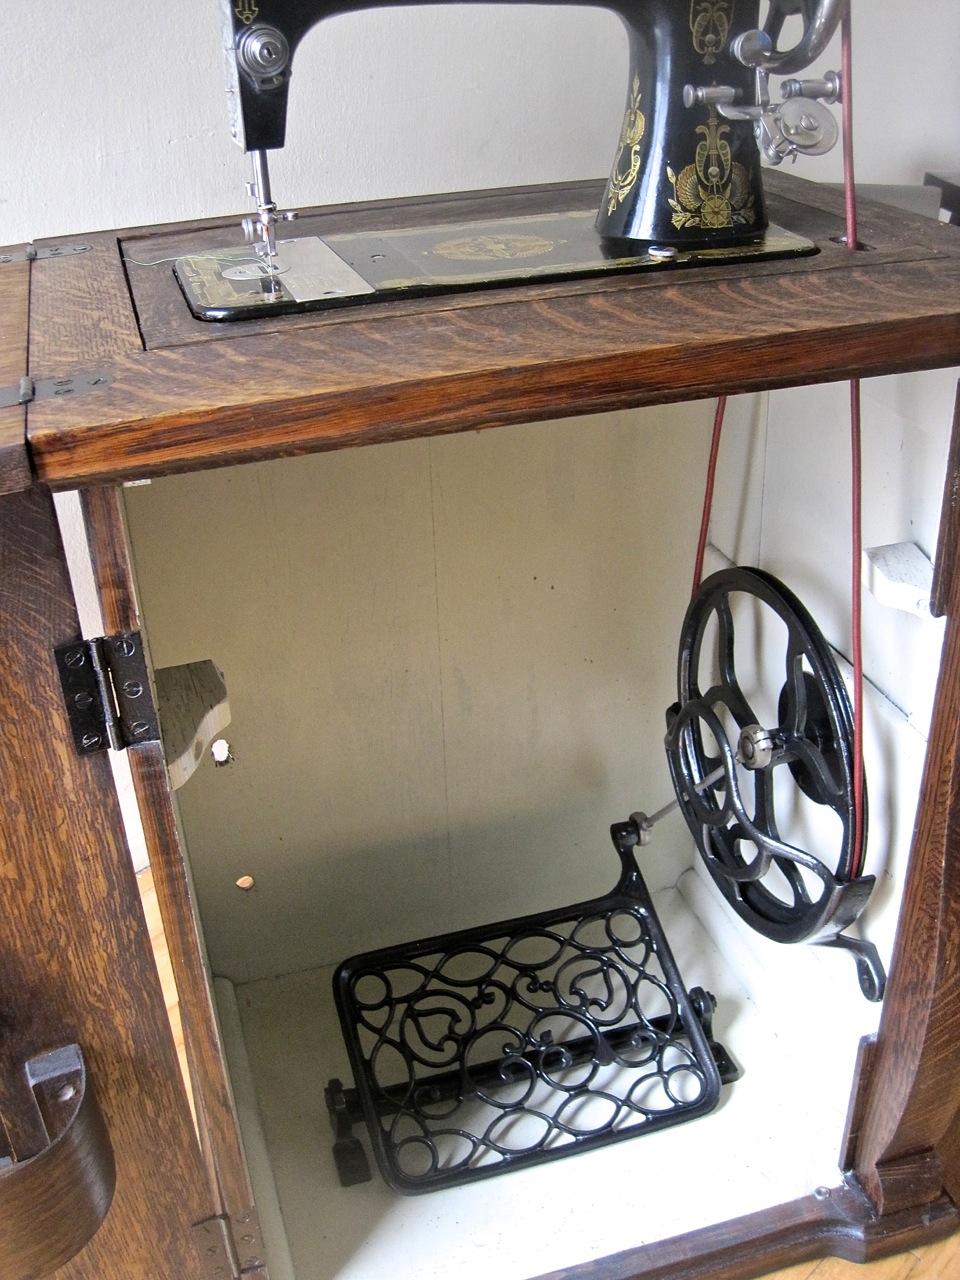
The cast iron pedal and wheel inside had their black finish worn in several areas. I also didn’t like how the pedal and wheel blended into the inside of the cabinet. They were such a cool feature I wanted them to stand out!

I took it all apart! The cast iron pieces, the hinges, pulled the wheels off… everything! I did TONS of sanding! Thank goodness for a belt sander that did an awesome job on the large flat pieces. I used my orbital sander for the smaller areas and then sanded by hand with the smaller details.

I spray painted all the cast iron pieces, hinges and screws with a black hammered paint – an instant new look (not pictured).

I made a large piece of wood to screw to the bottom to protect the brittle corners and edges of the existing cabinet and I also wanted it to be thicker on the bottom to match the look of the top. Thankfully one of my kids decided to take pictures from inside the house because I totally forgot to take a picture of this step! Here I’m aligning the bottom to screw in place. Next I filled in the gaps with wood filler and sanded it for a flawless finish.

Here’s the cabinet all sanded and put back together ready for a life rejuvenating stain coat! I had already taped, primed and spray painted the inside by this point.
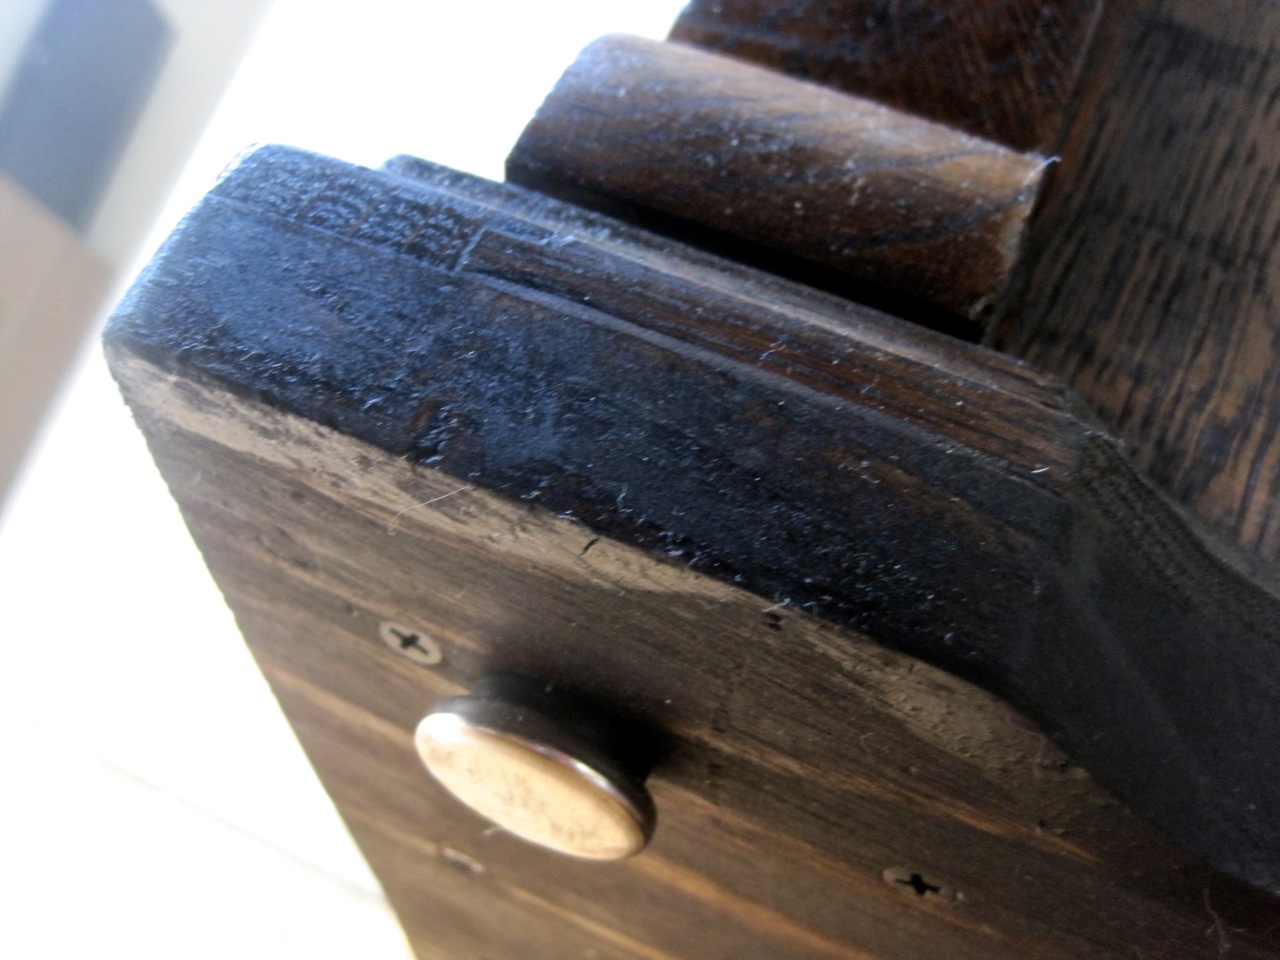
This shows the bottom corner with the new bottom added and the metal slides I put on the bottom instead of the wheels it had before.
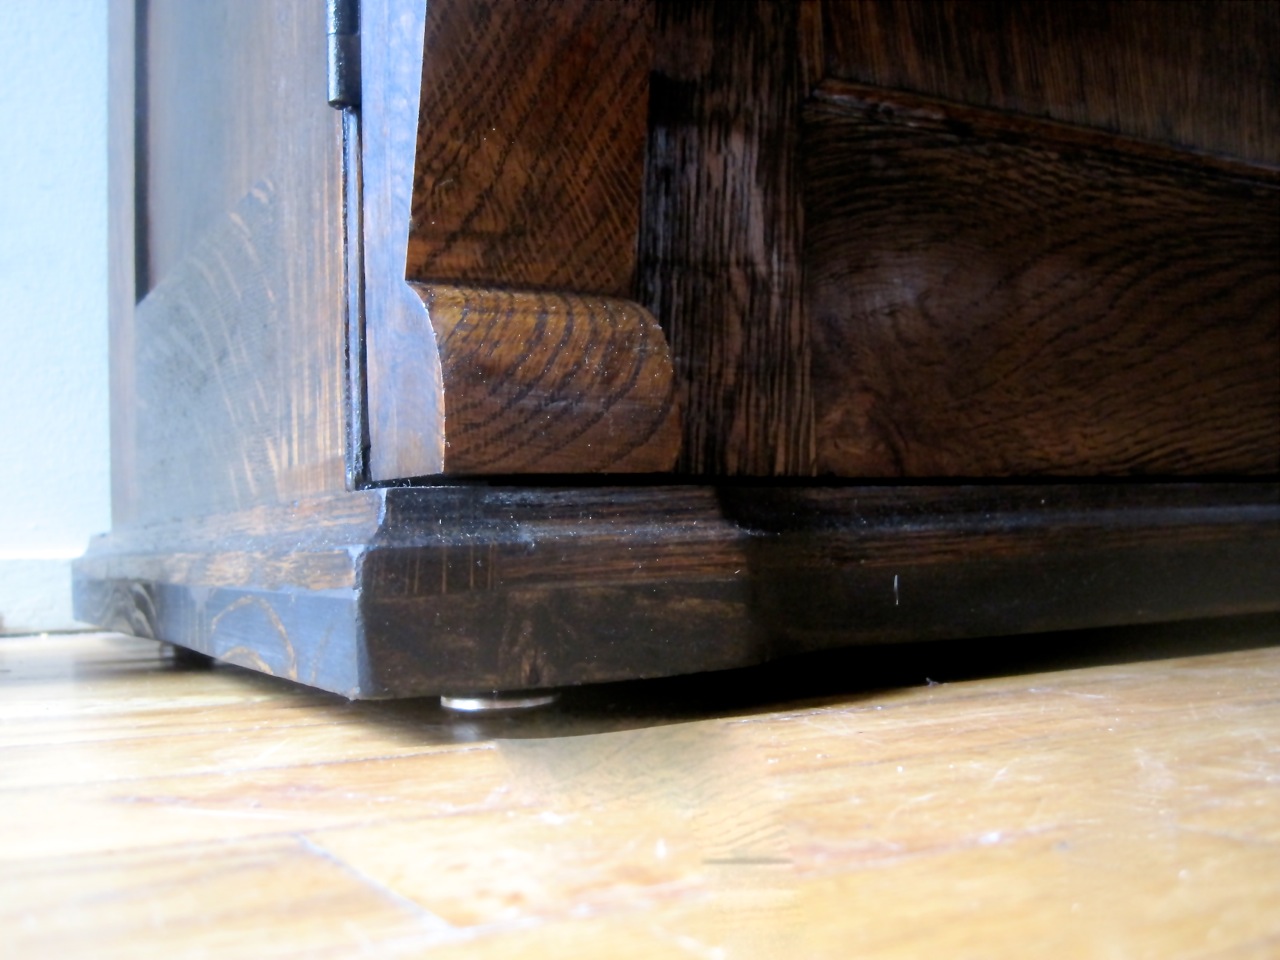
It’s much more stable now.

The old leather belt (on bottom) was really worn and actually the diameter was smaller than what it should have been. So I bought a thicker one (on top).
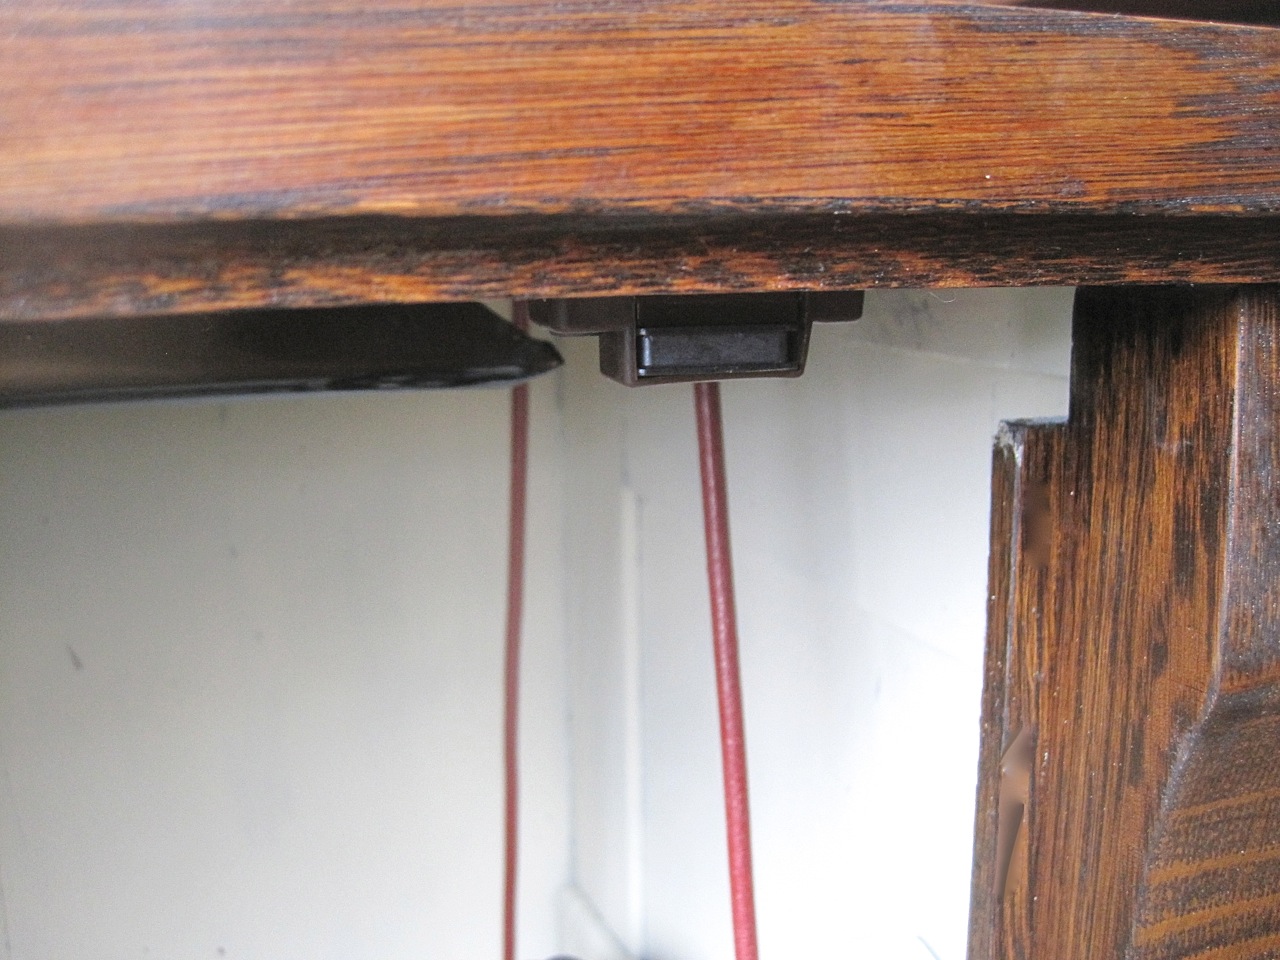
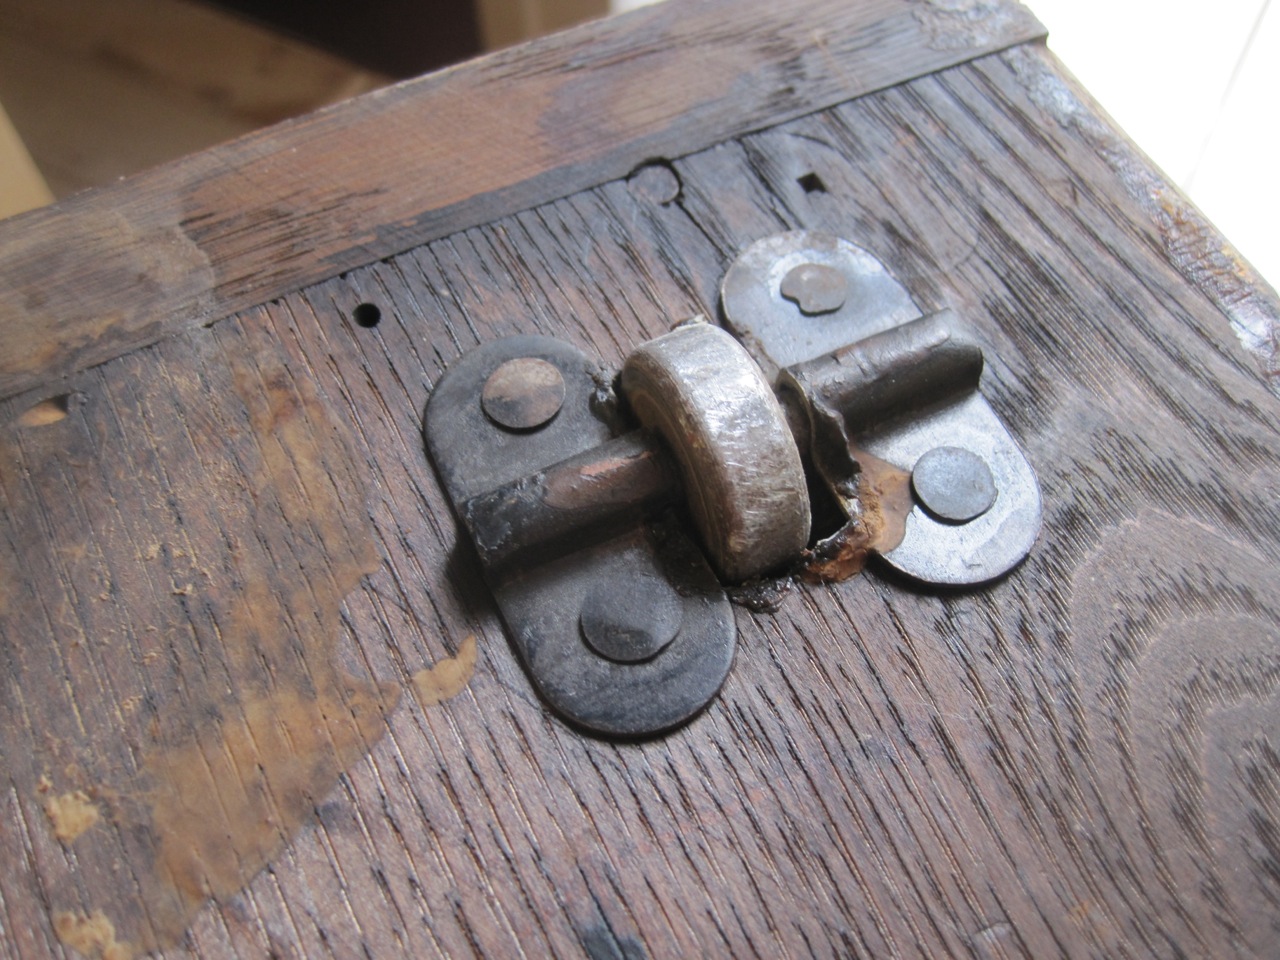
I added a magnetic closure to catch the door when it’s closed.
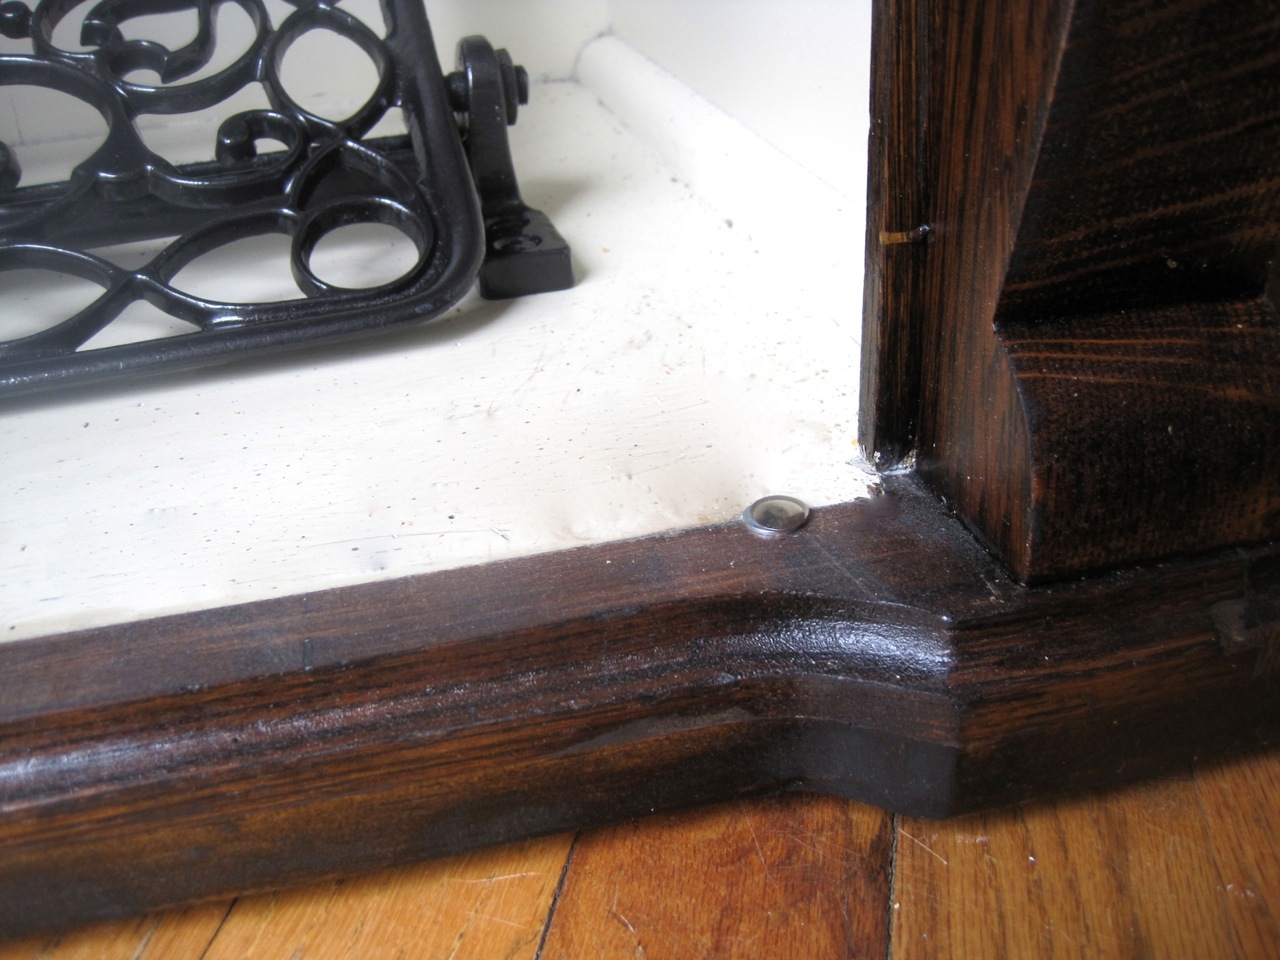
The bottom of the door scraped the cabinet when closing so I added a thumbtack. Now the door closes and rests right where it should be.
What do you think?

I love how the lighter inside shows off the metal pieces!
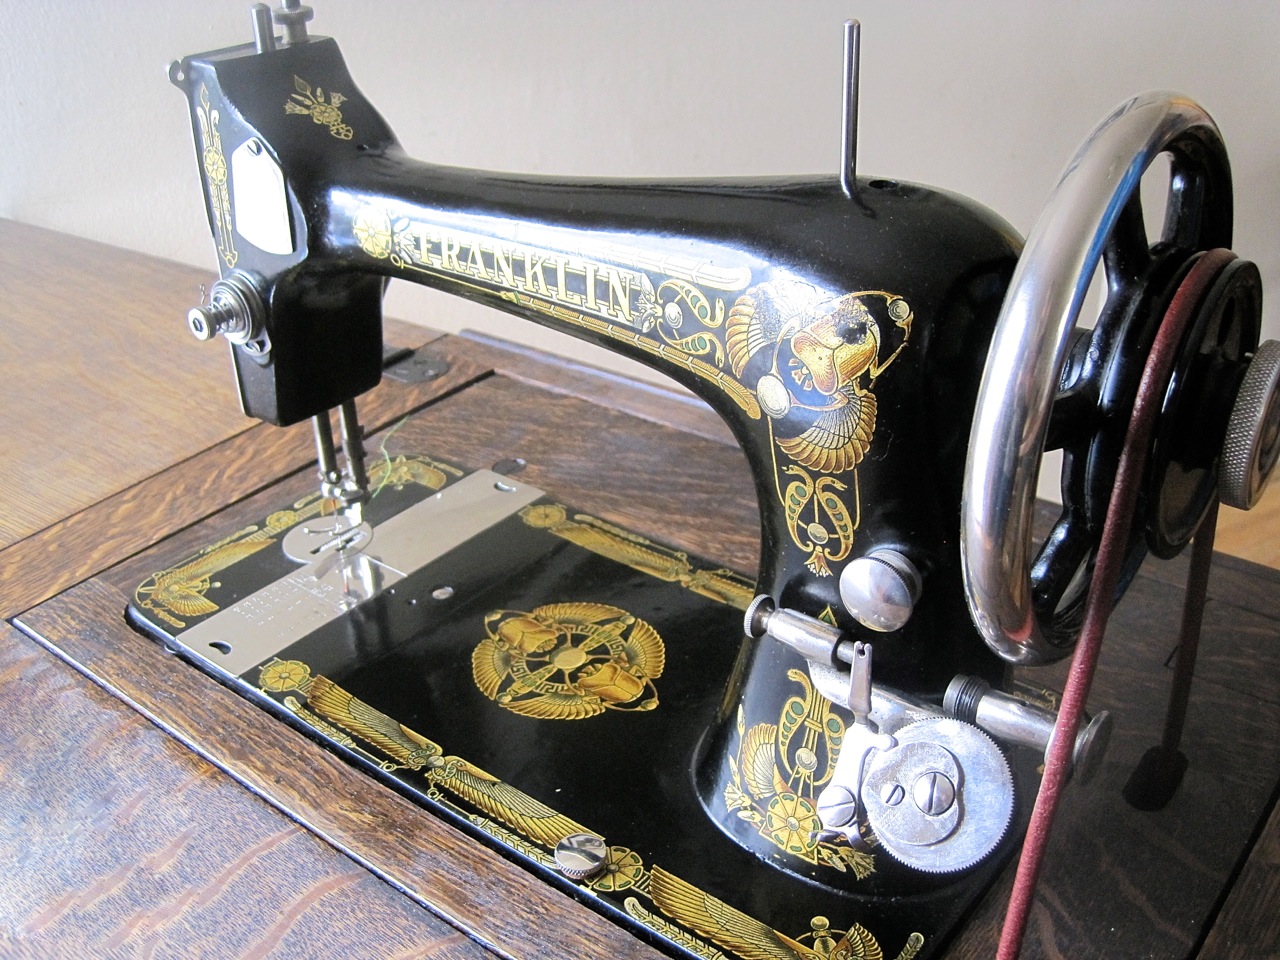
The machine itself got a cleaning and polish…

…and some new bobbins! She didn’t need much.
Oh yeah, and I put a new knob on!

Picture of Jordan treadling. He can barely reach! 🙂
10 Comments
SO AWESOME! Boys, keep sewing! This made me smile. So awesome. I will have to come over to try it–thanks for the invite!
February 28, 2013 at 7:21 amI love the cabinet, the new knob really adds alot! I like the lighter inside too- great job! What a great find! You're a sewing machine magnet. I don't know how you find all these machines 🙂
February 28, 2013 at 7:21 amDo you fix them up and then resell them? Amazing job. I think I actually like refurbishing more than building but we will see since I haven't built that much.
February 28, 2013 at 7:21 amThis one I am keeping, but other sewing cabinets I've refurbished I am trying to sell – same with some sewing machines I fixed up – trying to sell those too!
April 24, 2013 at 9:35 amAwesome!
March 3, 2014 at 12:41 amDani, would you please contact me about your Franklin cabinet? I just figured out that my Mom's cabinet is a Franklin! It has been modified to hold a 1960's electric sewing machine though, and the treadle hardware is missing. I have a couple questions about the cabinet that I would like to ask you, if you don't mind.
February 23, 2015 at 2:13 pmHope you see this and can get in touch with me!
Thanks.
Hi Sherri! I just saw you message! You can contact me at twirlybirdbaby@gmail.com to ensure I get it 🙂
May 23, 2015 at 10:57 amHi Dani. I've got a similar project of yours going on! An early sixties Gritzner (American Kenmore is the clone of the German machine!) with slightly worn chipboard cabinet. The treadle and wheel is slightly rusted too. The belt shows wear like your original belt do. My question- How did you join the new belt together?
February 5, 2018 at 1:10 pmHi Shaun! I have a how-to on leather belts in another post.. about halfway through (https://www.theprojectlady.com/2016/07/industrial-singer-31-15-sewing-machine_7.html?m=1). Good luck!!
February 5, 2018 at 1:12 pmI have a cabinet pretty much identical to that one, minus the machine. It has the pedal and wheel inside. Both say New Royal, but I can’t find any other info. There’s no belt, but there’s a metal cable that is attached to the fold out top, and I can’t figure out where exactly it’s supposed to attach on the inside of the cabinet. There’s some sort of pulley-type wheel that I assume it’s supposed to go over or under. The cabinet is in good shape considering the age, am also assuming it was made around the same time as yours. I’m putting new wheels on it so I can move it easily since I’ll have to have it in one place to use and another for storing it. Am going to try to put my “new” sewing machine in it. Any ideas on the cable and where it should attach on the inside of cabinet?
May 13, 2020 at 7:41 pm