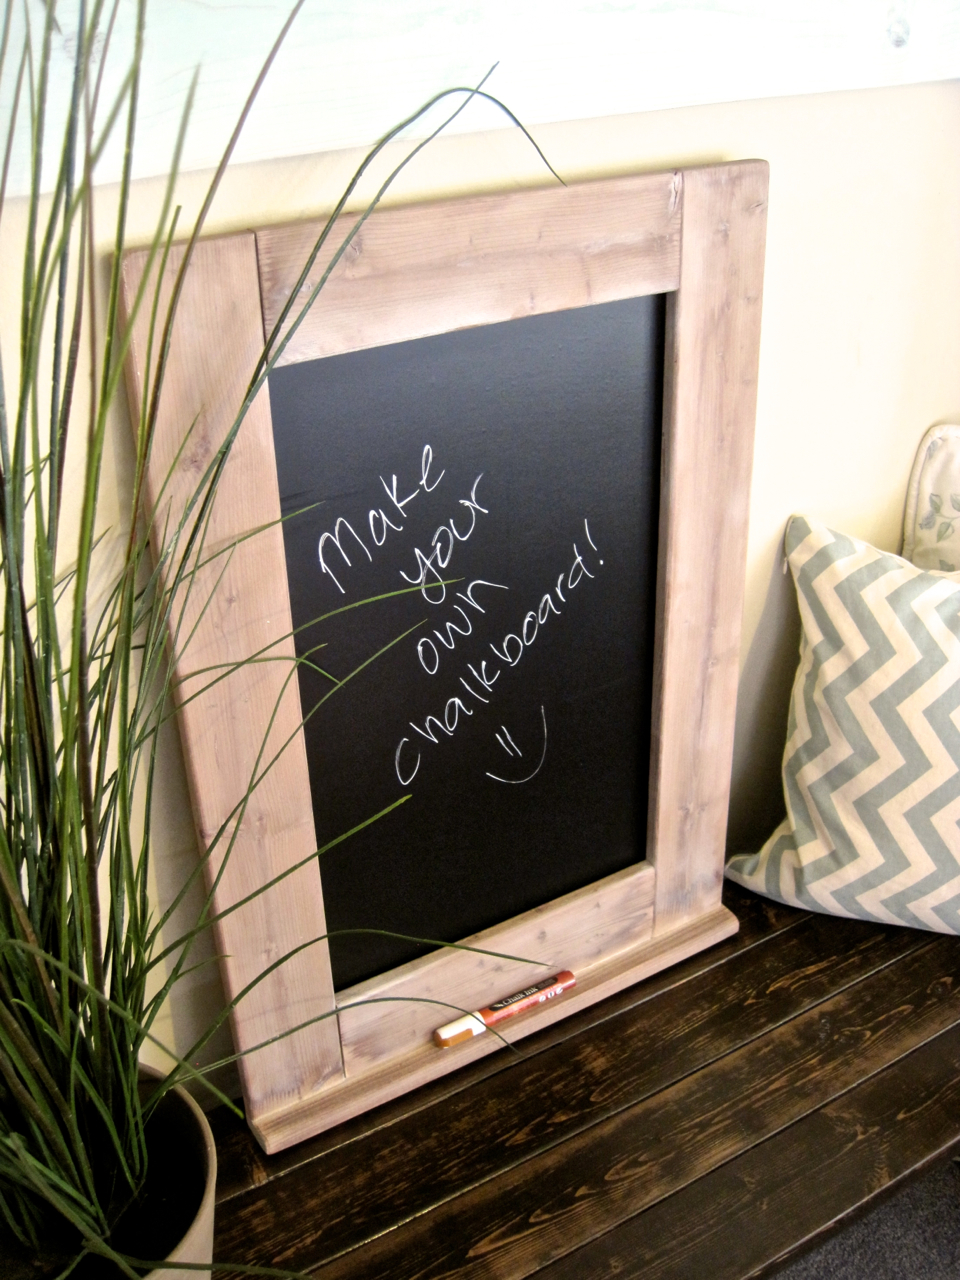
I’ve been wanting a chalkboard but had no idea where to actually get the chalkboard part of a chalkboard. I found some ‘contact paper’ on Amazon.com that is chalkboard paper – just stick it to whatever surface you want! That’s all I needed to get building. Even better, I had everything else on hand that I needed (don’t you just love that!?)! Approximate cost breakdown – chalkboard paper $8, boards $6, hardware $5 = $19.

CHALKBOARD BUILDING PLAN
Dimensions: 28″ tall by 20″ wide by 1″ deep
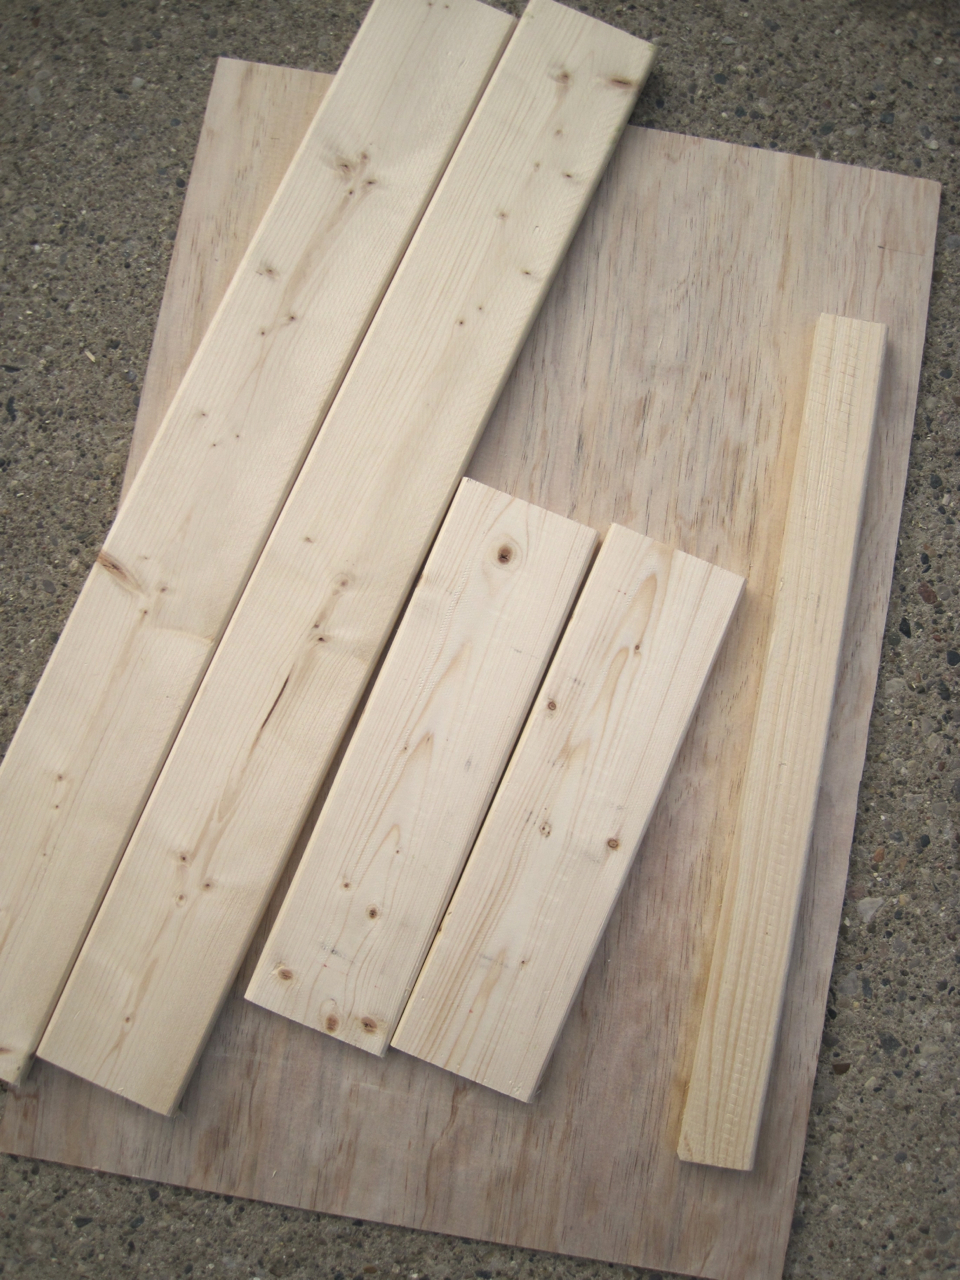
Materials and Tools Shopping List:
1 – 1″x4″x8′ pine board
1 – 1″x2″x6′ pine board
1/4″ or 5mm utility plywood (you need a 27″ x 19″ piece)
3/4″ finish nails
5 – 1 1/2″ wood screws
8 – 1 1/4″ pocket hole screws
chalkboard contact paper – buy HERE
2 d-hooks (and screws for attaching) + picture hanging wire (for hanging on the wall)
drill bit
sand paper
wood Stain* or paint
foam brush
*I made my own stain that gives the wood an instant aged look. What you need: mason jar, steel wool and apple cider vinegar. Put the steel wool and vingar in a jar together for 24 hours and you’re ready to paint it on your wood! TIP: You don’t see any coloring until the vinegar dries!
Tools:
Kreg Jig
Wood Clamps
Measuring Tape
Pencil
Safety Glasses
Hammer
Drill
Table or Miter Saw
Hammer
Sander
Cut List:
2 – 1×4 @ 28″
2 – 1×4 @ 13″
1 – 1×2 @ 20″
1 – 27″x19″ utility plywood
General Instructions:
I advise you to read through entire plan before beginning. Take precautions to build safely. Ask for help if you need it and have FUN!
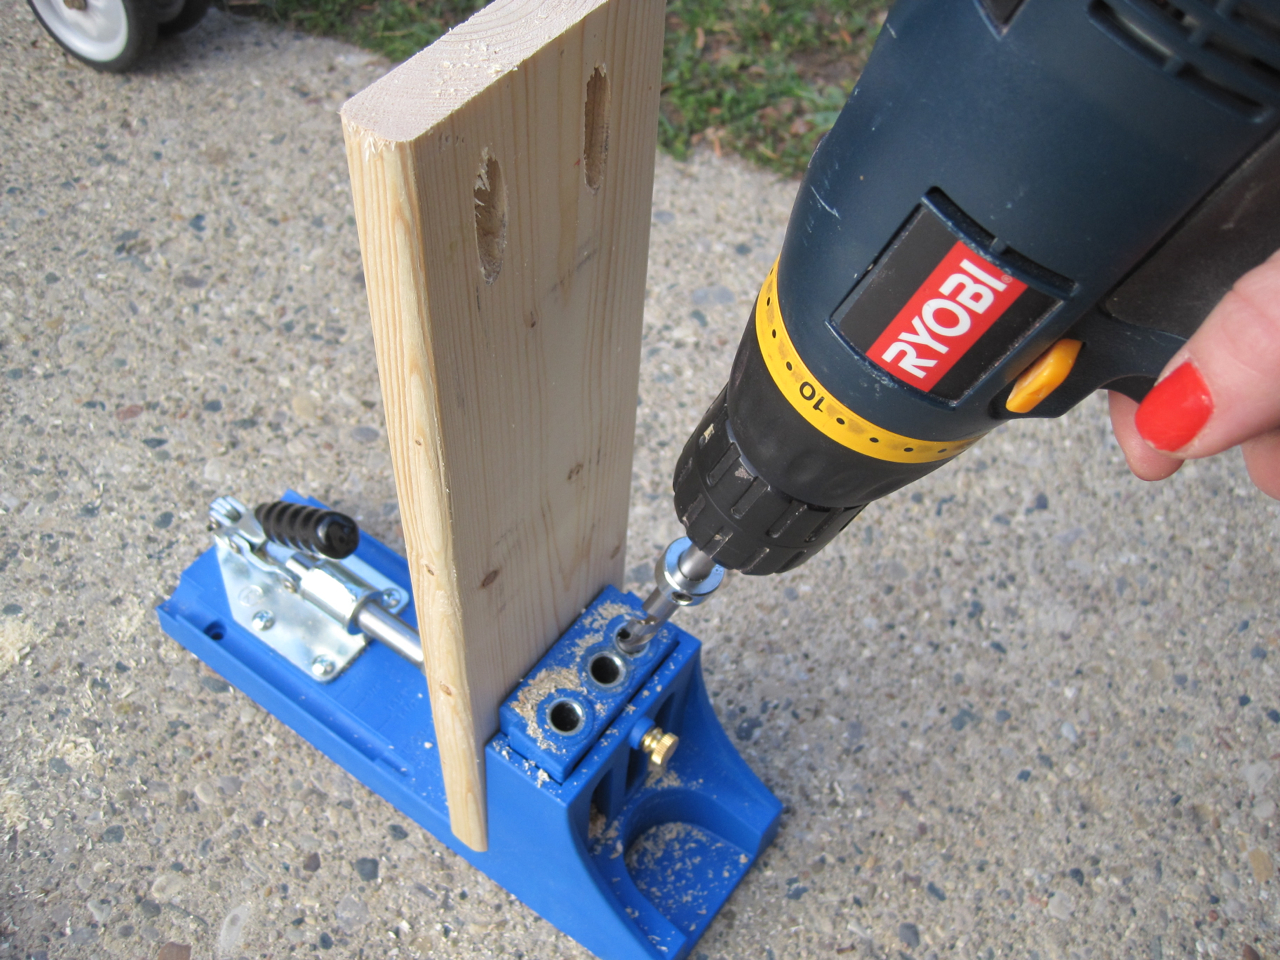
Step 1 – On your short 1×4″ boards, make 2 pocket holes on each end with your Kreg Jig.
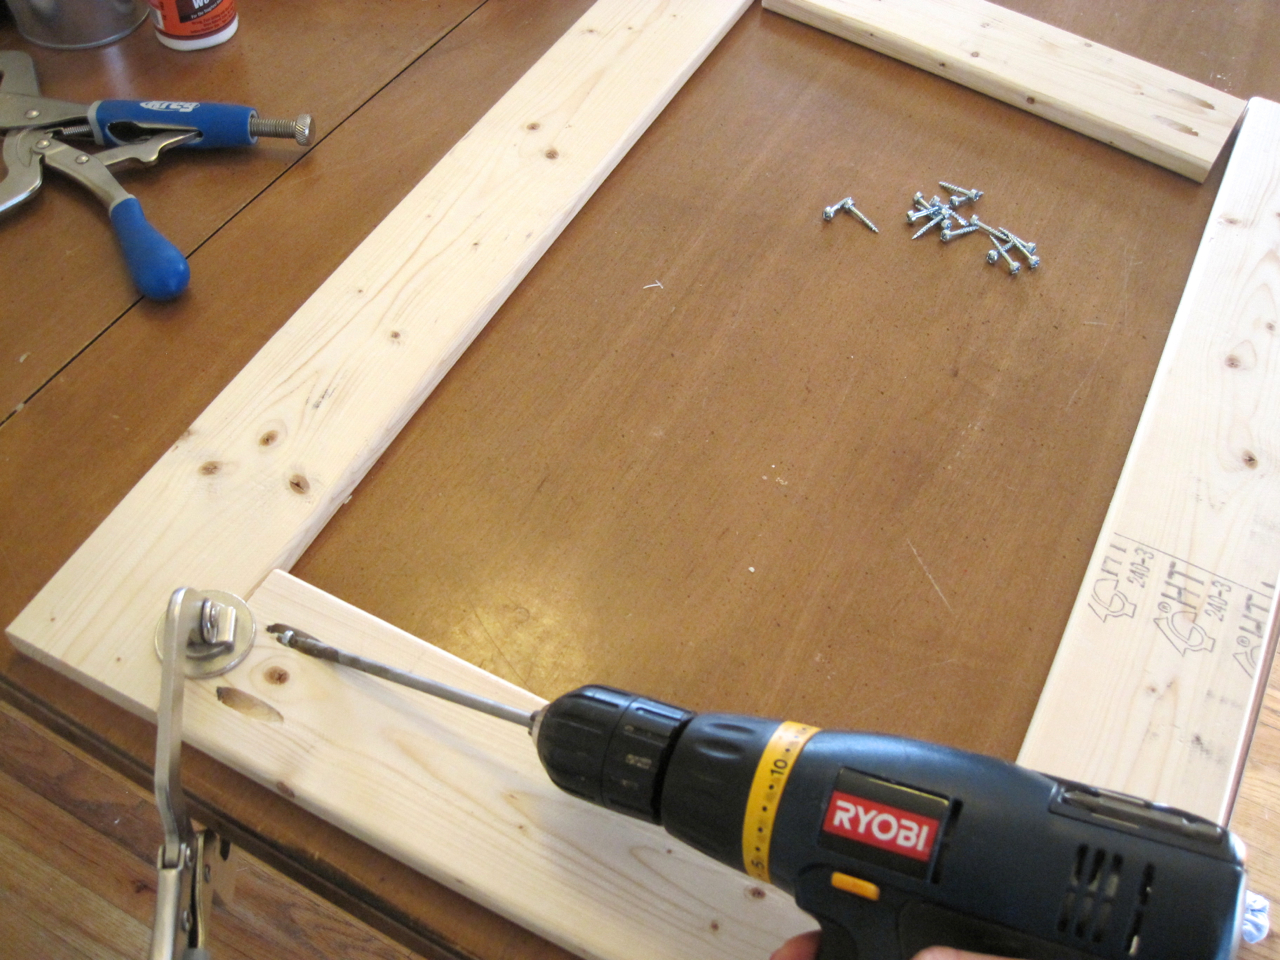
Step 2 – Layout your 1×4″ boards on a work surface and clamp each corner together to screw pocket hole screws into pocket holes.
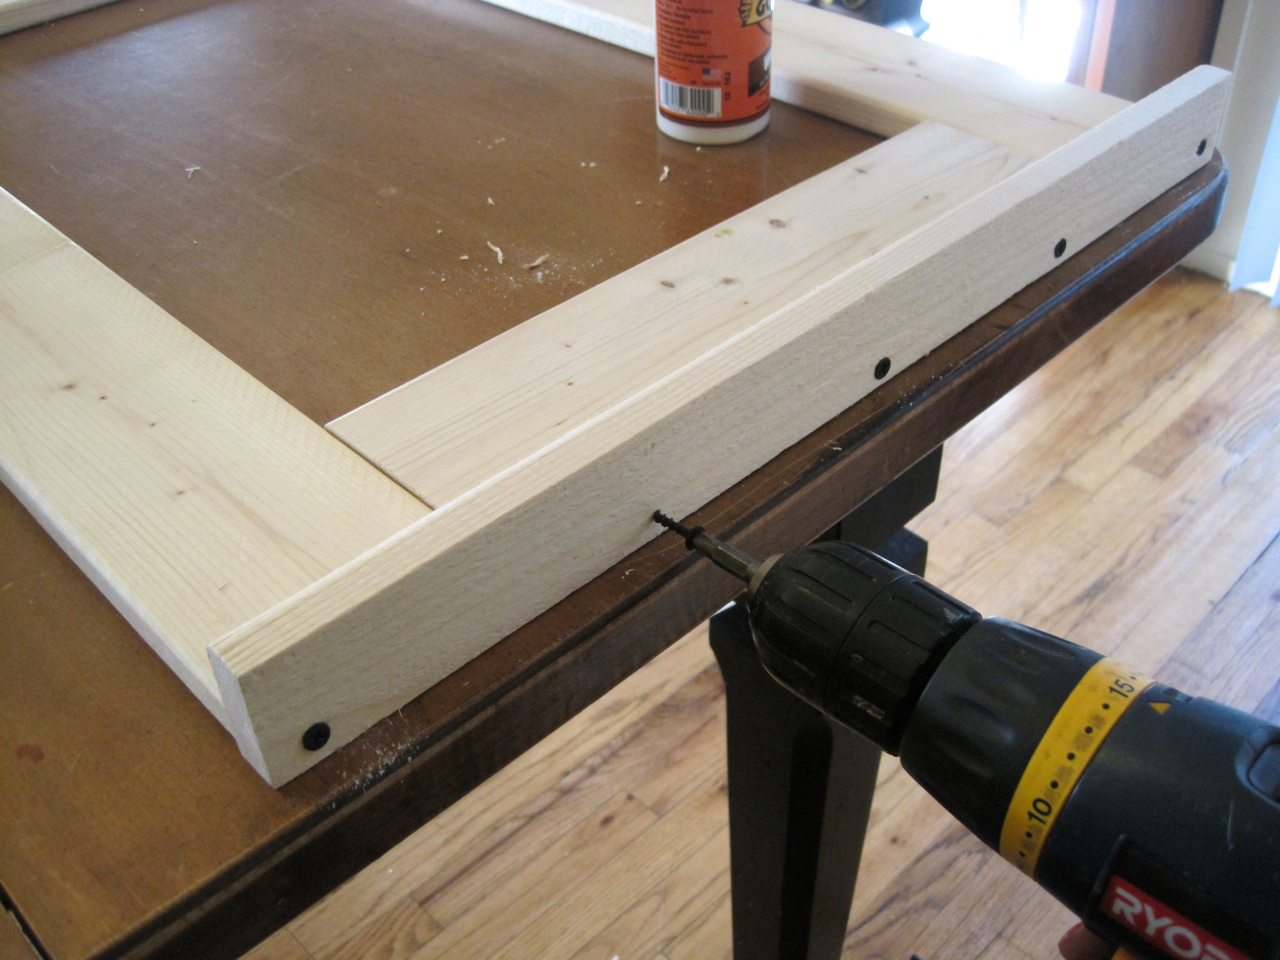
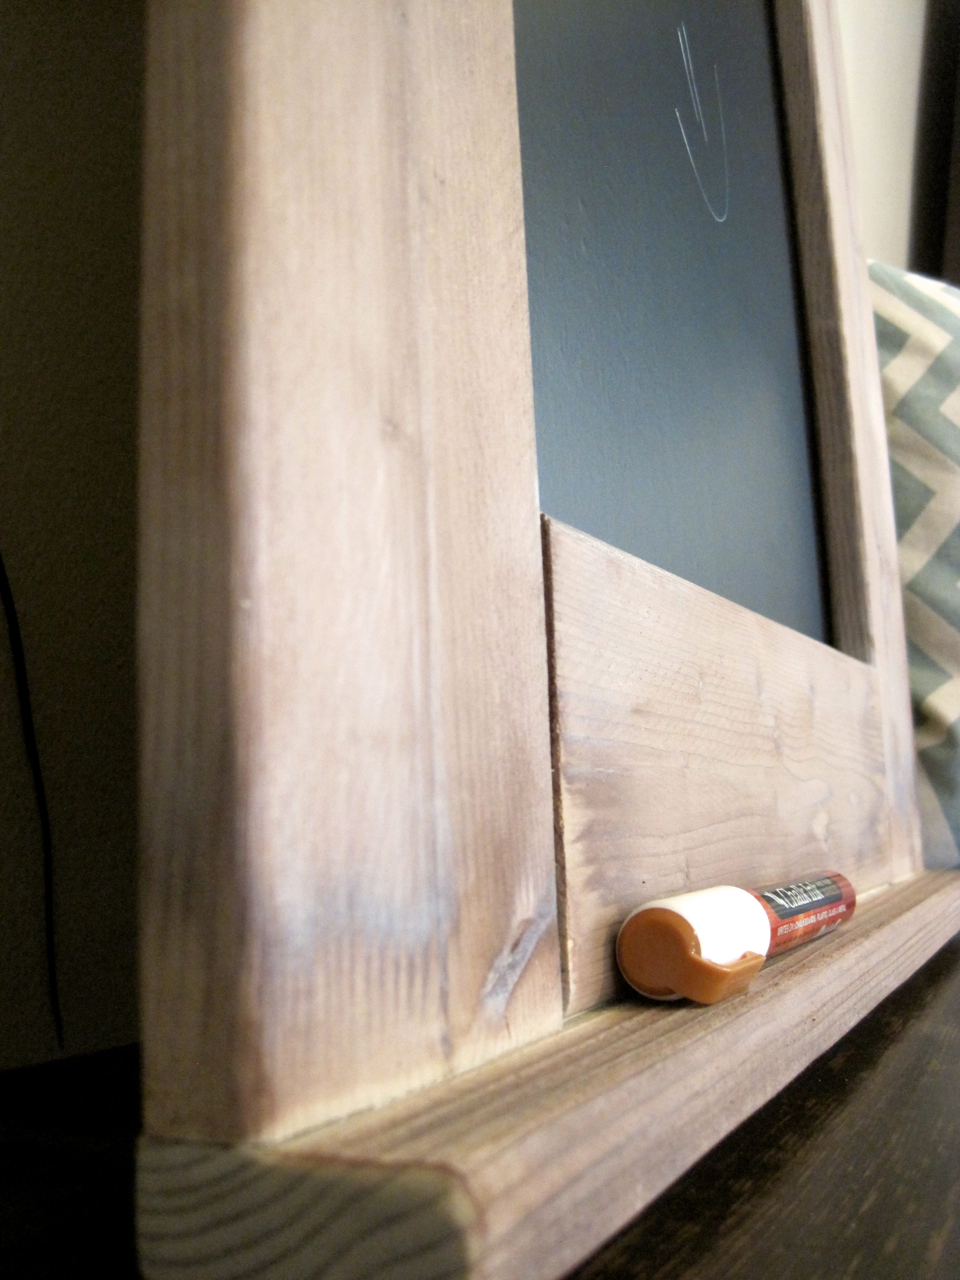
Step 3 – Flip your wood frame over and align your 1×2″ board on the short end of the frame, flush with the backside. Pre-drill holes and screw wood screws through the 1×2″ board to the frame.
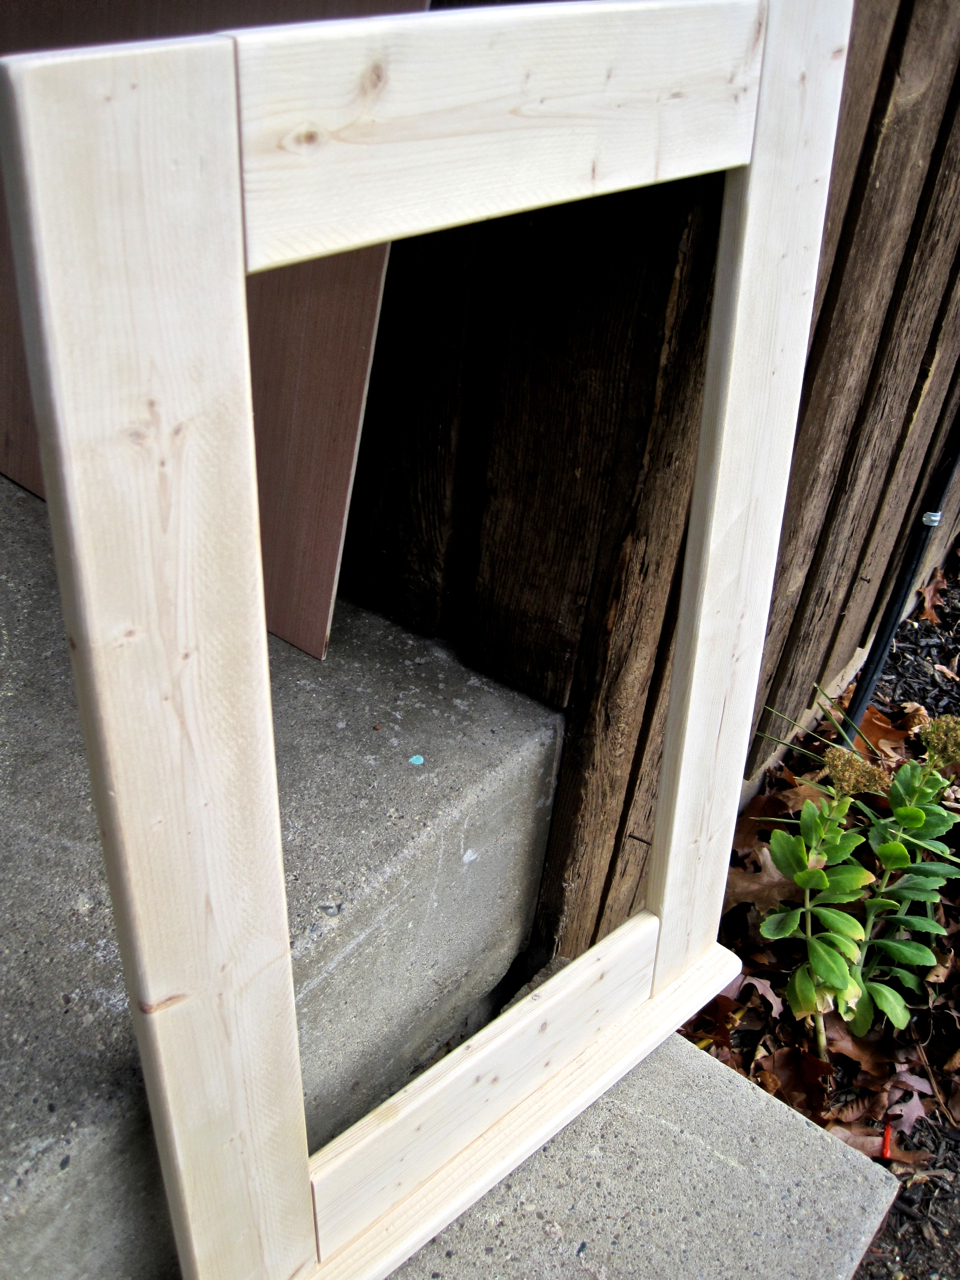
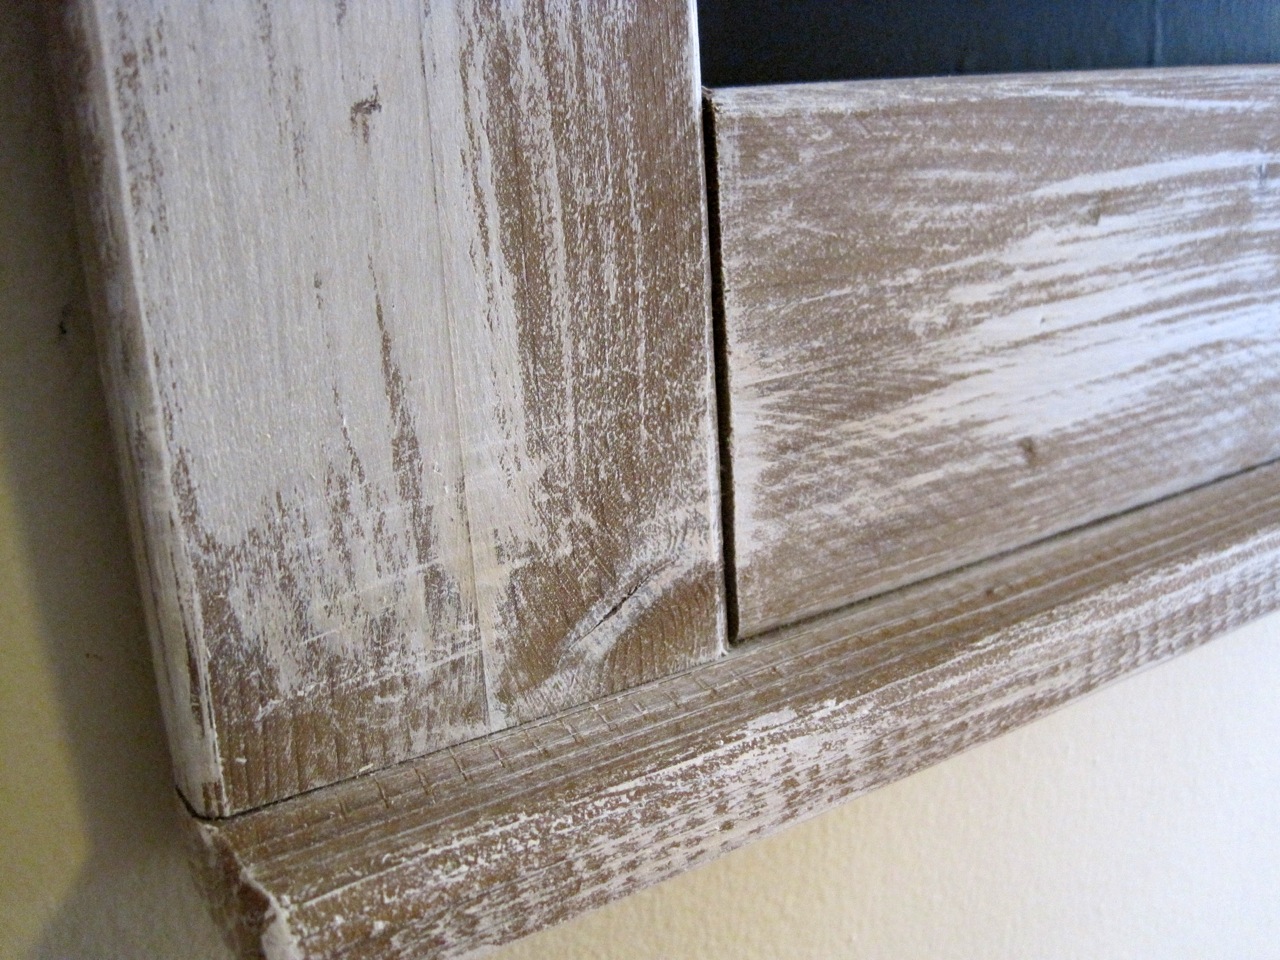
Step 4 – Sand your frame to round off all the edges.
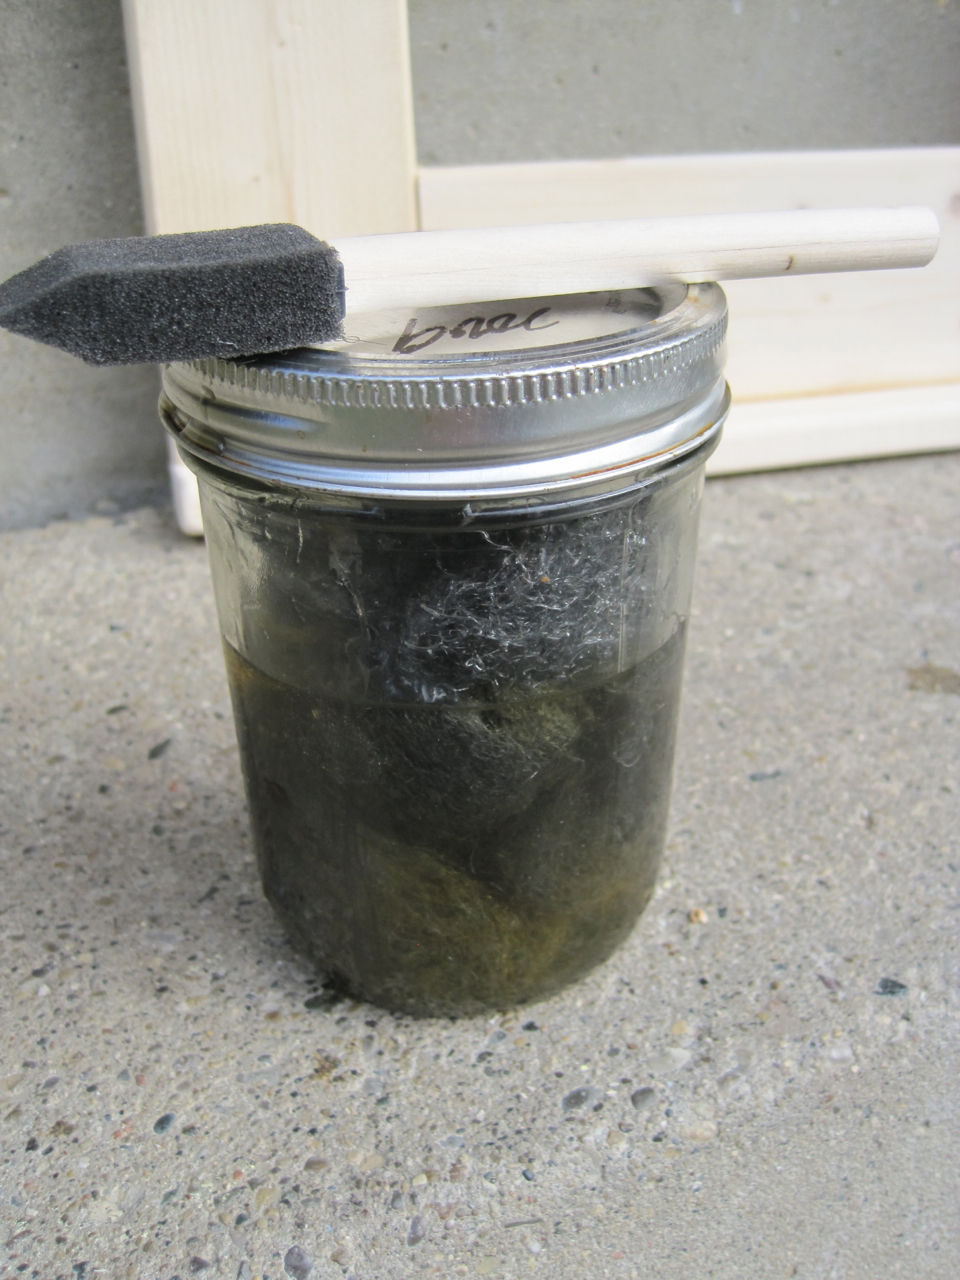
Step 5 – If you made your own stain – this is what is looks like. Brush your stain or paint onto your chalkboard frame. While it is drying – move onto the next step.
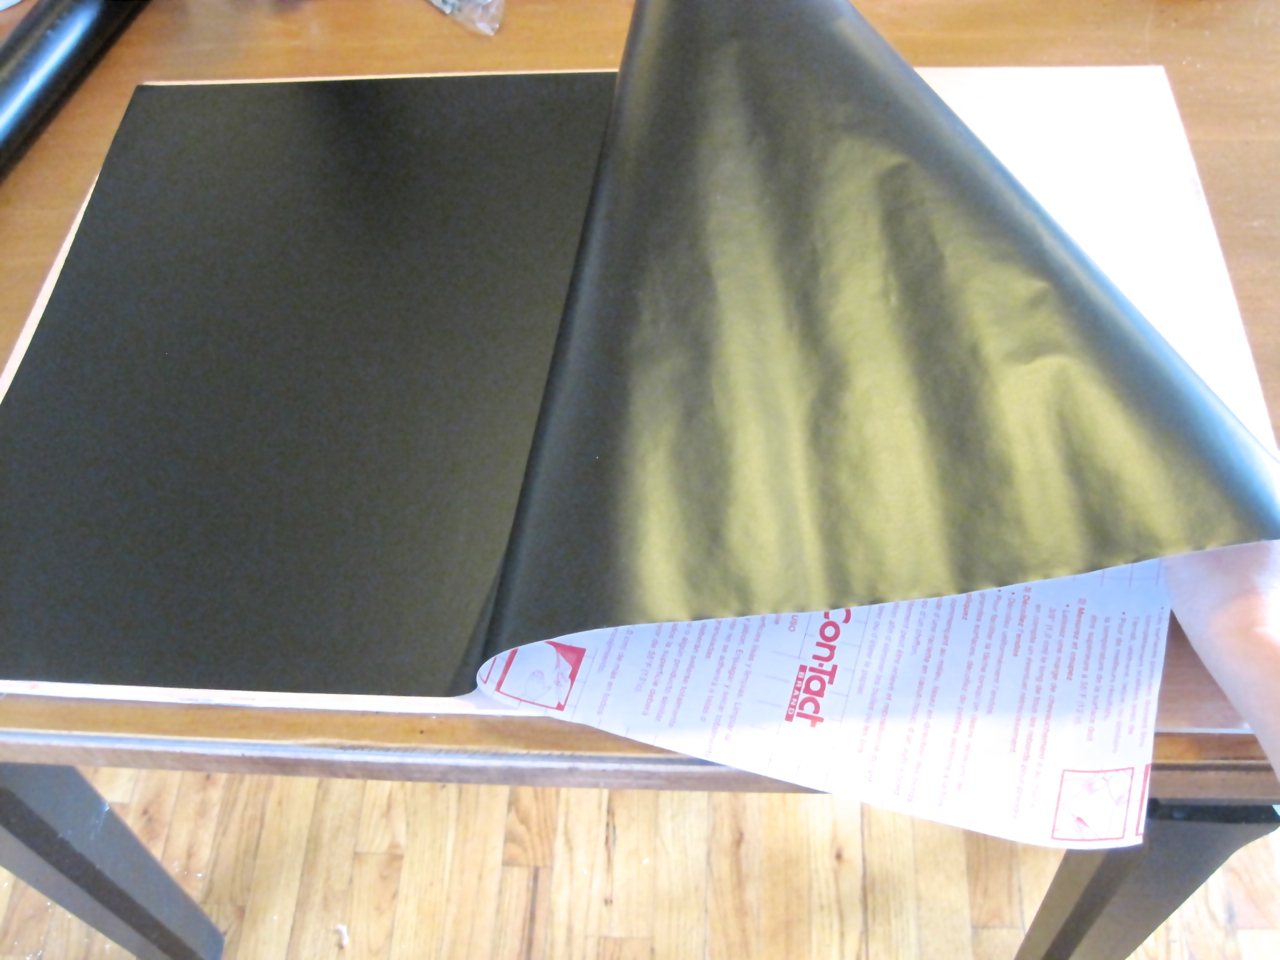
Step 6 – Cut your contact paper to the size of your plywood. I started on one short end and slowly peeled off the back while I smoothed it onto the plywood. TIP: make sure your plywood and working space is SUPER clean – any little piece of lint or dirt that gets in between the paper and board make a very noticeable bump!
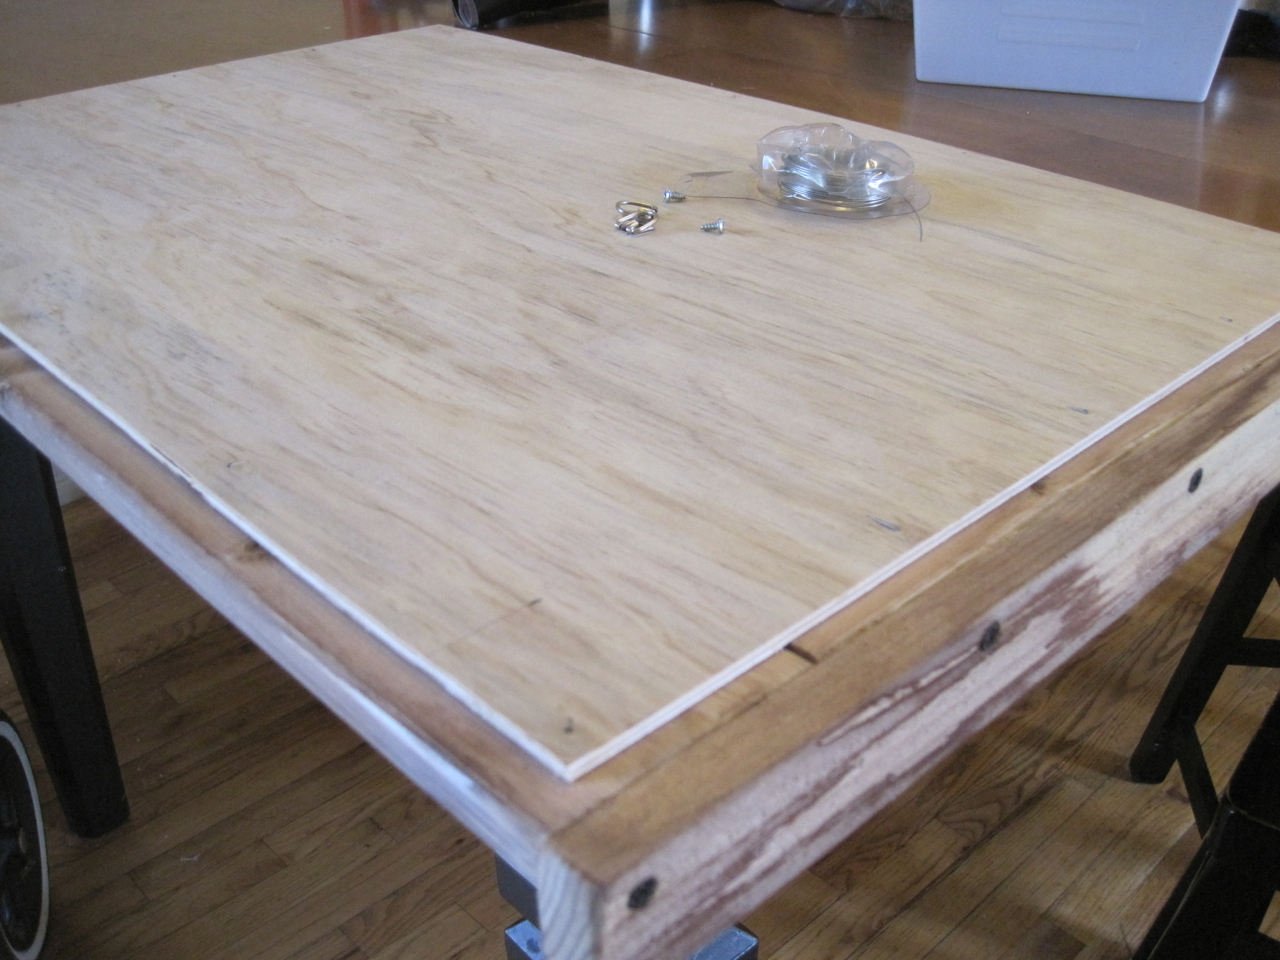
Step 7 – Once your frame is dry you can attach your plywood to the back. Center your plywood on the back of your frame (with chalkboard paper on the right side) and attach with finish nails on the back side. TIP: have the lip of your chalkboard (the 1×2″) hanging off the edge of your work surface to make it easier to work.
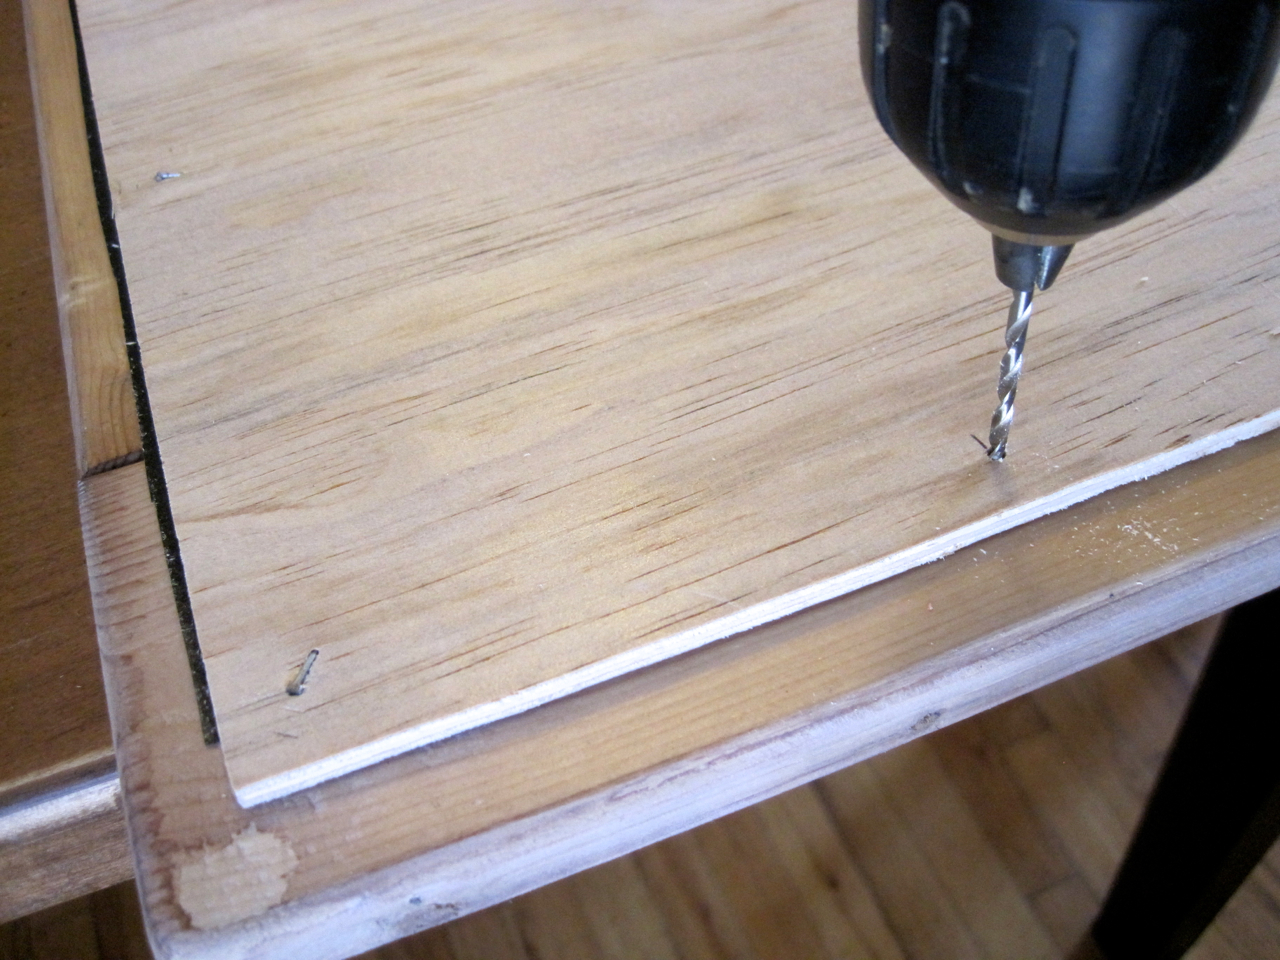
Step 8 – To attach hanging hardware, measure and mark 5″ down from the top of your frame on each side and drill a hold for your d-hook screws.
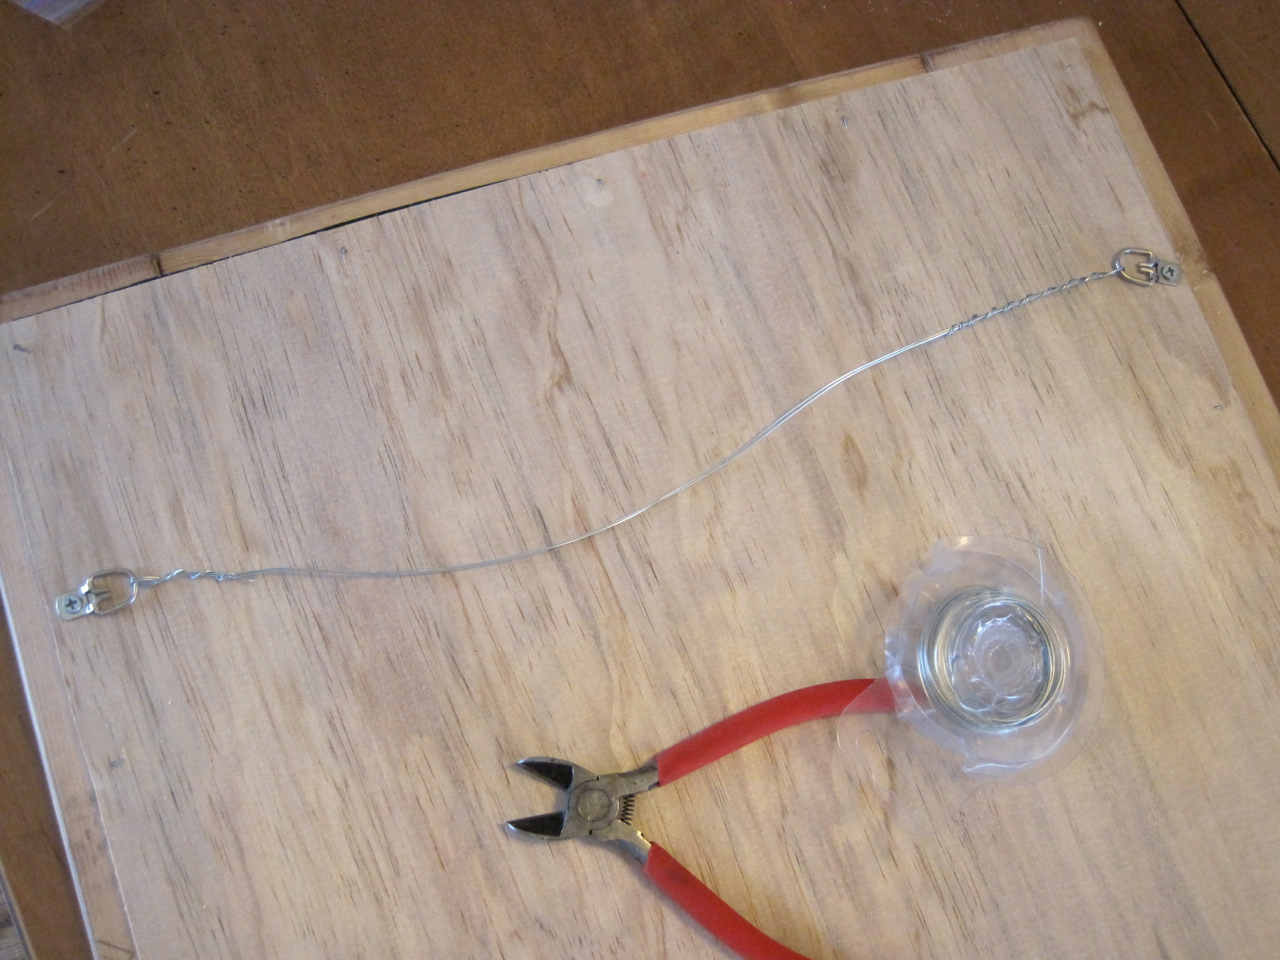
Step 9 – Screw on your d-hooks and attach hanging wire to each hook. Make sure you cut enough wire for it to overlap at least 3″ on the ends where you will twist it back over itself.
Step 10 – Find a good spot to hang your new chalkboard!

Update: I wanted to give the chalkboard a more antique look so I brushed some white paint on the surface – I really like it!

1 Comment
haha! I just made one too. Except yours is way cooler. (I used chalkboard spray paint though.) You seriously need to work for Martha Stewart or something : )
February 28, 2013 at 7:21 am