

I’ve got an easy and fun craft for you! You can make these pumpkins as natural as possible by finding objects around your house or you can buy embellishments from the store. Make it as free as you can! 🙂
I’m organizing a craft night for our church and I gathered enough supplies for 45 pumpkins. Wood was free but all the paints and embellishments will come out to be about 75 cents per pumpkin – yippee!
 Your main ingredients: a slice of wood (store bought or hand-hewn) and a small piece of wood/branch for the stem. Paints, leaves, twigs, pinecones, twine, etc are all optional. I happened to be at the store a few days ago and saw they had 50% off all their fall decorations.
Grab your hot glue gun and let’s get to work!
 I cut a flat bottom on my wood slices so they would be stable. Paint each side of your wood – I like to go just up to the ring of bark, leaving the bark natural.
 Put a nice globe of hot glue on the top and stick your stem on.
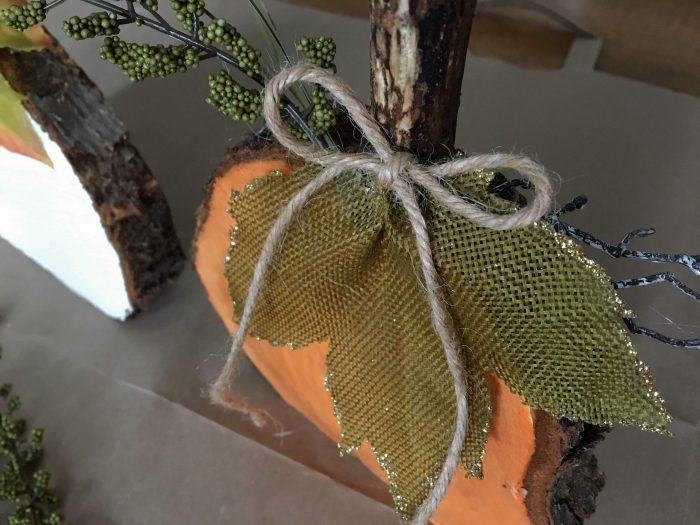
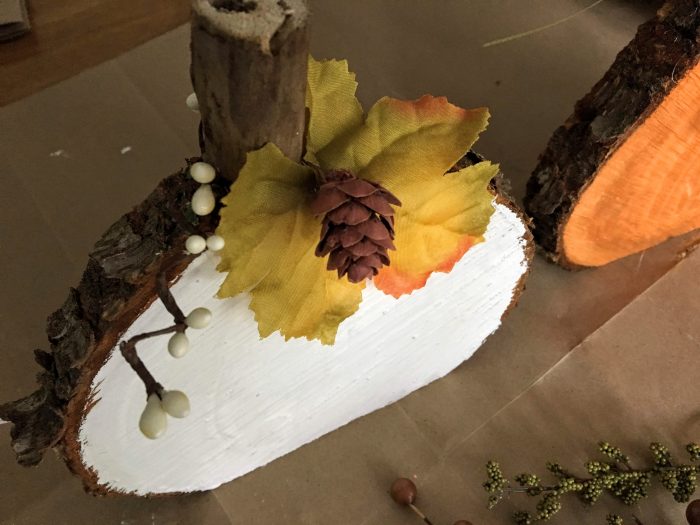 Add pretty things until it looks just right. TIP: I pinched my leaves as I glued them on to give them a more 3D – natural look.
 I added a few darker lines/shadows on the painted surface to make it look more pumpkin-like.
 If you’re interested in fabric pumpkins I have a tutorial for you here.
No Comments