I mentioned in a previous post how I was going to build a desk in wood shop class. Class just finished and I’m probably only halfway done. Has it taken longer than I expected? YES (woodworking always does)! SIXTY hours of class and it doesn’t look like I have much to show for it. It is nice to know, though, that other people there have been working on their projects for YEARS!! I will take the next class starting in the Fall and work my butt off to get it finished.

I went over the design a bunch of times hoping to get it perfect! I’m sure I won’t be building another desk in my lifetime so this one has got to be THE one.

One of the biggest decisions – what wood to use??? I knew I wanted hardwood because it is SO beautiful (when I was building my pine cabinet in shop I often found myself starring at other peoples projects who were working with White Oak and being so jealous). So many of the hardwoods are heavy and my desk is already more bulky than most so I was worried. I decided to go with Ash because the grain is so interesting and it felt more lightweight than White Oak (which I would have preferred). The picture above doesn’t demonstrate the amount of wood I got in my order to make my desk. All of it probably weighs 1,000 lbs! HAH!

The true beauty of the wood doesn’t come out until you machine it. It’s always a surprise when it comes out of the planer to see what’s underneath the rough layer on top.

It took me probably 25 hours to get to this point of gluing up the bottom side panels. I was holding my breath the whole time… talk about stressful!

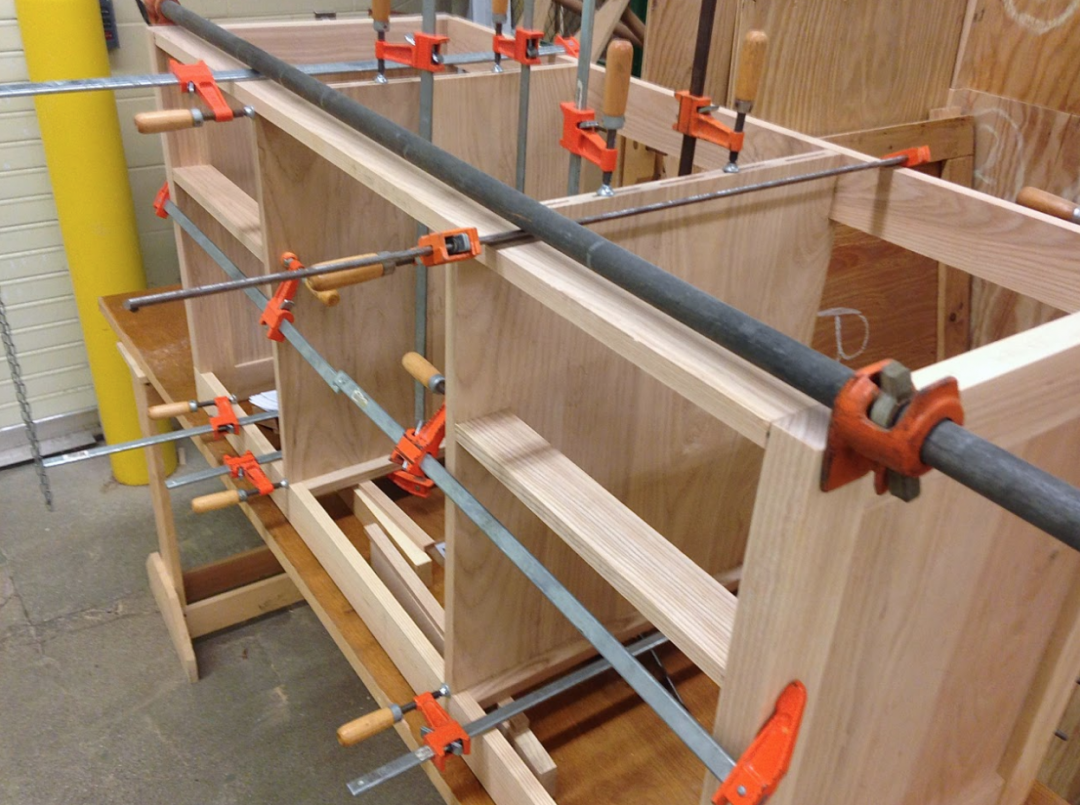
After a few more classes I got the main parts of the carcass machined, jointed and sanded. Gluing all these parts could have given me a heart attack. I got glue EVERYWHERE! I’m just glad the thing came out square in the end!

Next I made up a panel for the top, jointed to attach to the carcass and still waiting to be glued.

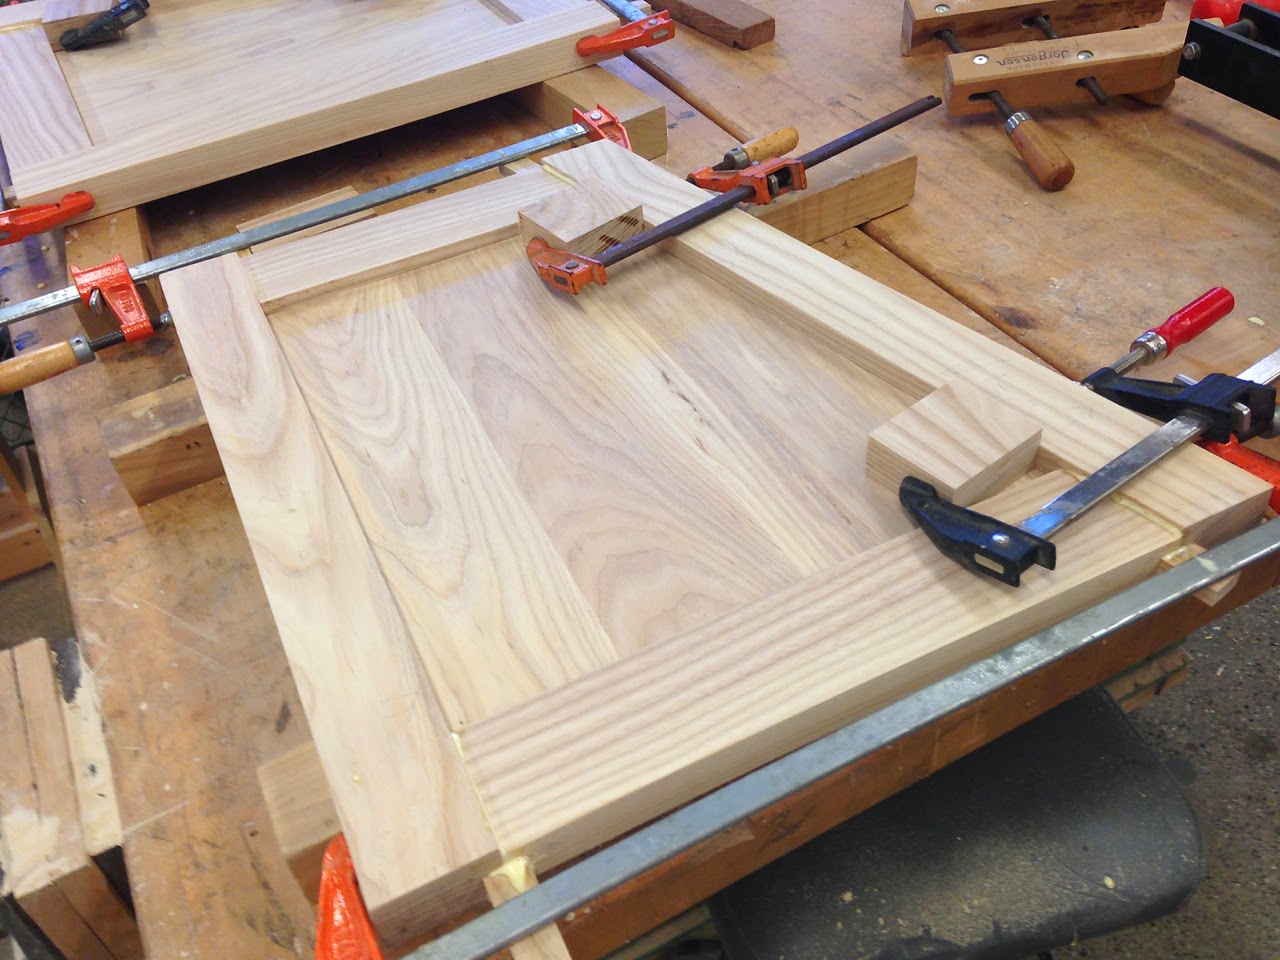
Up next was the side panels for the top half of the desk. To get to this point was a TON of machining just like the bottom panels.

The joining method I used for these thick side pieces and works perfectly with the slots for the panel was to make wood pieces to fit in the grooves to act as a type of biscuit/domino you could say. Each small wood piece is customized for each joint to fit like a glove.

The panel is slightly smaller that the frame to allow for expansion in the humid summers.
All glued up! I have most of the other parts ready for the top carcass to glue up next class in 1.5 months. Until then, here’s to endless dreams of finishing my desk!

Oh, and here’s some Ash feet I was lucky enough to find. I can’t wait to put them on!! EEK!
Click HERE to see Part 2!
6 Comments
Looking really awesome!
July 25, 2014 at 4:23 pmis there plans for this desk somewhere?
September 24, 2015 at 7:27 amHi Matthew! I haven't made up plans to give to people but I have my draw-ups from Google Sketch I could e-mail you.
September 24, 2015 at 7:28 amCan you share the plans for this desk?
September 24, 2015 at 7:29 amThat would be an awesome start my wife loves the desk design. Nsmjc1@gmail.com
September 30, 2015 at 9:57 am¡Magníficos diseño y mueble, gracias por compartir Daniela!.
October 16, 2020 at 10:40 am¡Internet es una hermosa herramienta!