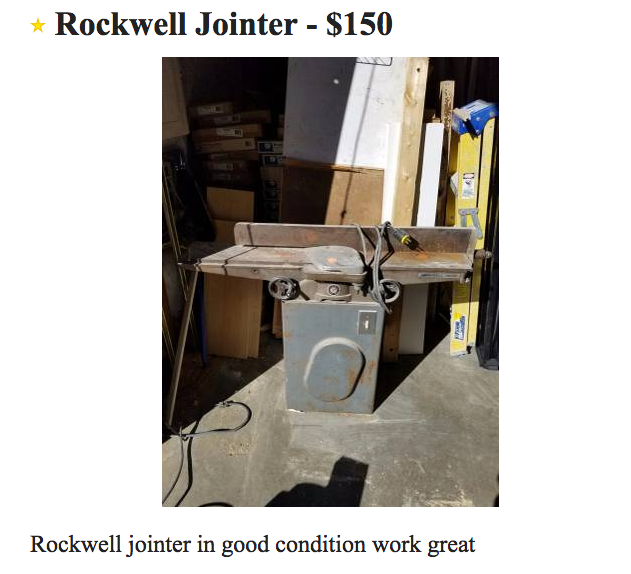
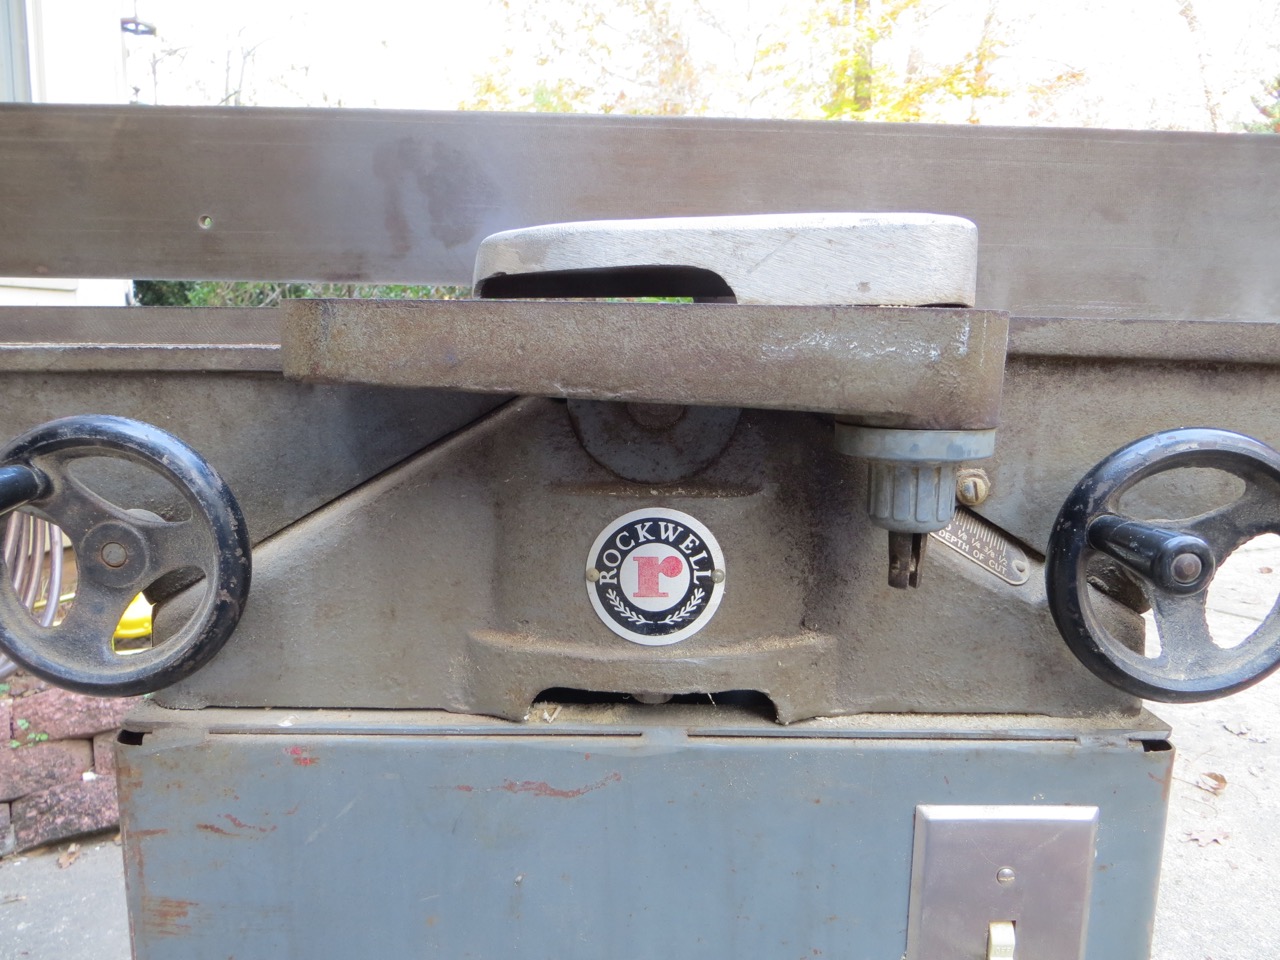
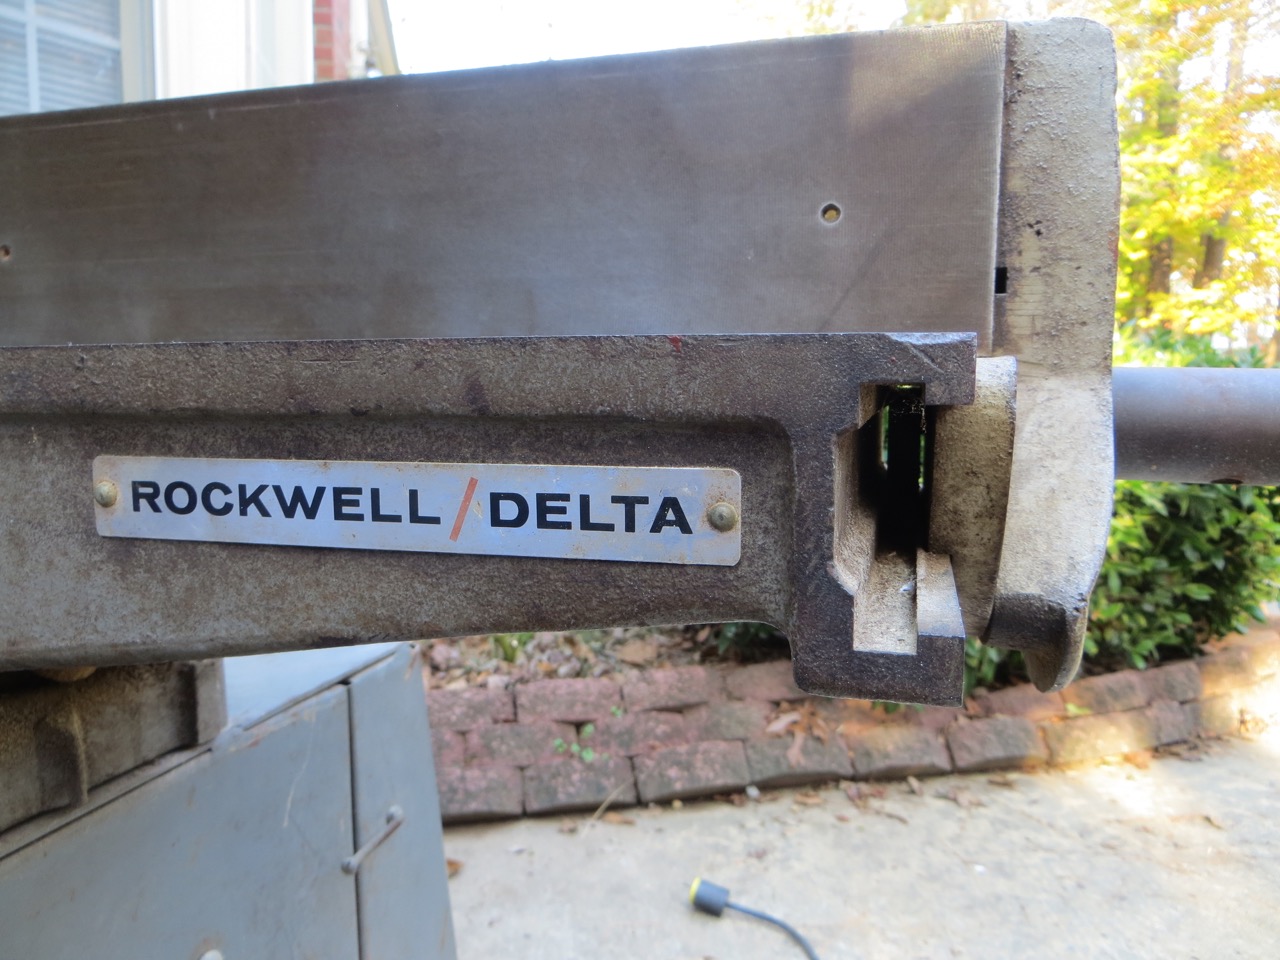
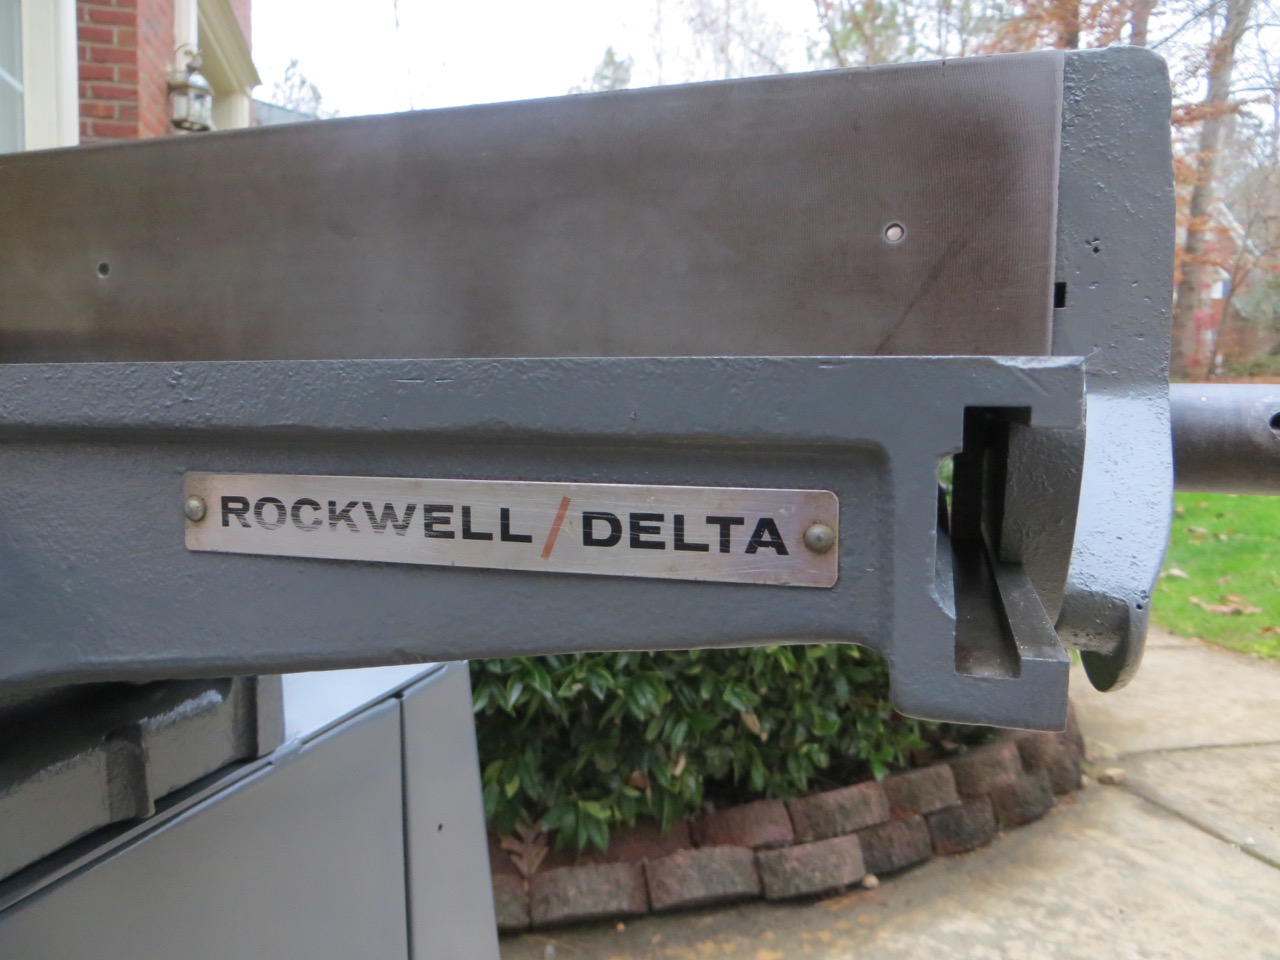
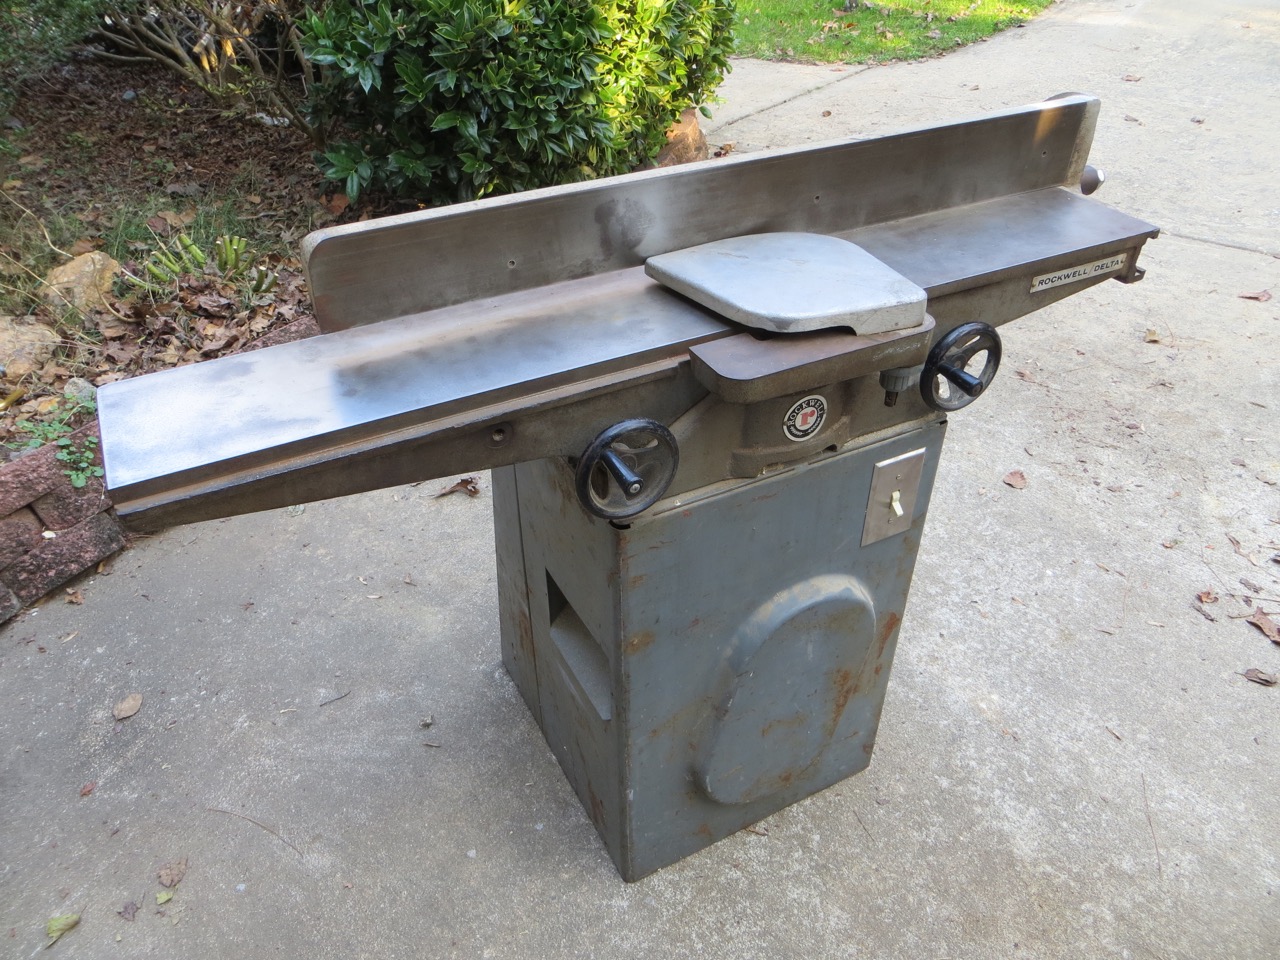
My husband gave me a budget of $400 to buy some shop tools. I’ve been wanting a jointer and a planer for a few years and it’s been on my mind a lot recently. I was excited and started looking on Craigslist hourly for a deal to pop up. When I saw this older Rockwell jointer it spoke to me and I simply had to have it!
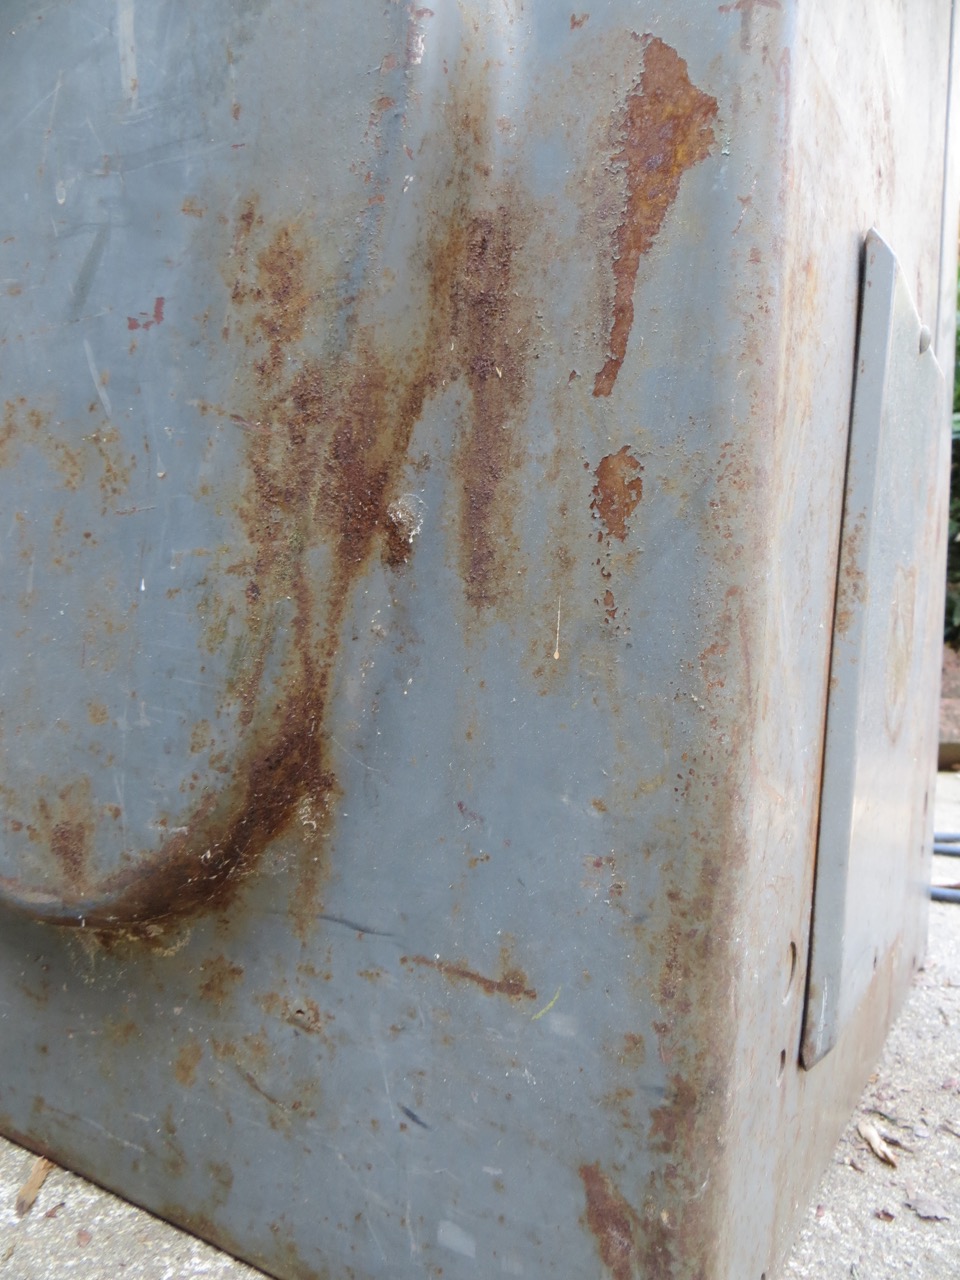
While the guy was testing it out with a block of Ash I brought I could tell he was in trouble. He was working really hard to push the board across the blades and it eventually kicked out and flung across the room and the palm of his hand hit the blades (he didn’t check the depth of cut and it was way too deep)! His hand was bleeding everywhere so he wrapped a big towel around it. My stomach was up in knots from what just happened and it made me second guess buying it. I knew once I got it adjusted and cleaned up it would be safe.
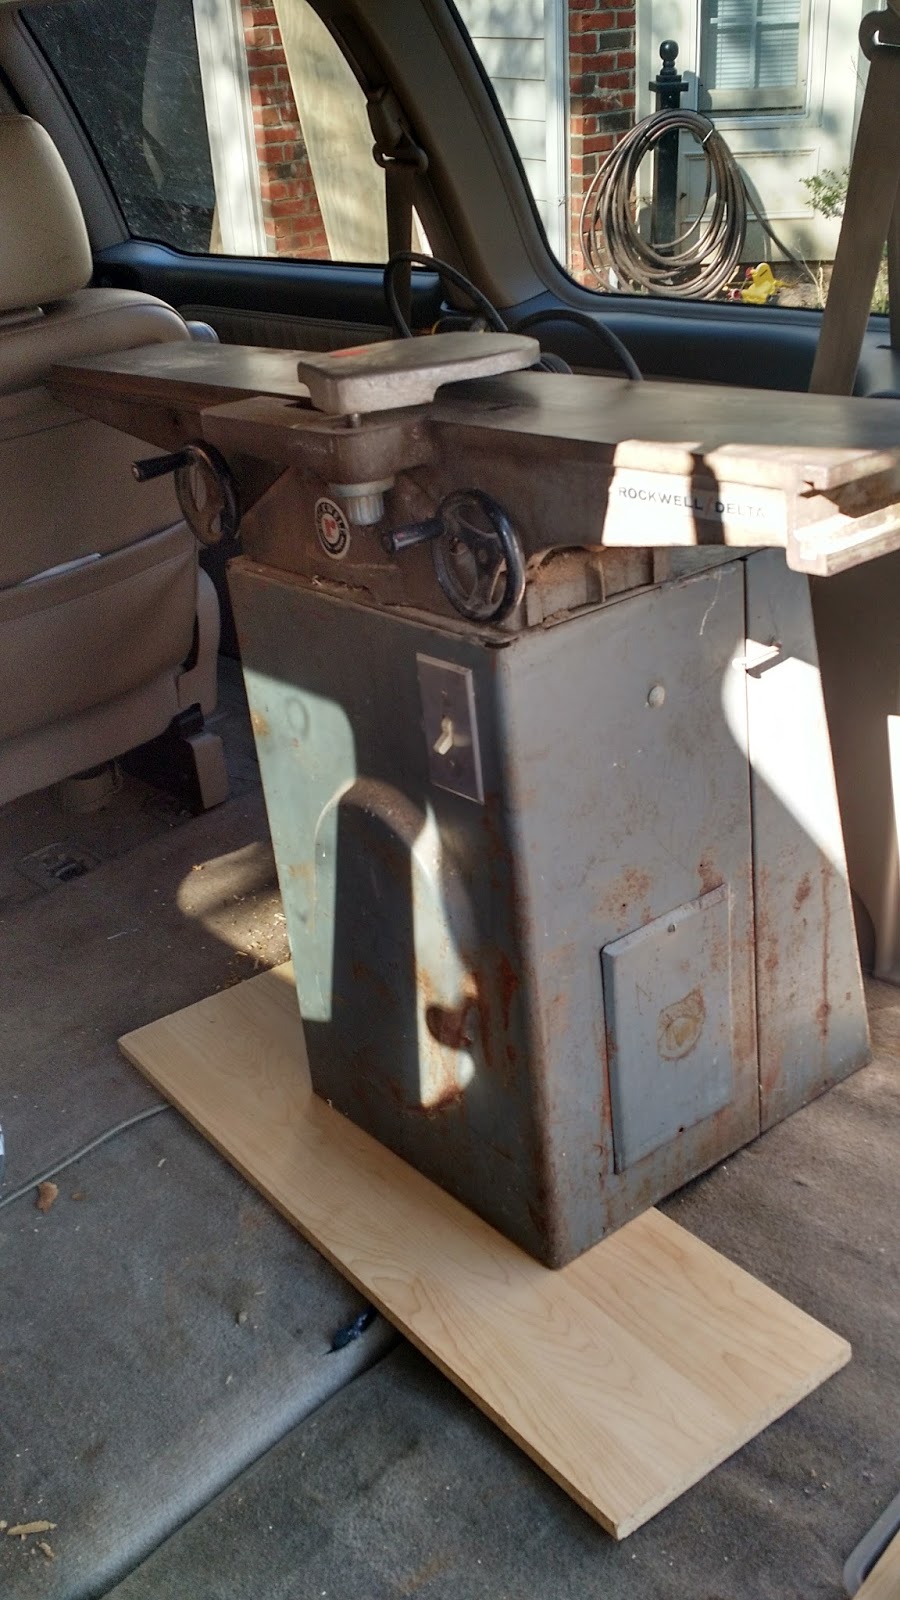
I loaded the tiny little beast into my pick-up truck mini van and away I went!
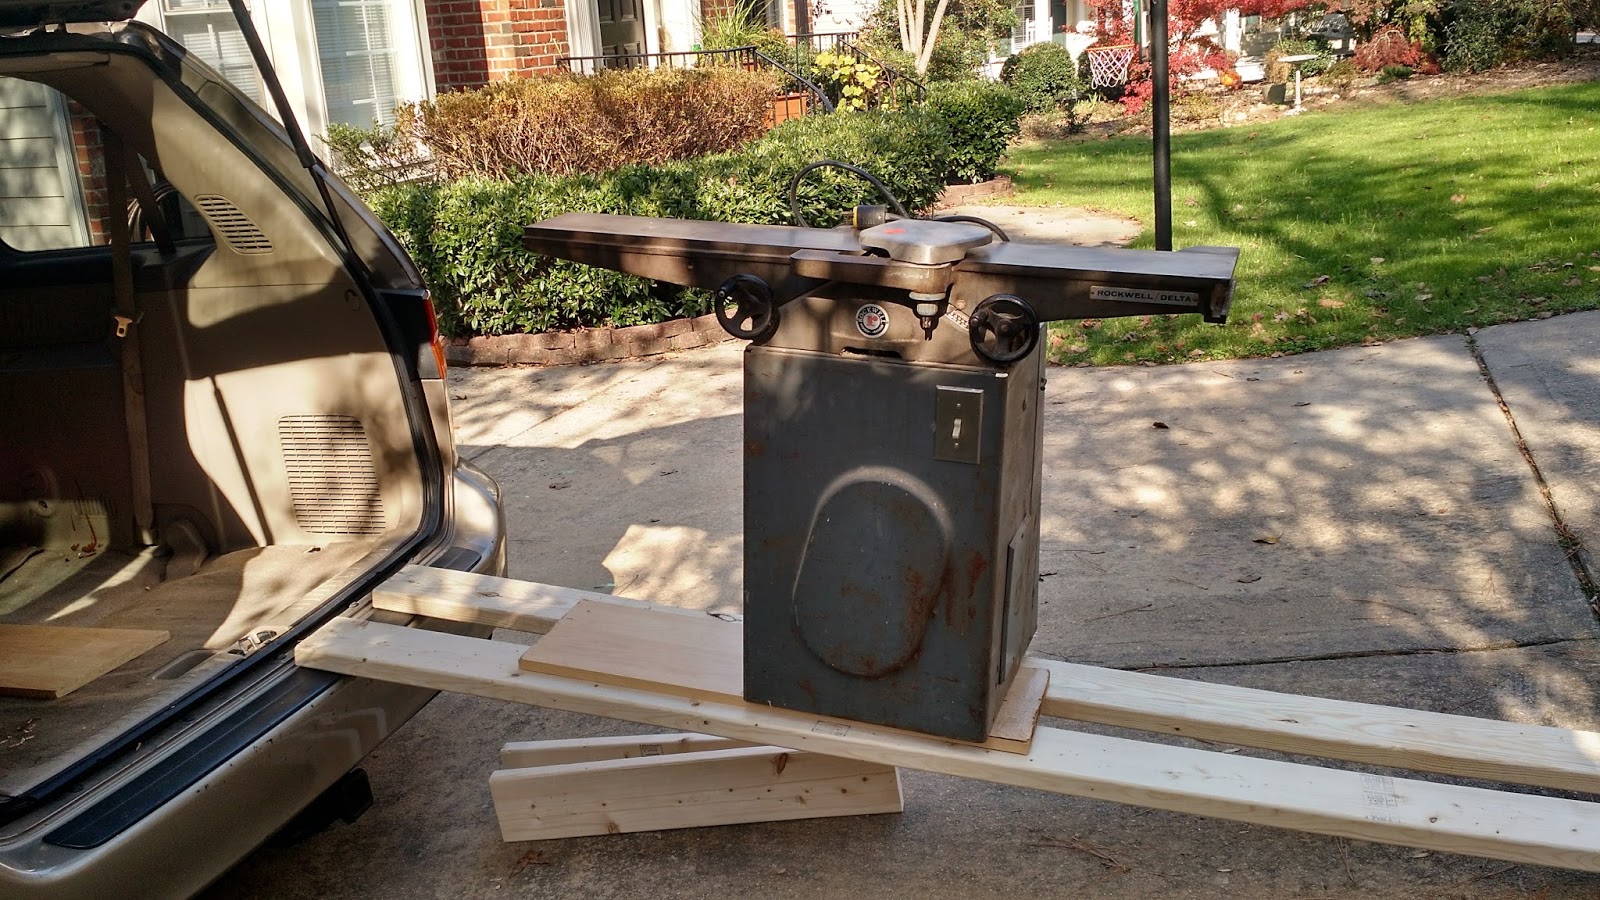
Of course I couldn’t wait for my husband to come home to help unload it so I fixed up a way I could slide it out onto a dolly. It’s heavier then it looks and the edges of the tables are sharp!
I’m happy to show you how I disassembled everything because it became a stressful process as I realized the tables weren’t as easy to remove as people were saying jointer tables generally are: “loosen the gib screws and the tables should literally fall off”. Not with this one!
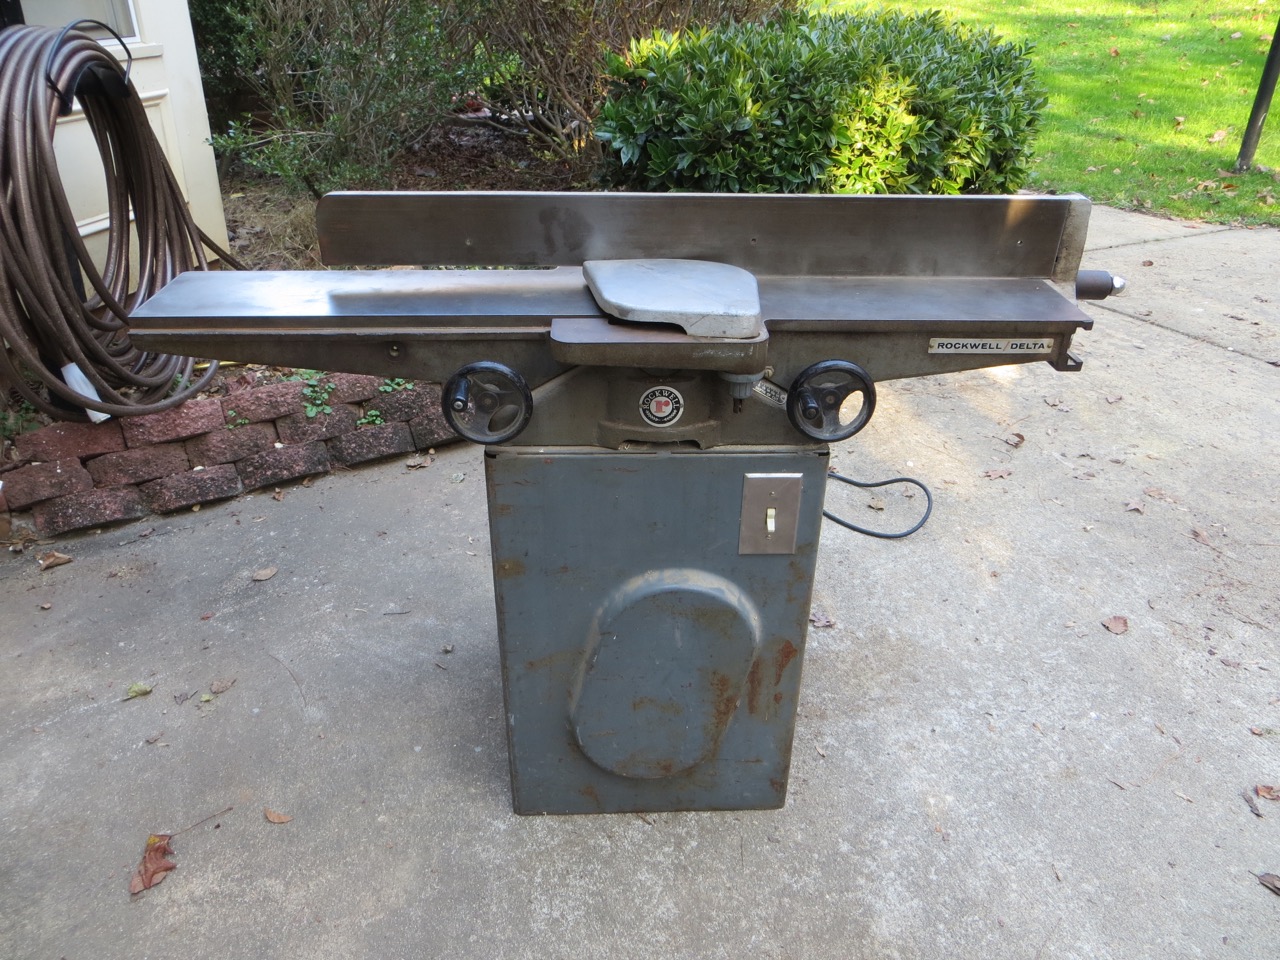
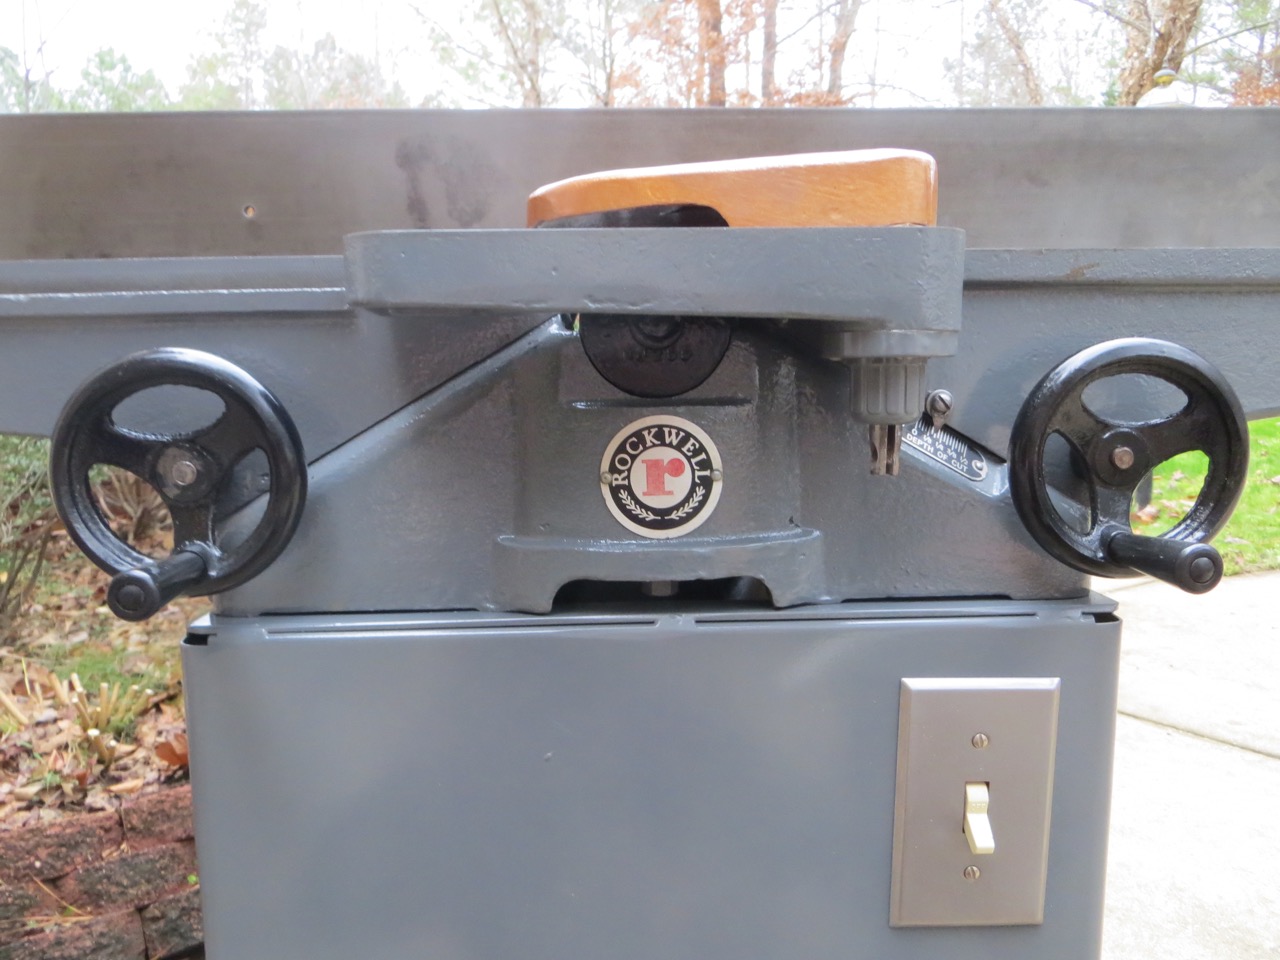
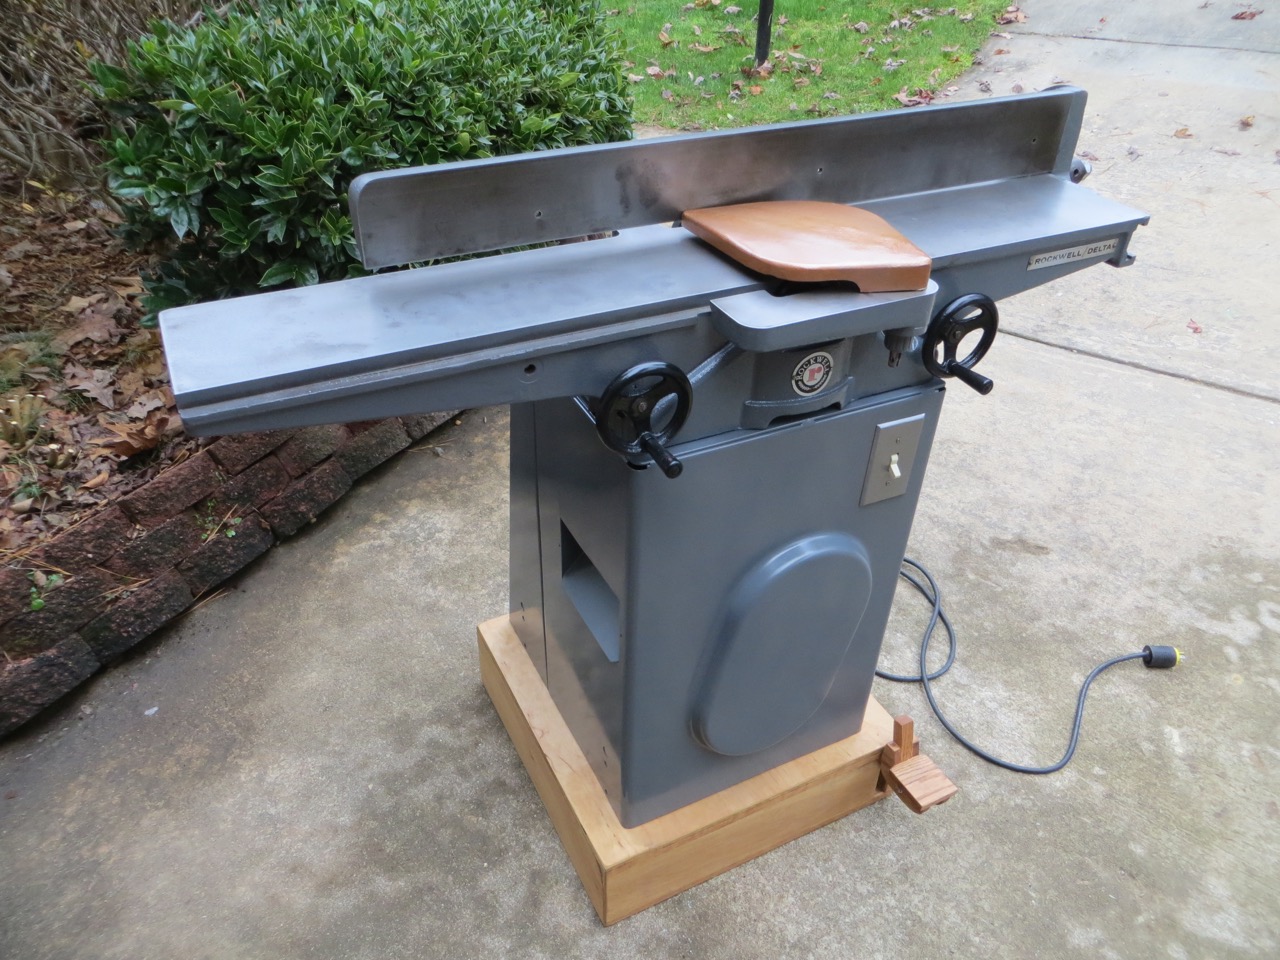
But first – my favorite part – BEFORE and AFTER pictures!


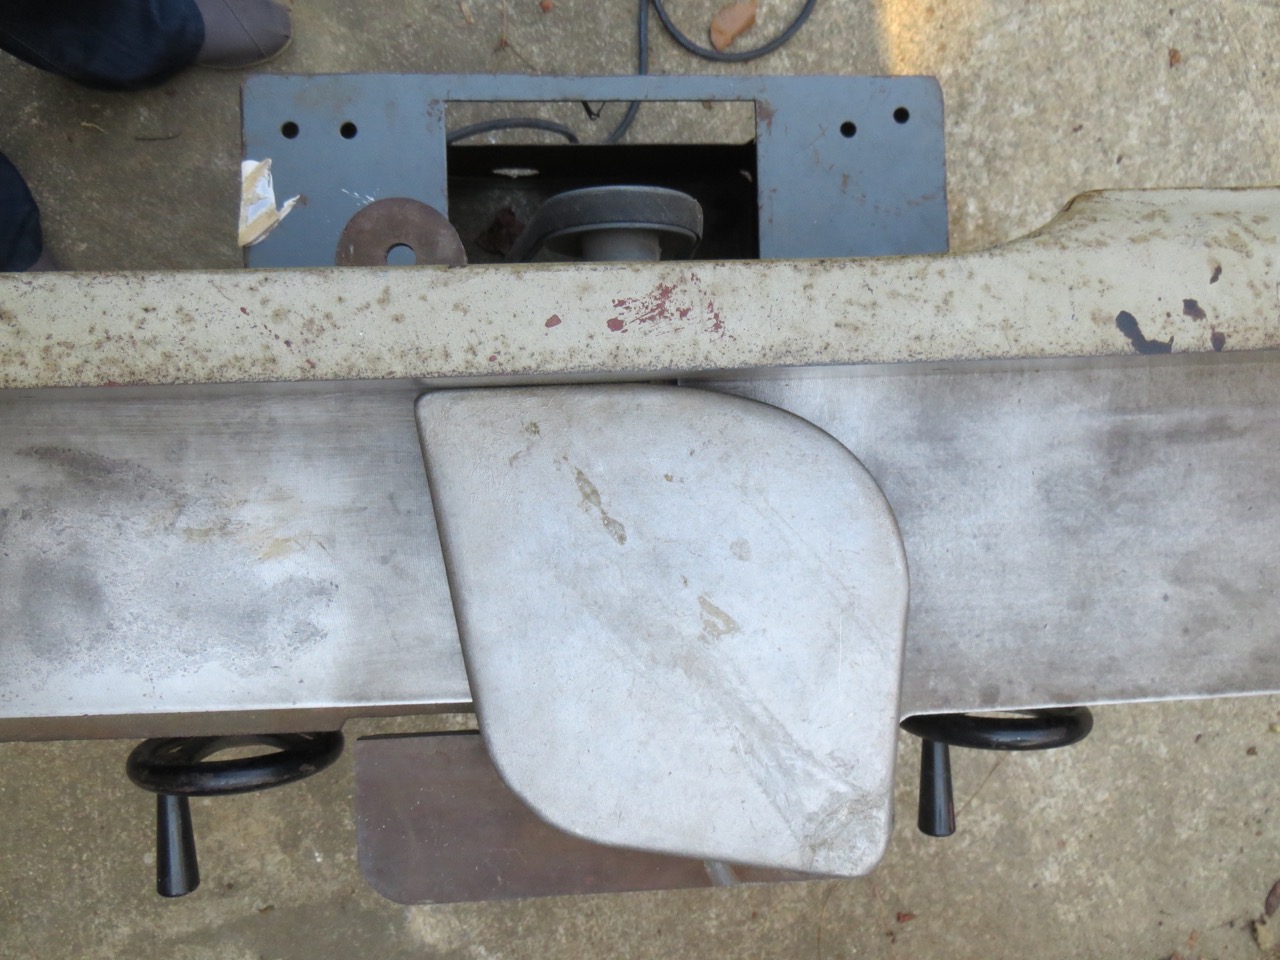


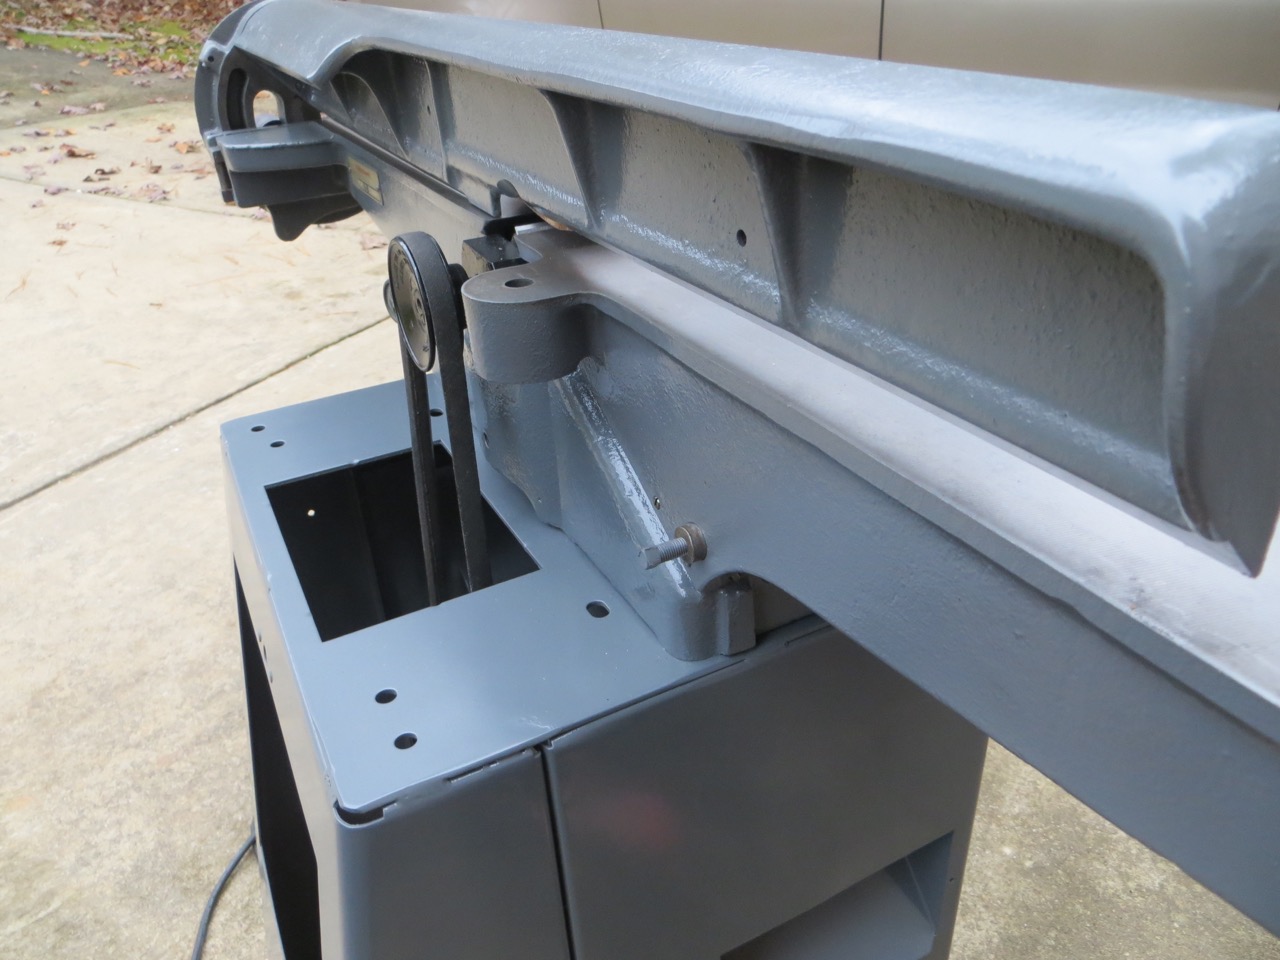
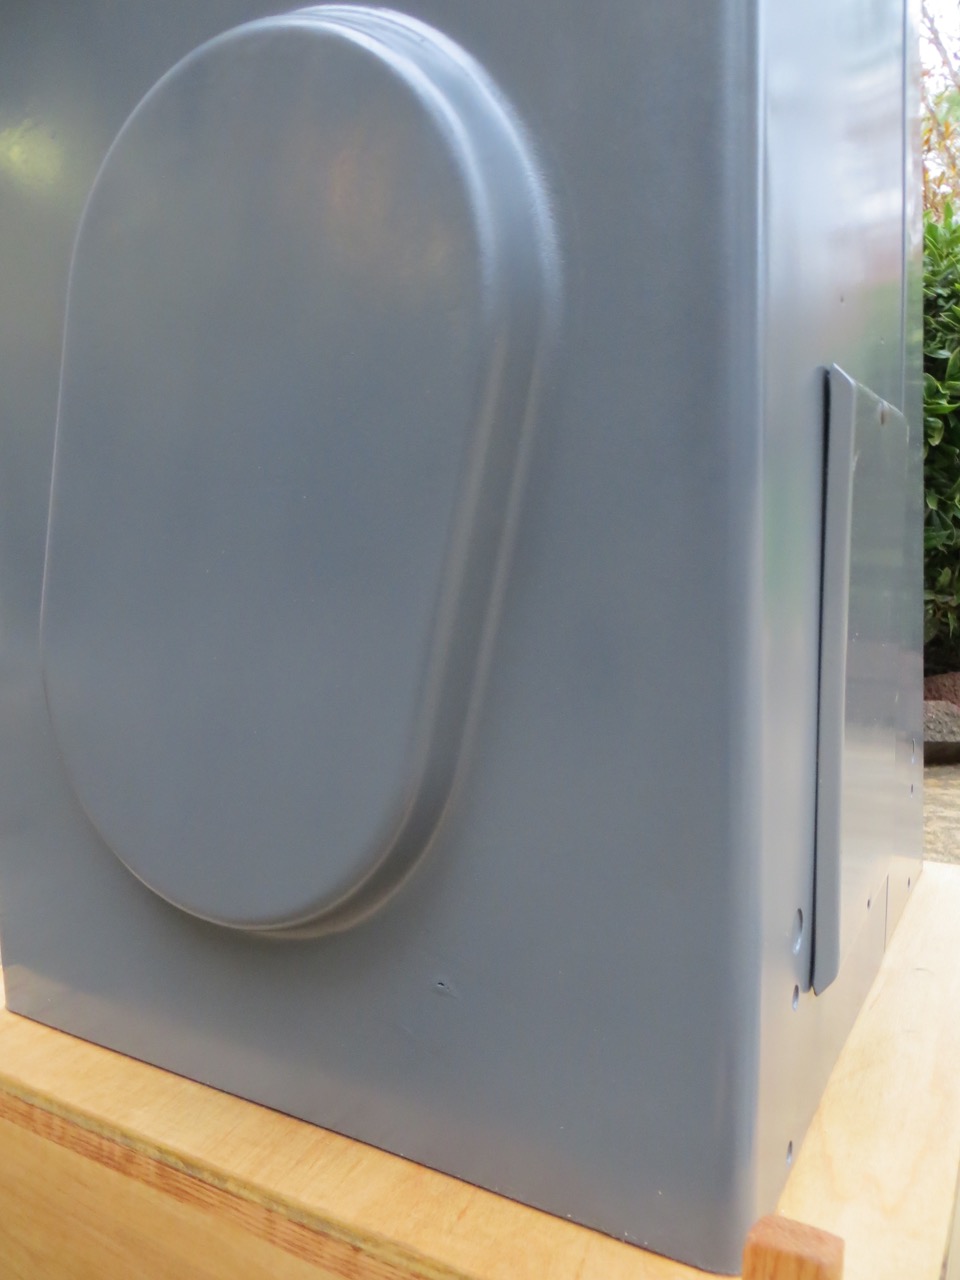
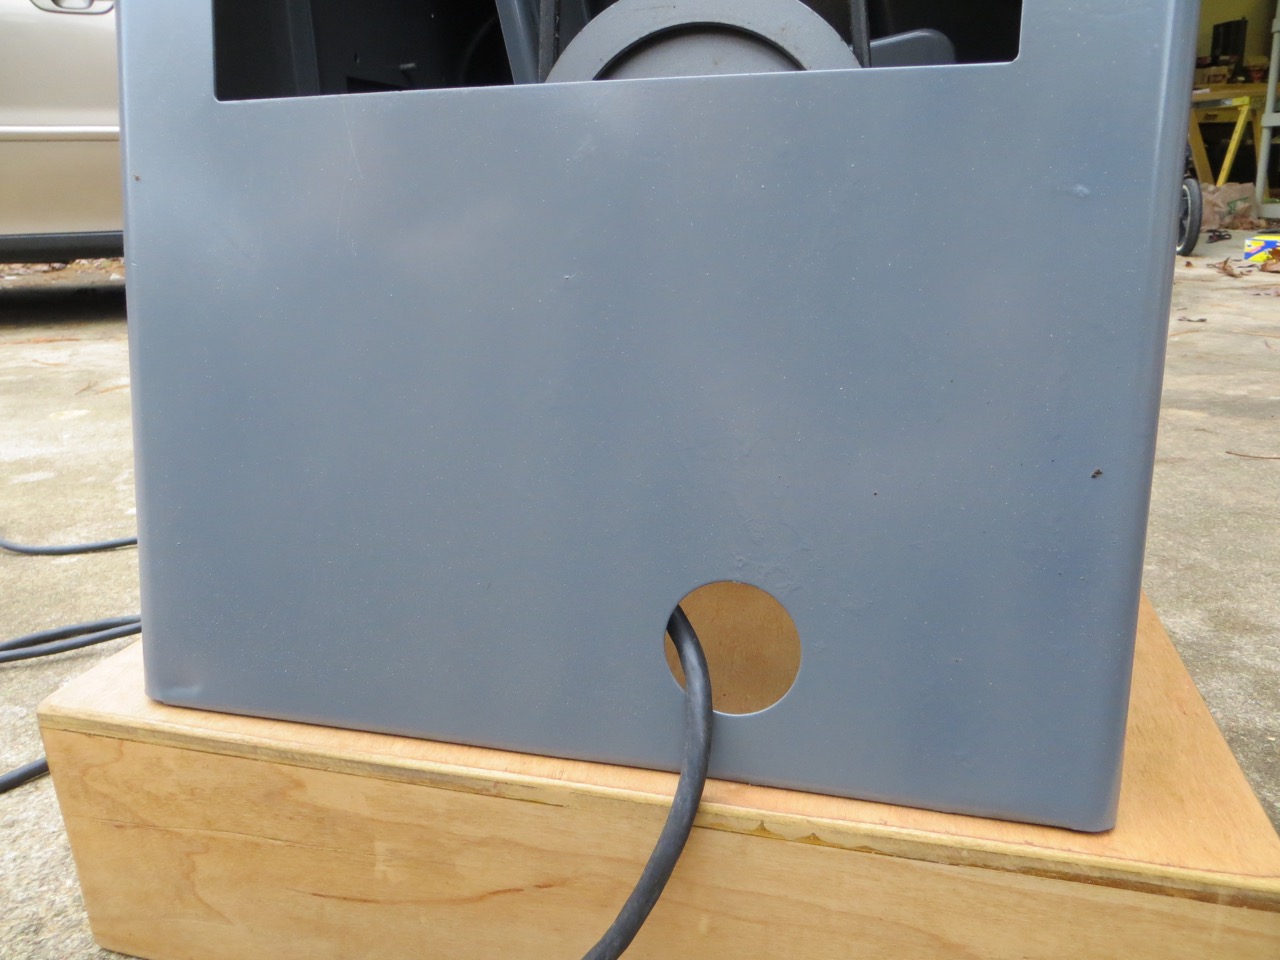

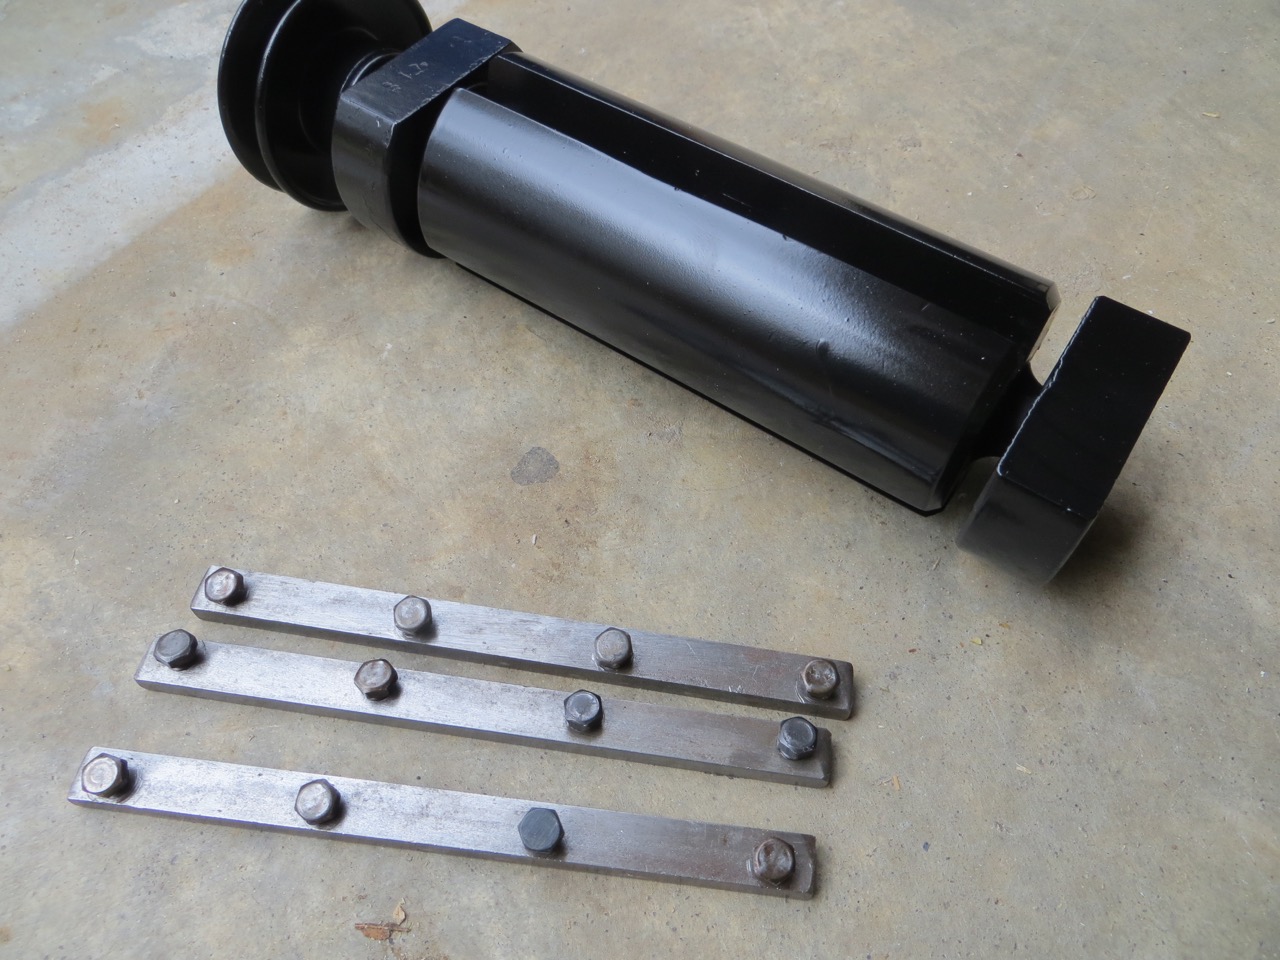
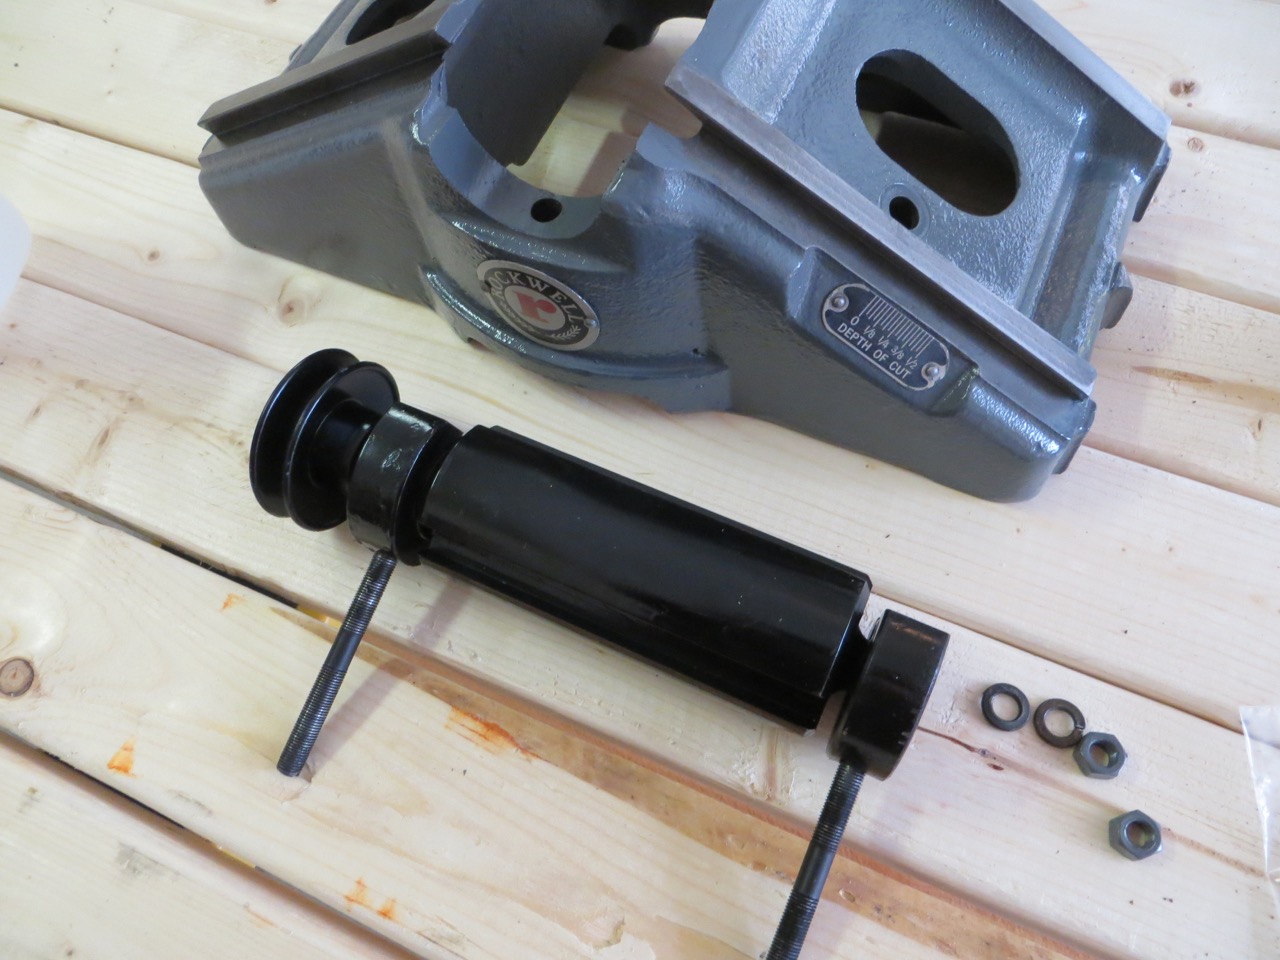
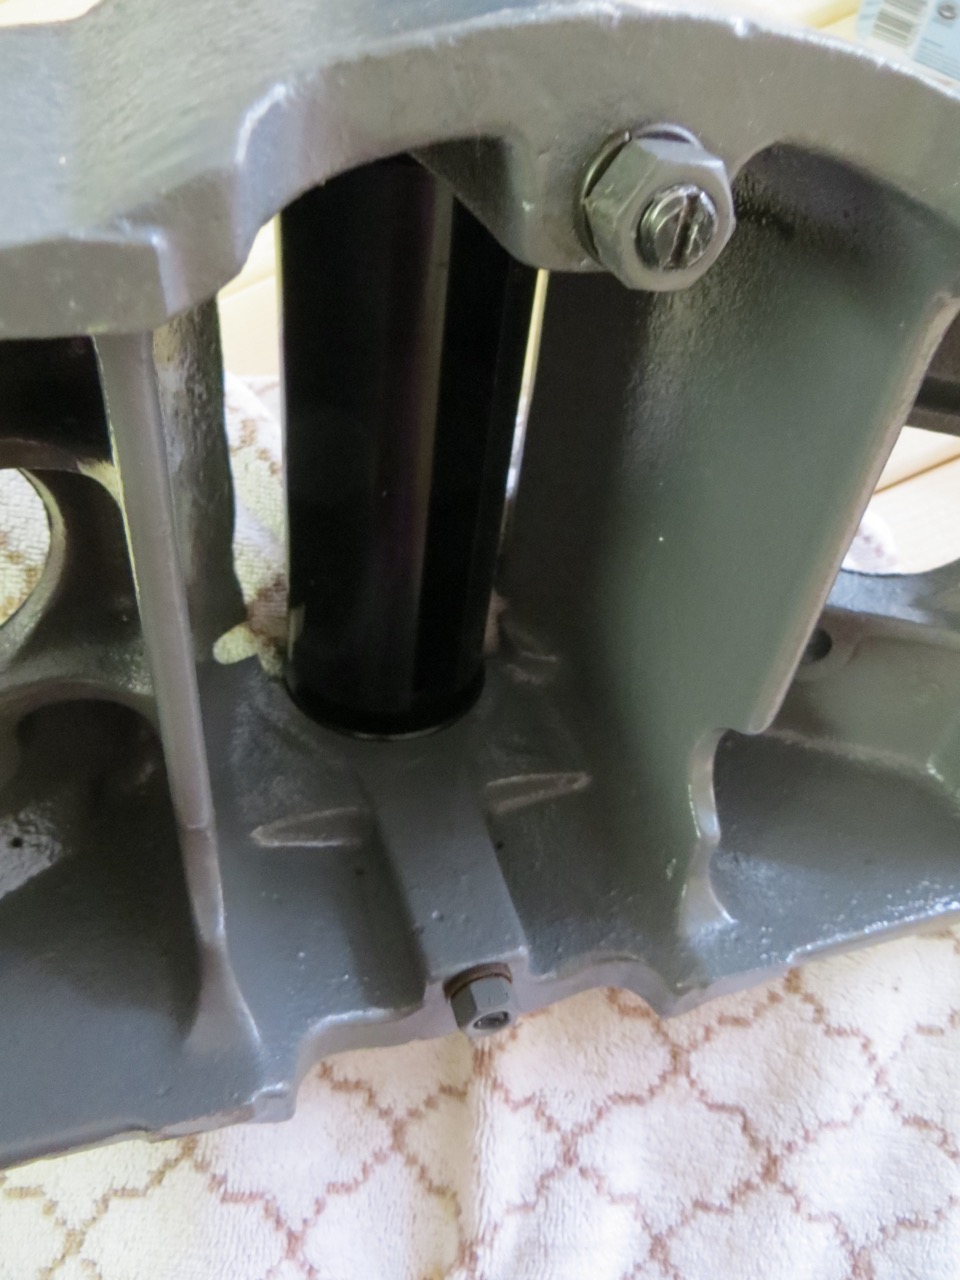
I made a caster base for the jointer. I love how the caster wheels are activated with a simple pedal! Even without the casters I would have wanted a base to raise the jointer because it seemed unusually short and I’m only 5’7″. I made the wooden base almost 2-inches bigger on each side and the front to stabilize the jointer more-I was really surprised how unstable it felt, especially with how front-heavy it was!
I also made some simple push blocks and will show you at the end how I made them. It felt SO much safer pushing boards through with these (especially after watching a guy almost loose some fingers on this thing)!
SUPPLIES USED:
Orbital Sander + 220 Grit
Steel Wool – 00 & 0000
Metal-bristled Brushes
Mineral Spirits (Heavy Duty Gloves + Goggles)
Evapo-Rust
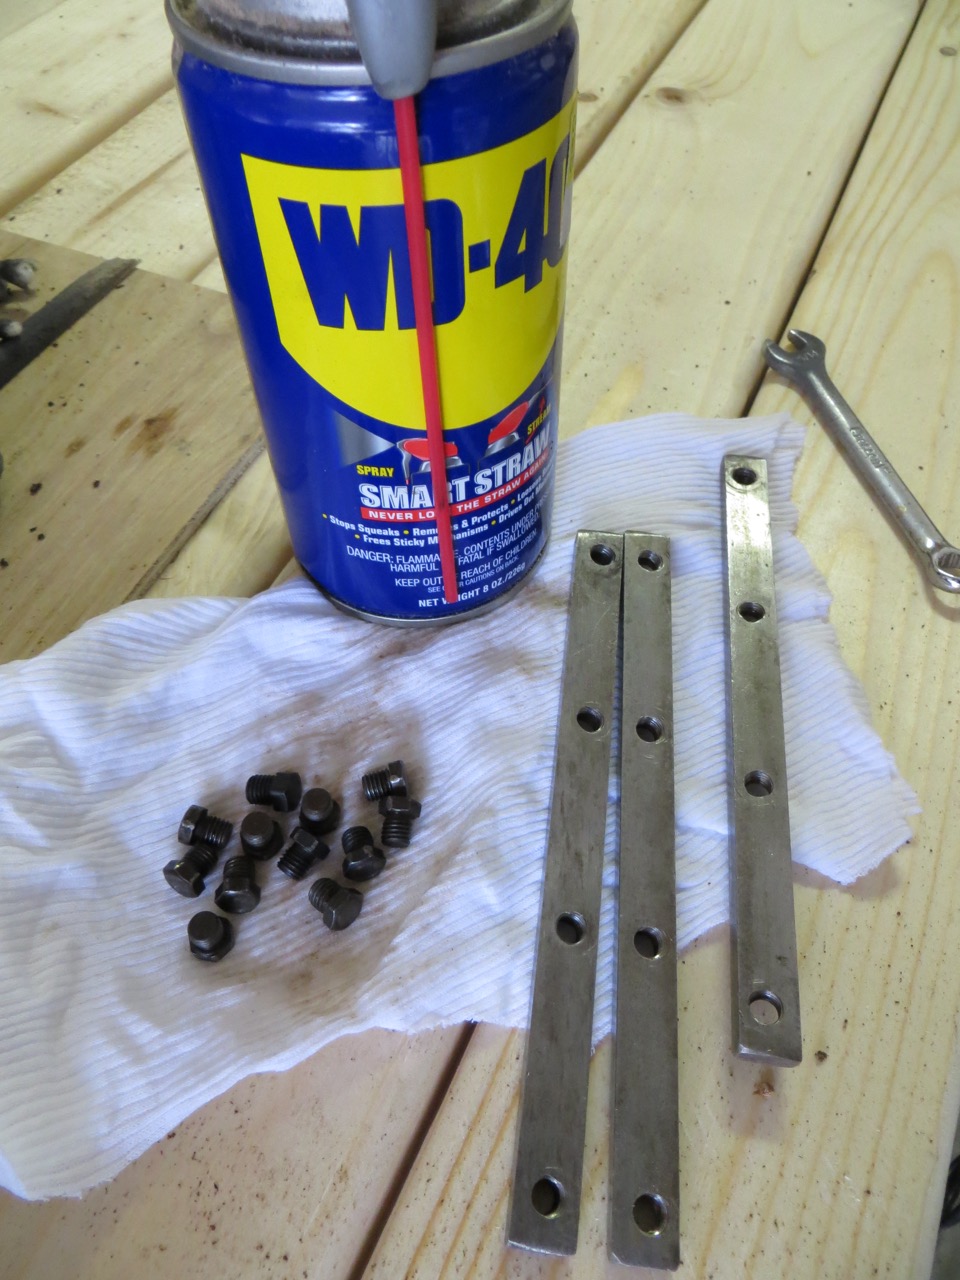
WD-40
TSP Cleaner
PB Blaster
Sockets-Wrenches
Rubber Mallet
Masking Tape
Primer & Paint
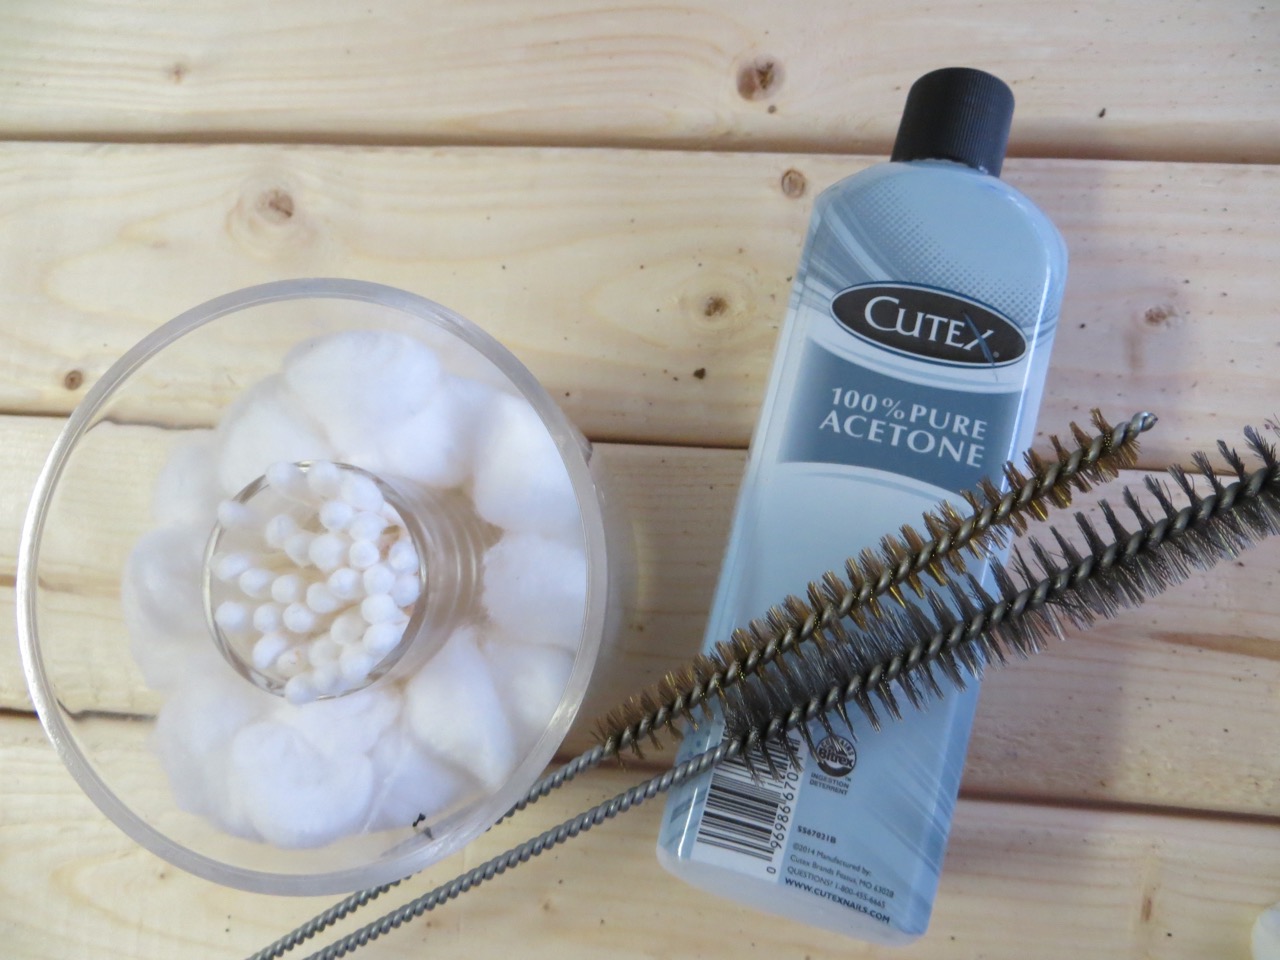
Acetone
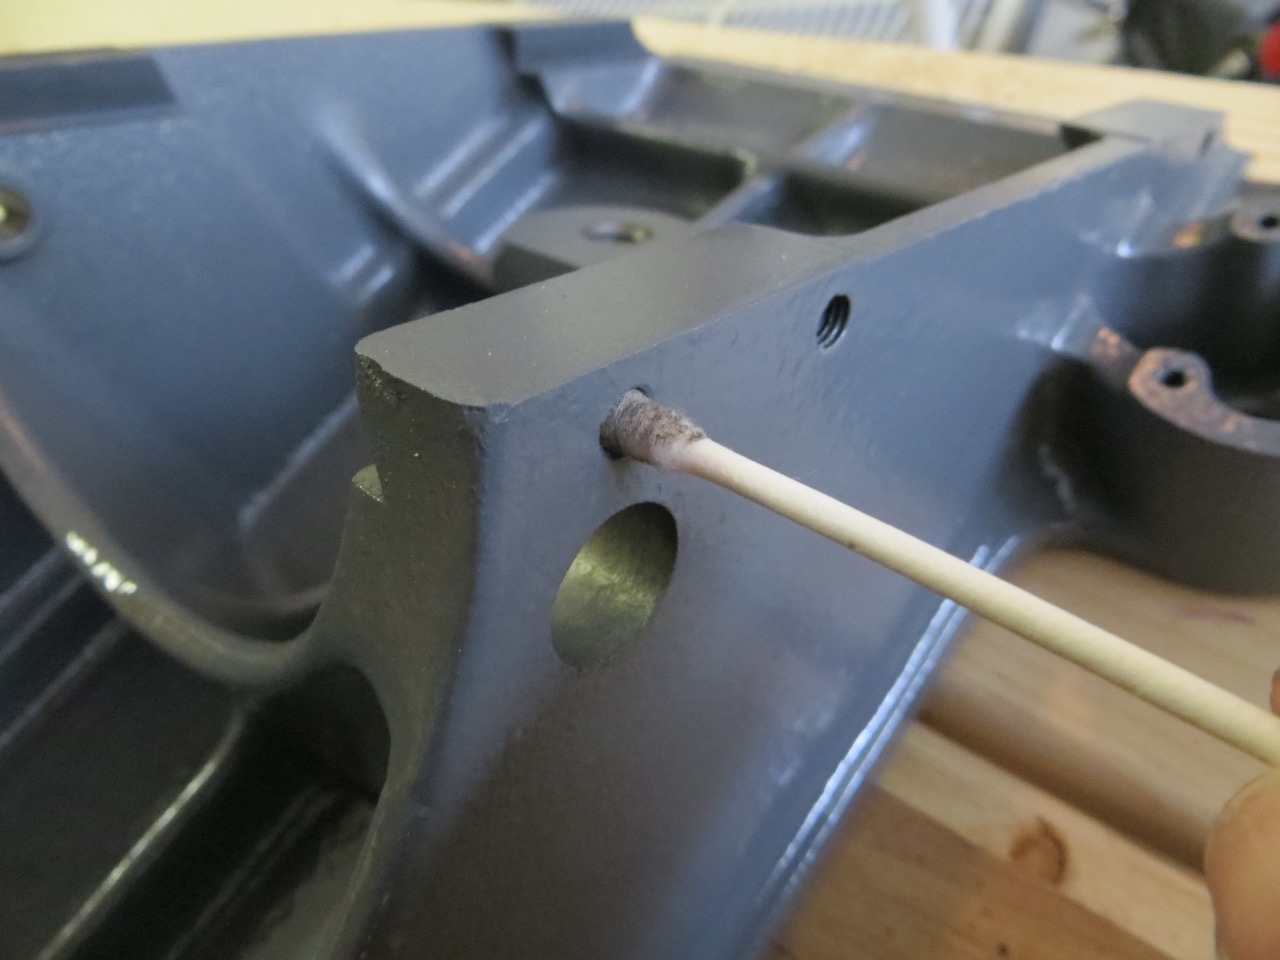
Cotton Balls, Swabs, Rags

I recommend cleaning the tables first. My tables were very rusty and had deep machining marks from the manufacture so I opted to use my orbital sander with 220 grit paper first – it cleaned them up pretty good! I finished off by spraying WD-40 and rubbing with the length of the tables using steel wool pads; starting with 00 and ending with 0000.
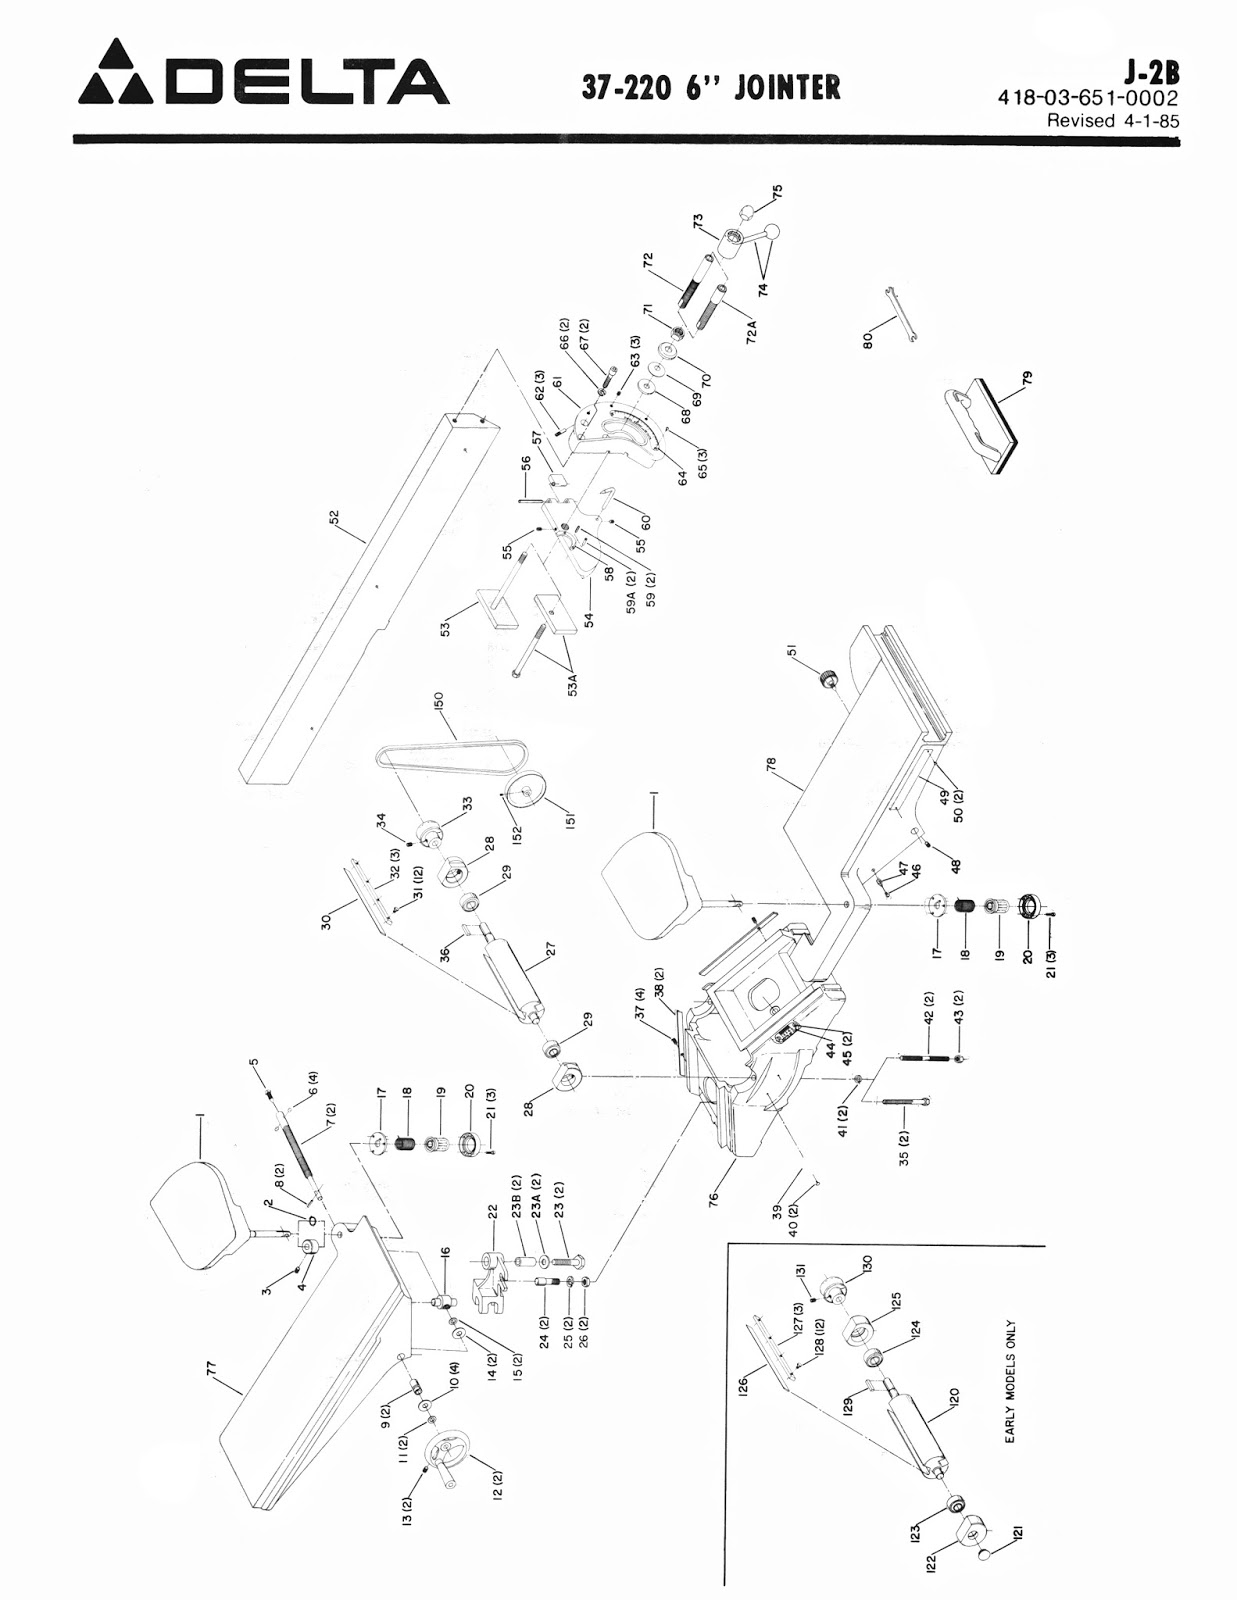
Here’s an exploded parts list diagram that may help as you work.
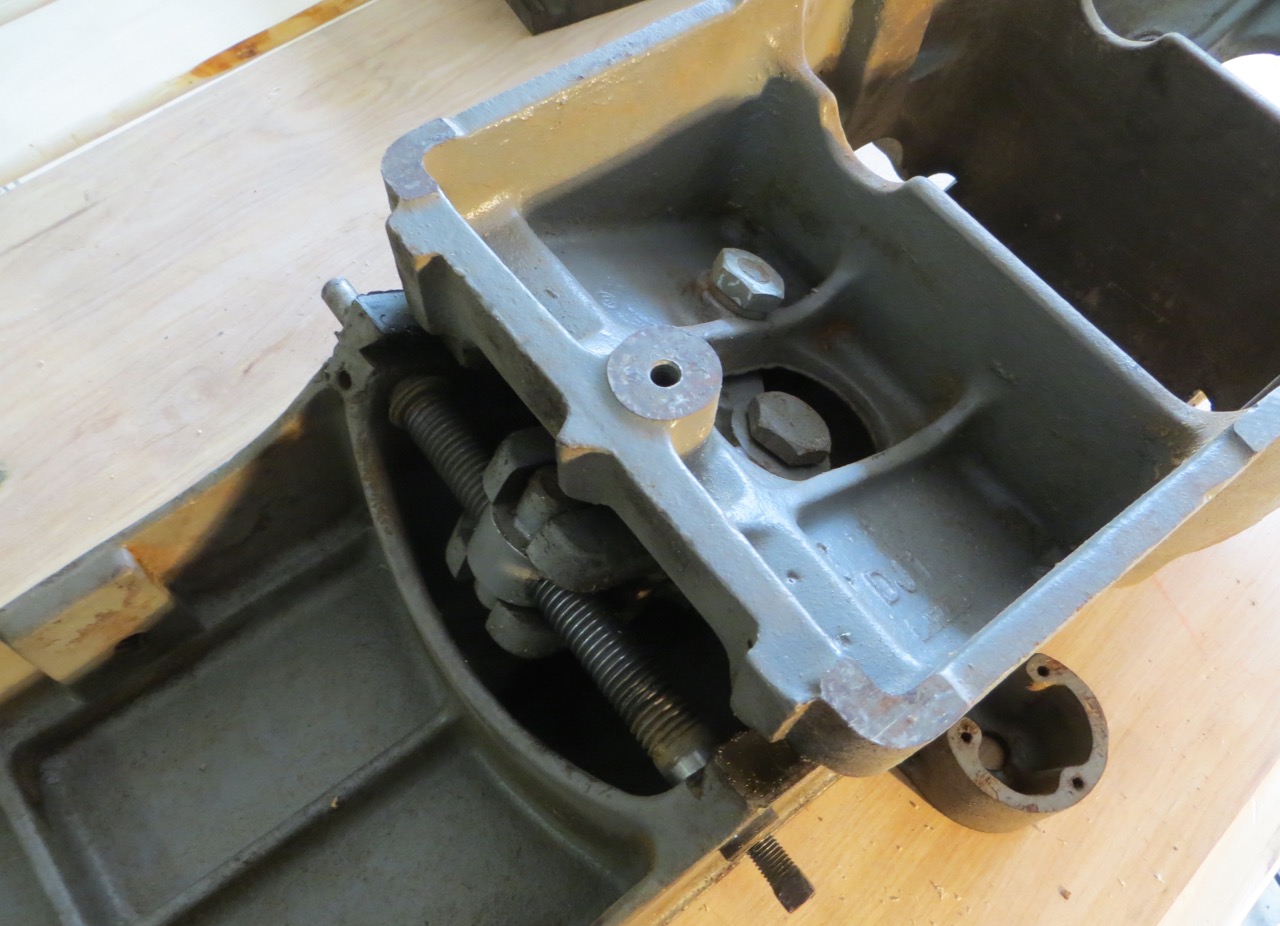
Turn the main jointer head upside down. You can remove the tables first but I opted to get the cutterhead out of the way to avoid bending the pulley shaft from flipping everything back/forth while I worked.
Loosen/remove all gib screws.
Remove handles and lock screws from the other ends.
Use a mallet and punch to push wheel pin out of shaft.

I removed the right table first before I decided to document how to do it.

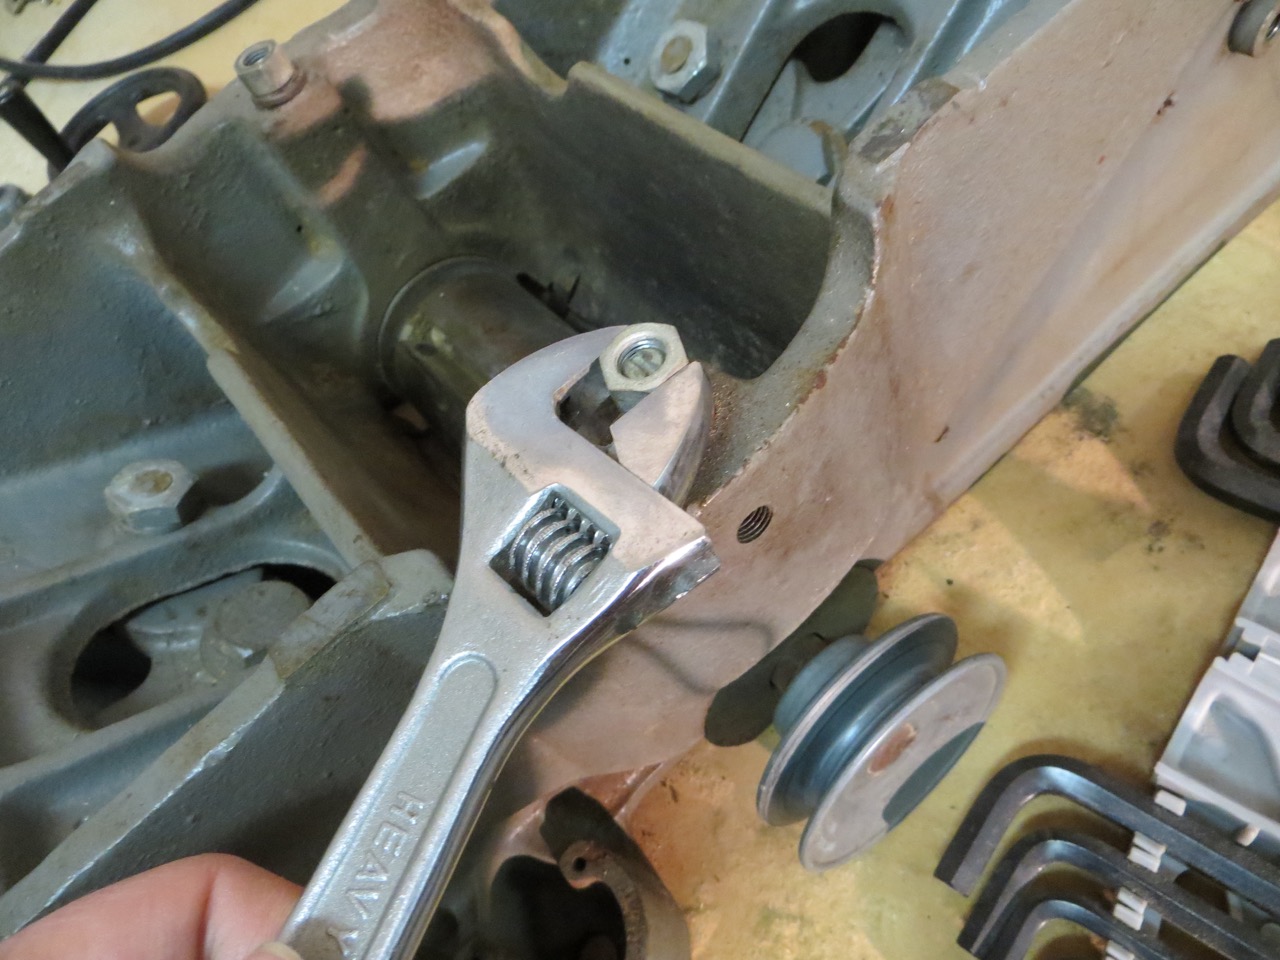
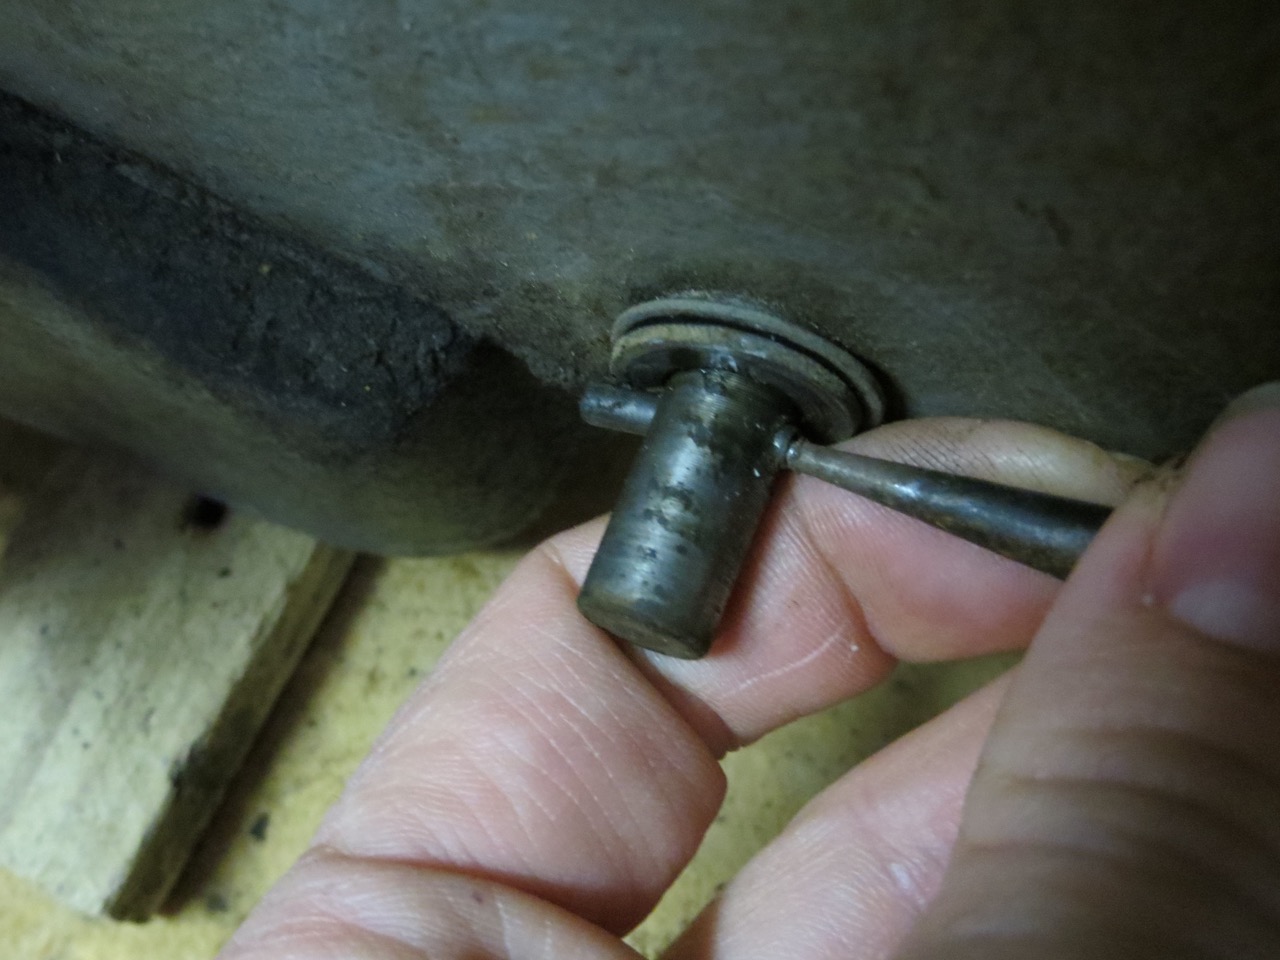
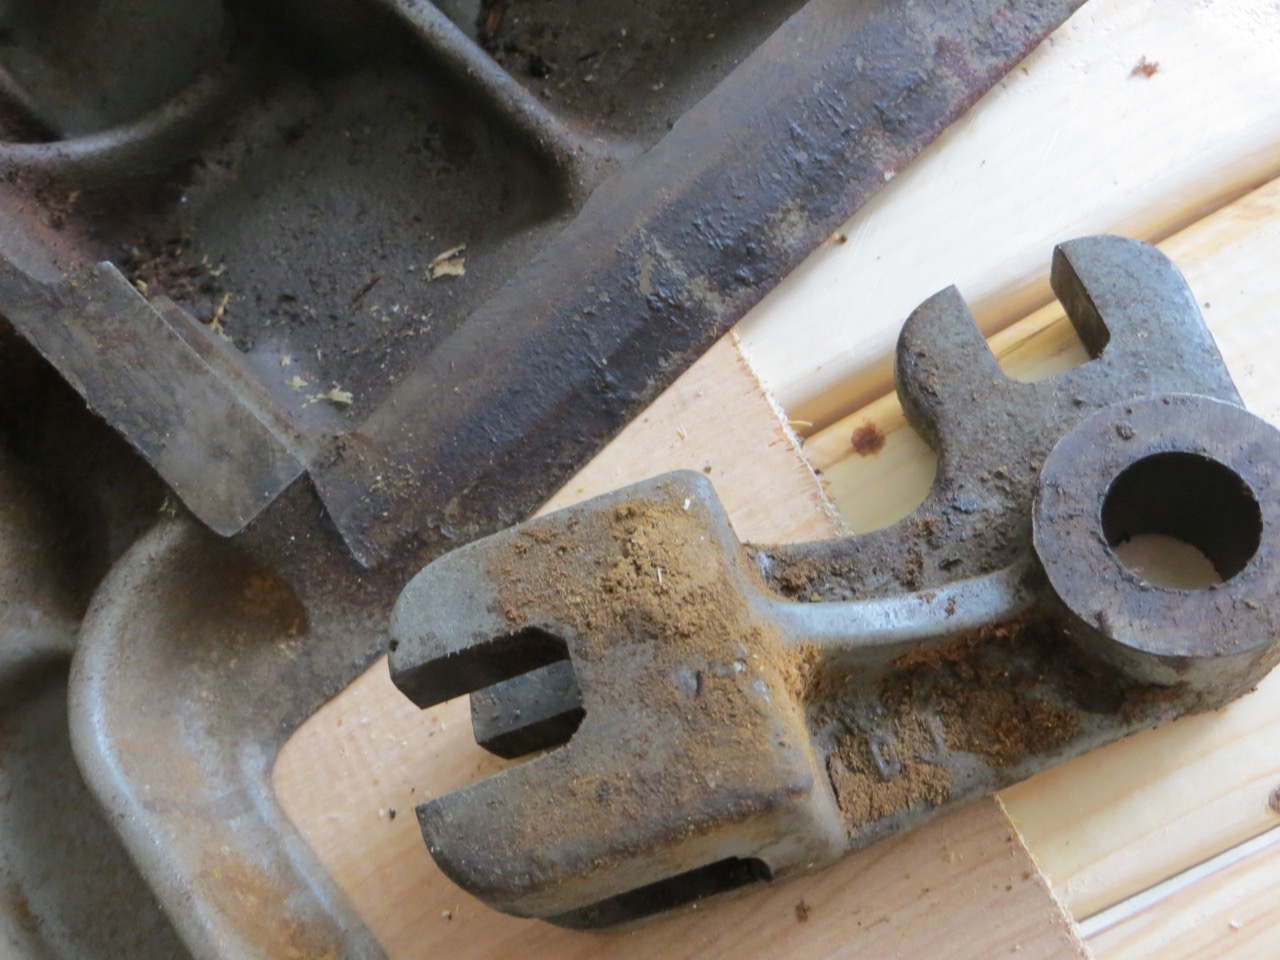
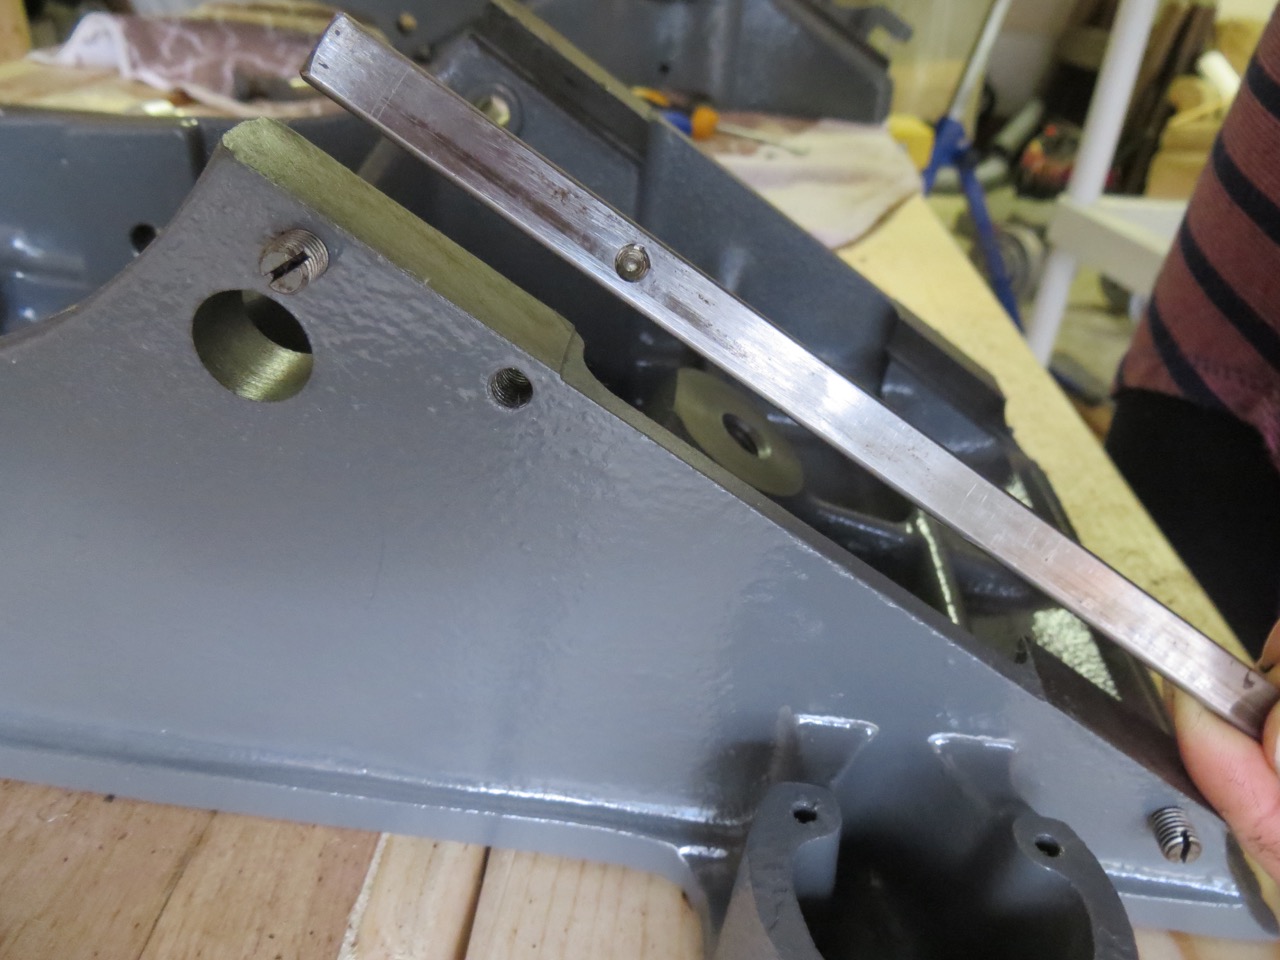
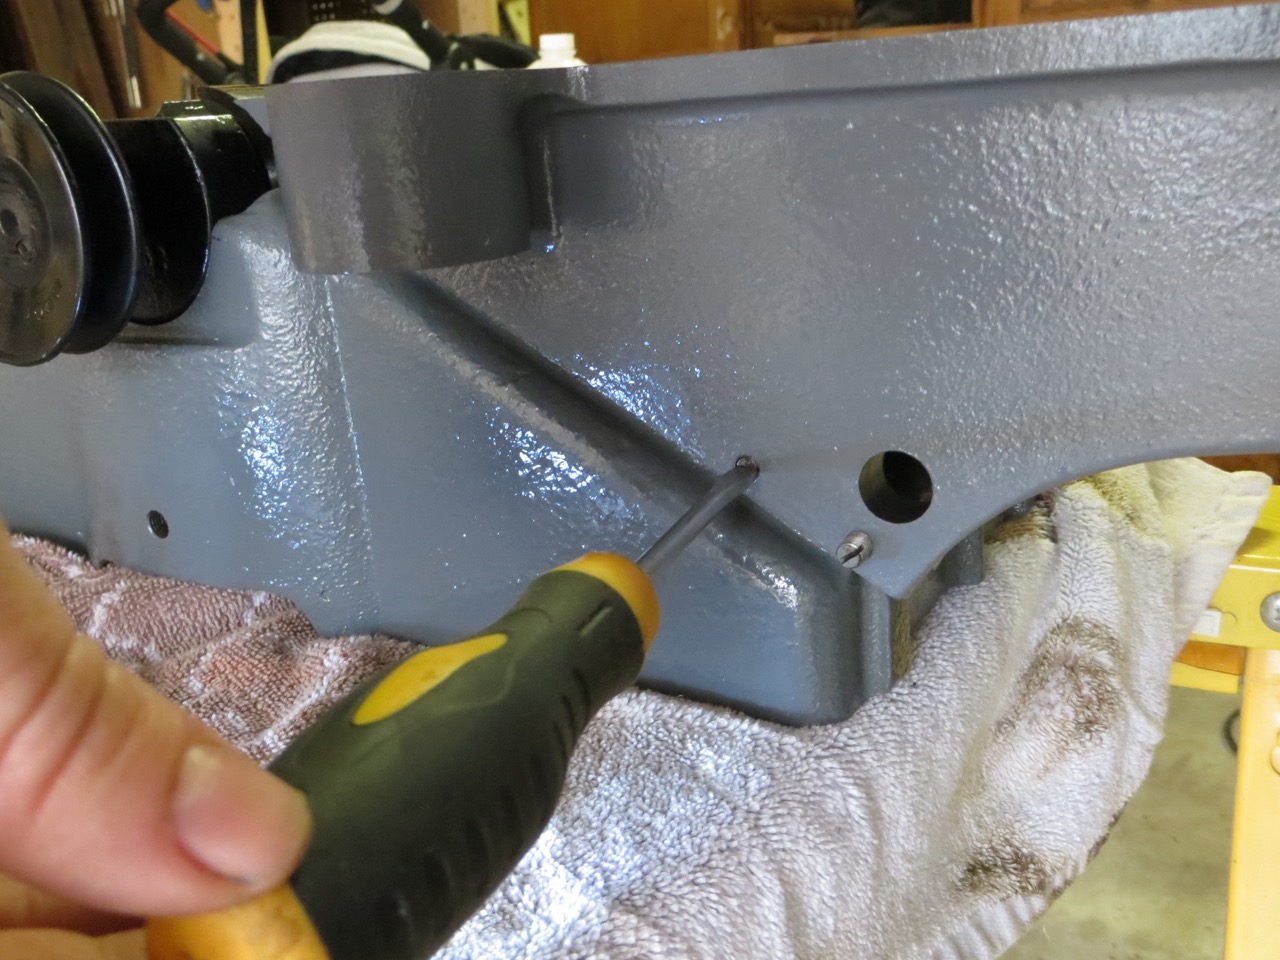
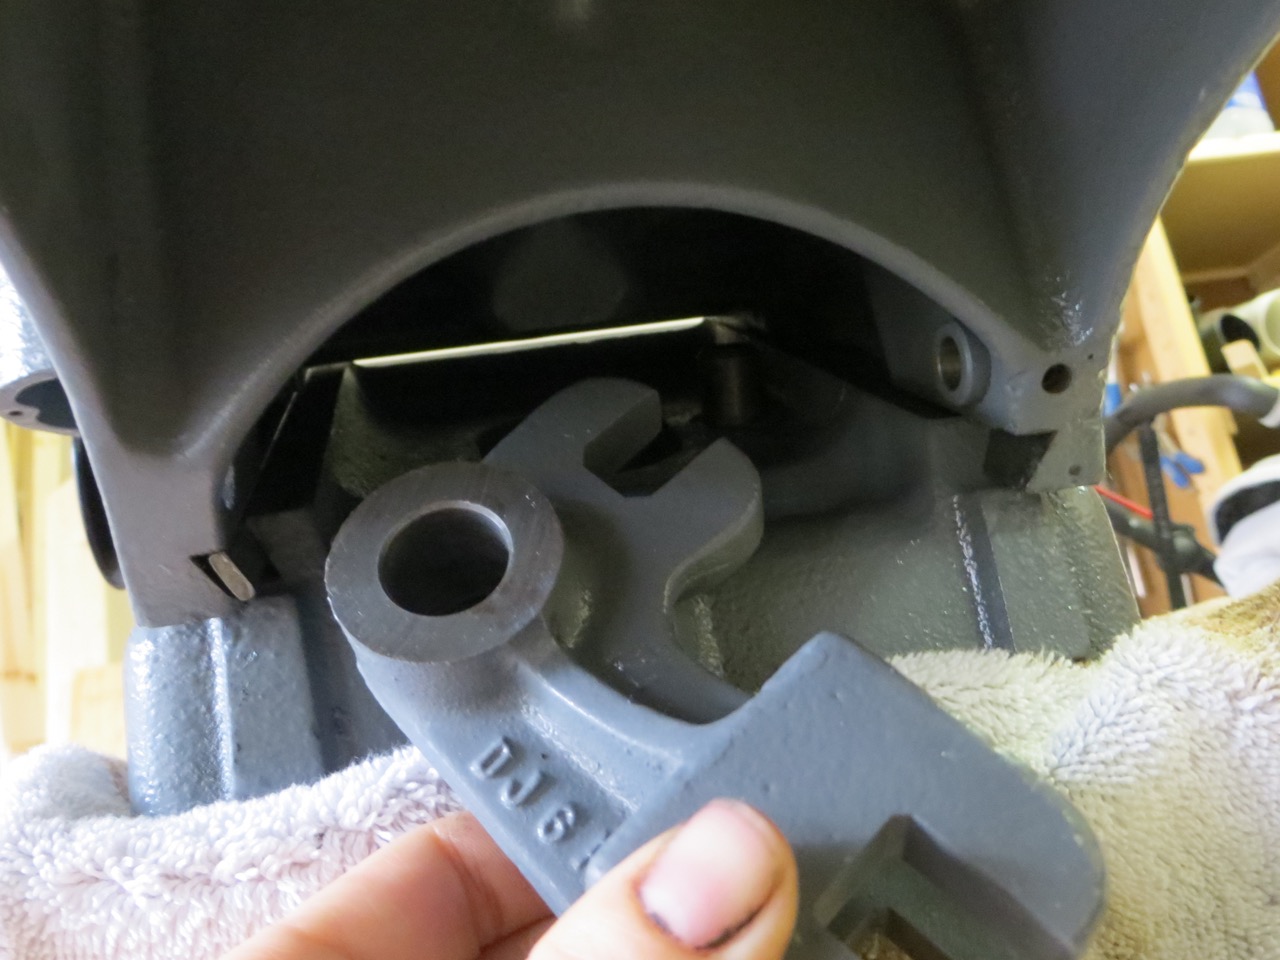
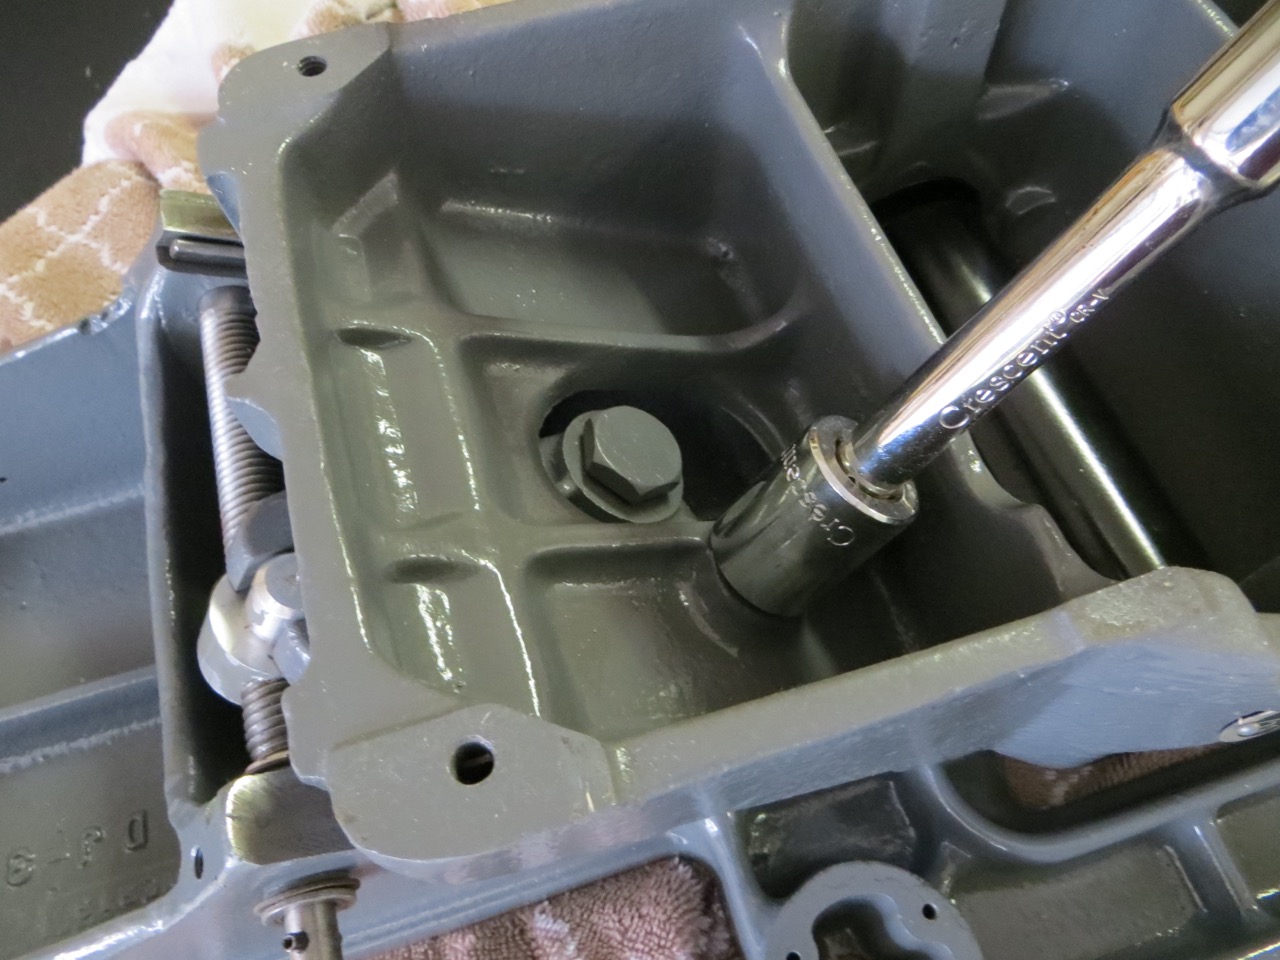
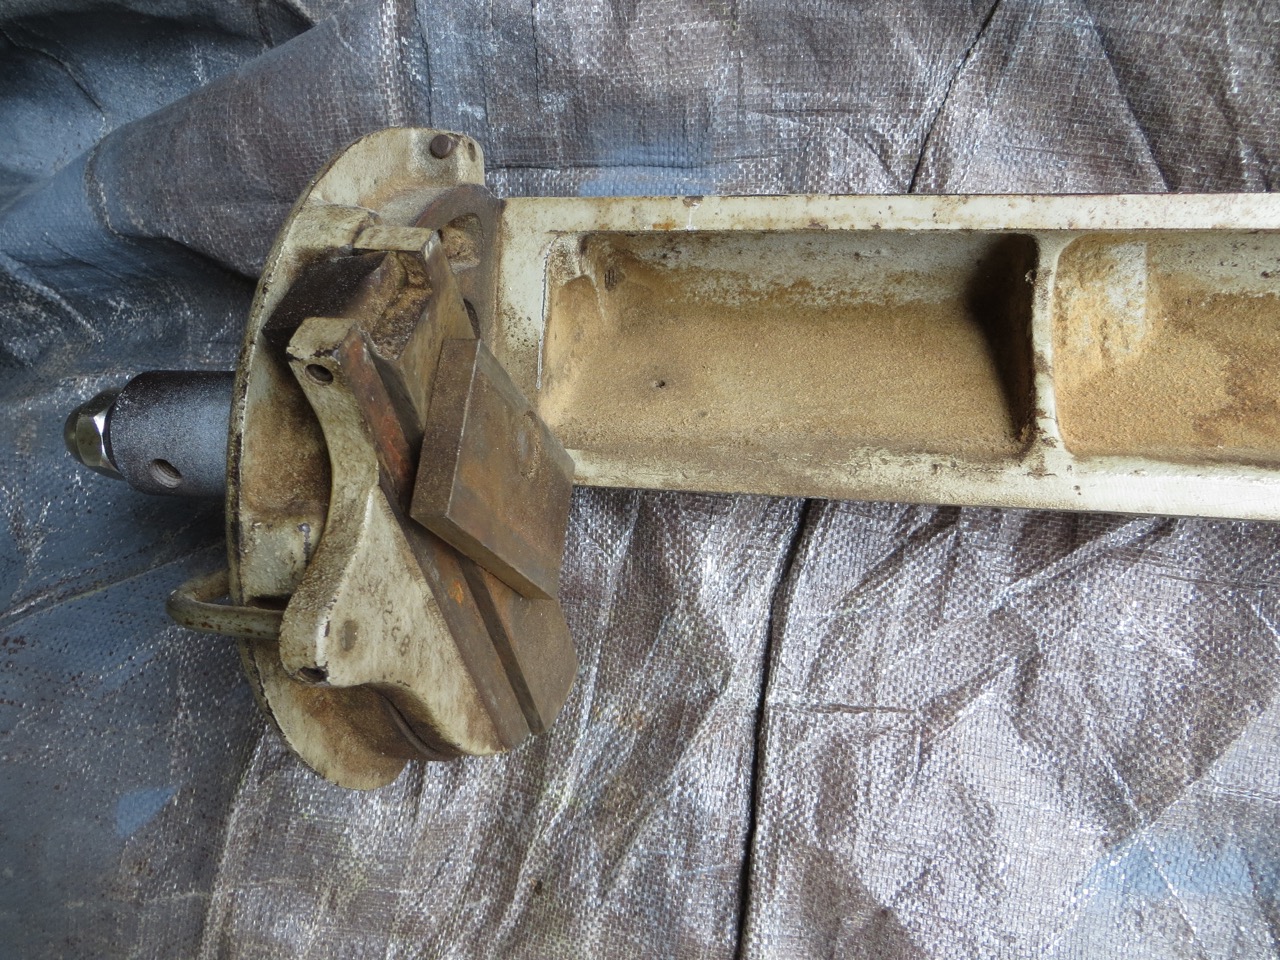
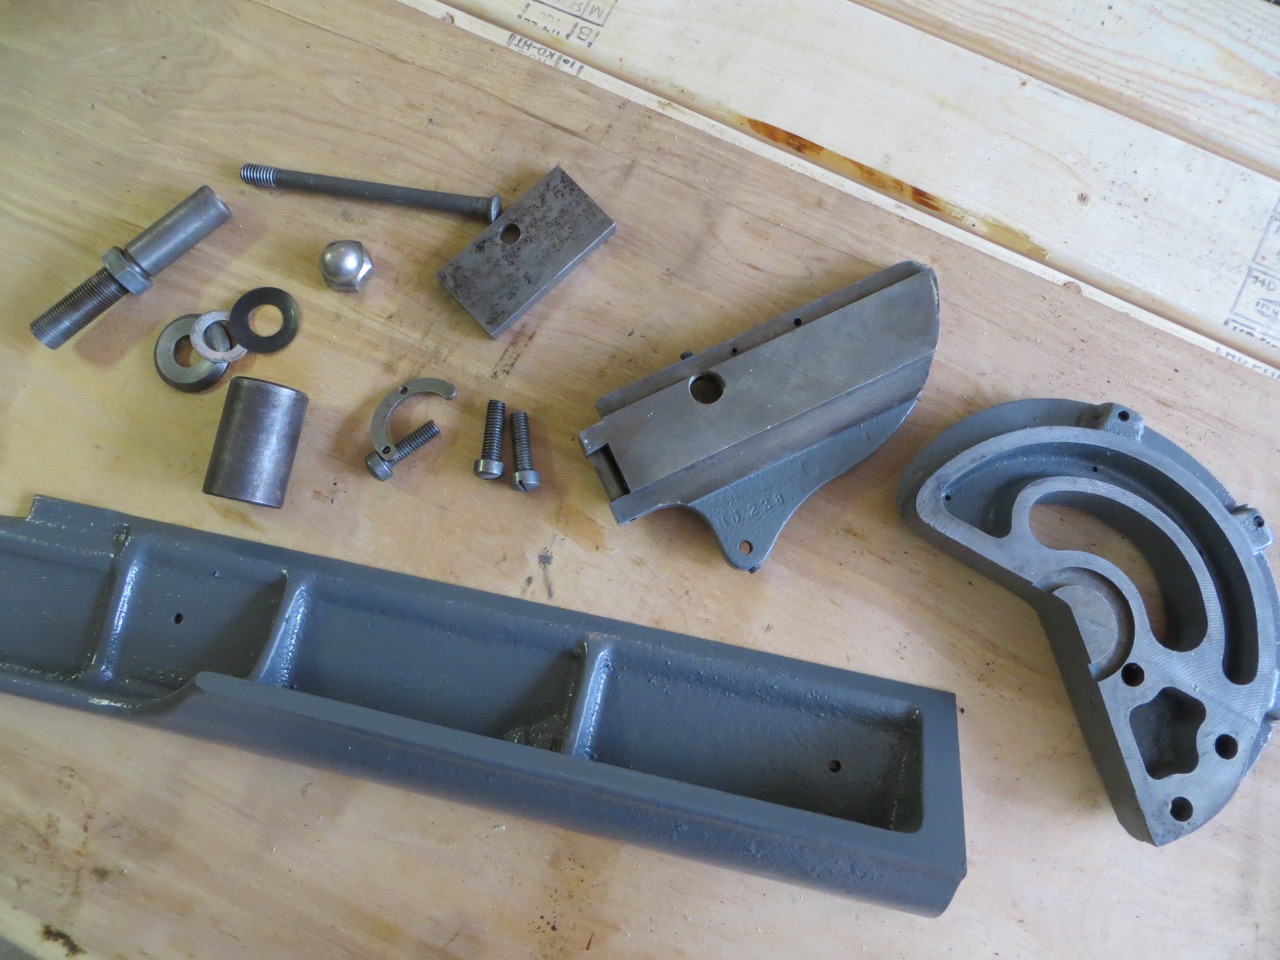
This shows you the “arm” (bell crank), bolt and shoulder pin that keep the tables from sliding off once the gib screws are removed. I tried SO hard to get the tables off without taking these parts off and it’s impossible!
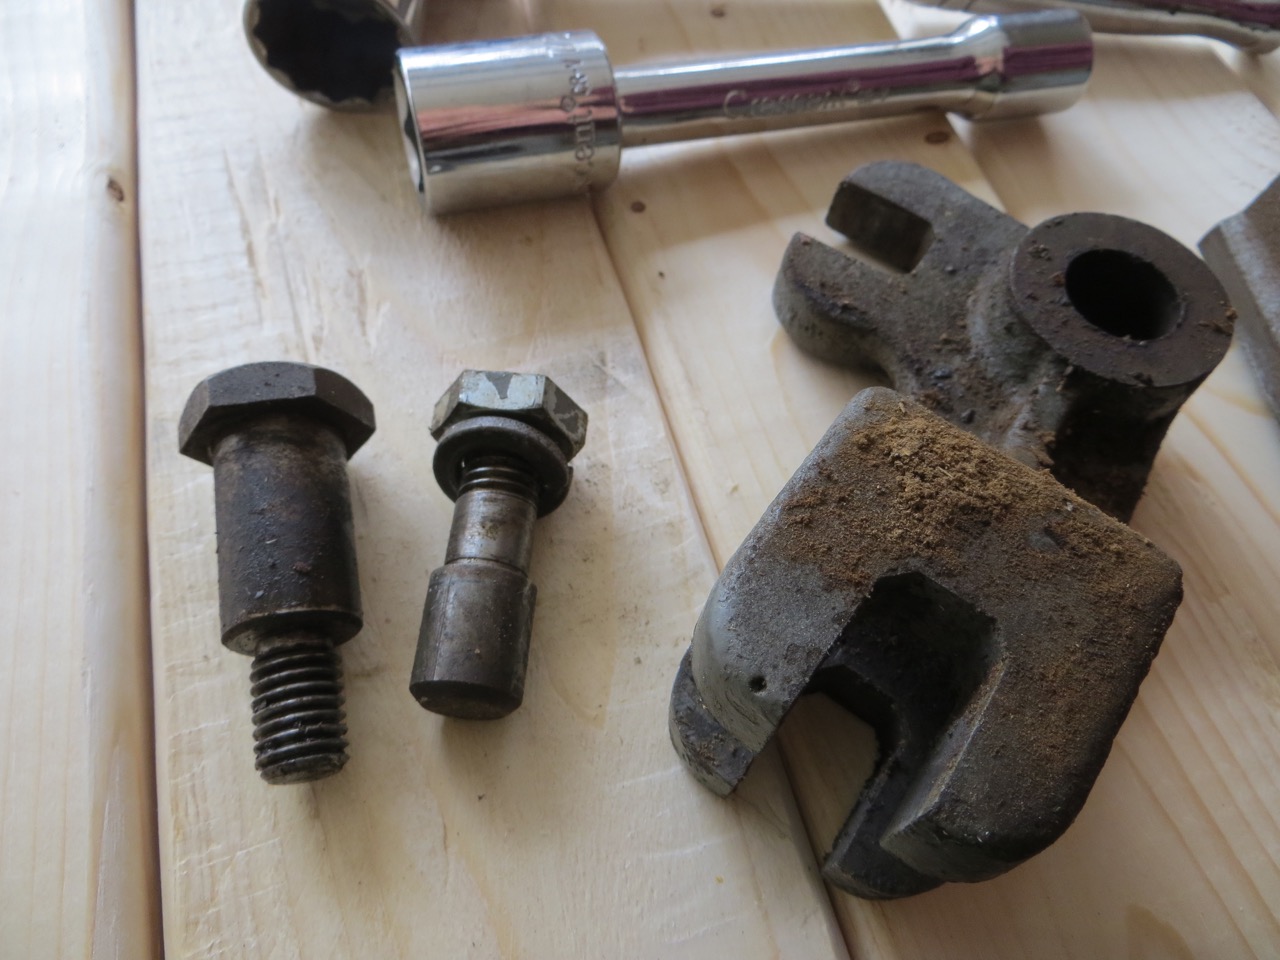
See the bolt head and nut there?…
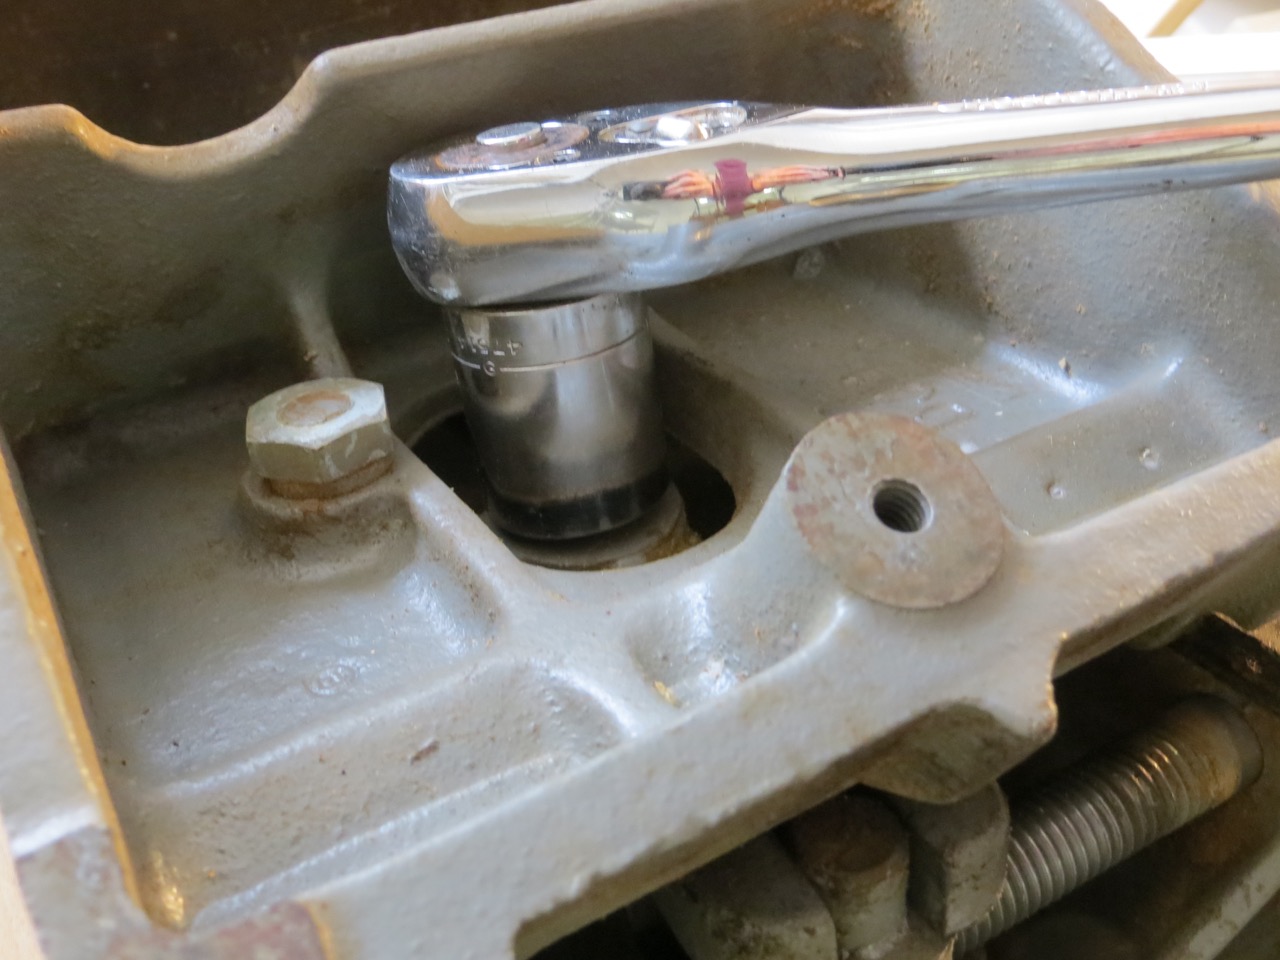
…loosen the bolt with a 1″ socket (I’m pretty sure that’s the size).
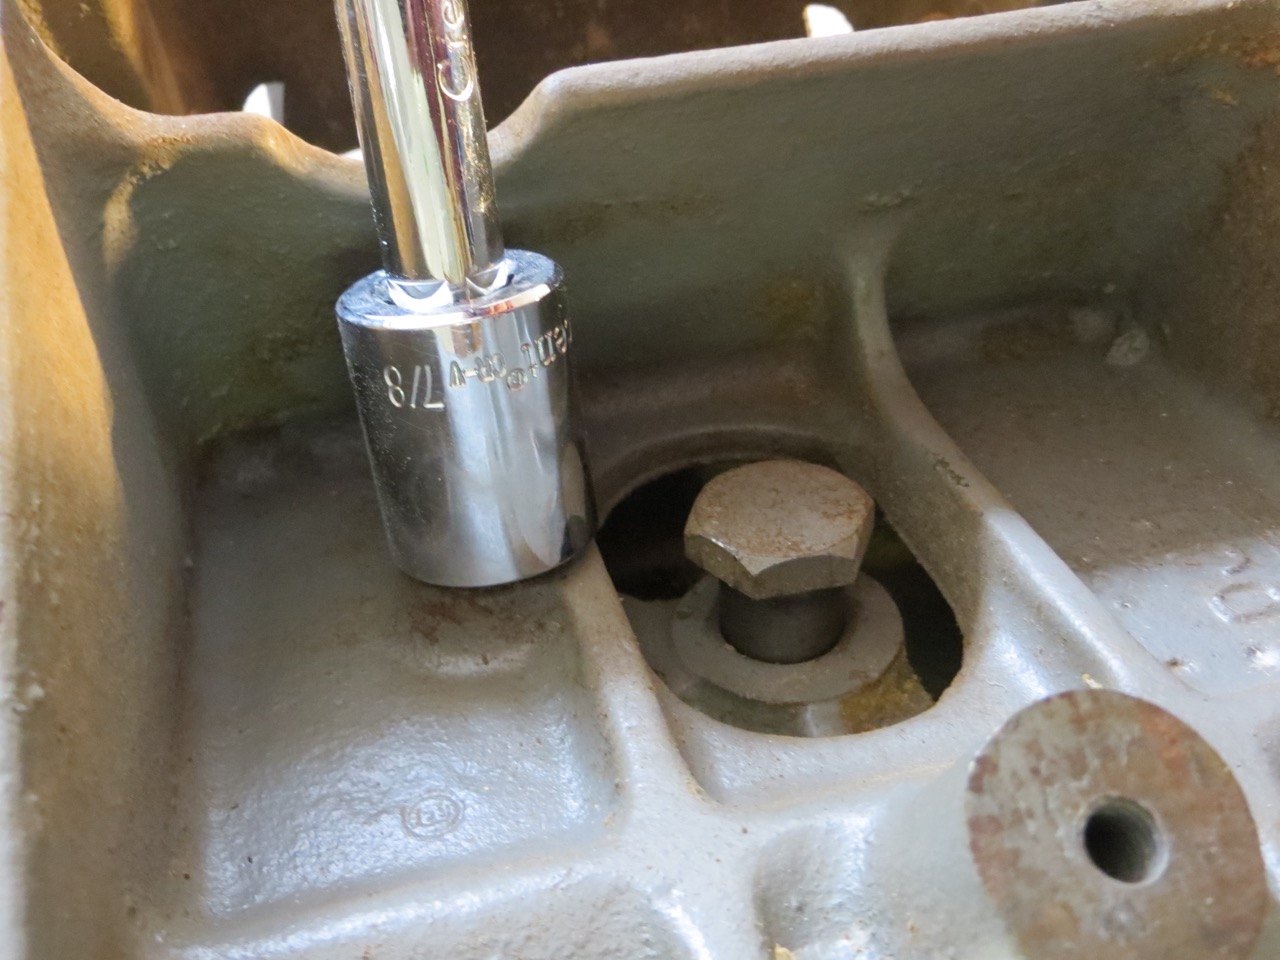
And the nut with a 7/8″ socket.

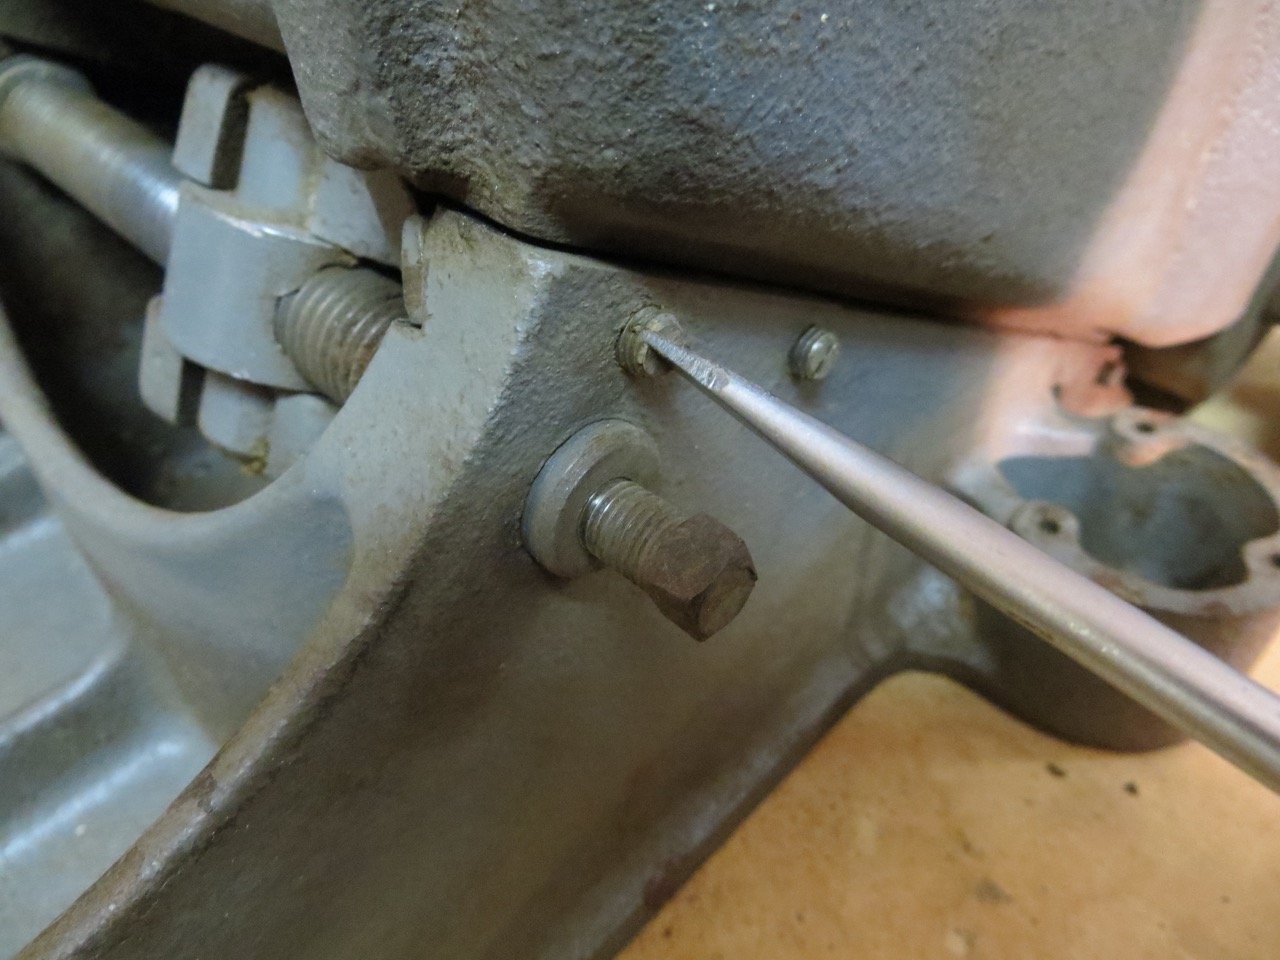
Once you remove the nut with lockwasher the shoulder pin that the “arm” rotates on falls down and the table can be pulled off (if your tables are upside down like mine you’ll be pulling the tables upwards to slide off).
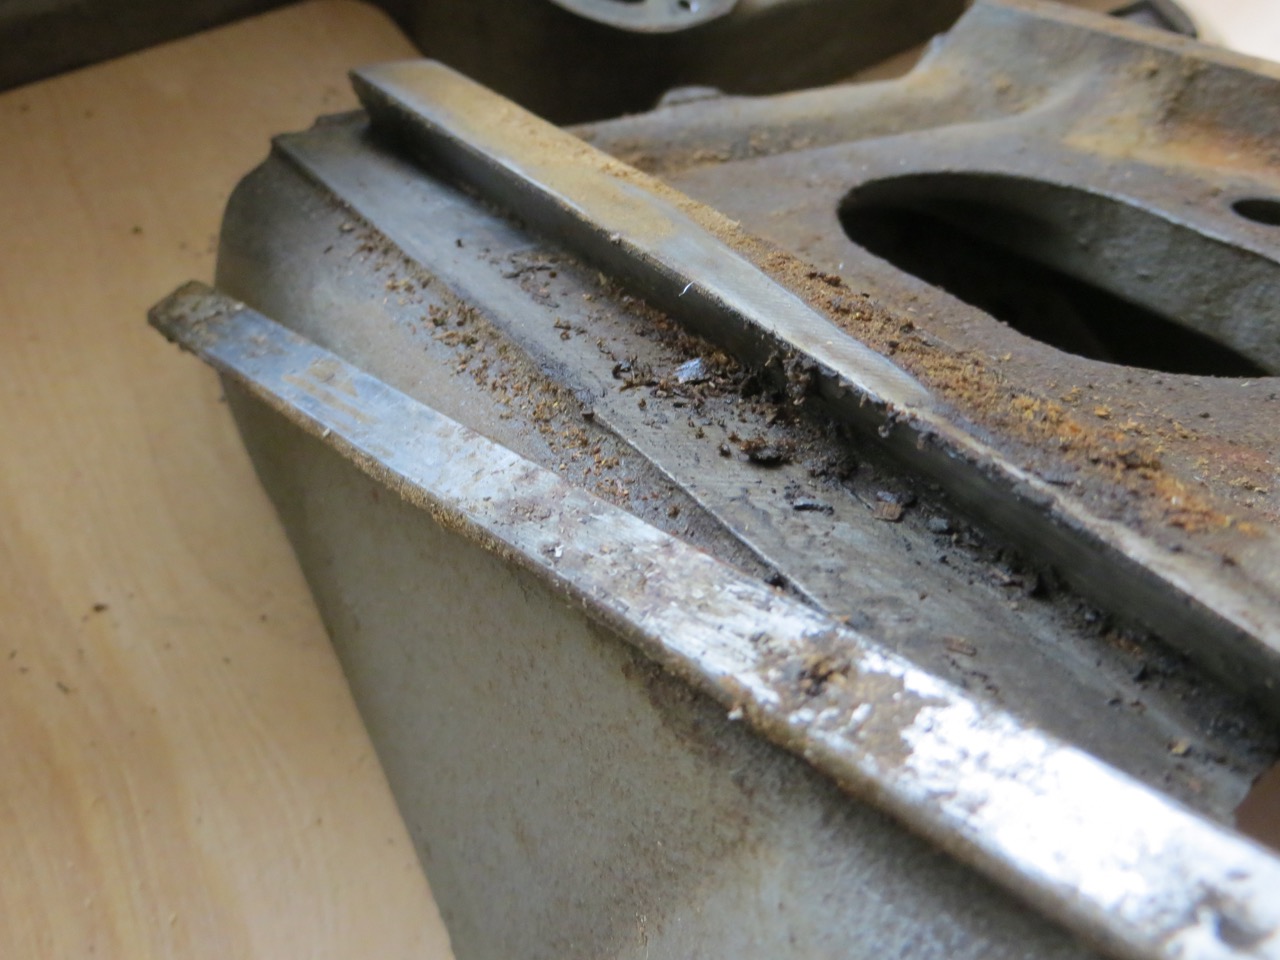
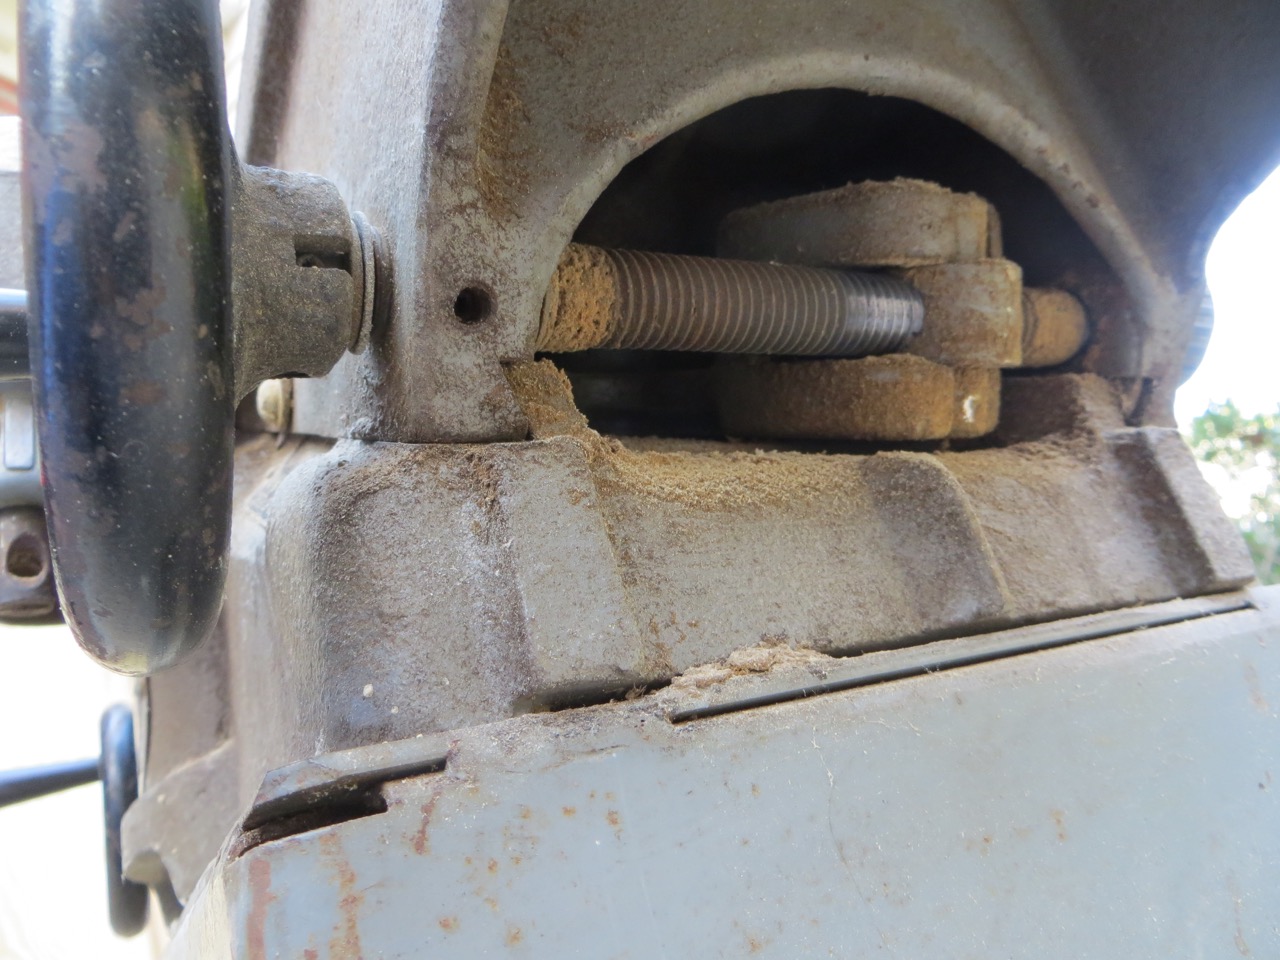
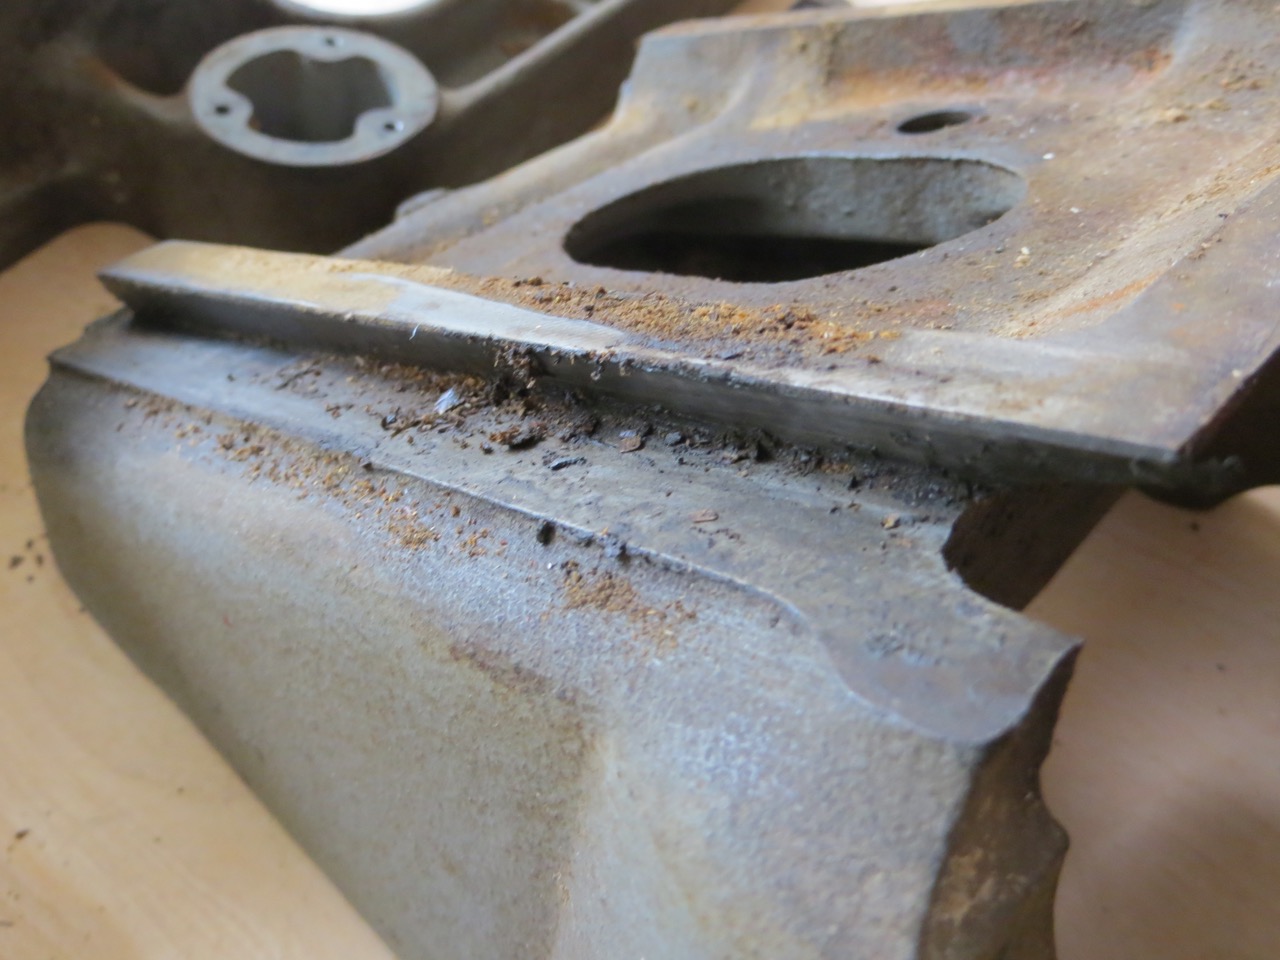
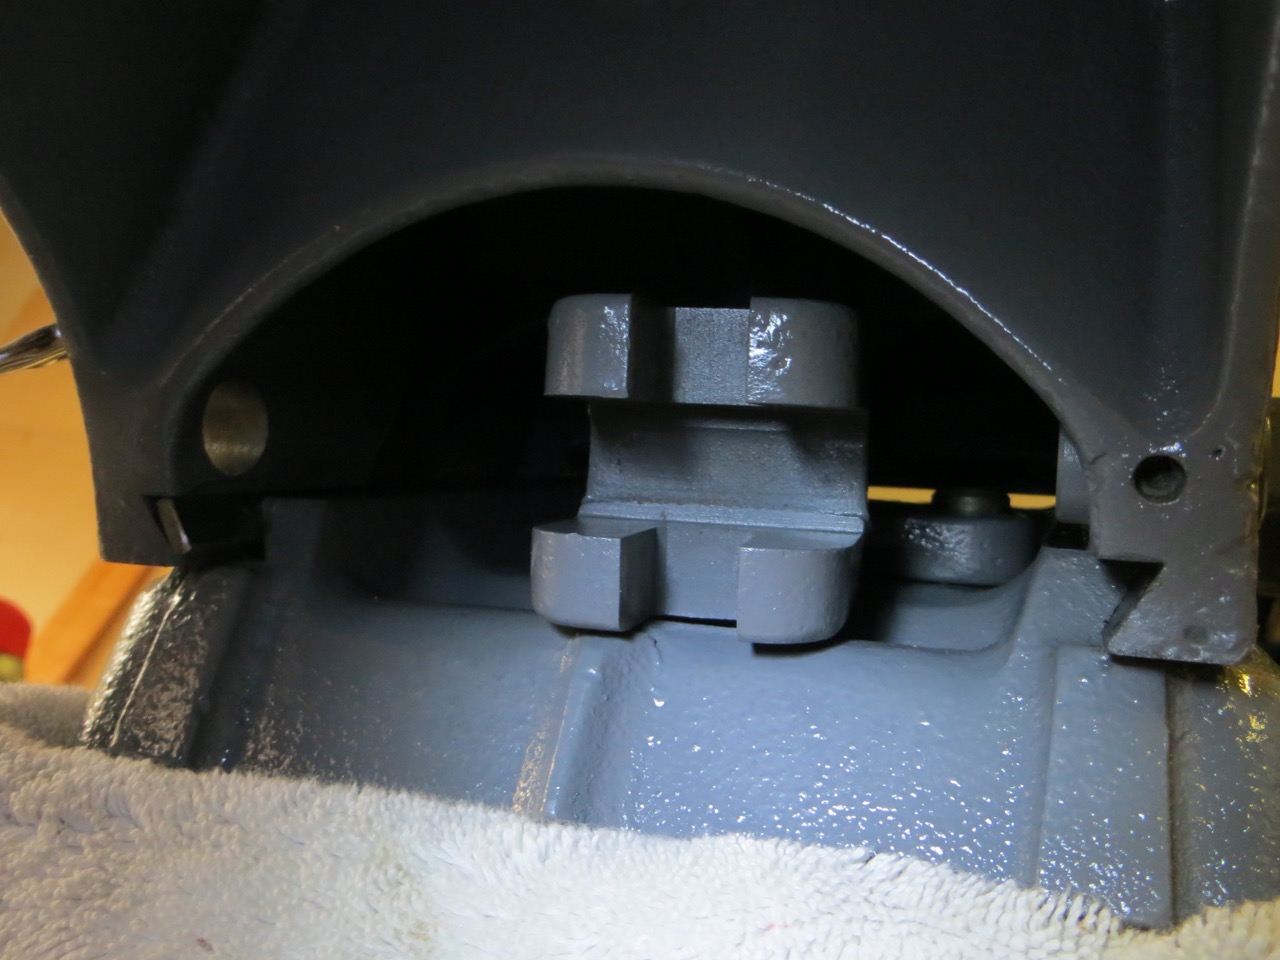
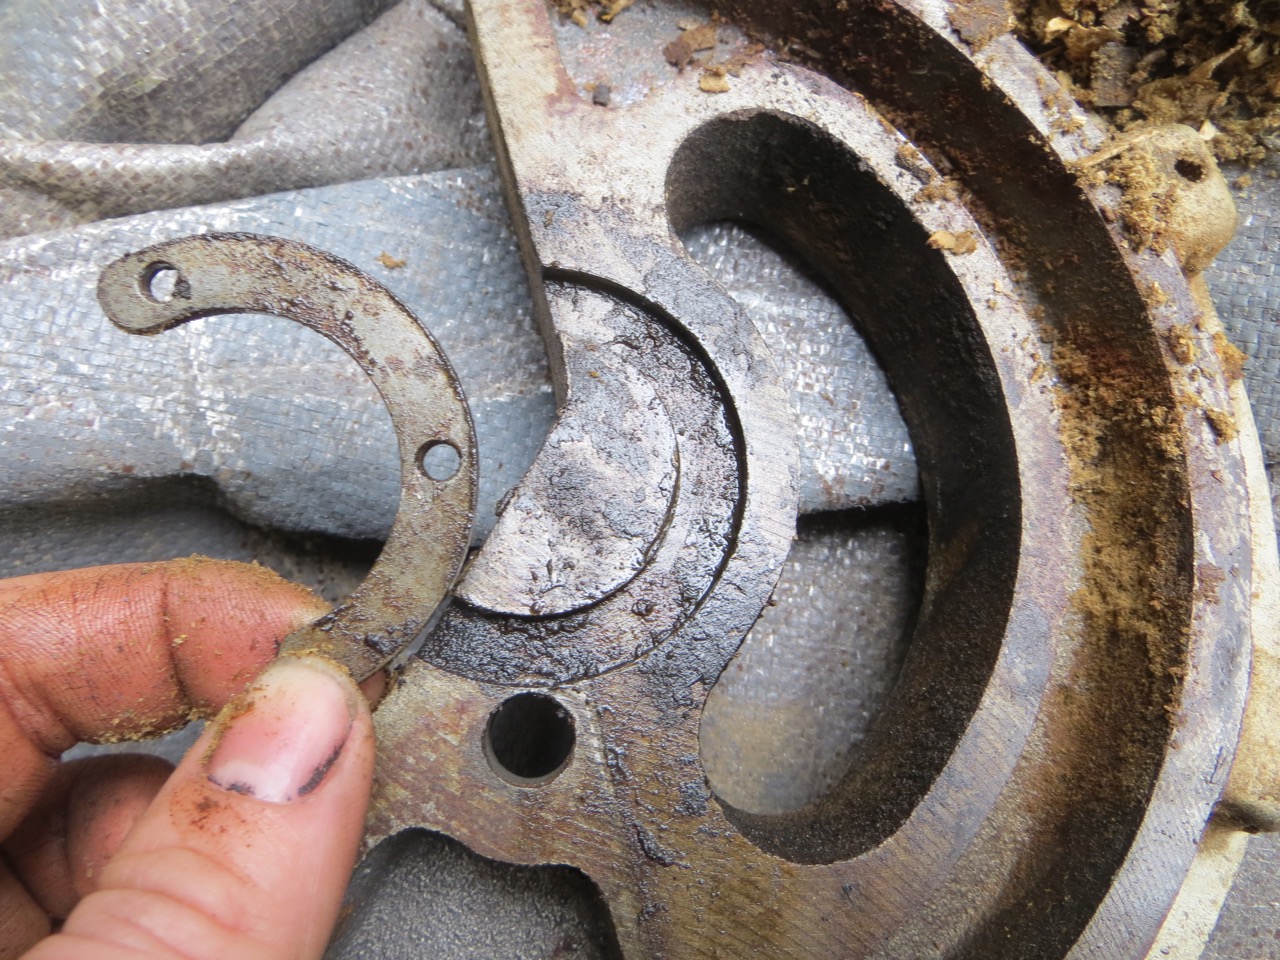
This shows you how much gunk was in the dovetail ways and on the gib bars!
I brushed off a lot of caked on sawdust from the screw rod but you can still see all the debris between the threads – no wonder the tables were hard to adjust!
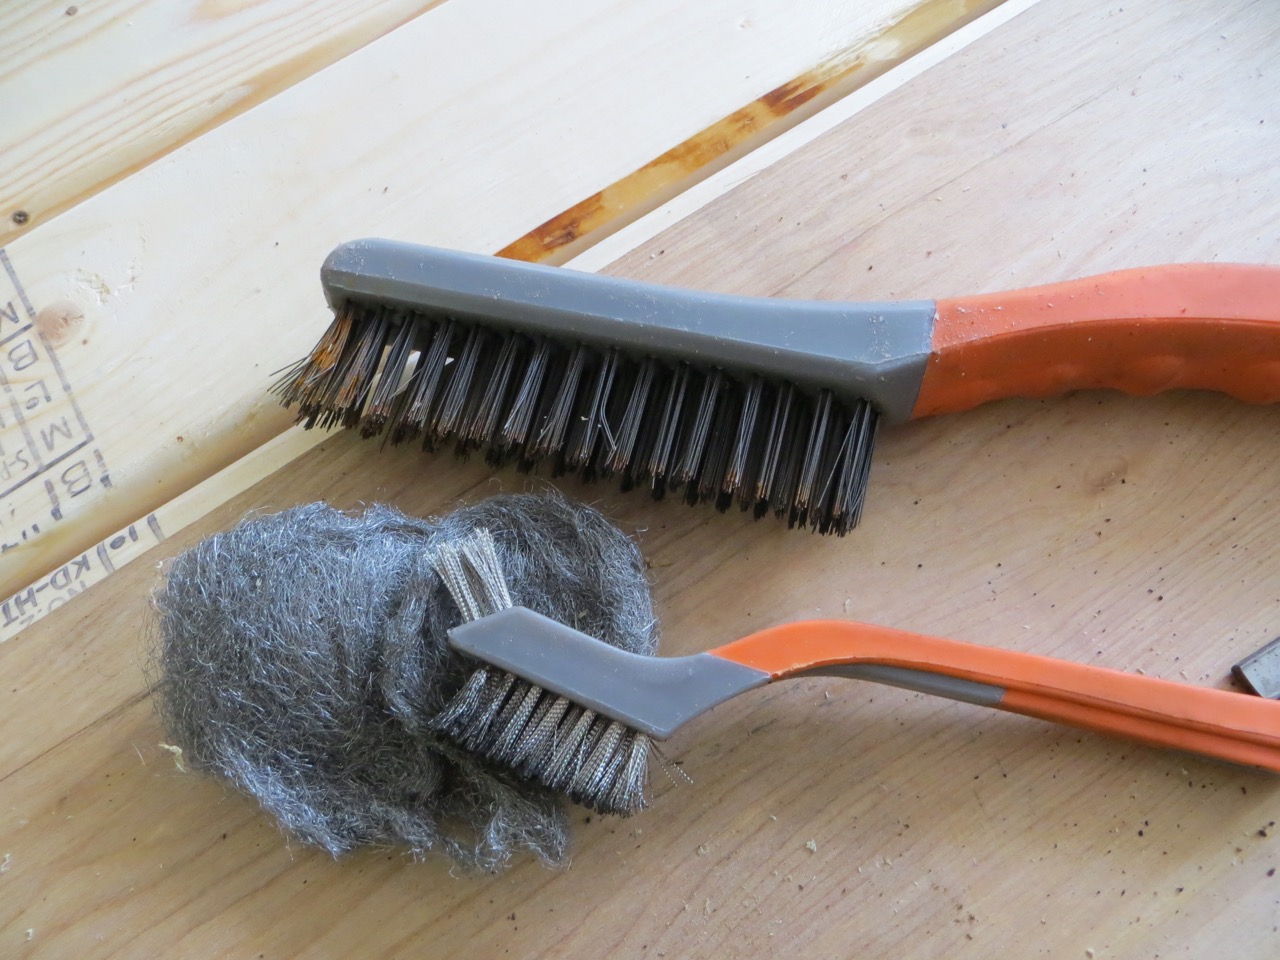
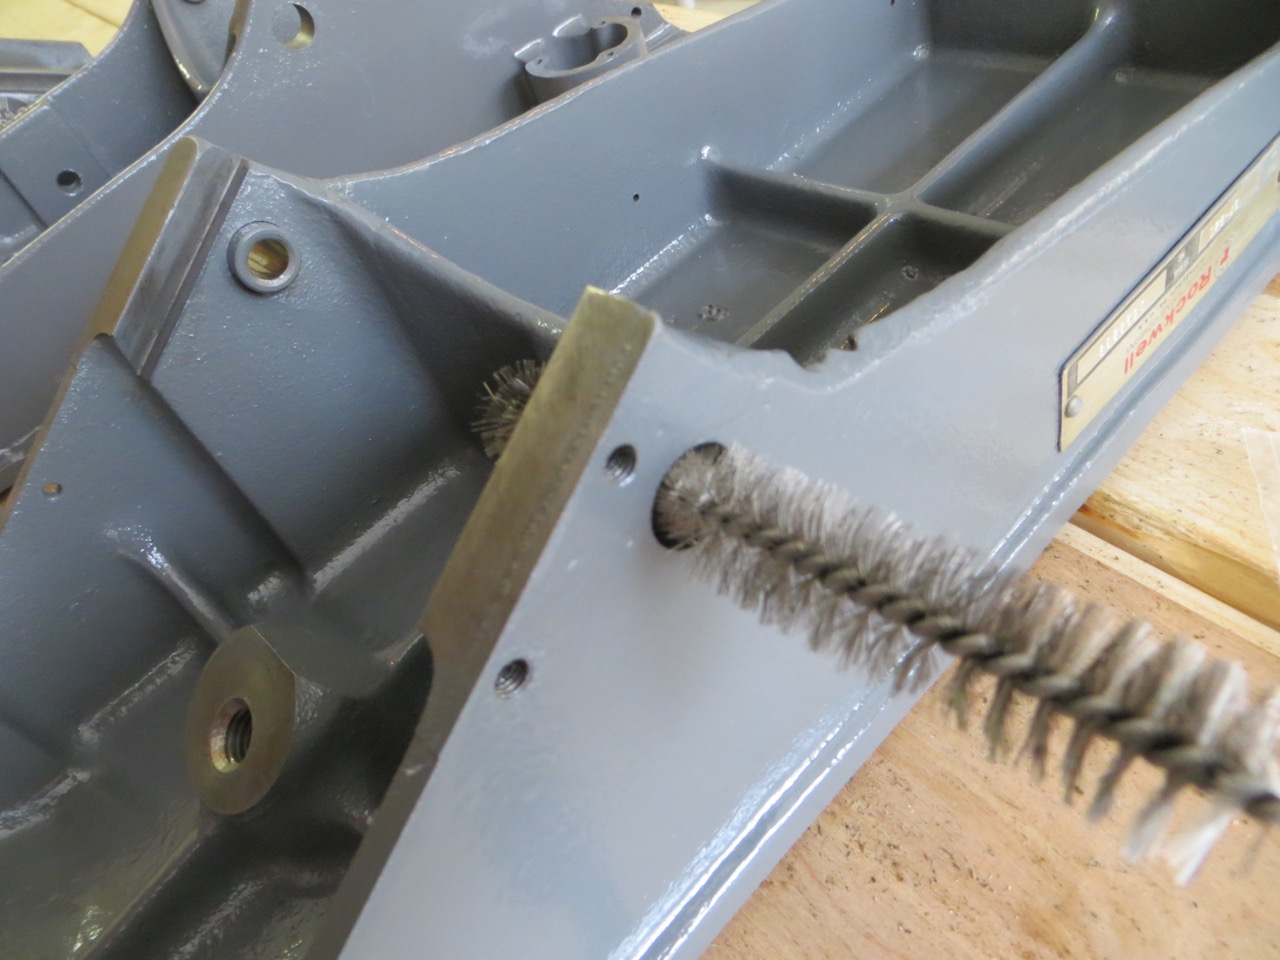
I didn’t use the large brush pictured here but I had it just in case. I bought 3 of the smaller brushes and used them all for this project – you can’t get by without them in my opinion! You will feel like you’ve scrubbed your life away when you’re done with this project (just so you know)!
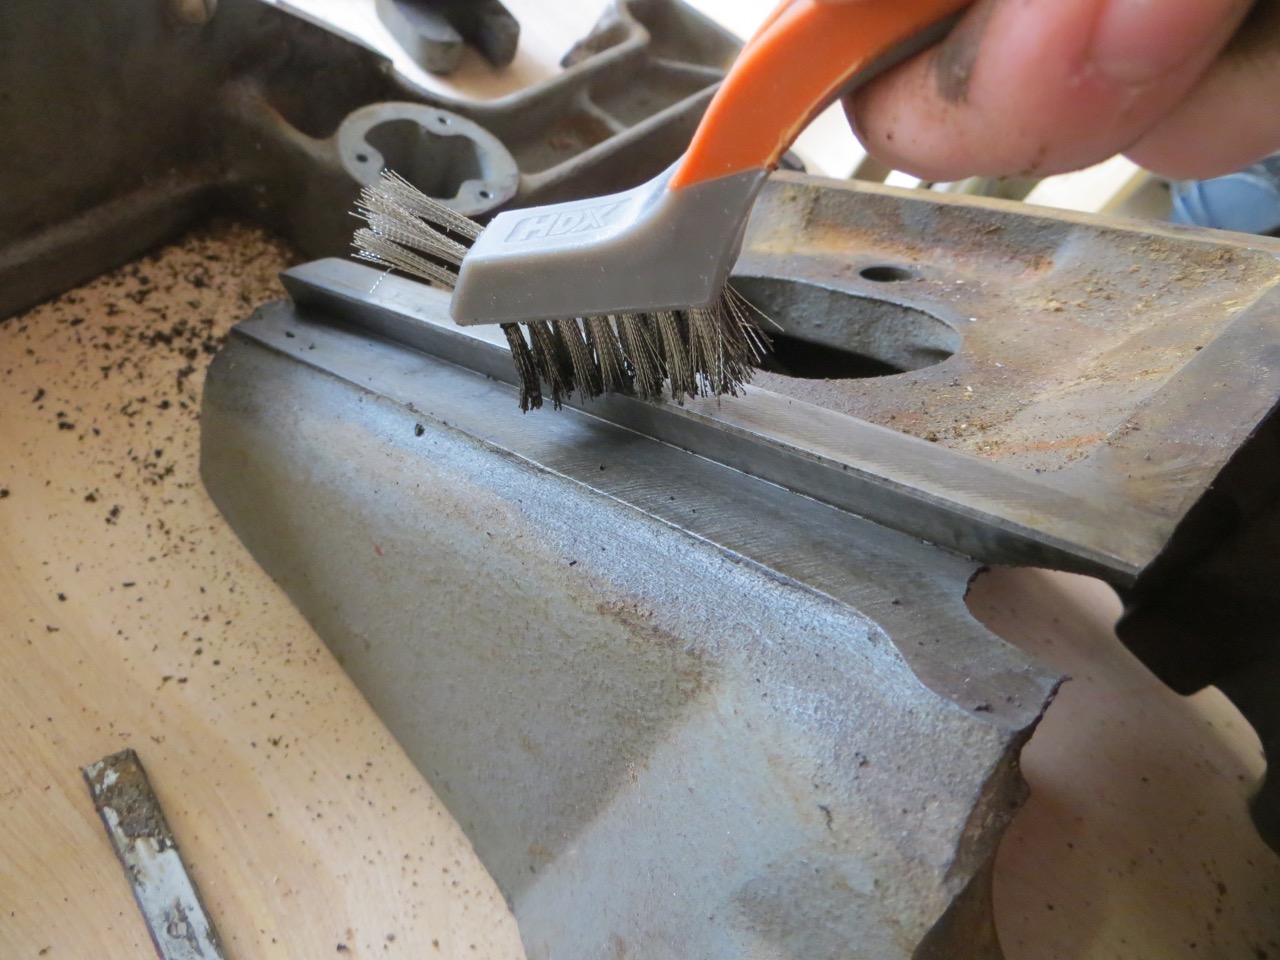
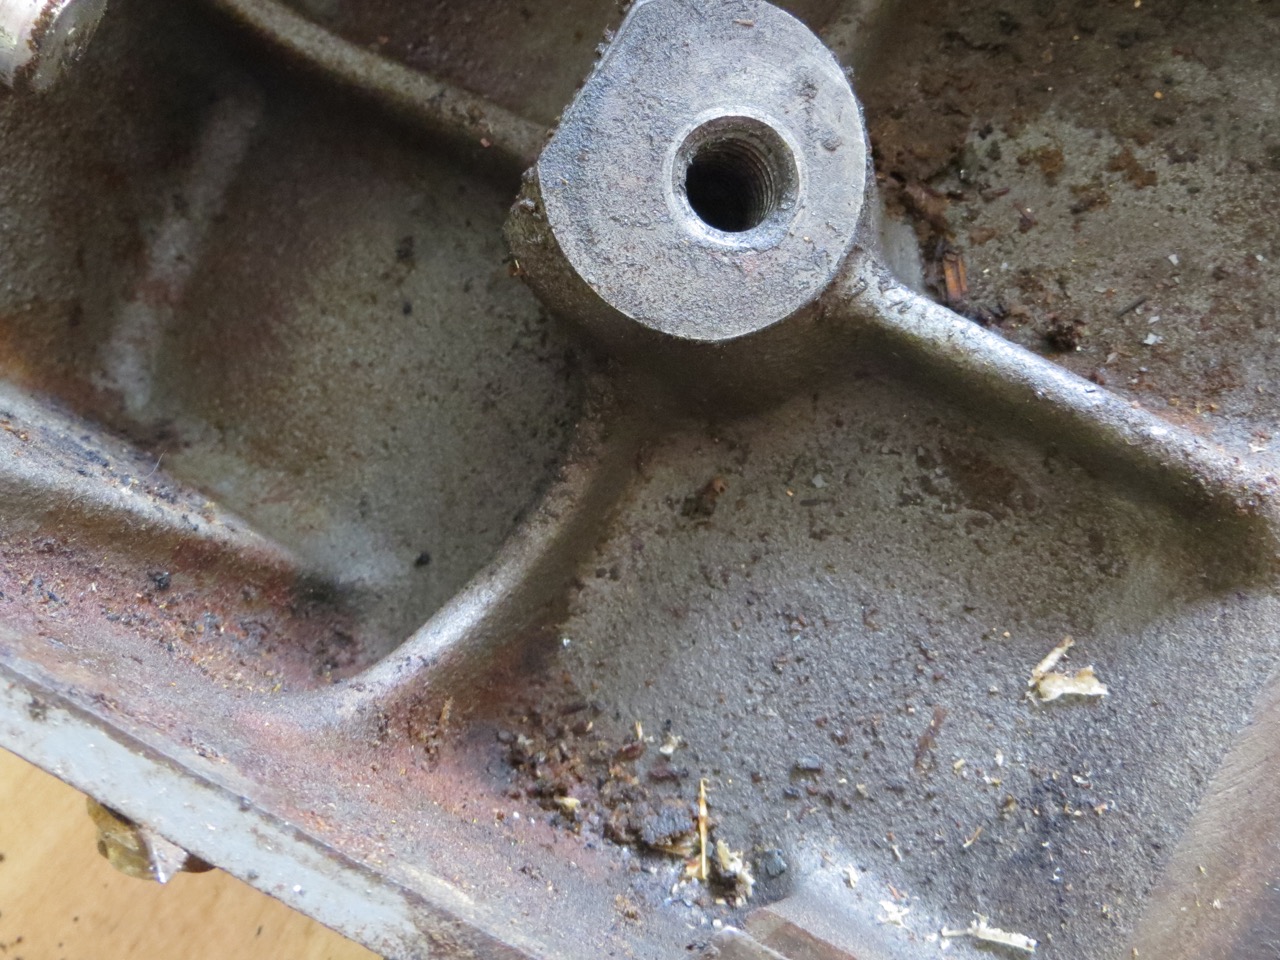
So much rust and gunk! I scrubbed every little bit of surface I could possibly scrub and pulled a towel through and around the areas on the cutterhead shaft I couldn’t reach.
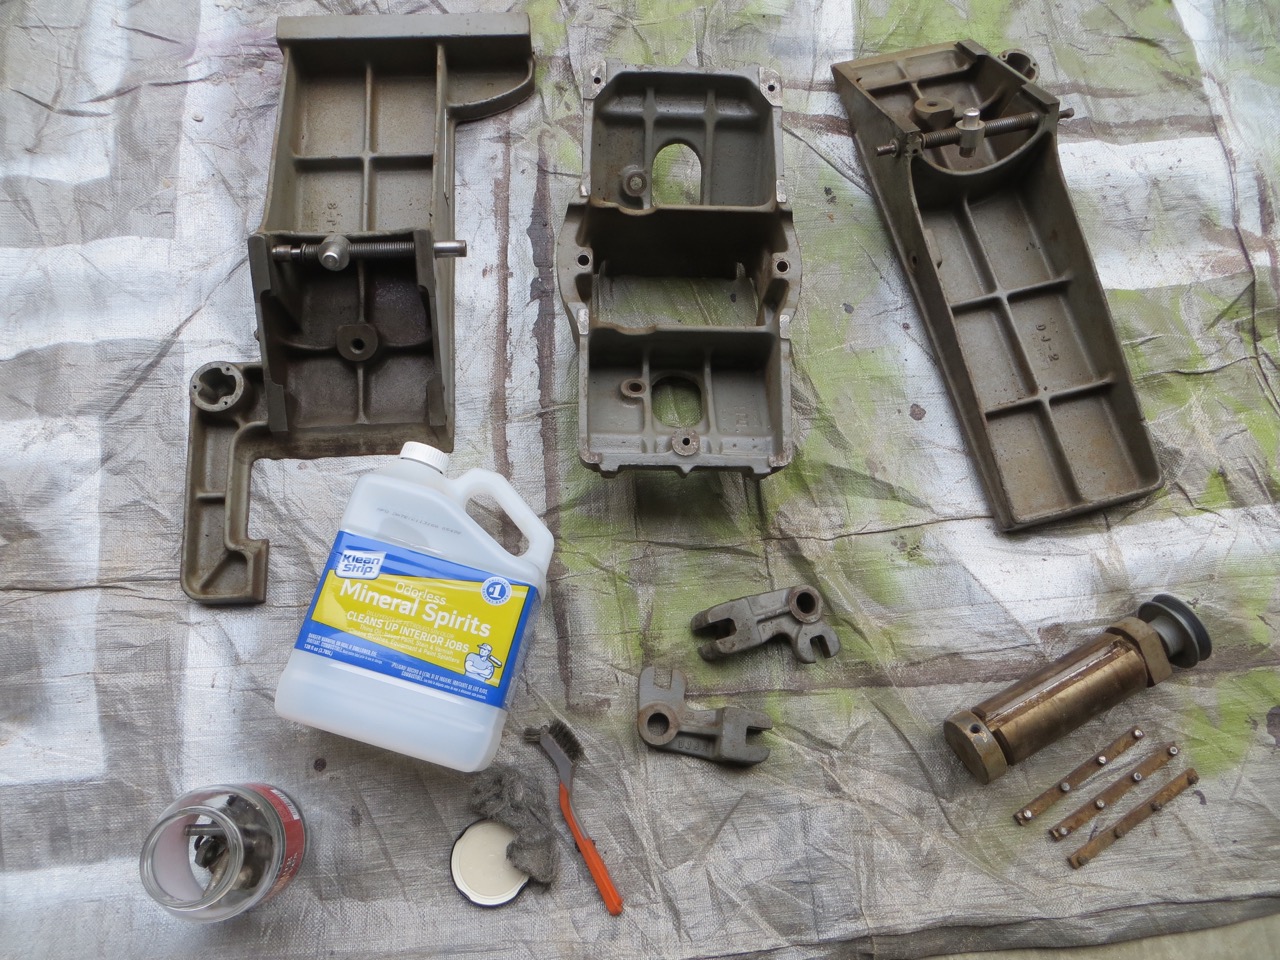
I used mineral spirits to clean and de-gunk everything. I soaked a large piece, scrubbed and scrubbed, wiped off with towels and ‘rinsed’ residue with more mineral spirits. Work on one piece at a time. TIP: Use heavy-duty rubber gloves with the mineral spirits and I HIGHLY recommend goggles! I wasn’t wearing eye protection and a bit of mineral spirits/gunk flung into my eye as I was scrubbing so I had to rush inside and flush my eye out!
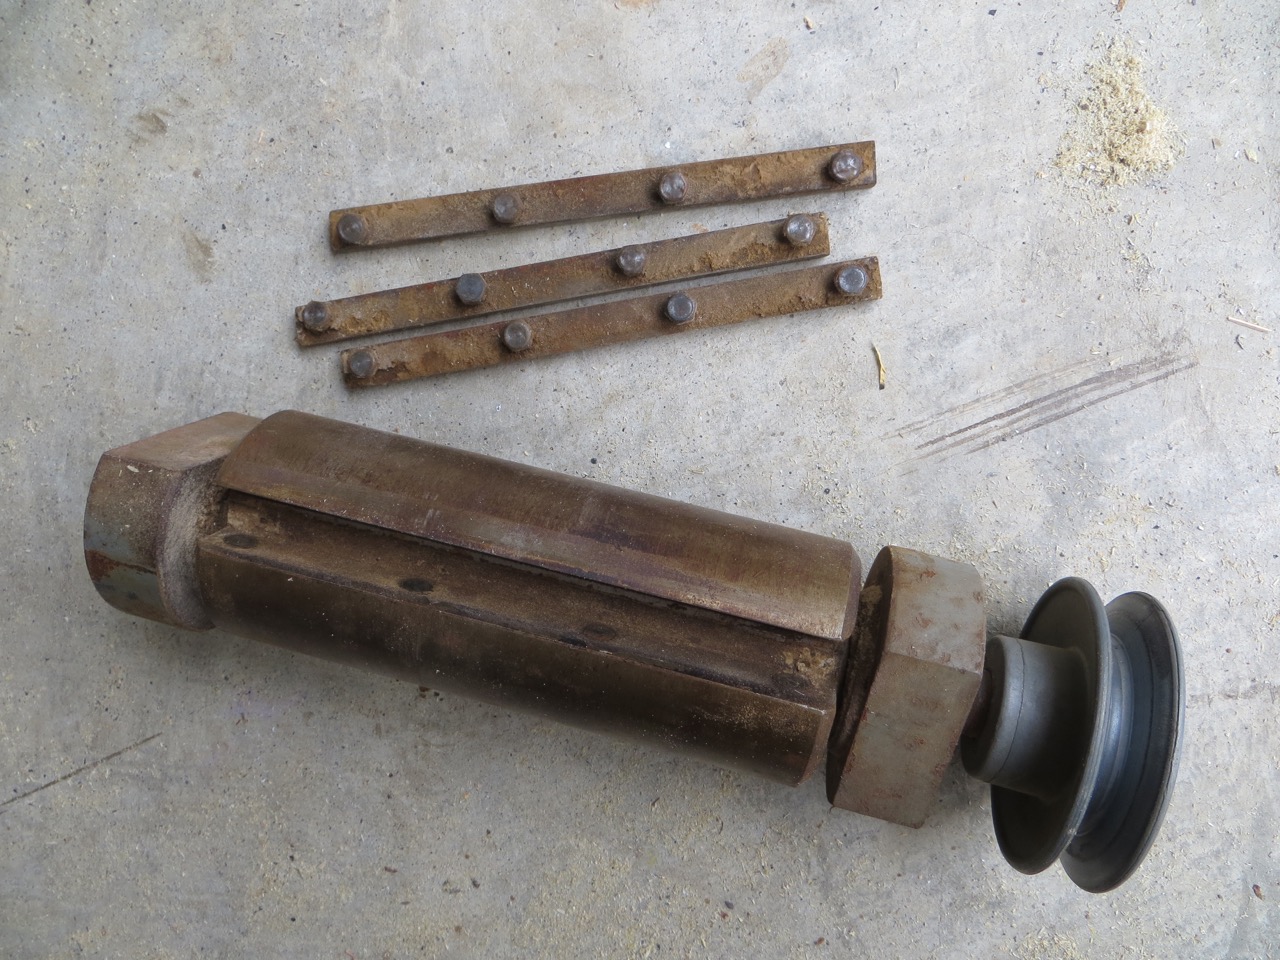
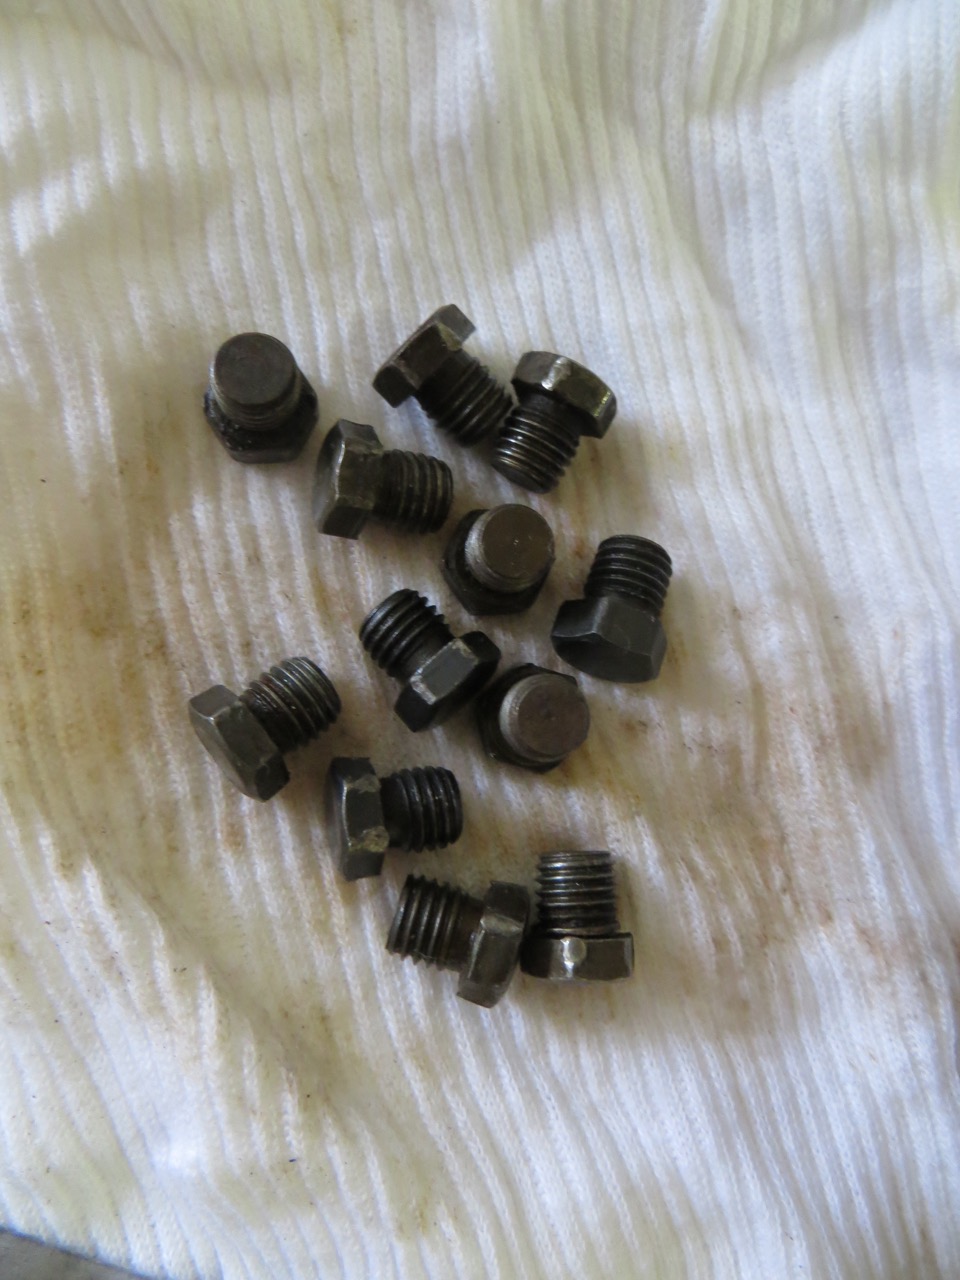
Pictured is a glass jar soaking smaller parts/bolts in Evapo-rust for a few hours.
After all my pieces were scrubbed & rinsed I sprayed TSP on all surfaces and wiped clean and dry. I used my air compressor to blow out any remaining liquid/debris that may be sticking around.
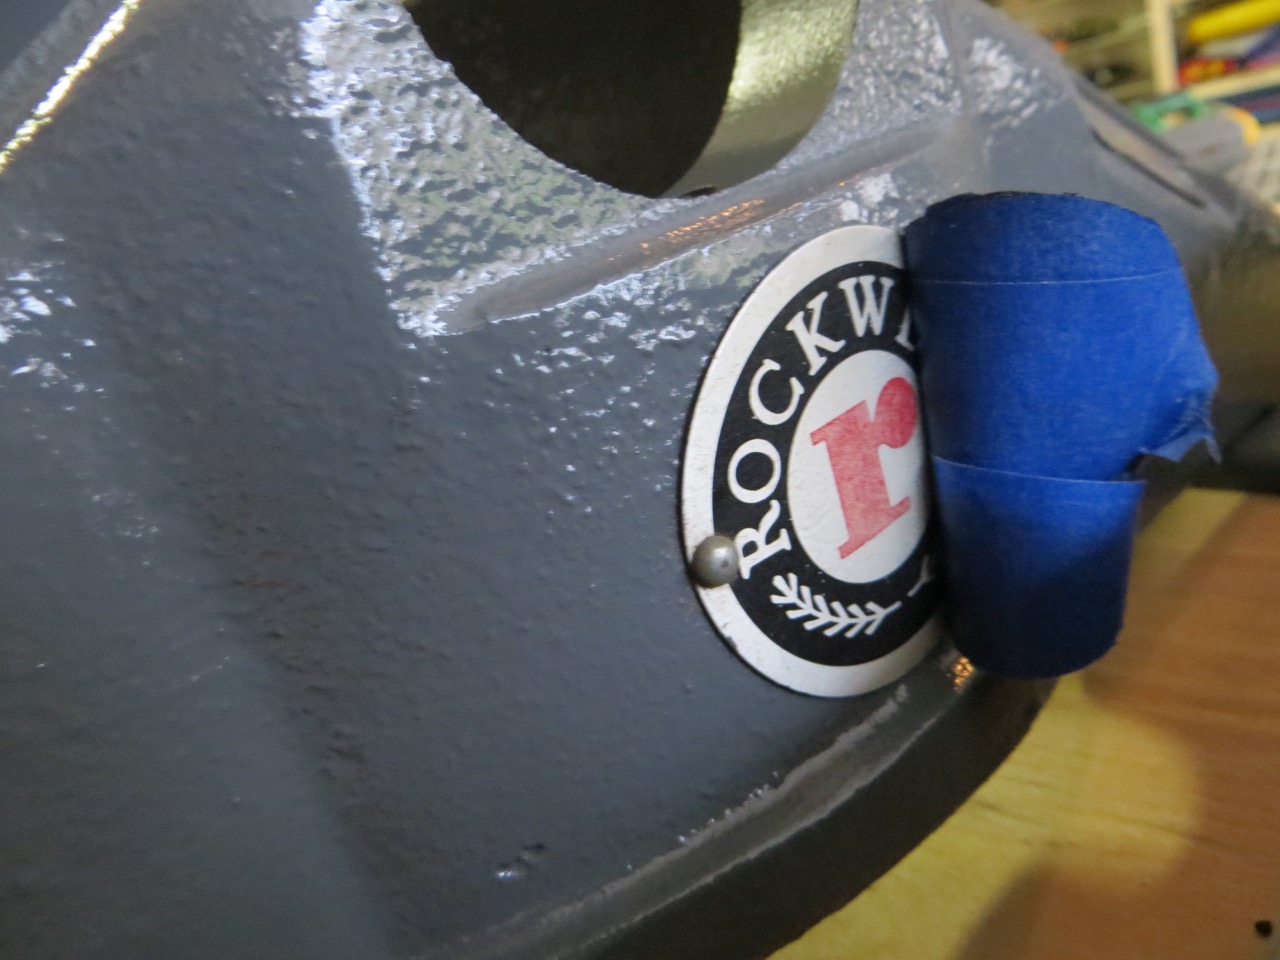
I didn’t bother taping off anything on my pieces except the metal badges because I knew I’d go through all the pieces and remove paint with acetone where I wanted bare metal (where ever metal rubs on metal).
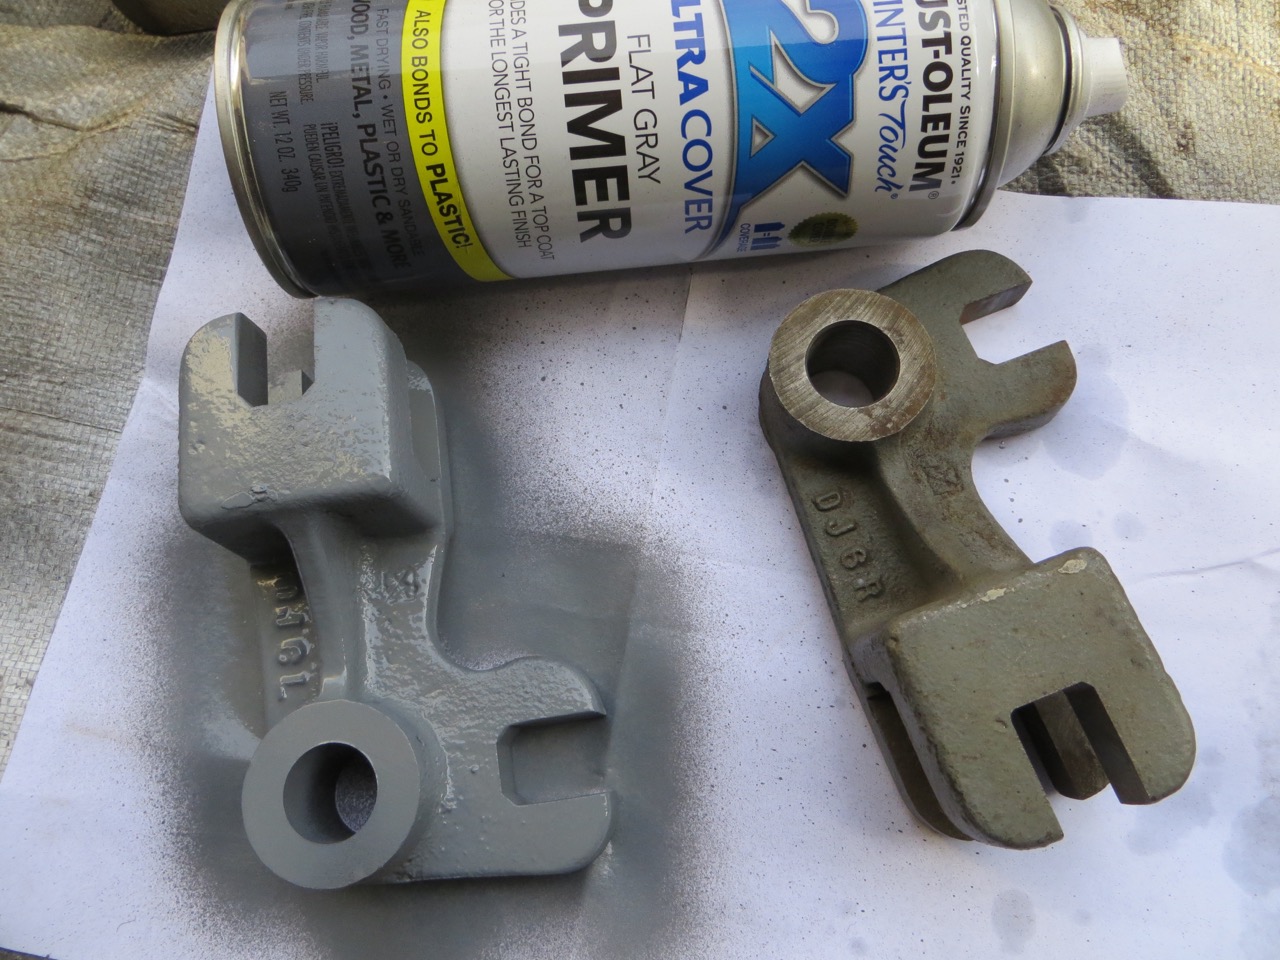
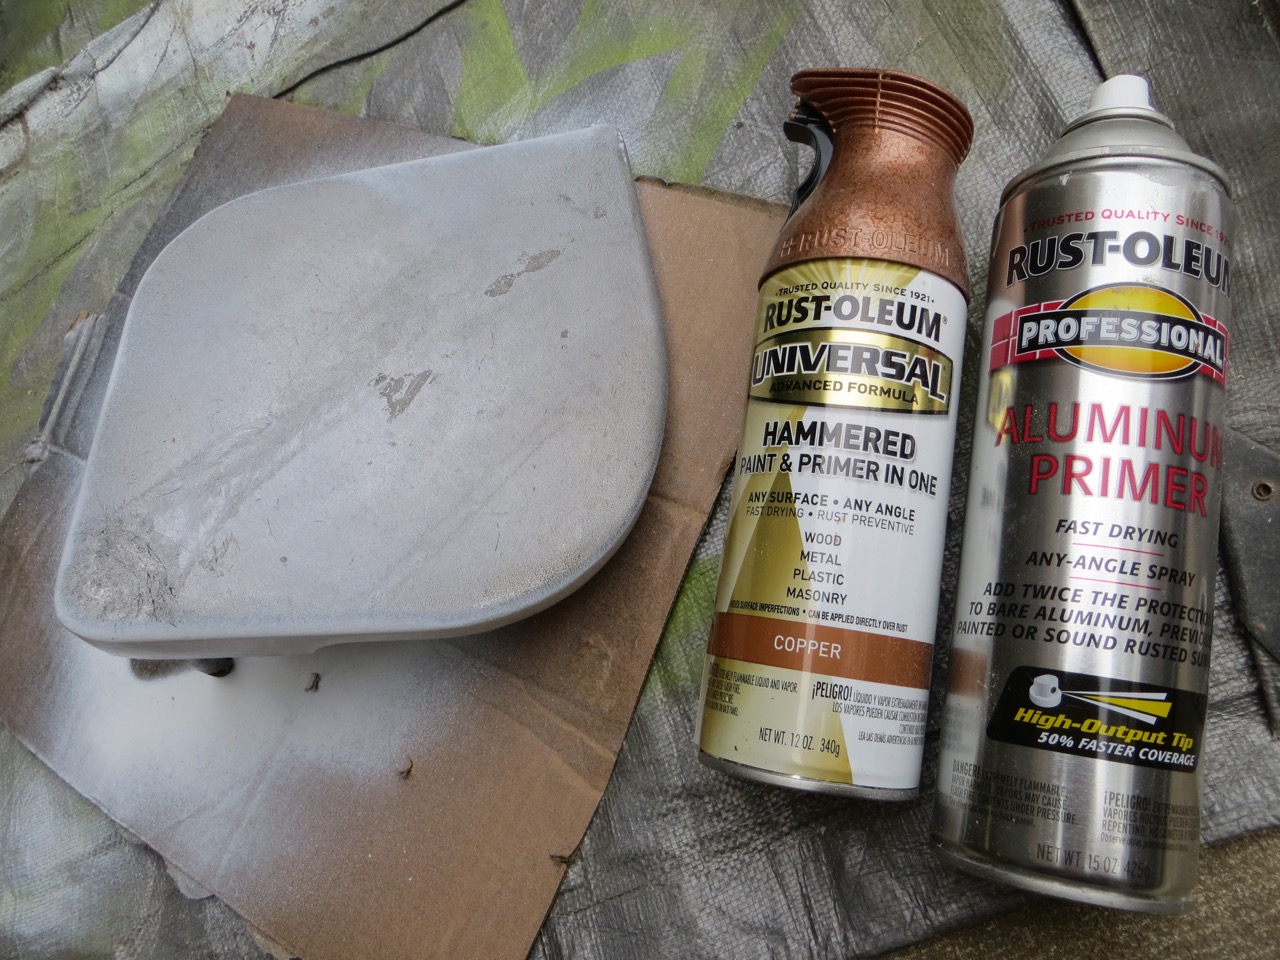
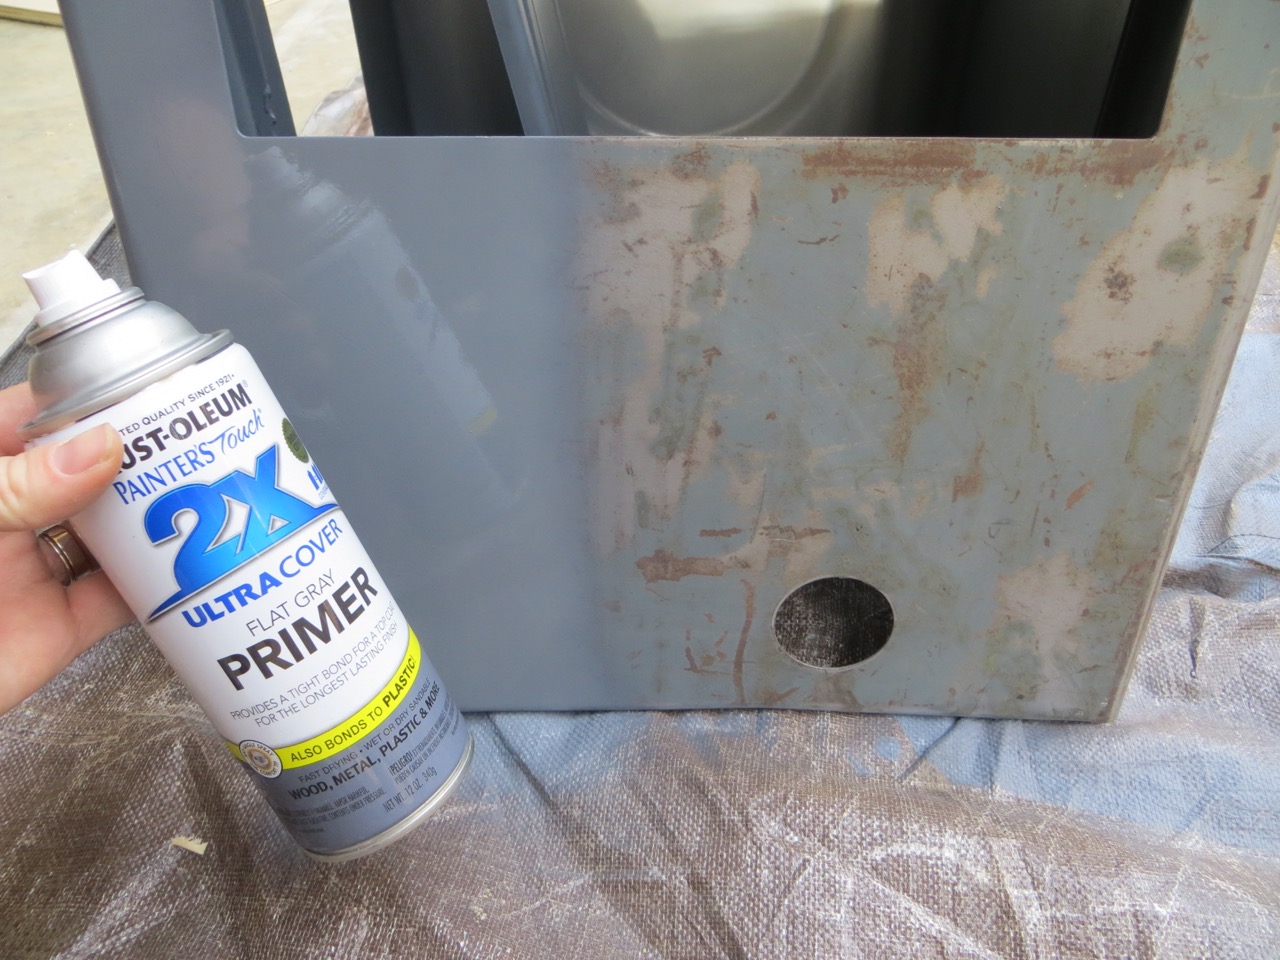
Prime all your pieces.
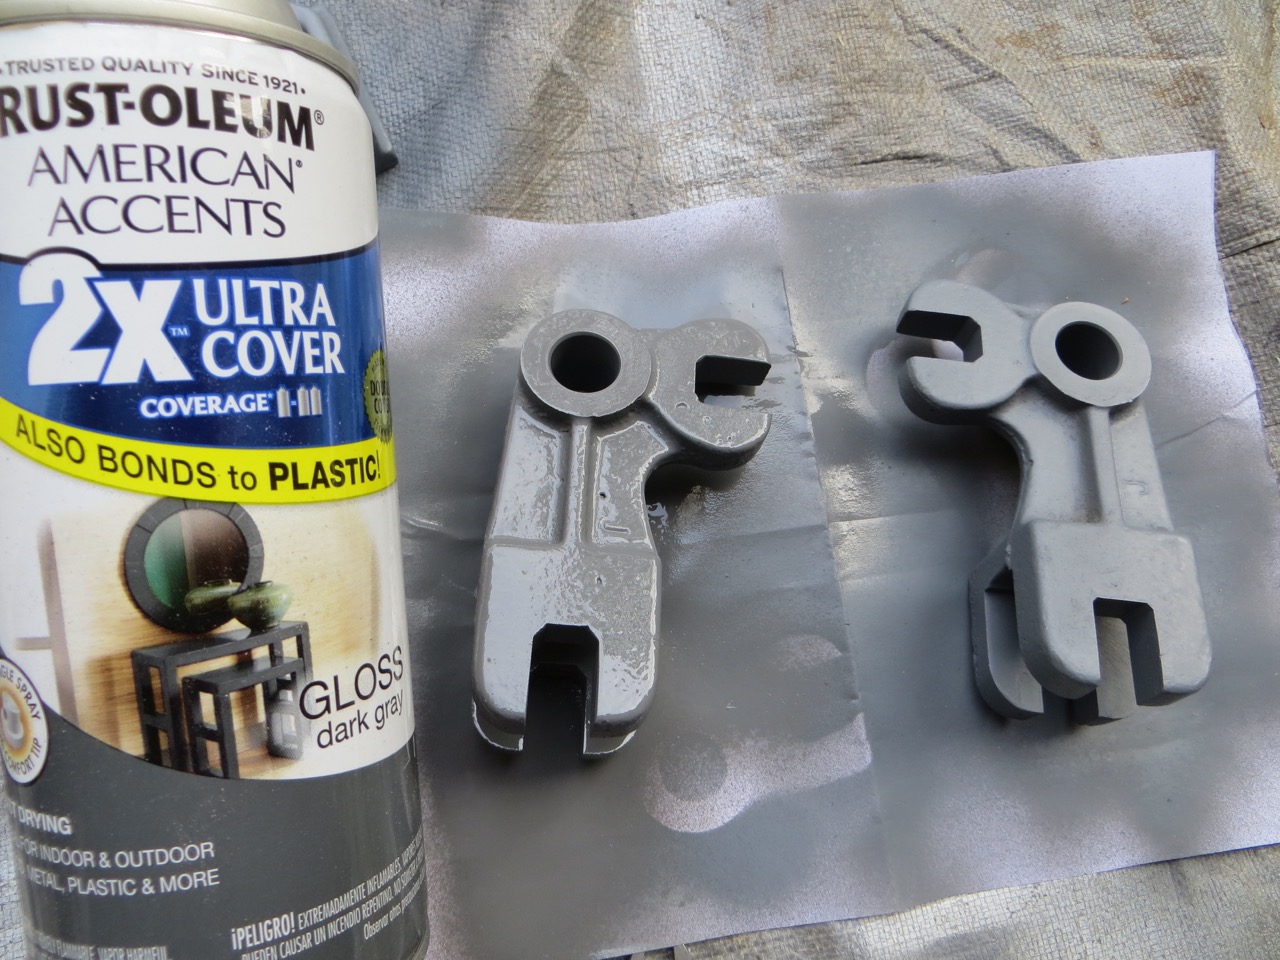
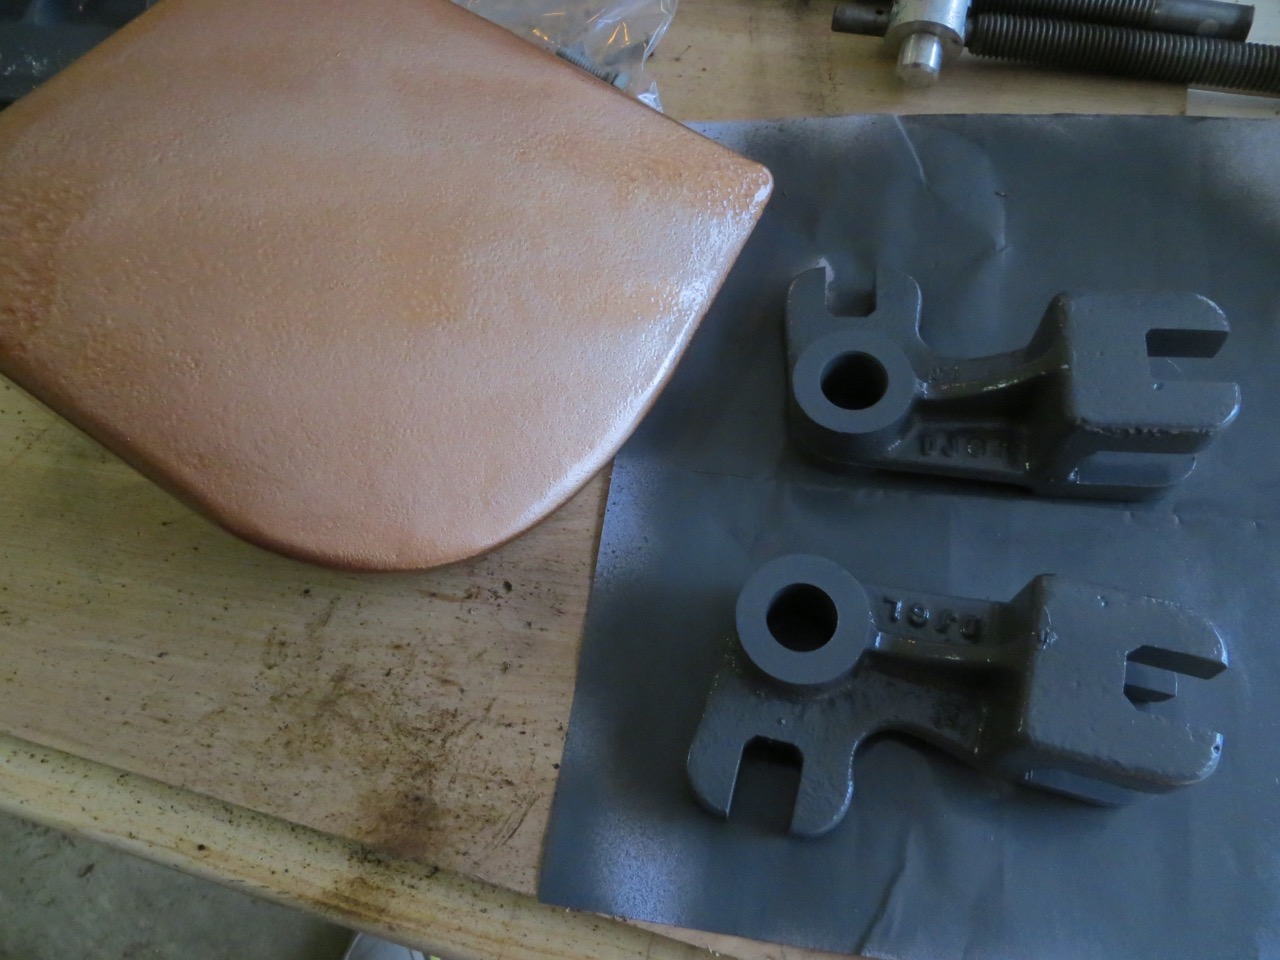
I chose a gloss paint so it was easier to keep clean; do 2-3 coats.
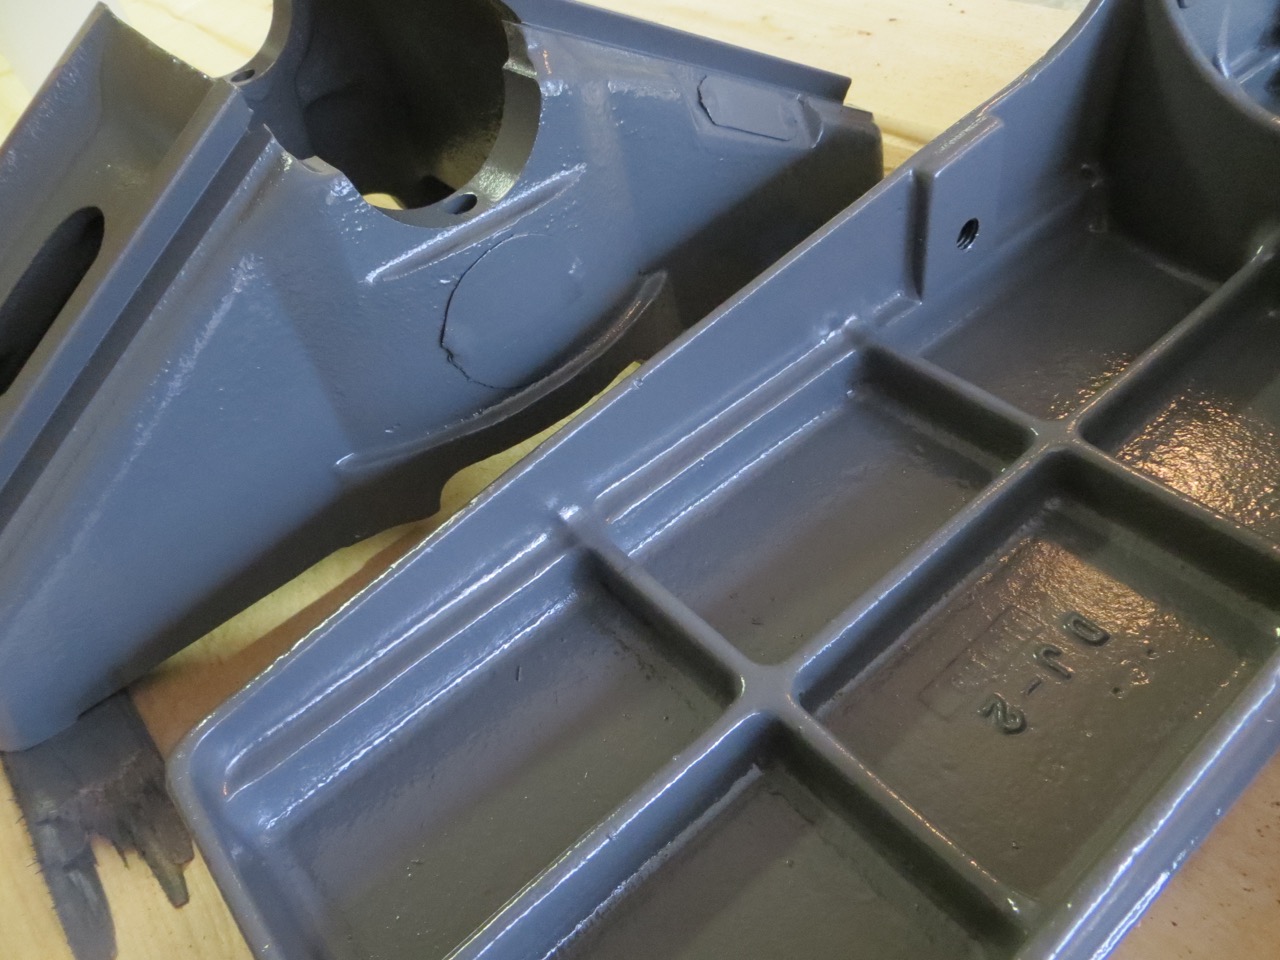
I primed and painted my tables so the table was against the floor at all times to keep paint from getting on it.
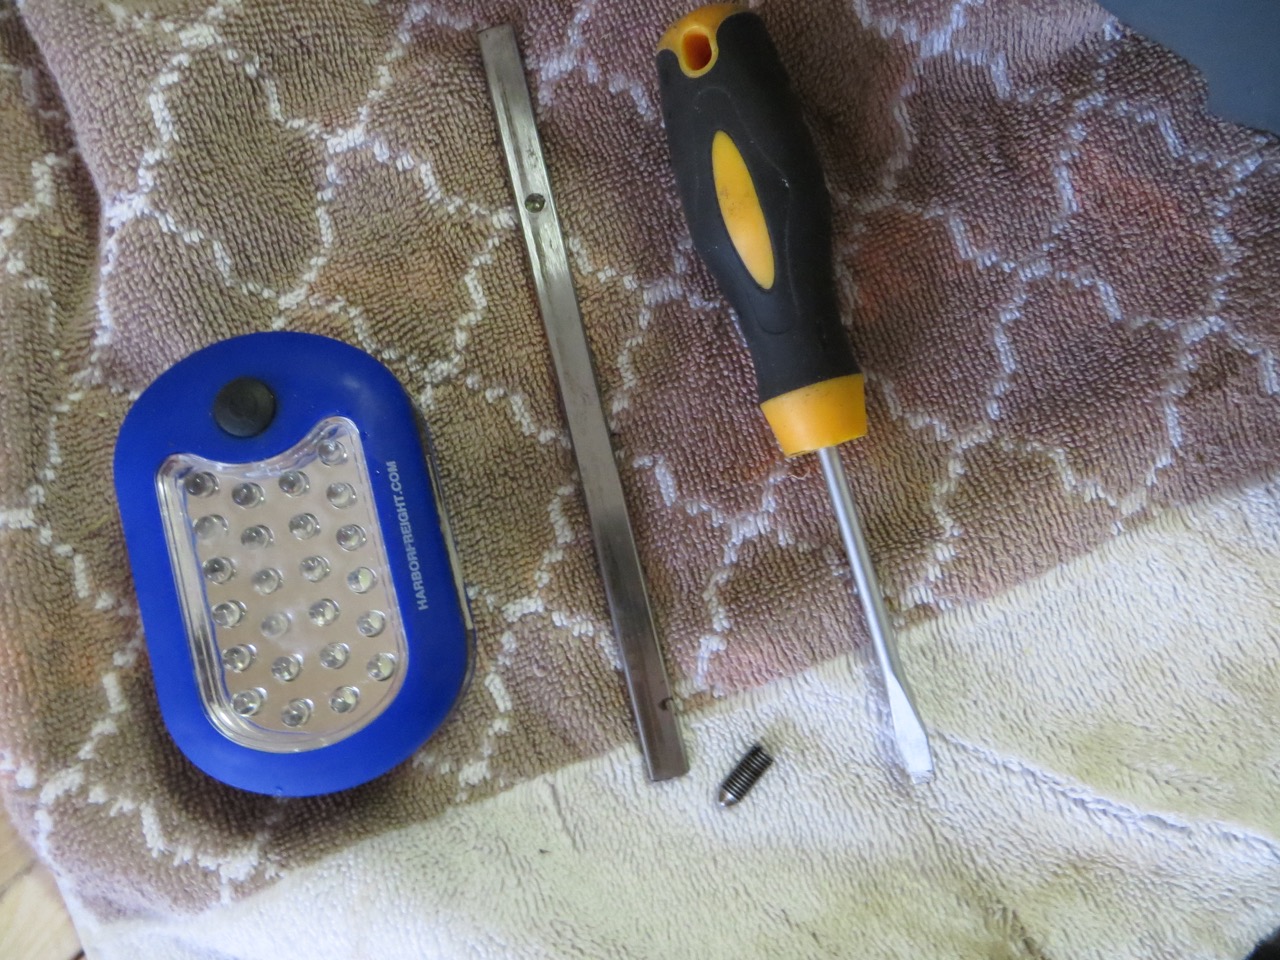
These are my secret weapons for cleaning paint from areas I didn’t want it.
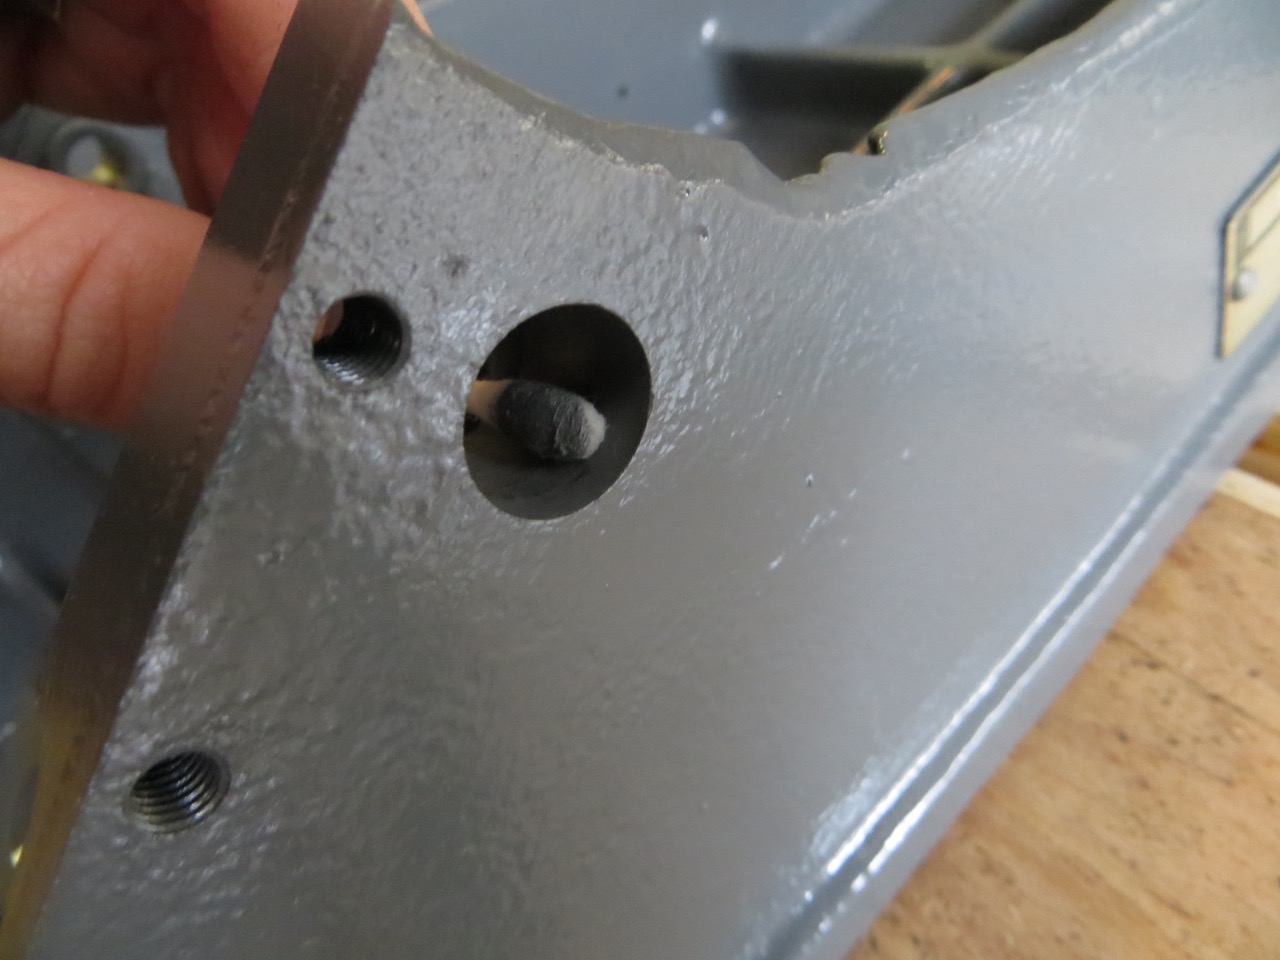
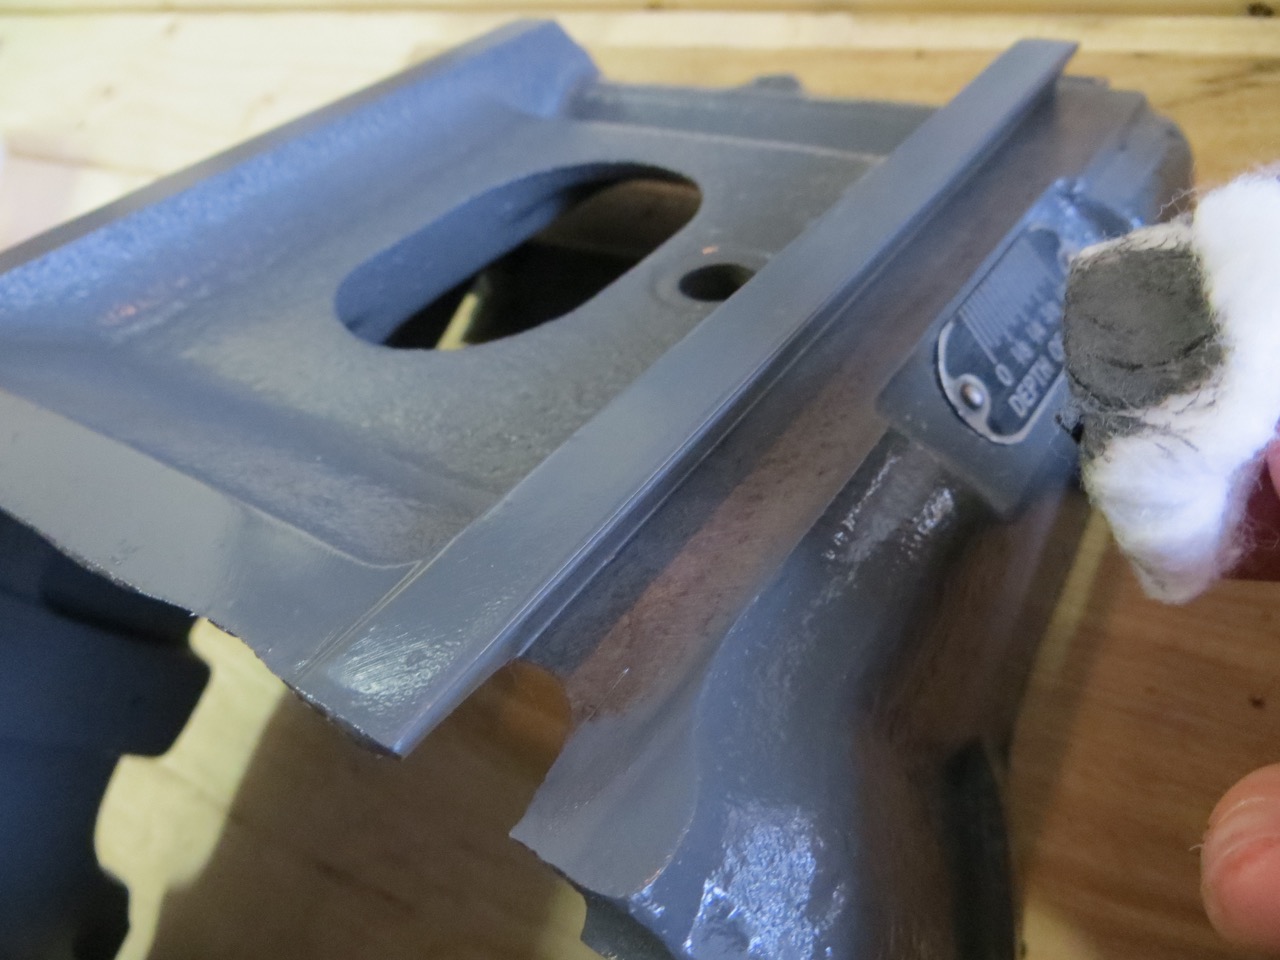
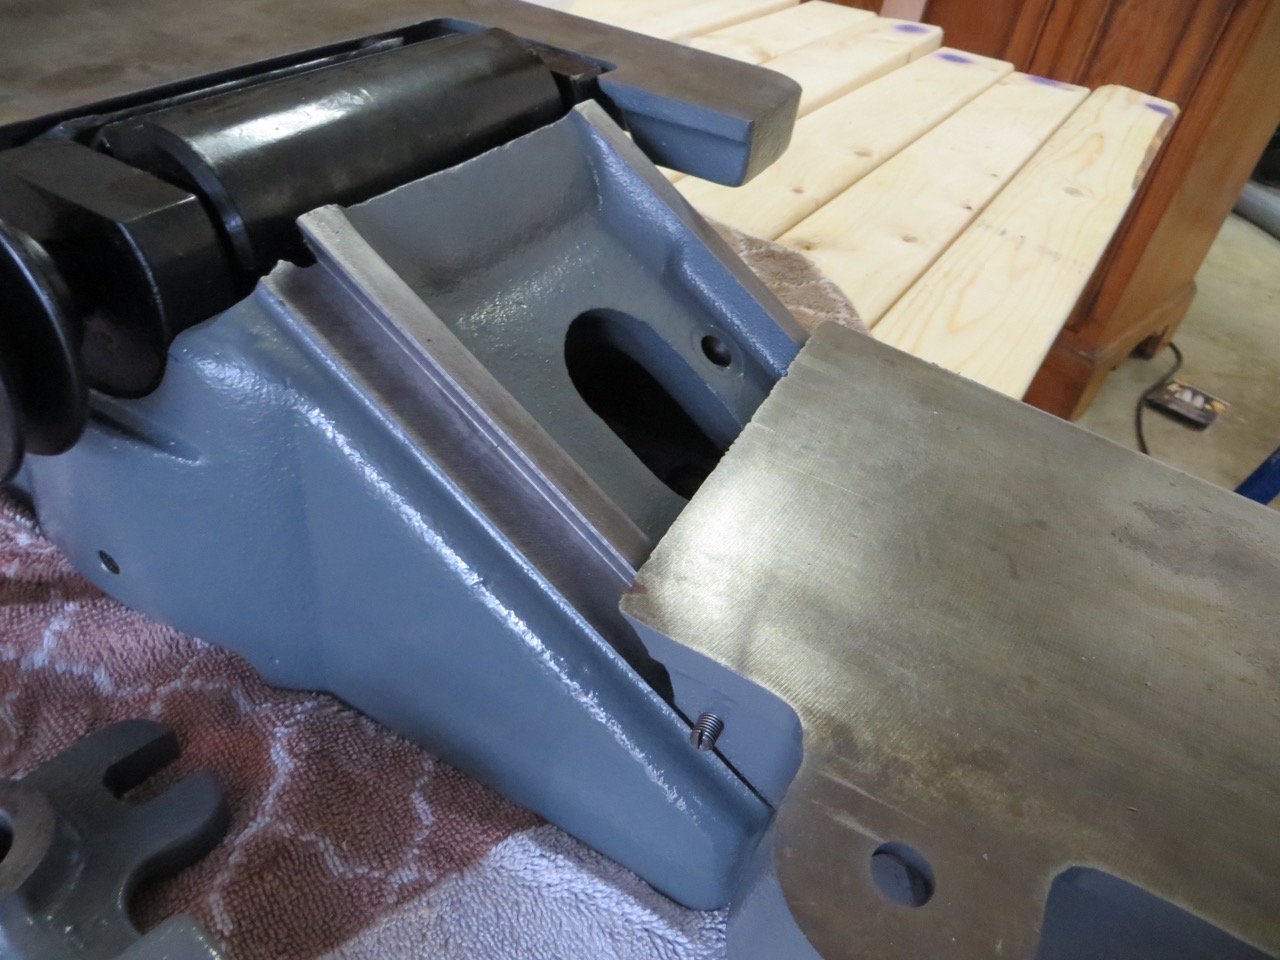
I made sure the dovetail ways were bare metal…
Any areas where shafts, bolts, screws went through got the same treatment. Once the bare metal was showing I wiped WD-40 over those areas to protect from rust and cut down on friction.
Again, WD-40 and steel wool to clean the knife set bars and screws.
I decided to paint the cutterhead to protect from rust.
For assembly, I decided to attach the cutterhead first.
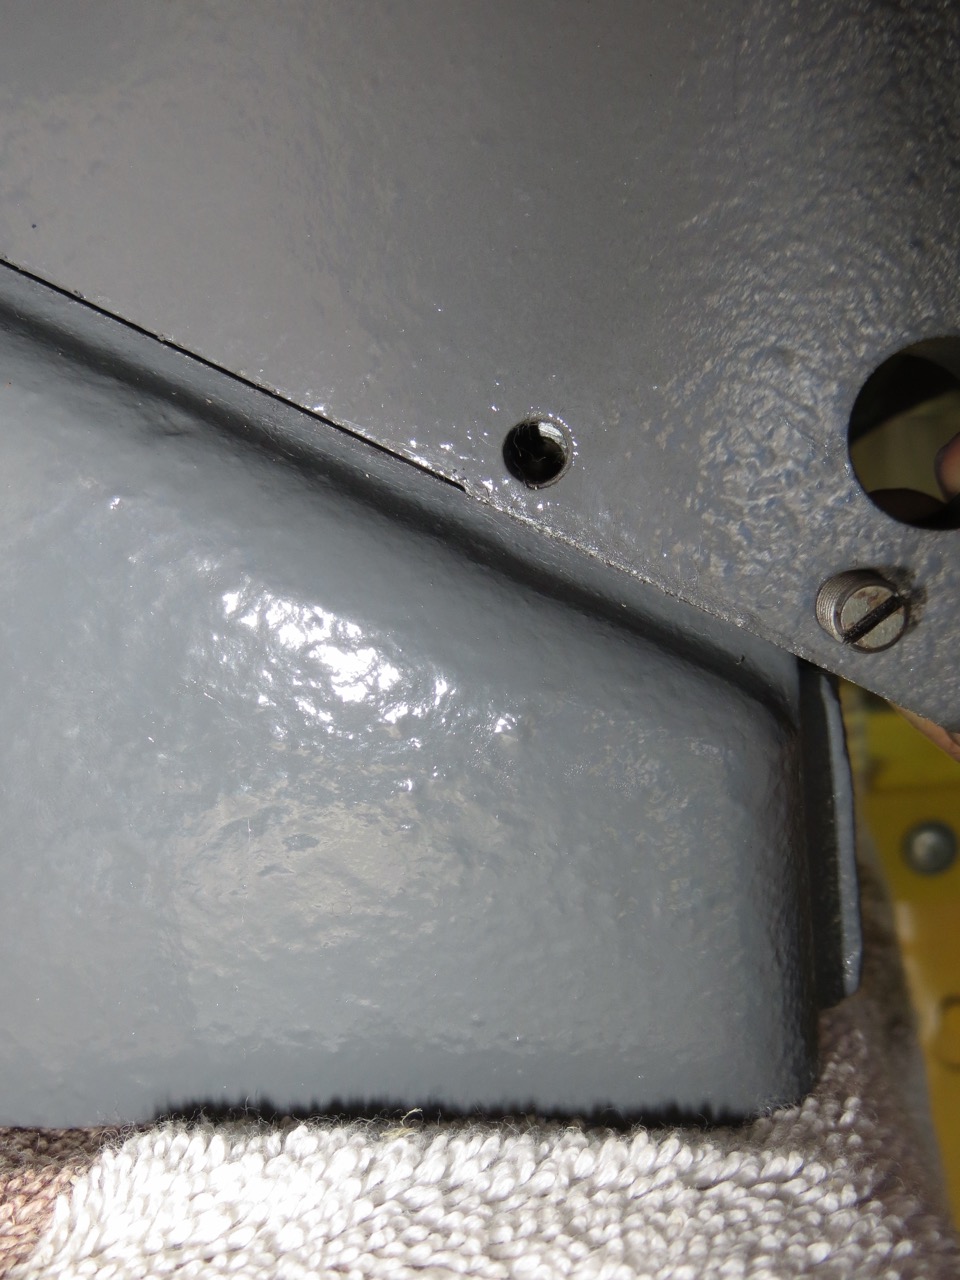
Hold up your gib bars to your gib screws to see how to orient it in the dovetail ways. You can see I’ve screwed in some of the gib screws already so they’re easy to tighten once the table is on and I’m not fumbling around while holding the table in place. I left the one gib screw out that will lock the gib bar in place.
Have your tools ready.
Slide your table on…
…insert your gib bar inside the dovetail way and move it back/forth until you can locate the impression on the bar through the gib screw hole (you’ll want a flashlight).
Without moving, very carefully screw in that last gib screw. You want this screw somewhat tight; tight enough that the screw keeps the gib bar in place as the table is adjusted up/down but loose enough that it’s not pinning the bar so tight that the tables are hard to move. Tighten the other gib screws (keeping somewhat loose until you can do final adjustments at the end).
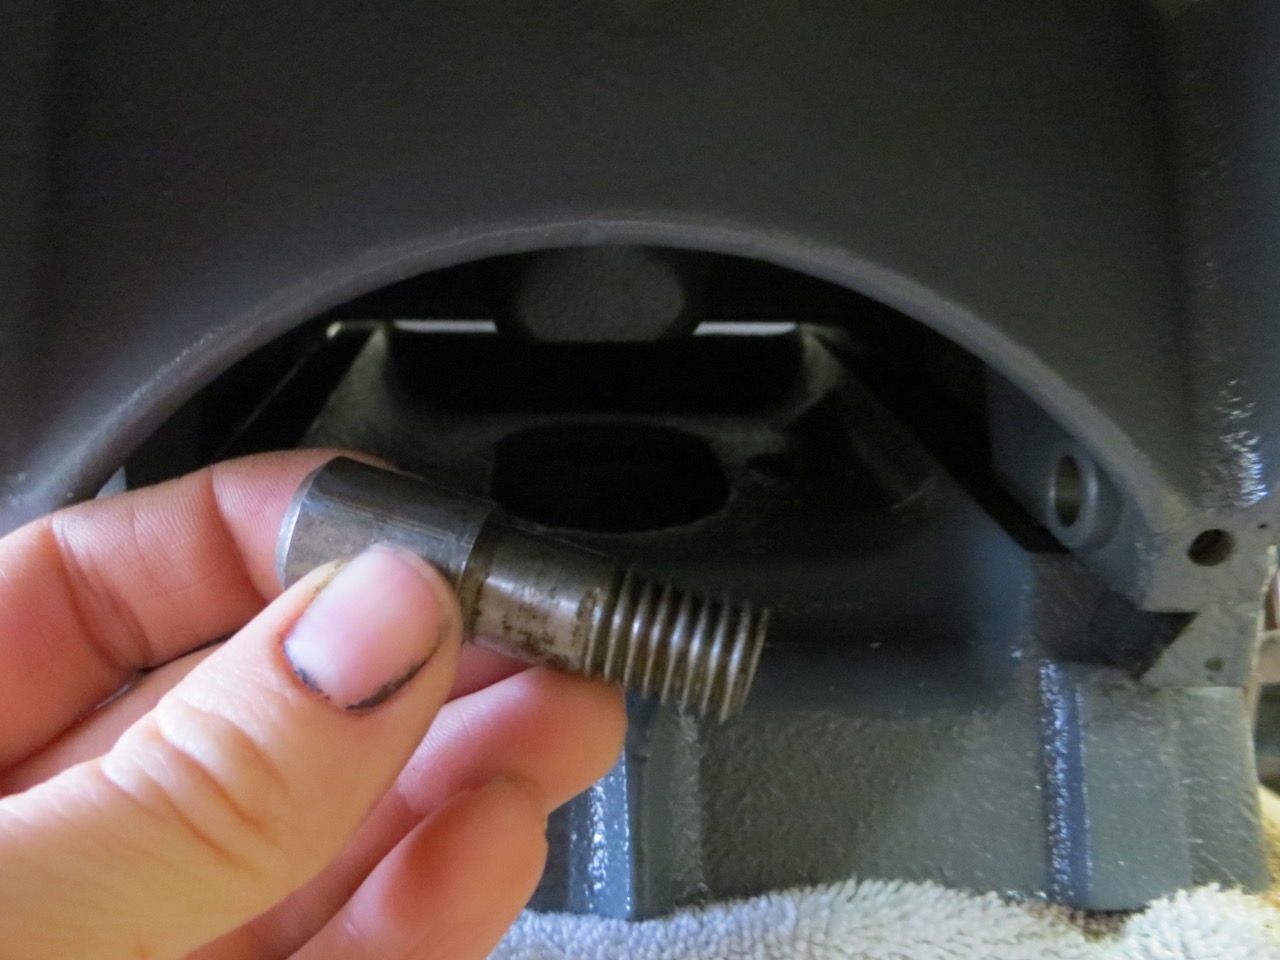
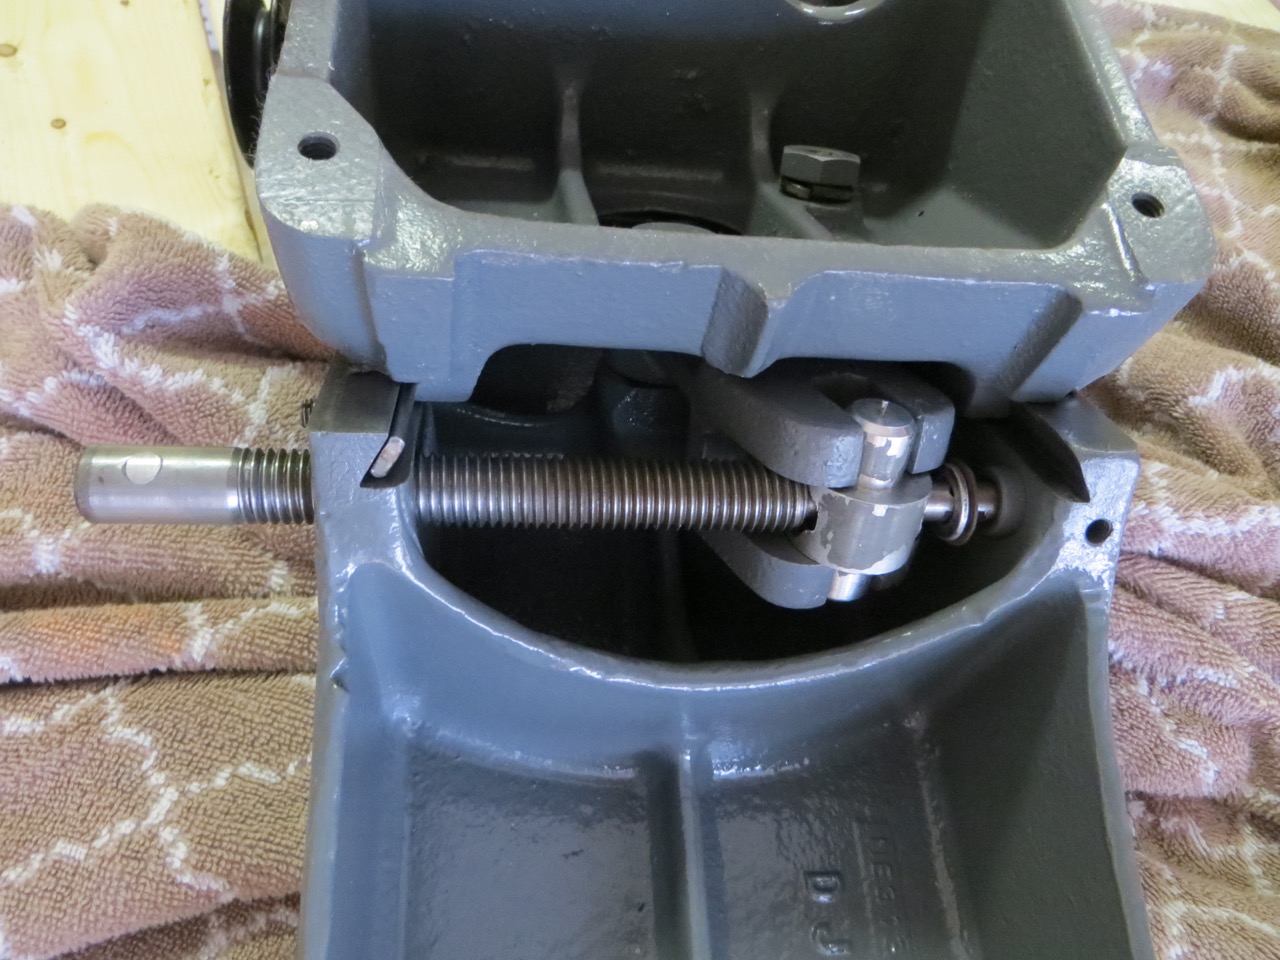
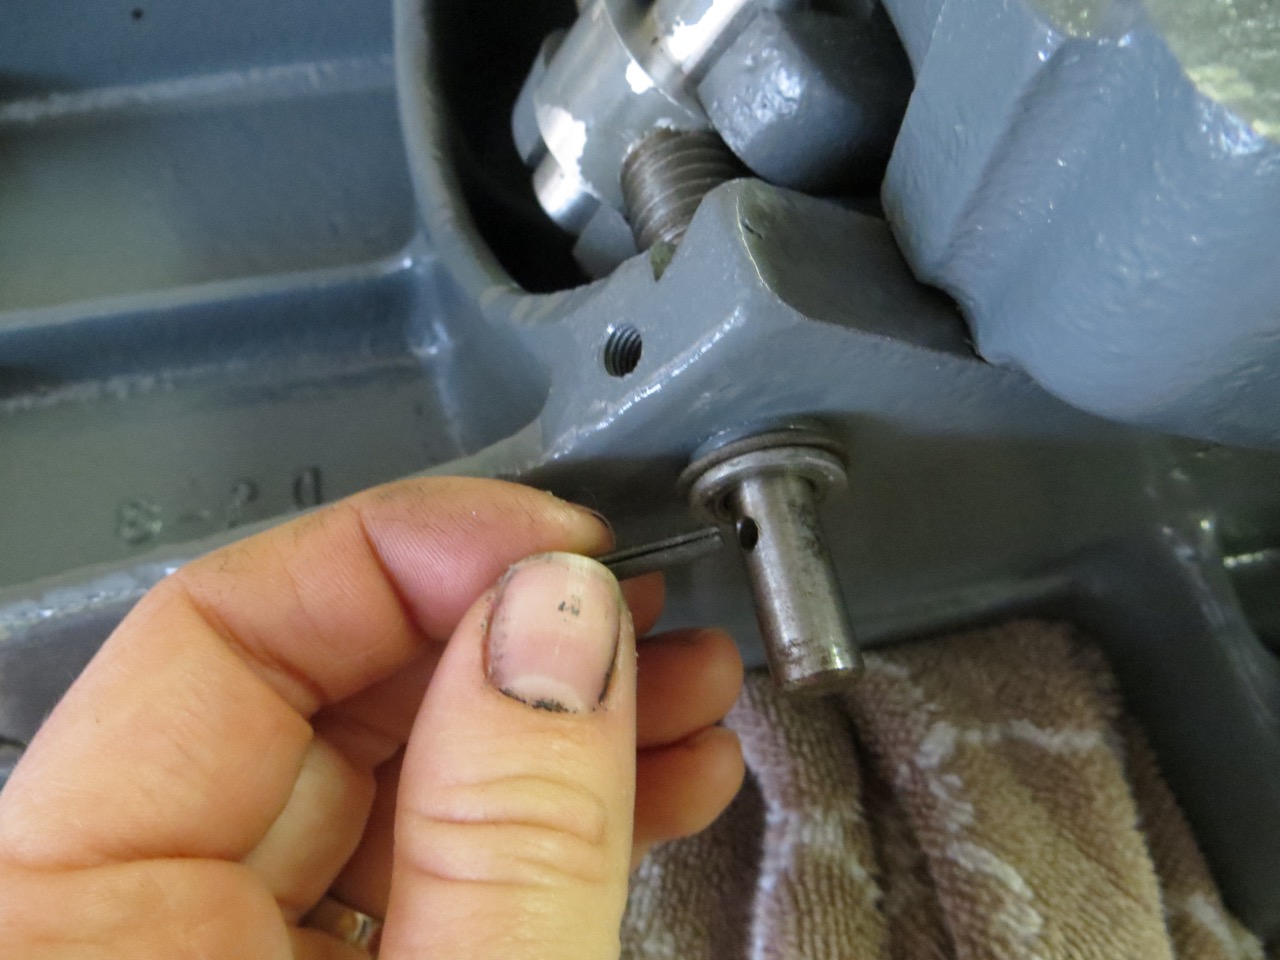
Take your shoulder pin…
…and place it through the hole under the table…
…and finger tighten the lockwasher and nut from underneath.
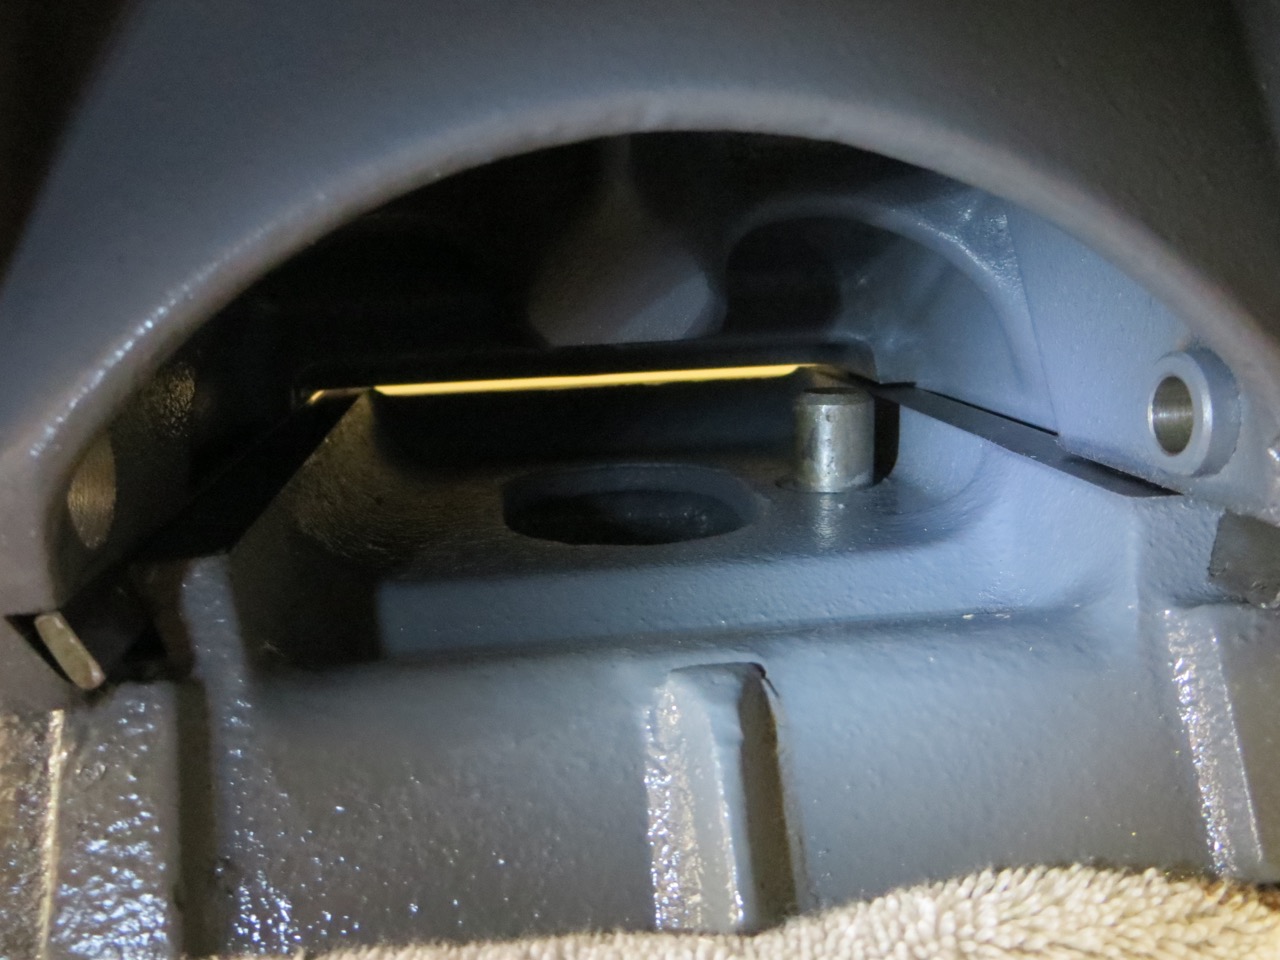
Locate the correct ‘arm’ and fish it inside…
…so it’s holding onto the shoulder pin.
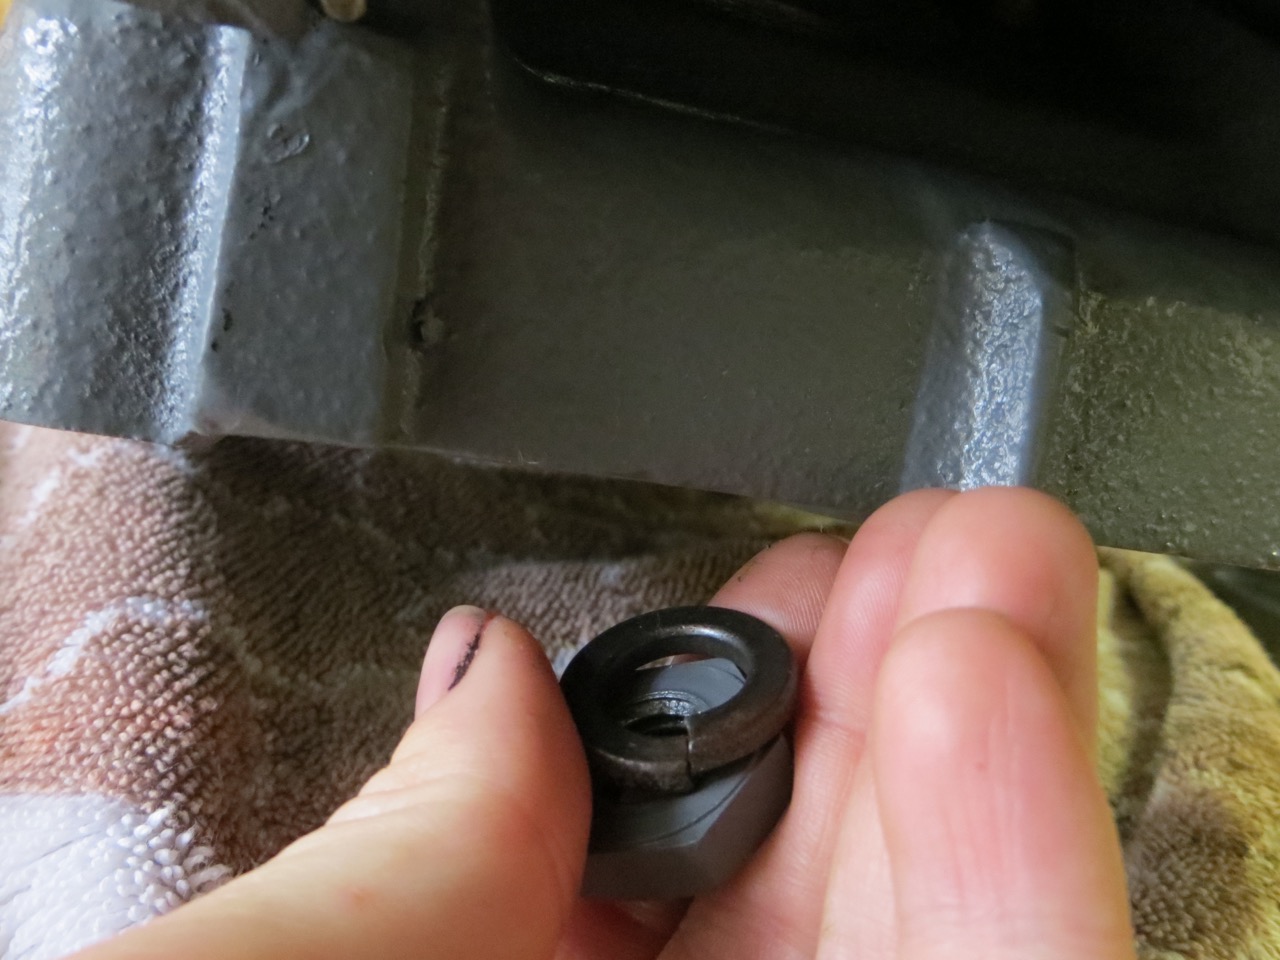
Now the tables are on! Carefully turn everything over so you can work on the underside…
… and insert your bolt…
…and tighten both the bolt and shoulder pin nut.
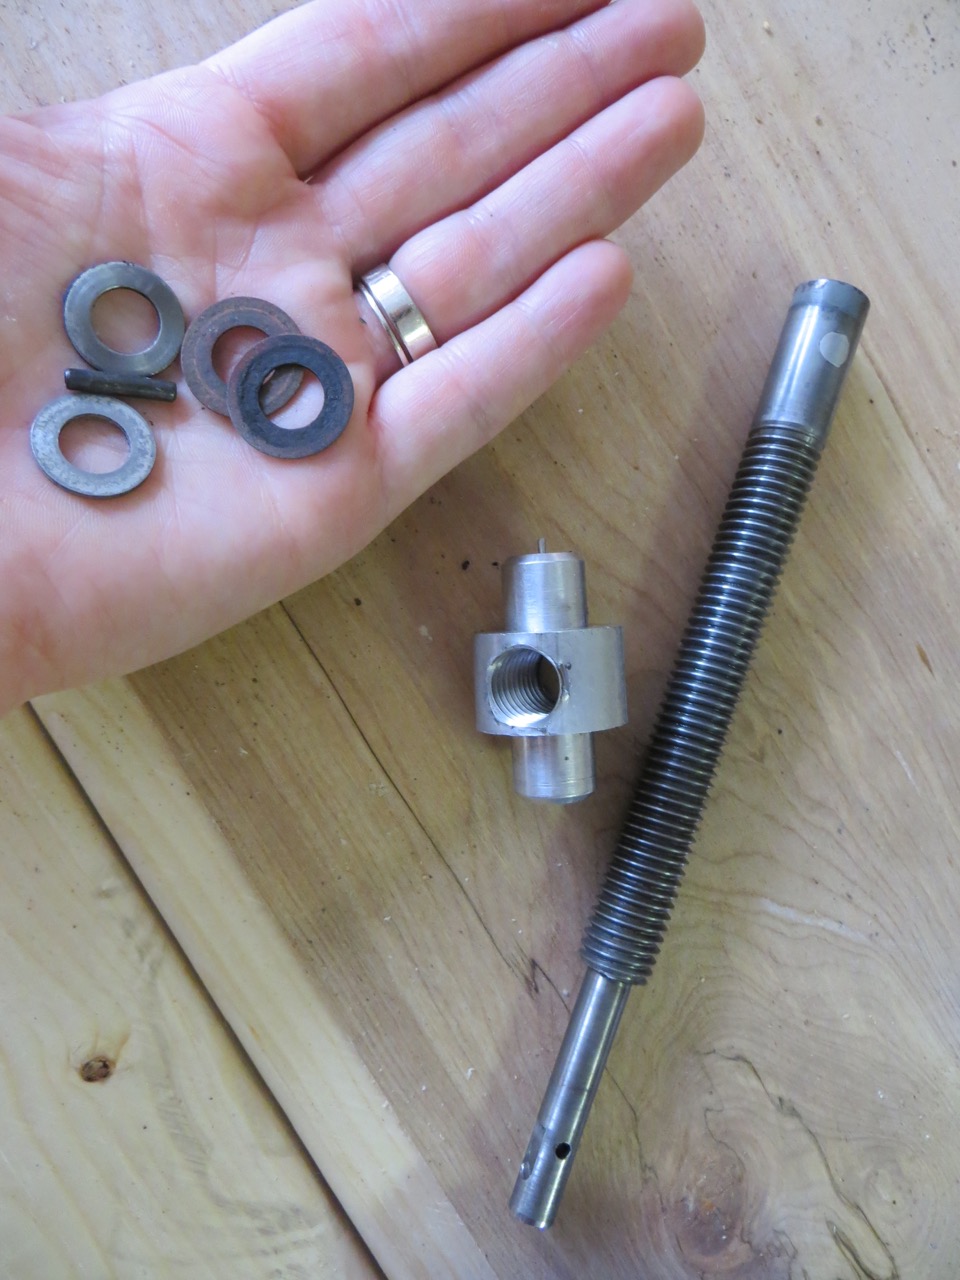
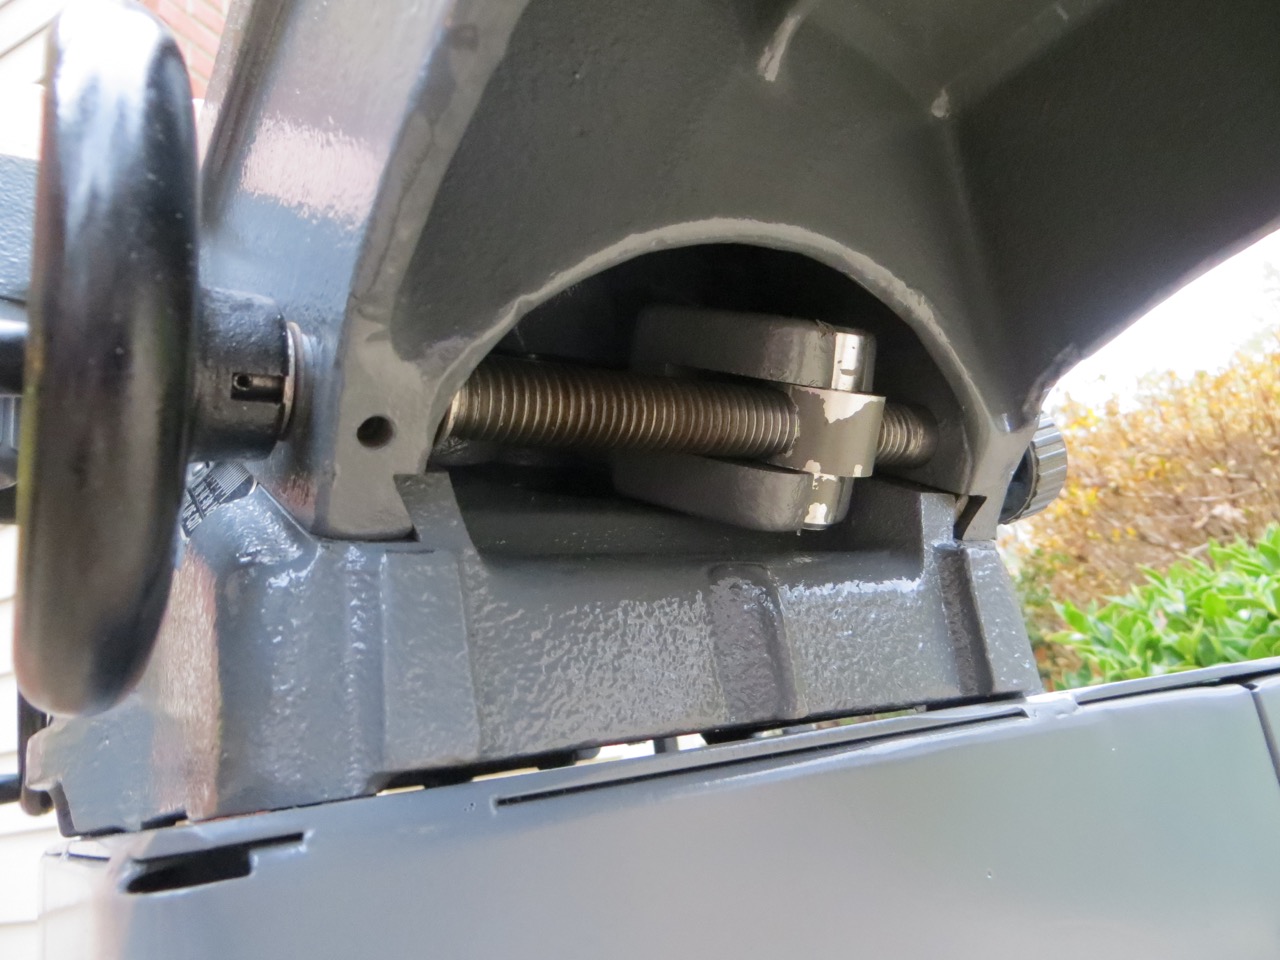
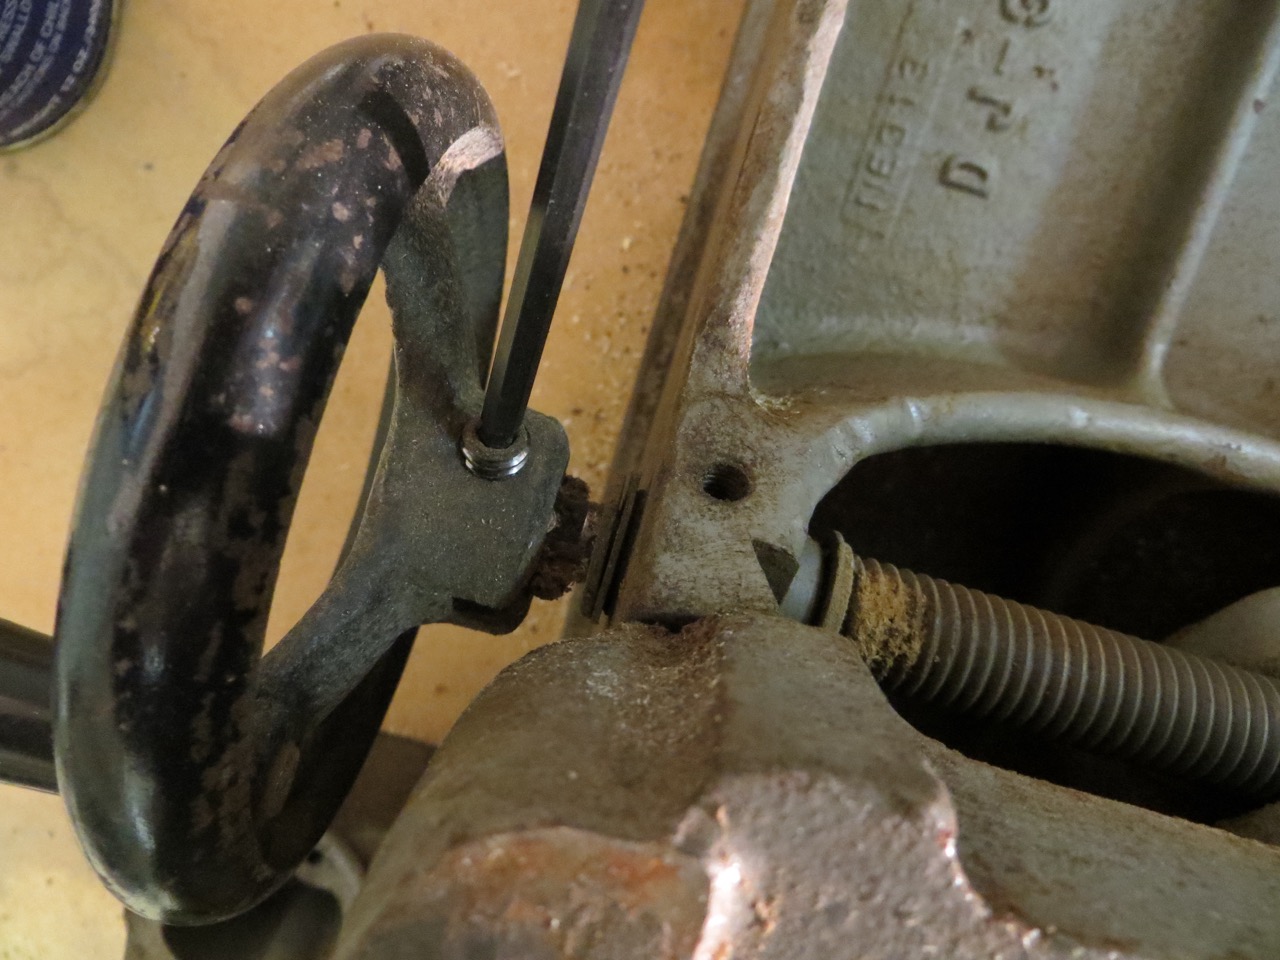
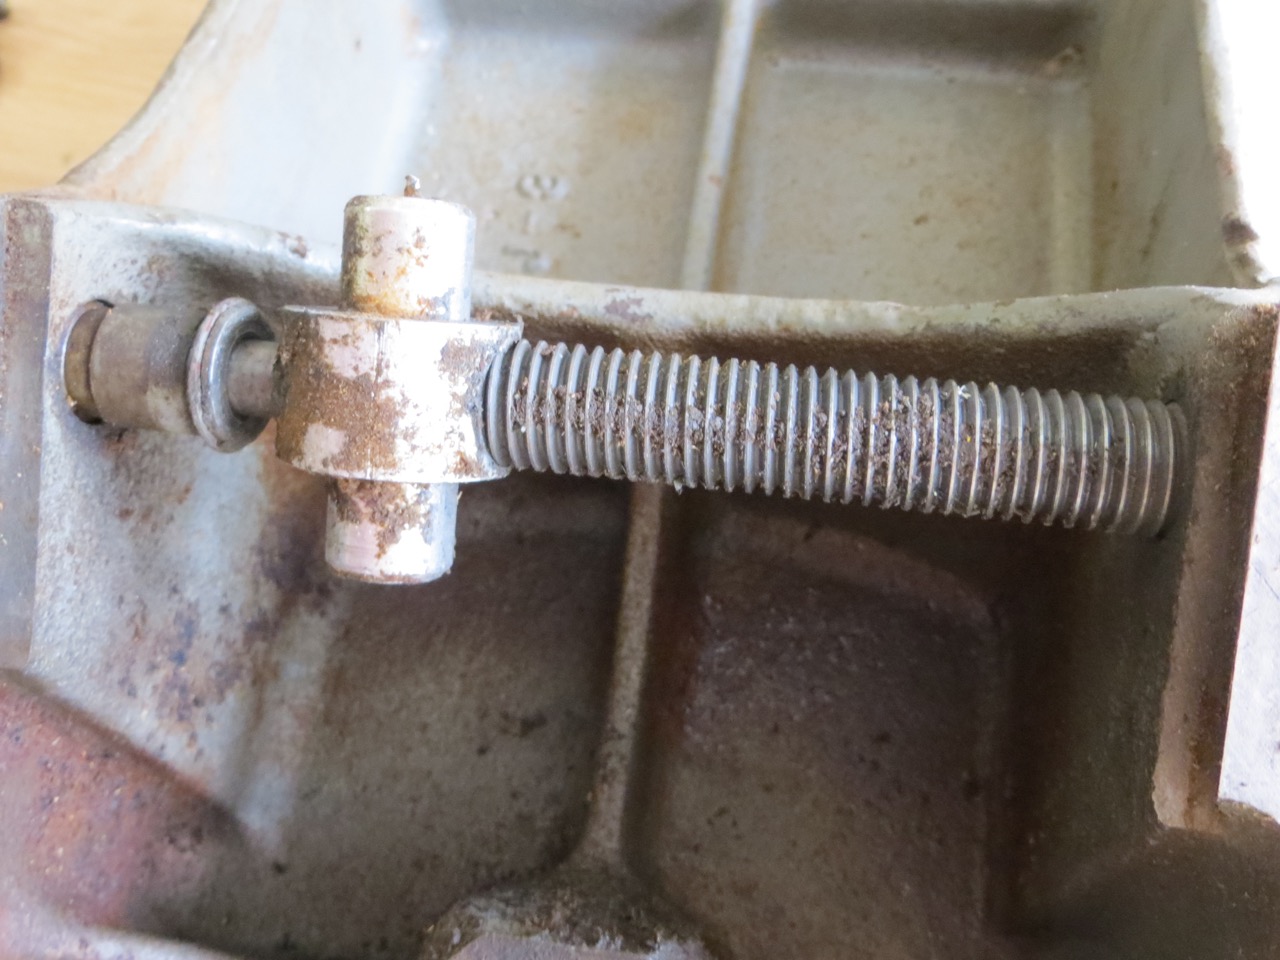
Gather pieces needed for your adjusting screw/wheel rod.
Place the adjusting nut into the “arm” and turn adjusting rod to pass through to the other side. Add washers and keep turning rod so it comes through the other side of the table.
Add other washers and use a mallet to push pin through rod. Attach hand wheels and lock screws on other ends.
Your done with the hard part!
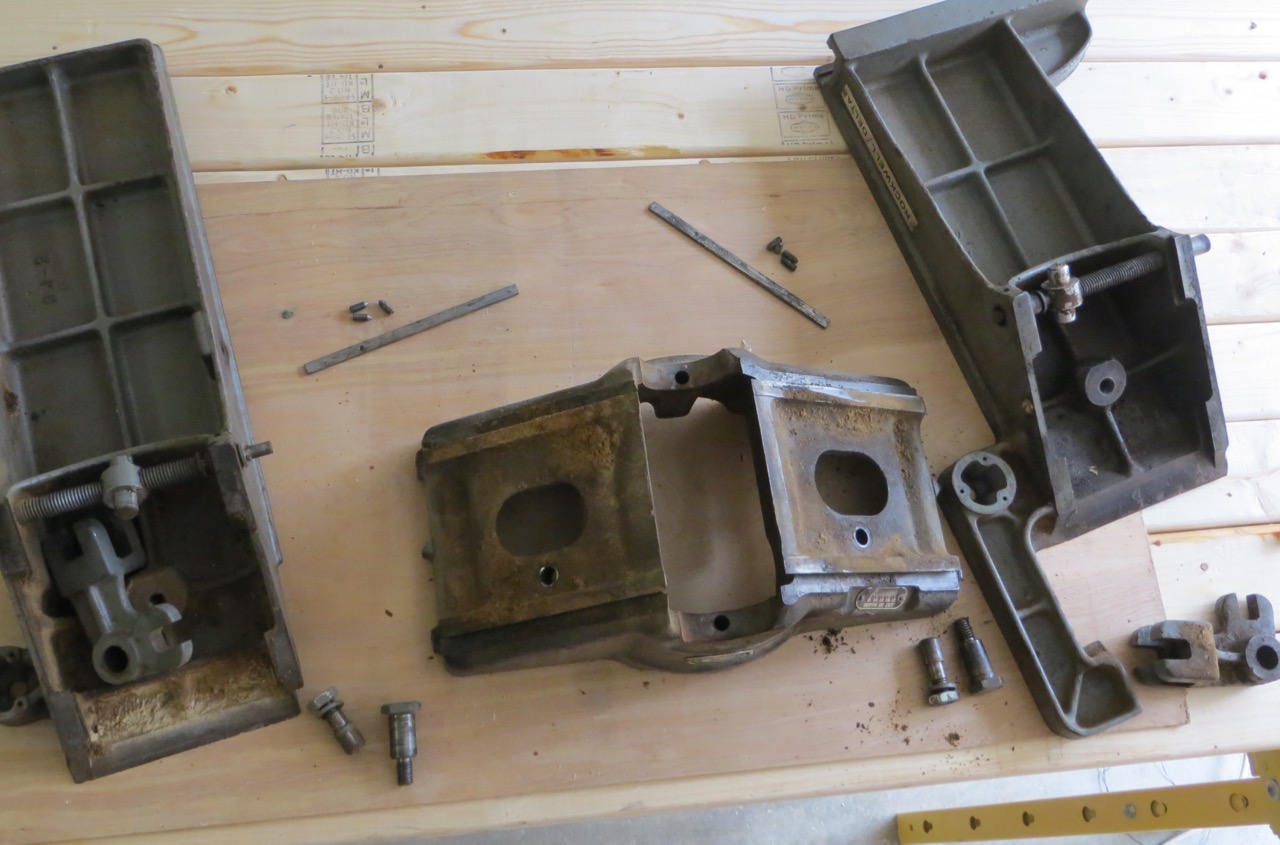
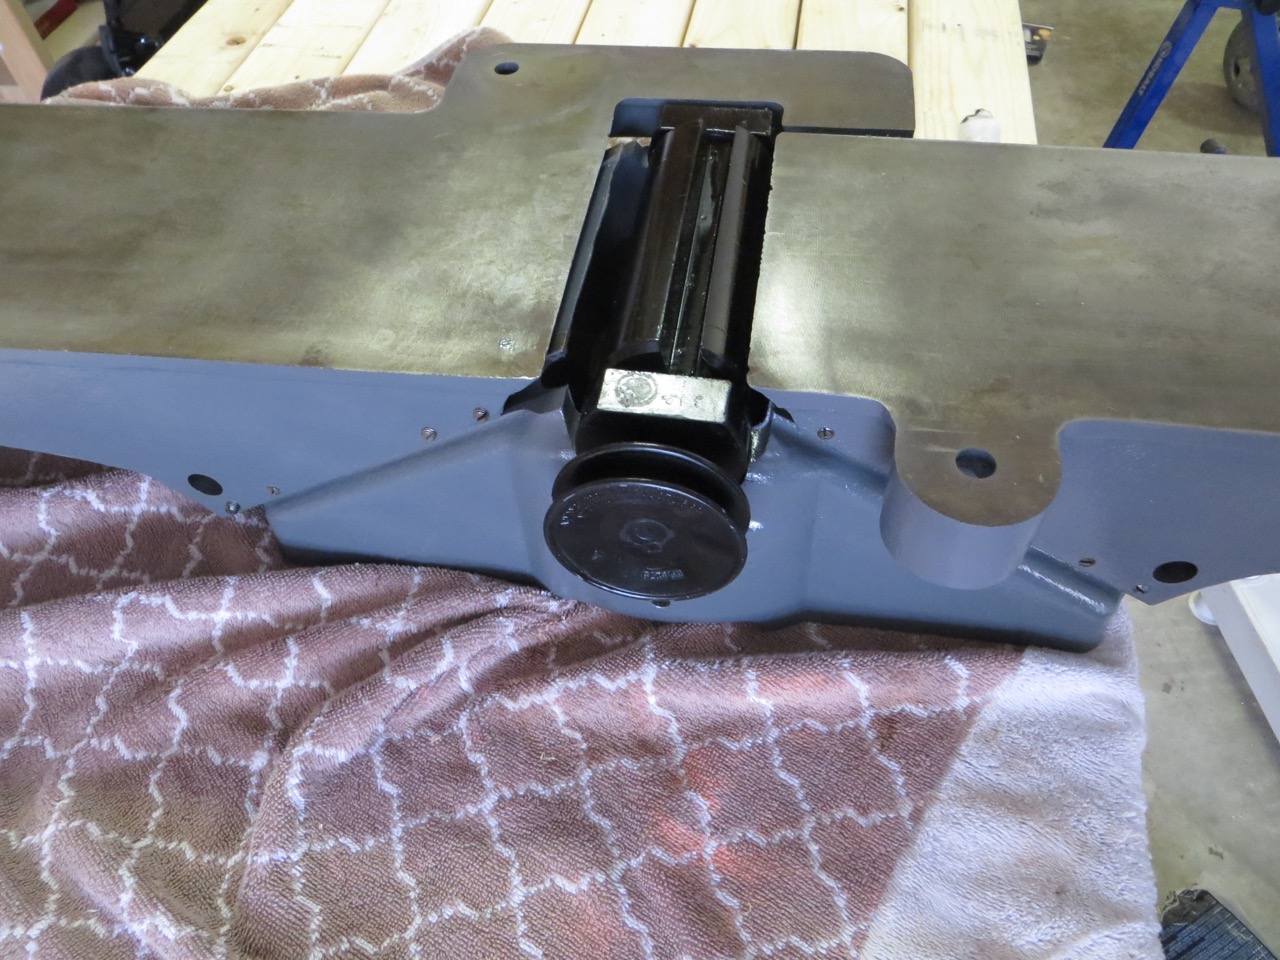
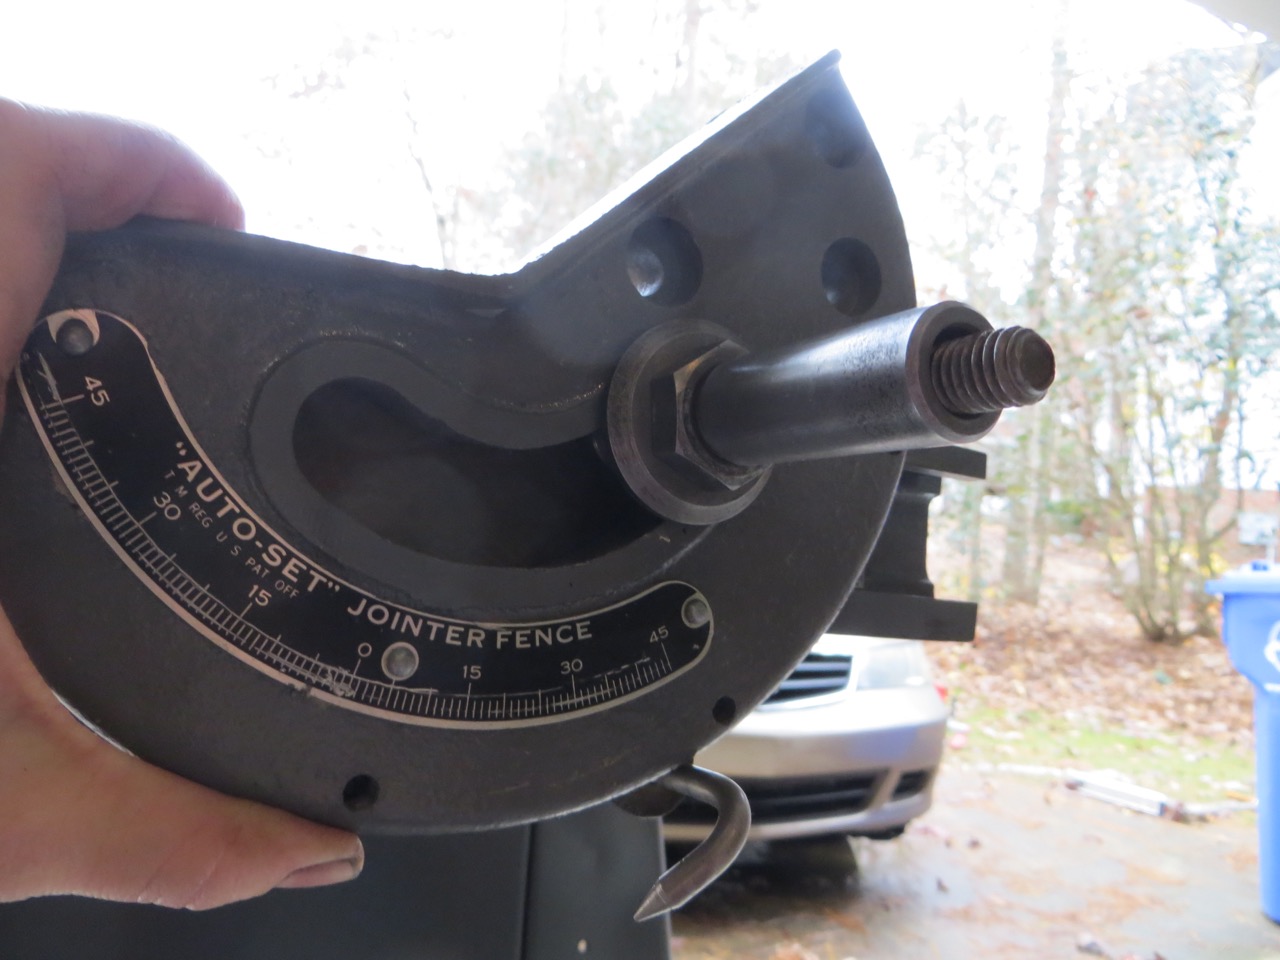
Now onto the fence:

Start disassembling.

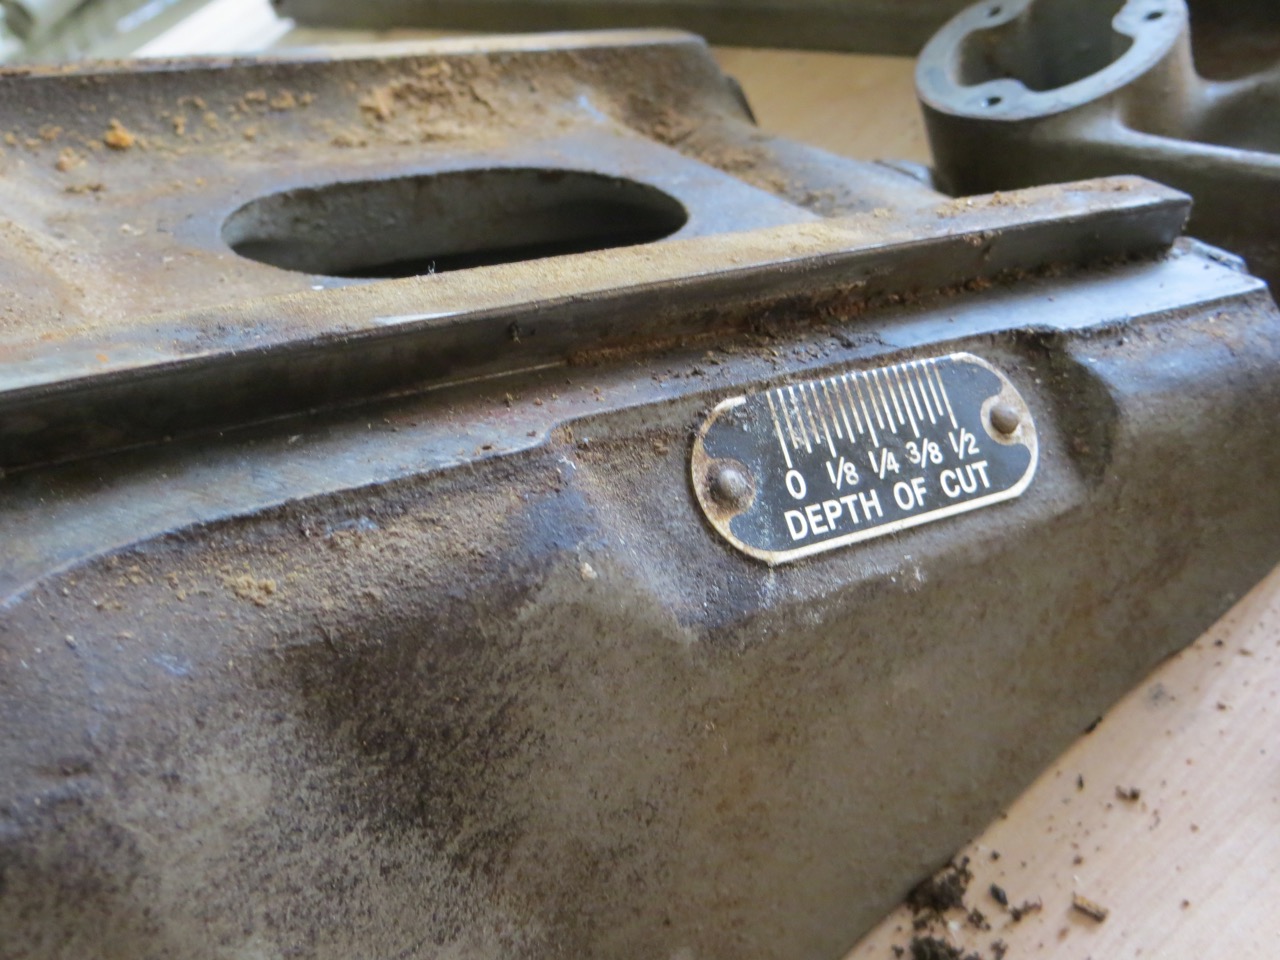
No wonder the table was hard to adjust!

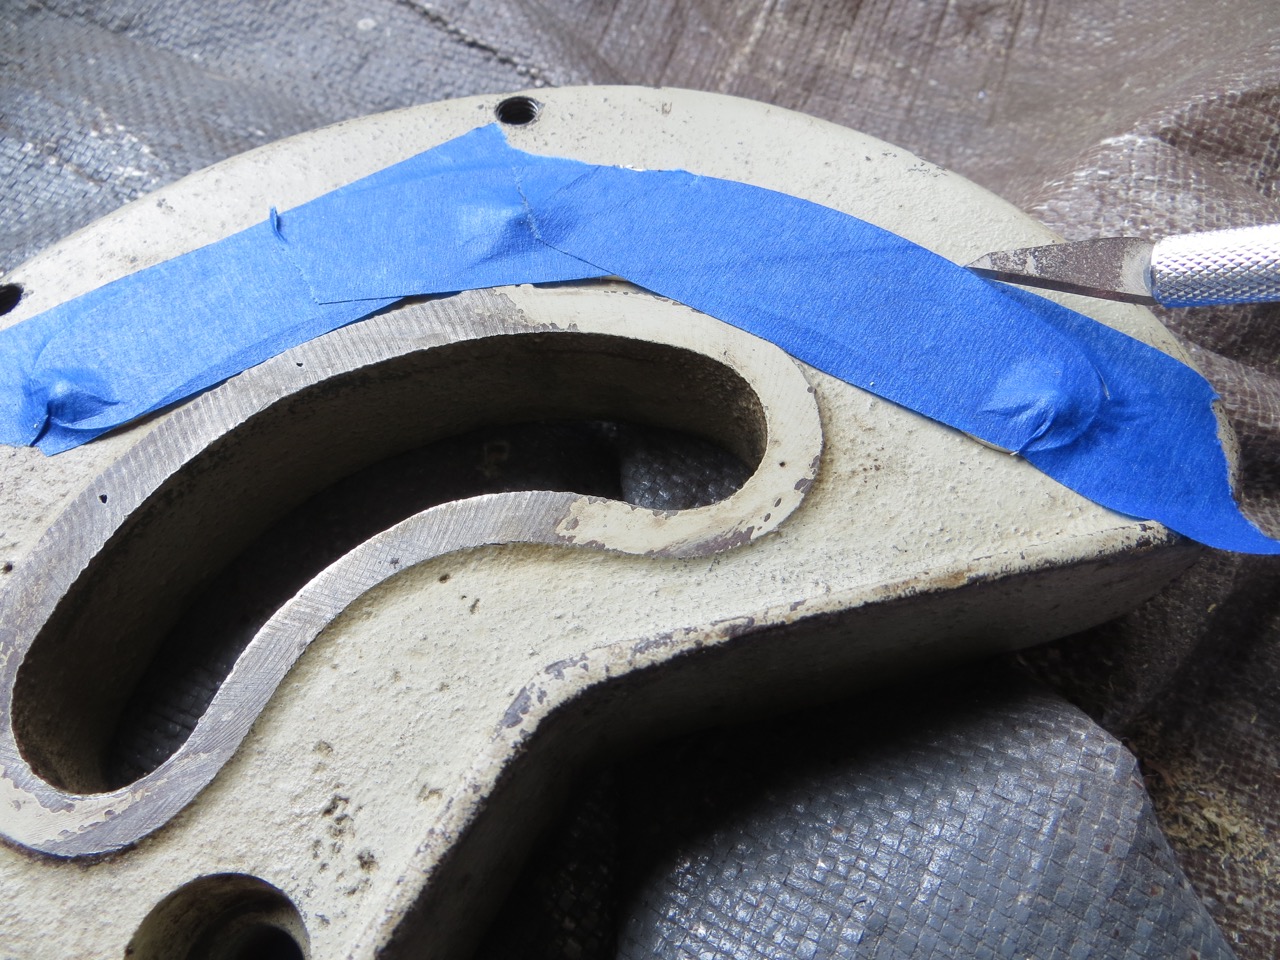
For taping I use an Xacto knife to score around the edges of the badge to get a perfect line.

I scrubbed the fence parts and metal base with steel wool and the brushes. Since the base had a lot of rough spots and spilled paint I used my orbital sander to get it smooth again. I used mineral spirits to clean and followed up with TSP just like before.
Once all parts were clean and dry I primed and painted. I love seeing the paint go on because it makes it look new within seconds!
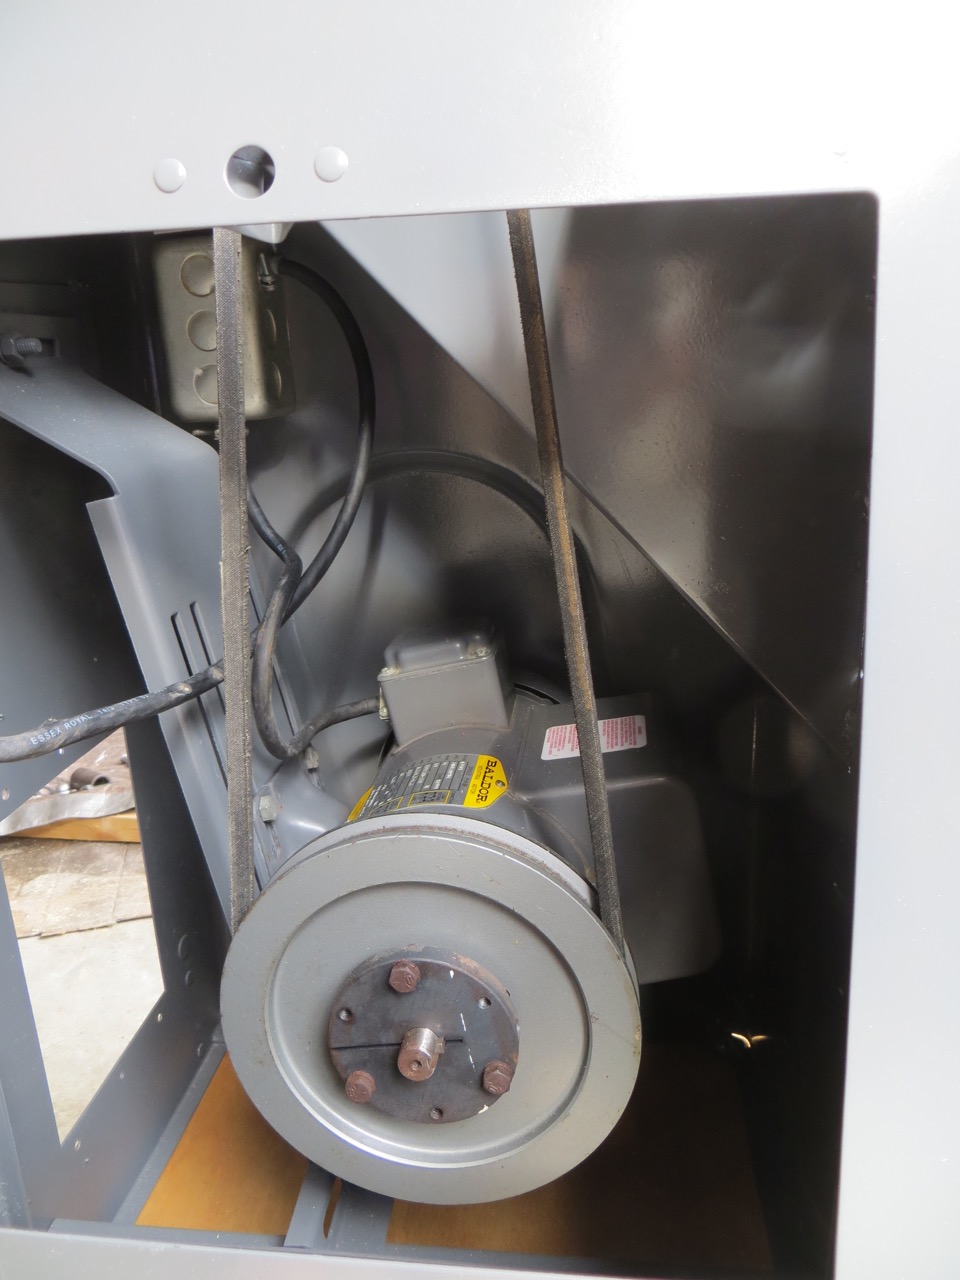
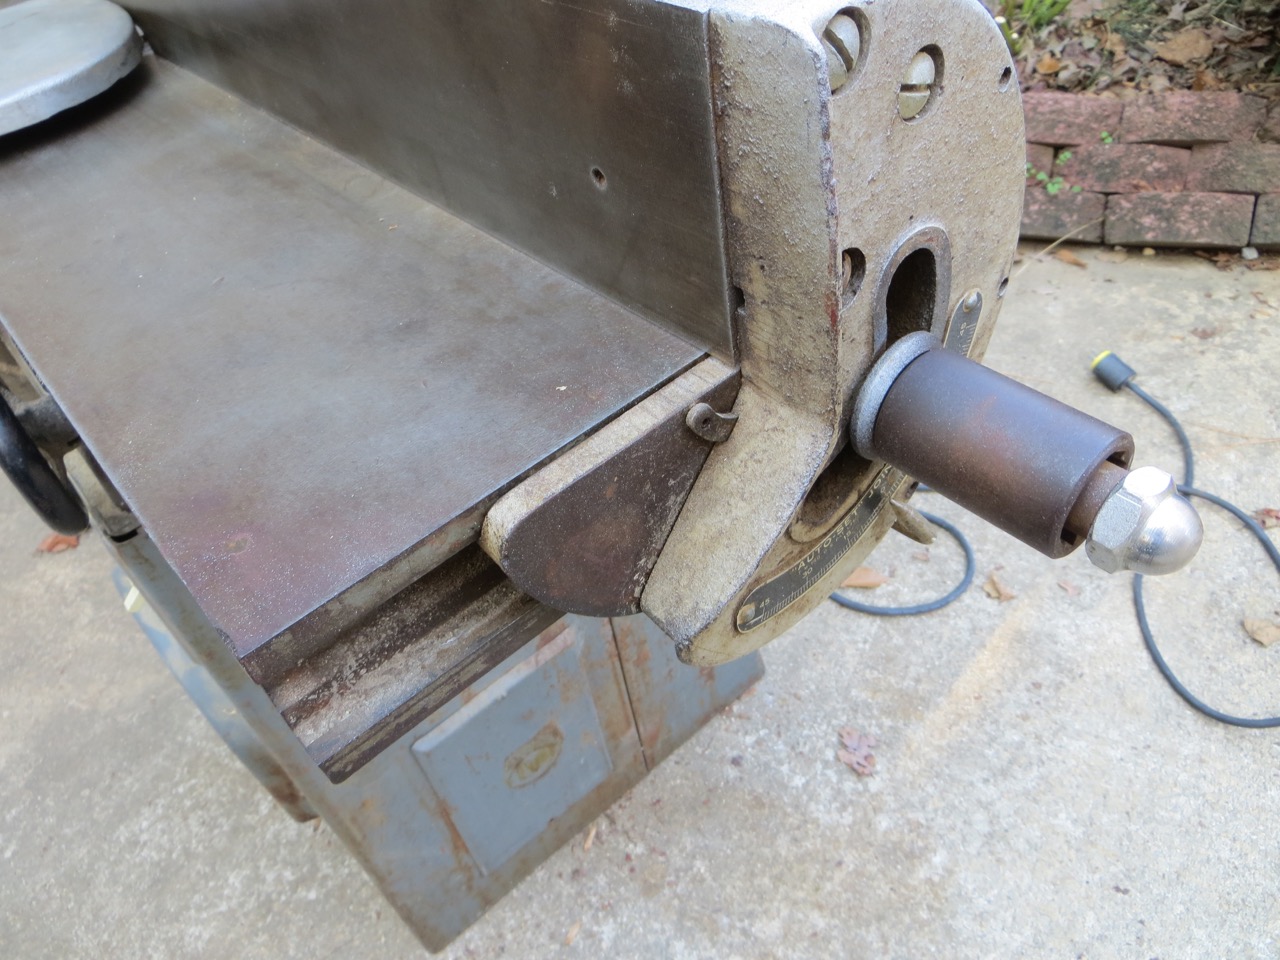
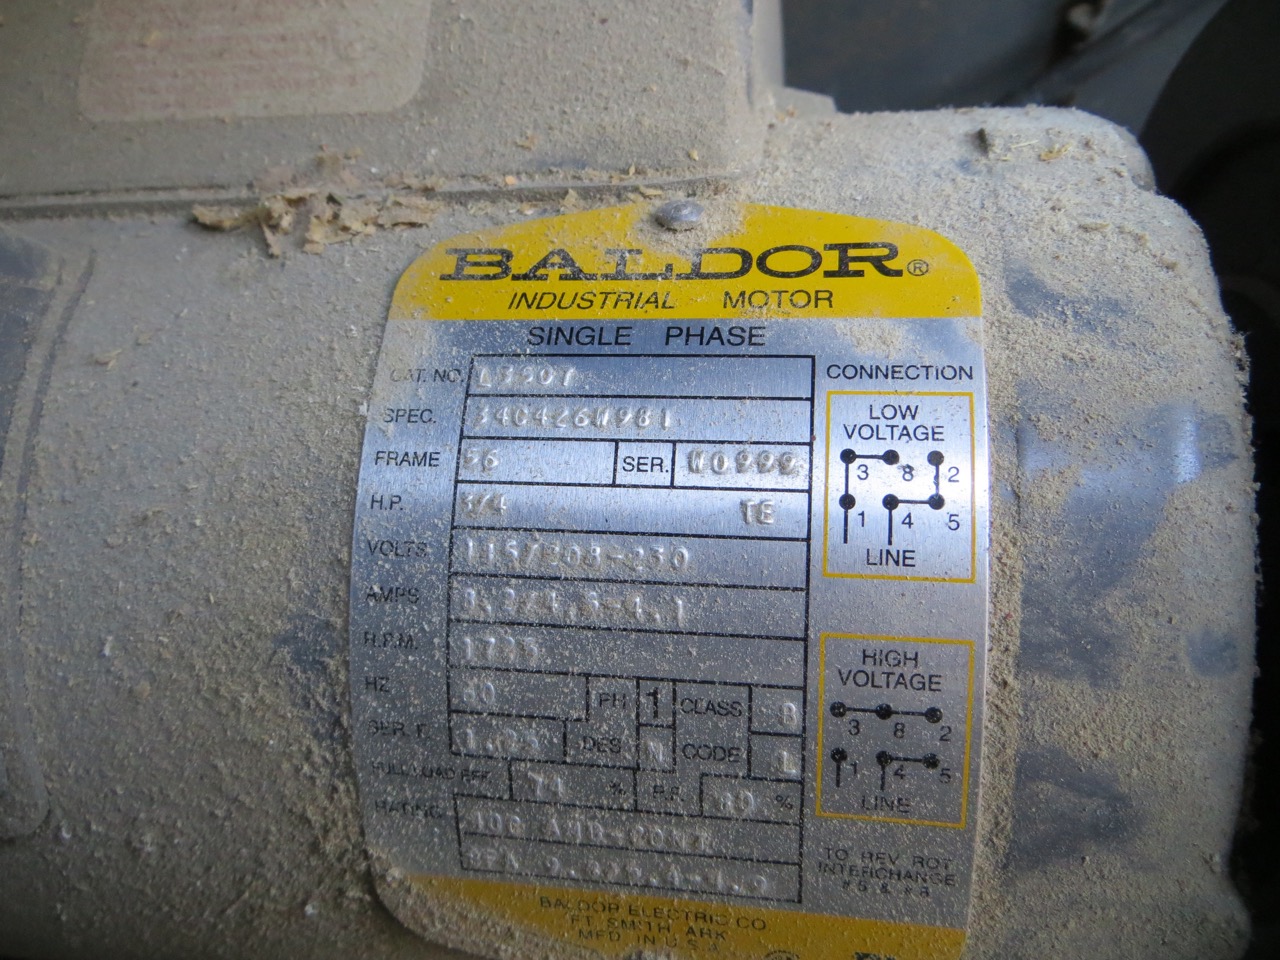
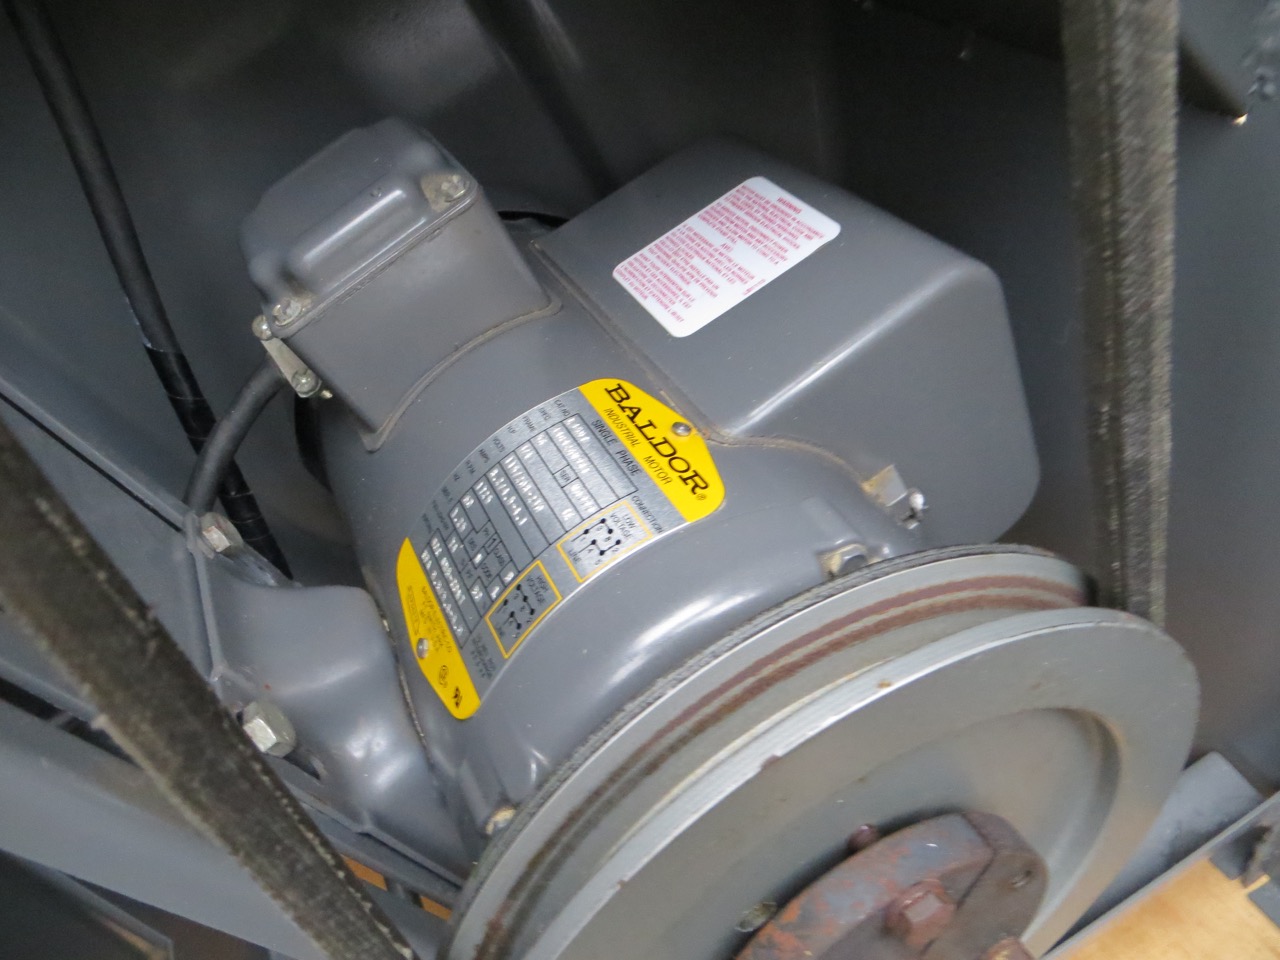
Let the assembly begin! The finish line is in sight! At this point I have the main jointer head bolted back on the metal stand so I can add the v-belt and motor. Ensure that you get the belt tension just right; you want about a 1″ give in the belt when you pull both sides together.

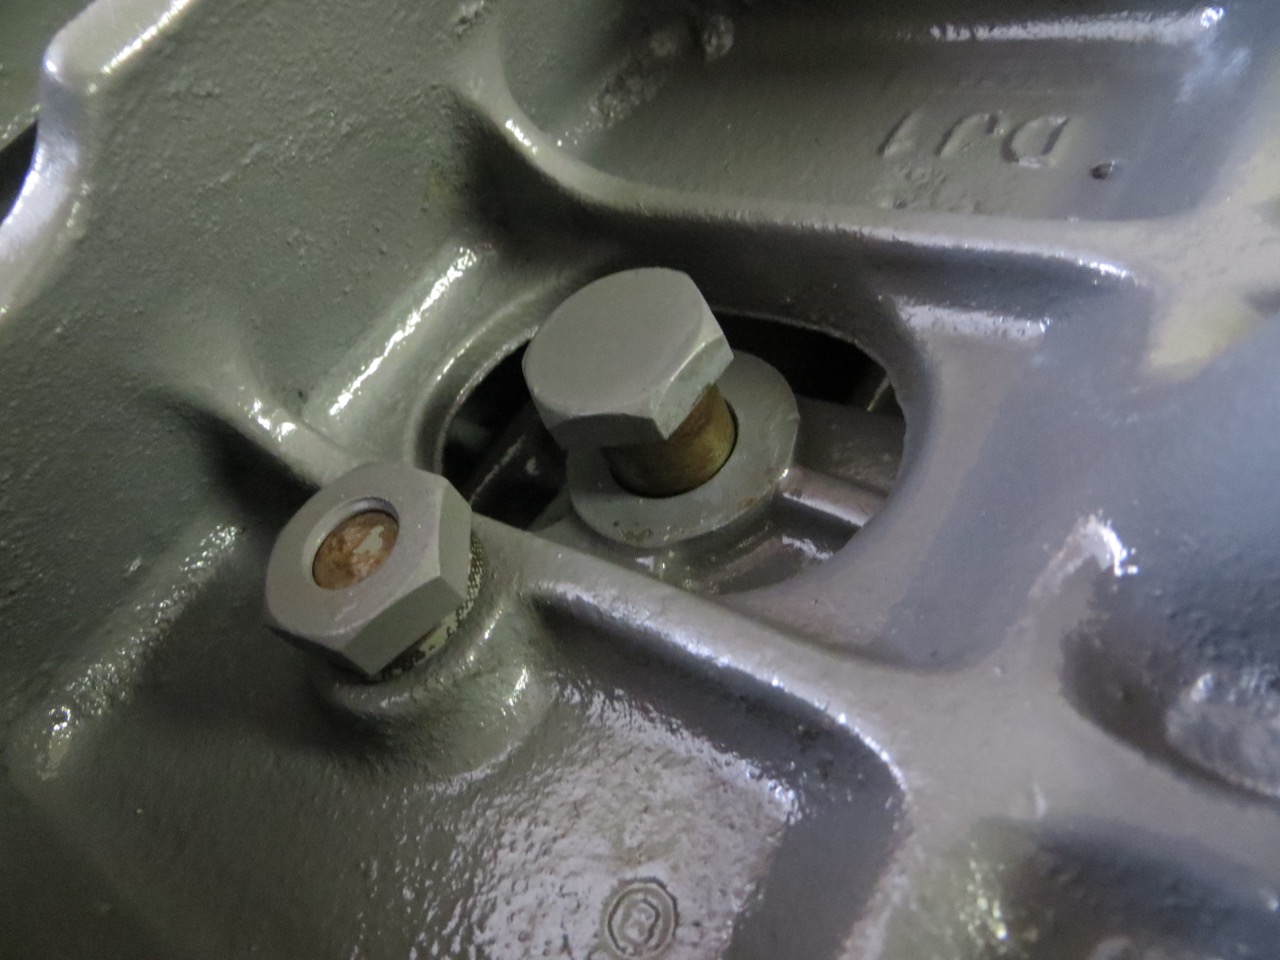
Here I’ve used my acetone method to remove paint where metal rubs on metal and rubbed with WD-40 to protect.

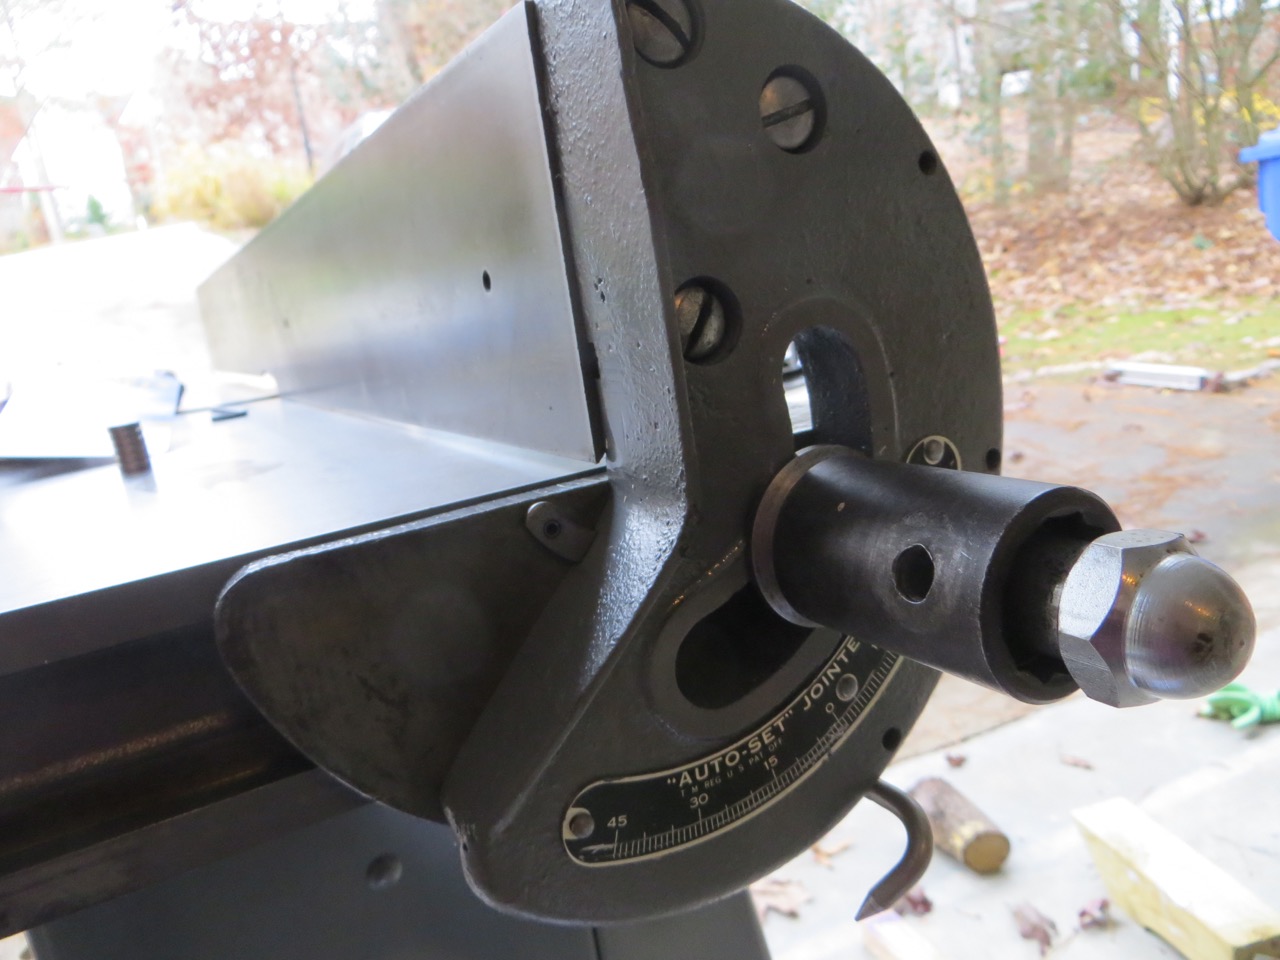
For assembly I found it was easiest to add the clamp plate and stud on the table first…
…attach the rest of the pieces…

…and screw the fence on.
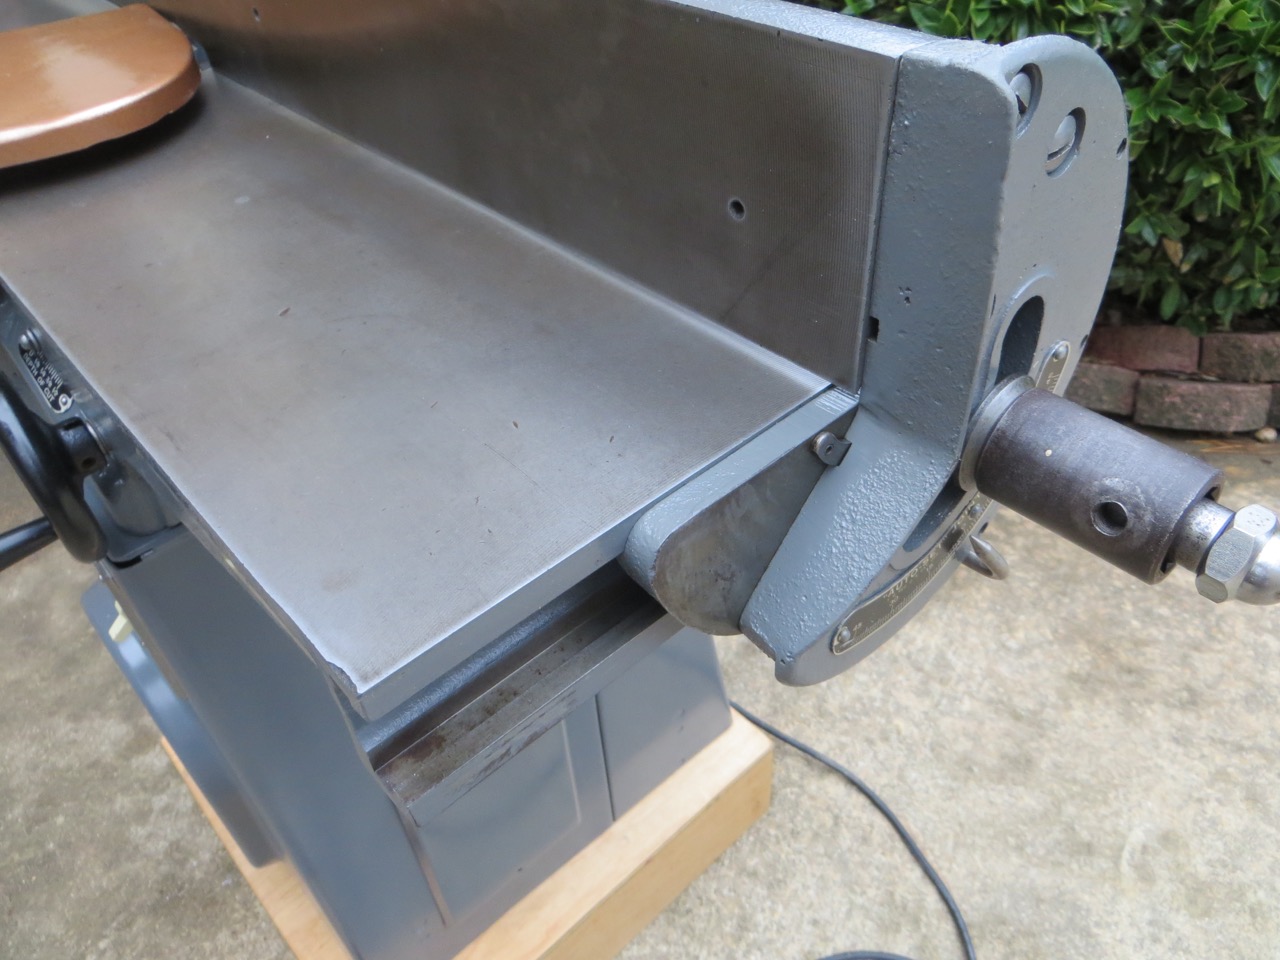
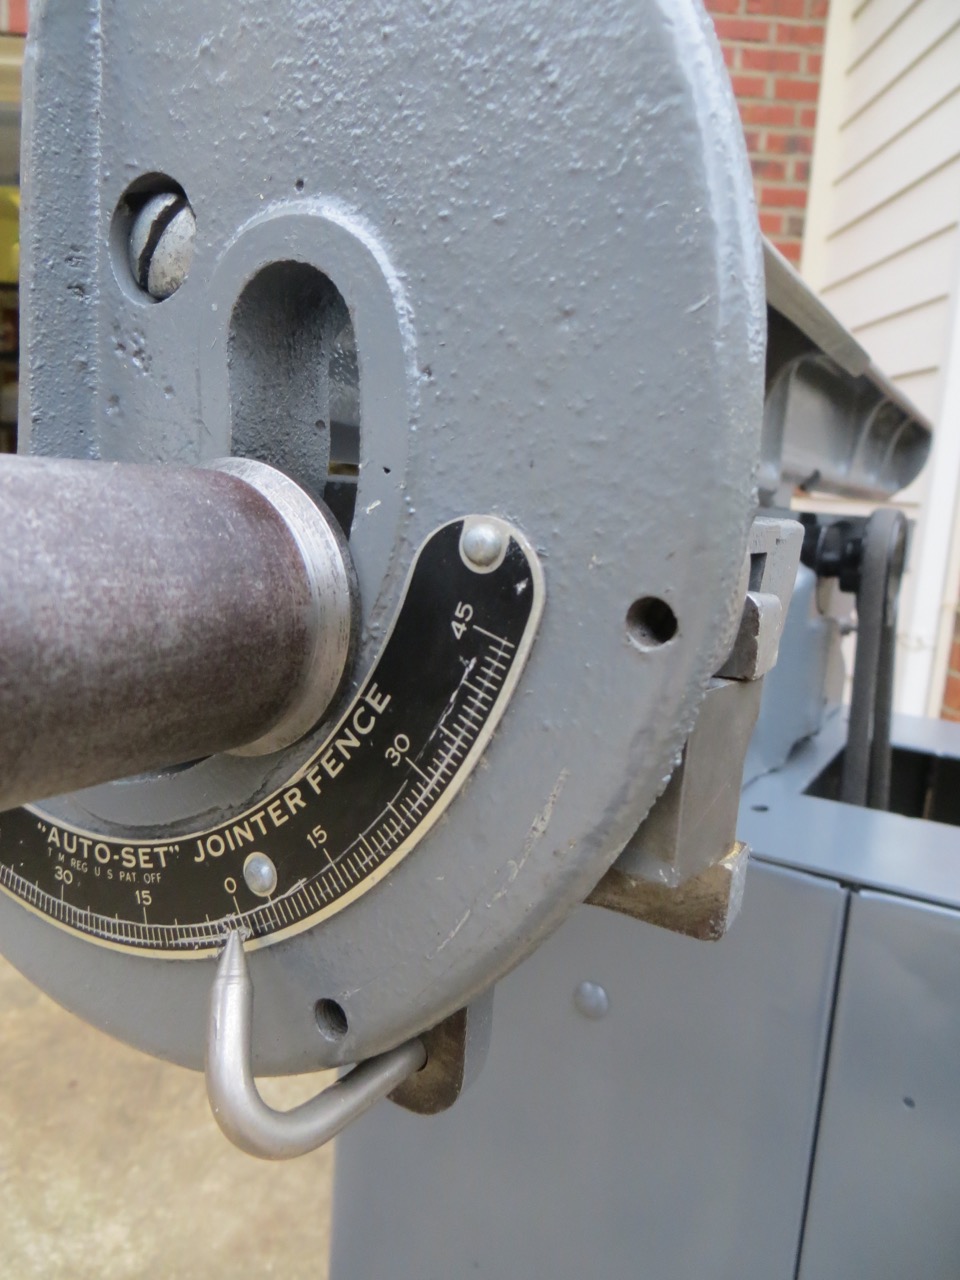
Use a square to ensure your table is adjusted perfectly.
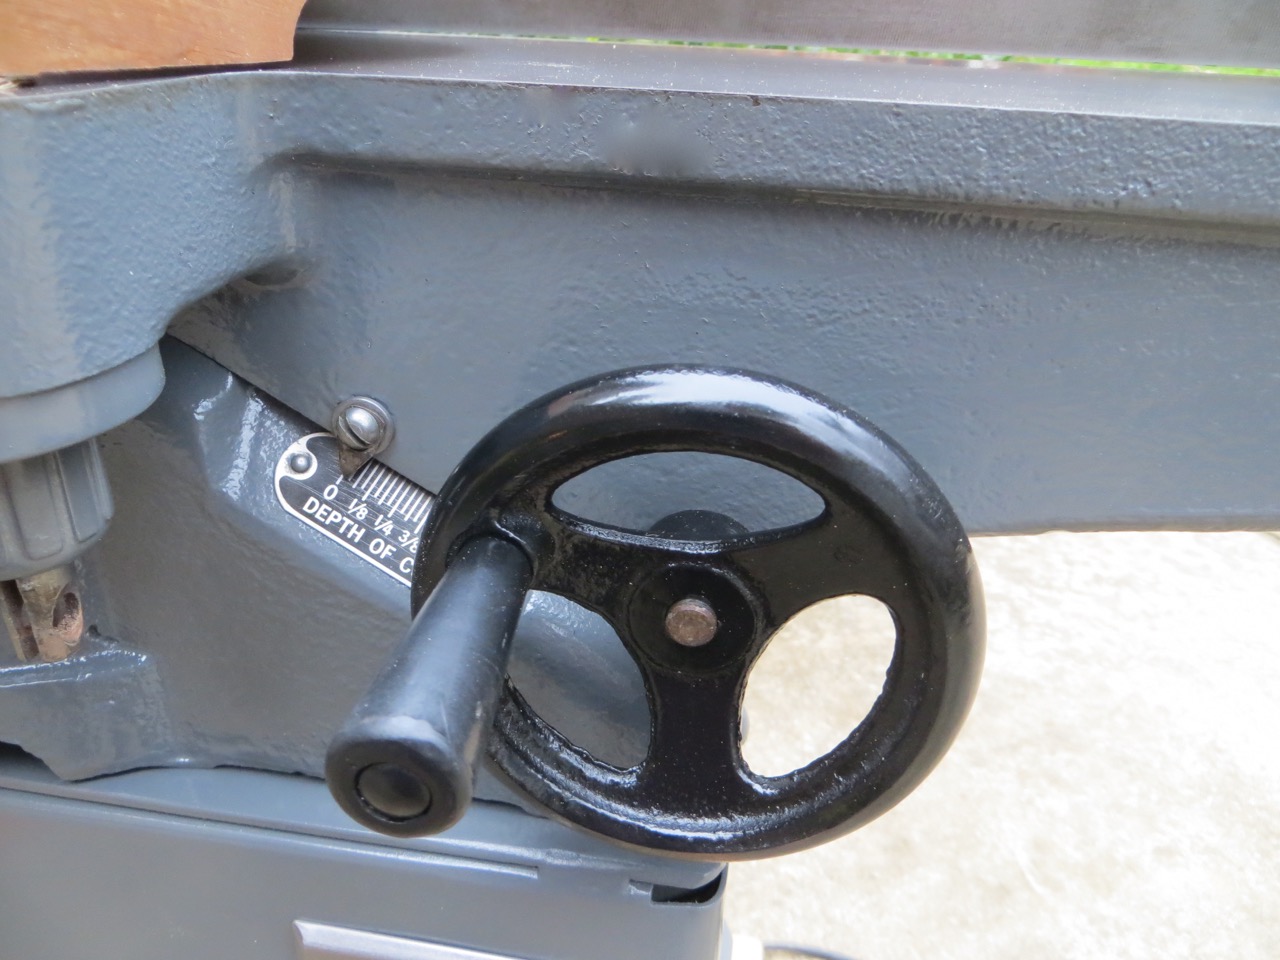
When I first got the jointer home the tables sagged really bad – probably from all the gunk in the dovetail ways that interfered. I used a long straight metal edge to see and adjust the sagging (which was minimal) by adjusting the gib screws. It’s amazing how a slight turn of a little screw will raise/lower a huge-heavy table!
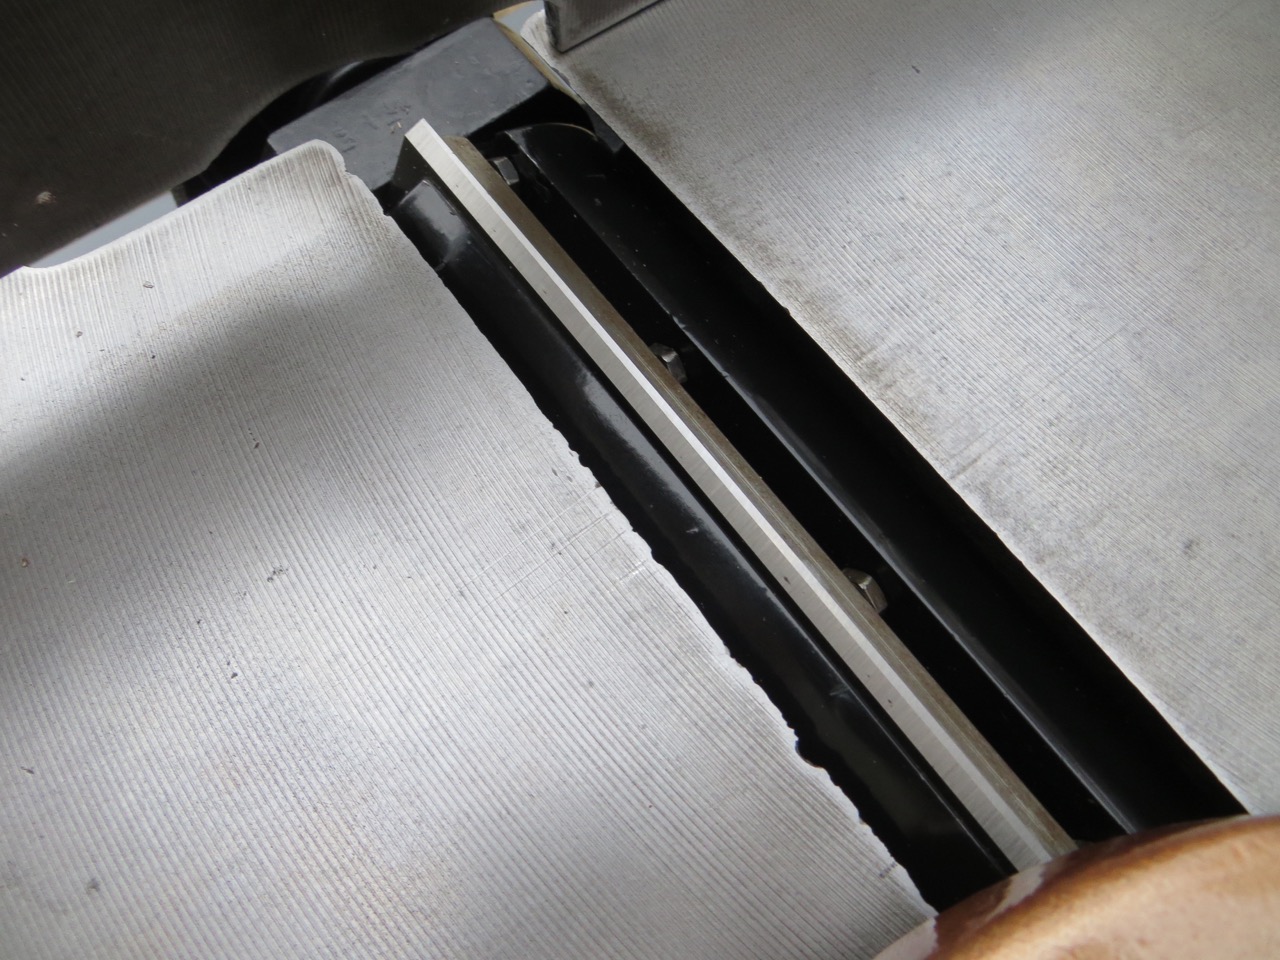
I didn’t bother getting the original knives sharpened but opted to buy new ones (here) for $15.
I know you want to see the BEFORE and AFTER again:
CASTER BASE:
The base is made out of 3/4″ plywood with hardwood components. I got the plans here.
Making the shoulder for the top – I had to improvise because I don’t own a dado set.

My little jig for making biscuit joints on 45-degree angle.
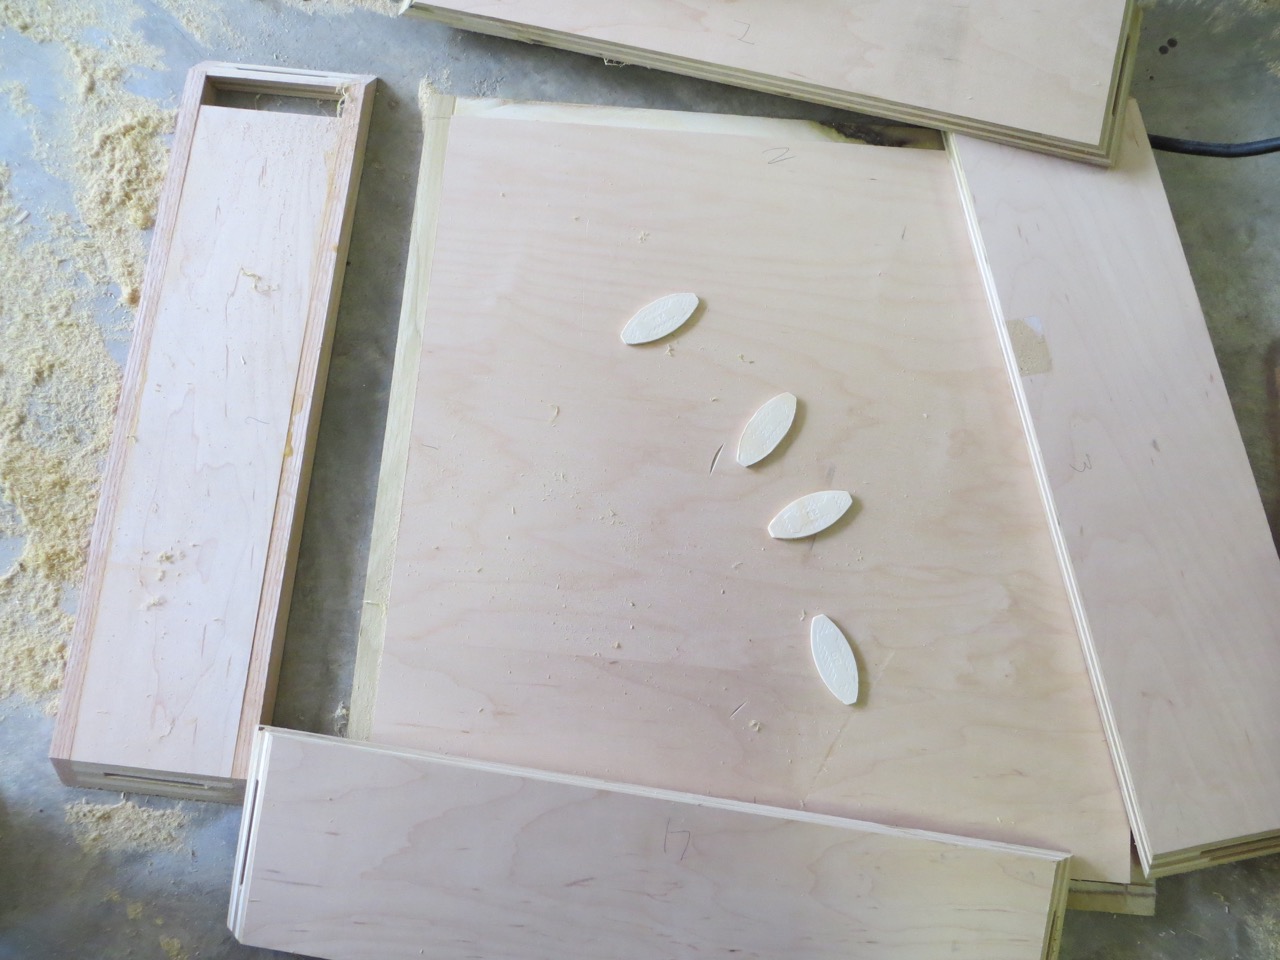
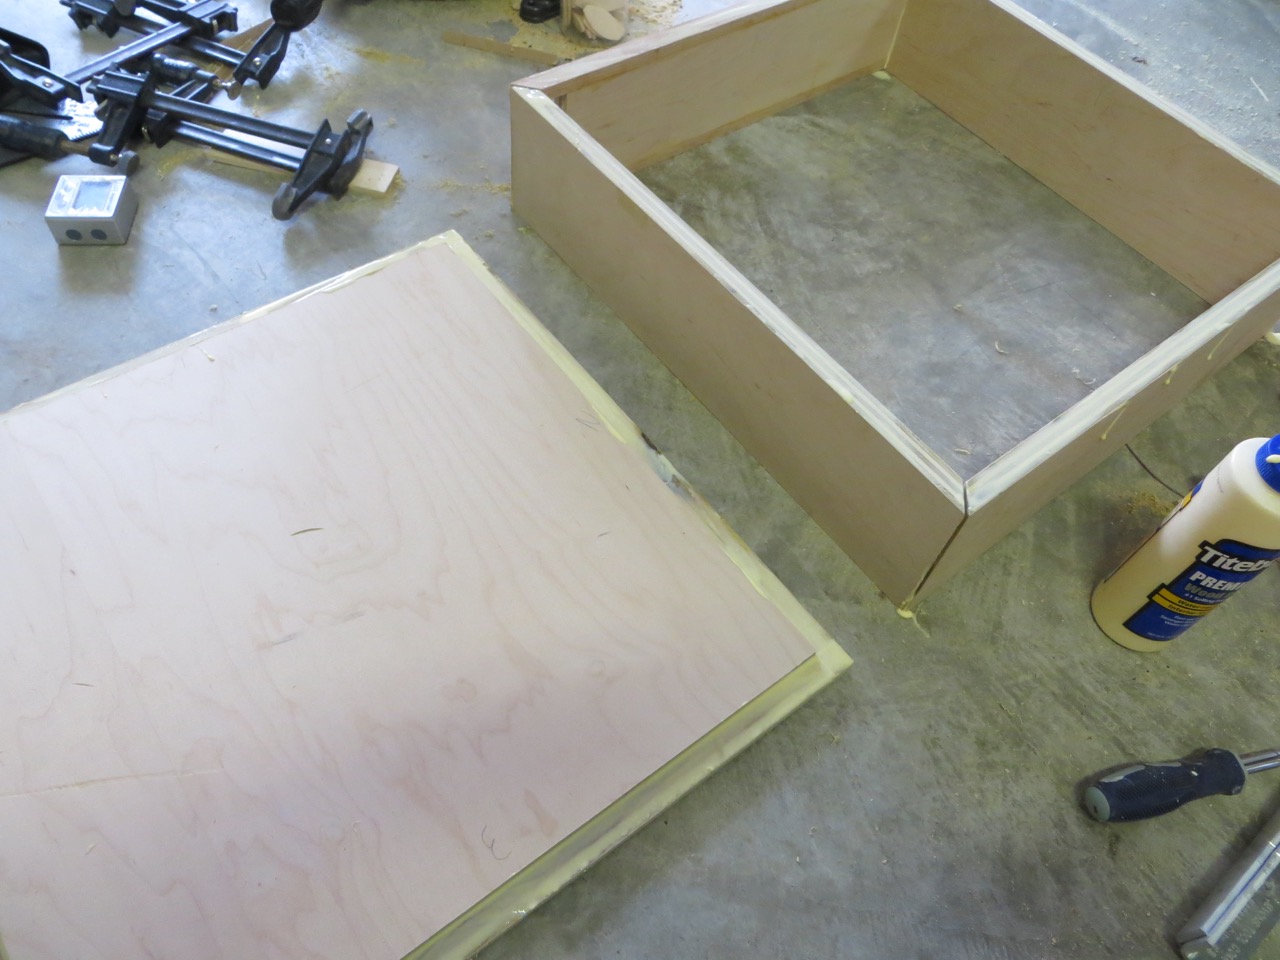
Here I have all my sides and top ready to glue up!

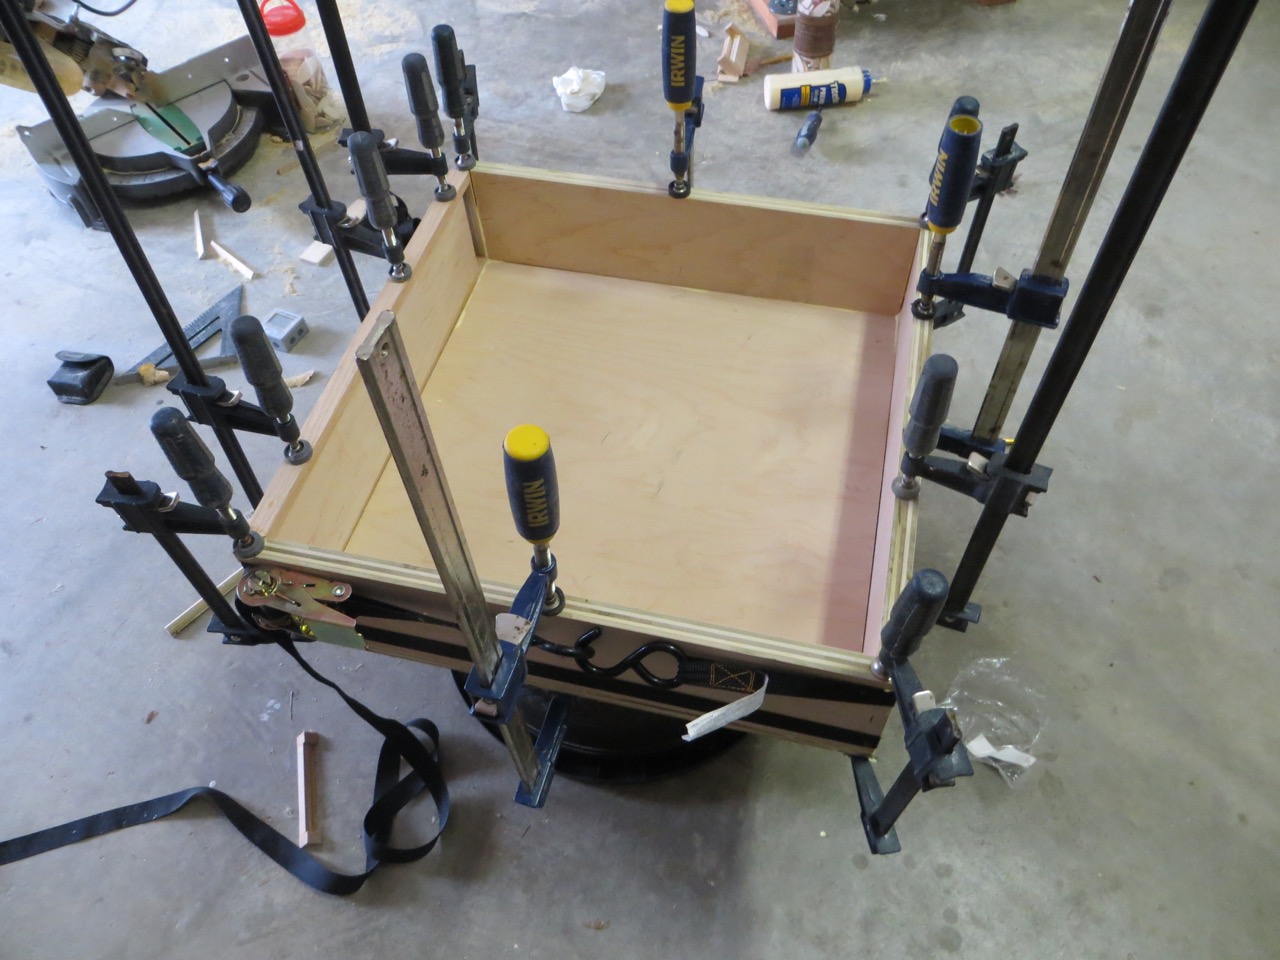
This sure looks a little funky, doesn’t it? I used ratcheting straps to pull everything in together. 😉
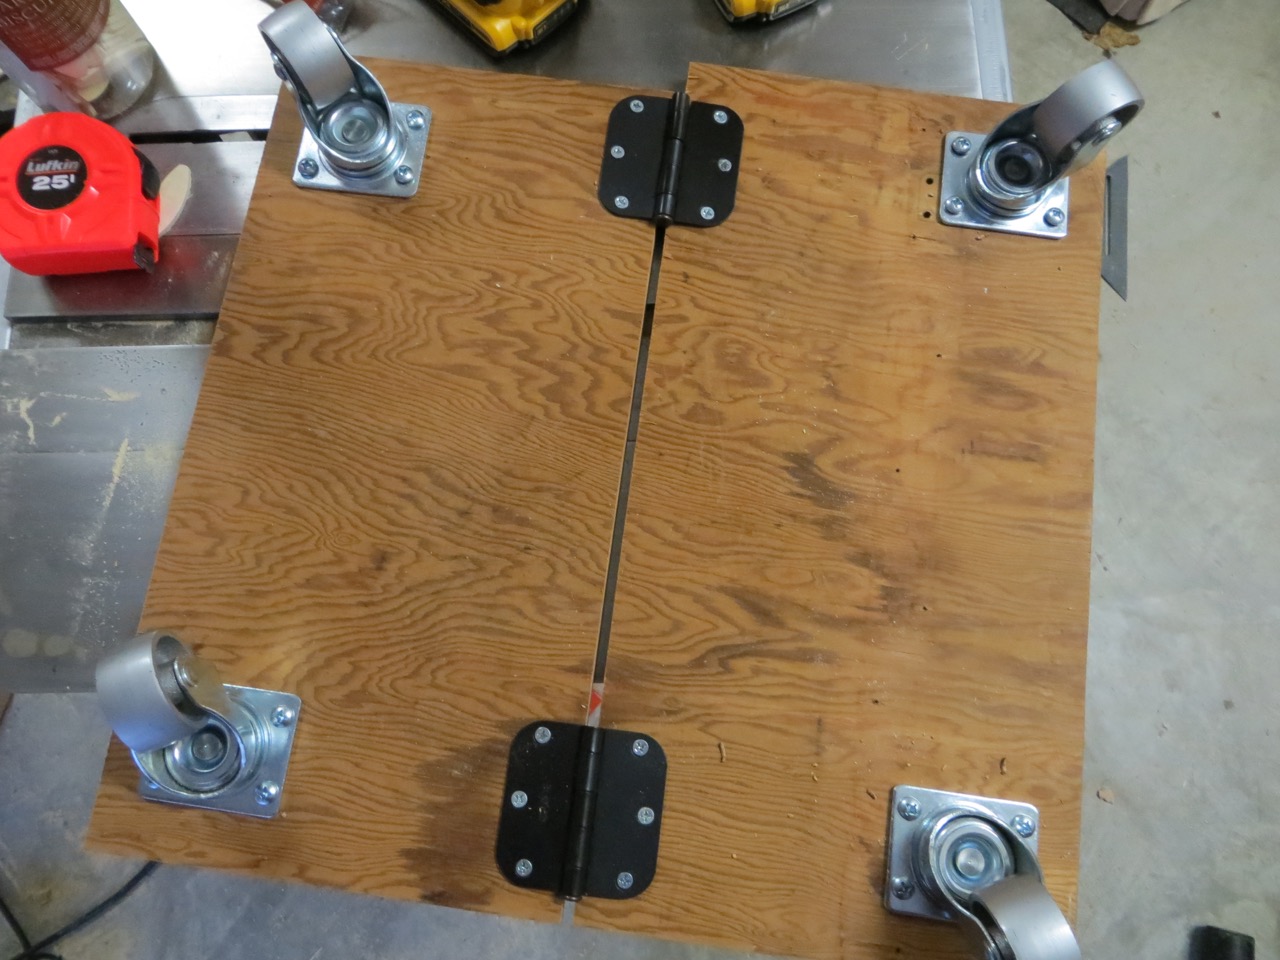
While the base was drying I worked on the guts – caster wheels on hinged plywood boards.
I cut out the sides of the pedal and taped between them so I could sand them together and ensure they were exact matches.
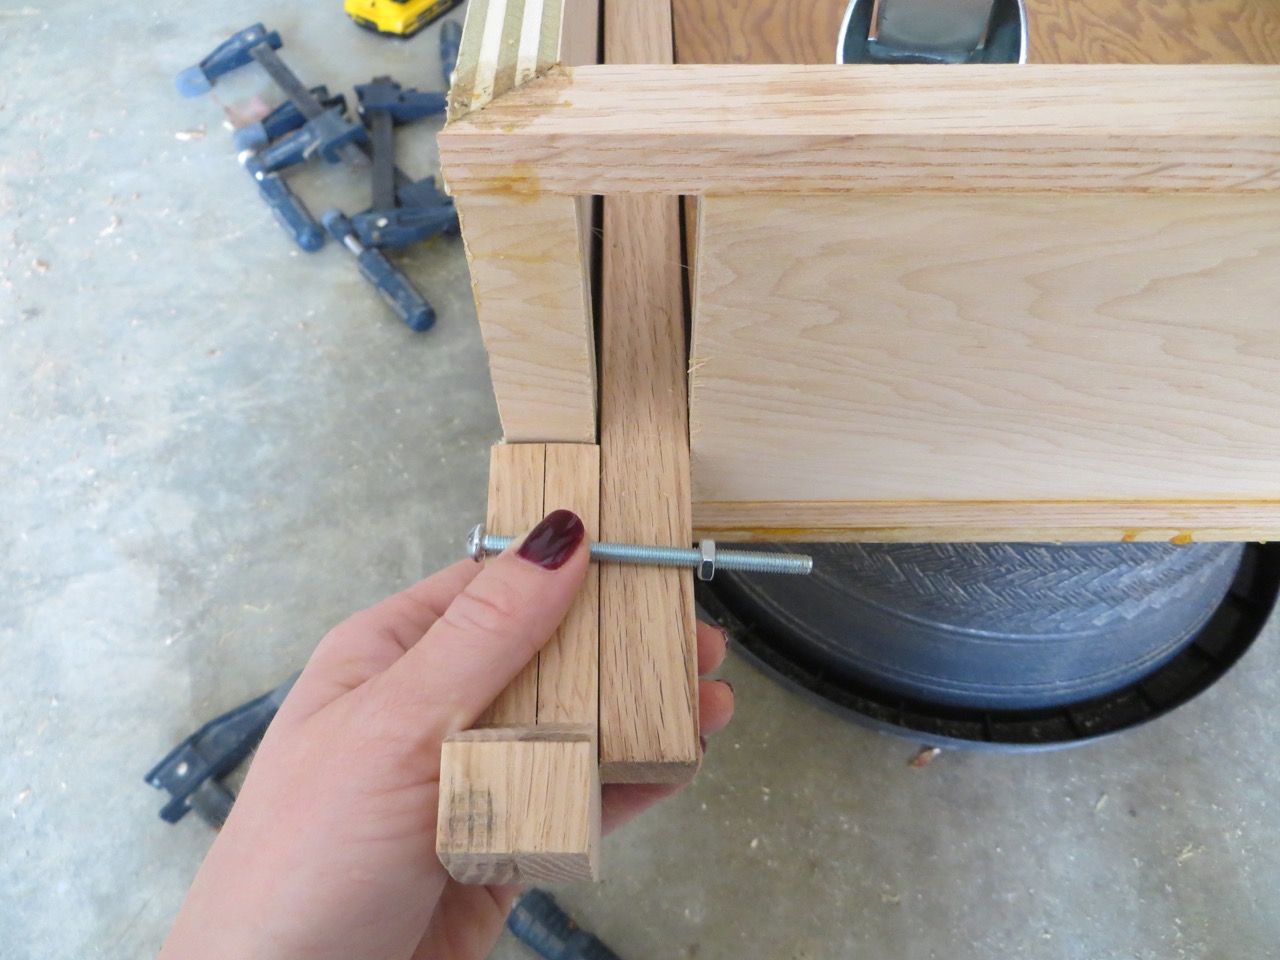
Once the arm was bolted to the caster boards and extending out I worked on the pedal. Here I’m measuring how long to cut the bolt.
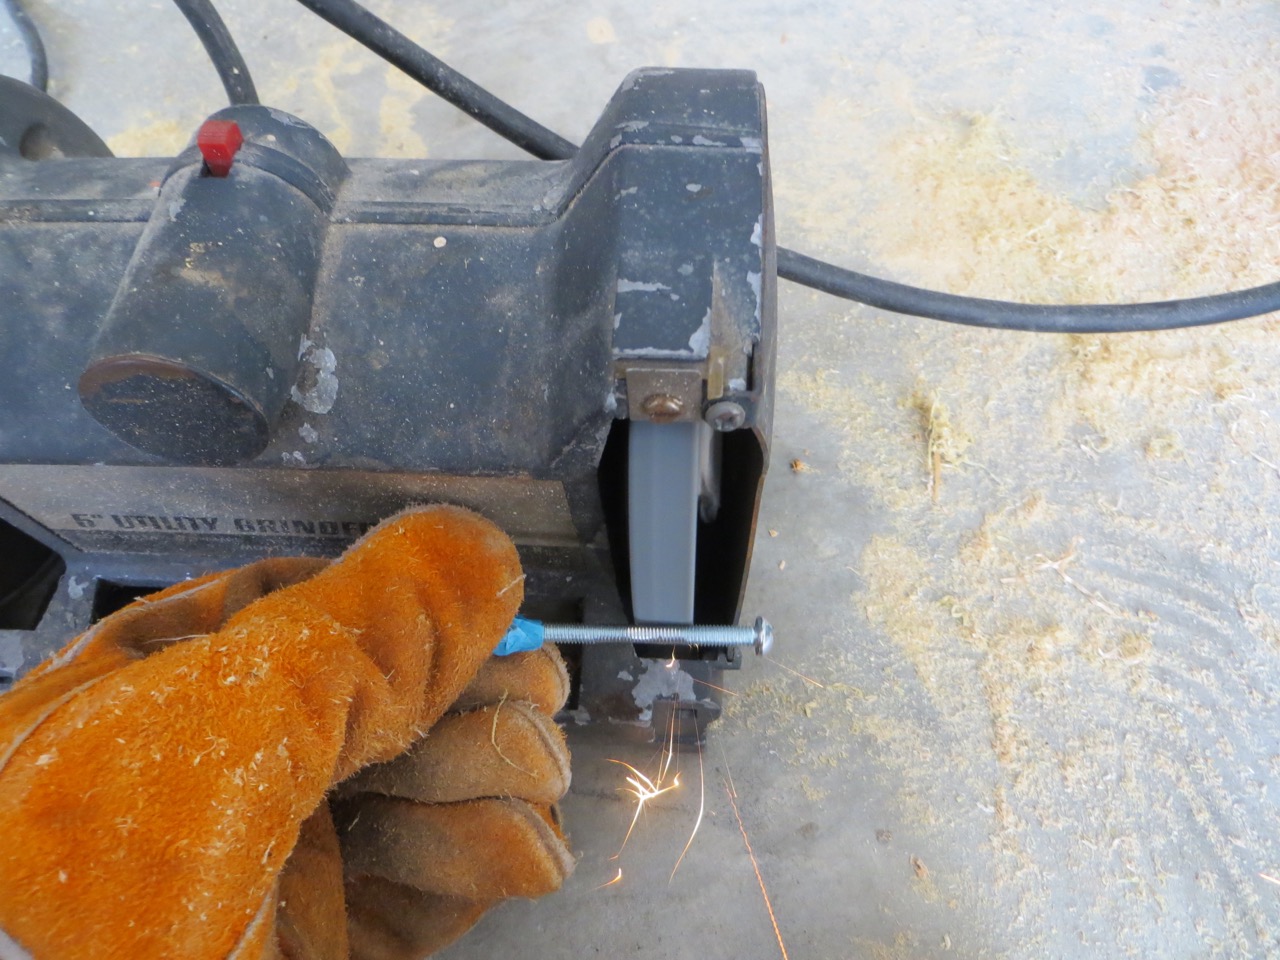
I also used my little underpowered grinder to take off the threads so the pedal could operate more smoothly.
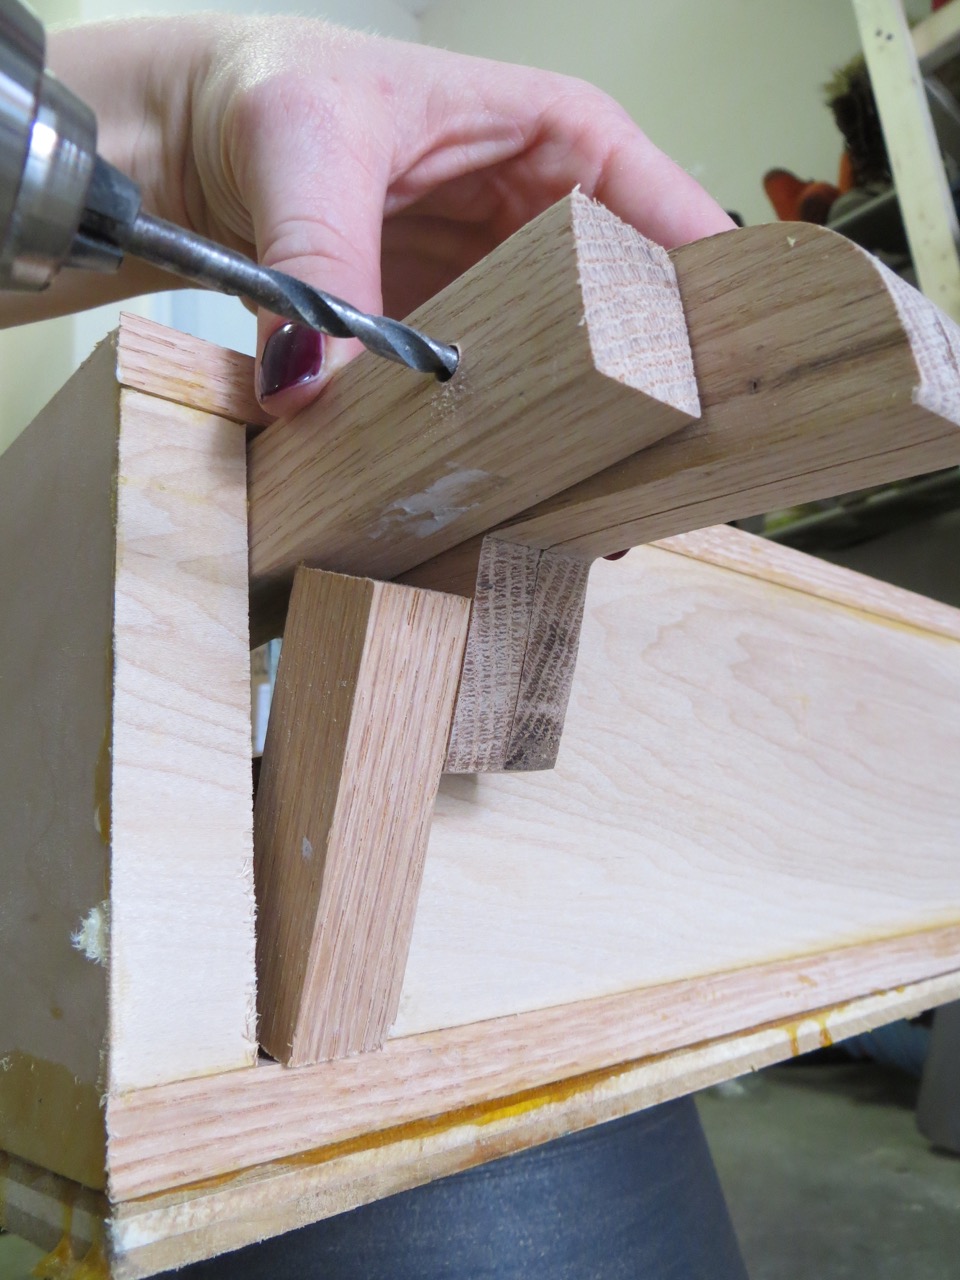
I figured out the placement I needed the bolt (“hinge”) to be and drilled through the arm to the other side until I scored the side of the pedal.
You can see the small mark from my drill bit that marks where to drill (you can see it’s slightly off from the pencil mark I transferred from the template).

Pedal components.
I glued it while attached to the arm to ensure I got the bolt placement just right, etc.

Here’s the pedal engaged (casters down) and jointer raised.
Here’s the pedal disengaged (casters up) and jointer lowered.
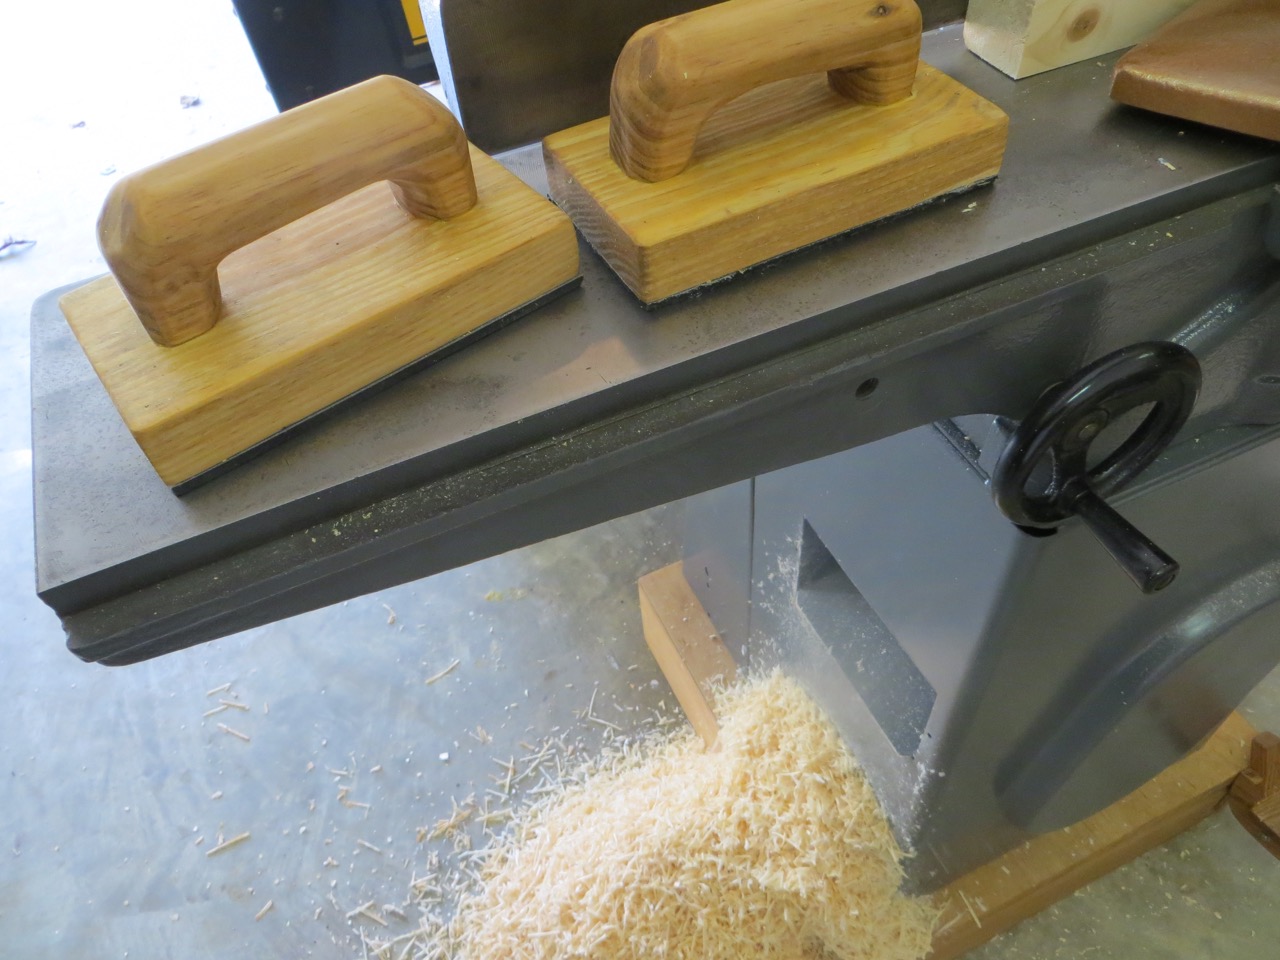
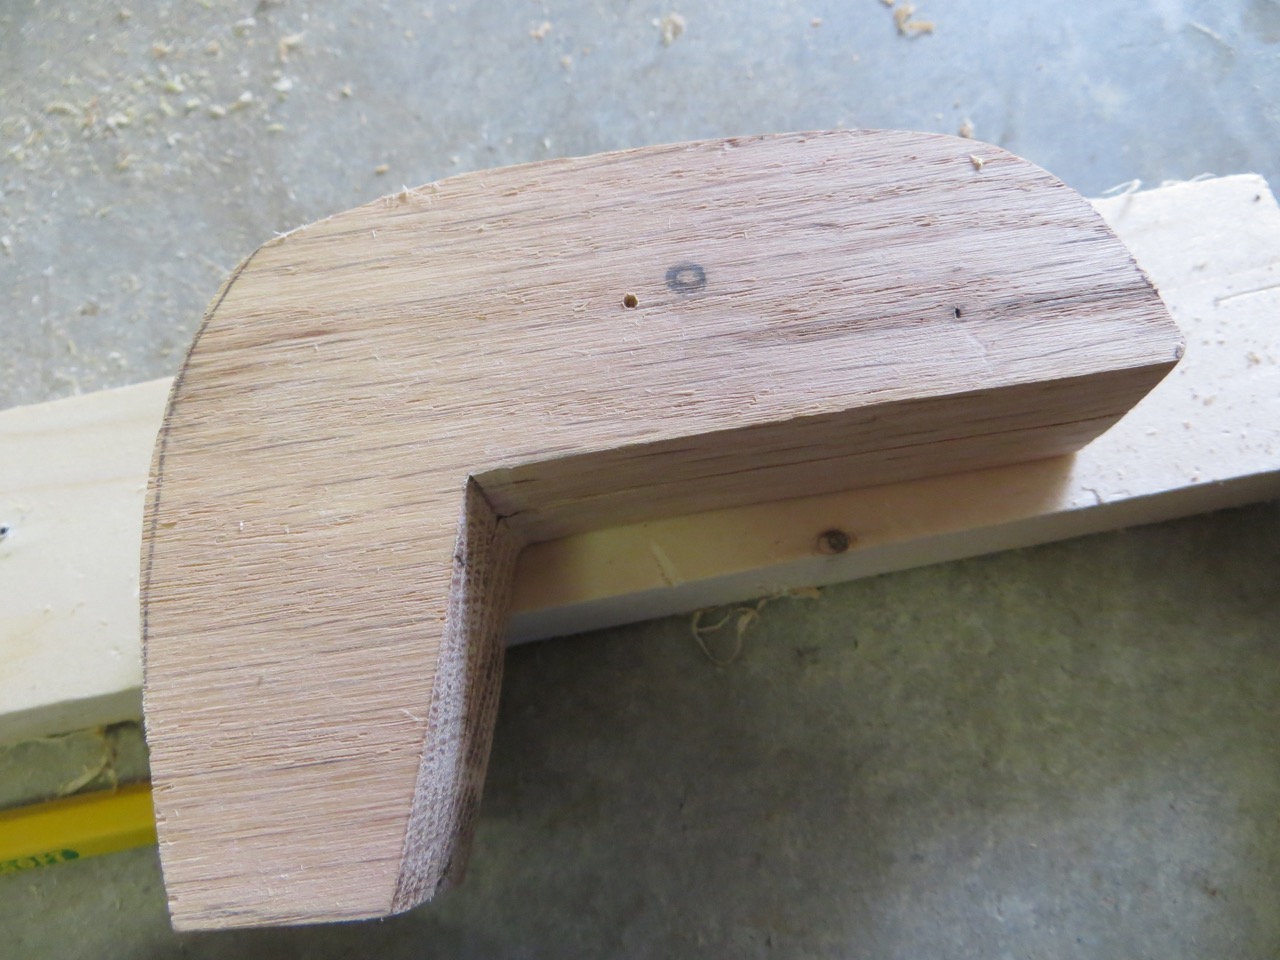
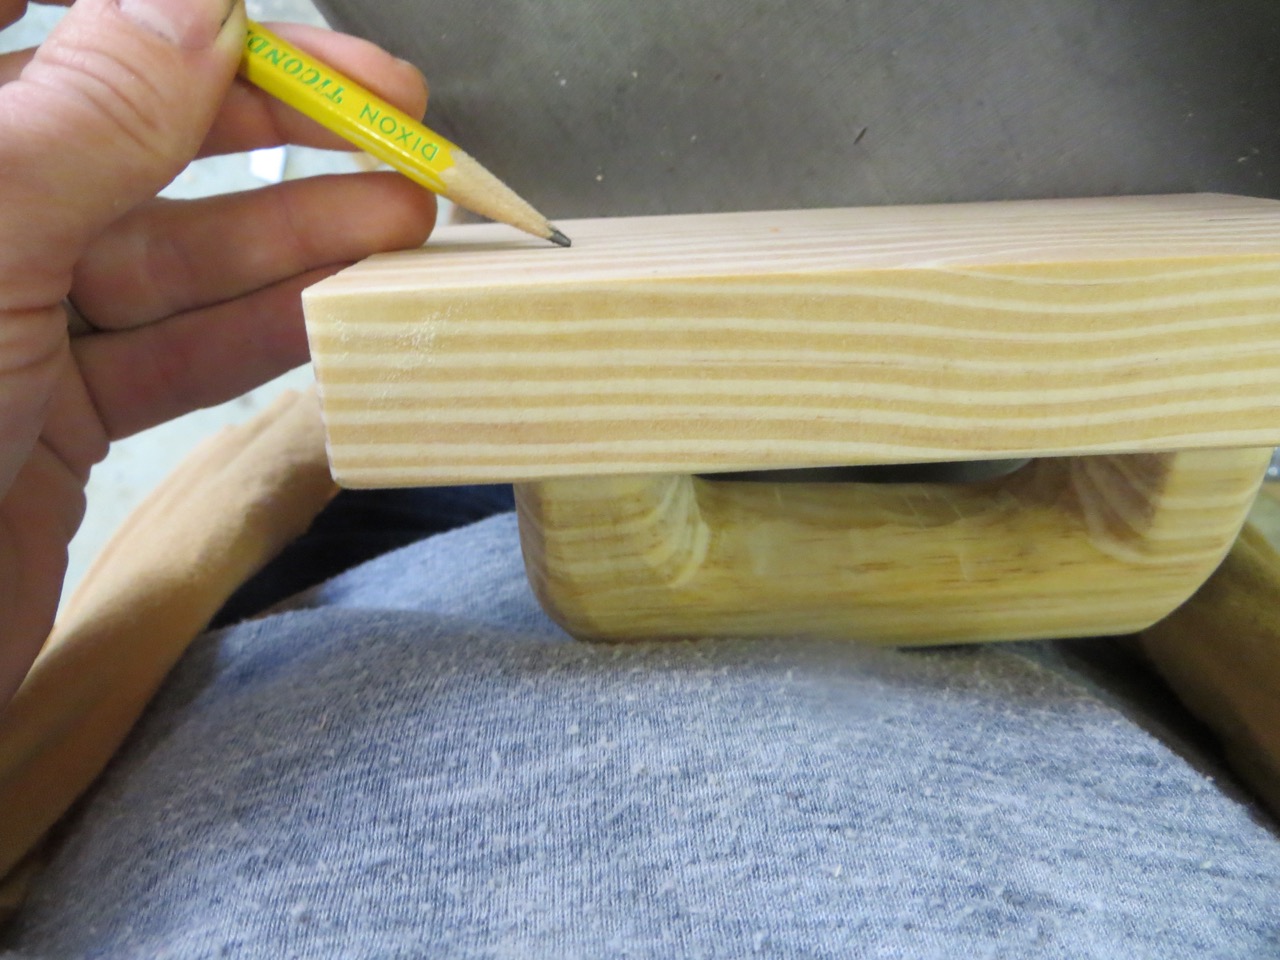
WOODEN PUSH BLOCKS:
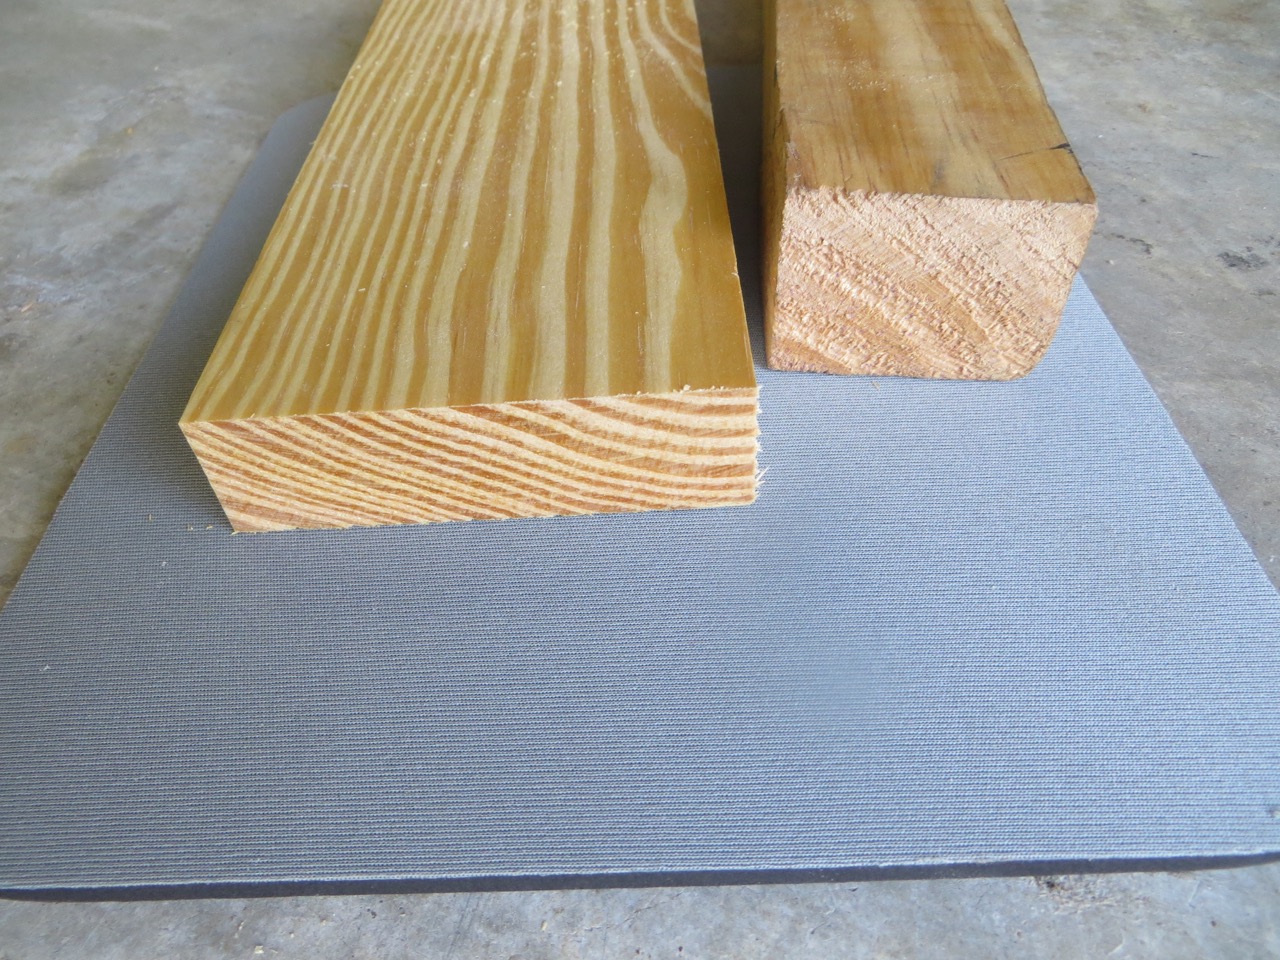
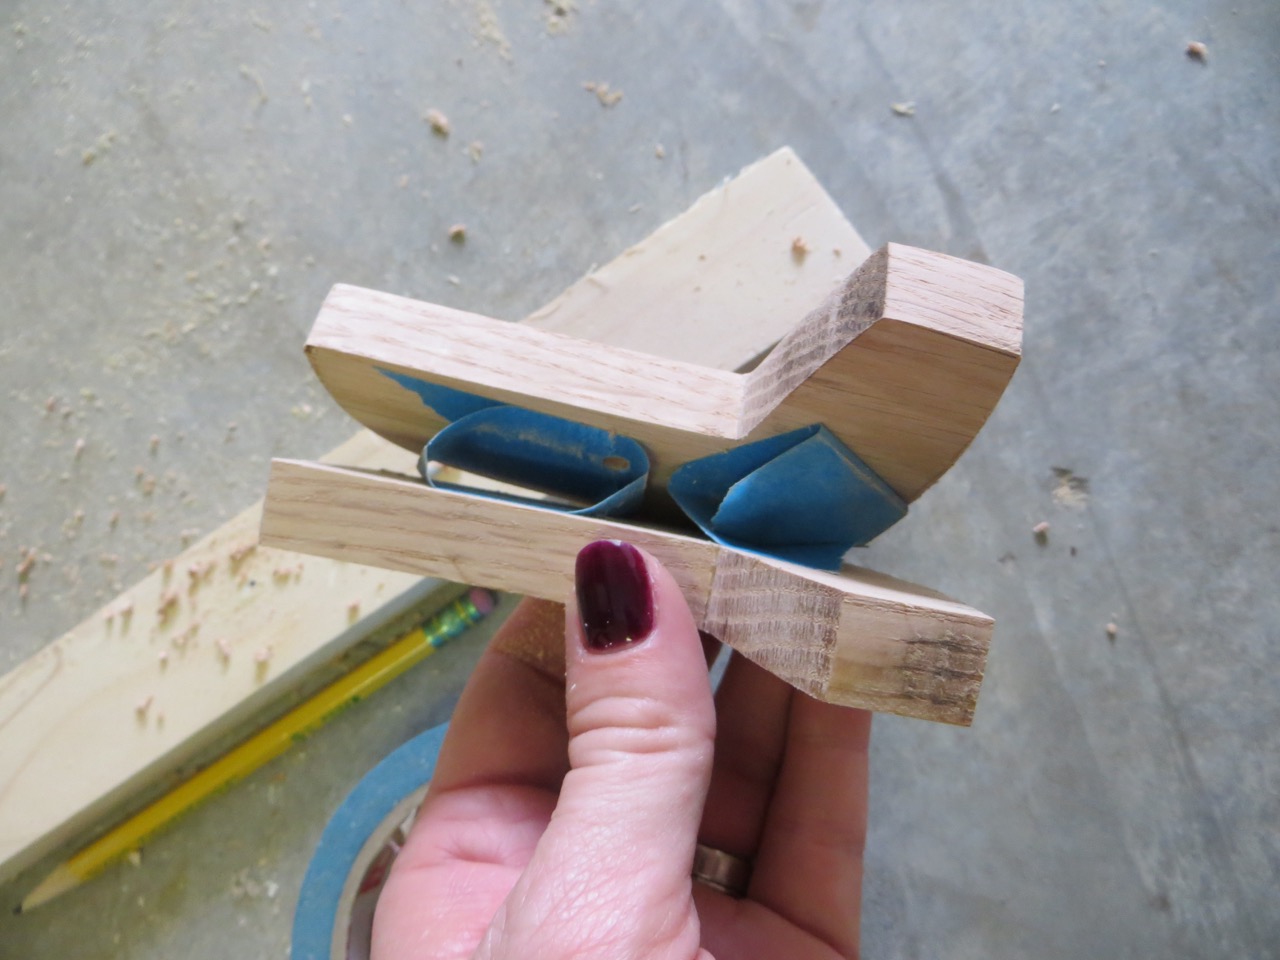
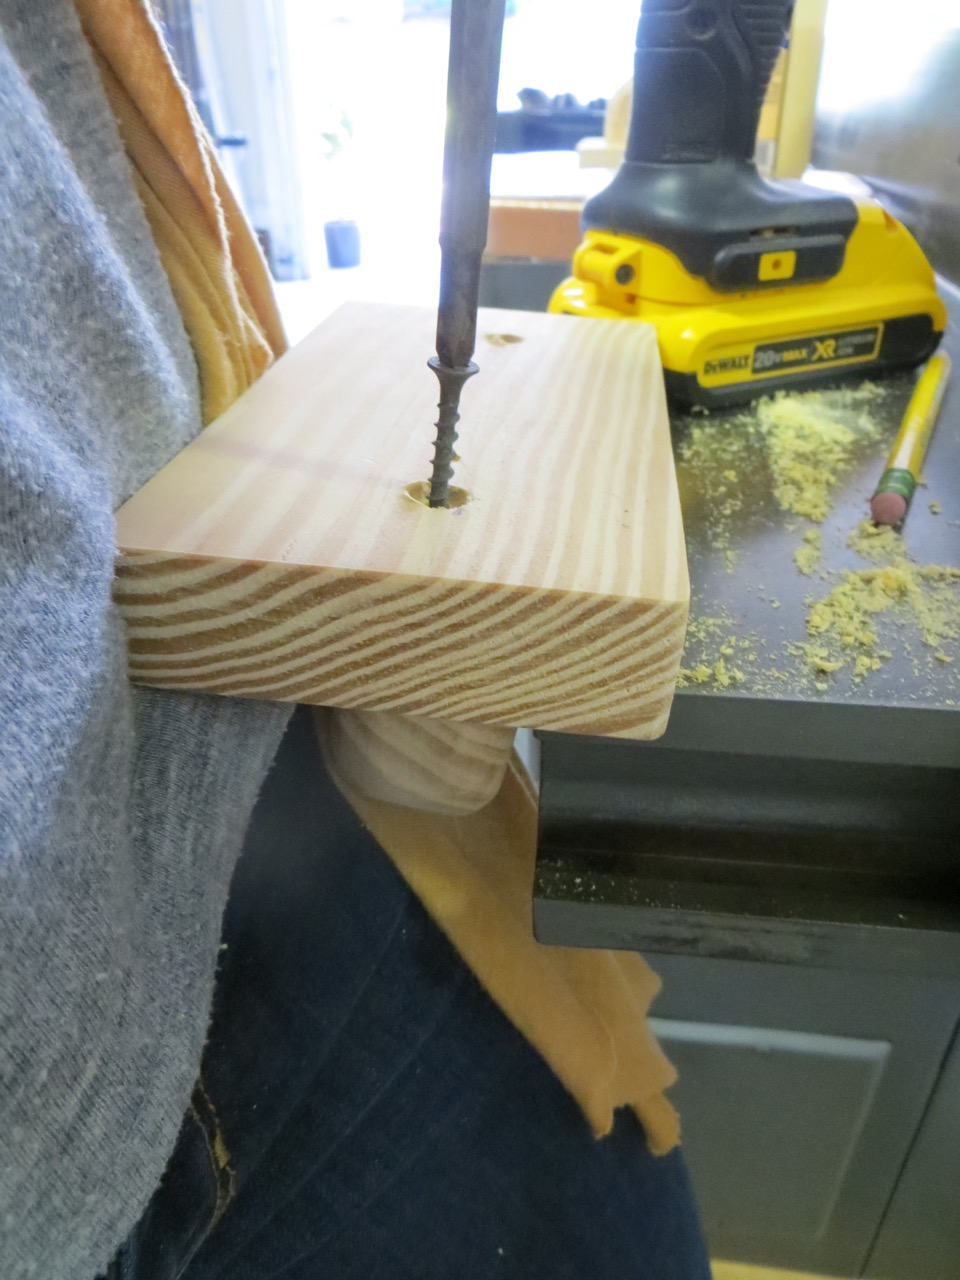
Supplies used: 5/4 board (4″ wide), scrap 2×4 (now a 2×3 basically) and a mouse pad. Also – glue, screws and adhesive.
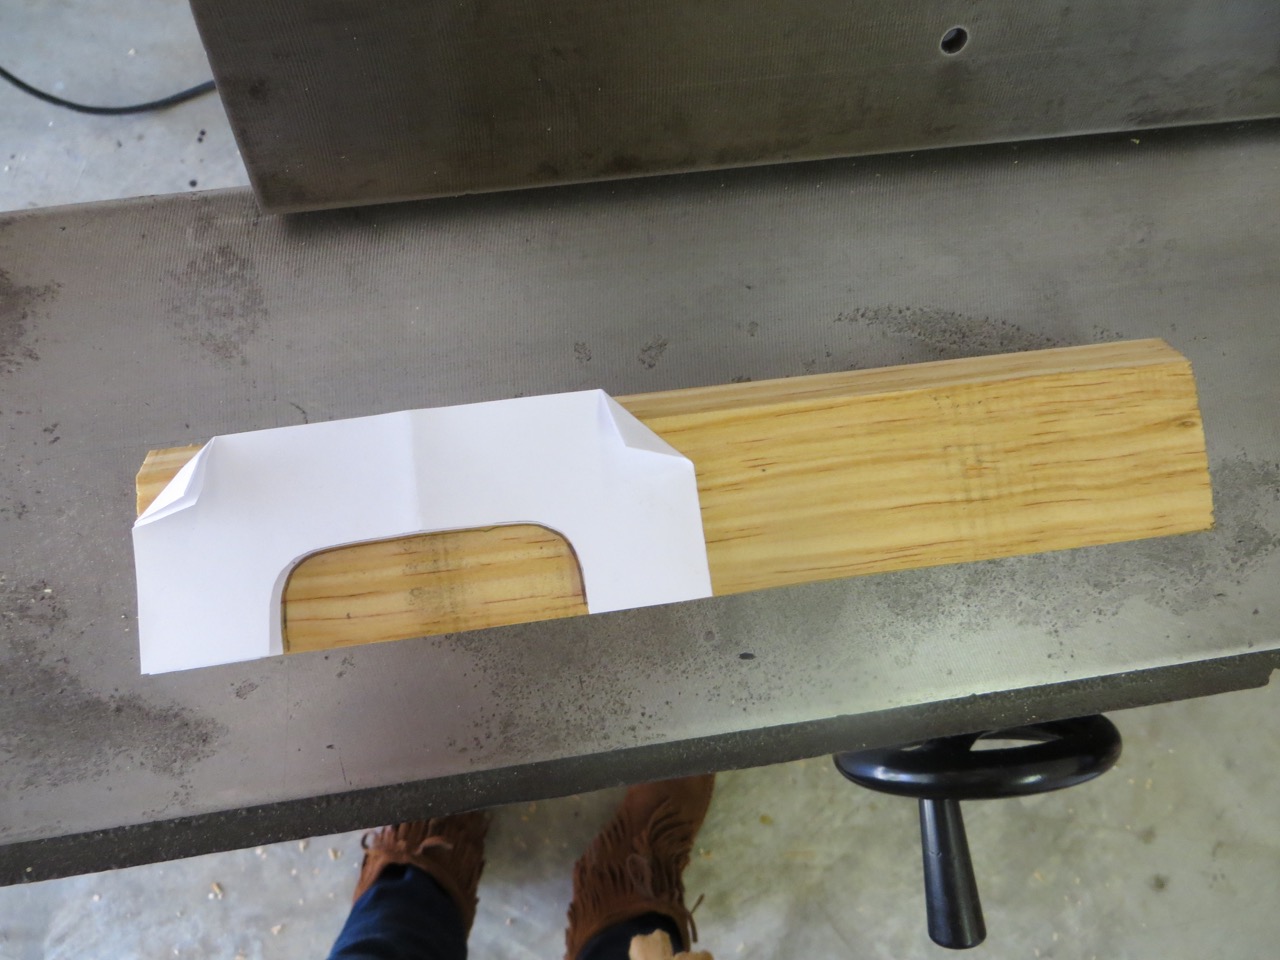
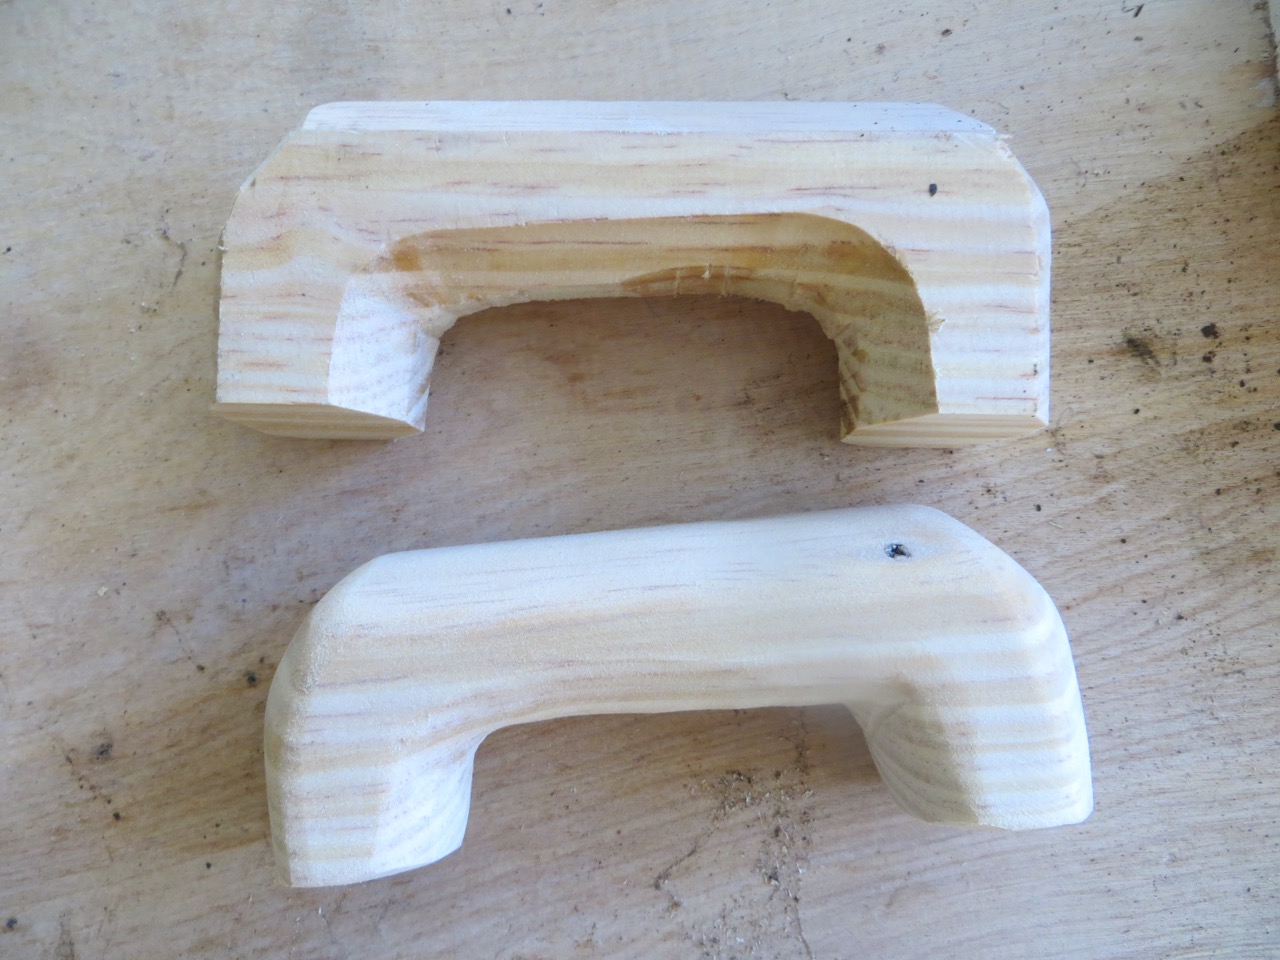
I cut a template from paper to transfer my lines for making the handles. I was able to fit both handles on this board perfectly.

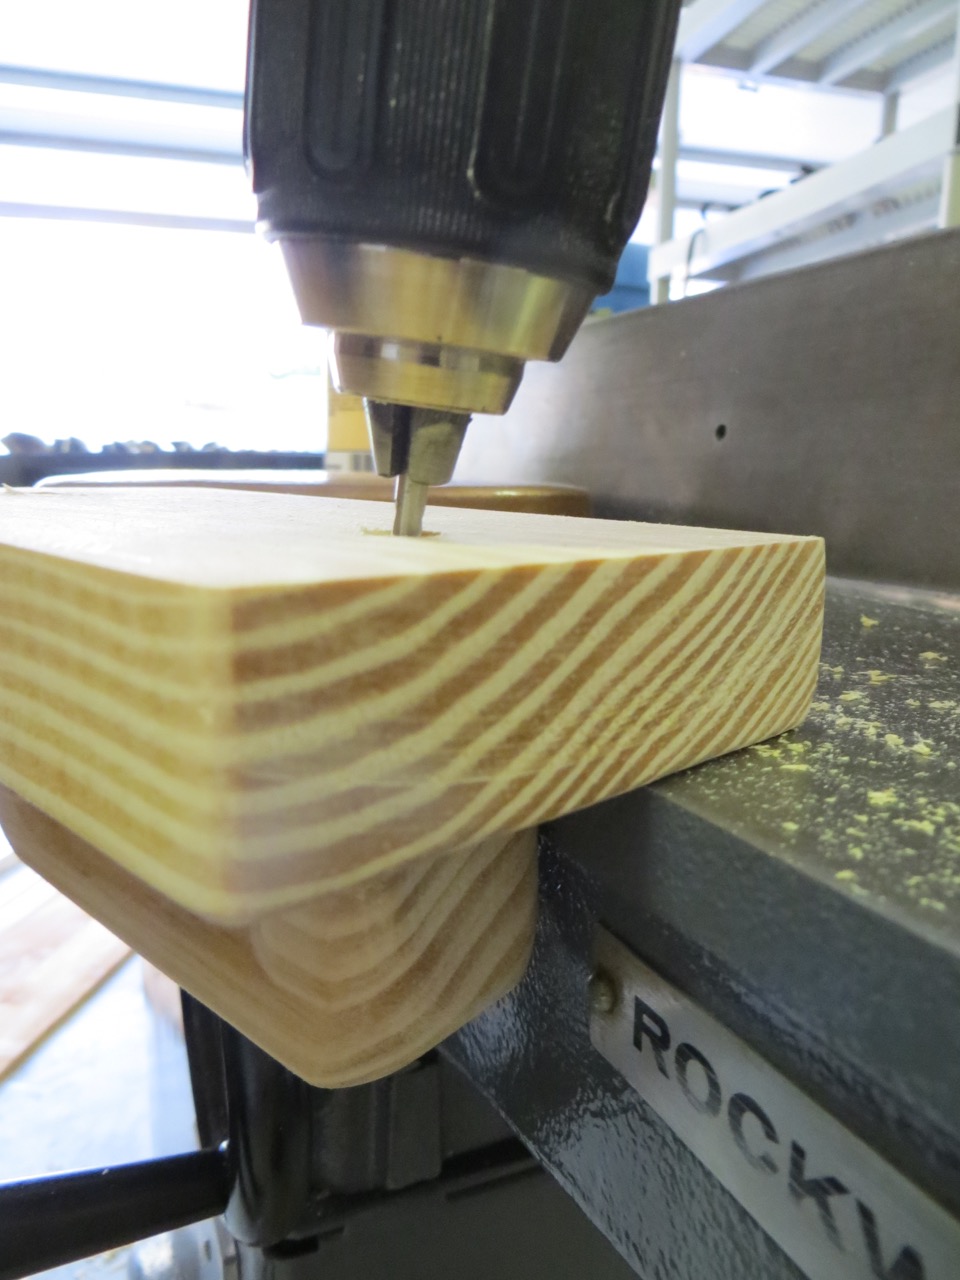
To round the handles I ran the top edge through the jointer.
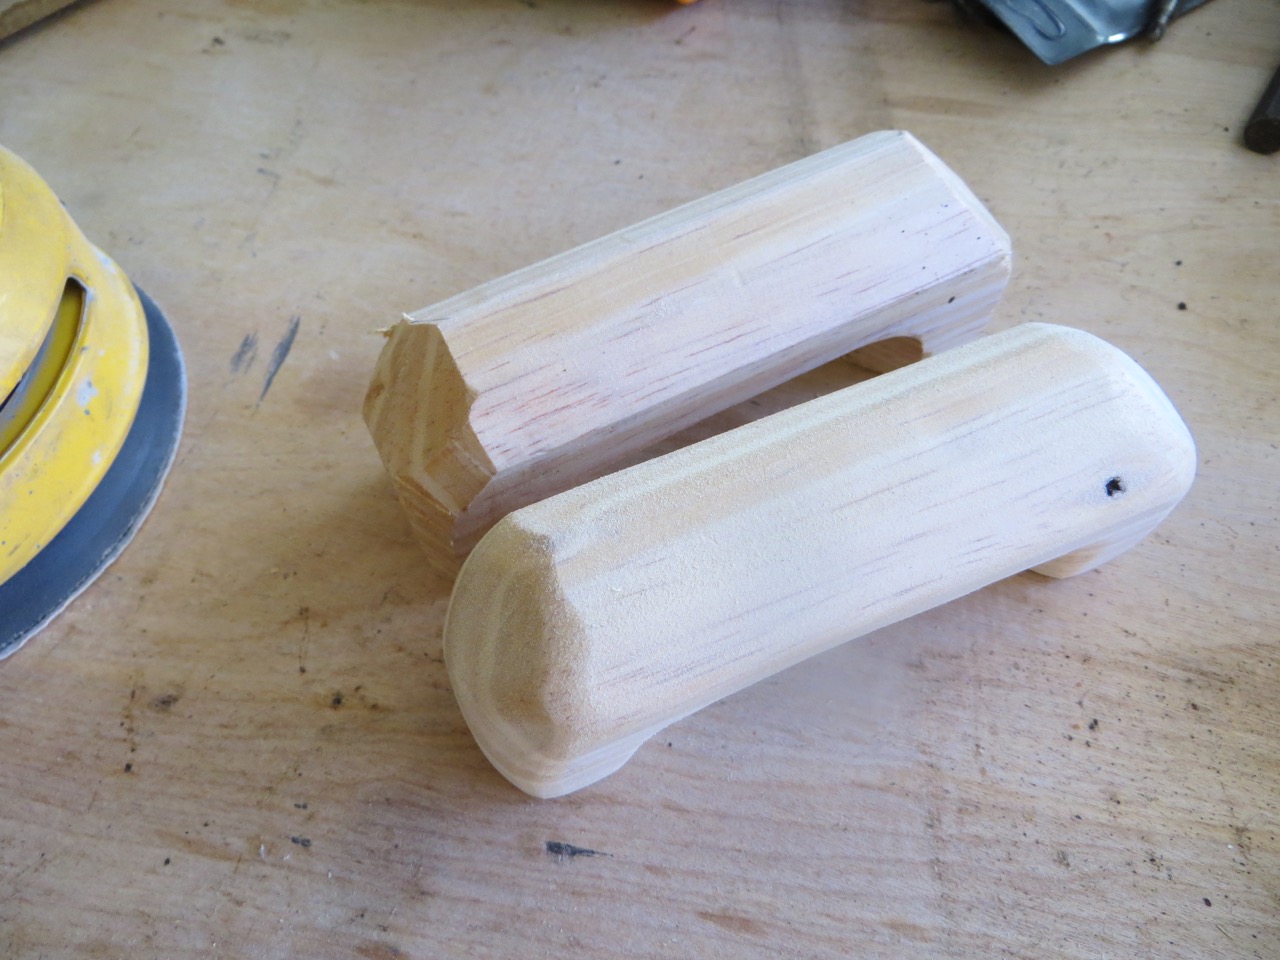
If you want your handles to sit on the wood block at an angle (like the store bought ones) run the other side of your wood block through your table saw right now with the blade at an angle. I did this step once the handles were already cut out and it was sketchy!
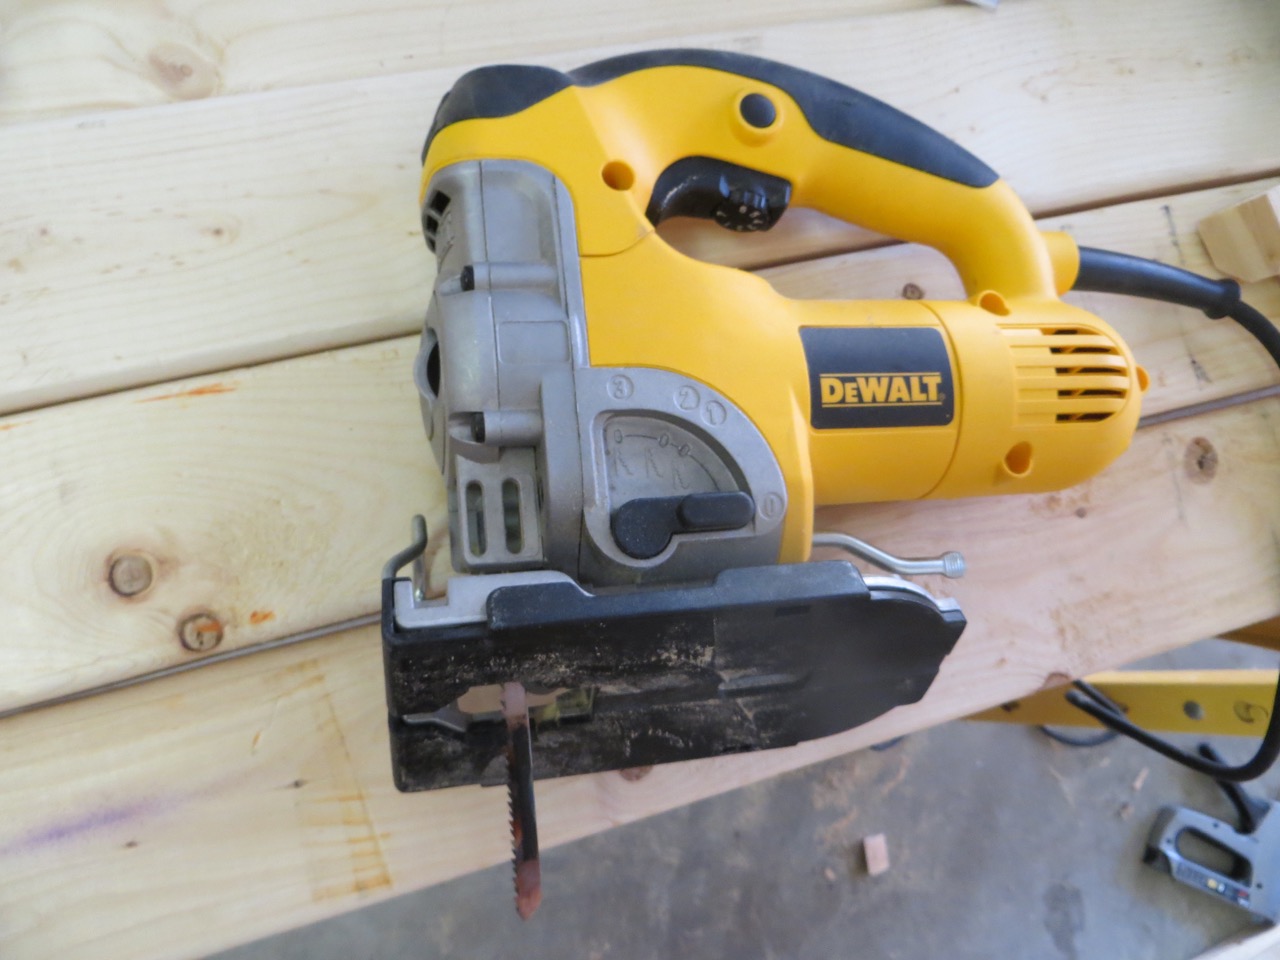
I don’t have a bandsaw so I made use of my jig saw! First I cut out the rough opening of my handles then I adjusted the base of my jigsaw so it was slanted…
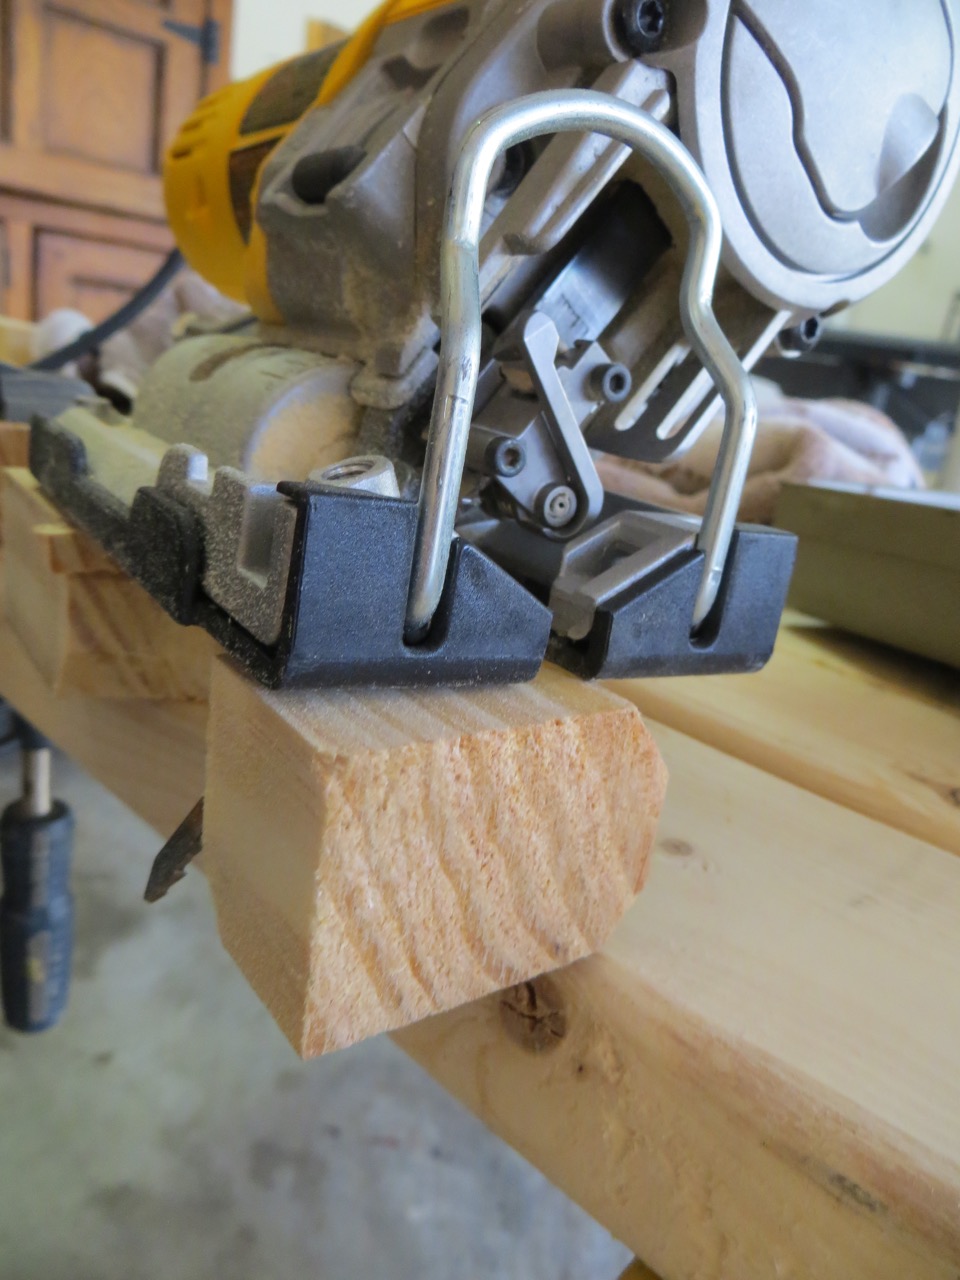
…and cut off the corner of my handle openings.
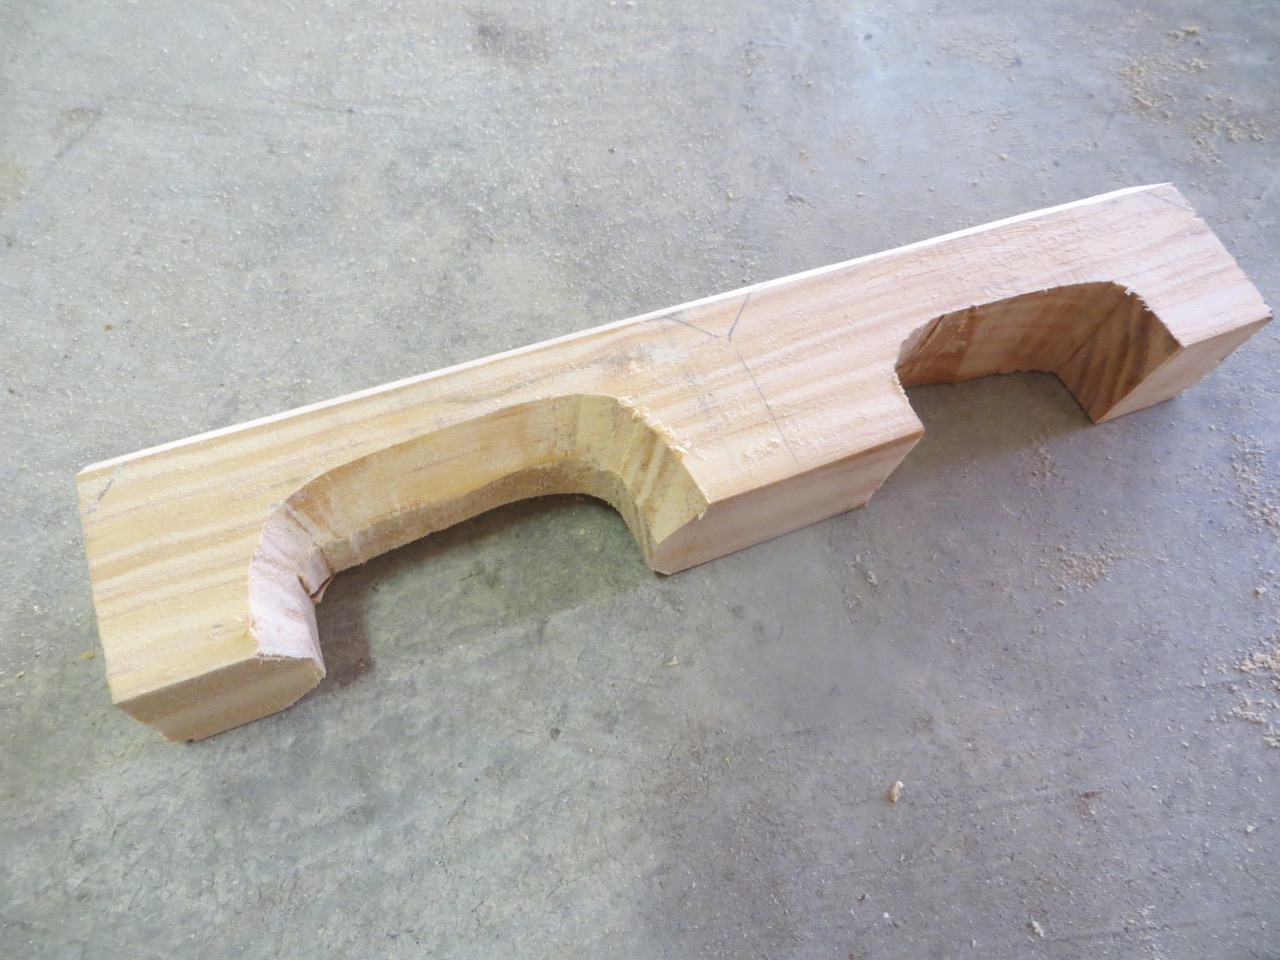
You can see how rough the shape is! 😂😳 Next I cut along the other lines with my miter saw and cut the rest of the corners with the slanted jig saw.
It doesn’t look too bad after a good sanding!

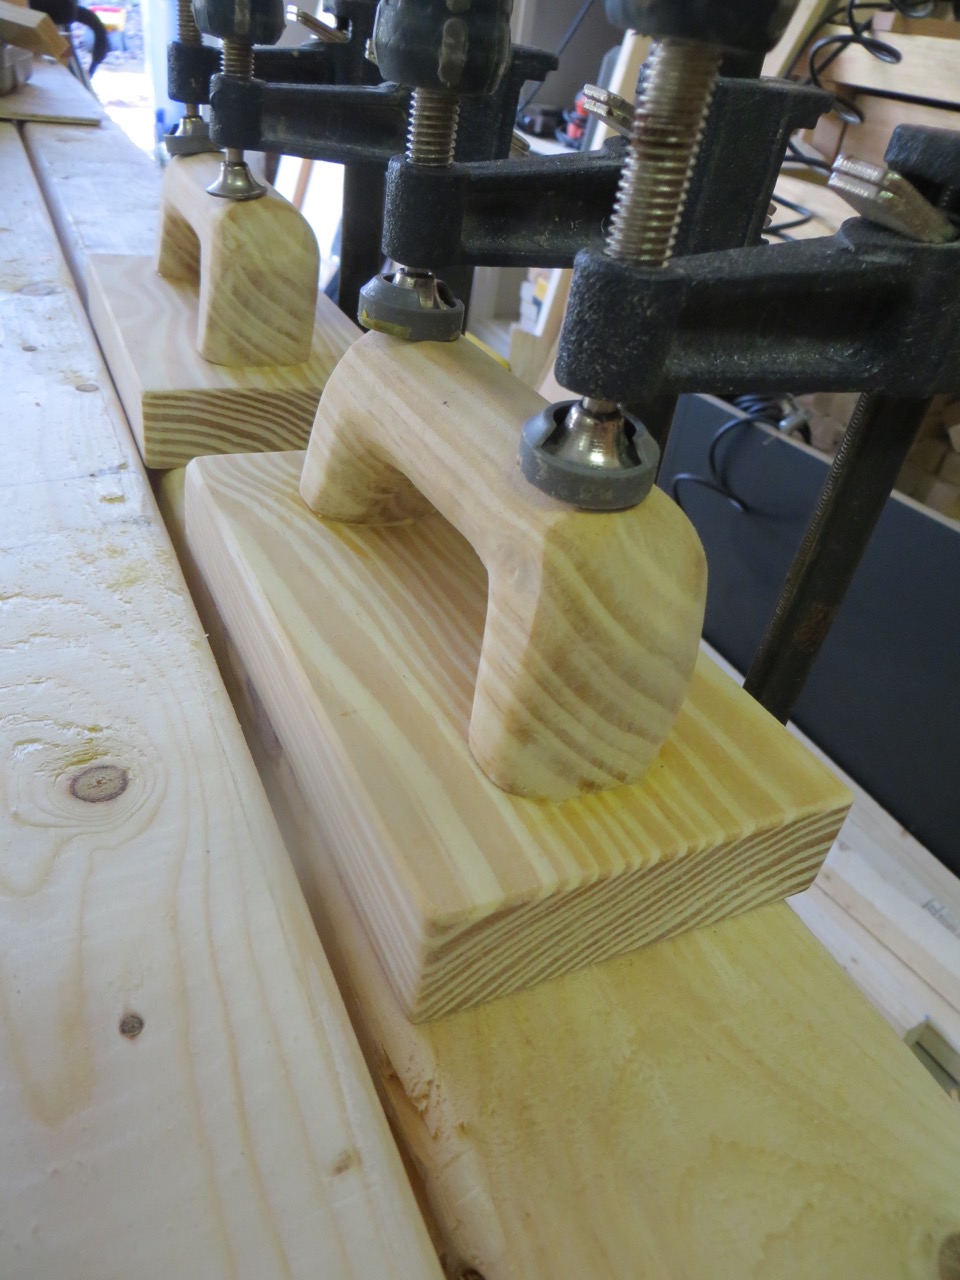
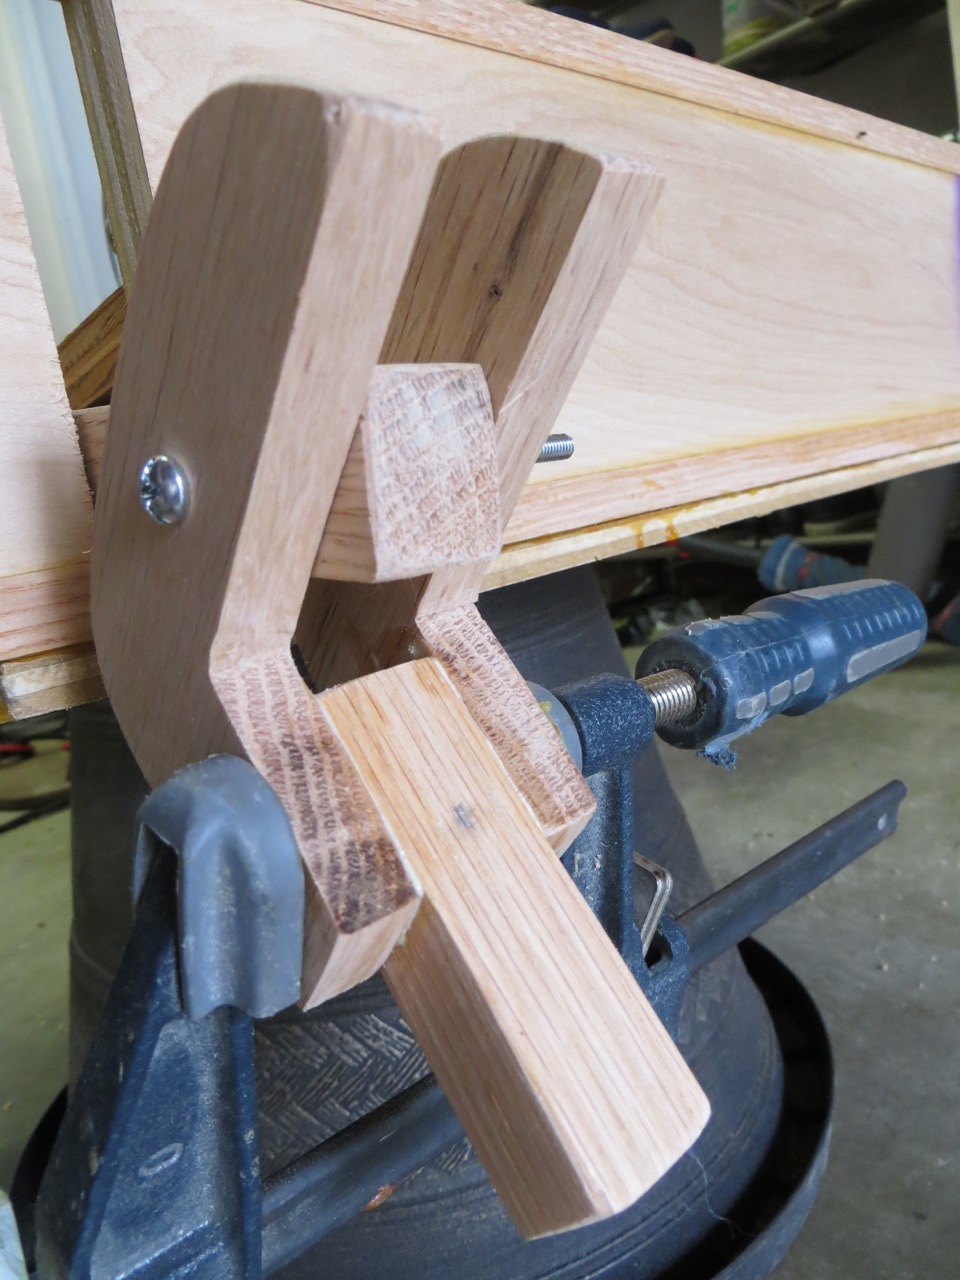
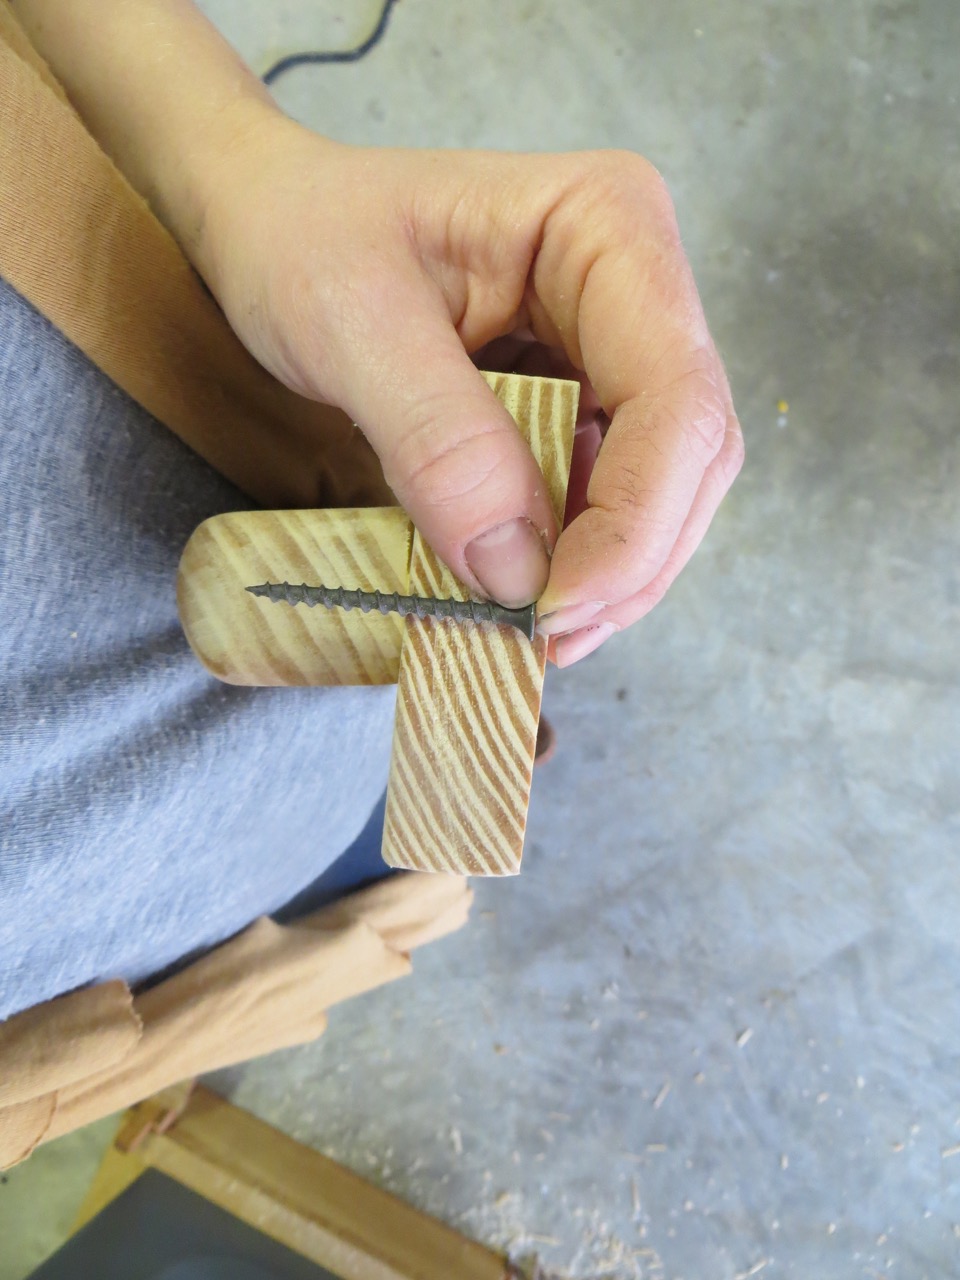
I glued and clamped the handles onto bases (cut to the size you want).
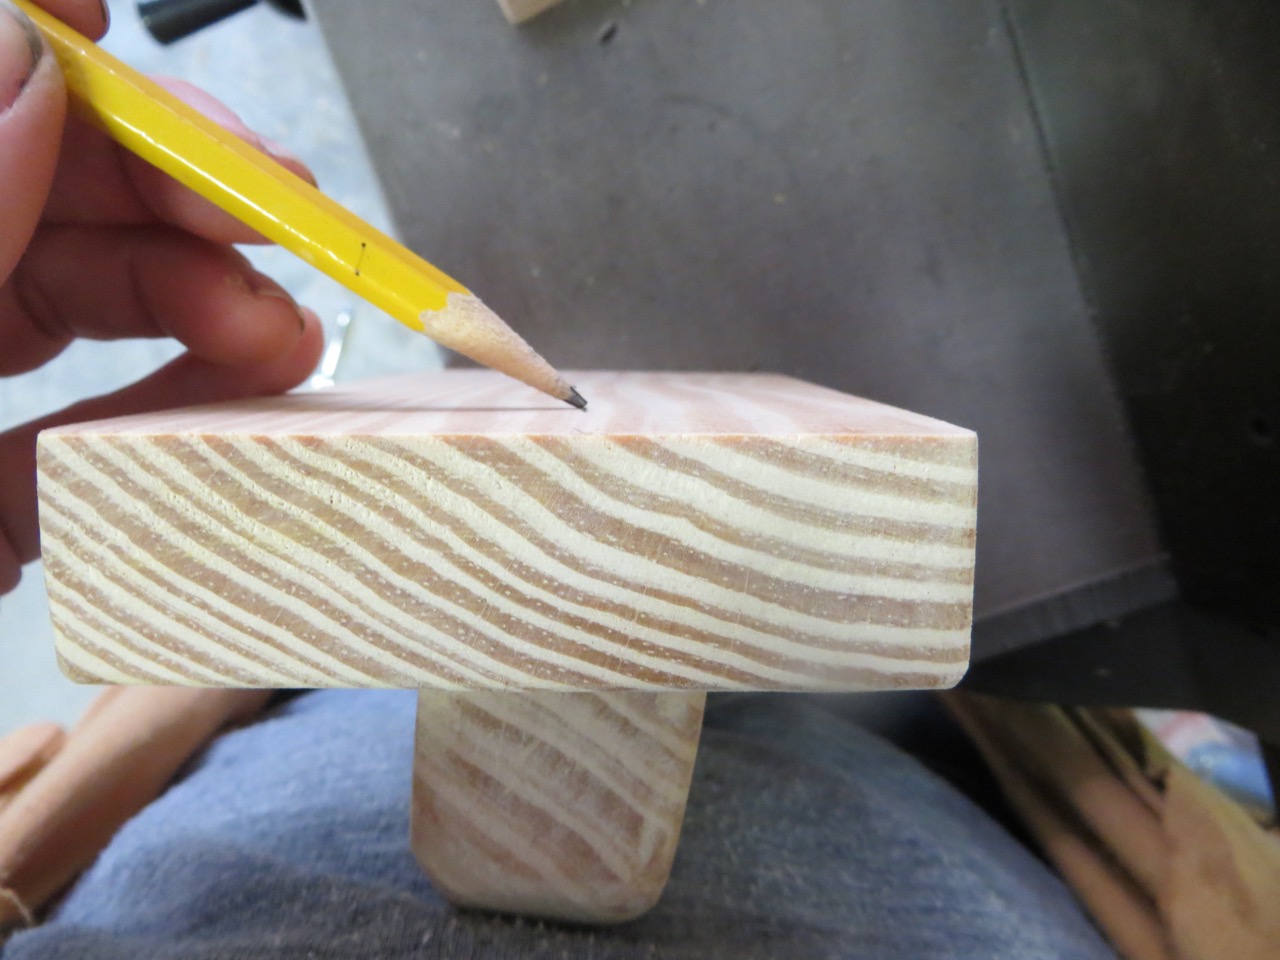
Once the glue was dry I marked the center of each handle to find where to place my screws.

I used Loctite adhesive to spray on my pad because it’s what I had on hand-it seemed to do the job good enough. I used my husbands weights that were nearby to ensure the pad stuck well while it dried.
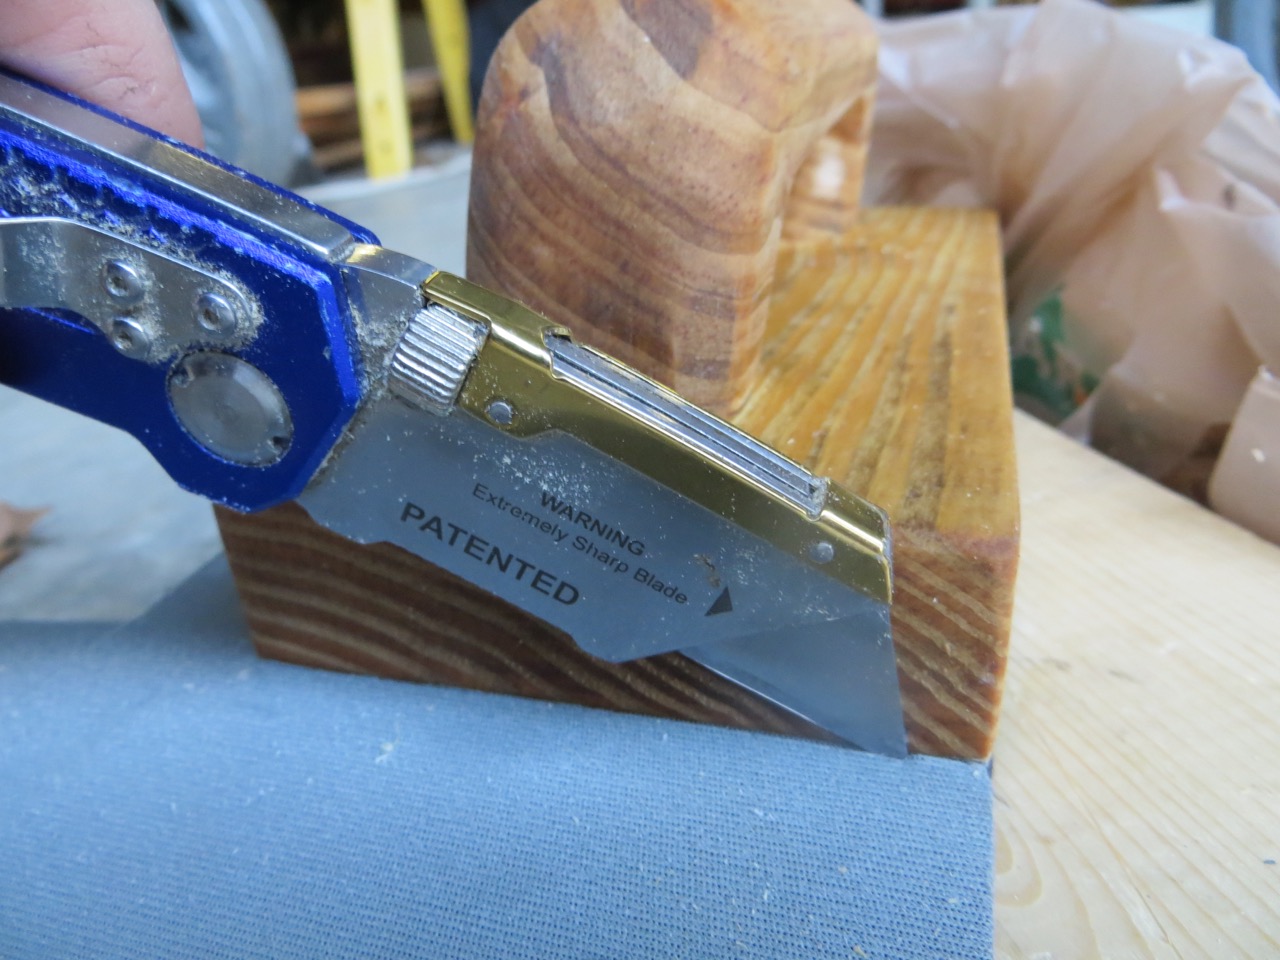
Afterwards I cut the pad to size.
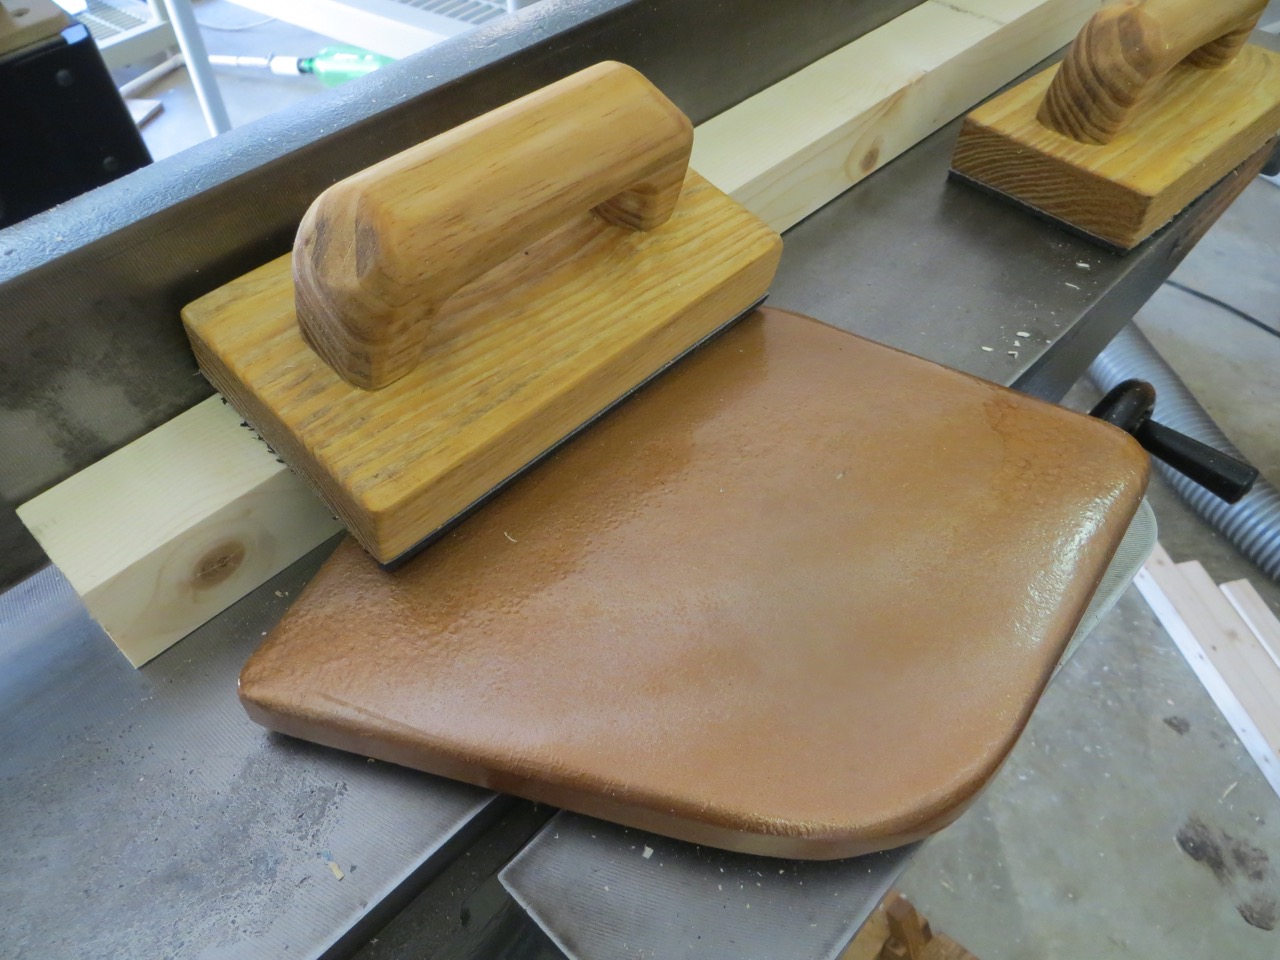
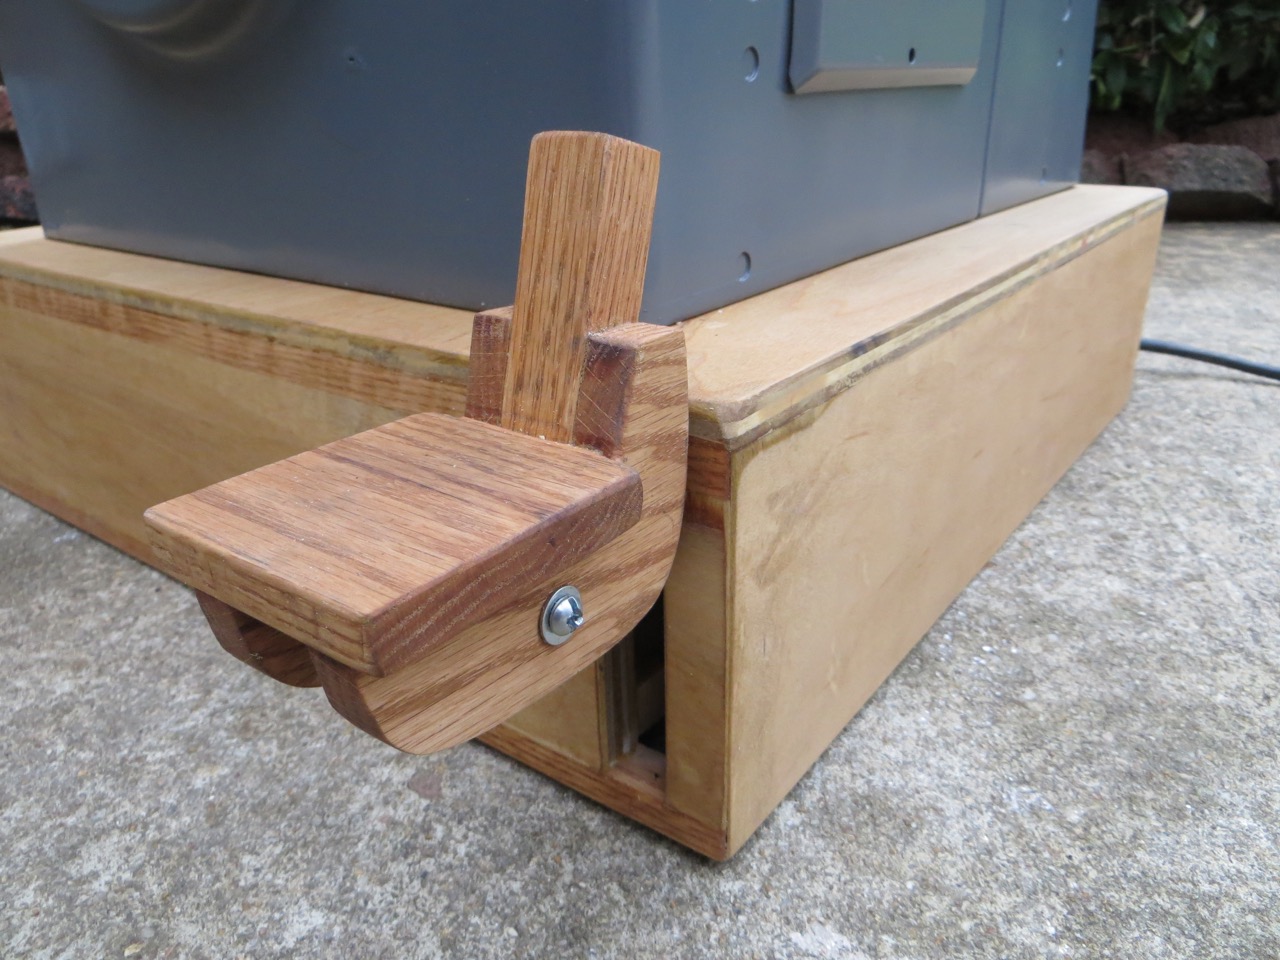
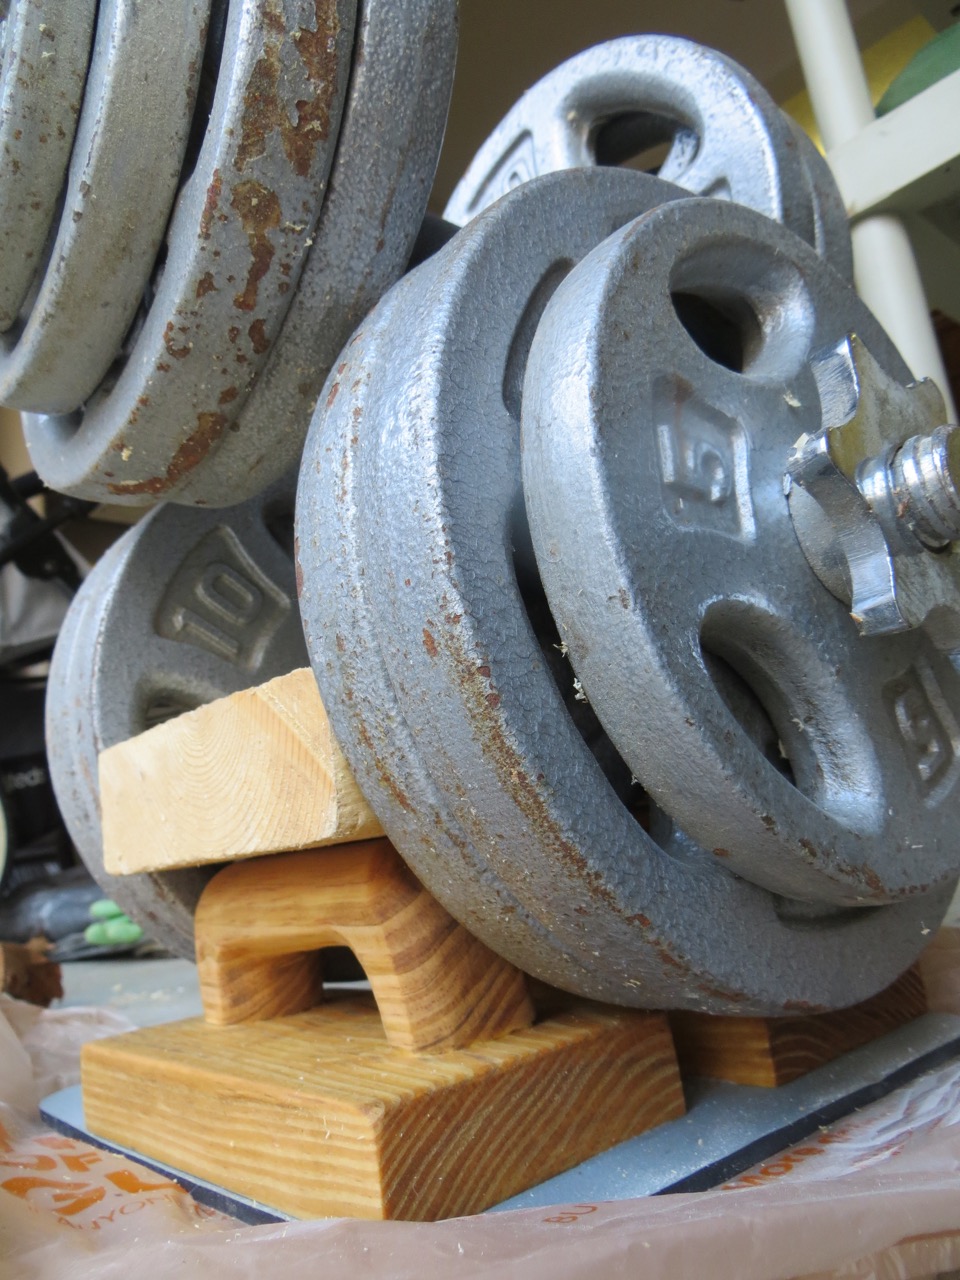
It was amazing how much safer I felt using these! (In this picture you can see the angle of the handles by looking at the block on the right – much more comfortable to push wood through with the angle!)
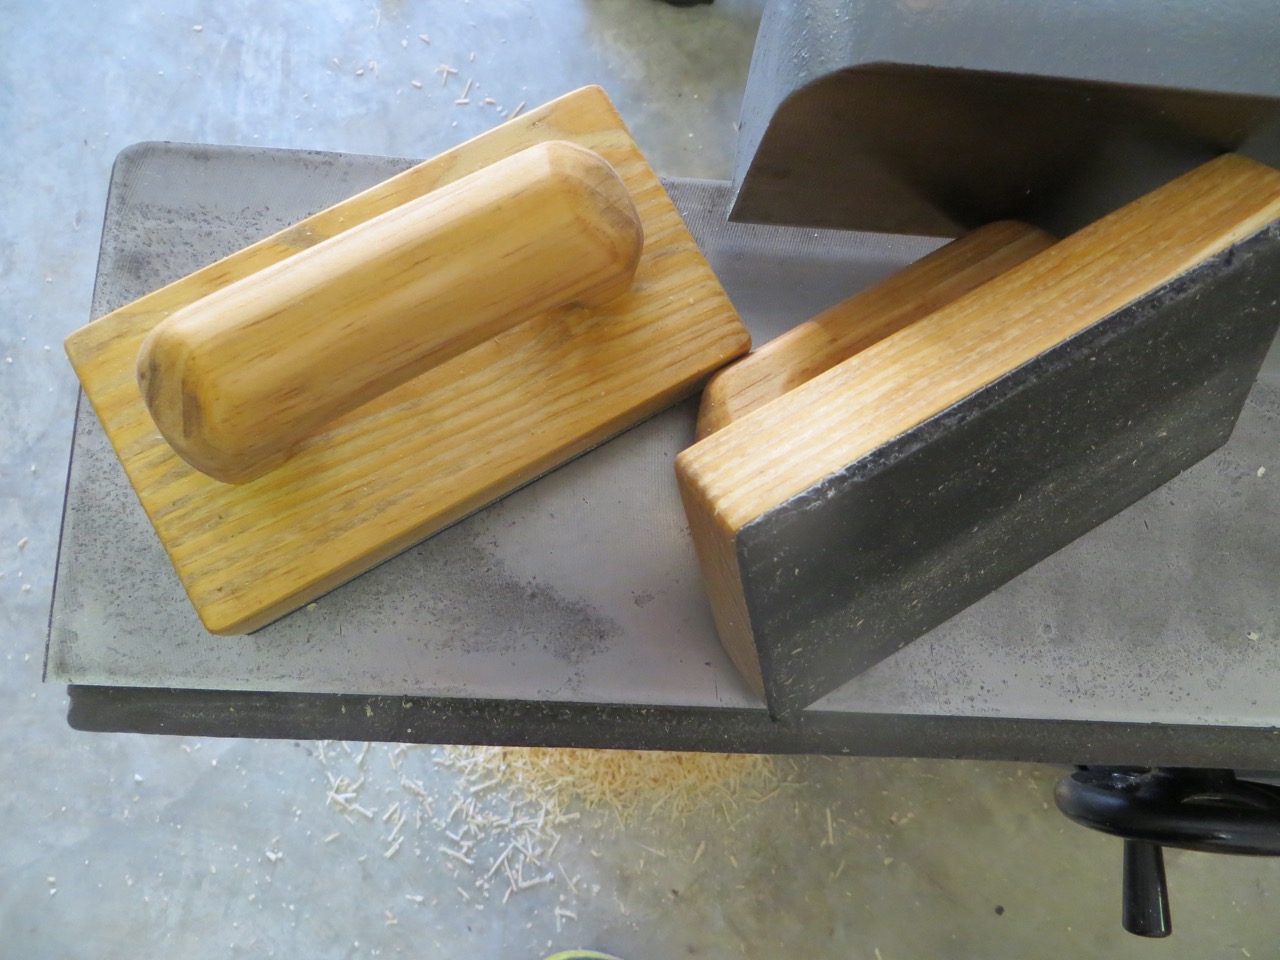
The pad does the job with no slipping!
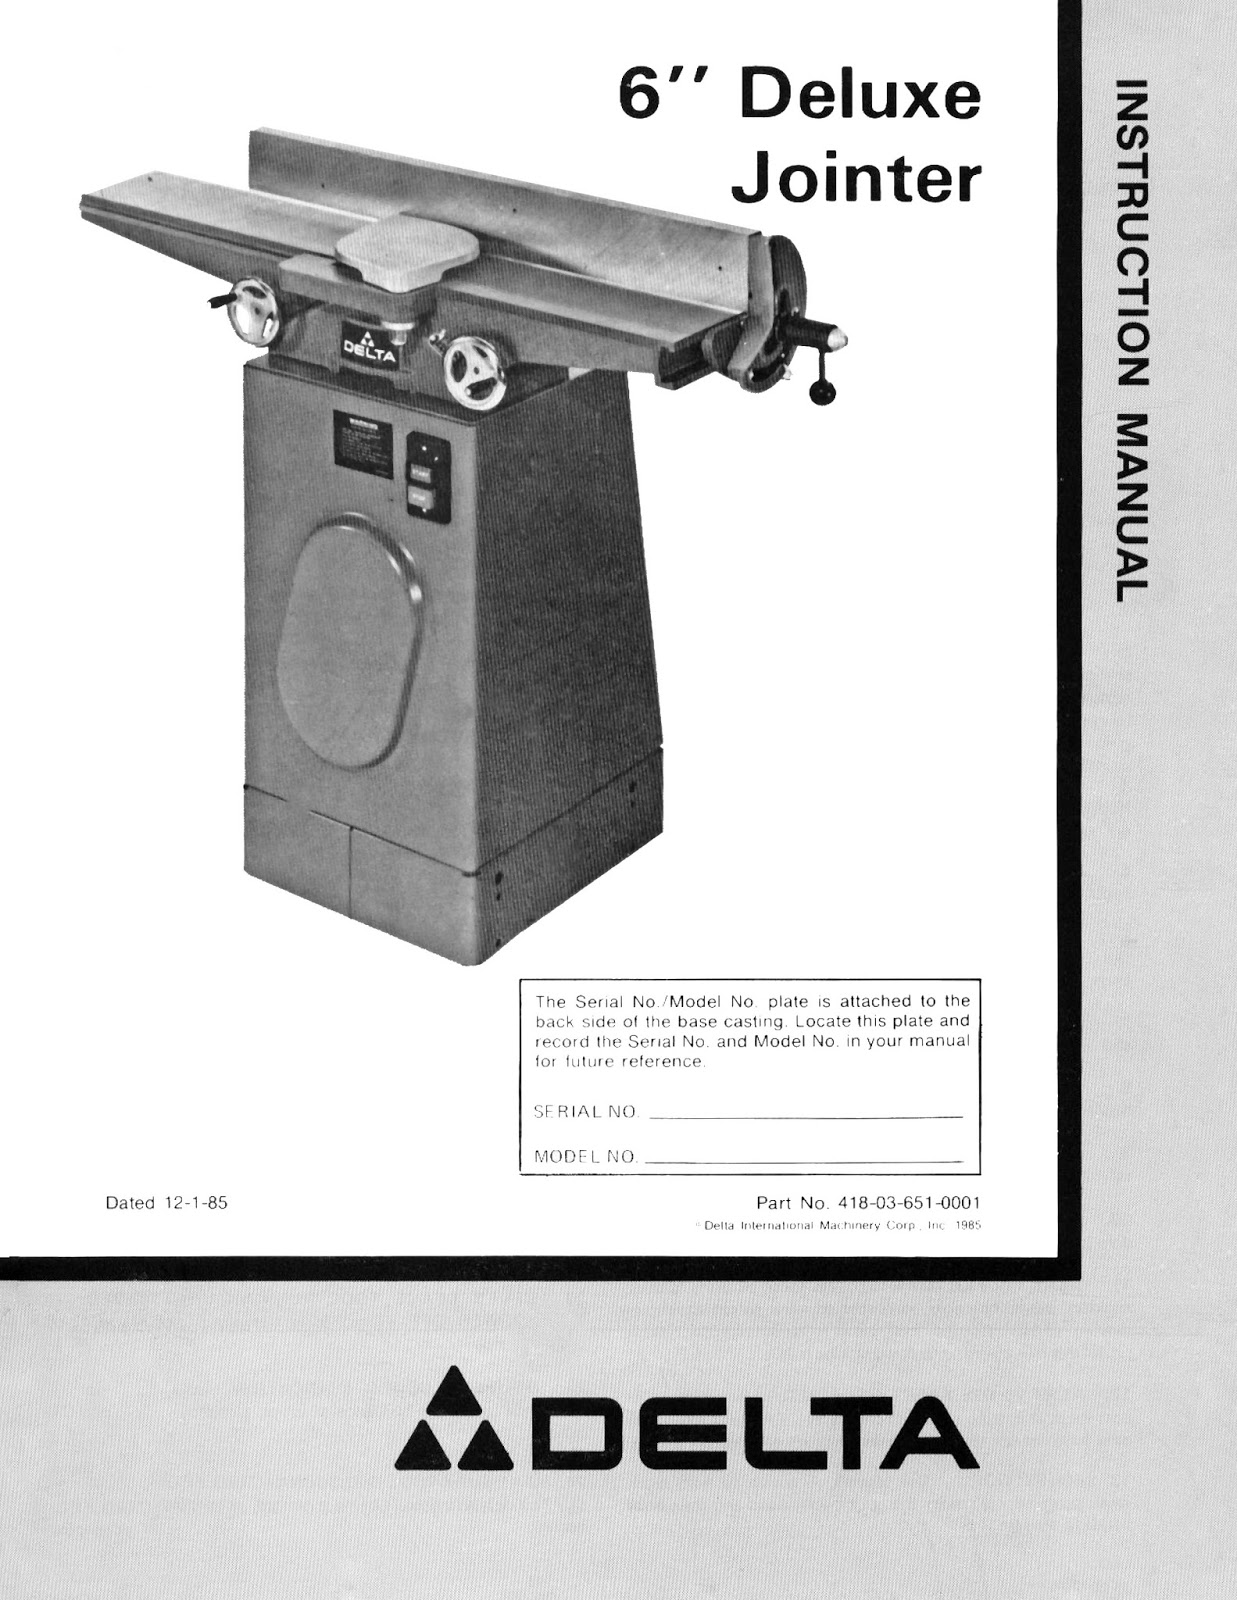
On top of this HUGE-LONG post I’m going to be really sweet and offer the manual that I fixed. Click here to download.

38 Comments
wow… amazing transformation! I just got one of these off CL and stumbled on your blog. Any advice on adjusting? did you use shims at all? anything you would do differently now that it's all finished?
sweet looking machine!
February 17, 2017 at 9:08 amHi Morgan! The tables were actually really bowed when I first got it and after I put everything back together the adjusted perfectly. I think all the sawdust in the dovetails really affected the tables. I didn't have to use shims at all… but if I did I would have probably used pieces of a soda can (other people mentioned to do that). It was a bit of trial and error getting the first table off but I've documented the best way in this post. I can't say there's anything I would have done differently. It would have been really expensive to get the original knives sharpened so I opted to buying $15 ones off of Amazon and they work great (Powertec brand)!
February 17, 2017 at 9:13 amReally well done Dani. I have a similar jointer and the tables are not co-planar. Your article helped figure out that the high gib screw raises the tables and the lower gib screw lowers the table ends. Nice work again. I am sure many will benefit from your thoughtful documentation and process.
July 2, 2017 at 6:32 pmI'm happy to hear I've helped in any way! Thank you for commenting!!
July 2, 2017 at 6:34 pmI picked one of these puppies up on Saturday. It's in good shape, but needed a tuneup. By midnight I had the entire thing in pieces on the shop floor thanks to your post. Thanks for giving me the confidence to take this on.
September 25, 2017 at 1:02 pmYES! This makes me so happy! I hope the reassembly process goes smooth for you!
September 25, 2017 at 1:04 pmReally well done Dani. I have a similar jointer and the tables are not co-planar. Your article helped figure out that the high gib screw raises the tables and the lower gib screw lowers the table ends. Nice work again. I am sure many will benefit from your thoughtful documentation and process.
October 15, 2017 at 9:01 pmNicely done, Dani! I just bought this exact model and your process will help me a ton when I restore mine. 🙂 Cheers, Bill.
November 7, 2017 at 7:44 pmThanks for the message! Good luck with your restoration – it's so nice when it's finished!
November 8, 2017 at 8:55 amGreat article and beautiful work Dani. I have a similar jointer and my tables were not co-planar. Your article helped me figure out that the high gib screw raised the table and the lower gib screw lowered the end of the table. Your article will help many with the project. Cheers, and again well done.
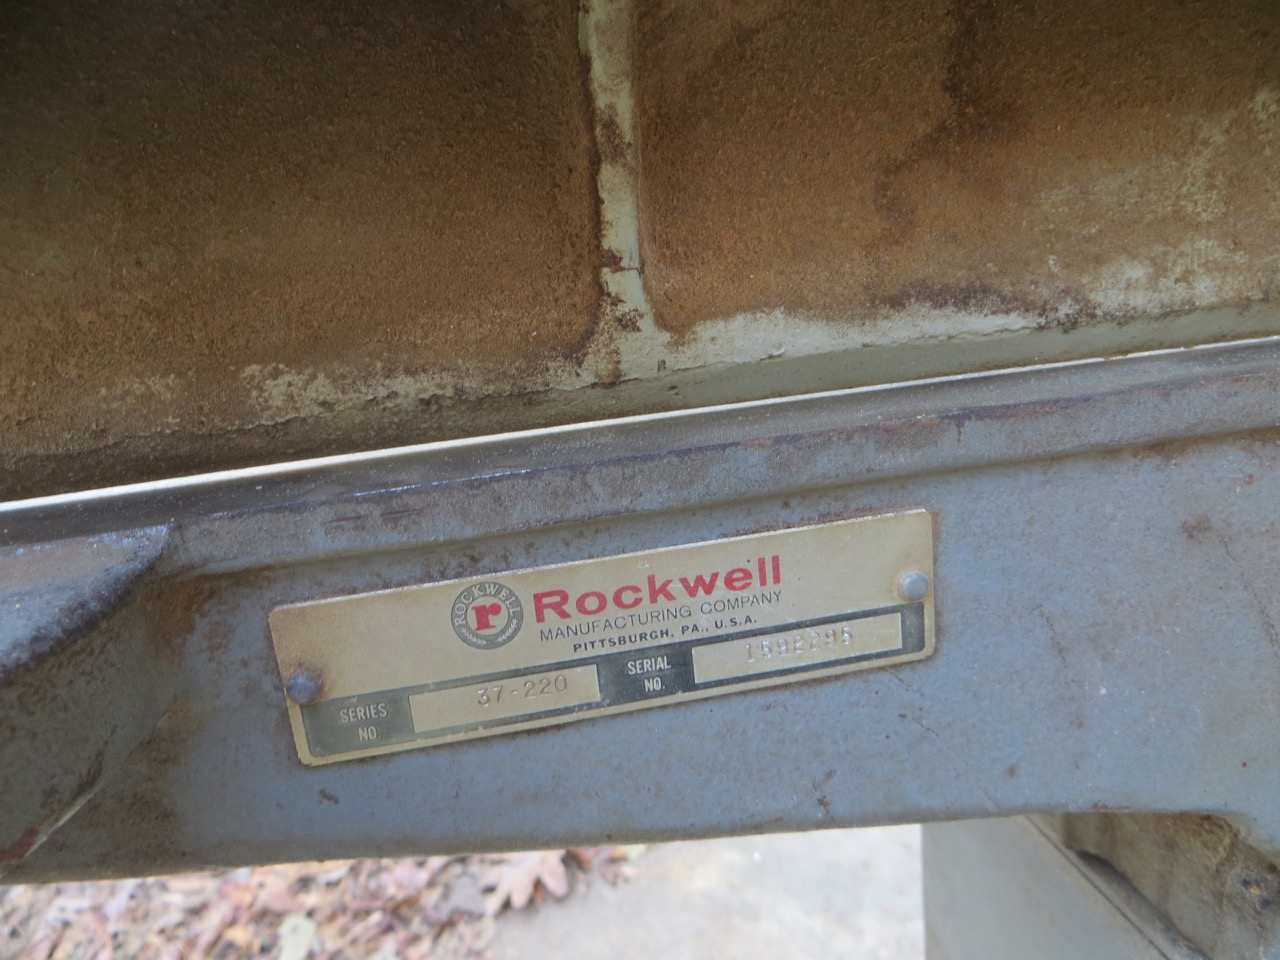
January 31, 2018 at 8:39 pmThanks Dani. I inherited my Rockwell 37-220 open stand jointer from my grandfather and father; it's been in the family since the early 1950's. Still in good shape, but dirty internally, and the adjustments are stiff. Am taking it apart & cleaning now. You helped get this process started.
March 19, 2018 at 8:23 amThat’s one of my favorite things to hear.. makes putting these posts together worth all the effort! Best of luck!
March 19, 2018 at 8:24 amDani, looks great! I am picking one of these up in a week or so that's in "good working condition." We shall see… haha. I may be referring to this page later.
May 7, 2018 at 1:52 pmYes, you never know what people think is good working order or not lol. Luckily they’re simple machines and not much can go wrong! Best of luck to you!
May 7, 2018 at 1:54 pmHoly Moly! I'm getting ready to do one of these and this is fantastic attention to detail. Well done!!
May 15, 2018 at 11:44 amThank you! Good luck with your resto! 🙂
May 15, 2018 at 11:47 amThank you so much for posting this. I recently came into possession of the exact same jointer, though without a fence which I’m going to have a buddy help me make. Your detailing of the process of taking it apart and putting tnback together were unbelievably helpful. I’m currently in the painting process, and awaiting new knives bearings and wheels, and Although it’s really early, I have no regrets about taking into consideration your approach, because it’s all starting to look awesome. Thank you very much!
January 7, 2019 at 10:39 pmThank you for taking the time to write! There’s nothing better then hearing I helped someone else! I’d love to see pictures when you’re done!
January 7, 2019 at 11:20 pmHi thanks for your blog i just bought this planer and gout it all appart with your explanation thanks a lot!!!
Do you need to remove all the rust on the shoulder pin to paint it or just a light sanding?
January 24, 2019 at 2:34 pmGlad to hear it was helpful! I’d remove any rust and do a fine sanding whether or not it’s going to be painted. I don’t paint anything that’s metal-on-metal, but I do rub it down with oil to prevent rust.
January 24, 2019 at 6:11 pmExcellent post, thanks for sharing. I recently, well this past weekend picked up one as well. I painted the base and put new knives in it. I also built a base similar to what you did so it is mobile when I need to move it. Thanks for taking the time to make such a great post. I will possibly go through and re-paint the top working part of the tool later, but for now, I am using it and it works good as new. Thanks again and have a blessed week.
May 14, 2019 at 11:10 pmDale
Thank you for taking the time to comment! Enjoy your new jointer! 🙂
May 15, 2019 at 8:13 amHi. I just bought this jointer off Craigslist and the pointer on the fence is missing. All the parts websites show it as obsolete and no longer available. I was wondering if you might have any close up pictures of the pointer and how it attaches to the fence angle gauge? Thinking I’m going to have to DIY one. Thank you.
May 25, 2019 at 6:50 pmThanks for the manual, I have a friend dropping one off this weekend. I may not have to do much more then a cleanup but there is a lot of good knowledge here if I do strip it down. My tip would be to try T9 rust corrosion preventative and lubricant or CRC 3-36 Technical Grade Multi-Purpose Precision Lubricant, both work better then WD 40. These options leave behind a lubricating wax. Also good on table saw tops to prevent rust
November 7, 2019 at 5:37 pmDani,
LOVED THIS POSTING!!! Not only was it exactly what I needed (a how to with clear and concise step by step instructions and tips with before and after shots), it has given me hope that I can restore the coplanarity of the unit I just acquired!
Even the subsequent comments were helpful! I had no idea the gibs could be used to adjust the tilt of the table!
If I can ensure coplanarity of the tables, I may go the full distance and attempt a complete restoration like you have. You’ve inspired me to excel!
Thanks a million!
December 29, 2019 at 4:43 pmWahoo!! Love hearing that my posts are helpful! I hope all goes well with your new tool and you can get the tables adjusted!
December 29, 2019 at 7:20 pmHi Dani I have the exact same machine and I am about to go through the same process. Just wondering how difficult it was for you to co plane the tables and was there any shimming to get them right any advice would be greatly appreciated.
July 12, 2020 at 6:11 pmTia
Hi Mike! It wasn’t difficult at all! I used a metal straight edge that spanned across a good amount of both of the tables and adjusted the set screws until there wasn’t a gap underneath the straight edge. It was fairly easy – no shimming necessary!
July 13, 2020 at 4:21 pmImpressive, yep. Bought an identical joiner, also a 3 HP . Rockwell / Delta Uni Saw, Rockwell/ Delta lathe and a “Alien” Rockwell dill press. Gave saw to Son who builds custom, very high end cabinetry. I also love the old school cast iron heavy machines. Retired 75 year old Union Carpenter. Gotta go make some saw dust, later, y’all.
July 27, 2020 at 3:32 pmBeautiful job. I’m restoring the exact same 37-220 jointer, dating from 1977. I don’t have the patience for scrubbing with a brillo pad, and so I sandblast parts where needed. I wonder whether at this time in the Delta lifespan they began to lose their focus on quality control. The castings are solid and well-machined, of course, but cheap latex paint, missing washers, mis-sized lock-screws, and reversed bushings suggest some cost concern and inattention to detail. I remove paint down to bare metal in some places only to remove the latex which will sometimes curdle underneath a Rustoleum coating. Thanks, and keep all ten fingers.
October 20, 2020 at 9:42 amHey Dani, I’m actually looking at one of these to buy but can’t download the manual you offered. Any help would be great. Thanks
October 21, 2020 at 7:56 pmI’m sorry I don’t have it on my computer anymore to upload again 🙁
November 5, 2020 at 8:27 amCould you share a bit more about the retractable caster board? I can’t quite wrap my head around how it is assembled and words. Thanks.
October 28, 2020 at 1:59 pmCould you share a bit more about the retractable caster board? I can’t quite wrap my head around how it is assembled and words. Thanks.
October 28, 2020 at 1:59 pmHi there!
November 5, 2020 at 8:08 amI bought the plans from Carl Holmgren and he has a Youtube channel with videos showing how they work. Here’s one of his videos: https://www.youtube.com/watch?v=FLoW_FkJ2q4
Thanks for this detailed post! I bought the same jointer from 1955 and just fully restored it with a lot of help from your info. Up next is a Walker Turner Lathe (which I also saw you restored). This felt like a good warmup for that project – really appreciate the time you put into writing about your expereinces
March 2, 2021 at 8:21 pmYou bet! Thanks for your comment!
January 29, 2022 at 2:36 pmGreat post. Going to pick up my 70’s 37-220 the afternoon & all the same work is in my future. This will help enormously.
July 31, 2022 at 12:09 pm